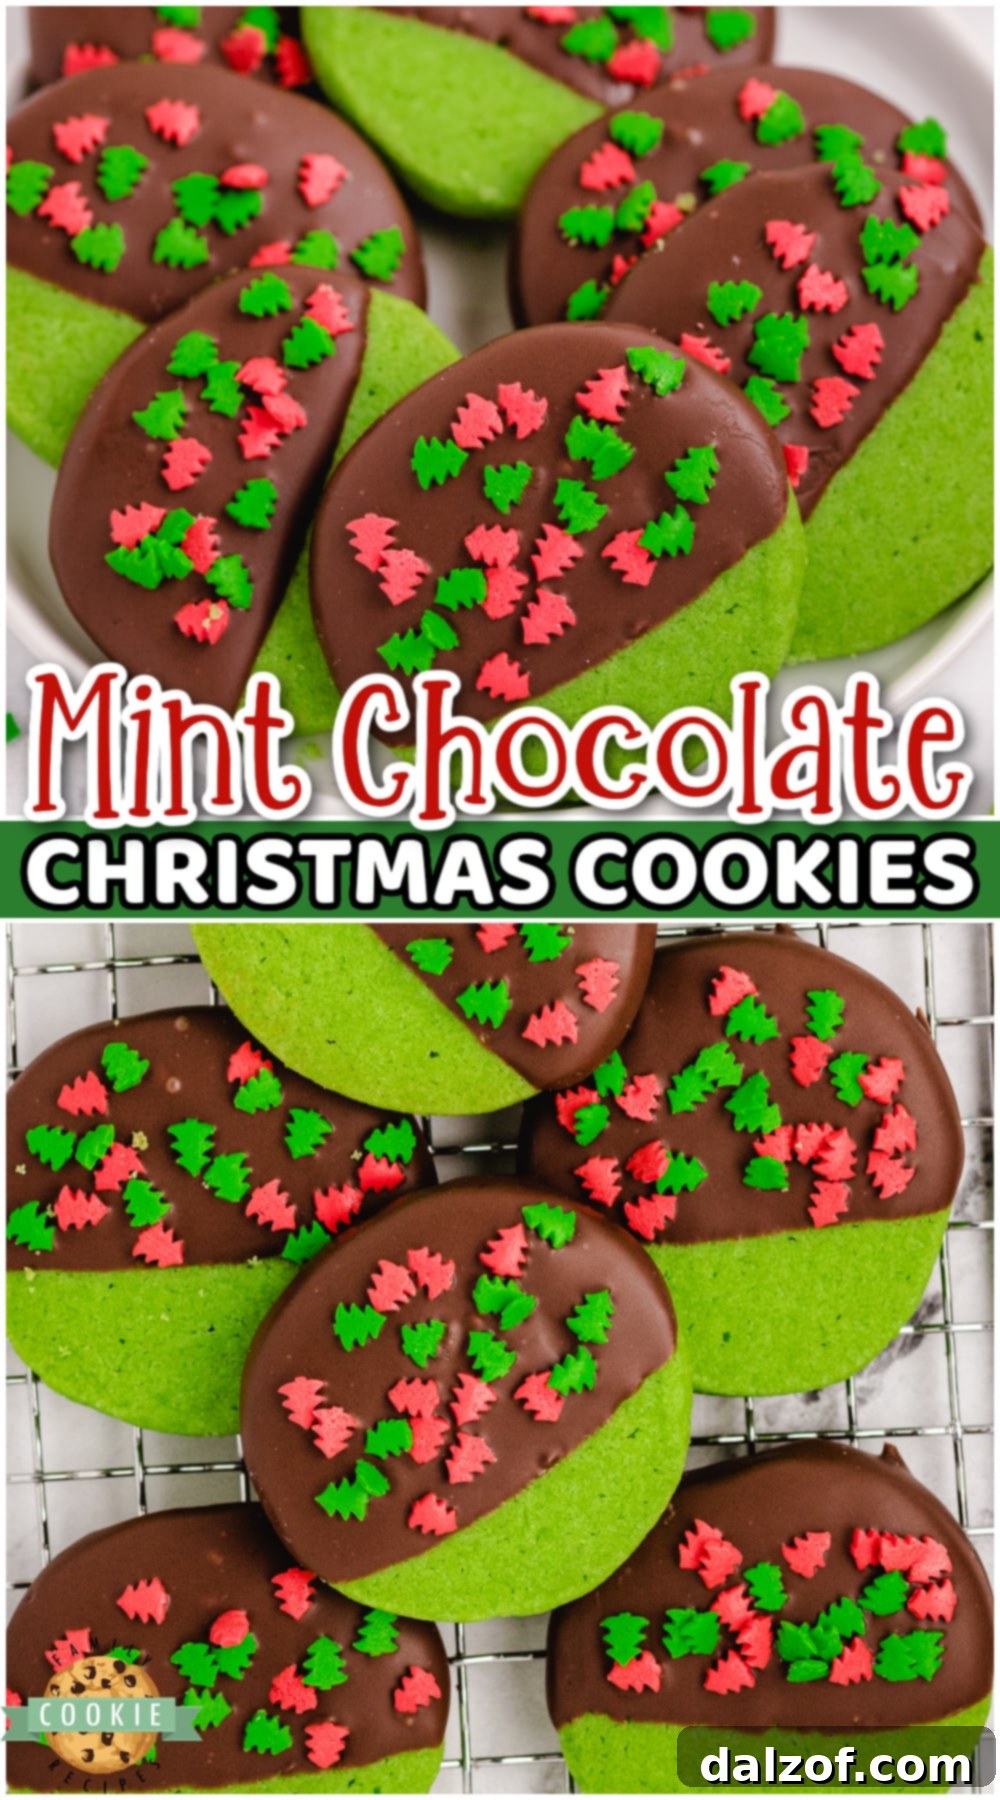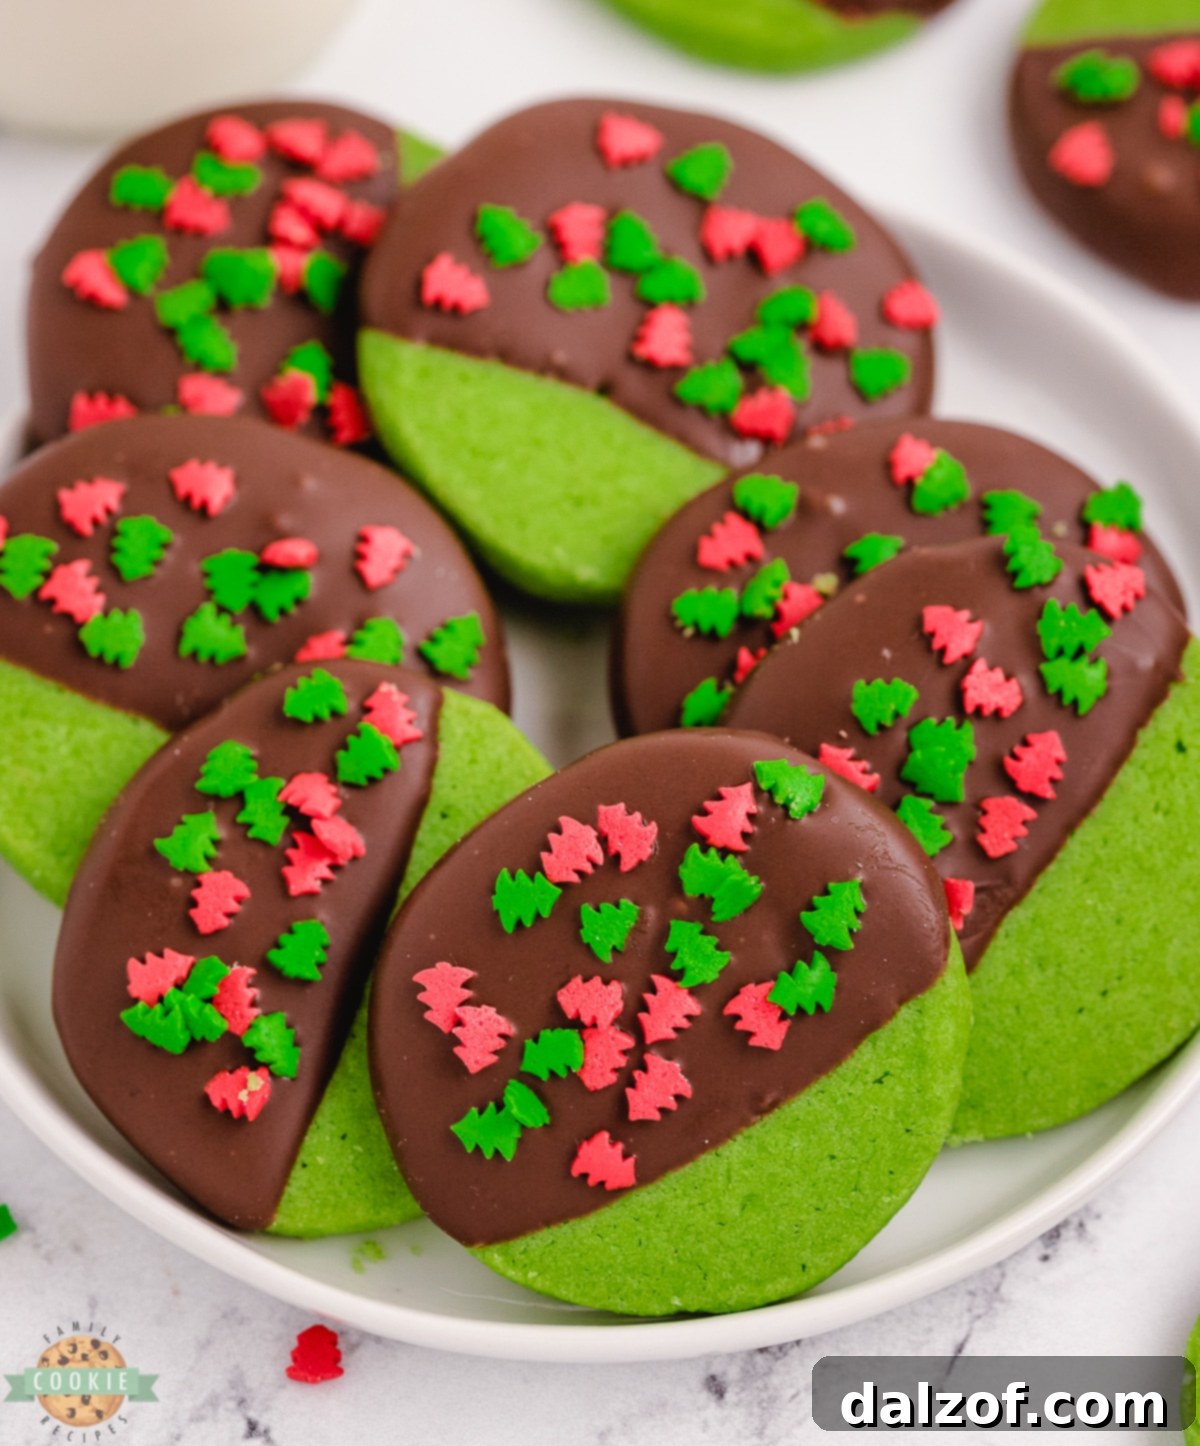
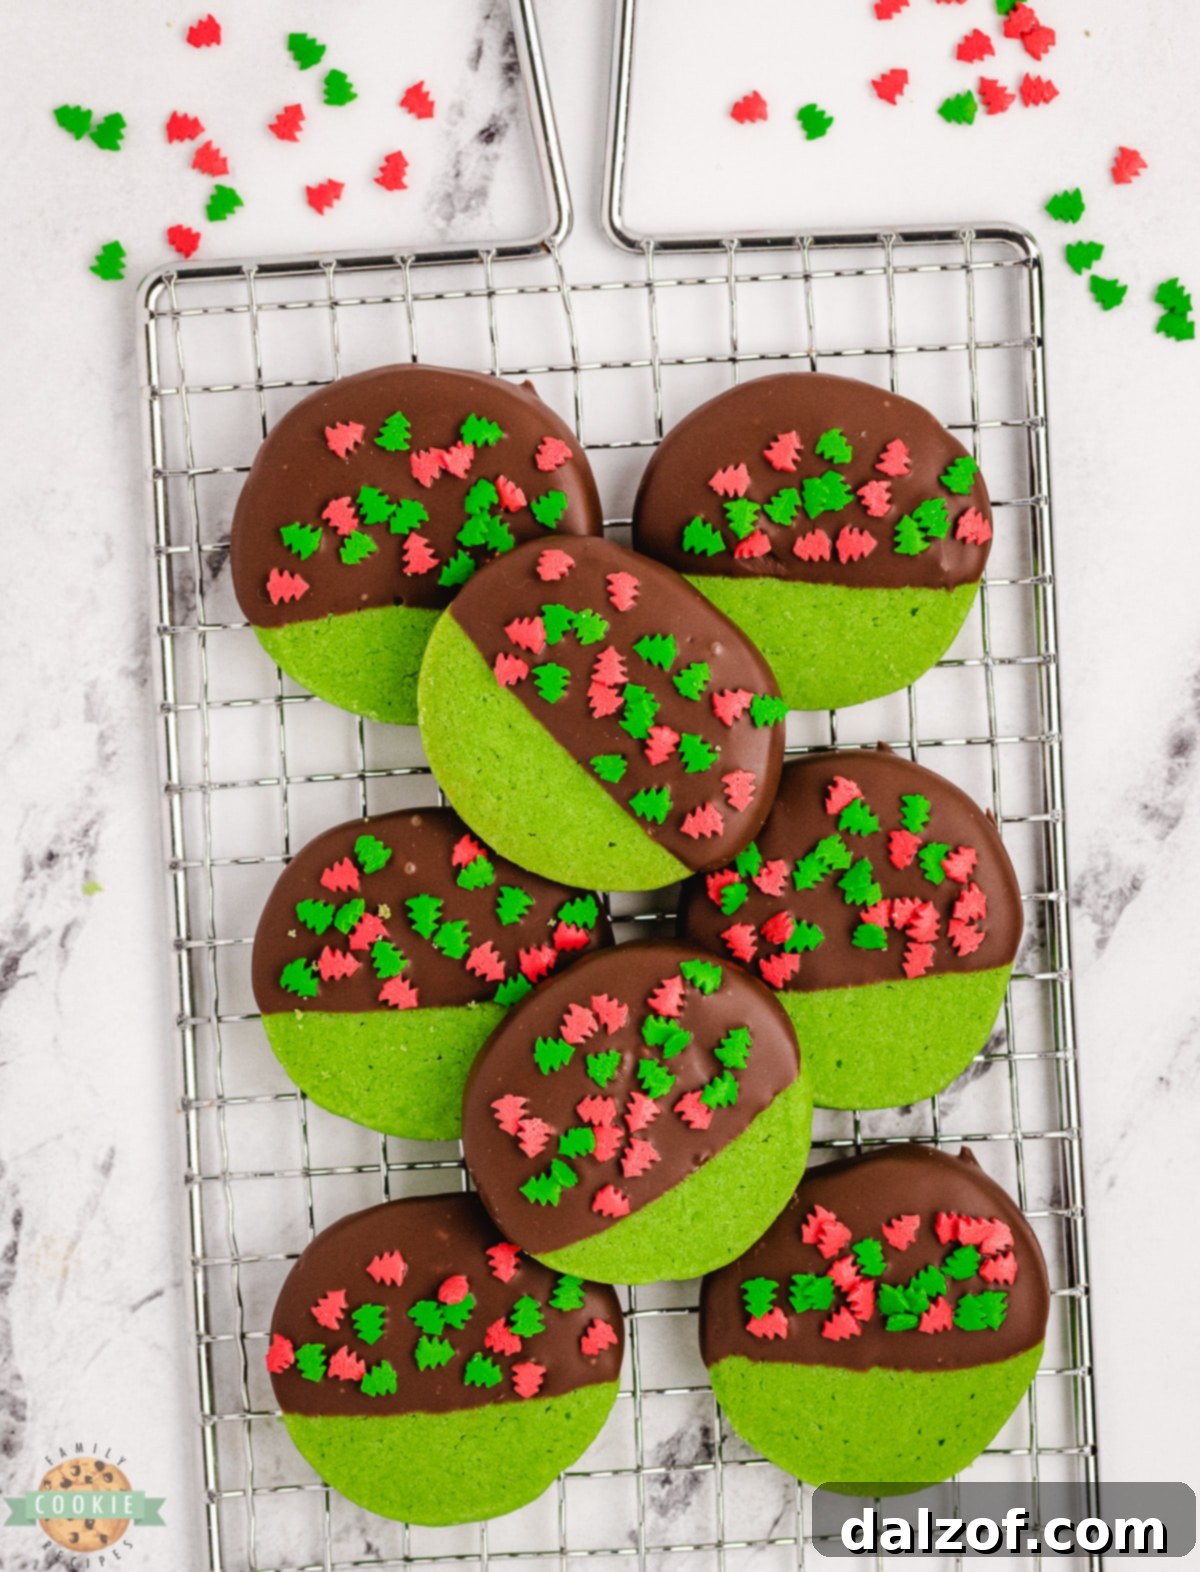
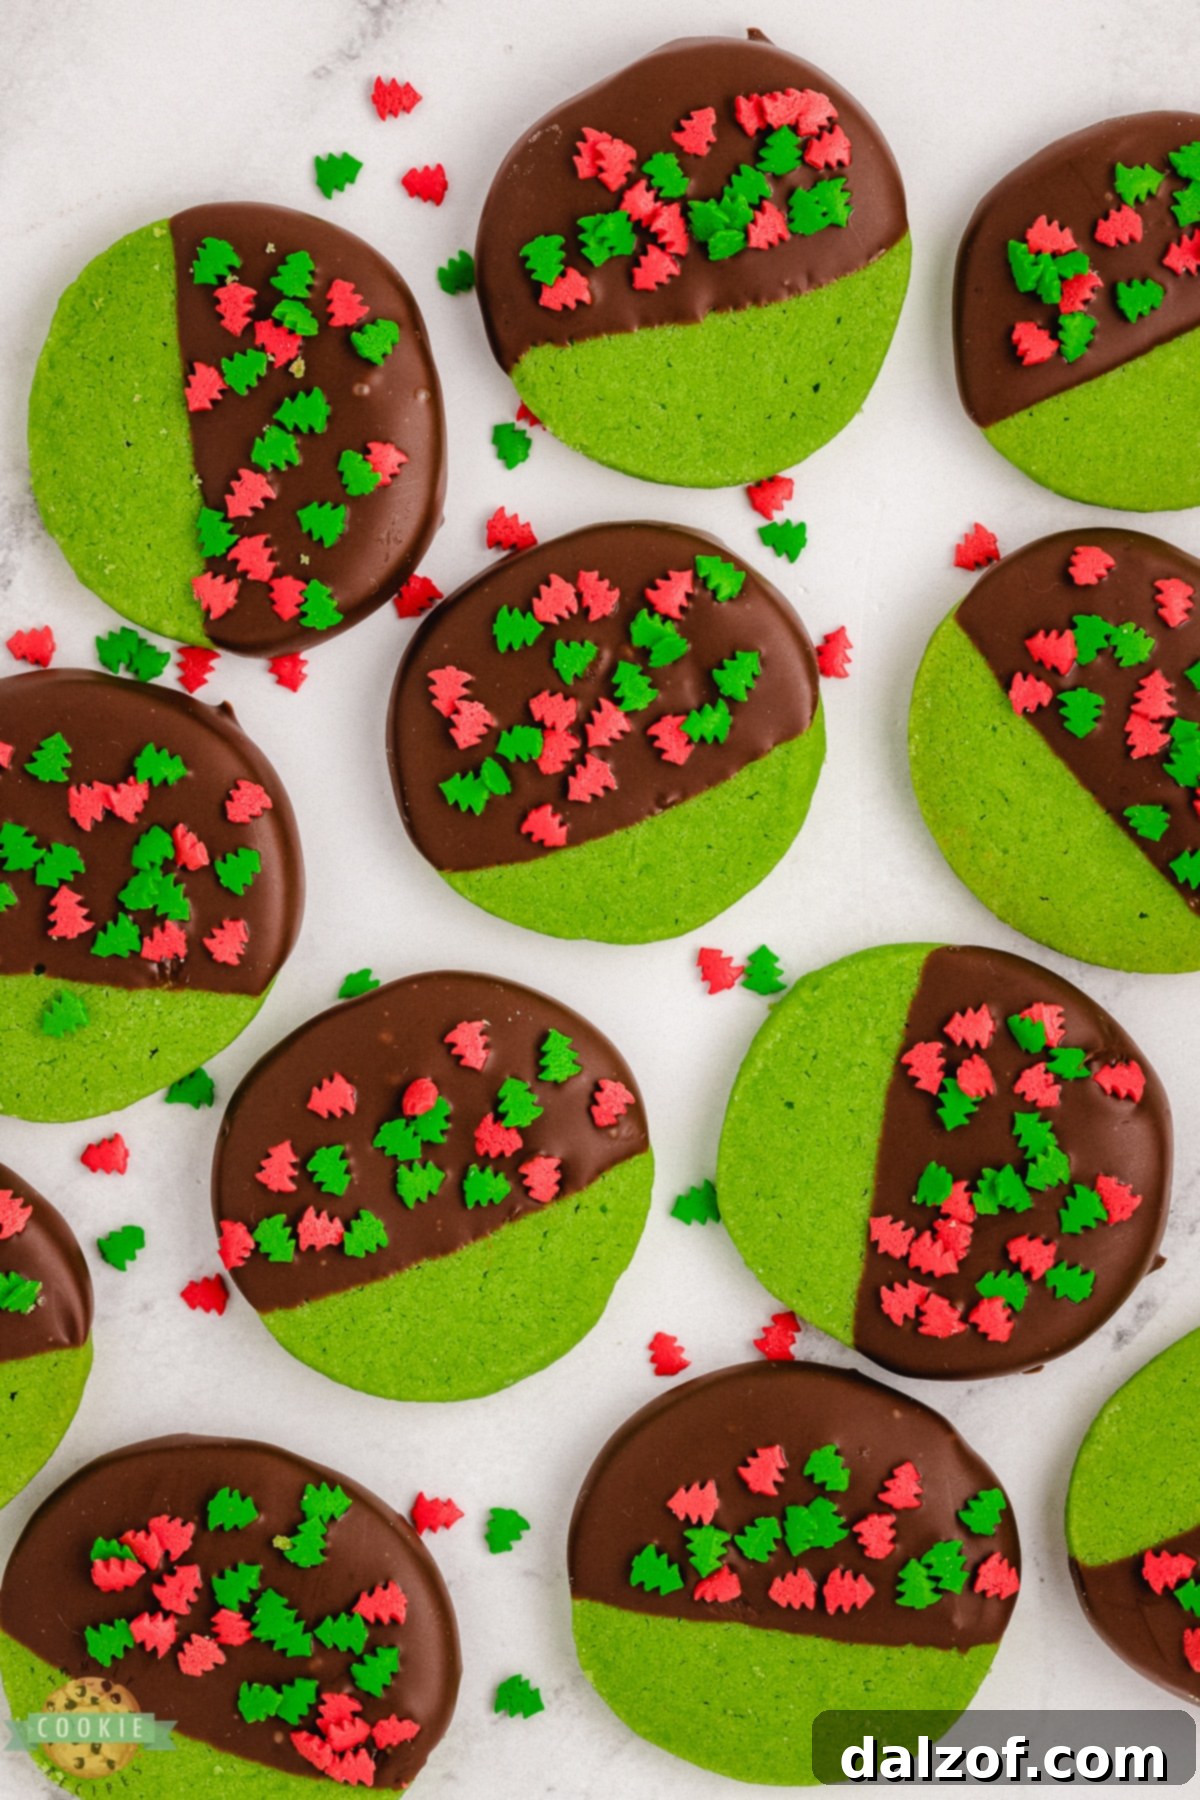
Mint Christmas Cookies are a holiday sensation, offering a delightful blend of rich buttery shortbread, a refreshing mint flavor, and a luscious chocolate coating adorned with festive sprinkles. These vibrant green Christmas cookies are not only visually appealing but also incredibly delicious, making them the perfect addition to any cookie exchange, holiday party, or thoughtful gift plate.
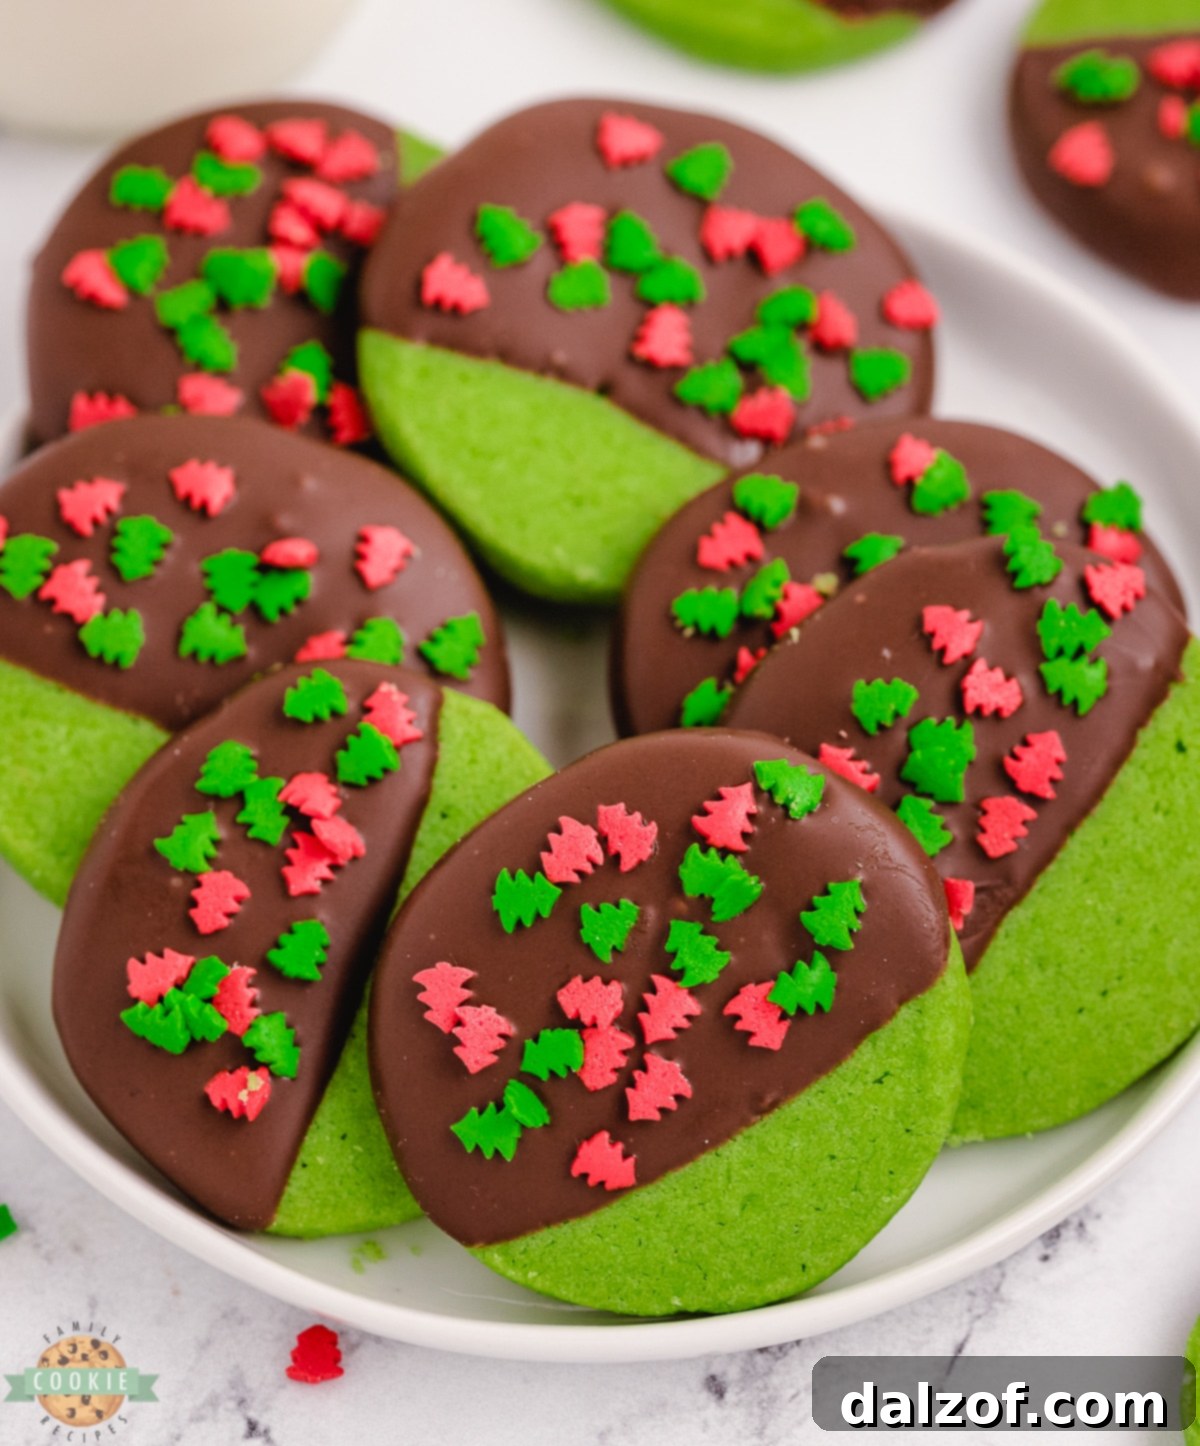
As the holiday season approaches, our kitchens become bustling hubs of warmth, laughter, and the irresistible aroma of freshly baked goods. Among the array of cherished recipes, these Mint Chocolate Christmas Shortbread Cookies stand out as a true festive favorite. Their unique minty twist on a classic shortbread recipe, combined with a smooth chocolate dip and a scattering of colorful holiday sprinkles, creates an experience that truly captures the spirit of Christmas.
There’s something inherently magical about the mint-chocolate combination, and these cookies encapsulate it perfectly. If you’re a fan of elegant chocolate-mint treats, like the popular Mint Milanos, you’ll undoubtedly fall in love with these homemade shortbread cookies. The fresh mint extract infuses the tender, buttery shortbread with a cool, invigorating flavor that beautifully complements the sweet indulgence of chocolate. Plus, who can resist the charm of cookies bedecked with sparkling holiday sprinkles? Not us! This recipe yields approximately four dozen cookies, making it an ideal choice for sharing with friends and family, participating in cookie exchange parties, or simply ensuring you have plenty of delicious festive treats on hand throughout the season.
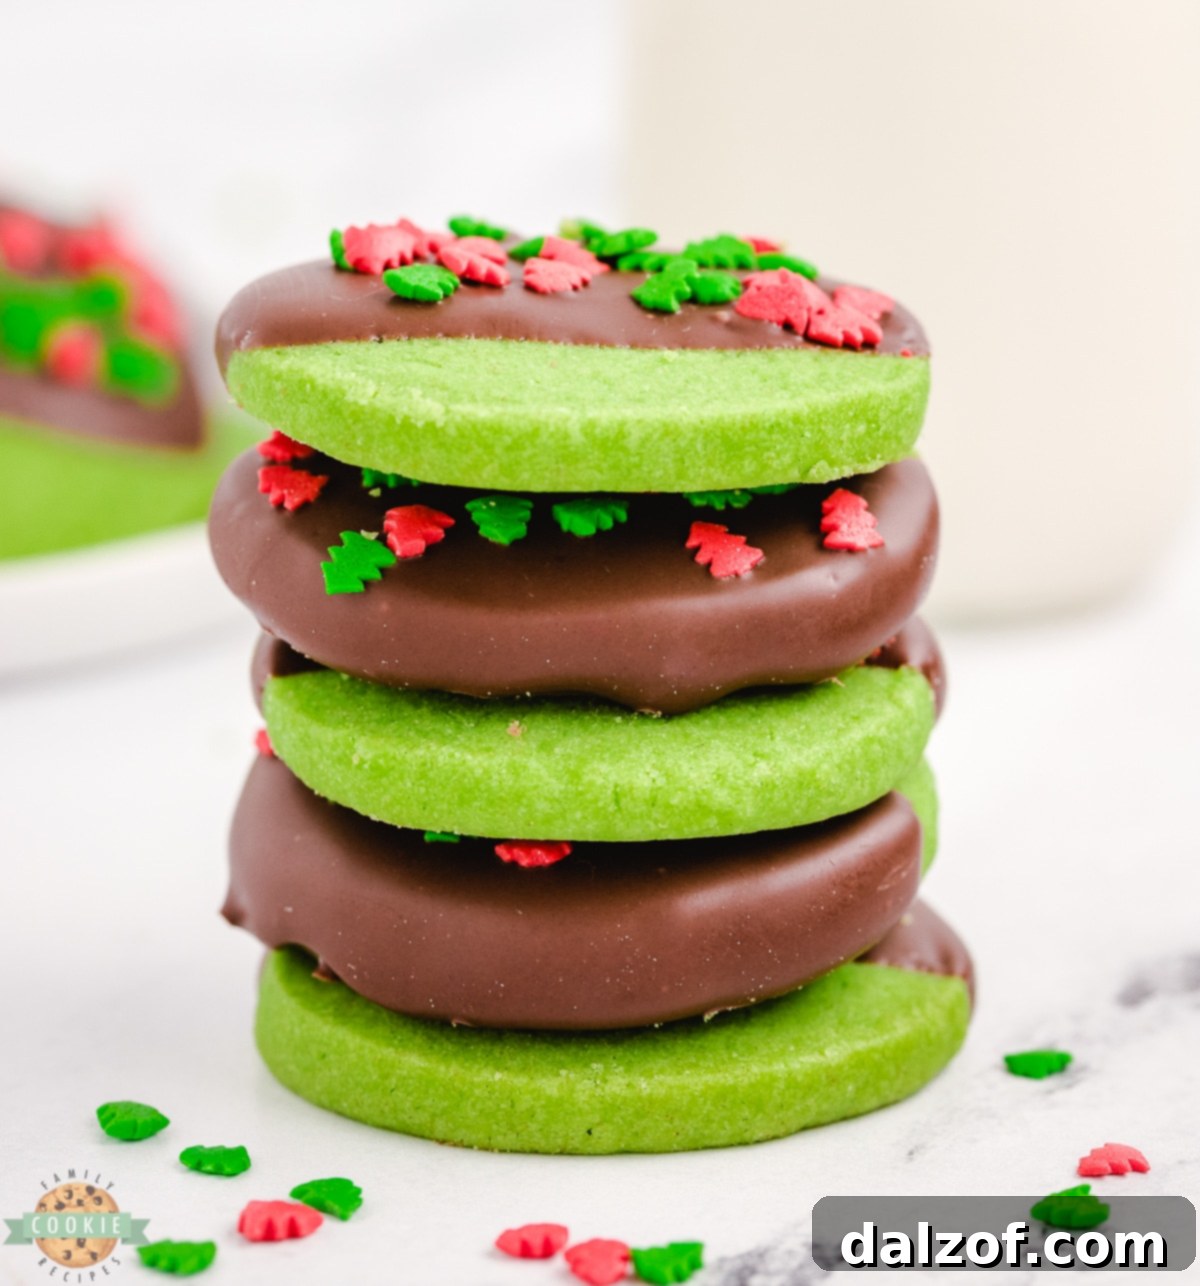
Crafting Your Delightful Mint Christmas Cookies
One of the many appealing aspects of this shortbread cookie recipe is its flexibility for advance preparation. Holiday baking can often feel overwhelming, but these minty treats allow you to get a head start, easing your festive to-do list. The process begins with mixing the buttery shortbread dough using either a hand mixer or a stand mixer, creating a smooth and pliable consistency. Once the dough is ready, you’ll shape it into neat logs, which are then securely wrapped in plastic wrap or wax paper.
The crucial chilling step follows, where the dough logs are stored in the refrigerator for a minimum of two hours. This chilling period is vital; it not only makes the dough easier to slice cleanly but also helps the cookies maintain their shape during baking, resulting in perfectly formed Mint Christmas Cookies. You can even prepare this cookie dough several days in advance, keeping it chilled until you’re ready to bake. When the time comes, simply slice the chilled logs into uniform cookies, bake them until golden, allow them to cool completely, and then proceed with the exciting dipping process. A generous coating of melted chocolate and a shower of colorful holiday sprinkles complete these beautiful and delectable festive treats. Allow them to cool fully once dipped to ensure the chocolate sets perfectly.
Essential Baking Tips for Perfect Shortbread Cookies
Achieving bakery-quality shortbread cookies at home is easier than you might think, especially with a few key tools and techniques. Here are two of my absolute favorite kitchen items that I rely on for making these festive Christmas cookies, and indeed, most of my baking endeavors. They’re incredibly versatile and make a significant difference in the final outcome.
1. **Parchment Paper is Your Best Friend:** First and foremost, I always recommend lining your cookie sheets with a sheet of parchment paper. These are readily available in sizes that fit standard 12×16-inch cookie sheets perfectly. The benefits are numerous: parchment paper ensures that your cookies bake evenly without sticking to the pan, and it eliminates the need for greasing with oil or cooking spray, which can sometimes lead to overly browned or burnt bottoms. Plus, cleanup is an absolute breeze – simply discard the paper once you’re done. It’s a small investment that yields big rewards in terms of baking consistency and convenience.
2. **The Mighty KitchenAid Mixer:** My KitchenAid mixer is another indispensable tool in my kitchen. While I also own a Bosch, I find myself reaching for my KitchenAid specifically for cookie dough. Every KitchenAid mixer comes with a versatile cookie paddle attachment, which is perfect for thoroughly and uniformly mixing all your ingredients. It saves a tremendous amount of arm work and ensures your dough is perfectly emulsified and aerated, leading to that classic tender shortbread texture. If you’re looking to upgrade your baking game, adding a KitchenAid mixer to your wish list is highly recommended; it’s truly one of the most used small appliances in my home.
Beyond these tools, remember that perfectly softened butter is crucial for shortbread. It should be pliable enough to cream smoothly with sugar but not melted. Avoid overworking the dough once the flour is added, as this can develop the gluten too much, leading to tough rather than tender cookies. Gently mix until just combined.
Gather Your Ingredients for Mint Christmas Cookies
To create these delightful minty shortbread cookies, you’ll need a selection of basic pantry staples, along with that essential mint flavoring and vibrant green food coloring. Here’s a detailed look at what you’ll need:
- BUTTER: You will need 1 cup of unsalted butter, softened to room temperature. In the US, this typically equates to two sticks of butter. Softened butter is key for proper creaming with sugar, leading to a light and airy dough.
- SUGAR: For sweetness and structure, we use 1/2 cup of granulated sugar.
- MINT FLAVOR: The star of the show! I highly recommend using 2 teaspoons of good quality mint extract. Mint extract provides a purer, more straightforward mint flavor compared to peppermint extract, which can sometimes be too strong or have a slightly different undertone.
- DRY INGREDIENTS: You’ll combine 2 cups of all-purpose flour, 1 teaspoon of baking powder (to give a slight lift without altering the shortbread texture too much), and 1/4 teaspoon of salt (to balance the sweetness and enhance the flavors).
- GREEN COLOR: To achieve that iconic festive green hue, I typically add 10-15 drops of green food coloring to the cookie dough. It’s always best to start with fewer drops (around 5-6), mix the dough thoroughly, and then assess the color. You can always add more until you reach your desired shade. Remember that natural food colorings tend to be less vibrant, so if you opt for those, you may need to use a larger quantity.
- CHOCOLATE: For dipping, I find that 2 cups of melting chocolate wafers work best. These are specifically designed for easy melting and a smooth, glossy finish, perfect for coating cookies.
- SPRINKLES: No Christmas cookie is complete without a touch of sparkle! Use some of your favorite festive Christmas sprinkles to top these gorgeous cookies. The variety of shapes and colors available makes them wonderfully customizable.
Step-by-Step: How to Make Green Christmas Cookies
Follow these detailed steps to create your irresistibly delicious and visually stunning Green Christmas Cookies:
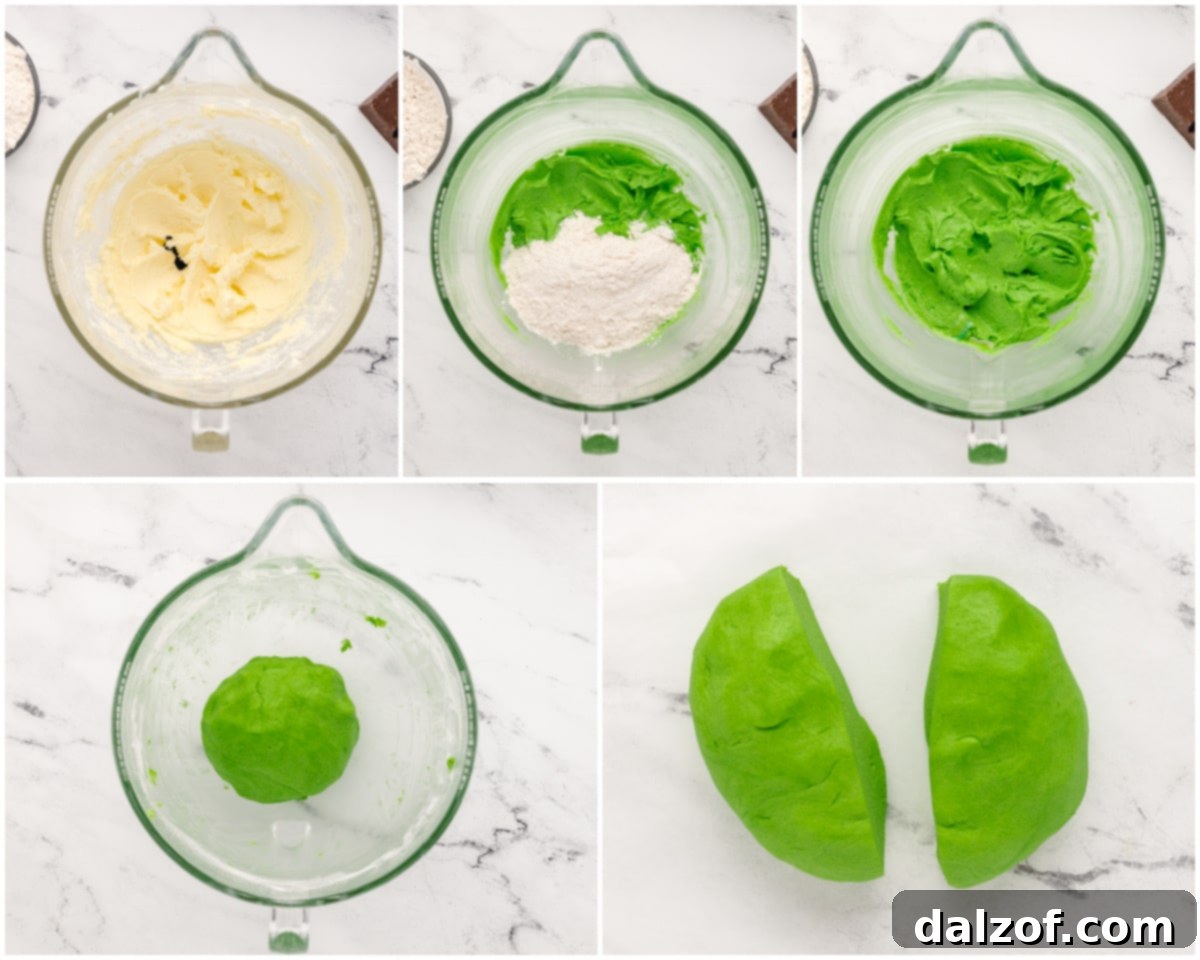
- **Cream Wet Ingredients:** In a large mixing bowl, using an electric mixer (handheld or stand mixer), cream together the softened butter and granulated sugar. Beat on medium speed until the mixture becomes light, fluffy, and noticeably pale in color. This step incorporates air, contributing to the tender texture of the shortbread. Next, add the mint extract and, gradually, the green food coloring. Start with 5-6 drops, mix well, and add more if you desire a deeper green hue.
- **Combine Dry Ingredients:** In a separate bowl, whisk together the flour, baking powder, and salt.
- **Form Dough:** Gradually add the dry ingredient mixture to the wet ingredients, mixing on low speed until a cohesive dough forms. Be careful not to overmix; stop as soon as the flour is just incorporated.
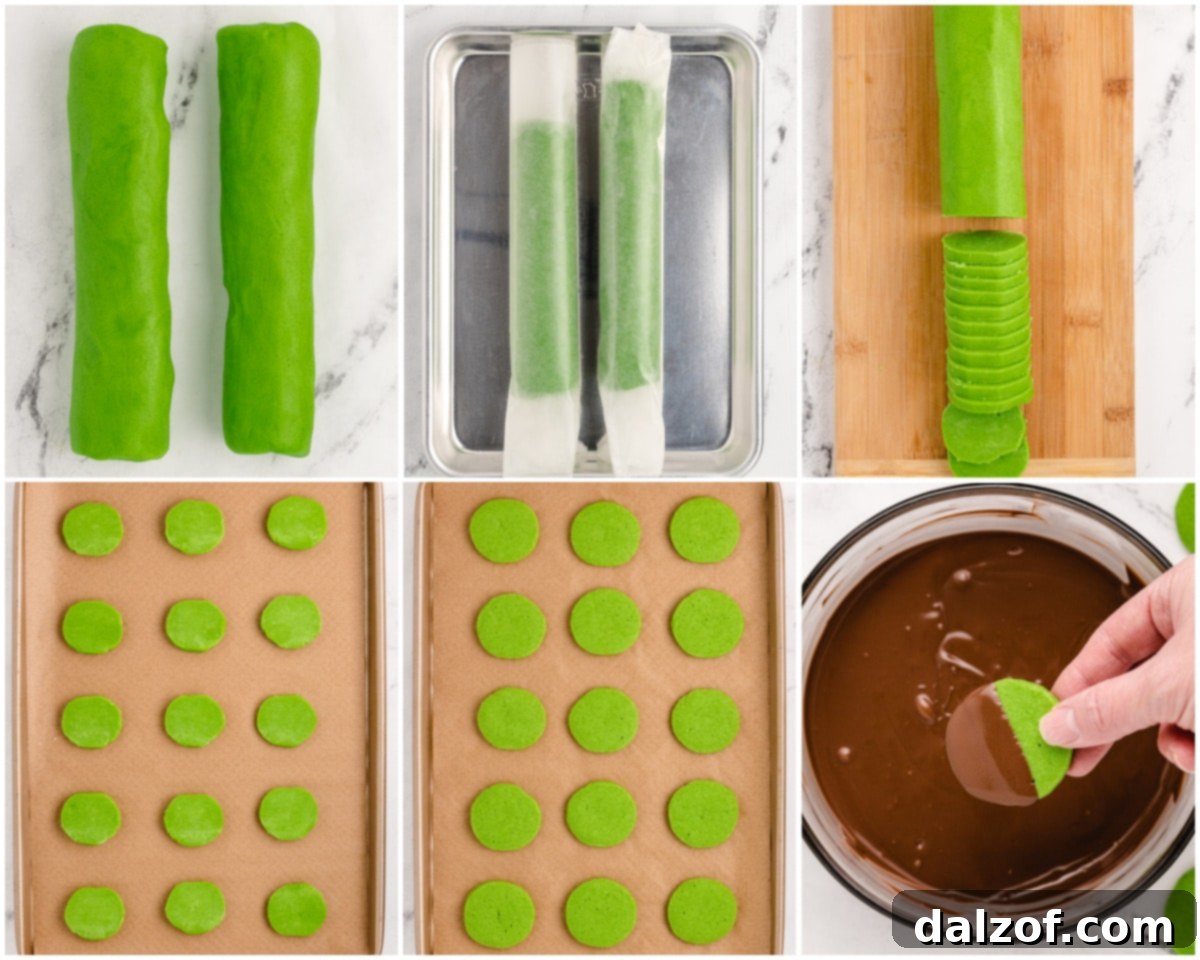
- **Shape and Chill Dough Logs:** Divide the dough in half. On a sheet of wax paper or parchment paper, use your hands to gently form each half into an 8-inch log. Aim for a relatively round shape, though an oval shape works perfectly fine too! Wrap the dough logs tightly in the wax paper and chill them in the refrigerator for at least 2 hours. For best results and easier slicing, chilling overnight is ideal. If you’re short on time, you can place them in the freezer for about 30 minutes. This chilling process solidifies the butter, preventing the cookies from spreading too much during baking and ensuring crisp, clean edges.
Once your dough is properly chilled, you’re ready to bake these festive shortbread cookies.
- **Prepare for Baking:** Preheat your oven to **300°F (150°C)**. Line your baking sheets with parchment paper for easy release and even baking.
- **Slice Cookies:** Remove the chilled dough logs from the refrigerator. Using a sharp knife, carefully cut the logs into uniform ¼-inch-thick slices. Uniformity is key here for even baking.
- **Arrange and Bake:** Arrange the cookie slices on the prepared baking sheets, ensuring they are spaced about 2 inches apart to allow for slight spreading. Bake on the top rack of the oven for 22-26 minutes, or until the edges are just barely beginning to turn golden.
- **Cool Cookies:** Once baked, transfer the cookies to wire racks to cool completely. They will firm up as they cool.
- **Melt Chocolate:** While the cookies cool, prepare your chocolate dip. Place the melting chocolate wafers in a microwave-safe bowl. Heat in the microwave for 1 minute, then stir gently. Continue heating in 15-second increments, stirring after each, until the chocolate is completely smooth and melted. Be careful not to overheat.
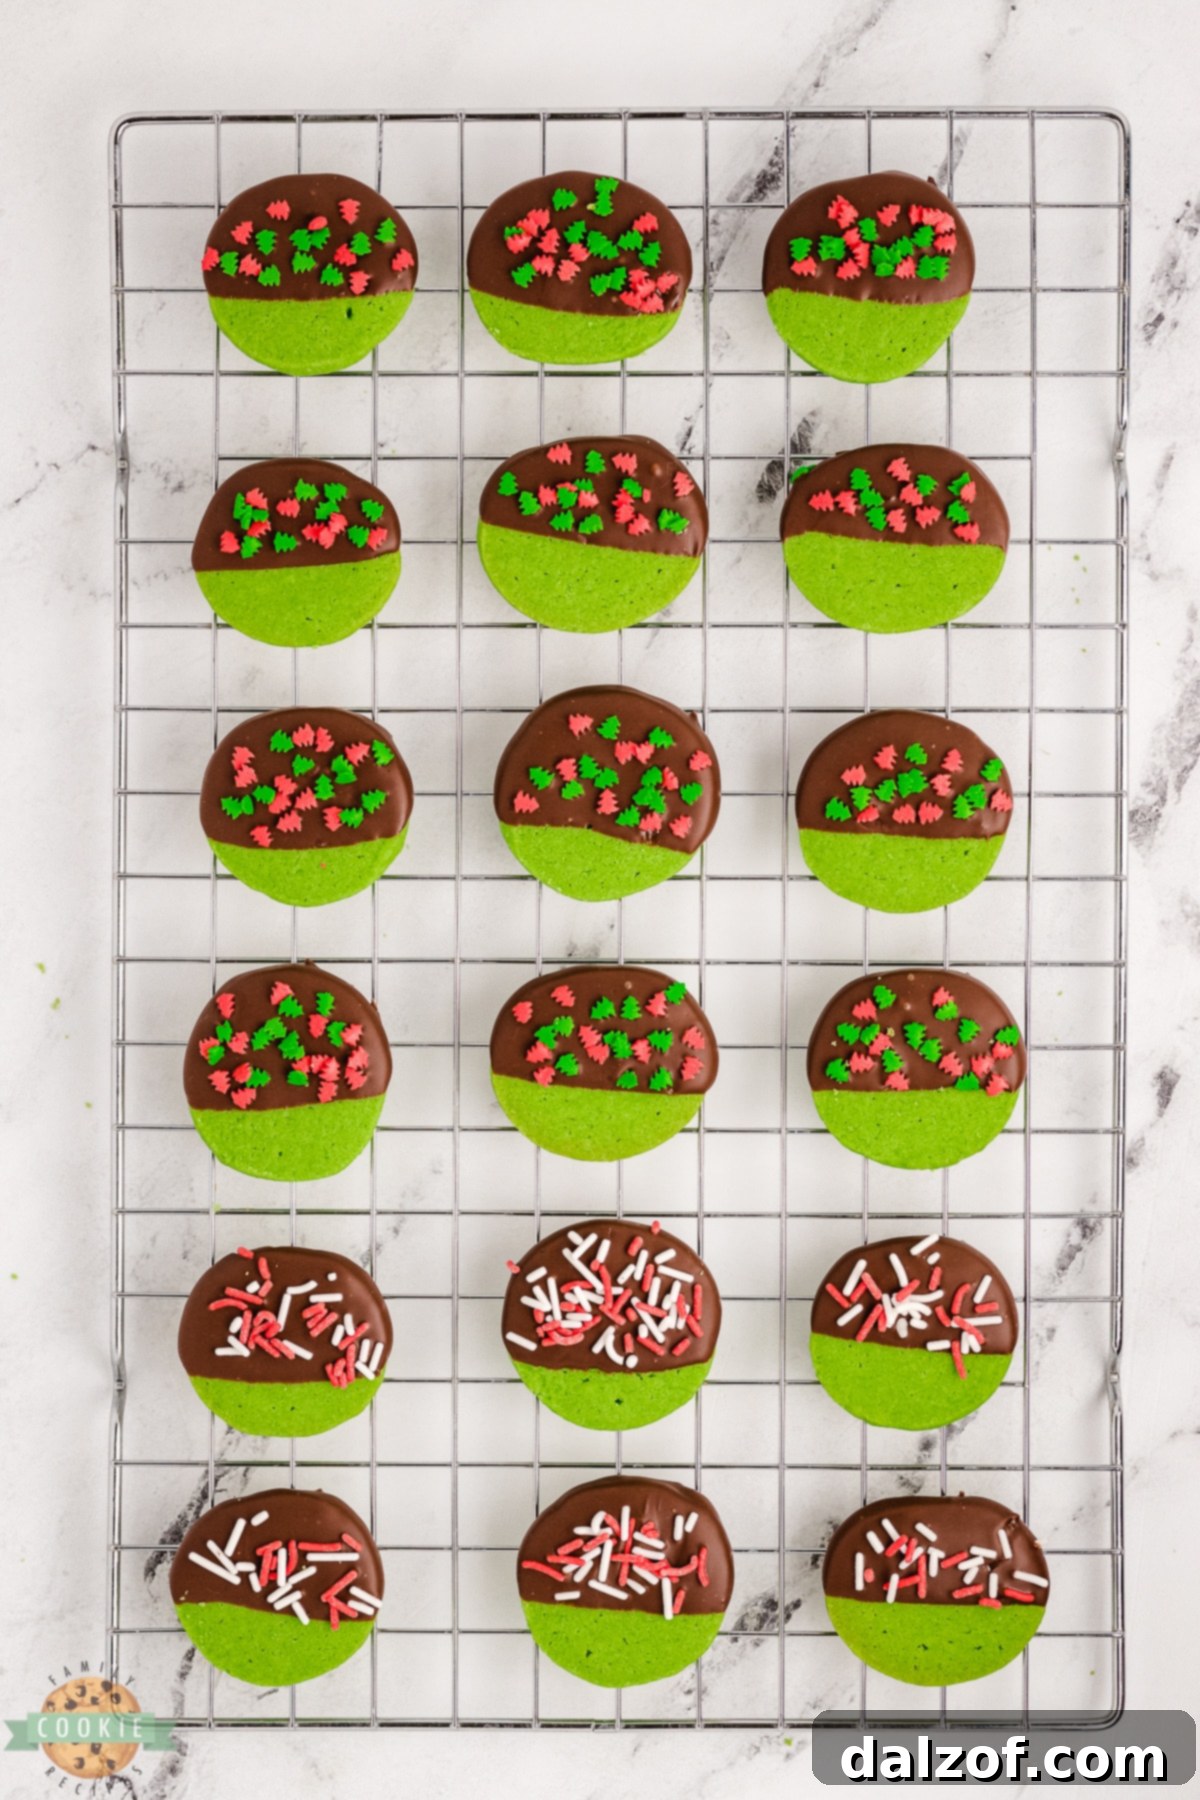
Finally, the best part – dipping and decorating your beautiful shortbread cookies!
- **Dip and Decorate:** Once the cookies are entirely cool, dip about three-quarters of each cookie into the melted chocolate. Allow any excess chocolate to drip off. Immediately place the dipped cookies on wax paper and generously sprinkle them with your favorite festive holiday sprinkles.
- **Set:** Let the cookies rest on the wax paper until the chocolate has completely cooled and set. This will take some time, so be patient! Do not attempt to move them before they are fully set, or the chocolate coating might crack or smudge.
*Chef’s Tip: If you don’t have melting chocolate wafers, you can substitute with chocolate chips. For every 2 cups of chocolate chips, mix in 1 teaspoon of coconut oil or shortening. This helps the chocolate melt smoothly and gives it a nice sheen, making it easier to dip the cookies.
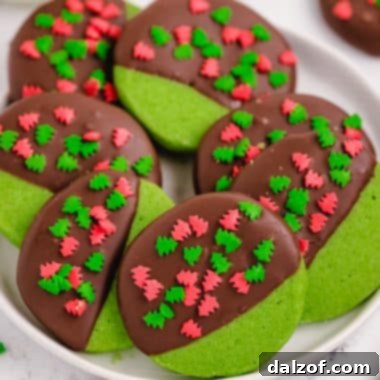
Mint Christmas Cookies
Print
Pin
Rate
Ingredients
- 1 cup unsalted butter softened (2 sticks)
- ½ cup granulated sugar
- 2 tsp mint extract
- 2 cups all-purpose flour
- 1 tsp baking powder
- ¼ tsp salt
- 5-10 drops green food coloring (adjust to desired shade)
- 2 cups melting chocolate wafers* (or chocolate chips + 1 tsp coconut oil/shortening)
- festive holiday sprinkles
Instructions
-
Using an electric mixer, cream the softened butter with the granulated sugar in a large bowl until the mixture is light, fluffy, and pale. Stir in the mint extract and green food coloring. Start with 5-6 drops of color and add more gradually until you achieve your desired vibrant green hue.
-
In a separate bowl, whisk together the flour, baking powder, and salt. Gradually add these dry ingredients to the butter mixture, mixing on low speed until a soft dough forms. Be careful not to overmix.
-
Divide the dough in half. On a piece of wax paper, form each half into an 8-inch log. Aim for a round shape, but an oval works perfectly too! Wrap the logs tightly in the wax paper and chill them in the refrigerator for at least 2 hours, or ideally, overnight. If you’re pressed for time, chilling in the freezer for 30 minutes can also work effectively.
-
Preheat your oven to 300°F (150°C). Line baking sheets with parchment paper.
-
Remove the chilled dough logs and use a sharp knife to cut them into ¼-inch-thick slices. Arrange the slices on the prepared baking sheets, leaving about 2 inches of space between each cookie.
-
Bake the cookies on the top rack of the oven for 22-26 minutes, or until the bottom edges are just barely starting to turn light brown.
-
Once baked, carefully transfer the cookies to wire racks to cool completely. While they cool, melt your chocolate: heat the melting chocolate wafers in a microwave-safe bowl for 1 minute. Stir gently, then continue heating in 15-second increments, stirring after each, until the chocolate is smooth and fully melted.
-
Dip approximately three-quarters of each cooled cookie into the melted chocolate. Allow any excess chocolate to drip off, then place the dipped cookies on wax paper. Immediately scatter your festive holiday sprinkles over the chocolate while it’s still wet. Let the cookies sit undisturbed on the wax paper until the chocolate is completely cool and set.
Notes
Nutrition
Why are My Shortbread Cookies Baking Unevenly?
If you find that your Mint Christmas Cookies are darker on the bottom than you’d prefer, or perhaps cooking inconsistently, the issue often lies with your choice of cookie sheet. I’ve learned through countless batches that certain types of baking sheets can significantly impact the final result. I strongly advise against using thin or dark-colored cookie sheets. Both of these types tend to absorb and retain heat more intensely, which can lead to the bottoms of your cookies burning or becoming excessively crisp while the tops remain undercooked.
Another common culprit for uneven baking is the overuse of cooking spray. While it seems helpful for non-stick purposes, excessive spray can create a hot, oily surface that causes the cookie bottoms to brown too quickly. To achieve perfectly golden and evenly baked shortbread, I always opt for lighter-colored, heavy-gauge cookie sheets. My absolute favorites are Nordicware cookie sheets; I personally own three half sheets and two quarter sheets, and they consistently deliver excellent results. Pairing these with parchment paper or silicone baking mats creates an ideal baking environment for any cookie, ensuring even heat distribution and effortless release without any sticky residue.
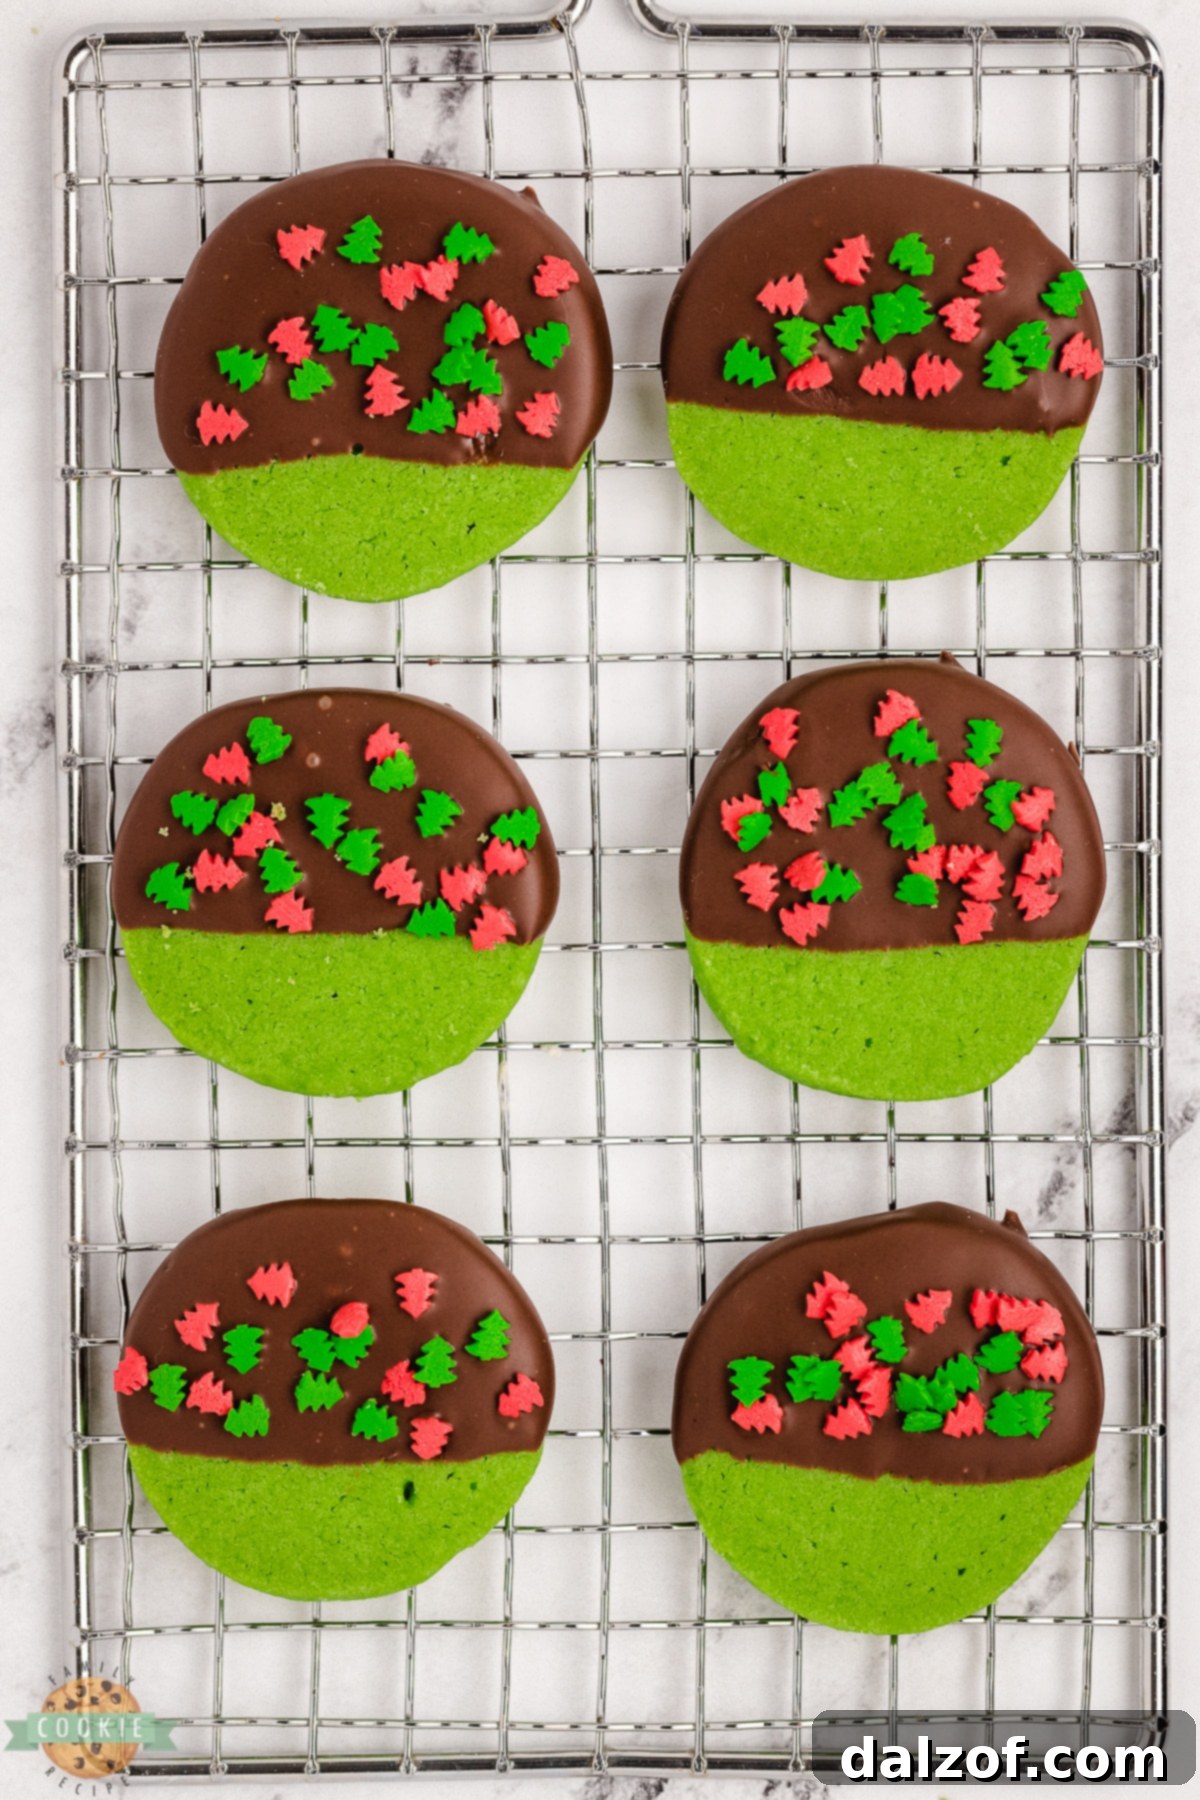
How to Tell When Your Shortbread Cookies Are Perfectly Done
Knowing exactly when your shortbread cookies are baked to perfection is a skill that comes with practice and observation, as every oven behaves slightly differently. For these Mint Christmas Shortbread Cookies, the key is to look for subtle cues rather than deep golden-brown coloring. You’ll want to bake the cookies until the bottom edges are just barely beginning to turn a very light golden-brown. This is your signal to remove the baking sheet from the oven.
Once out of the oven, resist the urge to immediately transfer them. Instead, let the cookies continue to sit on the hot baking sheet for an additional 2-5 minutes. This carryover cooking helps them firm up gently without overbaking. After this brief period, you can confidently transfer them to wire racks to cool completely. As the cookies cool down, they will continue to firm up in the middle, achieving that ideal shortbread texture – slightly crispy on the outside, yet wonderfully soft and chewy on the inside. Always use the baking time suggested in the recipe as a guide, but remember to pay close attention to your specific oven. You might find that your oven bakes a minute or two faster or slower than the recipe suggests, so adjust accordingly for truly perfect, melt-in-your-mouth Mint Christmas Cookies every time.
Storage and Gifting Ideas for Your Minty Delights
Once your Mint Christmas Cookies are baked, dipped, and set, they’re not just delicious treats but also beautiful gifts. To keep them fresh and flavorful, store them in an airtight container at room temperature for up to a week. If you need to store them for longer, they freeze exceptionally well. Place them in a single layer on a baking sheet to freeze solid, then transfer them to a freezer-safe bag or container for up to 2-3 months. Thaw at room temperature before serving.
For gifting, arrange these green Christmas cookies in festive tins or cellophane bags tied with holiday ribbons. Their vibrant color and enticing aroma make them a standout addition to any holiday platter or gift basket. Pair them with a homemade hot chocolate mix or a cozy mug for a complete and thoughtful present. They also make an excellent contribution to office potlucks or school bake sales, always disappearing quickly!
Mint vs. Peppermint: Choosing Your Flavor
While often used interchangeably, mint and peppermint extracts offer slightly different flavor profiles. Mint extract is generally a blend of various mint species, providing a cooler, milder, and often sweeter minty taste. Peppermint extract, on the other hand, comes specifically from the peppermint plant and delivers a more intense, sharp, and sometimes spicier flavor, often associated with candy canes. For these Mint Christmas Cookies, I specifically recommend mint extract as it provides a balanced, refreshing flavor that complements the buttery shortbread and chocolate without overpowering them. However, if you prefer a bolder, more intense minty kick, peppermint extract can certainly be used, perhaps starting with a slightly smaller amount and adjusting to taste.
This picture I took of my kids at the pumpkin patch just makes me laugh. It was a wee bit sunny, can you tell?! I’m just thrilled it wasn’t raining… or even snowing, ha! No joke, we came home with 90 pounds of pumpkins. 90 POUNDS! It started as “everyone pick one” then I found 3 cute mini pumpkins I loved for the front porch and it went downhill from there. It was a fun family outing. Now, how to carve 90 pounds of pumpkins and keep my sanity… hmmm…



Discover More of Our Festive Favorites: Christmas Cookie Recipes
The holiday season is synonymous with a variety of delicious cookies, and we have an extensive collection to inspire your festive baking. If you loved these Mint Christmas Cookies, you’re sure to find new favorites among our other cherished recipes. Dive into our array of sweet treats perfect for gifting, sharing, and indulging:
- RED VELVET CHRISTMAS COOKIES
- CHRISTMAS SUGAR COOKIES
- PEPPERMINT SNOWMAN COOKIES
- CHRISTMAS GINGERBREAD COOKIE BITES
- CHRISTMAS JELLO SUGAR COOKIES
- CHRISTMAS LIGHTS CUT OUT COOKIES
- CHRISTMAS SUGAR COOKIE BARS
- STACKED CHRISTMAS TREE COOKIES
- CHRISTMAS CUT OUT COOKIES
- SPICED CHRISTMAS SHORTBREAD COOKIES
Each recipe is crafted to bring joy and deliciousness to your holiday celebrations. Happy baking!