
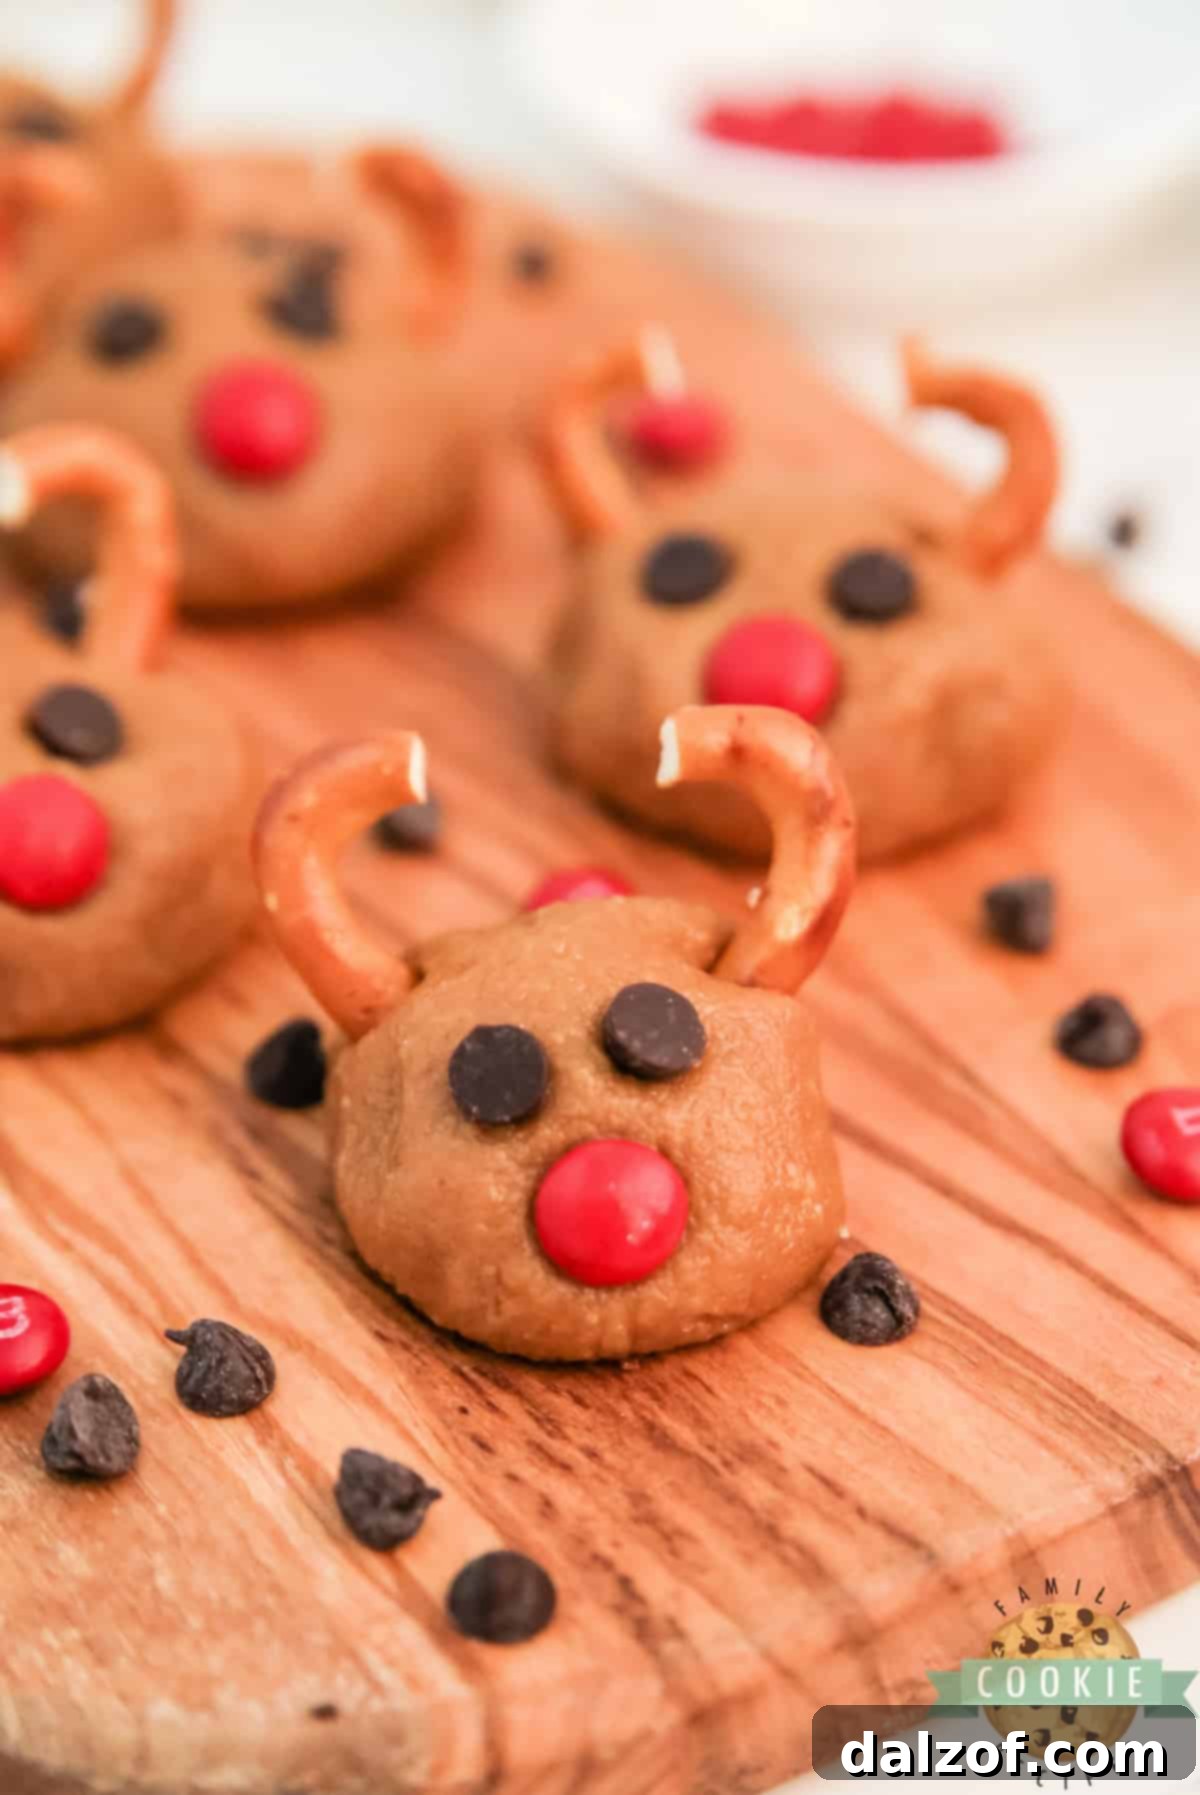
Rudolph Cookie Butter Balls are the ultimate festive treat, perfect for adding a touch of magic to your holiday spread. These delightful no-bake cookies combine the irresistible flavor of cookie butter with the satisfying crunch of crushed Nilla wafers, all beautifully decorated to resemble everyone’s favorite red-nosed reindeer. Ready in under 10 minutes of active prep time, they are an ideal choice for busy holiday schedules and a fantastic activity for kids to join in on the fun!
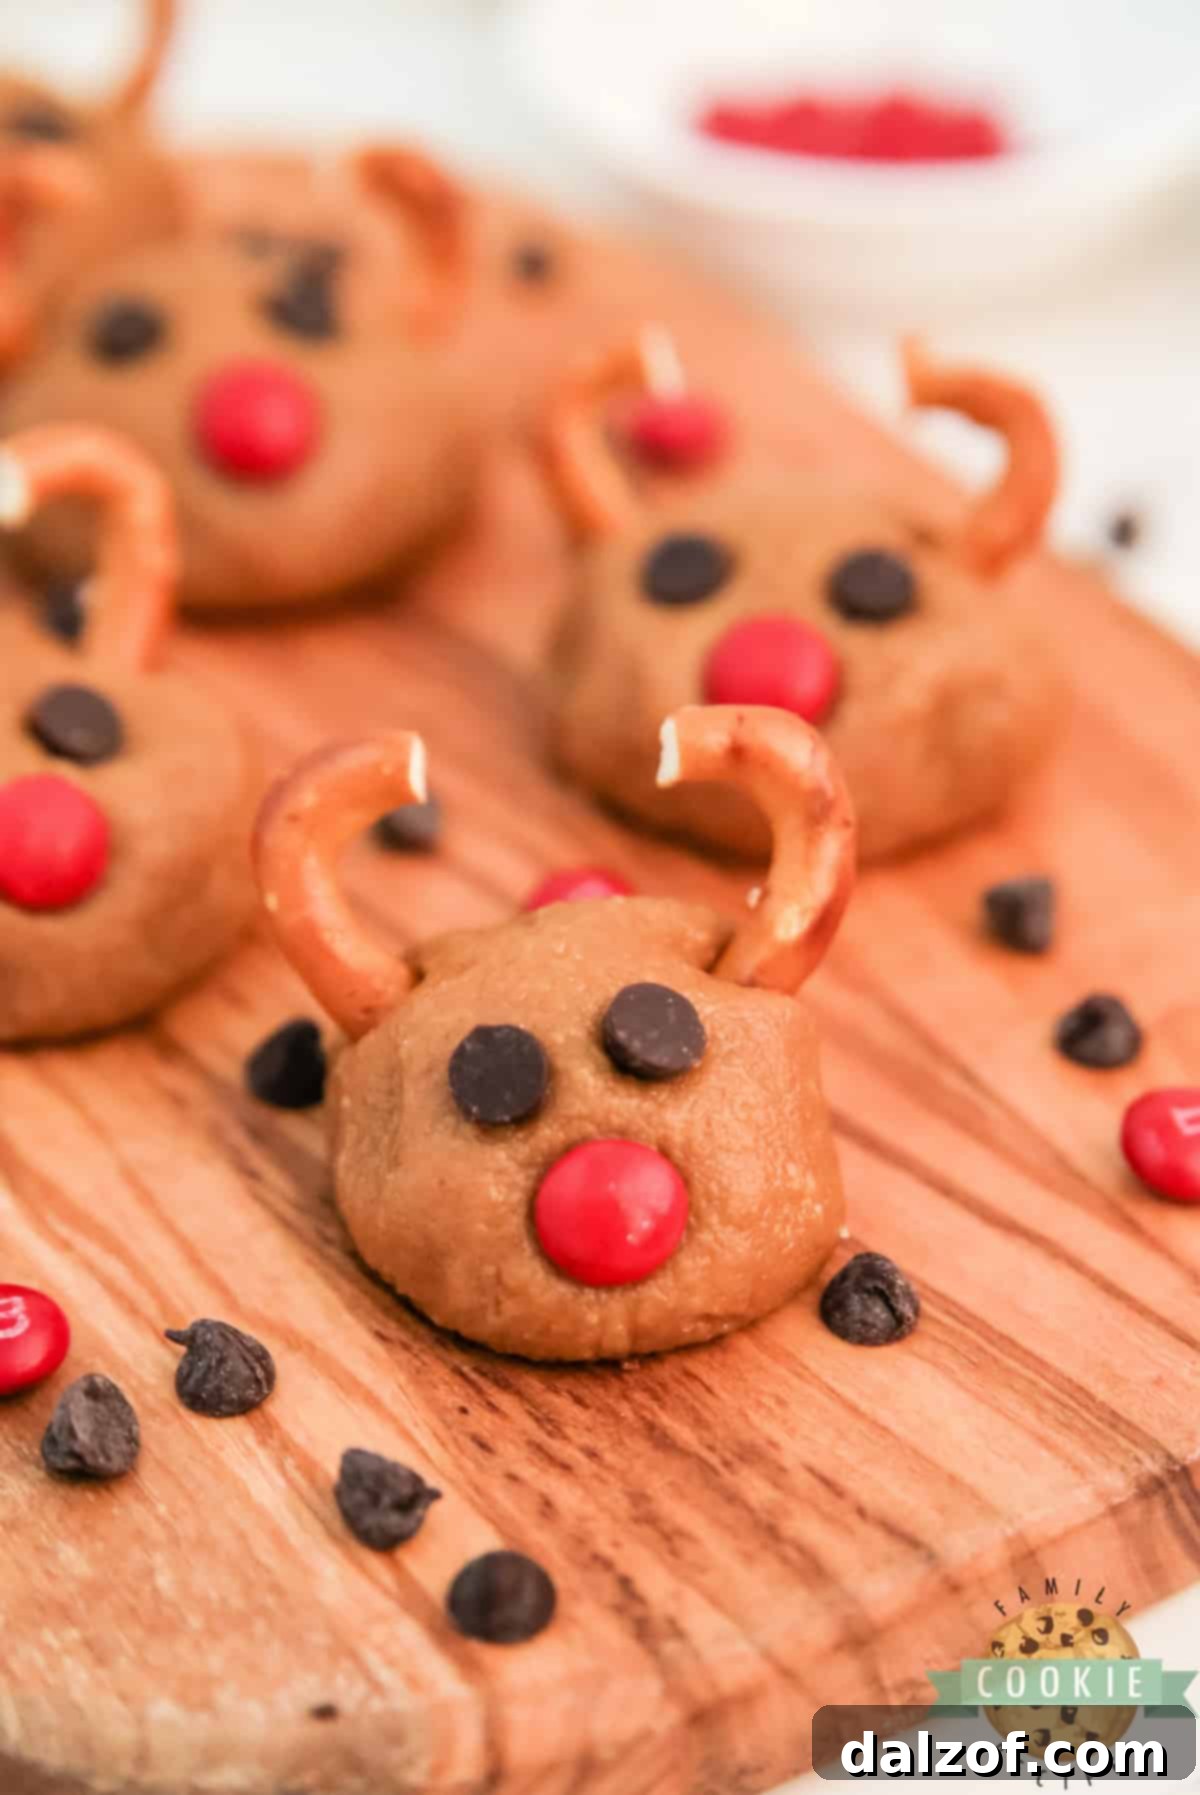
Embrace the Holiday Spirit with Easy Rudolph Cookie Butter Balls
There’s something uniquely charming about holiday treats that require no baking. Over the years, our kitchen has seen countless no-bake creations, many relying on oats, nuts, or cereal as their base. But these Rudolph Cookie Butter Balls introduce a delightful twist: their primary ingredient is finely crushed vanilla wafers. This simple swap creates an incredibly smooth, melt-in-your-mouth texture that sets them apart from typical no-bake recipes. Get ready to impress with these adorable and delicious bites!

Why You’ll Love This No-Bake Rudolph Recipe
These charming cookie butter balls are destined to become a staple on your holiday goodie plates. Their appeal extends far beyond their festive appearance:
- Effortlessly Easy: With minimal ingredients and no oven required, this recipe is incredibly straightforward. It’s the perfect project for young aspiring bakers or for anyone looking for a stress-free dessert.
- Quick Prep Time: From start to finish, you’re looking at under 10 minutes of active preparation. The longest part is simply waiting for them to chill – a perfect excuse to put your feet up!
- Kid-Friendly Fun: Children will delight in crushing the wafers, mixing the dough, and especially in decorating each Rudolph with its signature red nose and pretzel antlers. It’s a memory-making activity disguised as a recipe!
- Irresistibly Delicious: The rich, spiced flavor of cookie butter perfectly complements the sweet vanilla wafers, creating a harmonious taste that will have everyone reaching for more.
- Festive & Adorable: Who can resist a treat that looks like Rudolph? These little reindeer cookies add a whimsical and cheerful touch to any holiday gathering, gift basket, or cookie exchange.
What Exactly is Cookie Butter?
If you’re new to the world of cookie butter, prepare to have your taste buds amazed! Cookie butter is a luscious, sweet spread crafted primarily from finely ground cookies. The most common variety is made from speculoos cookies, which are traditional spiced Dutch shortbread biscuits. This unique confection boasts a rich, deeply caramelized flavor with subtle hints of cinnamon, nutmeg, and cloves, all wrapped in an incredibly smooth, almost velvety texture. Its irresistible taste makes it a versatile ingredient, perfect for spreading on toast, swirling into oatmeal, drizzling over pancakes, or, as we’re doing here, transforming into delightful no-bake desserts.
Key Ingredients for Your Rudolph Cookie Butter Balls
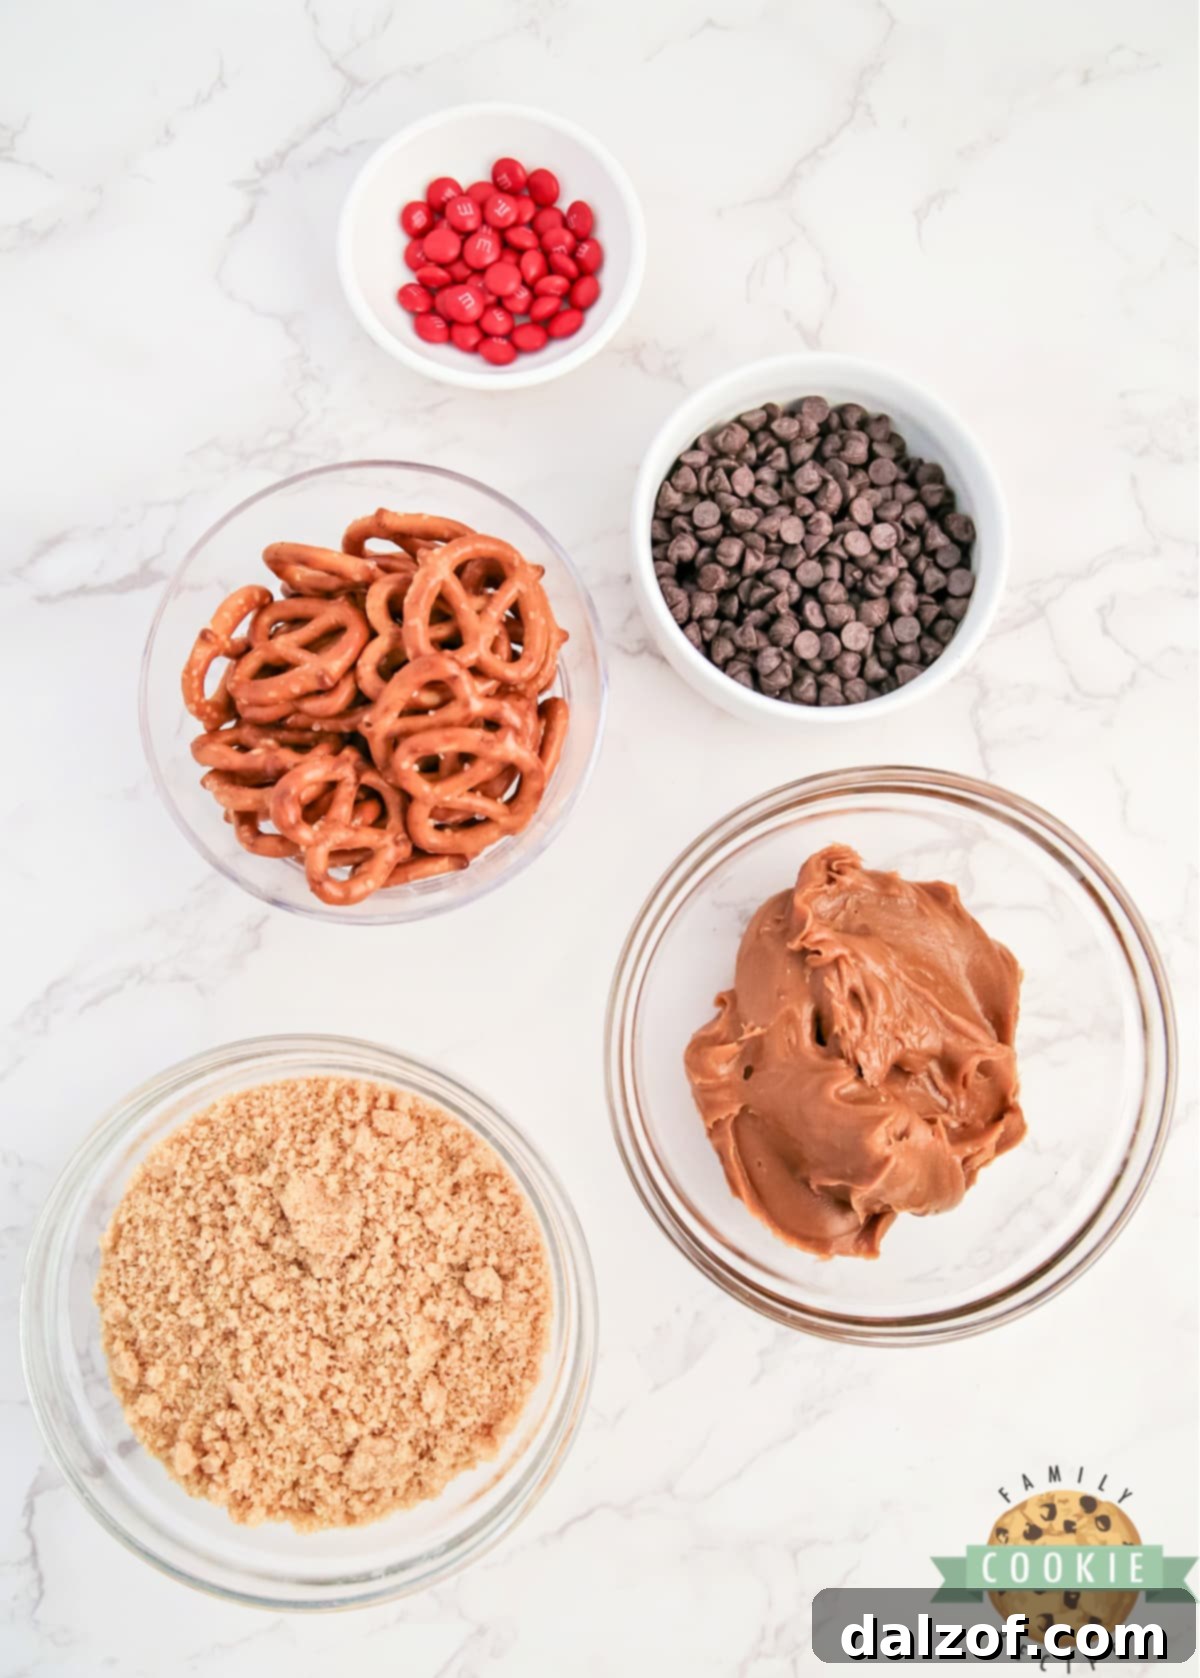
Crafting these festive treats requires just a handful of simple ingredients. Here’s a closer look at what you’ll need and some helpful tips:
- Cookie Butter: This is the star of our show! If you’ve never experienced the magic of cookie butter, now is the perfect time to try it. Its distinctive spiced, caramel-like flavor is truly what makes these balls special. While brands like Biscoff are popular, many grocery stores offer their own delicious versions.
- Nilla Wafers: These classic vanilla wafers provide the perfect sweet, buttery base for our cookie balls. You’ll need about 30 Nilla wafers to yield approximately 1 ½ cups of finely crushed crumbs. The key here is “finely crushed” – the finer the crumbs, the smoother and more cohesive your cookie dough will be. A food processor or blender works wonders for achieving this consistency quickly and efficiently.
- Mini Pretzels: These will form Rudolph’s distinctive antlers. Opt for the mini pretzel twists, as their shape is ideal for breaking into antler-like pieces. They add a lovely salty crunch that beautifully contrasts with the sweet cookie butter.
- Mini Semi-Sweet Chocolate Chips: These tiny chocolate morsels are perfect for Rudolph’s eyes. Their small size makes them easy to place and creates an adorable, lifelike look for your reindeer.
- Red Mini M&M’s: Essential for Rudolph’s famous red nose! Ensure you use the mini M&M’s; regular-sized ones will be too large and overpower the cookie ball. If you’re making other reindeer friends, brown mini M&M’s can be used for their noses.
Ingredient Substitutions and Considerations:
While the recipe is best with cookie butter, you can experiment:
- Nut Butter Alternative: If cookie butter isn’t available or you prefer a different flavor, you can substitute with peanut butter, almond butter, or even a hazelnut spread like Nutella. Keep in mind that cookie butter is generally thicker than most nut butters. You might need to adjust the amount of crushed Nilla wafers, potentially adding more, to achieve a dough stiff enough to hold its shape.
- Other Cookie Crumbs: For a different flavor profile, consider using graham cracker crumbs, digestive biscuit crumbs, or even finely crushed shortbread cookies instead of Nilla wafers.
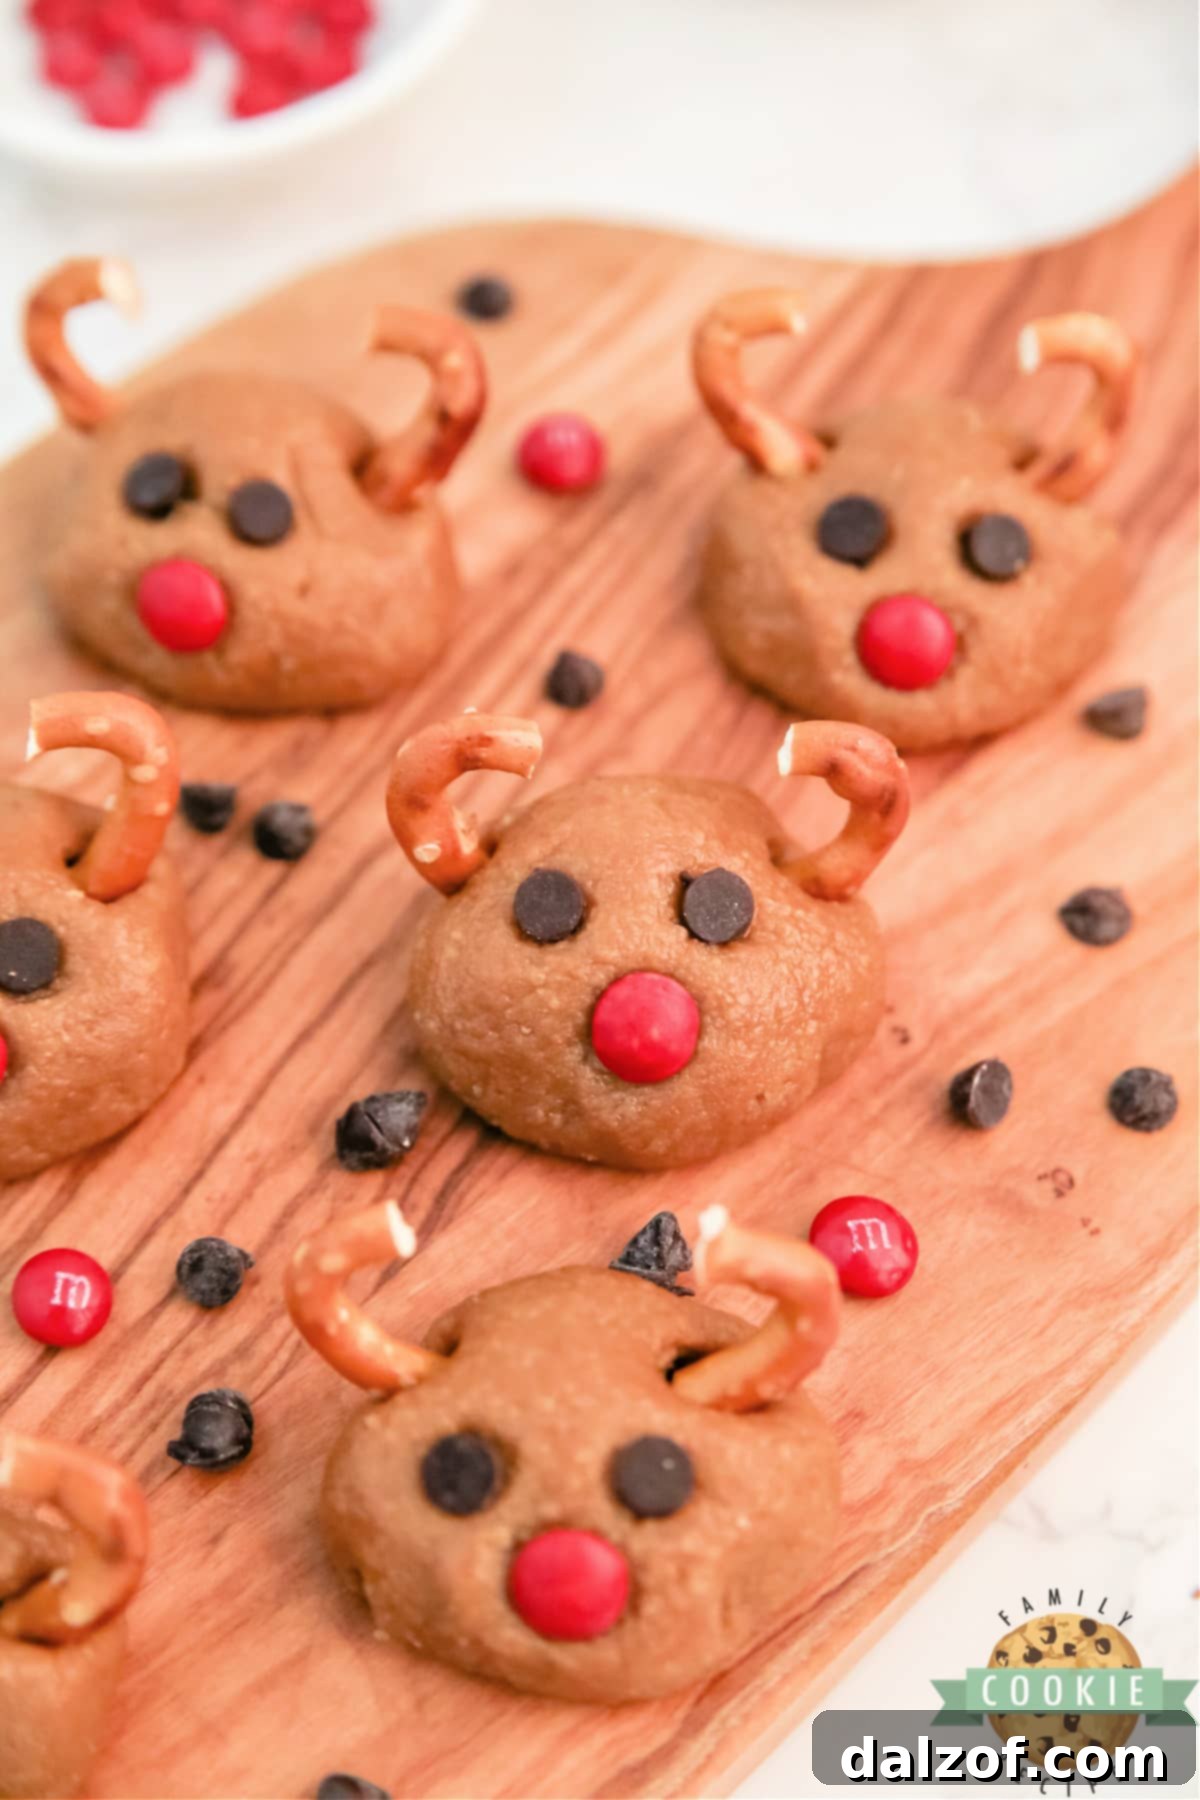
How to Make Rudolph Cookie Butter Balls: A Step-by-Step Guide
Creating these charming no-bake treats is a breeze! Follow these simple steps for perfect Rudolphs every time:
Preparation First:
- Line a large baking sheet with parchment paper. This prevents sticking and makes cleanup a breeze. Set it aside.
Making the Cookie Balls:
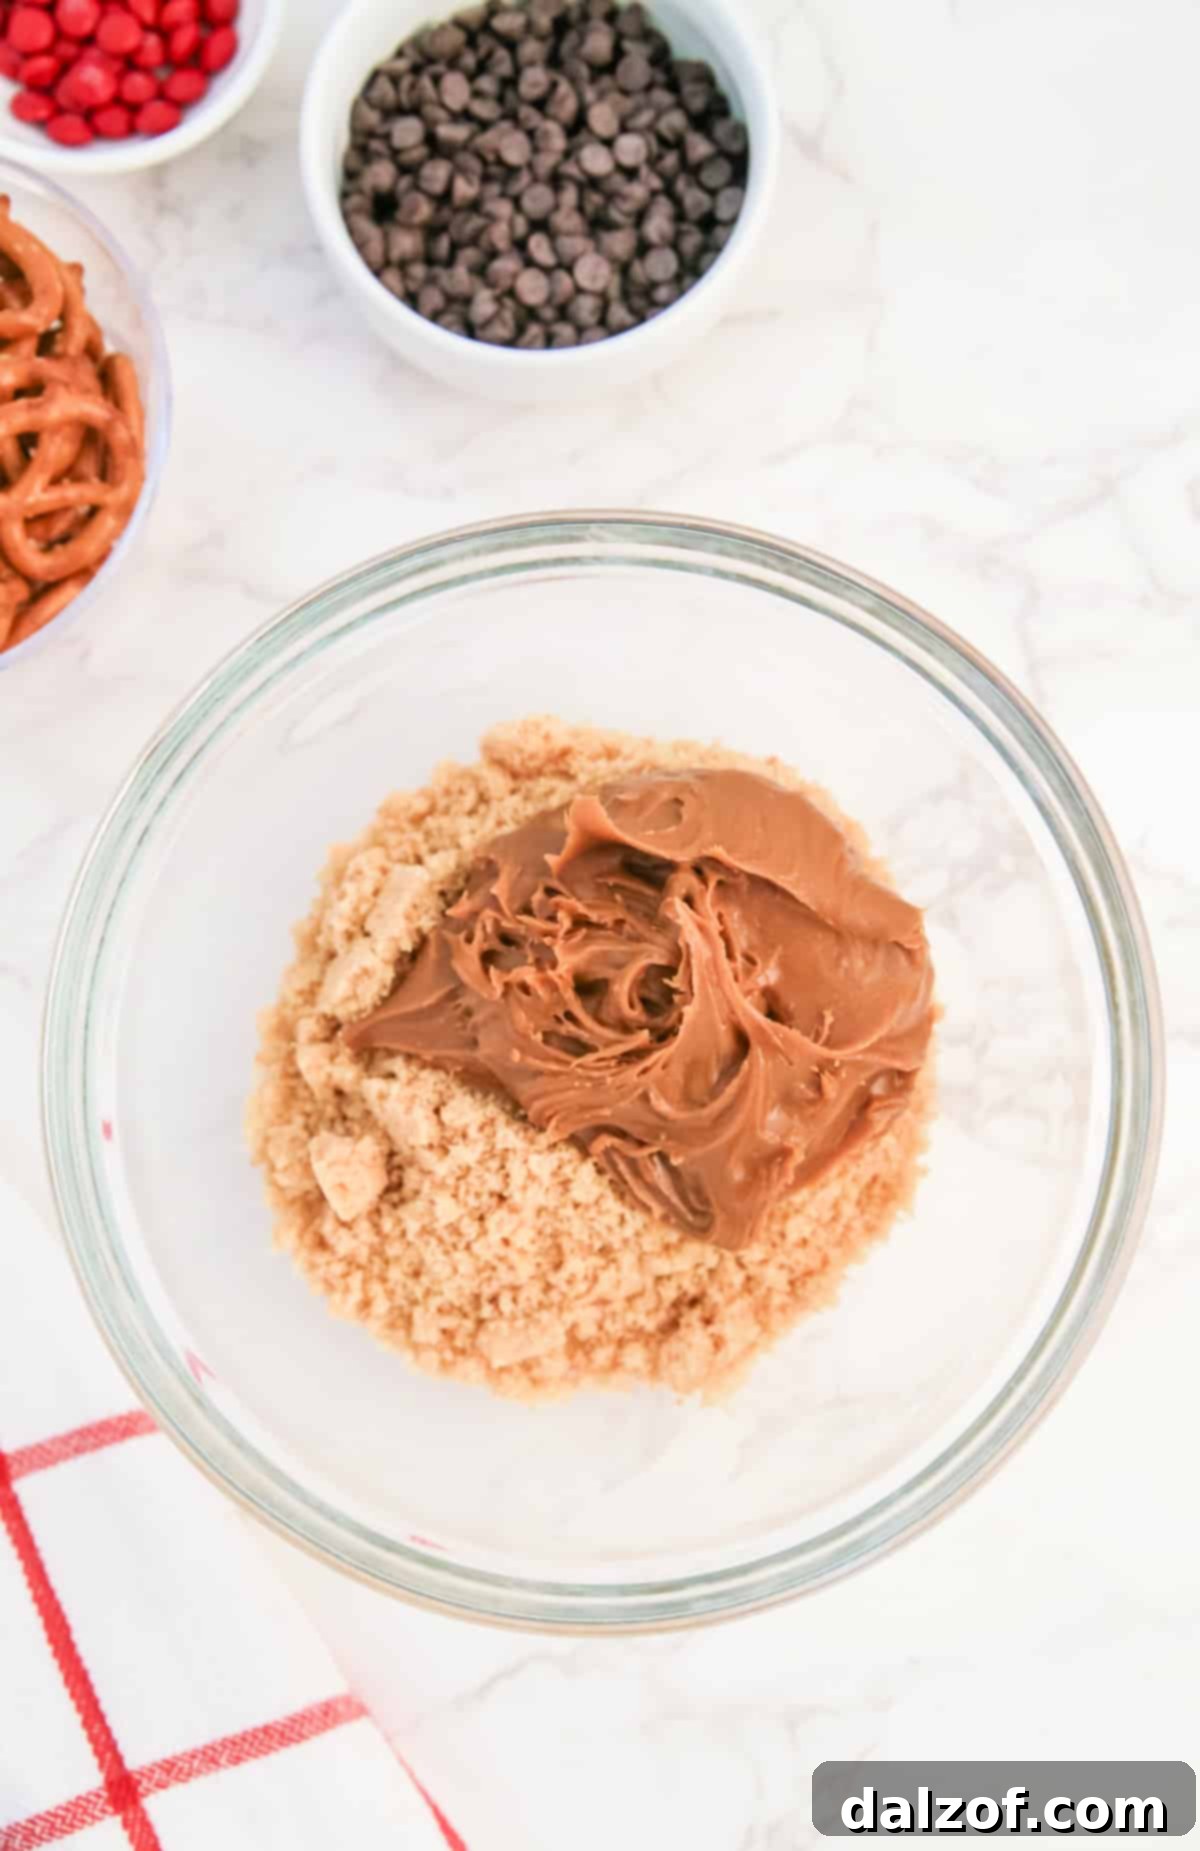
- Combine Ingredients: In a medium-sized mixing bowl, combine the finely crushed Nilla wafers and the cookie butter. Using a sturdy fork, mix these two ingredients together until the mixture resembles a crumb-like consistency and everything is well incorporated. For the best texture, ensure your Nilla wafers are crushed very finely using a food processor or blender; large chunks will make shaping difficult.
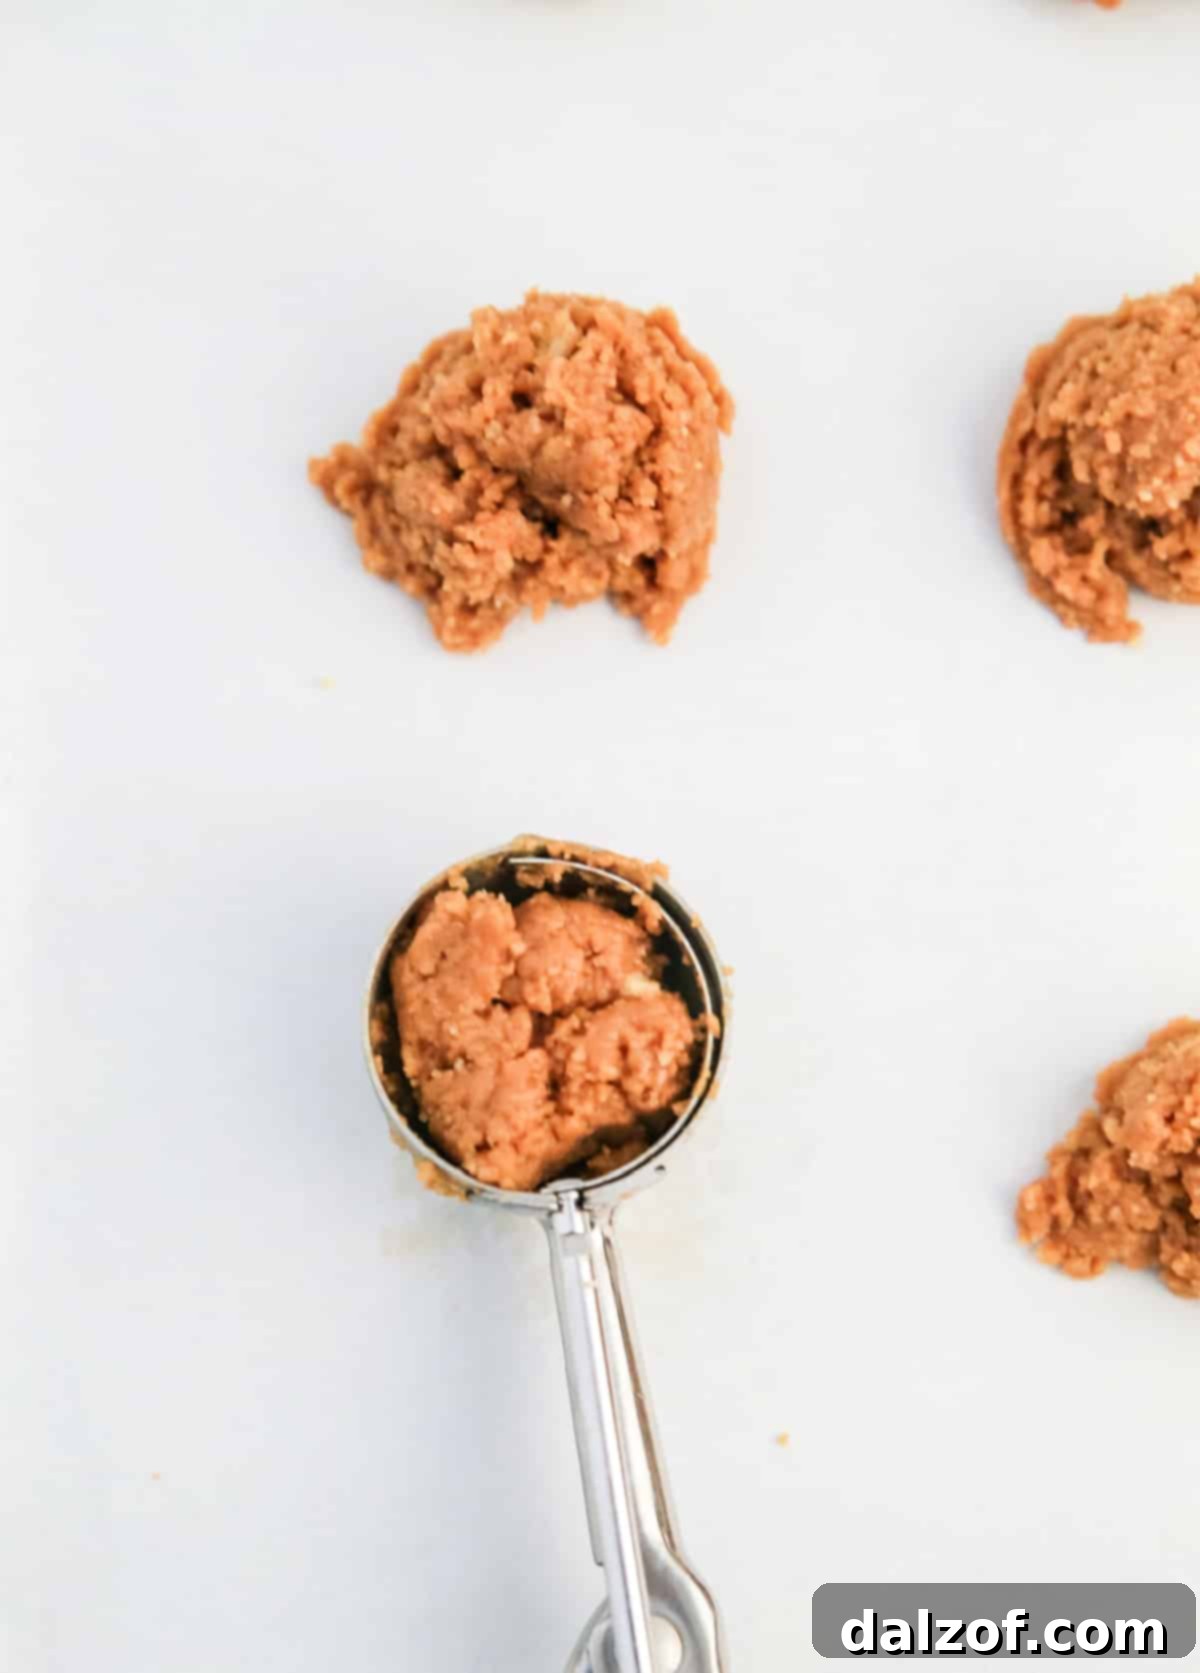
- Form into Scoops: Using a one-tablespoon cookie scoop, portion out the mixture and place each scoop onto your prepared baking sheet. Aim for uniform sizes for consistent results and appearance.
- Chill for Firmness: Transfer the baking sheet with the scooped cookie mixture into the refrigerator. Chill for 20-30 minutes to allow the dough to firm up. This step is crucial for making the balls easy to roll and handle without them becoming too sticky. If you’re in a hurry, you can place them in the freezer for 10-15 minutes instead.
Decorating Your Rudolph Cookie Balls:
- Prepare Antlers: While the cookie dough is chilling, gently break off the outside curved pieces from your mini pretzels to create antler shapes. Set these aside.
- Shape the Balls: Once the dough is firm, remove the baking sheet from the fridge. Gently roll each scoop of mixture between your palms to form smooth, round balls. Return them to the baking sheet after shaping.
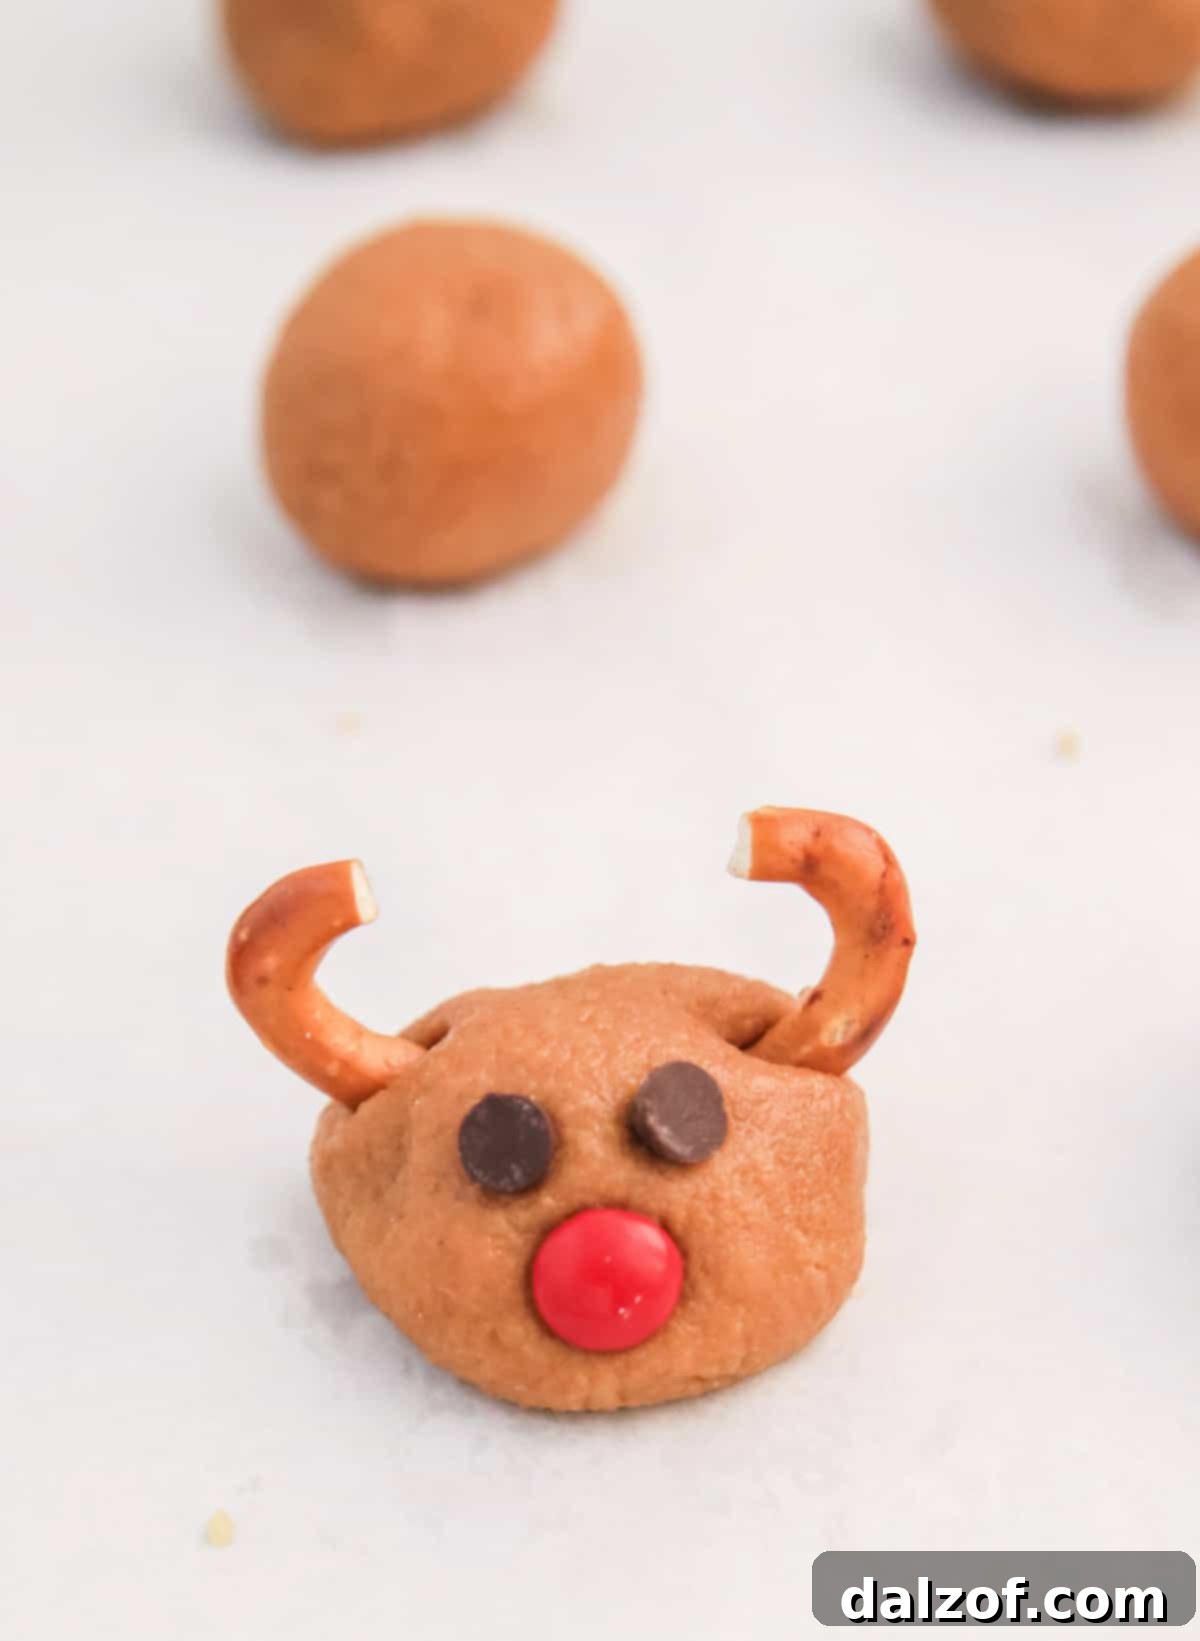
- Add Facial Features: For Rudolph’s eyes, carefully press two mini semi-sweet chocolate chips onto each ball. For the iconic red nose, place a red mini M&M in the center, just below the eyes.
- Attach Antlers: Gently insert two pretzel antler pieces into the top sides of each cookie ball, positioning them to resemble reindeer antlers. You may need to press them in slightly to ensure they are secure.
- Final Chill: After all your Rudolphs are decorated, return the baking sheet to the fridge for at least another 30 minutes, or until you’re ready to serve them. This final chill helps all the decorations set and ensures the cookie balls maintain their shape.
Tips for Perfect Rudolph Cookie Butter Balls
Achieve cookie perfection with these helpful hints:
- **Finely Crushed Wafers are Key:** Don’t underestimate this step! The smoother your Nilla wafer crumbs, the better your cookie dough will bind together and the less crumbly your final balls will be. A food processor is your best friend here.
- **Chill Time is Essential:** While it’s a no-bake recipe, the chilling steps are vital. They firm up the cookie butter mixture, making it easier to handle, roll, and decorate without becoming a sticky mess.
- **Uniform Scooping:** Using a cookie scoop ensures that all your Rudolphs are roughly the same size, which makes for a more appealing presentation.
- **Secure Decorations:** If your chocolate chips or M&M’s aren’t sticking well, you can dab a tiny bit of cookie butter on the back before pressing them on. For pretzels, insert them gently but firmly.
- **Make Ahead Magic:** These cookie butter balls are excellent for making in advance, saving you precious time during the busy holiday season.
Rudolph Cookie Butter Ball Variations to Explore
Get creative and customize your no-bake treats:
- **Flavor Twists:** Instead of Nilla wafers, try graham crackers for a slightly different texture and honey note, or even ginger snaps for an extra festive spice kick (especially if your cookie butter is speculoos-based).
- **Nut Butter Swaps:** As mentioned, peanut butter or almond butter can be used, but be prepared to adjust crumb amounts. You could also try a combination!
- **Different Reindeer:** Use brown mini M&M’s for the noses to create a whole sleigh-full of reindeer friends, not just Rudolph.
- **Chocolate Coating:** For an extra indulgent treat, dip your finished cookie balls in melted white or dark chocolate after they’ve chilled. Let the chocolate set before adding decorations.
- **Festive Sprinkles:** Before the final chill, roll the plain cookie balls in festive red, green, or white sprinkles for an added pop of color and texture.

Rudolph Cookie Butter Balls
Rudolph Cookie Butter Balls are fun no-bake treats made with cookie butter and crushed Nilla wafers, decorated to look like your favorite reindeer! Easy holiday treats made with less than 10 minutes of prep time!
Print
Pin
Rate
Course: Cookie Balls
Cuisine: American
Keyword: Rudolph Cookie Butter Balls
Prep Time: 10 minutes
Chill Time: 1 hour
Servings: 12 servings
Calories: 138 kcal
Author: Jessica & Nellie
Ingredients
- ½ cup cookie butter
- 1 ½ cups Nilla wafers, finely crushed (about 30 Nilla wafers)
- 12 mini pretzels
- 24 mini semi-sweet chocolate chips
- 12 red mini M&M’s
Instructions
- Line a baking sheet with parchment paper and set aside.
MAKE THE COOKIE BALLS
- In a medium-sized mixing bowl, mix the crushed Nilla wafers and cookie butter using a fork until it reaches a crumb-like consistency. (The best way to crush Nilla wafers into very fine crumbs is in a food processor or blender.)
- Fill a one-tablespoon cookie scoop with the mixture and add to the cookie sheet.
- Pop the cookie sheet in the fridge for 20-30 minutes, allowing the dough to firm up. You can speed this up by placing the cookie balls in the freezer for 10-15 minutes.
DECORATE THE COOKIE BALLS
- Break both of the outside pieces of the pretzels off to form antlers and set aside.
- Remove the dough and shape into balls by gently rolling each piece in your hands. Return to the baking sheet.
- Place two mini chocolate chips for the eyes and a red mini M&M for the nose.
- Gently add a piece of pretzel to each side for the antlers. Shape as needed.
- Return to the fridge to chill for at least 30 minutes or until ready to serve.
Nutrition
Tried this recipe?
Mention @familycookierecipes or tag #familycookierecipes!

Storage and Make-Ahead Tips for Your No-Bake Holiday Treats
Proper storage ensures your Rudolph Cookie Butter Balls remain fresh and delicious throughout the holiday season. While they are “no-bake,” a little chilling goes a long way:
- **Refrigeration for Firmness:** Storing these cookie balls in the refrigerator helps them maintain a firmer, more desirable shape. If left at room temperature for extended periods, especially in warmer environments, the cookie butter can soften significantly, making the balls less structurally sound.
- **Airtight Storage:** For optimal freshness, store your Rudolph Cookie Butter Balls in an airtight container in the refrigerator. This will keep them fresh and delicious for up to a week.
- **Pretzel Antler Timing:** A crucial tip for serving: wait to add the pretzel antlers until shortly before you plan to serve the treats. Pretzels can become stale or even absorb moisture and become soft if stored for too long, especially in a humid environment or alongside the cookie balls. Adding them just before presentation ensures they retain their satisfying crunch.
- **Freezing for Longer Storage:** If you want to make a big batch ahead of time, these cookie butter balls freeze beautifully! Place the undecorated balls (before adding pretzels, chocolate chips, and M&Ms) on a parchment-lined baking sheet and freeze until solid. Once frozen, transfer them to an airtight, freezer-safe container or freezer bag. They can be stored in the freezer for up to 1-2 months. When ready to serve, thaw them in the refrigerator, then decorate as usual.
Frequently Asked Questions (FAQs) About Rudolph Cookie Butter Balls
Got questions? We’ve got answers to help you perfect your no-bake Rudolphs!
- Can I use a different type of cookie besides Nilla wafers?
Yes, absolutely! While Nilla wafers offer a classic vanilla flavor and fine crumb, you can experiment with other plain, crisp cookies. Graham crackers, shortbread cookies, or even basic digestive biscuits would work well. Just be sure to crush them very finely for the best texture. - My mixture is too sticky/crumbly, what should I do?
If the mixture is too sticky to roll, try adding a tablespoon or two more of finely crushed Nilla wafers until it reaches a manageable consistency. If it’s too crumbly, add a tiny bit more cookie butter (start with a teaspoon) until it comes together better. Sometimes, chilling the mixture for a bit longer also helps. - Can I use regular-sized M&M’s for the nose?
We highly recommend using mini M&M’s for Rudolph’s nose. Regular-sized M&M’s will be too large in proportion to the cookie ball and might make it difficult to place the eyes and antlers nicely. - How long do Rudolph Cookie Butter Balls last?
When stored in an airtight container in the refrigerator, these cookie balls will stay fresh and delicious for up to 5-7 days. For best results with the pretzels, add them just before serving. - Are these suitable for gifting?
Yes, they make wonderful homemade gifts! Package them in a festive box or bag, and perhaps include a small note advising the recipient to add the pretzels just before enjoying for maximum crunch.
More Easy Holiday Treats You’ll Adore:
Looking for more simple and delicious holiday recipes? Explore these other fan favorites:
- Peppermint Bark Graham Crackers: A quick and festive treat with a refreshing minty twist.
- Chocolate Dipped Oreos: Classic Oreos elevated with a luxurious chocolate coating – endlessly customizable!
- Chocolate Ritz Cracker Cookies: The perfect sweet and salty combination in a simple cookie.
- Christmas Cool Whip Candy: A light and fluffy confection for a unique holiday dessert.
- No-Bake Gingerbread Cookies: All the flavor of gingerbread without turning on the oven.
- Christmas Brownie M&M Cookies: Chewy brownie cookies studded with colorful holiday M&M’s.
- Sugar Cookie Fudge: A rich, sweet fudge that tastes just like a frosted sugar cookie.
- Snowman Sugar Cookies: Adorable and delicious sugar cookies shaped like snowmen.
- Peppermint Snowman Cookies: A cool peppermint twist on a classic holiday shape.
- Peppermint Cookie Bars: Easy-to-make bars packed with refreshing peppermint flavor.
- Mini Brownie Peppermint Parfaits: Layers of rich brownie and cool peppermint cream – perfect for individual servings.
- Christmas Chocolate Caramel Cups: Decadent bites combining chocolate and gooey caramel.
- White Chocolate Chex Mix: A sweet and crunchy snack mix, perfect for holiday parties.
- Marshmallow Peanut Butter Chocolate Bark: An incredibly simple yet satisfying bark with a delightful texture.

These Rudolph Cookie Butter Balls offer an unparalleled combination of ease, festive charm, and incredible flavor. Whether you’re whipping them up for a party, a homemade gift, or a fun activity with the kids, these no-bake treats made with cookie butter and crushed Nilla wafers are sure to bring smiles and holiday cheer. With their adorable reindeer decorations and remarkably quick prep time, they are truly a highlight of the Christmas season. Enjoy crafting and savoring these delightful little wonders!