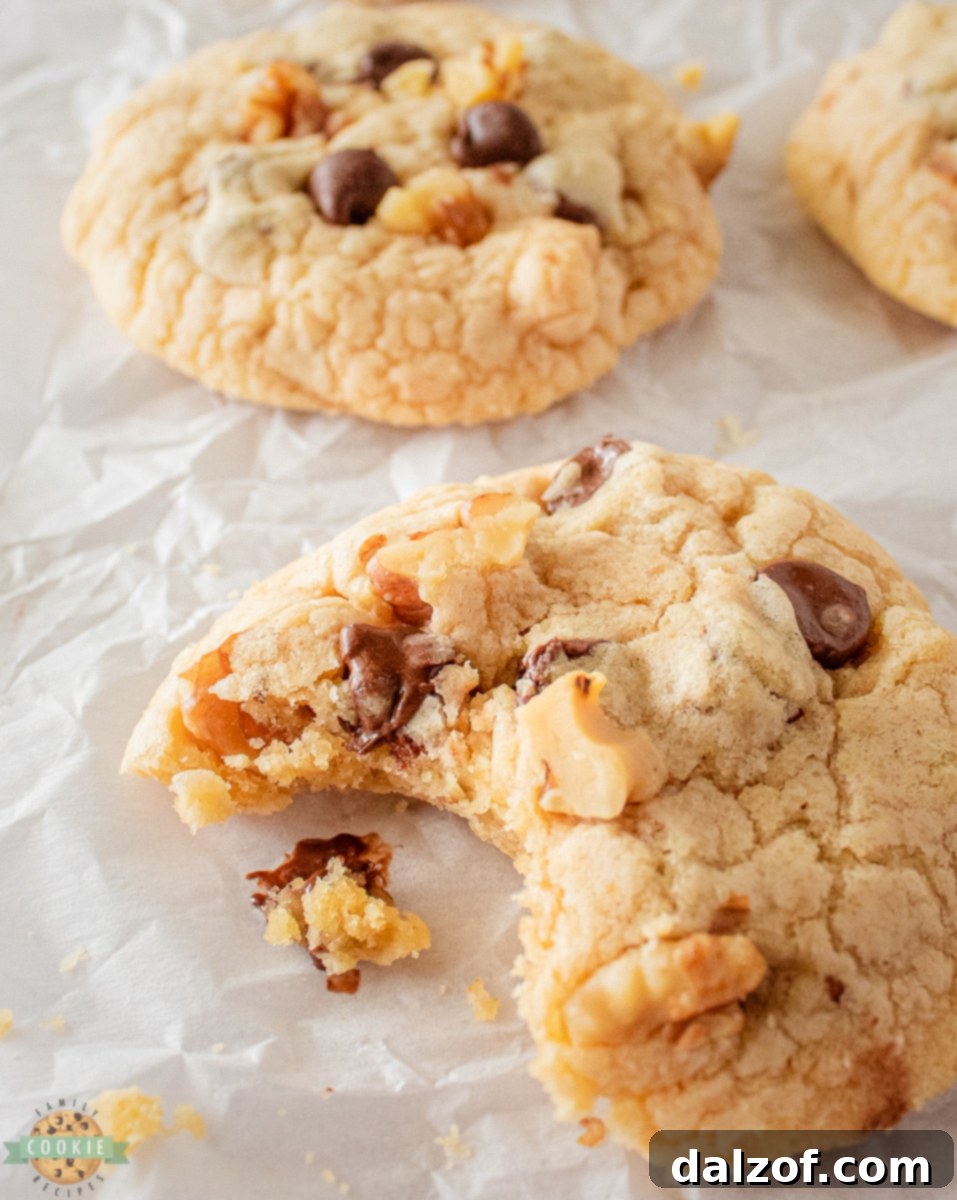
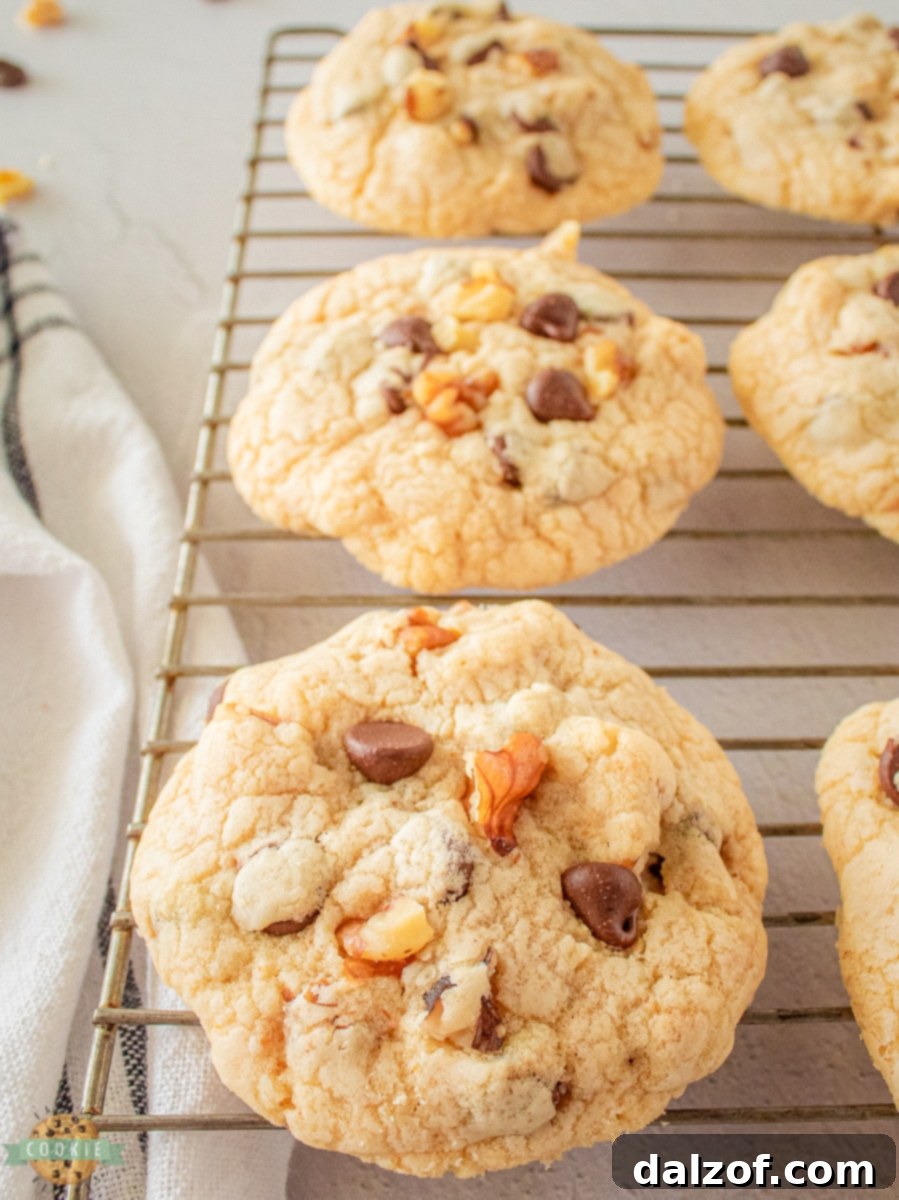
Welcome to the world of extraordinary baking, where classic cookies get a sophisticated upgrade! These **Brown Butter Walnut Chocolate Chip Cookies** aren’t just any cookies; they are a decadent reimagining of a beloved classic. Prepare to experience a soft, chewy texture, a rich, nutty aroma, and an unparalleled depth of flavor that will elevate your cookie game forever. This recipe takes the familiar comfort of chocolate chip cookies and infuses it with the luxurious, complex notes of browned butter and the delightful crunch of walnuts, creating an unforgettable treat that promises to impress.
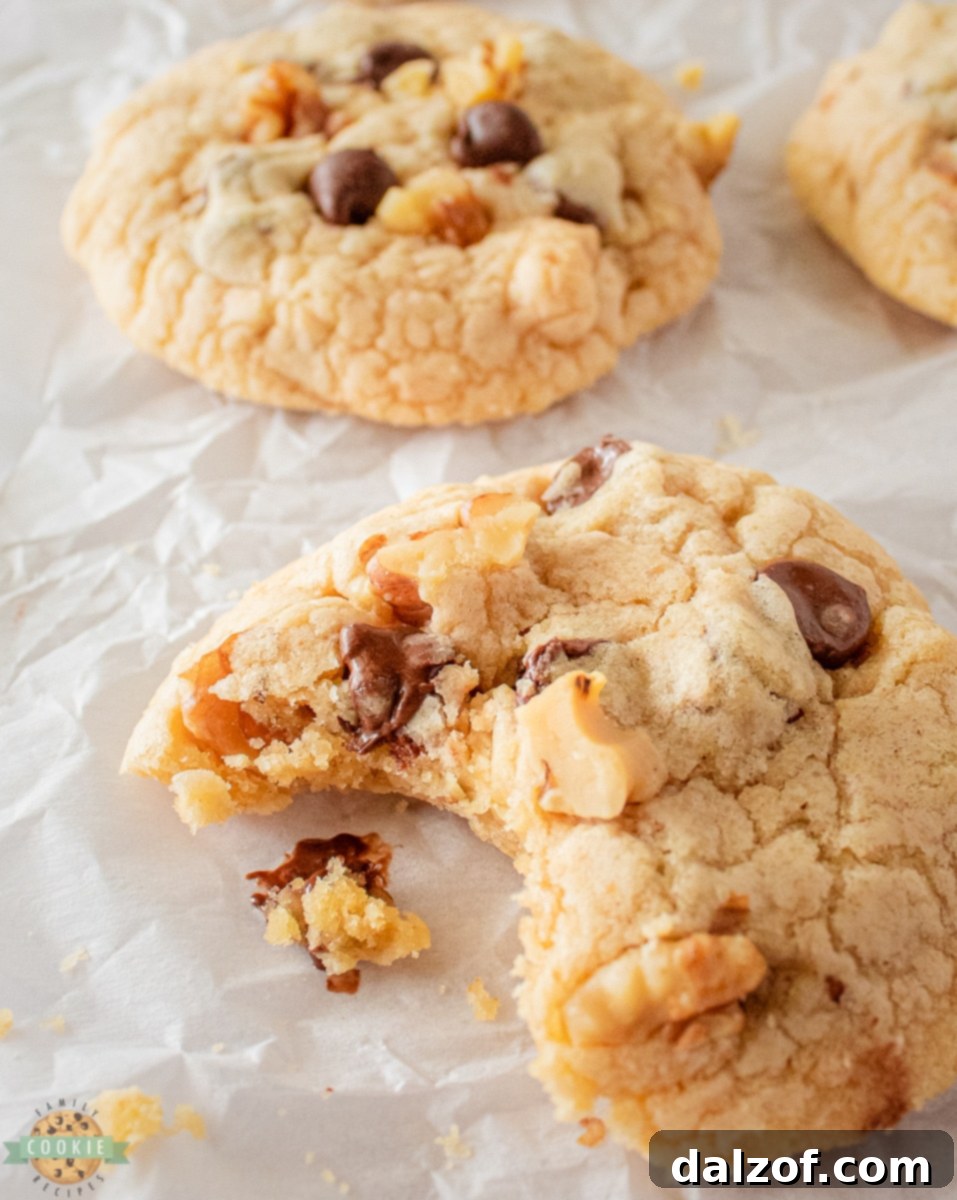
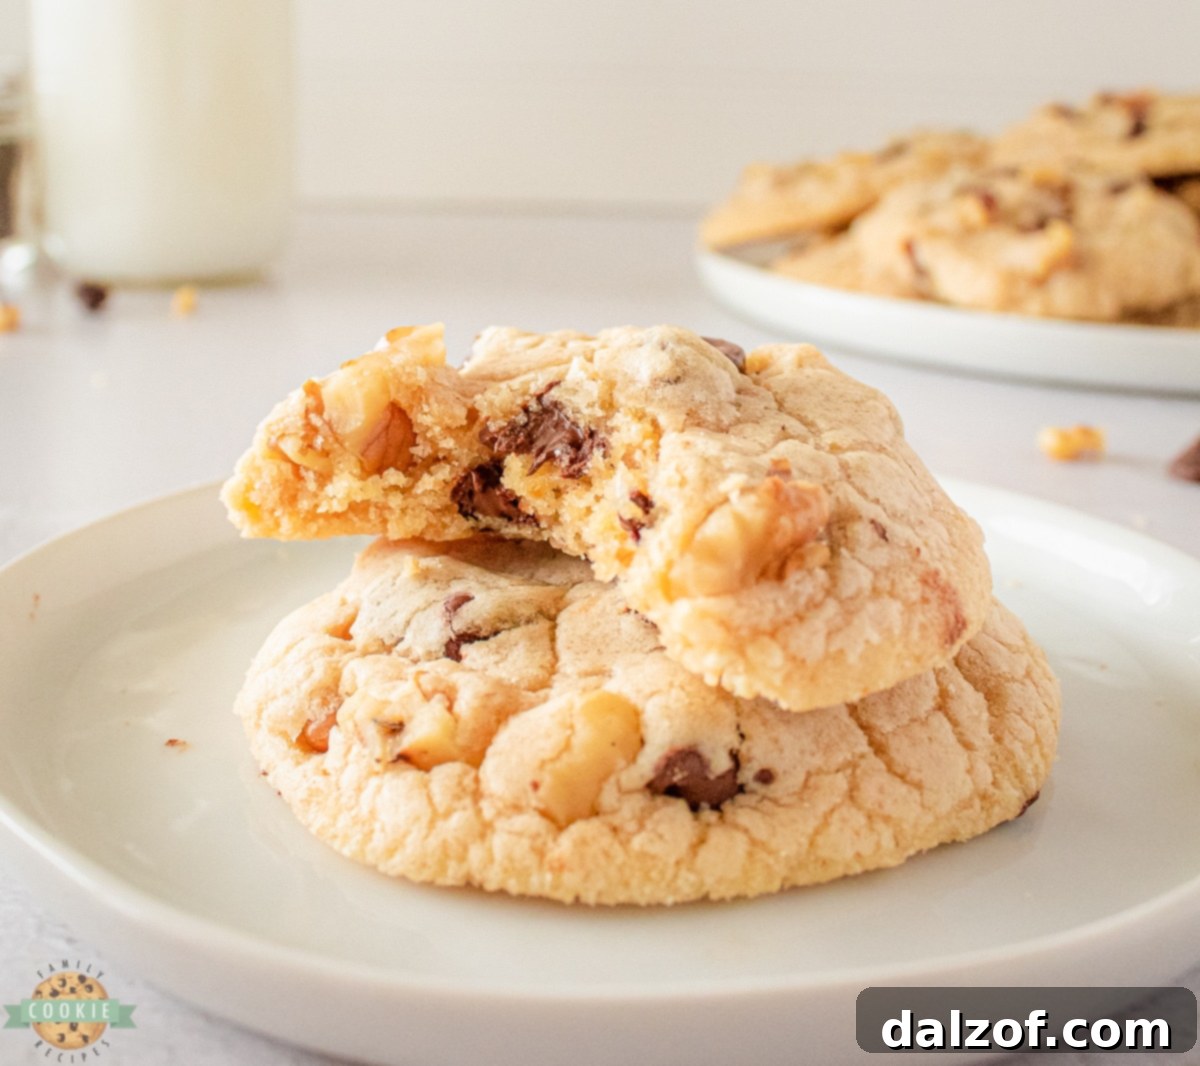
Imagine biting into a cookie that is perfectly golden-brown on the edges, wonderfully chewy in the center, and bursting with the sweet, slightly bitter notes of premium chocolate chips and the earthy richness of walnuts. The secret ingredient here, browned butter, transforms the entire flavor profile, adding a nutty, toasted caramel dimension that is simply irresistible. Whether you’re baking for a special occasion, a family gathering, or simply to treat yourself, these **Brown Butter Walnut Chocolate Chip Cookies** are guaranteed to be a showstopper. Get ready to bake a batch of these heavenly **walnut chocolate chip cookies** and watch them disappear!
Discover the Magic of Brown Butter Walnut Chocolate Chip Cookies
These aren’t your average chocolate chip cookies. Our **Chocolate Chip Walnut Cookies** offer a spectacular twist on a timeless favorite. They combine the familiar comfort of a classic cookie with an unexpected depth of flavor that will surprise and delight your taste buds. Made with readily available ingredients and straightforward instructions, this recipe is accessible for bakers of all skill levels, proving that gourmet taste doesn’t have to mean complicated processes. Once you experience the rich, nuanced flavors of these cookies, you’ll understand why they’re far from “average.”
The combination of melted brown butter, generous semi-sweet chocolate chips, and crunchy walnuts creates a symphony of textures and flavors. Each bite delivers a harmonious blend of sweetness, richness, and a subtle nuttiness that lingers beautifully. These cookies are ideal for any occasion – from a cozy night in to a lively celebration. Prepare to receive endless compliments when you serve these incredibly satisfying **brown butter cookies**.
The Secret Weapon: Why You Should Brown Your Butter!
Browning butter is more than just a step; it’s a transformative technique that unlocks an entirely new world of flavor, making these cookies truly exceptional. This simple process turns ordinary butter into a golden, fragrant elixir with a deep, nutty, and slightly caramelized taste. It’s the culinary equivalent of turning a simple ingredient into a gourmet secret weapon.
When butter is browned, the milk solids in it toast and undergo the Maillard reaction, developing complex notes of toasted nuts, butterscotch, and toffee. This richness permeates the entire cookie dough, infusing every bite with an incredible depth that plain melted butter simply cannot achieve. It elevates the humble chocolate chip cookie from good to extraordinary, adding a sophisticated dimension that will leave everyone craving more. While it adds a few extra minutes to your prep time, the resulting enhancement in flavor is absolutely worth it. Once you taste the difference that browned butter makes in these **walnut chocolate chip cookies**, you’ll be hooked and wonder how you ever baked without it!
Essential Ingredients for Brown Butter Walnut Chocolate Chip Cookies
Creating these sensational cookies starts with a selection of high-quality, common baking ingredients. Each component plays a vital role in achieving the perfect texture and unforgettable flavor profile:
- All-Purpose Flour: You will need 2 cups of all-purpose flour. This forms the fundamental structure of our cookies, ensuring they hold their shape while maintaining a tender crumb.
- Salt: A ½ teaspoon of salt is crucial. It acts as a flavor enhancer, balancing the sweetness and bringing out the rich notes of chocolate and butter.
- Baking Powder: Include ½ teaspoon of baking powder. This leavening agent helps the cookies achieve a desirable lift and a perfectly soft, slightly puffy texture.
- Unsalted Butter: The star of the show! You’ll need 1 cup (two sticks) of unsalted butter. Using unsalted butter allows you to control the overall saltiness of the cookies, and it’s essential for achieving that beautiful browned butter flavor.
- Granulated Sugar: A ¼ cup of granulated sugar contributes to the cookie’s crisp edges and overall sweetness, creating a delightful contrast.
- Brown Sugar: ¾ cup of packed brown sugar is vital for chewiness and a deeper, molasses-like flavor that complements the browned butter beautifully.
- Eggs: Two large eggs act as a binding agent, providing structure and moisture, which results in a perfectly chewy cookie.
- Semi-Sweet Chocolate Chips: You’ll want ⅔ cups of semi-sweet chocolate chips. These provide that classic chocolatey goodness, melting into pockets of deliciousness throughout the cookie.
- Chopped Walnuts: Add ⅔ cups of chopped walnuts for an enjoyable crunch and a complementary earthy, slightly bitter flavor that pairs wonderfully with the browned butter and chocolate.
Crafting Your Brown Butter Walnut Chocolate Chip Cookies: A Step-by-Step Guide
Follow these detailed steps to create a batch of the most irresistible cookies you’ve ever tasted.
Preparation is Key (Prep)
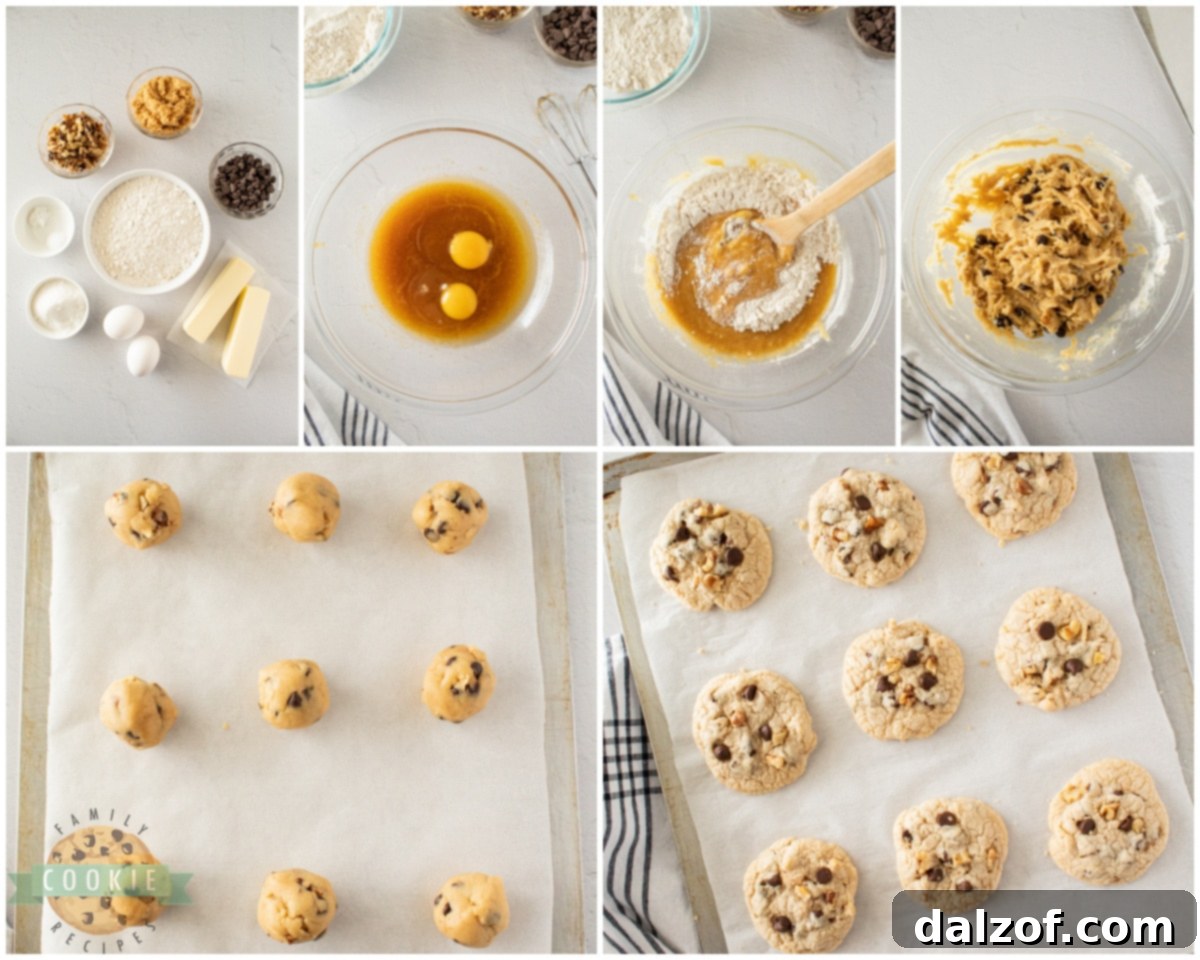
Begin by combining your dry ingredients. In a small mixing bowl, whisk together the 2 cups of all-purpose flour, ½ teaspoon of salt, and ½ teaspoon of baking powder until thoroughly combined. This ensures that the leavening agents and salt are evenly distributed throughout the dough, promoting consistent baking. Set this mixture aside for later.
The Art of Browning Butter (Brown the Butter)
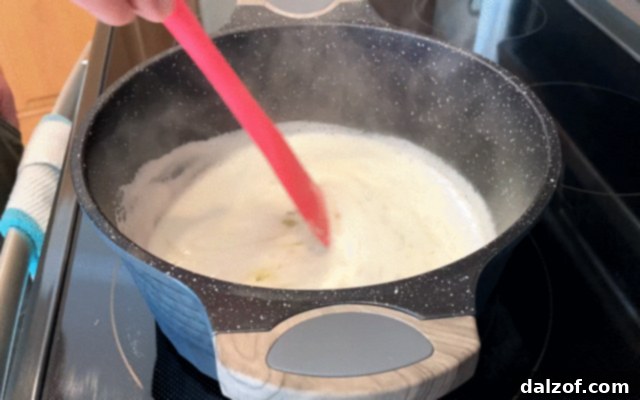
This is where the magic happens! In a small, light-colored saucepan (a light pan helps you see the color changes clearly), melt 1 cup of unsalted butter over medium heat. Once the butter is fully melted, it will start to foam. Continue to cook, stirring constantly with a rubber spatula, scraping the bottom of the pan to prevent scorching. The butter will first clarify, then the milk solids will begin to toast and turn amber. This process typically takes about 5 to 10 minutes. You’ll notice light brown specks forming at the bottom of the pan, and a rich, nutty, caramel-like aroma will fill your kitchen. As soon as these beautiful brown specks appear, remove the saucepan from the heat immediately to prevent burning. Continue stirring for another minute or so until the bubbling subsides, allowing the residual heat to finish the browning process without overcooking. Let the browned butter cool in the saucepan for about 10 minutes. It should still be warm but not scalding hot when you incorporate it into the sugar mixture.
Crafting the Cookie Dough (Dough)
Once your browned butter has cooled slightly, it’s time to assemble the dough. In a medium-sized mixing bowl, combine the cooled browned butter with ¼ cup of granulated sugar and ¾ cup of brown sugar. Using a handheld electric mixer, whip these ingredients together until they are light, fluffy, and well combined. This creaming process incorporates air, contributing to the cookies’ texture.
Next, crack in the 2 eggs, one at a time, mixing well after each addition until fully incorporated. The mixture should be smooth and emulsified. Gradually add the reserved flour mixture to the wet ingredients, a little at a time. Mix by hand with a spatula or spoon until just combined. Be careful not to overmix, as this can lead to tough cookies.
Finally, gently fold in the ⅔ cups of semi-sweet chocolate chips and ⅔ cups of chopped walnuts. Mix until they are evenly distributed throughout the dough. Cover the bowl tightly with plastic wrap and place it in the refrigerator to chill for at least 1 hour. Chilling the dough is a crucial step that helps the flavors meld and prevents the cookies from spreading too much during baking.
Baking to Perfection (Bake)
Preheat your oven to 325 degrees Fahrenheit (160°C). Line two baking sheets with parchment paper. Parchment paper is highly recommended as it prevents sticking and ensures even baking.
Remove the chilled dough from the fridge. Scoop the dough into 1-inch sized balls. A cookie scoop works wonders for consistent sizing. Place the dough balls onto the prepared baking sheets, leaving about 2 inches between each to allow for spreading. Gently flatten the tops of the dough balls slightly with your palm or the back of a spoon. This small step helps the cookies bake more evenly and achieve a perfect shape.
Bake in the preheated oven for 17-18 minutes, or until the edges are golden brown and the centers are still slightly soft. The cookies will continue to set as they cool. Do not overbake, as this will result in a dry cookie rather than a soft and chewy one.
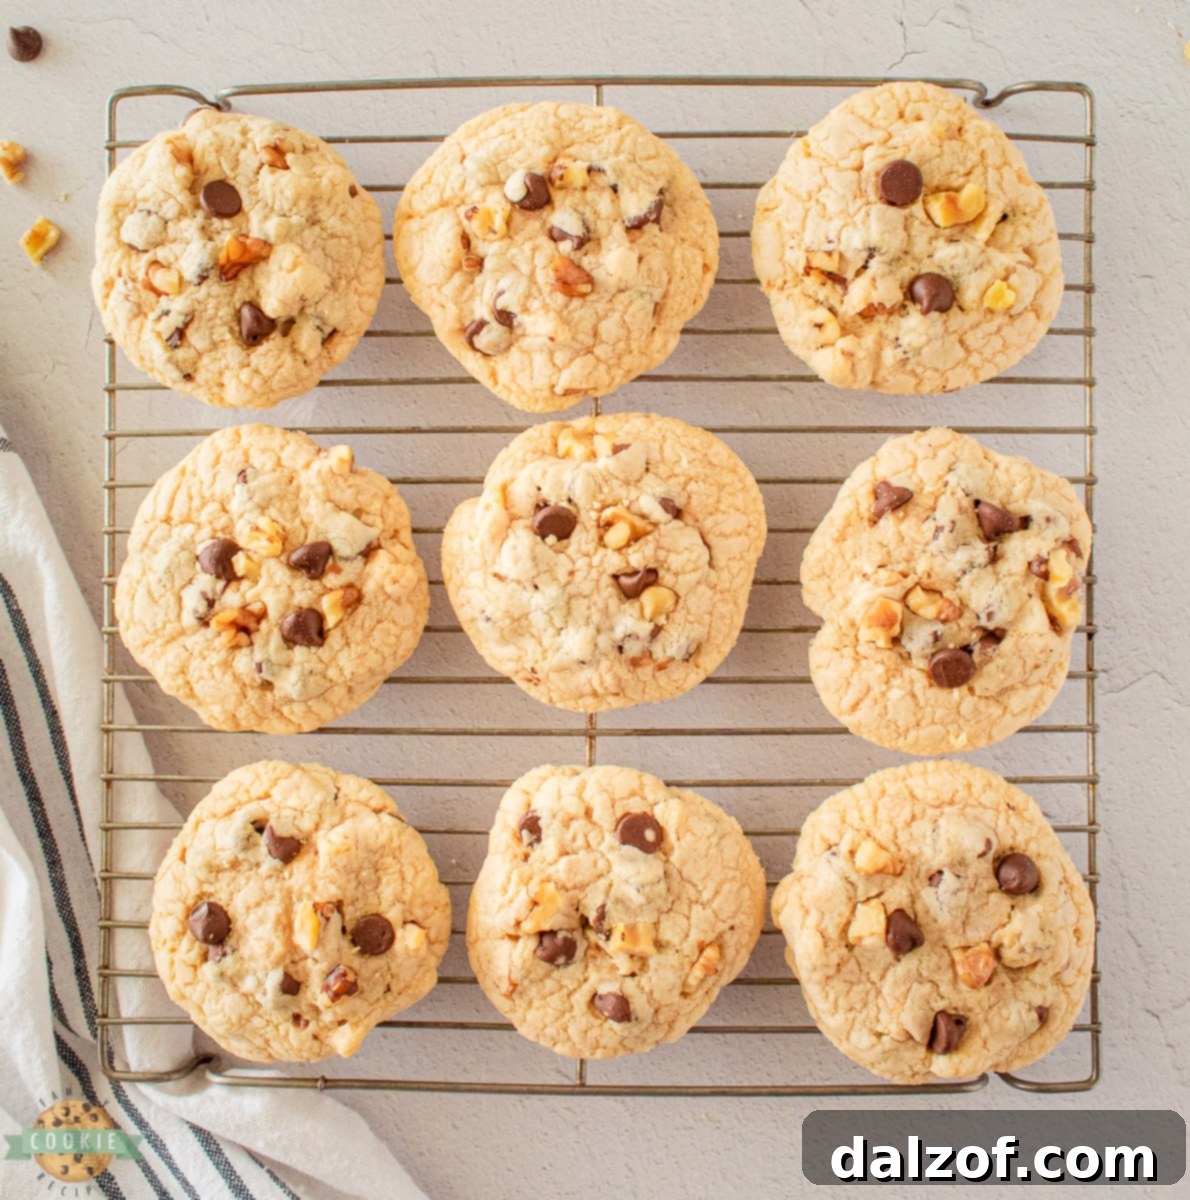
Once baked, remove the baking sheets from the oven and let the cookies cool on the sheets for a few minutes before transferring them to a wire cooling rack to cool completely. Allowing them to cool on the rack prevents them from becoming soggy and helps them firm up.
Serve warm or at room temperature, and savor every delicious bite!
A Deeper Dive: Mastering the Art of Browning Butter
Browning butter, also known as *beurre noisette*, is a simple yet impactful technique that unlocks a world of flavor. It’s an easy process that transforms regular butter into a rich, nutty, caramel-scented ingredient. To achieve this, always use a large, light-colored saucepan. While it might seem oversized for the amount of butter, the butter foams up significantly as it cooks, so the extra space prevents it from boiling over. This also allows for better visibility of the browning milk solids.
Add all your unsalted butter to the saucepan over medium-high heat. Stir gently but continuously with a rubber scraper or wooden spoon as the butter melts. This constant stirring helps to distribute the heat evenly and prevents the butter from burning in one spot. The butter will first liquify, then transition into a foamy stage. Beneath this foam, the milk solids will begin to toast. Keep stirring, gently scraping the bottom of the pan. Within approximately 5 minutes of the butter foaming, you’ll start to see a color change – the foam may turn a light golden hue, and tiny brown bits will appear at the bottom of the pan. This is your cue! The aroma will also shift from purely buttery to a delightful, toasted, nutty smell, reminiscent of hazelnut or caramel.
I recommend cooking it for about 45 seconds to 1 minute *after* you first notice the brown bits, just to deepen that flavor without crossing into burnt territory. Immediately remove the pan from the heat and continue to stir for another 30 seconds to a minute. This stops the cooking process and allows any residual heat to finish infusing the flavor. The foam will then settle, revealing beautiful, clear brown butter with delightful specks at the bottom. Allow it to cool until it reaches the desired consistency for your recipe. Remember, you **cannot use margarine** for this technique; only real butter will brown properly due to its milk solids.
Knowing When Your Brown Butter is Perfectly Done
The key to perfect brown butter lies in careful observation and a keen sense of smell. As the butter melts and begins to cook, it will become clear and then start to foam. This is your cue to pay close attention. Continue to stir, and you’ll notice the color transitioning from a bright yellow to a deeper golden hue. Small, light brown specks will begin to form at the bottom of the pan. These are the toasted milk solids, responsible for that signature nutty, caramel flavor.
Once you see these light brown specks and detect a fragrant, nutty, almost butterscotch-like aroma, it’s time to remove the butter from the heat. This is a critical moment. Leaving it on the heat for too long can quickly turn those delicious brown specks into burnt, bitter ones. Burnt butter will have very dark brown or even black specks that look similar to coffee grounds, and it will emit a harsh, acrid smell. Trust your senses: look for the golden-amber color, the light brown bits, and the irresistible nutty fragrance. If in doubt, err on the side of under-browning rather than burning.
Storing Your Brown Butter Walnut Chocolate Chip Cookies
Proper storage ensures your cookies remain delicious and enjoyable for longer. These delightful cookies are best kept in an airtight container at room temperature for up to 3-5 days. To maintain their wonderfully soft and chewy texture, placing a slice of bread in the container with the cookies can help absorb excess moisture and keep them fresh.
For longer storage, you can refrigerate them in an airtight container for up to a week. If you prefer to freeze them, arrange baked and completely cooled cookies in a single layer on a baking sheet until frozen solid. Then, transfer them to a freezer-safe bag or container, separating layers with parchment paper. They can be frozen for up to 3 months. Thaw at room temperature or warm briefly in the microwave for a fresh-baked taste.
Ingredient Substitutions: Customizing Your Cookies
While this recipe is carefully crafted for optimal results, you can certainly experiment with some substitutions to personalize your **Brown Butter Walnut Chocolate Chip Cookies**.
- Flour: This recipe was developed using all-purpose flour for its consistent performance. If you wish to experiment with other types of flour, such as whole wheat or a gluten-free blend, I recommend substituting at half the quantity initially and adjusting as needed. Different flours absorb liquids differently, which can affect the dough’s consistency and the cookie’s final texture.
- Nuts: The walnuts contribute a specific flavor and crunch, but they can easily be swapped for other nuts. Pecans are an excellent choice, offering a similar buttery, earthy note. Hazelnuts, almonds, or even a mix of your favorite nuts would also work beautifully, adding their unique character to the cookie.
- Chocolate Chips: Semi-sweet chocolate chips provide a classic balance, but feel free to explore other varieties. Dark chocolate chips will add a more intense, less sweet flavor, while milk chocolate chips will make the cookies sweeter and creamier. You could also try white chocolate chips for a different aesthetic and flavor profile, or even a combination of different chocolate types for complex layers of taste.
Don’t be afraid to get creative and discover your favorite combination of chocolate and nuts to make these cookies truly your own!
The Importance of Chilling Cookie Dough
Chilling cookie dough is more than just a waiting game; it’s a fundamental step that significantly impacts the final quality of your **Brown Butter Walnut Chocolate Chip Cookies**. This seemingly simple act offers several key benefits:
- Solidifies Fats: The primary reason to chill dough is to firm up the butter. When the butter is cold, it melts slower in the oven. This slower melting process prevents the cookies from spreading too rapidly and becoming thin and greasy. Instead, you get a thicker, chewier cookie with those coveted slightly crispy edges.
- Deepens Flavors: Chilling allows the flour to fully hydrate and the flavors to meld and intensify. Ingredients like brown butter, chocolate, and walnuts have more time to interact, resulting in a richer, more complex taste profile in the baked cookie.
- Improved Texture: Hydrated flour means a more tender and chewy cookie. The chilling process also contributes to a better structure, preventing crumbly cookies and ensuring a satisfying bite.
- Easier Handling: Cold dough is much less sticky and easier to scoop and roll, making the baking process smoother and cleaner.
While an hour is the minimum recommended chilling time, you can even chill the dough overnight for an even more pronounced flavor and texture development. This patience is truly rewarded with a superior cookie experience.
Parchment Paper vs. Cooking Spray: Why Parchment Wins
When it comes to baking cookies, the choice of lining your baking sheet can make a significant difference in the outcome. Parchment paper is highly recommended over cooking spray, especially for rich cookies like these **Brown Butter Walnut Chocolate Chip Cookies**.
- Even Baking: Parchment paper provides a consistent, non-stick surface that promotes even heat distribution. This means your cookies will bake uniformly, resulting in a more predictable texture and browning across the batch.
- Prevents Sticking: Even the best non-stick pans can have issues, and cooking spray can sometimes leave a sticky residue. Parchment paper offers foolproof non-stick performance, ensuring your cookies slide right off the sheet without breaking or leaving any bits behind.
- No Greasy Mess: These cookies are rich with butter. Cooking spray can sometimes interact with the butter in the dough, leading to a greasy residue on the baking sheet and potentially affecting the cookie’s texture. Parchment paper creates a barrier, keeping your baking sheets clean and preventing any excessive oiliness.
- Easy Cleanup: After baking, simply lift the parchment paper and discard it. This makes cleanup incredibly easy, saving you time and effort.
- No Flavor Transfer: Some cooking sprays can impart a subtle flavor to baked goods. Parchment paper is entirely neutral, allowing the true flavors of your brown butter and walnuts to shine through.
For best results and hassle-free baking, always opt for parchment paper when making these delicious cookies.
More Delicious Chocolate Chip Cookie Recipes to Explore
If you love chocolate chip cookies as much as we do, you’re in for a treat! Here are some other fantastic variations to try, offering unique flavors and textures:
- RICE KRISPIE CHOCOLATE CHIP PEANUT BUTTER COOKIES
- CHERRY CHOCOLATE CHIP COOKIES
- ORANGE CINNAMON CHOCOLATE CHIP COOKIES
- BEST BROWN BUTTER CHOCOLATE CHIP COOKIES
- CHEWY CHOCOLATE CHIP COOKIES
- BUTTER PECAN CHOCOLATE CHIP COOKIES
- MARBLED CHOCOLATE CHIP COOKIES
- COCONUT CHOCOLATE CHIP COOKIES
- PUMPKIN OATMEAL CHOCOLATE CHIP COOKIES
- CHOCOLATE CHIP PUFF PASTRY COOKIES

Making Memories with Brown Butter Walnut Chocolate Chip Cookies
Beyond their incredible flavor, these cookies are perfect for creating cherished family moments. Just like our recent cruise adventure, where my middle son and I enjoyed taking in the breathtaking sights of the ocean, these cookies are about enjoying the simple pleasures and making lasting memories. After two unexpected cancellations due to unforeseen circumstances, our family finally got to set sail, and it was an amazing time – a true testament to patience and perseverance! These spectacular cruise ships are truly a marvel.
Baking these **Brown Butter Walnut Chocolate Chip Cookies** can be a wonderful family activity, filling your home with warmth and an irresistible aroma. Share the joy of creating something delicious together, and then gather around to enjoy the fruits of your labor. The rich, delicious taste of these cookies will surely become a part of your family’s favorite traditions, creating sweet memories with every bite.

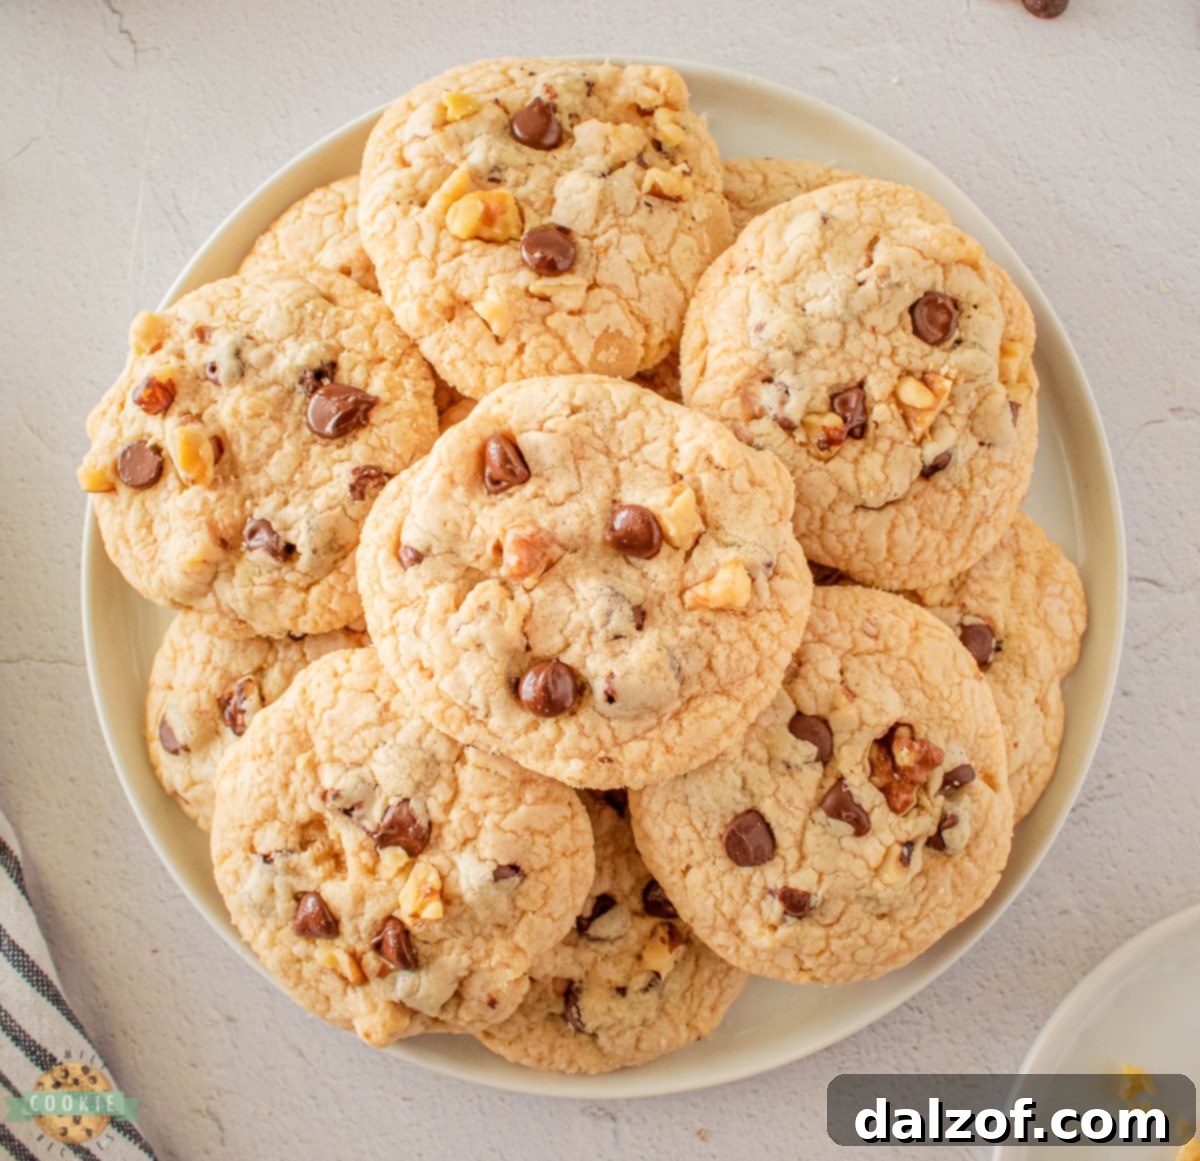
You are absolutely going to adore these rich, flavorful **brown butter walnut chocolate chip cookies**. They are generously packed with the perfect combination of crunchy walnuts and melty chocolate chips, making every single bite a pure delight. What’s not to love about a cookie that delivers such an incredible texture and an amazing depth of flavor?