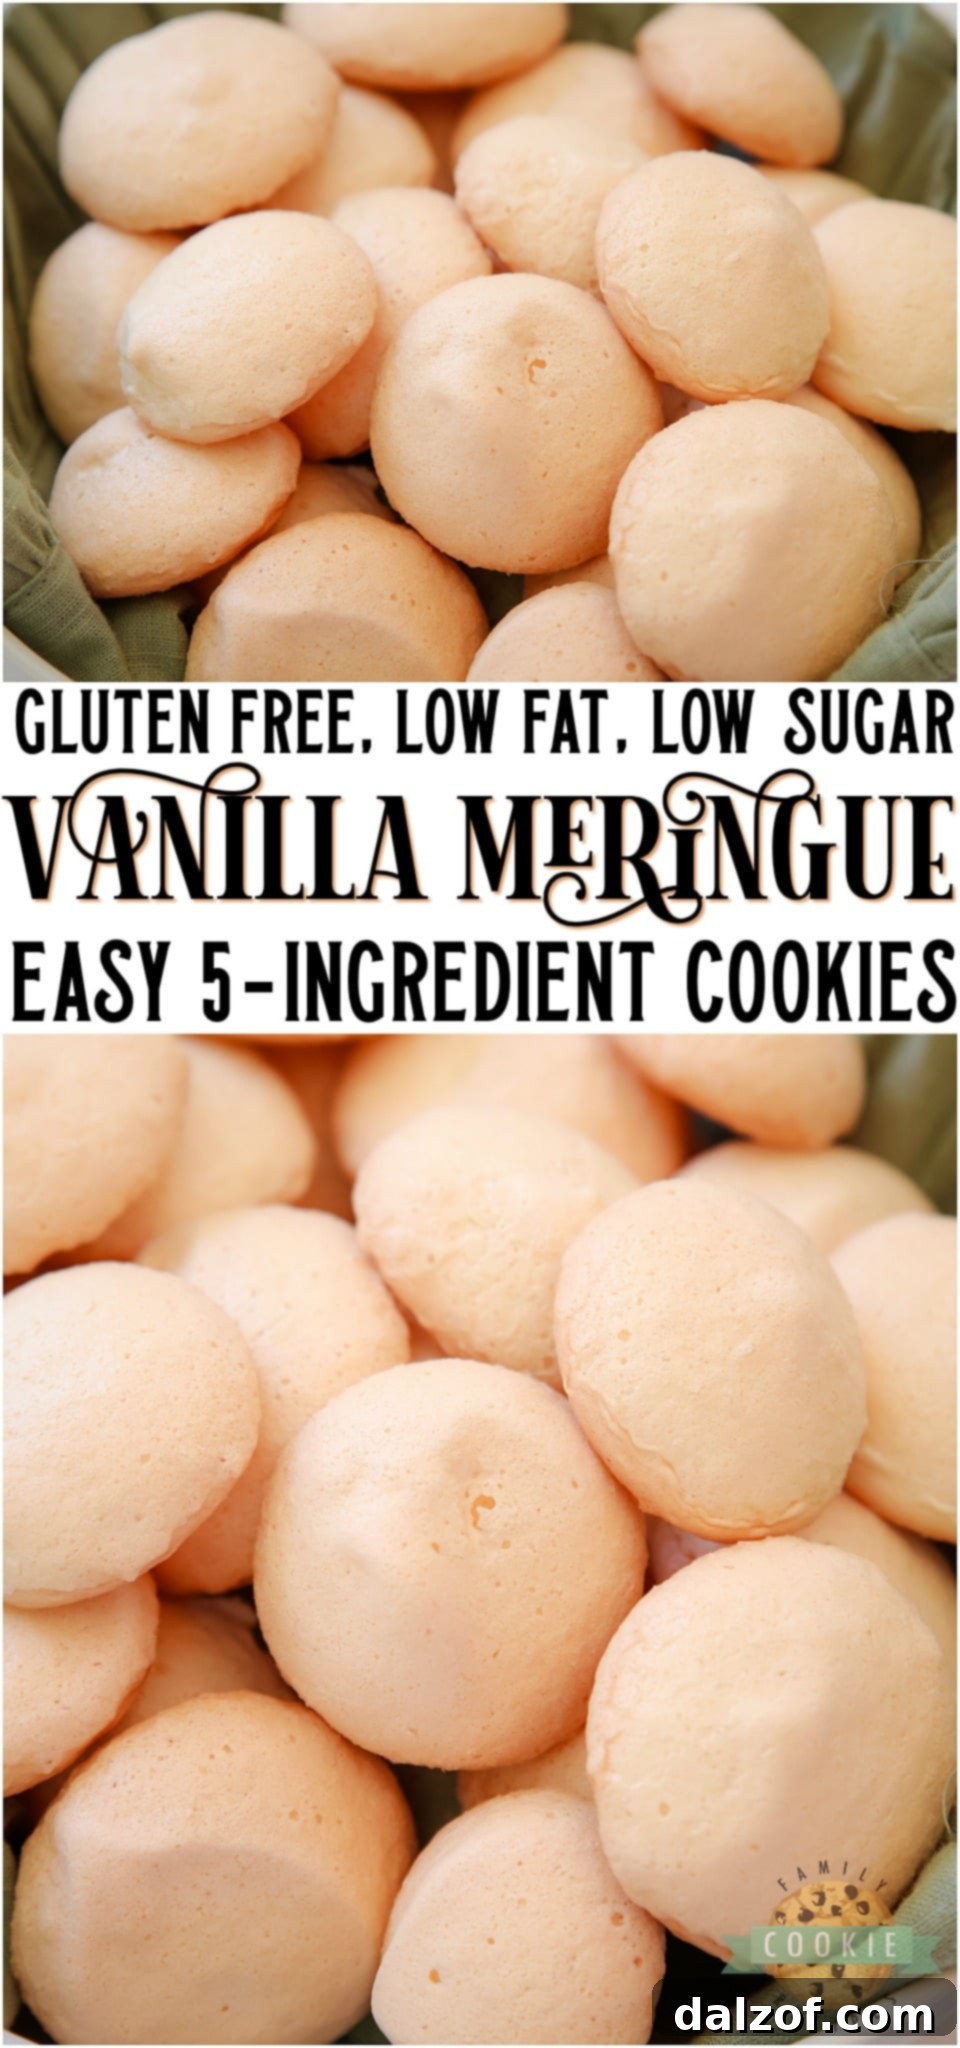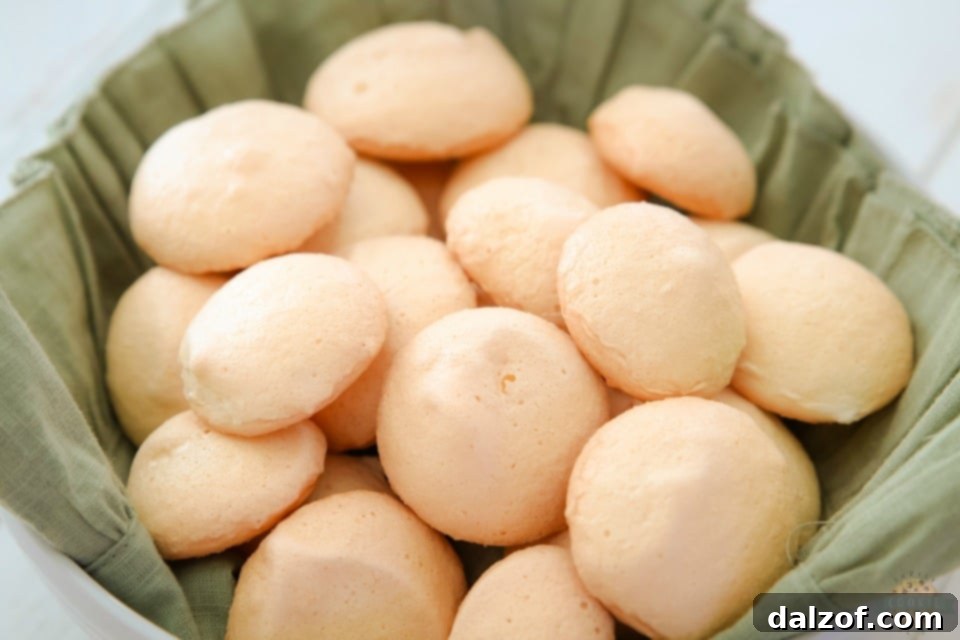
Delicate, airy, and bursting with sweet vanilla flavor, these Easy Vanilla Meringue Cookies are a delightful treat made with just 5 simple ingredients. You likely already have everything you need in your pantry! This foolproof, naturally gluten-free meringue cookie recipe transforms whipped egg whites into a crisp yet chewy masterpiece, perfect for any occasion and an impressive addition to any dessert table.
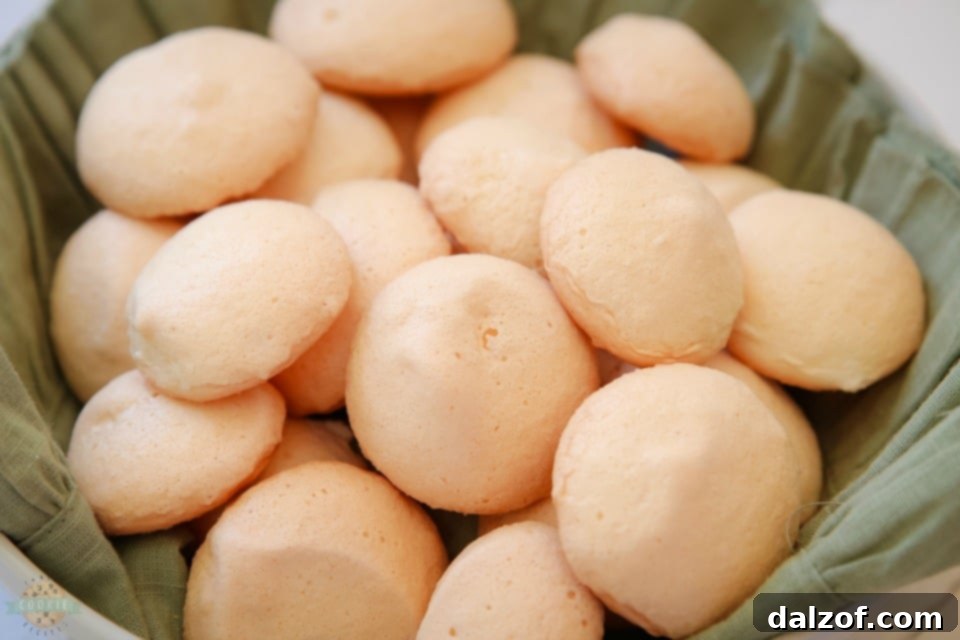
Meringue cookies offer a unique textural experience, starting with a satisfyingly crisp shell that gives way to a melt-in-your-mouth, slightly chewy interior. They are a beloved classic for a reason – elegant in appearance but surprisingly simple to prepare. With the help of an electric mixer doing most of the heavy lifting, you’ll be able to create these beautiful, flavored meringue cookies with minimal effort. Their delicate nature and light sweetness make them an ideal dessert or a charming addition to any tea party or gathering. Plus, knowing they’re gluten-free means more people can indulge in this heavenly treat without worry. This recipe is designed for both novice bakers and seasoned pros, ensuring a successful batch every time.
Mastering Vanilla Meringue Cookies: An Effortless Recipe
Creating these exquisite vanilla-flavored meringue cookies is a straightforward process that yields impressive and consistently delicious results. This particular recipe stands out because it doesn’t require cream of tartar, a common ingredient found in many traditional meringue recipes. Instead, we ingeniously use white vinegar, which provides the necessary acidity to stabilize the egg whites, resulting in perfectly formed, sturdy meringues that hold their shape beautifully. Each batch makes approximately 20-24 cookies, providing plenty to share with friends and family. However, we completely understand if you find these irresistible delights so good that you decide to keep them all to yourself! The joy of baking such a simple yet sophisticated dessert is truly rewarding.
Are Meringue Cookies Gluten-Free? Your Answer is Yes!
One of the most fantastic qualities of meringue cookies, and a huge bonus for many, is their natural gluten-free status. Traditional meringue recipes, including this one, do not call for any flour whatsoever. Their structure is built entirely upon whipped egg whites, making them a naturally flourless dessert option. Our recipe uses a combination of fresh egg whites, finely powdered sugar, and a touch of cornstarch. This simple ingredient list makes them an excellent and safe choice for individuals with celiac disease or gluten sensitivities, as well as anyone looking for a light, flourless dessert. As always, for severe allergies, ensure all your packaged ingredients like powdered sugar and cornstarch are certified gluten-free to avoid any cross-contamination risks.
Demystifying Cracks: Why Meringue Cookies Crack and How to Prevent It
It can be disheartening to pull a batch of beautiful meringues from the oven only to see them develop cracks. Meringue cookies crack primarily due to rapid temperature changes during the baking and, more importantly, the cooling process. The delicate structure of the whipped egg whites is sensitive to sudden shifts. The key to achieving smooth, unblemished, and perfectly shaped meringues lies in a gradual cool-down. To prevent these unsightly cracks, it’s crucial not to expose your freshly baked meringues to a sudden drop in temperature. After the recommended baking time is complete, simply turn off your oven. Leave the cookies inside with the oven door slightly ajar and allow them to cool down slowly with the residual heat of the oven. Alternatively, if your oven cools too quickly, you can let them cool completely on the baking sheet at room temperature, away from drafts, before attempting to handle them. This gentle, unhurried cooling process allows the meringue structure to set properly and minimizes any stress that could lead to cracking, ensuring a picture-perfect result every time.
The Perfect Bake: How to Tell When Meringue Cookies Are Done
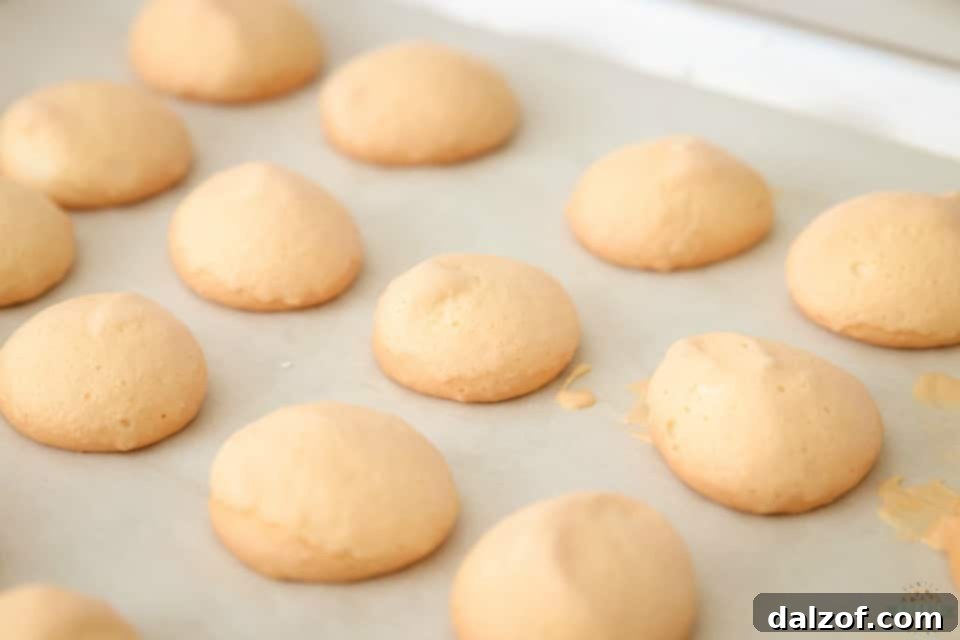
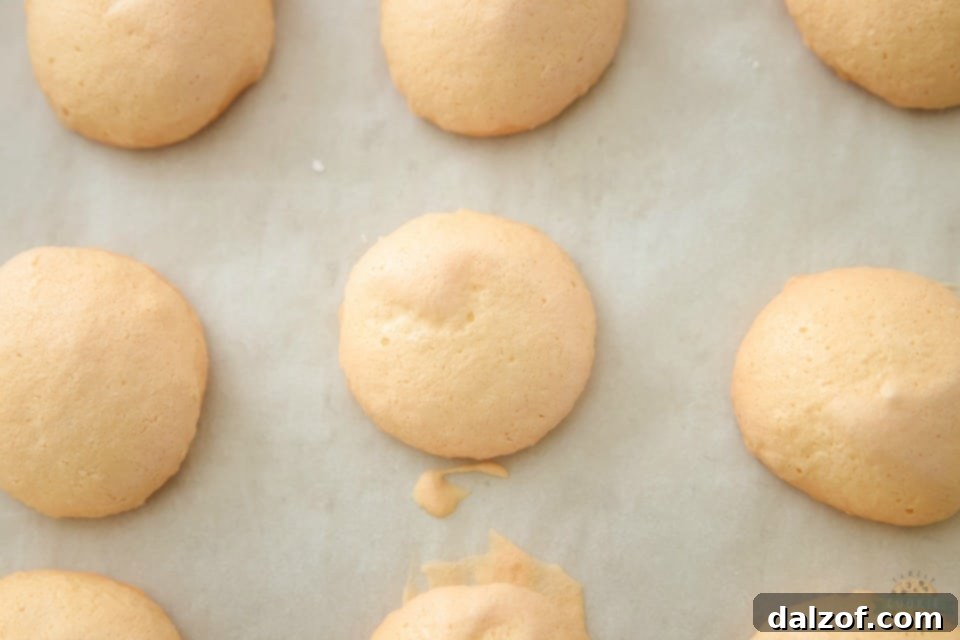
Achieving that coveted crisp-chewy texture in meringue cookies hinges on knowing precisely when they are done baking. While the recommended baking time serves as a good guideline, ovens can vary, so it’s always best to perform a quick check. Once the suggested baking time has passed, gently try to lift one of the cookies off the parchment paper using a thin metal spatula. If the cookie comes off easily and cleanly without any sticking or resistance, it’s a strong indication that they are ready. A perfectly baked meringue should feel light and dry to the touch, and the bottom should also lift without any tacky residue. If you find that they are still sticking to the paper or feel soft, return them to the oven for an additional 5-10 minutes. Check them again every few minutes until they release effortlessly from the parchment. Patience during this final stage is key and will be generously rewarded with impeccably baked meringues that boast the ideal texture.
The Simple Yet Powerful Ingredients for Vanilla Meringue Cookies
It’s truly remarkable how five common ingredients can combine to create such a sophisticated and delicious dessert. Each component in this recipe plays a vital role in achieving the signature texture, stability, and delicate flavor of these vanilla meringue cookies. Understanding their function will help you appreciate the simplicity and genius of this recipe.
- 2 Large Egg Whites: These are the undisputed foundation of any meringue. When whipped vigorously, egg whites trap air, creating the light, airy, and voluminous structure we desire. For optimal volume and stability, ensure your egg whites are at room temperature before you begin whipping them.
- ½ cup Powdered Sugar (Sifted): Also widely known as confectioners’ sugar or icing sugar, its ultra-fine texture is crucial. Unlike granulated sugar, powdered sugar dissolves easily and completely into the whipped egg whites, contributing to a smooth, stable meringue that results in a wonderfully crisp finish. Sifting the powdered sugar is an essential step to eliminate any lumps and ensure a uniformly smooth meringue.
- 1 tablespoon Cornstarch (Sifted): This is one of the secret ingredients that elevate this meringue recipe. Cornstarch acts as a stabilizer, helping the meringue hold its shape during baking and cooling. It also plays a significant role in achieving that perfectly crisp exterior while contributing to a slightly chewy interior, preventing the meringues from becoming brittle. Furthermore, cornstarch helps to absorb any excess moisture, which prevents the dreaded “weeping” that can sometimes occur in meringues.
- 1 teaspoon White Vinegar: This is our clever substitute for cream of tartar and a star ingredient in its own right. The acetic acid present in white vinegar provides the necessary acidic environment to stabilize the egg whites. This acidity allows them to whip up faster, achieve firmer, more stable peaks, and prevents them from collapsing, both during the whipping process and in the oven. It contributes significantly to the meringue’s overall stability without imparting a strong flavor.
- ½ teaspoon Vanilla Extract: For that irresistible, classic vanilla flavor and delightful aroma. Using a high-quality pure vanilla extract will yield the best taste. While vanilla is traditional, this is also an opportunity to experiment with other extracts like almond, peppermint, or coconut for different flavor profiles and variations.
Your Comprehensive Guide: How to Make Easy Vanilla Meringue Cookies
Follow these detailed steps to create flawless vanilla meringue cookies that are sure to impress with their delicate texture and sweet flavor.
- Prepare Your Workspace and Oven: Begin by preheating your oven to 300°F (150°C). This ensures the oven is at the correct temperature when your meringues are ready. Line two large baking sheets with nonstick parchment paper. Do not use wax paper or aluminum foil, as parchment paper is essential for preventing sticking and allowing for easy removal of the delicate cookies.
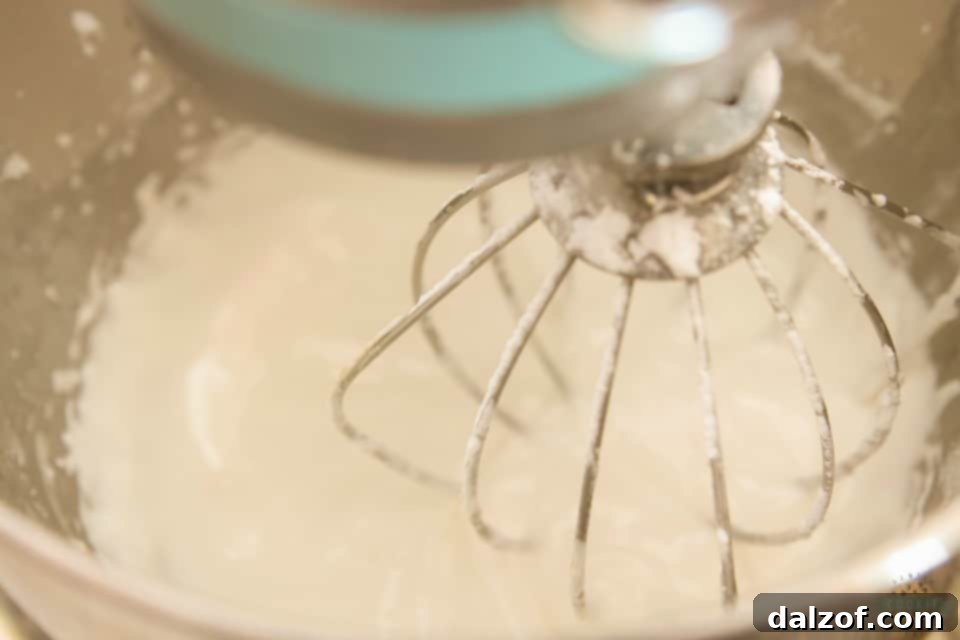
- Whip the Egg Whites to Perfection: In a meticulously clean, absolutely grease-free bowl (even a minuscule speck of fat can prevent egg whites from whipping properly), whisk the room-temperature egg whites. You can use either a hand-held electric mixer or a stand mixer fitted with a whisk attachment. Start on a medium speed to break them up, then gradually increase to high speed. Continue whisking until the egg whites form very stiff peaks. You’ll know they’re ready when the whisk leaves distinct trails in the meringue and the peaks hold their shape firmly and do not droop when the whisk is lifted.
- Gradually Add Sugar and Cornstarch: Place the sifted powdered sugar and sifted cornstarch in a fine-mesh strainer. While continuing to whisk the egg whites on high speed, gradually sprinkle this mixture over the whipped egg whites, adding just a little at a time. This slow incorporation is vital. Continue whisking after all the sugar and cornstarch have been added until the meringue is incredibly stiff, glossy, and smooth. There should be no grittiness from the sugar when you rub a small amount between your fingers. This step is critical for building a stable and beautiful meringue.
- Incorporate Flavor and Stabilizer: Gently mix in the white vinegar and vanilla extract. Use a spatula to fold these ingredients in carefully, taking care not to deflate the voluminous meringue. The vinegar provides crucial additional stability, while the vanilla extract infuses the meringue with its delightful aroma and classic sweet taste.
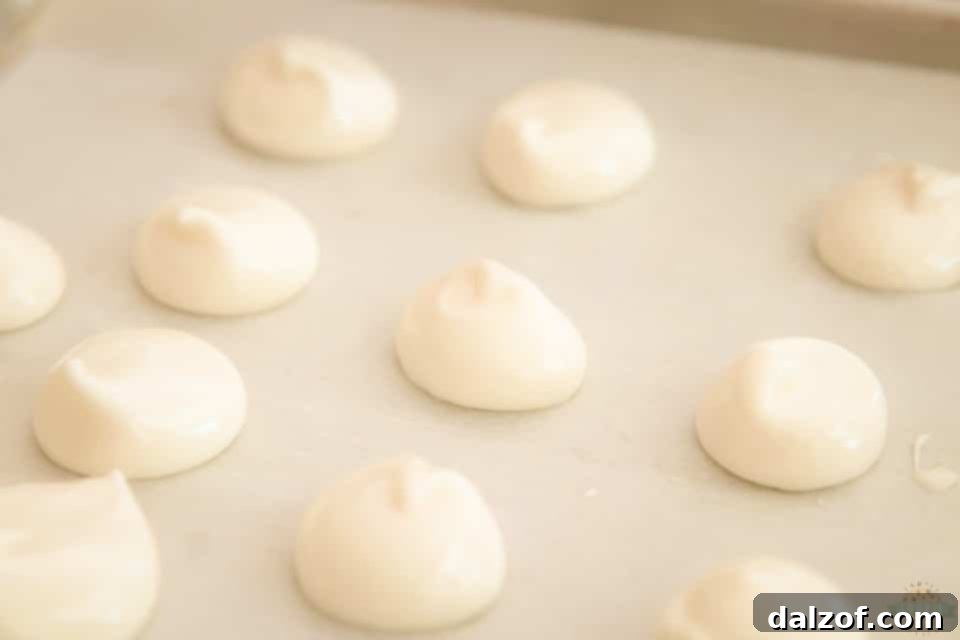
- Shape Your Meringue Cookies: Using a medium cookie scoop or two spoons, carefully mound portions of the meringue mixture onto your prepared baking sheets. Leave a little space (about an inch) between each cookie to allow for even baking and air circulation. You can also pipe the meringue using a pastry bag fitted with a star tip for a more decorative look.
- Bake and Cool with Care: Place the baking sheets in the preheated oven and bake for 30 minutes. Once the baking time is complete, *do not open the oven door immediately*. Instead, turn off the oven completely. Leave the meringue cookies inside the oven with the door slightly ajar (you can wedge a wooden spoon in the door) to allow them to cool down very slowly. This slow cooling process, ideally for several hours or even overnight, prevents cracking and helps them develop that perfect crisp-chewy texture. Once completely cool, use a thin metal spatula to gently remove them from the parchment paper.
For the absolute best flavor and texture, meringue cookies truly benefit from a resting period after they are fully baked and cooled. Allow them to sit for at least 4-5 hours, or even better, overnight, in an airtight container. During this time, the internal structure develops its delightful chewiness, perfectly complementing the crisp exterior. This waiting period transforms them from good to truly amazing!
Recipe: Vanilla Meringue Cookies
Easy Vanilla Meringue Cookies made with just 5 ingredients you likely have on hand! This simple, naturally gluten-free meringue cookie recipe is flavored with vanilla extract for a sweet, crisp, and delightfully chewy treat.
Course: Cookies, Dessert
Cuisine: American
Keywords: Vanilla Meringue Cookies, Easy Meringue Cookies, Gluten Free Meringue, 5 Ingredient Cookies, Meringue Recipe No Cream of Tartar
Prep Time: 10 minutes
Cook Time: 30 minutes
Total Time: 40 minutes (plus cooling time)
Yields: Approximately 20-24 cookies
Author: Jessica & Nellie
Ingredients
- 2 Egg Whites, at room temperature
- ½ cup Powdered Sugar, sifted
- 1 tbsp Cornstarch, sifted
- 1 tsp White Vinegar
- ½ tsp Vanilla Extract (pure)
Instructions
- Preheat the oven to 300°F (150°C). Line two baking sheets with nonstick parchment paper.
- In a clean, grease-free bowl, whisk the egg whites (using an electric whisk or stand mixer) until they form very stiff peaks.
- Gradually add the sifted powdered sugar and cornstarch into the meringue, a little at a time, while continuing to whisk on high speed until the meringue is incredibly stiff, glossy, and smooth.
- Gently mix in the white vinegar and vanilla extract with a spatula.
- Using a medium cookie scoop, mound the meringue mixture onto the prepared baking sheets, leaving slight space between each.
- Bake for 30 minutes. Turn off the oven and let the cookies cool completely on the baking sheets inside the oven (with the door slightly ajar) or at room temperature, undisturbed, for several hours. Remove with a metal spatula once thoroughly cooled.
Notes
For optimal taste and texture, allow your meringue cookies to sit for at least 4-5 hours, or preferably overnight, after baking. This resting period enhances the internal chewiness, creating a perfect contrast with the crispy outer shell.
Nutrition Information (Per Cookie, estimated)
Serving: 1g | Calories: 13kcal | Carbohydrates: 3g | Protein: 0.3g | Fat: 0.004g | Sodium: 4mg | Potassium: 4mg | Fiber: 0.003g | Sugar: 2g | Calcium: 0.2mg | Iron: 0.01mg
“Don’t I Need Cream of Tartar for Meringue Cookies?” – The Vinegar Secret
It’s a common question, and indeed, many classic meringue recipes traditionally call for cream of tartar. Cream of tartar is a powdered acid that serves a crucial purpose: it helps stabilize egg whites, allowing them to achieve maximum volume and firm, stable peaks that won’t collapse. However, this particular recipe cleverly and effectively bypasses the need for cream of tartar by utilizing white vinegar instead. The acetic acid naturally present in vinegar performs the exact same critical function: it provides the necessary acidic environment to help the egg whites whip up into sturdy, stable peaks and prevents them from deflating during the baking process. This substitution not only simplifies your ingredient list, making the recipe even more accessible, but it also imparts a very subtle, pleasant tang that beautifully balances the sweetness of the meringue. So, rest assured, you can absolutely achieve perfect, stable, and delicious meringues without ever reaching for cream of tartar!
Storing Your Delicious Vanilla Meringue Cookies for Lasting Freshness
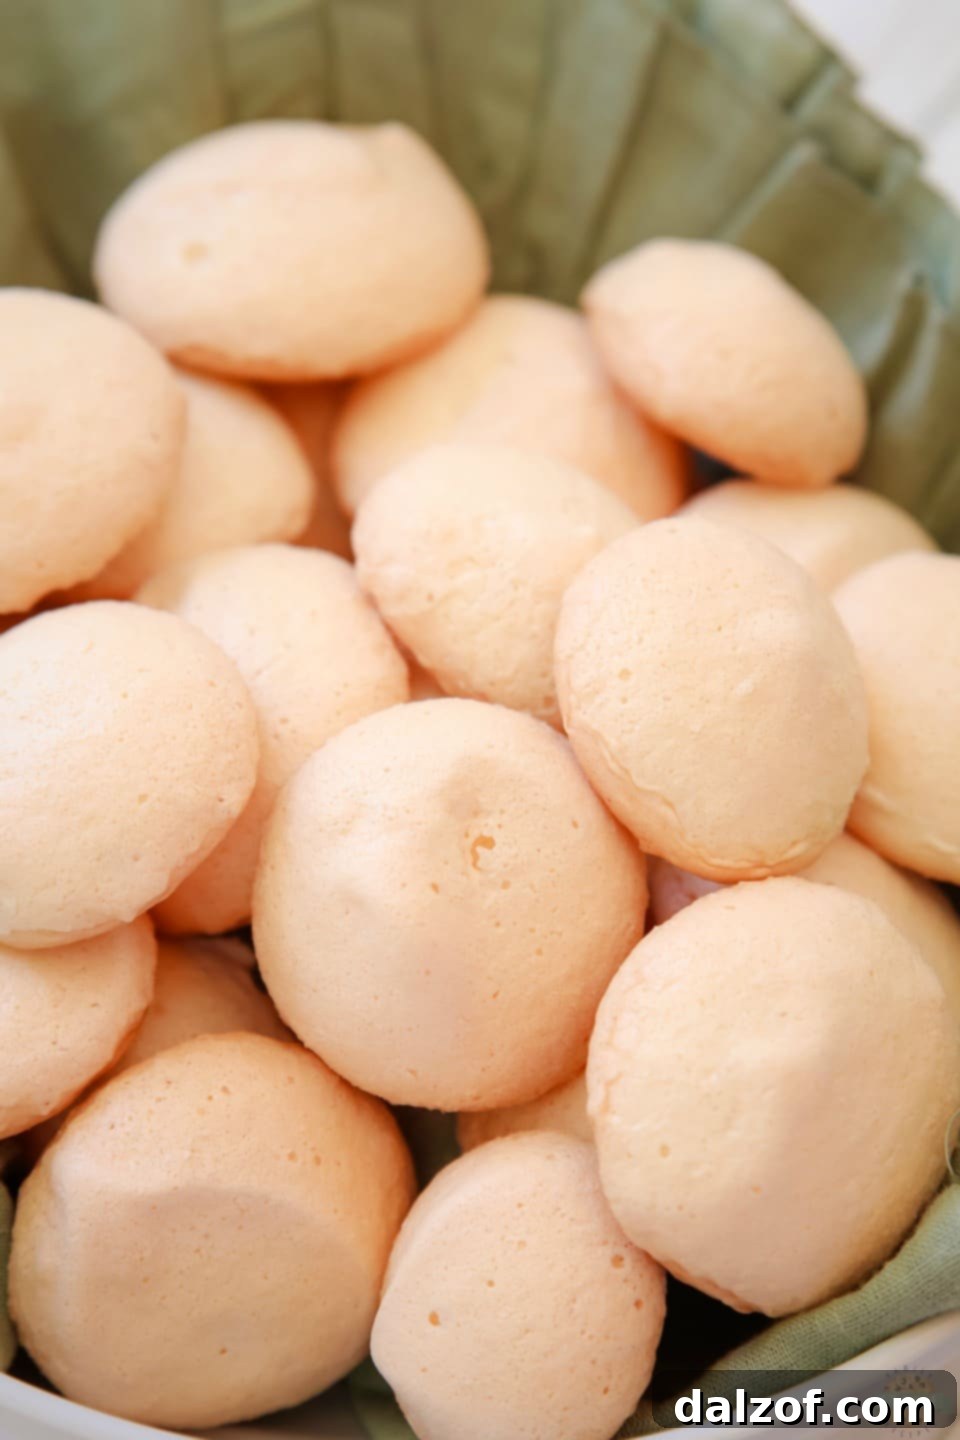
Proper storage is absolutely paramount to maintaining the delicate crisp texture and peak freshness of your homemade meringue cookies. These light-as-air treats are quite sensitive to moisture, making the right storage environment key to their longevity. You should never store meringue cookies in the refrigerator. The humid environment of a fridge will cause them to quickly become sticky, soft, and chewy, losing their signature crispness. Instead, the ideal method is to store your vanilla meringue cookies in an airtight container at room temperature. Placed on your countertop or in a pantry, they will remain wonderfully crisp and fresh for an impressive period of up to three weeks. For best results and to prevent any potential sticking or crushing, avoid layering them directly on top of each other; if you must stack them, always place a sheet of parchment paper between each layer. This extended shelf life makes them a fantastic make-ahead dessert for parties or a thoughtful edible gift.
Can You Freeze Meringue Cookies? Absolutely, With a Few Pointers!
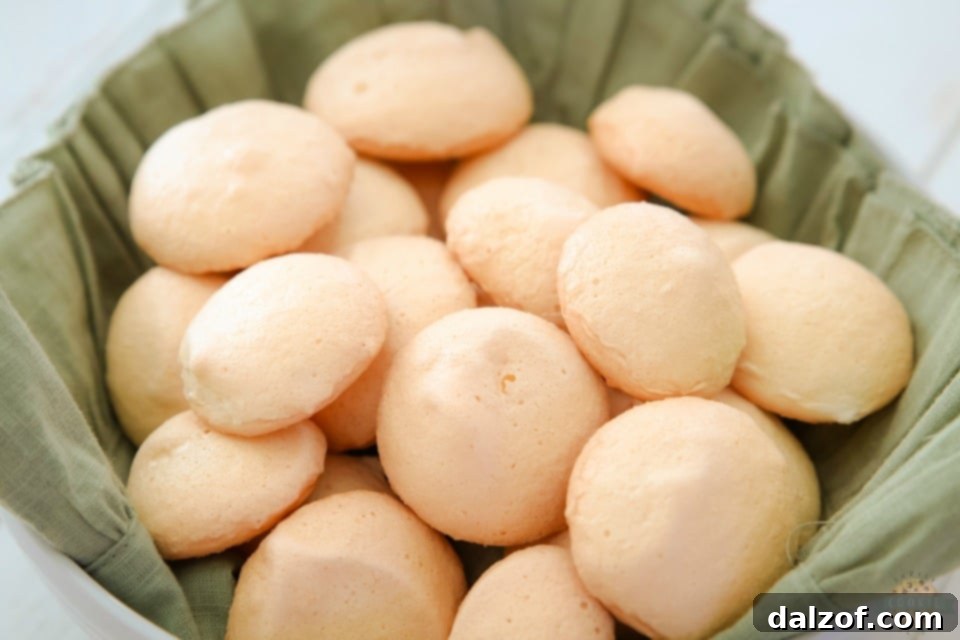
If you find yourself with an abundance of these delightful treats, or if you simply wish to prepare them well in advance for a future event, freezing meringue cookies is certainly an option. However, it requires a little care to ensure they retain their delicate structure. To freeze, ensure your cookies are completely cool and dry. Arrange them in an airtight freezer-safe container, ideally in a single layer or with layers carefully separated by parchment paper. This separation helps prevent them from sticking together or absorbing moisture. Meringue cookies can be frozen successfully for up to one month. Beyond that timeframe, they tend to become more fragile and prone to cracking, so consuming them within a month is recommended. When it’s time to enjoy your frozen meringues, thaw them gradually at room temperature. The most crucial step during the thawing process is to prevent them from absorbing too much ambient moisture, which can make them sticky. To do this, simply leave them uncovered on a plate in a non-humid room for just a few minutes until they are fully defrosted. This careful approach ensures they retain their crispness and delicate texture, allowing you to enjoy them as if they were freshly baked.
Unleash Your Creativity: Exciting Variations for Meringue Cookies
While the classic vanilla meringue cookie is undeniably delicious and universally loved, it also serves as a fantastic blank canvas for culinary creativity. Don’t hesitate to experiment with different flavors and decorations to customize these airy treats for any occasion or to suit your personal taste:
- Vibrant Citrus Zest: For a bright and zesty twist, add 1-2 teaspoons of finely grated lemon, orange, or lime zest to the meringue mixture along with the vanilla extract. The citrus oils infuse a refreshing tang that beautifully complements the sweetness.
- Alternative Extracts: Expand your flavor palette by swapping out half of the vanilla extract for other aromatic essences. Consider almond extract for a delicate nutty note, peppermint extract for a festive holiday touch, or even a few drops of coconut extract for a tropical flair.
- Playful Food Coloring: To add a burst of color for special events or themed parties, divide the prepared meringue into separate bowls. Gently fold in a few drops of gel food coloring into each portion. You can then pipe them in spirals, contrasting colors, or vibrant single-color mounds for a stunning visual effect.
- Indulgent Chocolate Drizzle: Once the baked cookies have cooled completely, melt your favorite type of chocolate (dark, milk, or white) and elegantly drizzle it over the meringues. This adds an extra layer of decadence and visual appeal.
- Subtle Cocoa Powder: For a hint of chocolate flavor and a beautiful light brown hue, gently fold 1-2 tablespoons of sifted unsweetened cocoa powder into the meringue just before piping. Be gentle to maintain the meringue’s volume.
- Festive Sprinkles: Before placing your piped meringues into the oven, scatter some colorful sprinkles over the top. This is a wonderfully simple way to make them fun and festive, perfect for birthdays, baby showers, or any celebration.
- Coffee or Espresso Powder: For a sophisticated flavor, dissolve ½ to 1 teaspoon of instant espresso powder or finely ground instant coffee in the vanilla extract before adding it to the meringue.
Elegant Serving Suggestions for Your Vanilla Meringue Cookies
These light and airy cookies are incredibly versatile and can be enjoyed in a multitude of ways, enhancing both everyday moments and special occasions:
- As a Standalone Treat: Simply perfect on their own, especially when paired with a freshly brewed cup of coffee, a soothing herbal tea, or even a glass of sparkling wine.
- Chic Dessert Garnish: Lightly crush some meringues and sprinkle them over bowls of ice cream, creamy yogurt parfaits, fresh fruit salads, or rich chocolate puddings for an irresistible textural contrast and added sweetness.
- Fresh Fruit & Cream Pairing: Serve them alongside a vibrant medley of fresh berries (strawberries, raspberries, blueberries) and a dollop of freshly whipped cream for a classic, elegant, and effortlessly beautiful dessert.
- Meringue Nests or Shells: If you pipe the meringue mixture into larger nest or shell shapes, you can fill them post-baking with a variety of delights. Think tangy lemon curd, rich chocolate mousse, delicate pastry cream, or more fresh fruit and whipped cream for a truly show-stopping dessert centerpiece.
- Affogato Topping: Drop a meringue cookie or two into a shot of hot espresso for a delightful spin on the classic affogato.
Explore More Irresistible Cookie Recipes You’ll Absolutely Love!
If you’ve enjoyed baking these vanilla meringue cookies, you’re in for a treat! Our collection features a wide array of delicious cookie recipes, perfect for any craving or occasion. Dive in and discover your next favorite bake:
- Orange Creamsicle Cookies
- Double Lemon Cookies
- Lemon Cream Pie Cookies
- Easter Sprinkle Cookies
- Flourless Chocolate Cookies
- Strawberry Shortcake Cookies
- Mint Chocolate Cake Mix Cookies
- Lemon Jello Sugar Cookies
- Fluffernutter Cookies
- White Chocolate Cherry Oatmeal Cookies
- Peppermint Vanilla Shortbread Cookies
- Caramel Spice Cake Mix Cookies
- Frosted Rose Sugar Cookies
- No Bake Pumpkin Cookies
- Chocolate Mint Cookies
We hope you thoroughly enjoy creating and savoring these delightful vanilla meringue cookies. They are a testament to how simple ingredients, combined with a little care, can produce a truly elegant and memorable dessert. Happy baking!


Beyond the Kitchen: Cherished Family Moments

Just like the delicate layers of a meringue cookie, life’s sweetest moments are often simple yet profoundly memorable. Recently, my youngest daughter reached a significant milestone, turning 8. In our church, this age marks the time for baptism, a truly special occasion. As we prepared for this spiritual event, it’s true there was also considerable excitement, especially for my daughter, centered around what she would wear. She had her heart set on looking like a real-life princess! As her youngest, I certainly did my best to make that dream come true – within reason, of course! While I drew the line at a tiara and an elaborate petticoat, it was quite amusing when my mom was completely in favor of the petticoat, and my sister-in-law, with a knowing wink, surprised us by showing up to the baptism with a sparkling tiara for her. It turned out to be a beautiful day, filled with the warmth of family, laughter, and the creation of sweet, lasting memories. These meringue cookies, in their simple elegance, often remind me of those pure, joyful moments and the unique blend of tradition and personal flair that makes family life so rich.