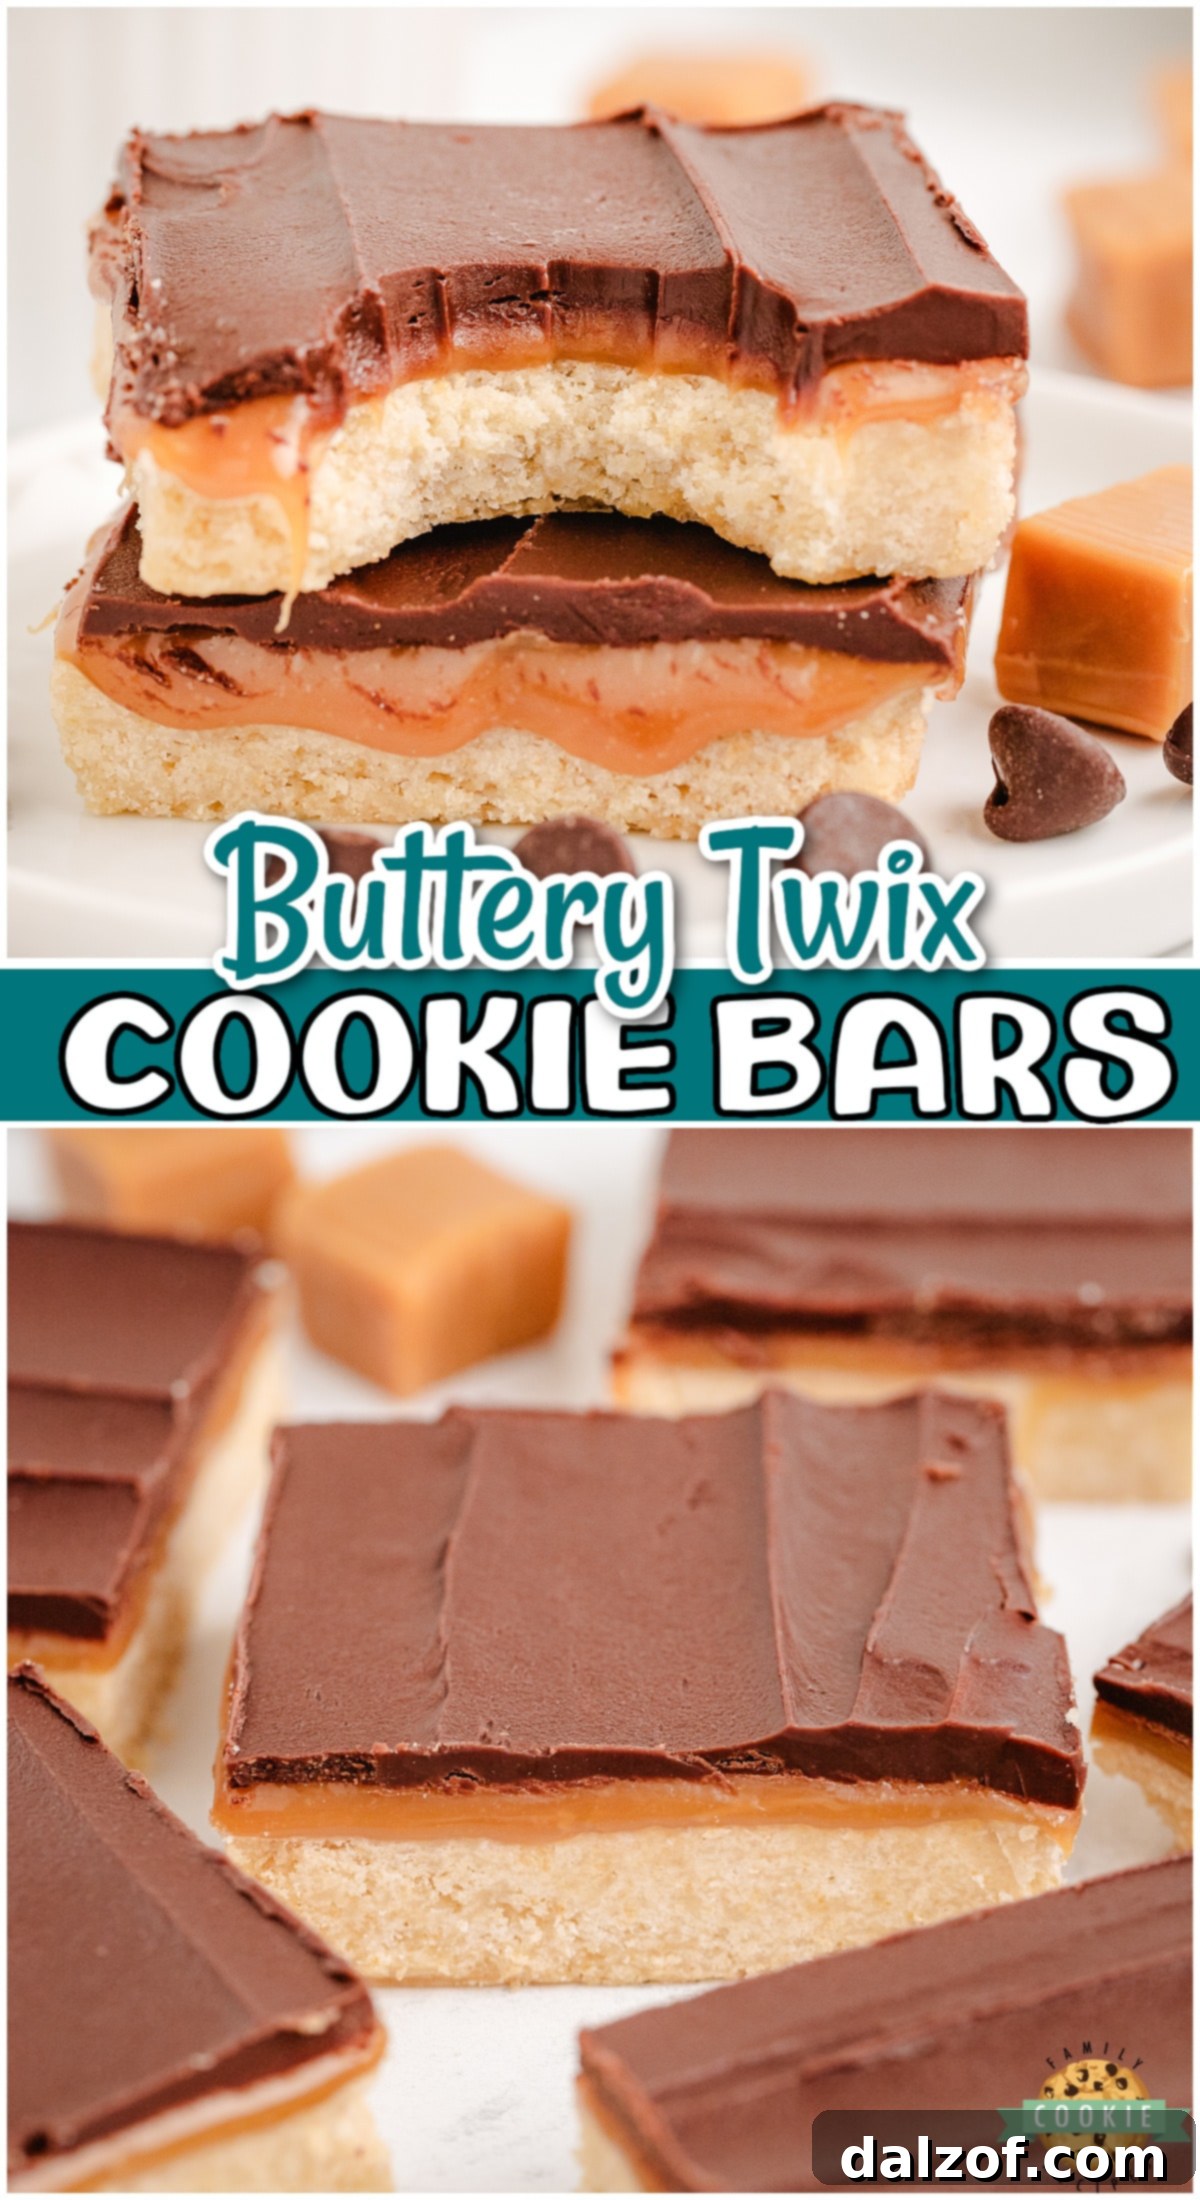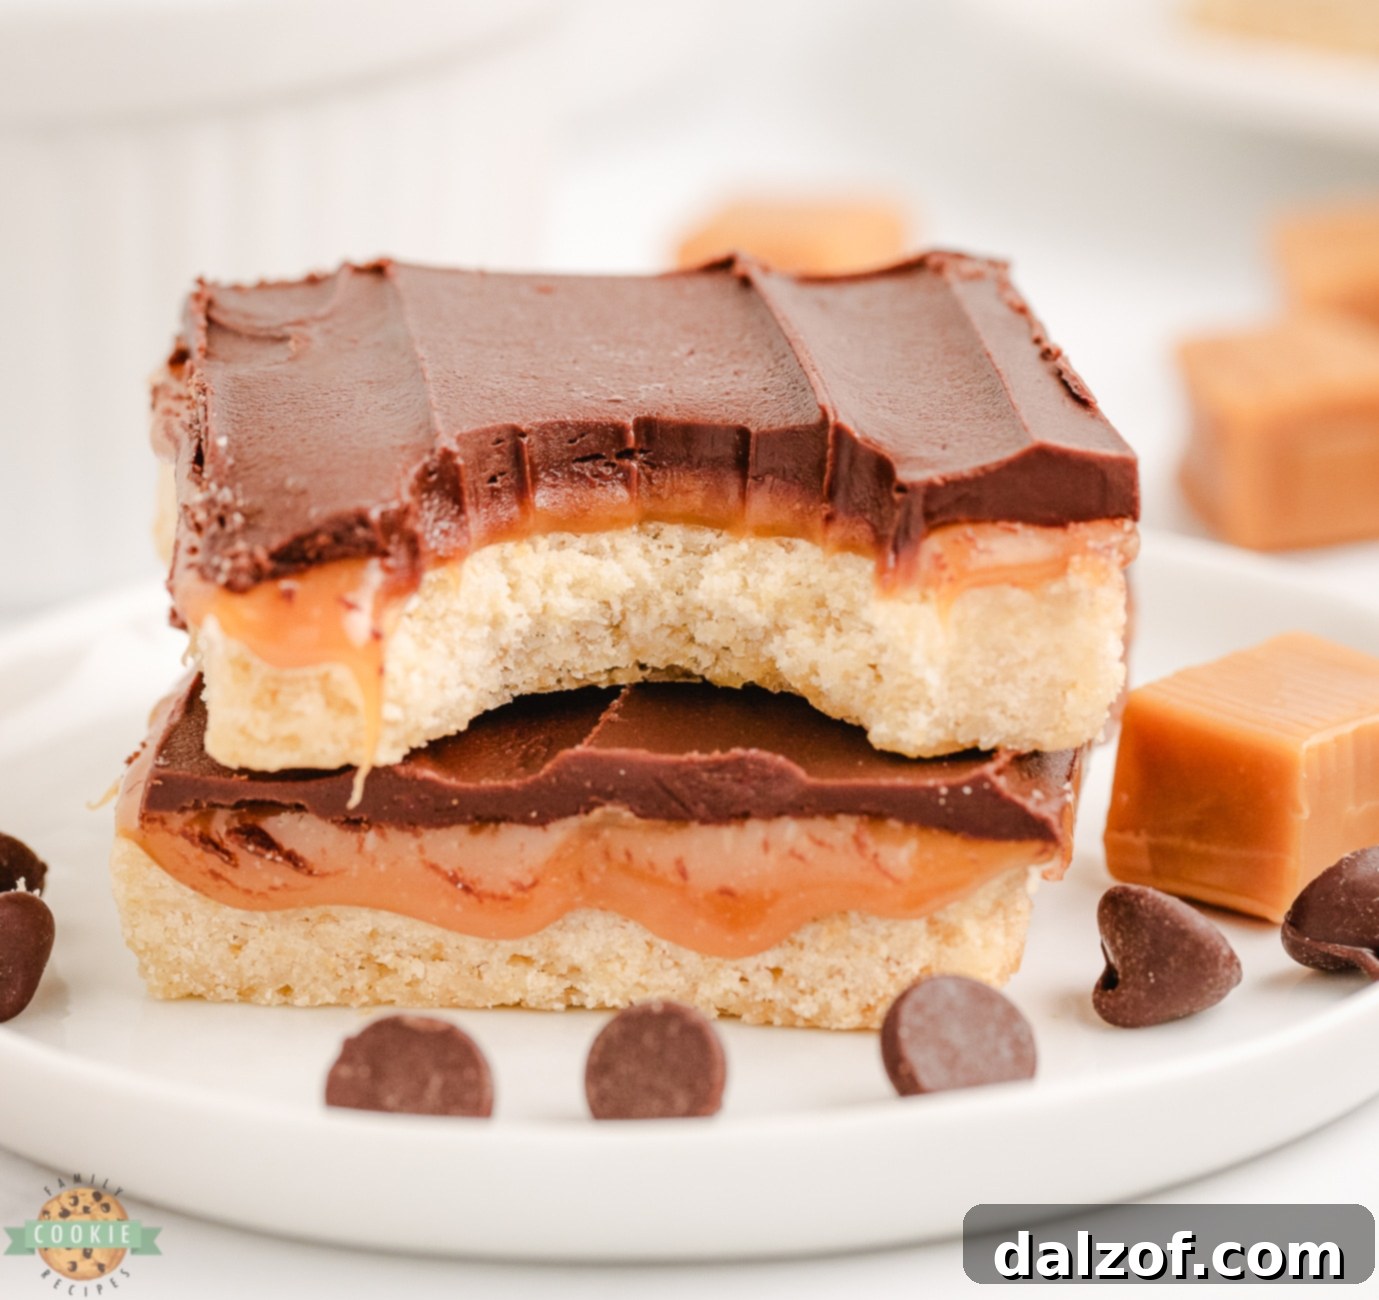
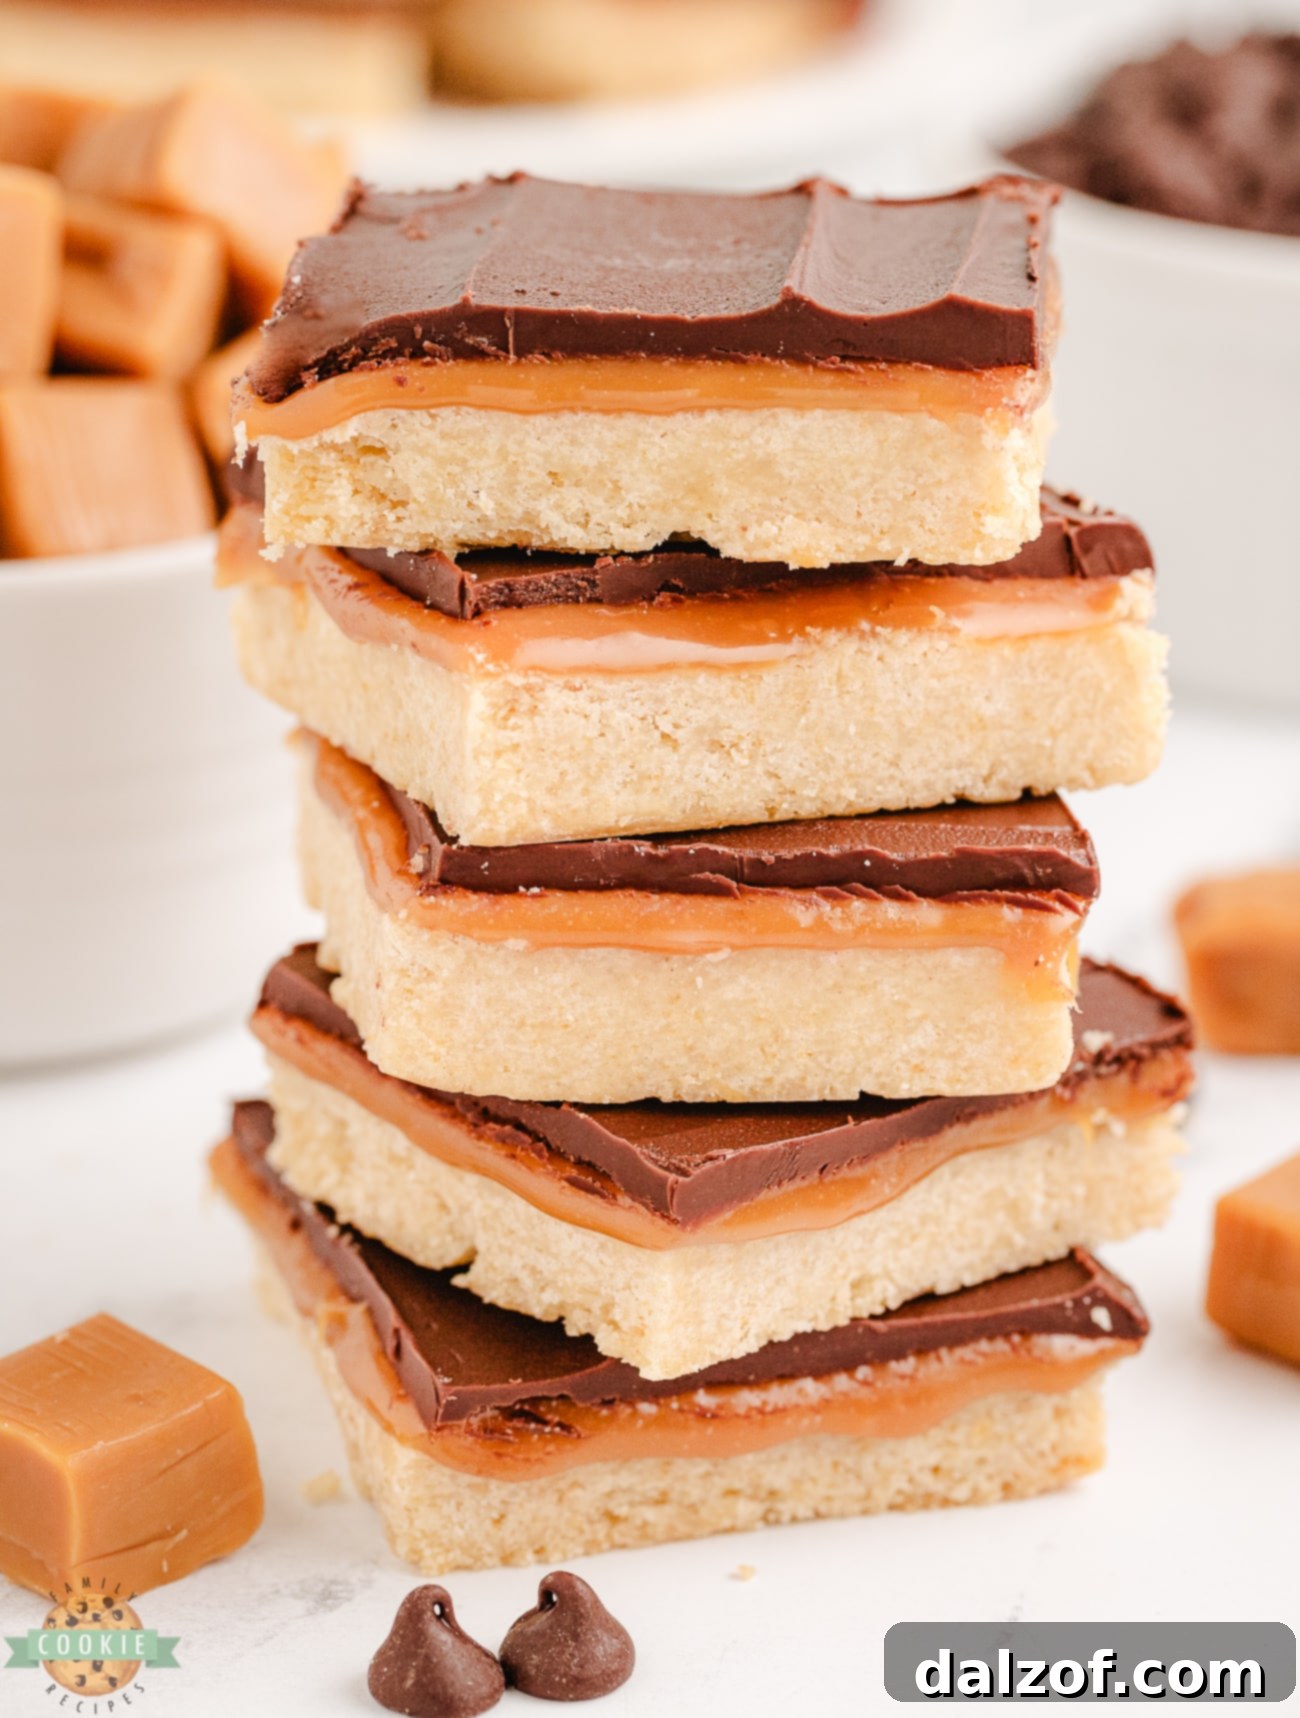
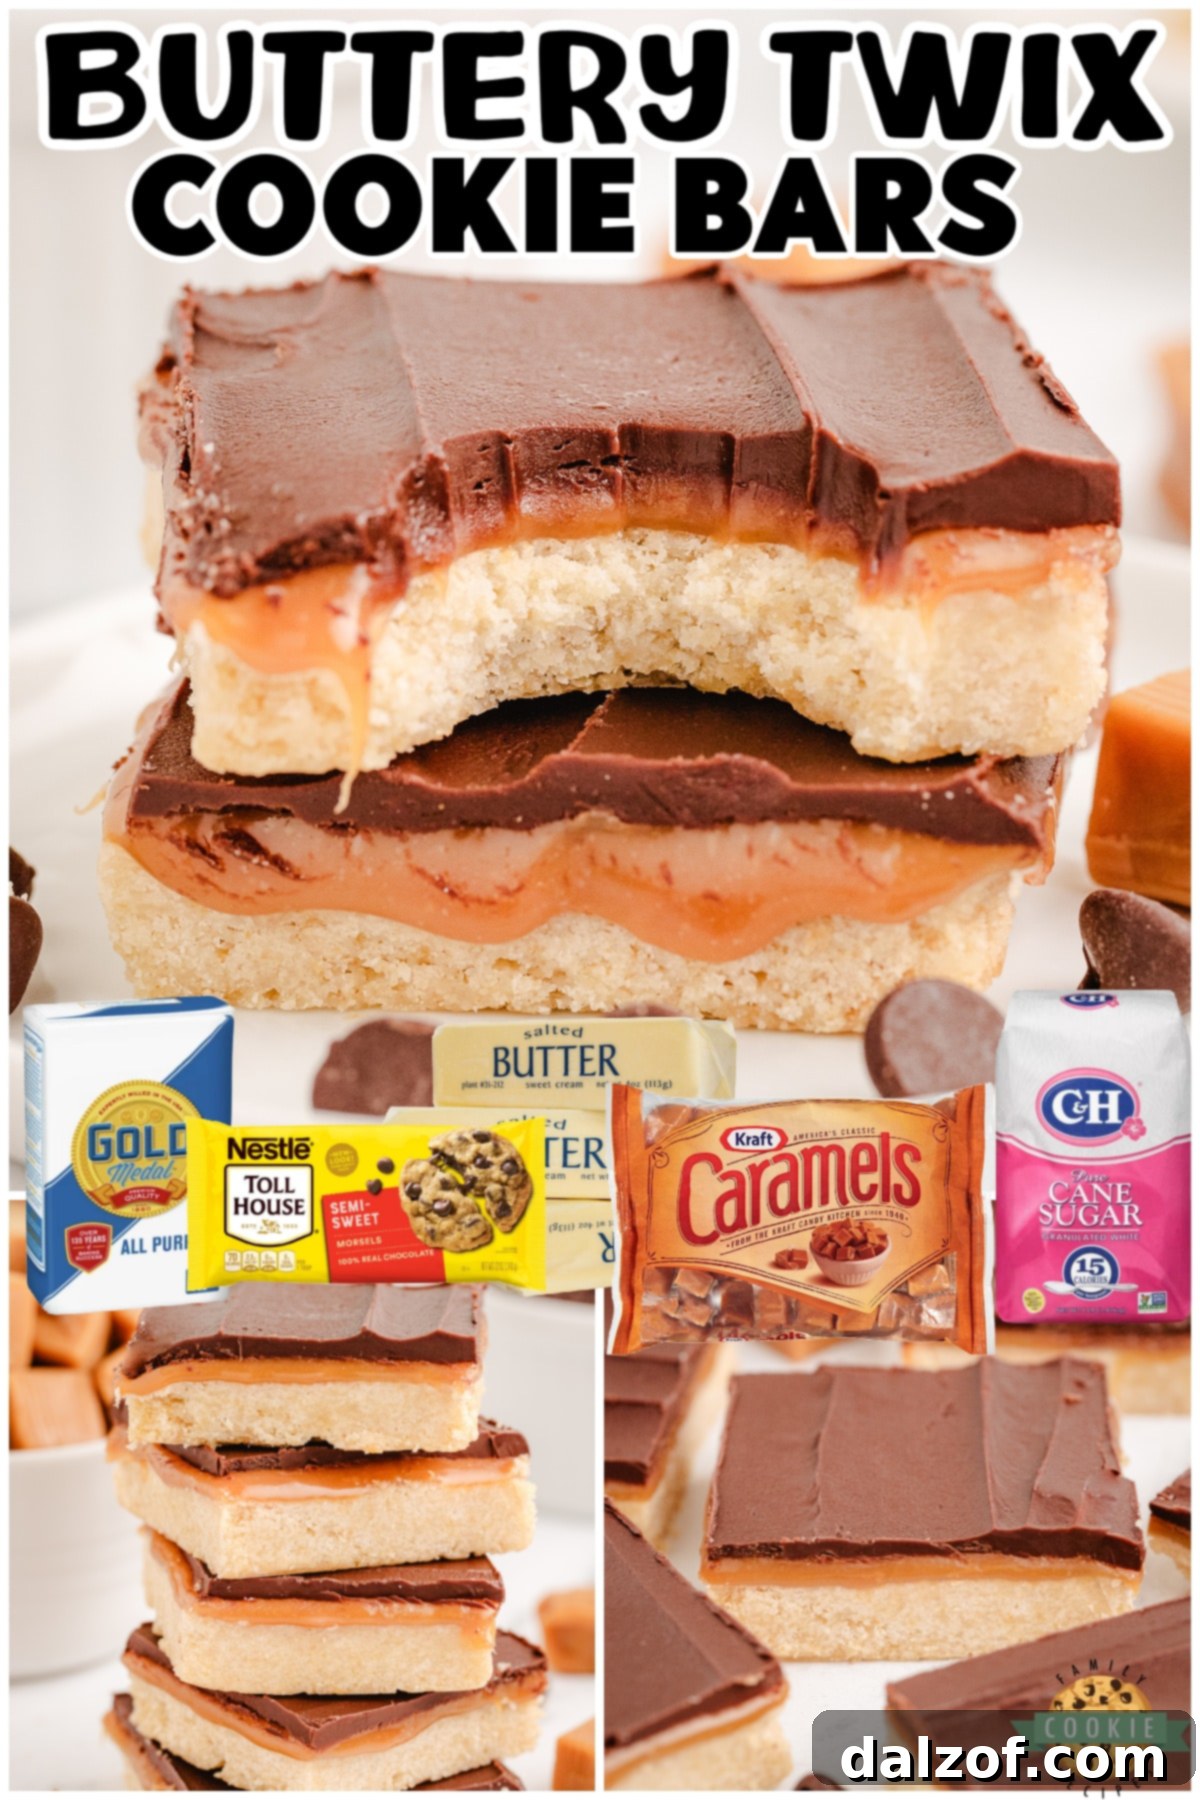
Indulge in a beloved classic with a homemade twist: these incredible Twix Cookie Bars! Imagine a buttery, melt-in-your-mouth shortbread cookie base, generously topped with a luscious layer of soft, chewy caramel, and then crowned with a smooth, decadent blanket of rich chocolate. These aren’t just any dessert bars; they’re a symphony of textures and flavors that recreate the iconic candy bar experience right in your kitchen. Perfect for sharing with friends and family, serving at parties, or simply satisfying your deepest sweet cravings, this homemade Twix bar recipe is surprisingly easy to make and yields a substantial batch that’s sure to impress any crowd. Forget the store-bought versions; once you try these caramel shortbread dessert bars, you’ll never go back!
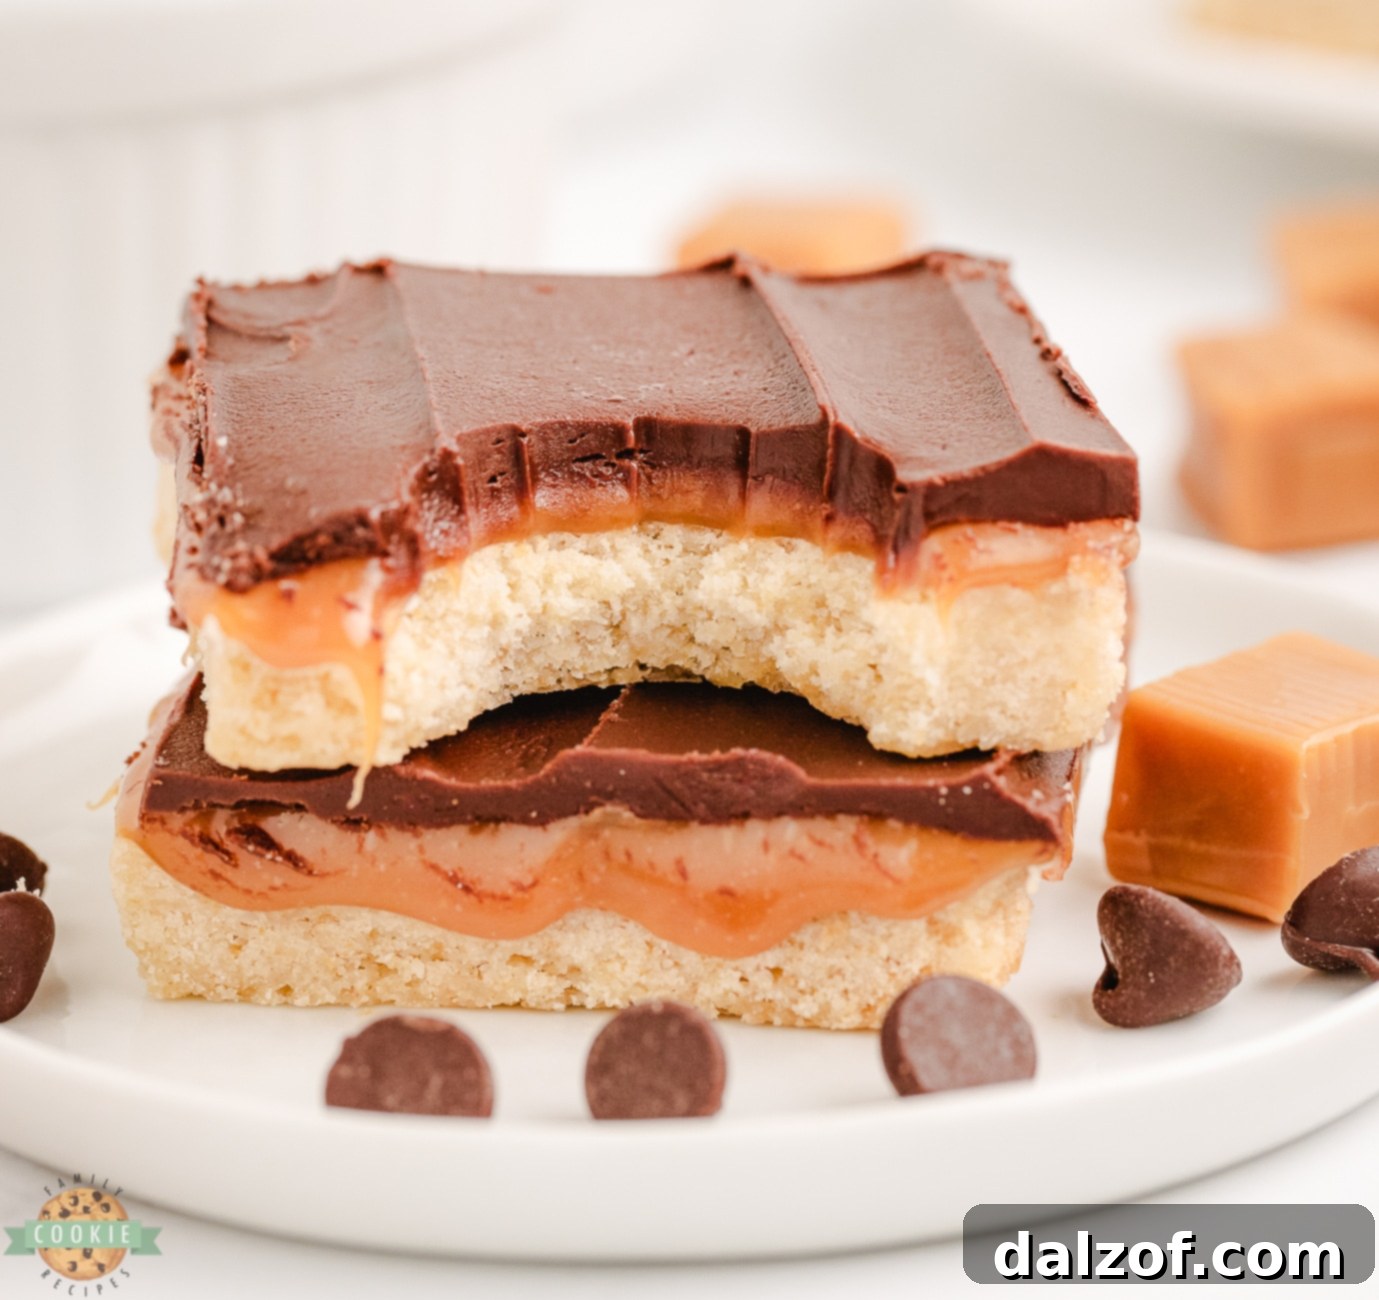
Craving more candy bar inspired treats? Be sure to explore our extensive collection of our favorite Candy Bar Cookie recipes!Whether you’re looking for a fun and rewarding baking project or simply aiming to delight your taste buds, this Twix cookie recipe is guaranteed to be a sensational success. Its flawless blend of sweet caramel, crisp shortbread, and rich chocolate delivers an irresistible treat that stands out. Don’t hesitate to give these delightful homemade Twix bars a try today and experience pure dessert bliss!
Why You’ll Love Homemade Twix Cookie Bars
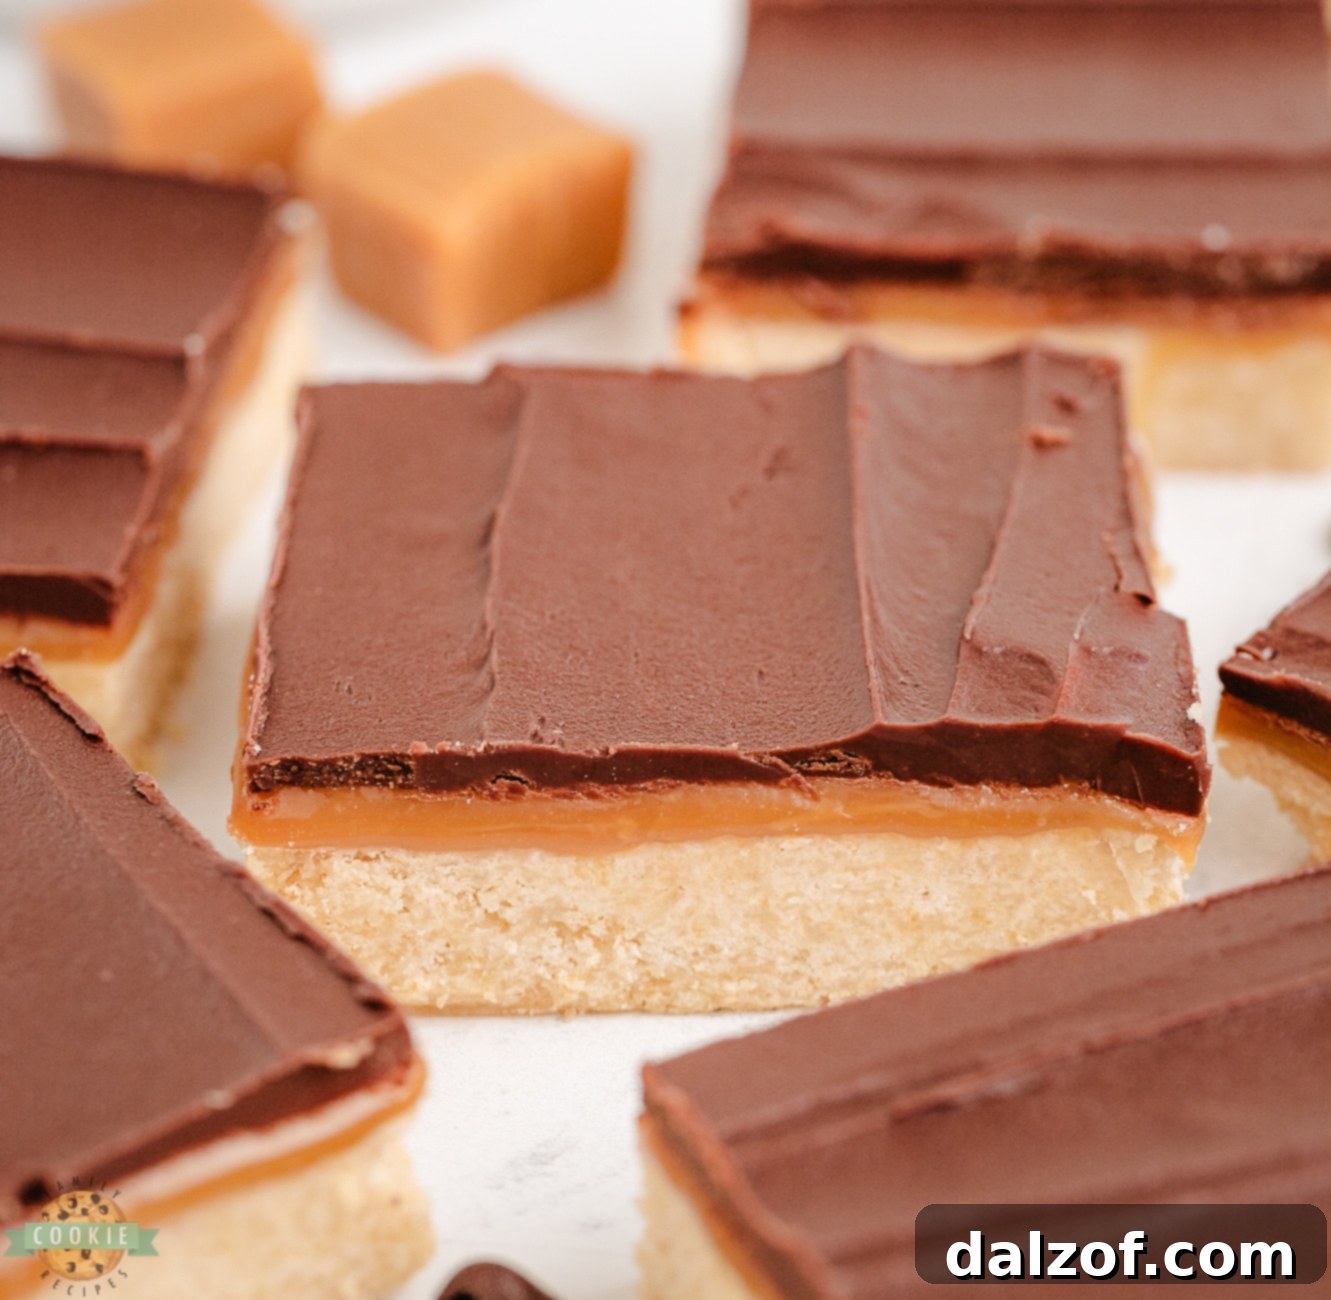
Making your own Twix Cookie Bars at home offers a multitude of benefits, starting with the unparalleled taste and quality. Unlike mass-produced candy bars, homemade versions allow you to control the ingredients, ensuring freshness and avoiding artificial flavors or preservatives. The shortbread base is baked to golden perfection, offering a tender yet crumbly texture that contrasts beautifully with the gooey, homemade caramel layer. Each bite delivers a burst of rich chocolate, creating a dessert that feels luxurious and comforting.
These bars are incredibly versatile. They can be enjoyed as a delightful standalone snack, a comforting treat after a long day, or a show-stopping dessert to share with loved ones. They are also perfect for parties, potlucks, or gifting, as they travel well and are always a crowd-pleaser. With their simple yet satisfying combination of flavors and textures, it’s no wonder why Twix candy has remained a popular choice for over 50 years, and our homemade version elevates that classic appeal.
Expert Tips for Crafting Perfect Twix Cookie Bars
Achieving bakery-quality Homemade Twix Cookie Bars is simpler than you might think with a few key techniques. Follow these expert tips to ensure flawless results every single time, making your baking experience enjoyable and your treats delicious:
- Prioritize High-Quality Ingredients: The foundation of any exceptional dessert lies in its components. Always use fresh, premium-quality ingredients – from rich, unsalted butter to fine granulated sugar, all-purpose flour, and high-grade chocolate. Opting for cheaper or stale ingredients can significantly compromise the taste and texture of your cookie bars, leading to a less satisfying outcome.
- Always Line Your Baking Pan: To guarantee easy removal and prevent sticking, lining the bottom and sides of your baking pan with parchment paper is crucial. Leave a slight overhang on the sides to create “handles,” allowing you to effortlessly lift the entire slab of cookie bars out of the pan once cooled, making cutting a breeze.
- Avoid the Pitfall of Overbaking: The shortbread base is the heart of these bars, and overbaking can lead to a dry, tough, or crumbly texture. Bake until the edges are just golden brown and the center appears lightly set, but still slightly soft. Remember, the bars will continue to set as they cool.
- Allow for Complete Cooling: Patience is a virtue, especially when it comes to setting caramel and chocolate. Ensure your cookie bars are completely cool before attempting to cut or serve them. Rushing this step can result in a messy, crumbling dessert that doesn’t hold its shape, as the layers need time to firm up.
- Master the Art of Caramel Melting: When melting your caramels, use a microwave-safe bowl and heat in short increments (30 seconds at a time), stirring thoroughly after each interval. This gentle approach prevents the caramel from burning or seizing, ensuring a smooth, pliable layer that spreads beautifully over your shortbread.
- Store in an Airtight Container: To maintain the freshness, chewiness, and overall deliciousness of your Twix Cookie Bars, store them in an airtight container at room temperature. This protects them from drying out and keeps them delightful for up to a week, though they rarely last that long!
- Clean Cuts for Perfect Presentation: For neat, professional-looking squares, use a sharp, warm knife. Run your knife under hot water and wipe it clean between each cut. This technique helps glide through the chocolate and caramel layers without dragging or cracking, resulting in perfectly defined bars.
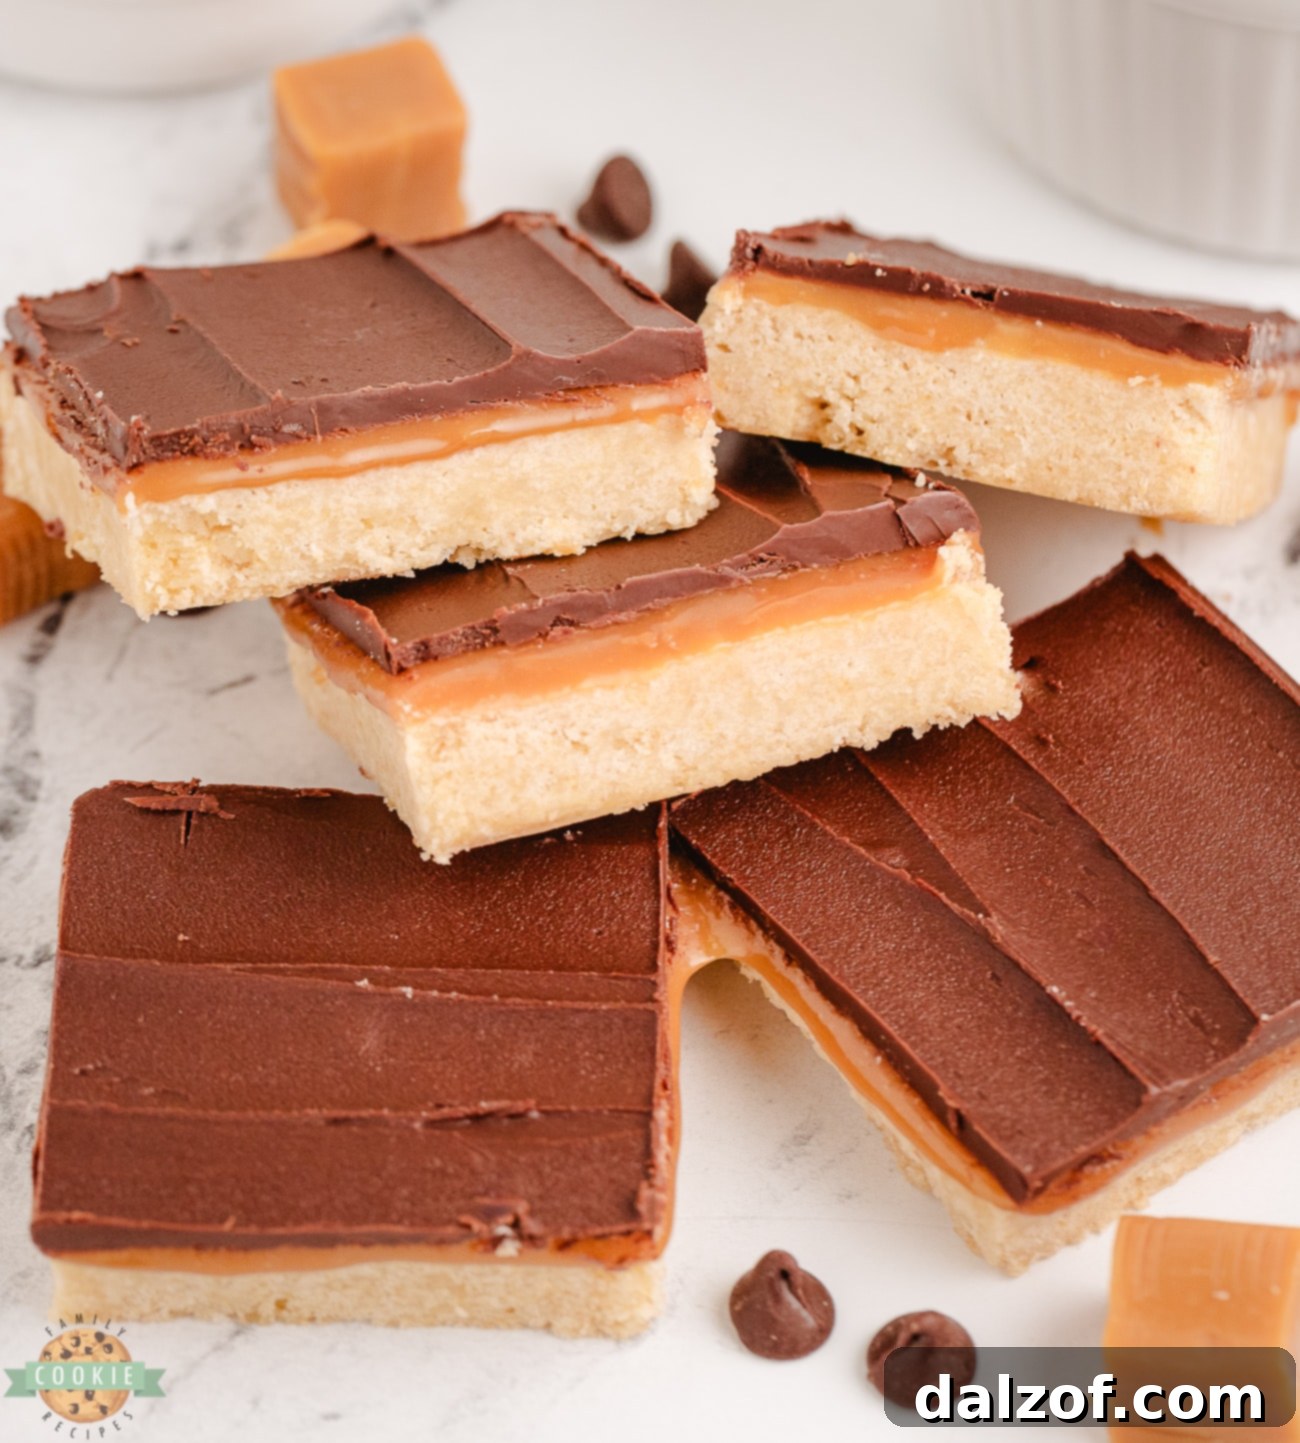
Essential Ingredients for Your Homemade Twix Cookie Bars
Creating these delightful homemade Twix bars requires a few simple, yet crucial ingredients. Each component plays a vital role in building the signature flavor and texture profile that makes these bars so irresistible:
For the Buttery Shortbread Base:
- Unsalted Butter: You’ll need 1 cup (2 sticks) of good quality unsalted butter, softened to room temperature. This is the cornerstone of a rich, tender, and flavorful shortbread cookie, contributing to its melt-in-your-mouth texture.
- Granulated Sugar: Half a cup of granulated sugar provides the perfect level of sweetness, ensuring the cookie base complements the sweet caramel and chocolate without being overly sugary. It also aids in achieving that desired crisp-tender texture.
- All-Purpose Flour: Two cups of all-purpose flour form the structural foundation of the cookie layer. It’s important not to overmix the dough once the flour is added to prevent gluten development, which can lead to a tough cookie.
- Baking Powder: A single teaspoon of baking powder provides a slight lift to the shortbread, making it tender and less dense, contributing to its delicate crumb.
- Salt: A quarter teaspoon of salt is essential for balancing and enhancing all the incredible sweet flavors in this recipe. It prevents the bars from tasting flat and brings out the depth of the butter and caramel.
For the Irresistible Caramel Layer:
- Soft Caramels: One 11-ounce bag of individually wrapped soft caramels is the star of this layer. These melt down to create a wonderfully chewy, golden caramel topping that mimics the classic Twix candy bar.
- Milk: Two tablespoons of milk (whole milk works best) are added to the caramels to help thin out the mixture as it melts, creating a smooth, pourable consistency that spreads evenly over the shortbread.
For the Decadent Chocolate Topping:
- Chocolate Chips: You’ll need 1 cup plus an additional 2 tablespoons of semi-sweet chocolate chips for the luxurious chocolate layer. Semi-sweet offers a balanced sweetness that pairs beautifully with the caramel.
- Unsalted Butter: An additional 2 tablespoons of unsalted butter are melted with the chocolate chips. This not only helps the chocolate melt smoothly and prevents it from seizing, but also adds a desirable richness and gloss to the finished topping.
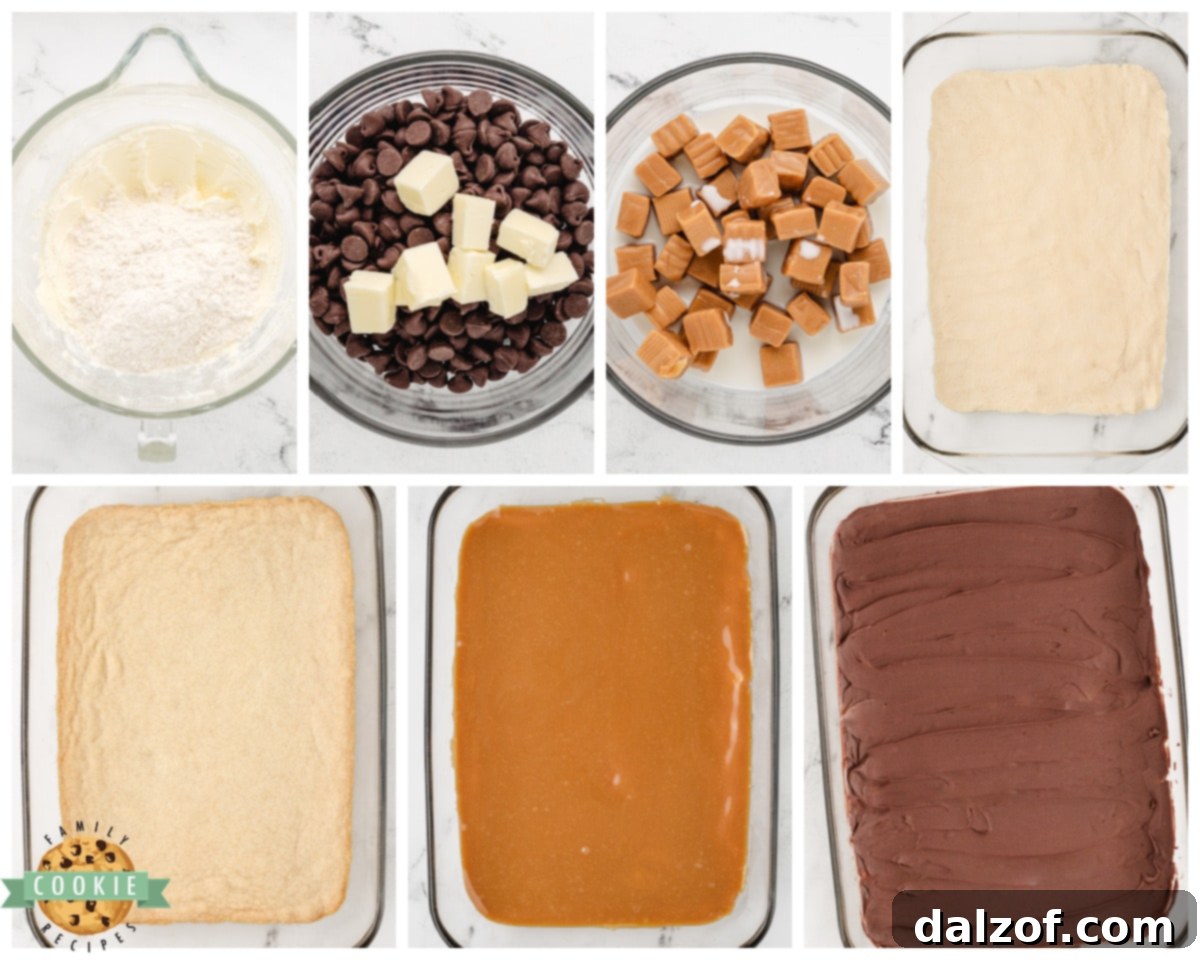
How to Make Easy Twix Cookie Bars: A Step-by-Step Guide
Creating these delightful Twix Cookie Bars is a straightforward process. Follow these detailed steps to achieve perfect, layered dessert bars every time:
Step 1: Preparation (Prep)
Before you begin mixing, preheat your oven to 300°F (150°C). This ensures the oven is at the correct temperature for even baking. Next, take a 9×13 inch baking pan and spray it thoroughly with nonstick cooking spray. For even easier removal and cleanup, consider lining the pan with parchment paper, leaving an overhang on the sides. Set the prepared pan aside.
Step 2: Crafting the Shortbread Batter
In a large mixing bowl, combine the softened butter and granulated sugar. Using an electric mixer (either a stand mixer with a paddle attachment or a hand mixer), cream these ingredients together on medium speed until the mixture becomes light, fluffy, and pale in color. This process incorporates air, contributing to a tender shortbread.
Reduce the mixer speed to low. Gradually add the flour, baking powder, and salt to the creamed butter and sugar. Mix until the ingredients are just combined and a soft, cohesive dough forms. Be careful not to overmix, as this can develop the gluten in the flour and result in a tough cookie base.
Step 3: Baking the Shortbread Base
Transfer the prepared shortbread dough into your greased and/or parchment-lined 9×13 inch pan. Using your fingers or the back of a spoon, evenly press the dough across the bottom of the pan, forming a uniform layer. Ensure the dough is pressed firmly and reaches all the corners.
Place the pan into the preheated oven and bake for 30-35 minutes, or until the edges are golden brown and the center appears set. Once baked, carefully remove the cookie bar from the oven and place it on a wire rack. Allow it to cool completely in the pan for 10-15 minutes before proceeding to the next layer.
Step 4: The Luscious Caramel Layer
While the shortbread base cools, prepare the caramel layer. In a medium microwave-safe bowl, combine the unwrapped caramels and 2 tablespoons of milk. Microwave on high for 1 minute, then stir well. If the caramels are not yet fully melted and smooth, continue to microwave in 30-second increments, stirring thoroughly after each, until you achieve a smooth, mostly lump-free caramel mixture.
Once the caramel is smooth, carefully pour it evenly over the cooled shortbread base in the pan. Using a spatula or the back of a spoon, gently spread the caramel to cover the entire surface. Place the pan into the refrigerator for 10-15 minutes to allow the caramel layer to set and firm up slightly.
Step 5: The Decadent Chocolate Layer
In a separate small microwave-safe bowl, combine 1 cup of chocolate chips and 2 tablespoons of butter. Microwave on high for about 1 minute and 30 seconds. Remove from the microwave and stir continuously until the chocolate and butter are fully melted and a smooth, glossy chocolate sauce forms.
Pour this melted chocolate mixture over the set caramel layer in the pan. Gently spread it out evenly using a spatula, ensuring the entire caramel surface is covered with a smooth layer of chocolate. For that classic Twix look, melt the remaining 2 tablespoons of chocolate chips separately (in a very small bowl or a piping bag) and drizzle thin stripes across the top of the smooth chocolate layer. This adds visual appeal and an extra touch of chocolatey goodness.
Return the pan to the refrigerator for about 10 minutes to allow the chocolate layer to set. For the cleanest cuts, it’s best to cut the bars while the chocolate is firm but not overly hard.
Step 6: Serve and Enjoy!
Once the chocolate layer is firm, remove the pan from the refrigerator. Using a sharp knife that has been run under hot water and wiped clean (reheat and wipe between cuts if needed), cut the large cookie bar slab into desired squares or rectangles. Cutting them while still cold helps create nice, even, and neat slices.
Serve your beautiful Twix Cookie Bars immediately and savor every delicious bite! These homemade treats are best enjoyed fresh, but can be stored for later enjoyment.
Creative Customization Ideas for Your Cookie Bars
One of the most exciting aspects of baking homemade Twix Cookie Bars is their incredible versatility. While the classic shortbread, caramel, and chocolate combination is undeniably delicious, there are countless ways to customize these bars to suit your taste or occasion. Here are a few creative ideas to inspire your next baking adventure:
- Nutty Butter Variation: For a delightful nutty twist, swap out the traditional caramel layer entirely or add an additional layer of your favorite nut butter. Spread a smooth layer of creamy peanut butter, almond butter, or cashew butter between the cookie base and the chocolate topping for a rich, flavorful experience.
- S’mores Inspired Bars: If you’re a fan of the classic campfire treat, you’ll adore this variation. Instead of caramel, spread a generous layer of marshmallow fluff or miniature marshmallows over the cooled cookie base. Briefly toast the marshmallows under a broiler (watch carefully!) before adding the chocolate layer for that authentic s’mores flavor and gooey texture.
- Add a Crunchy Element: Before the chocolate layer sets, sprinkle some chopped nuts (like pecans, walnuts, or almonds), crushed pretzels for a salty-sweet contrast, or even a handful of rice cereal for an extra crunch.
- Different Chocolate Types: Experiment with various types of chocolate for your top layer. Dark chocolate will offer a more intense, slightly bitter contrast to the sweet caramel, while milk chocolate will create an even richer, creamier profile. You could also use white chocolate for a striking visual contrast.
- Seasonal Sprinkles: For holidays or special occasions, add festive sprinkles on top of the melted chocolate before it sets. This is an easy way to customize your caramel cookie bars for any celebration.
- Espresso Infusion: For a sophisticated flavor, add a teaspoon of instant espresso powder to your melted chocolate layer. This will deepen the chocolate flavor and add a subtle coffee note that pairs wonderfully with caramel.
Dietary Variations for Enjoying Twix Cookie Bars
Having dietary restrictions doesn’t mean you have to miss out on the joy of homemade Twix Cookie Bars! With a few simple substitutions, you can adapt this recipe to fit various dietary needs without sacrificing flavor:
- Gluten-Free Option: To make these bars entirely gluten-free, simply replace the regular all-purpose flour in the shortbread base with a high-quality 1:1 gluten-free baking flour blend. Ensure your chosen blend contains xanthan gum for optimal texture, or add a quarter teaspoon if it doesn’t. Alternatively, you can create a gluten-free crust using crushed gluten-free graham crackers mixed with melted butter.
- Reduced-Sugar / Sugar-Free Version: If you are monitoring your sugar intake, you can still enjoy these delicious bars. Opt for a sugar-free caramel sauce (either store-bought or homemade with sugar substitutes) and sugar-free chocolate chips for the topping layers. For the shortbread base, you can use a granulated sugar substitute, adjusting the quantity according to the product’s sweetness equivalency to regular sugar.
- Dairy-Free Adaptation: For a dairy-free version, substitute dairy butter with a high-quality plant-based butter alternative in both the shortbread and chocolate layers. For the caramel, use dairy-free caramels (many brands offer these) and replace cow’s milk with a plant-based milk such as almond milk or oat milk. Choose dairy-free chocolate chips for the topping.

Twix Cookie Bars
Twix Cookie Bars made with a buttery cookie base, topped with smooth caramel and melted chocolate! Perfect caramel cookie bars for Twix lovers!
Course: Cookies, Dessert, Treat
Cuisine: American
Keyword: Twix Cookie Bars
Prep Time: 20 minutes
Cook Time: 30 minutes
Total Time: 50 minutes
Servings: 20 servings
Calories: 262 kcal
Author: Jessica & Nellie
Ingredients
For the Shortbread Base
- 1 cup butter (2 sticks, softened)
- ½ cup sugar
- 2 cups flour
- 1 tsp baking powder
- ¼ tsp salt
Caramel & Chocolate Layers
- 11 oz bag caramels (individually wrapped)
- 2 TBSP milk
- 1 cup + 2 TBSP chocolate chips (semi-sweet recommended)
- 2 TBSP butter
Instructions
-
Prep: Preheat the oven to 300°F. Spray a 9×13 pan with nonstick spray and set aside. For easier removal, line with parchment paper.
-
Batter: In a large bowl, using an electric mixer, cream the butter with the sugar until the mixture is light and fluffy.
-
Add flour, baking powder, and salt. Mix until it forms a cohesive dough, being careful not to overmix.
-
Bake: Press the dough evenly into the prepared pan. Bake for 30-35 minutes, or until the edges are golden brown.
-
Remove from oven and let it cool in the pan for 10-15 minutes on a wire rack.
-
Caramel Layer: In a medium bowl, melt caramels and 2 TBSP milk in the microwave for 1 minute, adding 30-second increments as needed, until caramels melt and the mixture is mostly smooth. Pour over the cooled cookie bars and spread evenly. Refrigerate for 10-15 minutes until set.
-
Chocolate Layer: In another small bowl, melt 1 cup chocolate chips and 2 TBSP butter in the microwave for about 1 minute 30 seconds. Stir until smooth, then spread evenly on top of the caramel layer.
-
Return the pan to the fridge for about 10 minutes to set the chocolate. Melt the remaining 2 TBSP chocolate chips and drizzle stripes on top of the bars, mimicking store-bought Twix bars. Cut into squares while bars are still cold for neat, even slices. Enjoy!
Notes
These cookie bars will stay fresh for up to 3-5 days if stored in an airtight container at room temperature.
Place them in an airtight container or freezer bag and freeze for up to 3 months. Thaw at room temperature before serving.
Nutrition
Calories: 262kcal | Carbohydrates: 32g | Protein: 2g | Fat: 14g | Saturated Fat: 9g | Polyunsaturated Fat: 1g | Monounsaturated Fat: 3g | Trans Fat: 0.4g | Cholesterol: 29mg | Sodium: 150mg | Potassium: 98mg | Fiber: 0.3g | Sugar: 20g | Vitamin A: 328IU | Vitamin C: 0.1mg | Calcium: 43mg | Iron: 1mg
Frequently Asked Questions (FAQs) About Twix Cookie Bars
Many home bakers have questions when trying a new recipe. Here are some common inquiries about making and enjoying Homemade Twix Cookie Bars:
What is the Best Way to Melt Chocolate for the Topping?
While microwaving is quick, the best way to melt chocolate for a truly smooth and glossy finish is using a double boiler method. Fill a small saucepan with a few inches of water and bring it to a gentle simmer. Place a heatproof bowl (glass or metal) on top of the pot, ensuring the bottom of the bowl does not touch the simmering water. Add your chocolate chips and butter to the bowl and stir occasionally until fully melted and smooth. This indirect heat prevents scorching and ensures a perfect consistency for spreading.
Can I Make a No-Bake Version of Twix Cookie Bars?
Absolutely! To create a convenient no-bake version, you can adapt the concept. Start with a store-bought shortbread cookie base (or crush them for a crumb crust). Spread a layer of store-bought caramel sauce over the cookies, and then dip them entirely or cover them with melted chocolate. Allow the bars to cool and set in the refrigerator before cutting and serving. This method is quicker and requires no oven time.
How Can I Achieve Clean, Even Cuts?
For bakery-perfect squares, timing and technique are key. Ensure the chocolate layer is fully set but not rock-hard. If it’s too soft, it will smear; if too hard, it will crack. Use a long, sharp chef’s knife. For the cleanest cuts, run your knife under hot water for a few seconds, then wipe it completely dry. Make a single, decisive cut, and repeat the hot water and wiping process before each subsequent cut. This prevents the chocolate and caramel from sticking to the knife and creates neat edges.
Can I Make These Twix Cookie Bars Ahead of Time?
Yes, these bars are an excellent make-ahead dessert! They actually benefit from chilling, allowing all the layers to fully set and the flavors to meld beautifully. You can prepare the entire batch a day or two in advance and store them in an airtight container in the refrigerator. Just bring them to room temperature for about 15-20 minutes before serving for the best texture.
Optimal Storage Tips for Your Homemade Cookies
Proper storage is essential to keep your Homemade Twix Cookie Bars fresh and delicious for as long as possible. Here’s how to store them effectively:
- Room Temperature: If you plan to enjoy your cookie bars within 3-5 days, storing them at room temperature is ideal. Place them in an airtight container to prevent them from drying out or becoming stale. Keep the container in a cool, dry place away from direct sunlight or heat sources.
- Refrigerator Storage: For extended freshness, especially in warmer or humid climates, the refrigerator is a good option. Stored in an airtight container, your caramel cookie bars can last for up to two weeks. Be aware that refrigeration can sometimes make the shortbread base slightly firmer and the chocolate topping harder, so allow them to come to room temperature for about 15-20 minutes before serving for the best texture.
- Freezing for Long-Term: Unlike some cookies, these Twix Cookie Bars actually freeze quite well! For longer storage, tightly wrap individual bars or the entire slab (once cut) in plastic wrap, then place them in an airtight freezer-safe container or a heavy-duty freezer bag. They can be frozen for up to 3 months. To thaw, simply remove them from the freezer and let them sit at room temperature until fully defrosted, then enjoy.
- Separating Layers: When stacking bars in a container, it’s a good practice to place a piece of parchment paper or wax paper between each layer. This prevents them from sticking together and helps maintain their pristine appearance.
- Combatting Moisture: Moisture is the arch-nemesis of fresh cookies. Always ensure your storage container is truly airtight. Avoid storing them near fruits or vegetables, which can release moisture and affect the bars’ texture.
More Decadent Chocolate Caramel Cookie Recipes
If you’re a devoted fan of the irresistible combination of chocolate and caramel, just like us, then you’re in for a treat! Beyond these amazing Twix Cookie Bars, there’s a world of other delicious desserts waiting to be explored. Be sure to check out these fantastic recipes that celebrate this perfect pairing:
- These Twix Cookie Cups offer a delightful twist, featuring individual shortbread cups generously filled with gooey melted caramel and a luscious chocolate topping – a bite-sized indulgence!
- For a festive and fun baking project, discover this unique Christmas Twix Cookie here! It’s perfect for holiday gatherings and spreading cheer.
- You won’t believe how simple these Twix Cookie Bites are to create, requiring just 3 ingredients for a quick and satisfying snack!
- Our Caramel Brownie Cookies are incredibly easy to make, starting with a convenient cake mix and stuffed with soft, chewy caramels for an extra surprise in every bite.
- If you adore classic chocolate caramels, you’ll love these Stuffed Rolo Cookies, which are tender sugar cookies baked with a surprise Rolo candy center.
- For a rich, dark chocolate experience, this chocolate version of caramel-stuffed cookies is super similar to our brownie cookies, but they’re made with a chocolate cake mix for a wonderfully intense chocolate flavor!
Ultimately, Twix Cookie Bars are a truly special treat, crafted with ease from a simple, buttery cookie base, then layered with smooth, rich caramel, and finally crowned with a silky melted chocolate topping! These delightful caramel cookie bars are the ultimate homemade indulgence, perfect for every Twix lover in your life!