
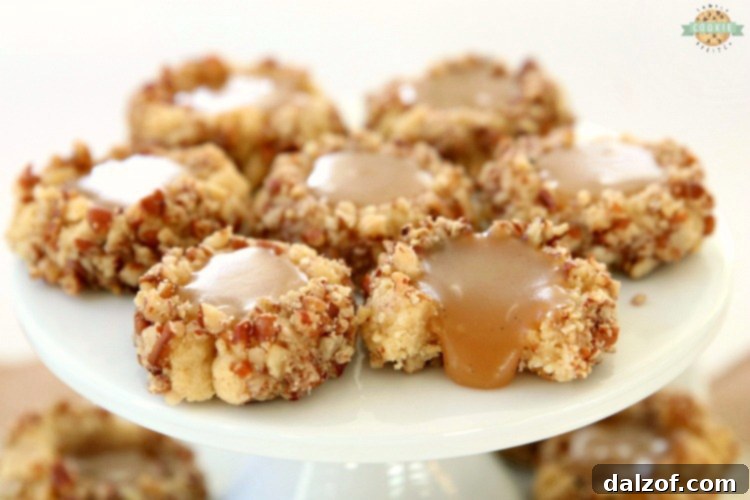
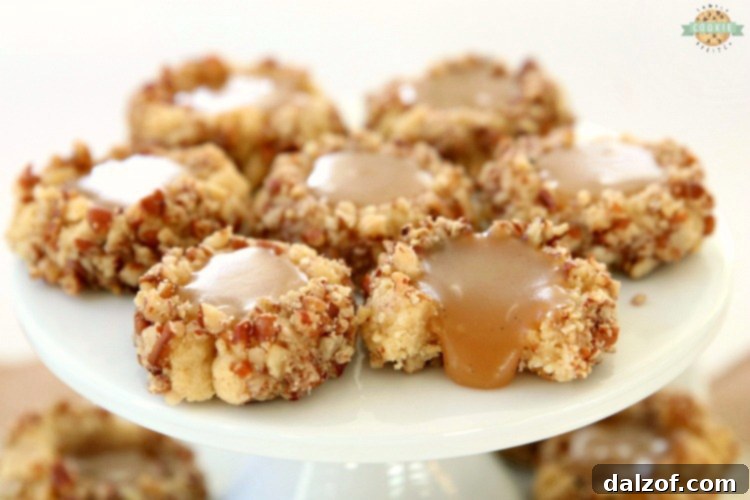
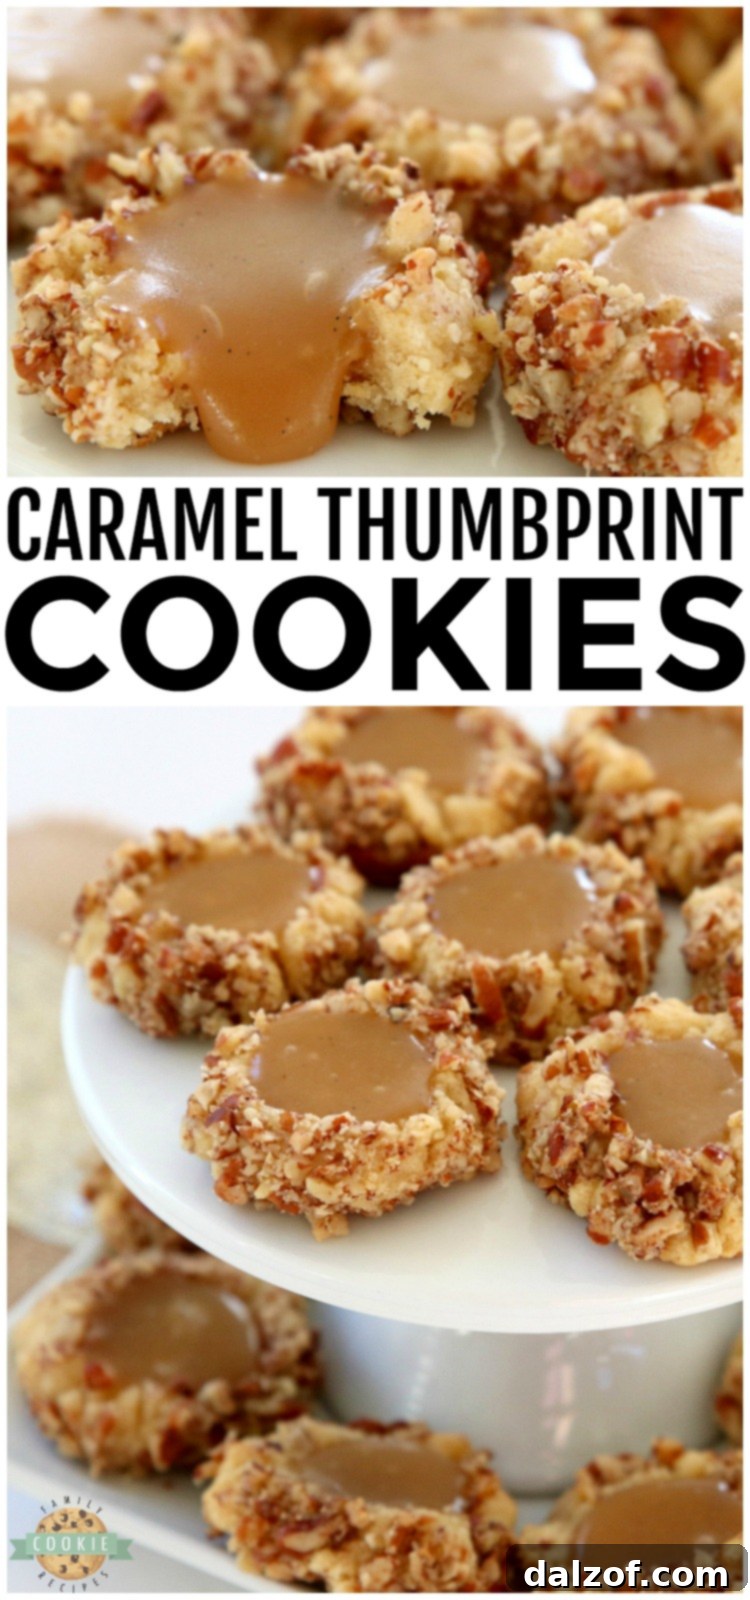
Indulge in the irresistible charm of Caramel Thumbprint Cookies, a quintessential holiday treat that blends buttery shortbread with a crunchy pecan coating and a luscious, warm caramel center. These delectable cookies are a beloved addition to any Christmas cookie exchange, offering a rich, comforting flavor profile that truly captures the spirit of festive celebrations. Forget traditional jam thumbprints; our family adores the unique combination of textures and tastes in these pecan-enrobed, caramel-filled delights. The subtle crunch of finely chopped pecans perfectly complements the tender, melt-in-your-mouth shortbread, while the sweet, gooey caramel provides an exquisite finish that makes every bite truly unforgettable.
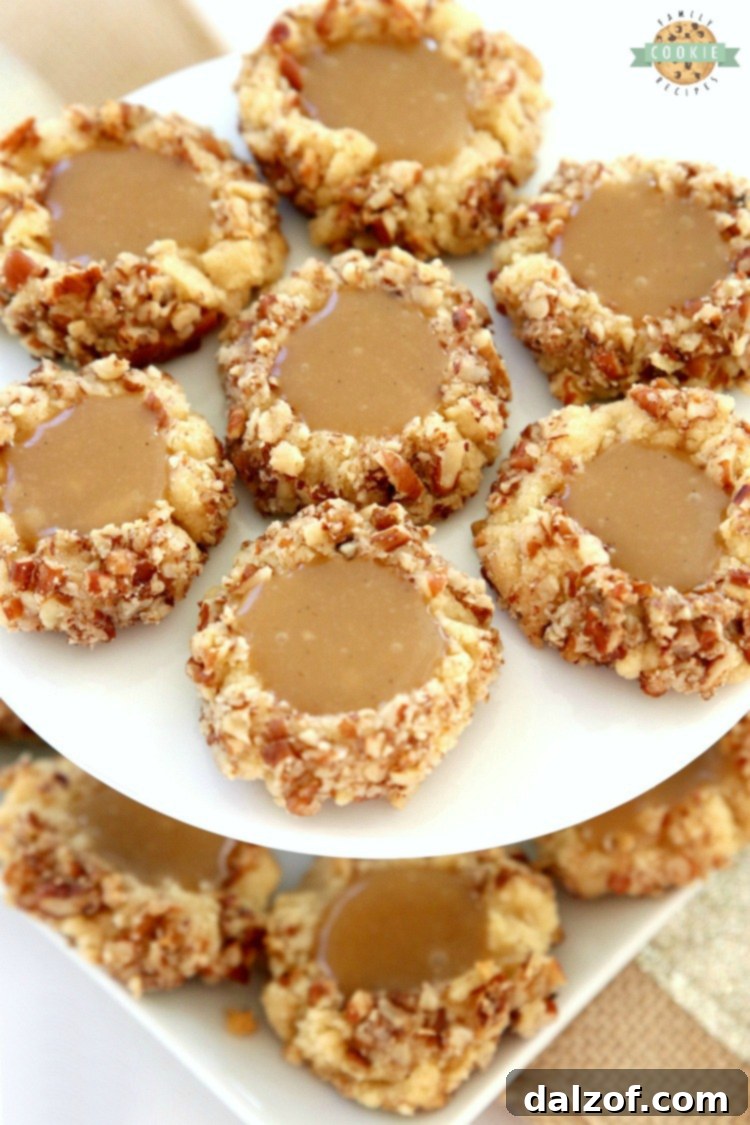
While classic thumbprint cookies filled with various jams are certainly wonderful, these Pecan Caramel Thumbprint Cookies offer a delightful twist that often becomes a new family favorite. The crispy texture of the pecans hugging the outside of each buttery shortbread cookie, combined with the sweet, gooey caramel filling, creates a symphony of flavors and textures that is simply amazing. They are not just cookies; they are little parcels of joy, perfect for sharing with loved ones or enjoying with a warm cup of coffee during the colder months.
Essential Ingredients for Perfect Caramel Thumbprint Cookies
Crafting these extraordinary Caramel Thumbprint Cookies begins with a selection of high-quality ingredients, each playing a crucial role in achieving their signature taste and texture. Understanding the purpose of each component will help you create the best possible batch.
Butter and Shortening: The Foundation of Flavor and Texture
The secret to the perfect shortbread texture lies in using a balanced combination of fats. Half a cup of butter provides an unparalleled rich, creamy flavor that is essential for a classic shortbread. Its natural dairy notes elevate the overall taste. Complementing this, half a cup of shortening contributes to a remarkably lighter, more delicate, and tender crumb. Shortening also helps prevent excessive spreading during baking, ensuring your cookies maintain their beautiful shape. This 50/50 blend results in a cookie that is both flavorful and wonderfully delicate.
Brown Sugar: For Moisture and a Touch of Caramel
Using ½ cup of packed brown sugar is critical, not just for sweetness, but also for its unique properties. Brown sugar contains molasses, which adds significant moisture to the dough, ensuring a soft and chewy texture. This subtle, mild caramel note from the brown sugar beautifully complements and enhances the rich caramel filling, creating a cohesive flavor experience. White sugar can be substituted, but it will result in a less moist and slightly firmer cookie with a milder flavor profile.
Eggs: The Binding and Enriching Element
Two egg yolks, separated from their whites, are incorporated into this cookie dough. The yolks are rich in fat and protein, acting as a crucial binder that holds the dough together and provides structure. Furthermore, they contribute to the cookie’s rich, decadent flavor and tender crumb, making the shortbread exceptionally palatable.
Vanilla Extract: Aromatic Enhancement
One teaspoon of pure vanilla extract is added to enhance the overall flavor profile of these cookies. Vanilla is a versatile flavor enhancer that provides a warm, sweet aroma without overpowering the star ingredients – the caramel and pecans. It ties all the other flavors together, creating a well-rounded and inviting taste.
All-Purpose Flour: The Structural Base
Two cups of all-purpose flour serve as the primary structural component of these shortbread cookies. Flour provides the necessary bulk and framework for the dough, ensuring the cookies hold their shape while baking. Accurate measurement of flour is important; too much can lead to a tough cookie, while too little can make the dough too soft to handle.
Salt: The Flavor Balancer
Half a teaspoon of salt might seem small, but it plays a vital role in balancing the sweetness of the brown sugar and caramel. Salt intensifies all the other flavors, preventing the cookies from tasting one-dimensionally sweet and highlighting the nuances of the butter, pecans, and vanilla.
Pecans: The Crunchy Coating
You will need 1 ½ cups of pecans for the crunchy exterior. While store-bought chopped pecans are a good starting point, it’s often beneficial to chop them even more finely at home. This ensures better adherence to the cookie dough and provides a more consistent, delightful crunch in every bite. Whether you start with halves or pre-chopped, a finer chop is key for optimal results.
Caramel: The Sweet Heart
The star of these thumbprint cookies is the ½ cup of warm caramel used for filling. You have options here:
- Homemade Caramel: For an artisanal touch, homemade caramel offers unparalleled richness and depth of flavor.
- Melted Caramel Bits: A convenient and reliable option, caramel bits (like Kraft Caramels) melt smoothly and set beautifully. We will detail how to prepare these below.
- Store-Bought Caramel Sauce: While some sauces might work, ensure you choose one designed to thicken as it cools to prevent it from running out of the cookie.
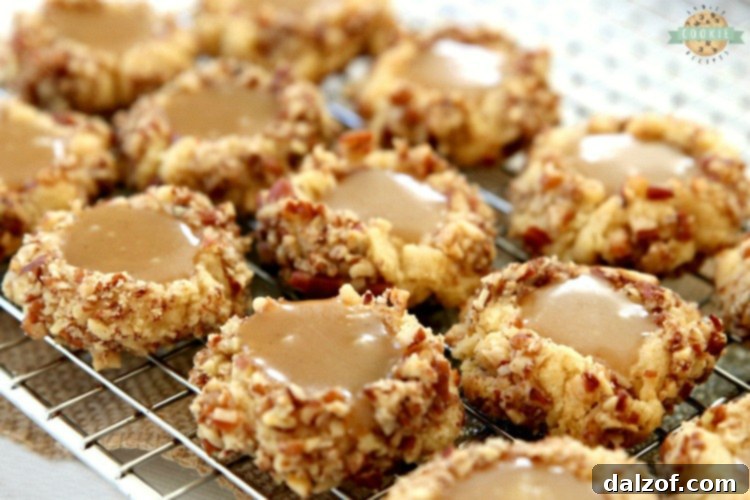
How to Make Delicious Caramel Pecan Thumbprint Cookies
Creating these amazing Caramel Pecan Thumbprint Cookies is a straightforward and enjoyable process. Follow these detailed steps to bake a batch of perfection:
Step 1: Prepare Your Workspace and Oven
Begin by preheating your oven to a steady 350ºF (175ºC). Line a large cookie sheet (an 11×17 jelly roll pan works wonderfully) with parchment paper or a silicone baking mat. This crucial step prevents the cookies from sticking and ensures easy cleanup, while also promoting even baking.
Step 2: Gather and Prepare Ingredients
Ensure all your ingredients are ready. Your butter should be softened to room temperature, which allows it to cream properly with the other fats and sugar. Carefully separate the two egg yolks from their whites; the yolks will go into the dough, and the whites will be used as a coating for the pecans.
Step 3: Cream the Wet Ingredients
In a large mixing bowl, combine the softened butter, shortening, packed brown sugar, egg yolks, and vanilla extract. Use an electric mixer to cream these ingredients together on medium speed until the mixture is light, fluffy, and well-combined. This creaming process incorporates air into the fats, contributing to the cookies’ tender texture.
Step 4: Combine Dry Ingredients
In a separate medium bowl, whisk together the all-purpose flour and salt. Whisking ensures these dry ingredients are evenly distributed, preventing pockets of unmixed salt or flour in the dough.
Step 5: Mix Wet and Dry Ingredients
Gradually add the dry flour mixture to the wet ingredients in the electric mixer. Mix on low speed until just combined. Be careful not to overmix the dough, as this can develop the gluten in the flour, leading to tough cookies. Mix only until no streaks of dry flour remain.
Step 6: Prepare Egg Whites and Pecans
Pour the reserved egg whites into one shallow bowl. In another shallow bowl, place your finely chopped pecans. Ensure the pecans are chopped quite fine; this helps them adhere better to the cookie dough and provides a more even, crunchy coating.
Step 7: Form, Dip, and Roll the Cookies
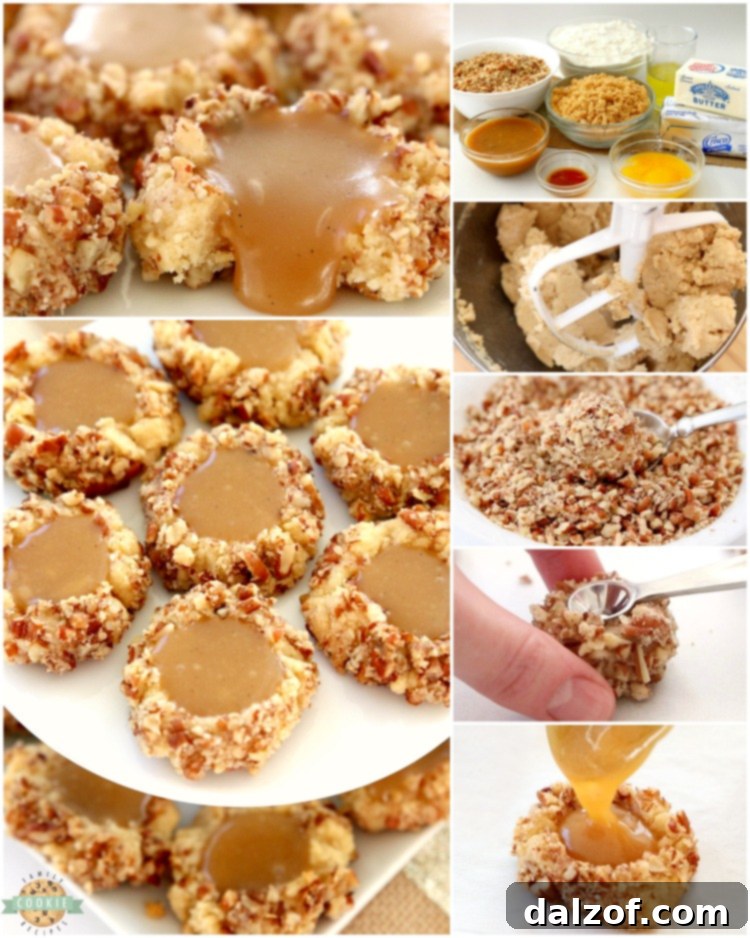
Using a small cookie scoop (about 2 teaspoons in size), portion out the cookie dough and roll each portion into a smooth ball. Next, dip each dough ball into the egg whites, ensuring it’s lightly coated. Then, transfer the egg white-dipped ball to the bowl of chopped pecans and roll it around until it’s thoroughly coated on all sides. This pecan coating is what gives these cookies their distinctive appearance and delightful crunch.
Step 8: Place on Baking Sheet and Indent
Place the pecan-coated cookie dough balls onto your parchment-lined cookie sheet, ensuring they are about 1 inch apart to allow for slight spreading during baking. Using a ½ teaspoon measuring spoon, gently press an indent into the center of each cookie dough ball. Don’t worry if the indents don’t look perfectly smooth or if the edges crack slightly – you can gently press the sides back together to neaten them. These indents will be “fixed” and perfected again after baking.
Step 9: Bake to Golden Perfection
Bake the cookies in your preheated oven for approximately 10 to 12 minutes. Look for the edges to turn a light golden brown, indicating they are done. The centers should still be soft. Baking time can vary slightly depending on your oven, so keep an eye on them.
Step 10: Re-Indent and Fill with Caramel
Once you remove the baked cookies from the oven, let them cool on the baking sheet for just a few minutes. While they are still warm and pliable, use that same ½ teaspoon measuring spoon to re-indent each cookie, pressing down gently. If any cookies cracked during baking or the indents closed up, this is your chance to gently press the sides back together, making them more rounded and creating a perfect well for the caramel.
Step 11: Prepare and Fill with Warm Caramel
Now for the star of the show: the warm caramel filling.
- If using store-bought Caramel Bits: Pour the caramel bits into a microwave-safe dish. Add 2 tablespoons of milk. Microwave for about 1 minute 20 seconds. The bits might not look fully melted initially, but as you begin stirring them with a spoon or whisk, they should become smooth and runny. If they’re still too stiff, microwave for another 10-second increment, stirring well after each interval, until perfectly smooth and warm.
- If using homemade caramel: Ensure it’s warm enough to be pourable but not scalding hot.
Carefully fill the center of each thumbprint cookie with the warm caramel. A small spoon or a piping bag with a small round tip can help with neatness.
Step 12: Allow Caramel to Set Completely
After filling, let the cookies cool completely on the baking sheet or a wire rack. This is a crucial step for the caramel to set properly. Depending on the caramel type and ambient temperature, this can take approximately 2-3 hours. The caramel must be fully set and firm before you can stack the cookies to prevent them from sticking together and making a mess.
Storage and Freshness: Keeping Your Thumbprint Cookies Perfect
Proper storage is key to maintaining the delightful flavor and tender texture of these Caramel Pecan Thumbprint Cookies. Here’s how to keep them fresh:
Room Temperature Storage:
These shortbread thumbprint cookies will stay wonderfully fresh for about 5 days when stored at room temperature. The most important tip for room temperature storage is to place them in an airtight container. This prevents moisture loss, which can cause the cookies to dry out and become stale. Ensure the caramel is fully set before stacking them to avoid sticking; if you must stack, place a layer of parchment paper between each row of cookies.
Refrigerator Storage for Extended Freshness:
If you wish to extend their freshness beyond a few days, store them in the refrigerator. In an airtight container, they can remain fresh for up to 2 weeks. Again, separating layers with parchment paper is highly recommended. The cooler temperature will help the caramel stay firmer and prolong the shelf life of the shortbread.
Freezing for Long-Term Enjoyment:
Yes, you can freeze Caramel Thumbprint Cookies! This is an excellent option for holiday baking ahead of time or for simply having a stash of delicious treats ready. Here’s how to do it effectively:
- Ensure Caramel is Fully Set: Before freezing, it is absolutely crucial that the caramel filling has completely set and firmed up. This typically takes 2-3 hours at room temperature after filling. If you freeze them before the caramel is firm, they will stick together and lose their shape.
- Arrange in Layers: Place the cookies in a single layer on a baking sheet and flash freeze them for about 30 minutes to an hour. This step helps them firm up individually.
- Pack in an Airtight Container: Once flash-frozen, transfer the cookies to a freezer-safe, airtight container. To maintain their prettiness and prevent them from sticking or clumping, place a piece of parchment paper between each layer of cookies.
- Freezing Duration: Properly stored, these thumbprint cookies can be kept in the freezer for up to 1 month.
- Thawing: When you’re ready to enjoy them, simply take the desired number of cookies out of the freezer and let them thaw at room temperature. They will typically be ready to eat in about 30-60 minutes, tasting as fresh as the day they were baked.
By following these storage guidelines, you can ensure your buttery, caramel-filled delights remain delicious for an extended period, making them perfect for planned events or spontaneous treats.
Pecan Caramel Thumbprint Cookie Recipe
Course: Cookies, Dessert
Cuisine: American
Keyword: thumbprint cookies, caramel, pecan, shortbread, holiday cookies
Prep Time: 20 minutes
Cook Time: 12 minutes
Total Time: 32 minutes
Yields: 3.5 – 4 dozen cookies
Author: Jessica & Nellie
Ingredients
- 1/2 cup butter, softened
- 1/2 cup shortening
- 1/2 cup brown sugar, packed
- 2 large eggs, yolks separated from whites
- 1 tsp vanilla extract
- 2 cups all-purpose flour
- 1/2 tsp salt
- 1 1/2 cups finely chopped pecans
- 1/2 cup warm caramel (homemade or melted caramel bits)
Instructions
- Preheat your oven to 350ºF (175ºC). Line a large baking sheet with parchment paper or a silicone baking mat.
- In a large bowl, using an electric mixer, cream together the softened butter, shortening, packed brown sugar, egg yolks, and vanilla extract until light and fluffy.
- In a separate bowl, whisk together the all-purpose flour and salt. Gradually add the dry ingredients to the wet mixture, mixing on low speed until just combined. Be careful not to overmix.
- Place the separated egg whites in one shallow bowl and the finely chopped pecans in another. Scoop 2-teaspoon sized portions of dough and roll them into balls. Dip each dough ball into the egg whites, then roll it in the chopped pecans until thoroughly coated.
- Place the coated cookie dough balls about 1 inch apart on the prepared cookie sheet. Use a 1/2 teaspoon measuring spoon to gently press an indent into the middle of each cookie dough ball. Don’t worry if the indents aren’t perfect or if the cookies crack slightly; you can gently press the sides back together.
- Bake for 10-12 minutes, or until the edges are lightly golden.
- Immediately after removing the cookies from the oven, use the same 1/2 teaspoon measuring spoon to re-indent each cookie, pressing down gently. If any cookies cracked, gently push the sides back together to neaten their shape.
- While the cookies cool slightly, prepare your caramel filling. If using caramel bits, combine them with 2 tablespoons of milk in a microwave-safe dish and microwave for about 1 minute 20 seconds. Stir until smooth. If not fully melted, microwave in 10-second increments, stirring after each, until smooth.
- Fill each warm cookie indent with the prepared warm caramel. Let the cookies cool completely on the baking sheet or a wire rack for 2-3 hours to allow the caramel to fully set before handling or stacking.
Notes
- If using Caramel Bits for the filling: Combine 1/2 cup caramel bits with 2 TBSP milk in a microwave-safe dish. Microwave for approximately 1 minute 20 seconds. Stir well until smooth. If needed, microwave for an additional 10 seconds.
- This recipe yields approximately 3.5 to 4 dozen delicious thumbprint cookies.
Frequently Asked Questions & Expert Tips for Caramel Thumbprint Cookies
To ensure your Caramel Thumbprint Cookies turn out perfectly every time, here are answers to some common questions and essential tips:
What are the ideal proportions of butter to shortening for Caramel Thumbprint Cookies?
For the best balance of rich flavor and delicate texture, aim for approximately equal parts butter and shortening. Our recipe calls for ½ cup of each, which is a fantastic starting point. The butter contributes its signature creamy taste, while the shortening ensures a tender, melt-in-your-mouth crumb that won’t spread excessively during baking. If you prefer a slightly richer, more buttery cookie, you can slightly increase the butter, but be mindful that this might make the cookie a bit more prone to spreading. Conversely, a bit more shortening will yield an even lighter, crispier texture. This 50/50 ratio, however, is generally considered ideal for a truly balanced shortbread base in thumbprint cookies.
Can brown sugar be substituted with white sugar in this recipe?
Yes, you can substitute white granulated sugar for brown sugar, but be aware that it will impact the final product. Brown sugar is key to these Caramel Thumbprint Cookies because of its molasses content, which contributes both moisture and a subtle, mild caramel flavor. This molasses also helps create a chewier, softer texture. If you use white sugar, your cookies will likely be less moist, slightly crisper, and have a less pronounced, milder flavor profile that won’t complement the caramel filling as deeply. For the authentic taste and texture of these specific thumbprint cookies, brown sugar is highly recommended. If you do substitute, you might notice the cookies are a bit drier.
How do you achieve a firm set for the caramel filling?
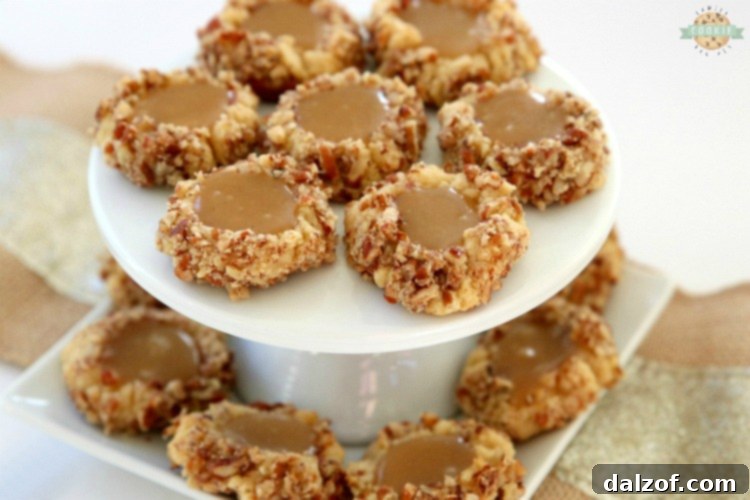
Achieving a perfectly firm, yet still delightfully gooey, caramel filling is essential for these thumbprint cookies to be stackable and mess-free. The key is to choose the right type of caramel and allow ample cooling time. We recommend using either a high-quality homemade caramel that is cooked to a firm-ball stage, or store-bought caramel bits (like Kraft Caramels) melted with a small amount of milk. These types of caramel are designed to firm up as they cool. Avoid overly thin or liquid caramel sauces, as they may not set properly and could run out of the cookie. After filling the cookies, patience is crucial: allow them to cool completely at room temperature for at least 2-3 hours. For best results, avoid disturbing or stacking the cookies until the caramel is firm enough to touch without leaving an impression. Refrigeration can speed up the setting process if you’re short on time, but room temperature setting often yields a slightly softer, more pliable caramel.
How do you soften butter quickly and perfectly?
Softening butter to the right consistency is vital for a smooth, homogenous cookie dough. Butter that is too cold won’t cream properly, and butter that is too melted will result in greasy, flat cookies. My preferred method for softening butter is using the defrost function on a microwave. If you need a full stick (1/2 cup) of butter, you can leave it in its paper wrapper. For smaller amounts, place the butter in a glass or porcelain bowl. Set your microwave to its lowest defrost setting and run it for about 20 seconds. After this initial burst, gently press the butter with a rubber scraper or your finger. It should yield slightly to pressure, leaving an indent, but not be mushy or shiny (which indicates melting). If it’s still too firm, return it to the microwave for additional 5-10 second intervals, checking carefully after each. Butter softens very quickly, so watch it closely to prevent it from melting, which would alter your cookie’s texture.
Tips for Perfect Shortbread Dough:
- Don’t Overmix: After adding the flour, mix just until the ingredients are combined. Overmixing develops gluten, leading to tough, chewy cookies instead of tender shortbread.
- Room Temperature Ingredients (for creaming): Ensure butter, shortening, and egg yolks are at true room temperature. This allows them to cream together beautifully, incorporating air for a lighter cookie.
- Accurate Measuring: Especially for flour, use the ‘spoon and level’ method (spoon flour into a measuring cup, then level off with a straight edge) to avoid compacting it, which can result in too much flour and a dry dough.
Discover More Favorite Thumbprint Cookie Recipes:
If you love the concept of a delightful thumbprint cookie, you’ll adore these other variations from our collection:
- Spiced Apple Thumbprint Cookies are warmly cinnamon-spiced treats, each crowned with a luscious, gooey apple filling and a delicate drizzle of caramel. These are particularly wonderful when served warm with a scoop of vanilla ice cream, making them the ultimate cozy, fall-inspired dessert!
- Our recipe for Strawberry Lemon Thumbprint Cookies features soft, buttery cookies filled with a vibrant sweet strawberry jam and finished with a zesty, tangy lemon glaze. Every bite offers a perfect harmony of bright citrus and sweet berry flavors, creating a refreshing and invigorating cookie experience.
- Pistachio Thumbprint Cookies are crafted with the unique flavor of pistachio pudding mix, a hint of almond extract, and dotted with mini chocolate chips. They are rolled in finely chopped pecans for an added nutty crunch and generously filled with a creamy vanilla frosting, making them a nostalgic and utterly indulgent cookie that everyone will adore.
- Filled with your choice of sweet strawberry jam or tangy lemon curd, these Poppy Seed Thumbprint Cookies are a delightful surprise. The poppy seeds add a subtle texture and visual appeal, offering a pleasant burst of fruity flavor with every bite!
- Peppermint Chocolate Thumbprint Cookies are the epitome of festive holiday treats. These rich chocolate shortbread cookies are studded with crushed candy canes, providing a refreshing crunch, and filled with a decadent chocolate fudge. They are absolutely perfect for holiday gatherings, combining invigorating peppermint with smooth, luxurious chocolate flavors.
Caramel Thumbprint Cookies are more than just a seasonal indulgence; they are a timeless classic that brings joy with every bite. The exquisite combination of buttery shortbread, crunchy pecans, and rich, warm caramel creates a truly exceptional treat. Whether you’re preparing for Christmas cookie exchanges, a special holiday dessert table, or simply craving a comforting homemade cookie, these cookies are guaranteed to impress. Their beautiful appearance and unforgettable flavor make them a cherished favorite, perfect for sharing the warmth and sweetness of the season.