
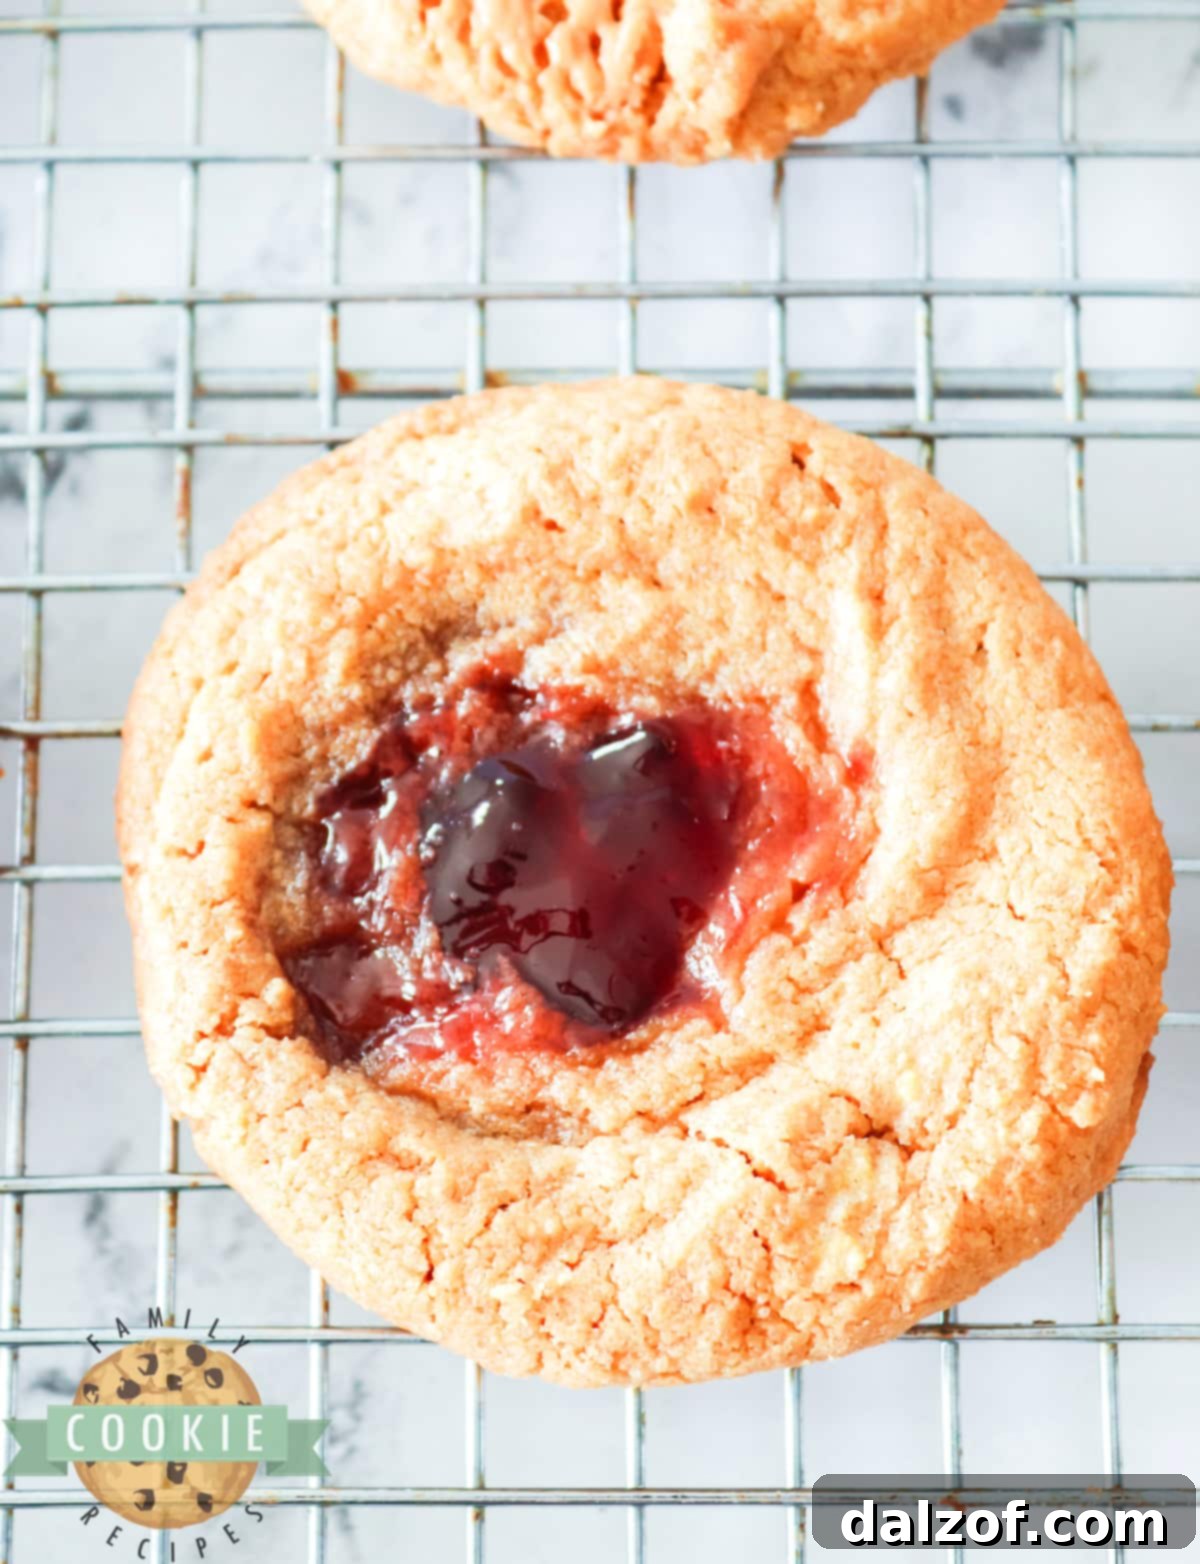
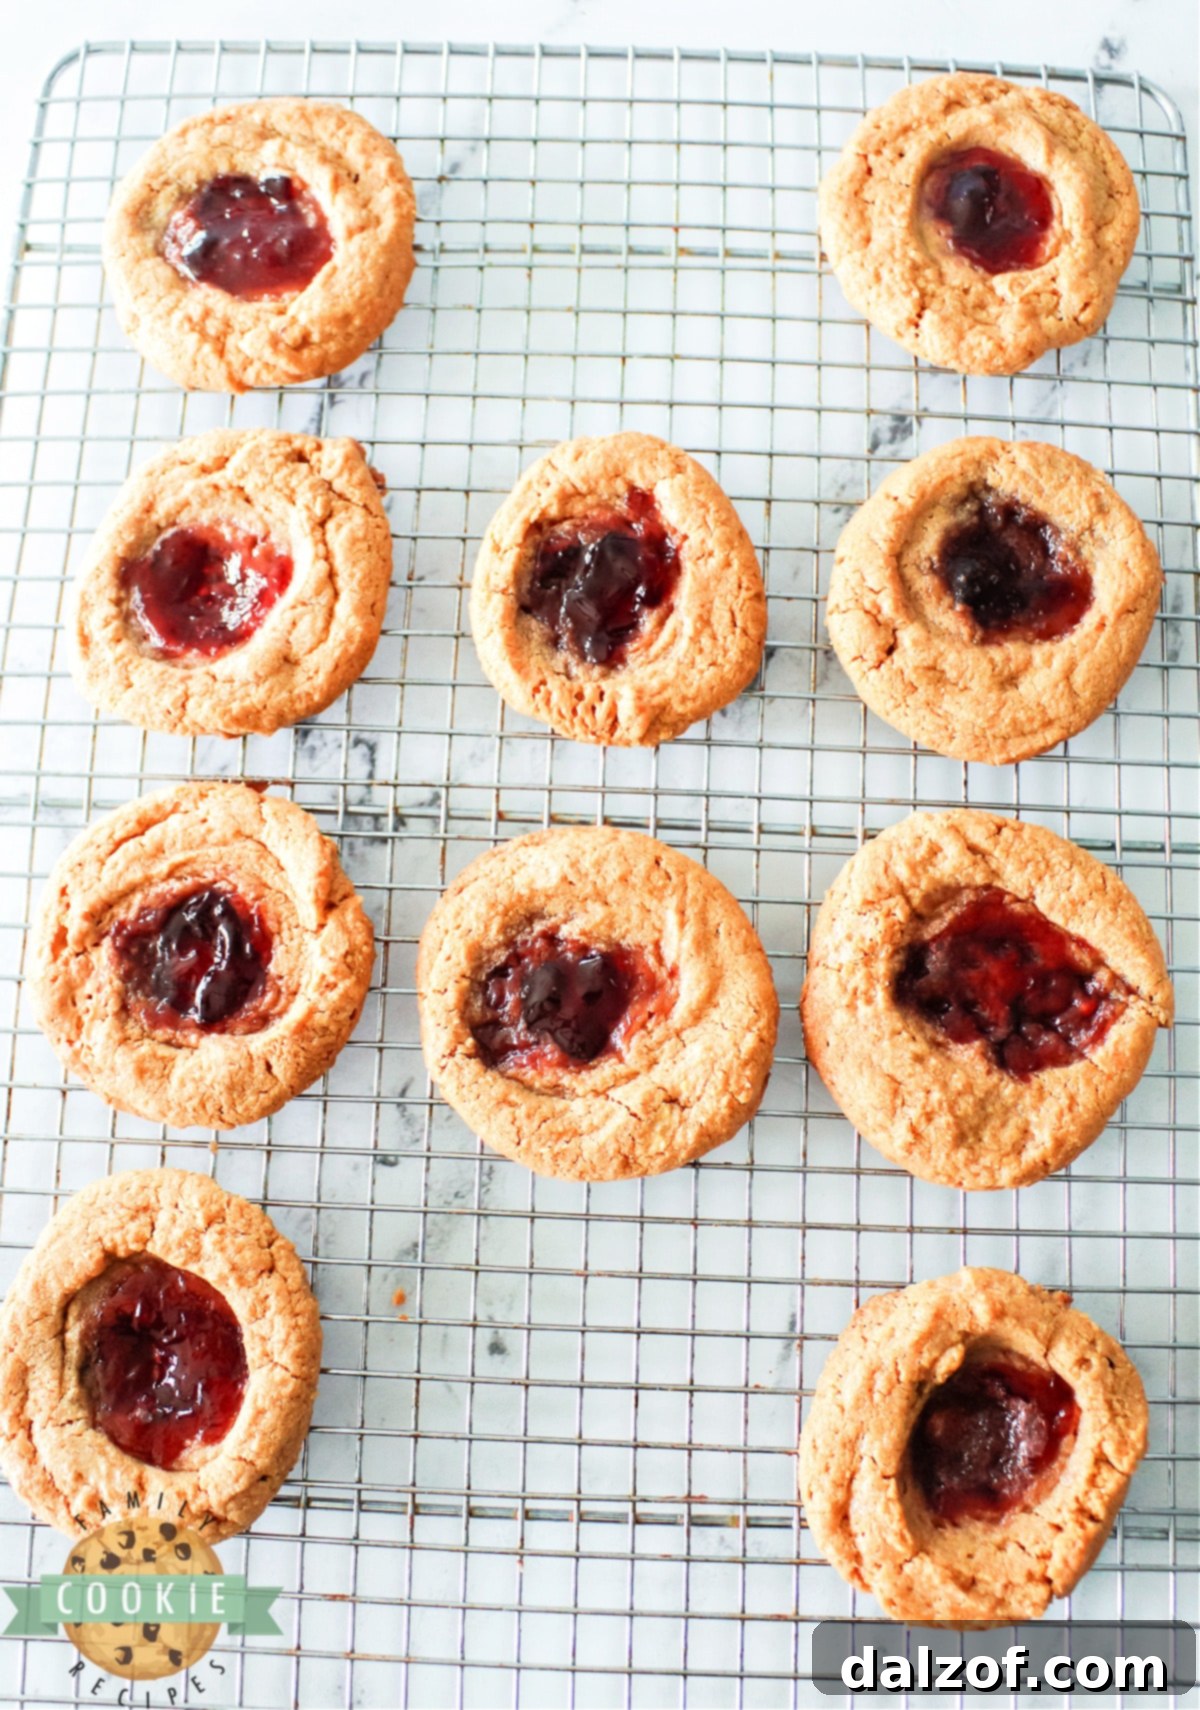
Peanut Butter and Jelly Cookies are an absolute classic, reimagined into a delightful cookie form. These incredibly simple thumbprint cookies are made with just 4 essential ingredients: rich peanut butter, sweet sugar, a binding egg, and your favorite fruity jelly. This recipe brings the nostalgic flavors of a peanut butter and jelly sandwich to your dessert plate in a chewy, satisfying bite.
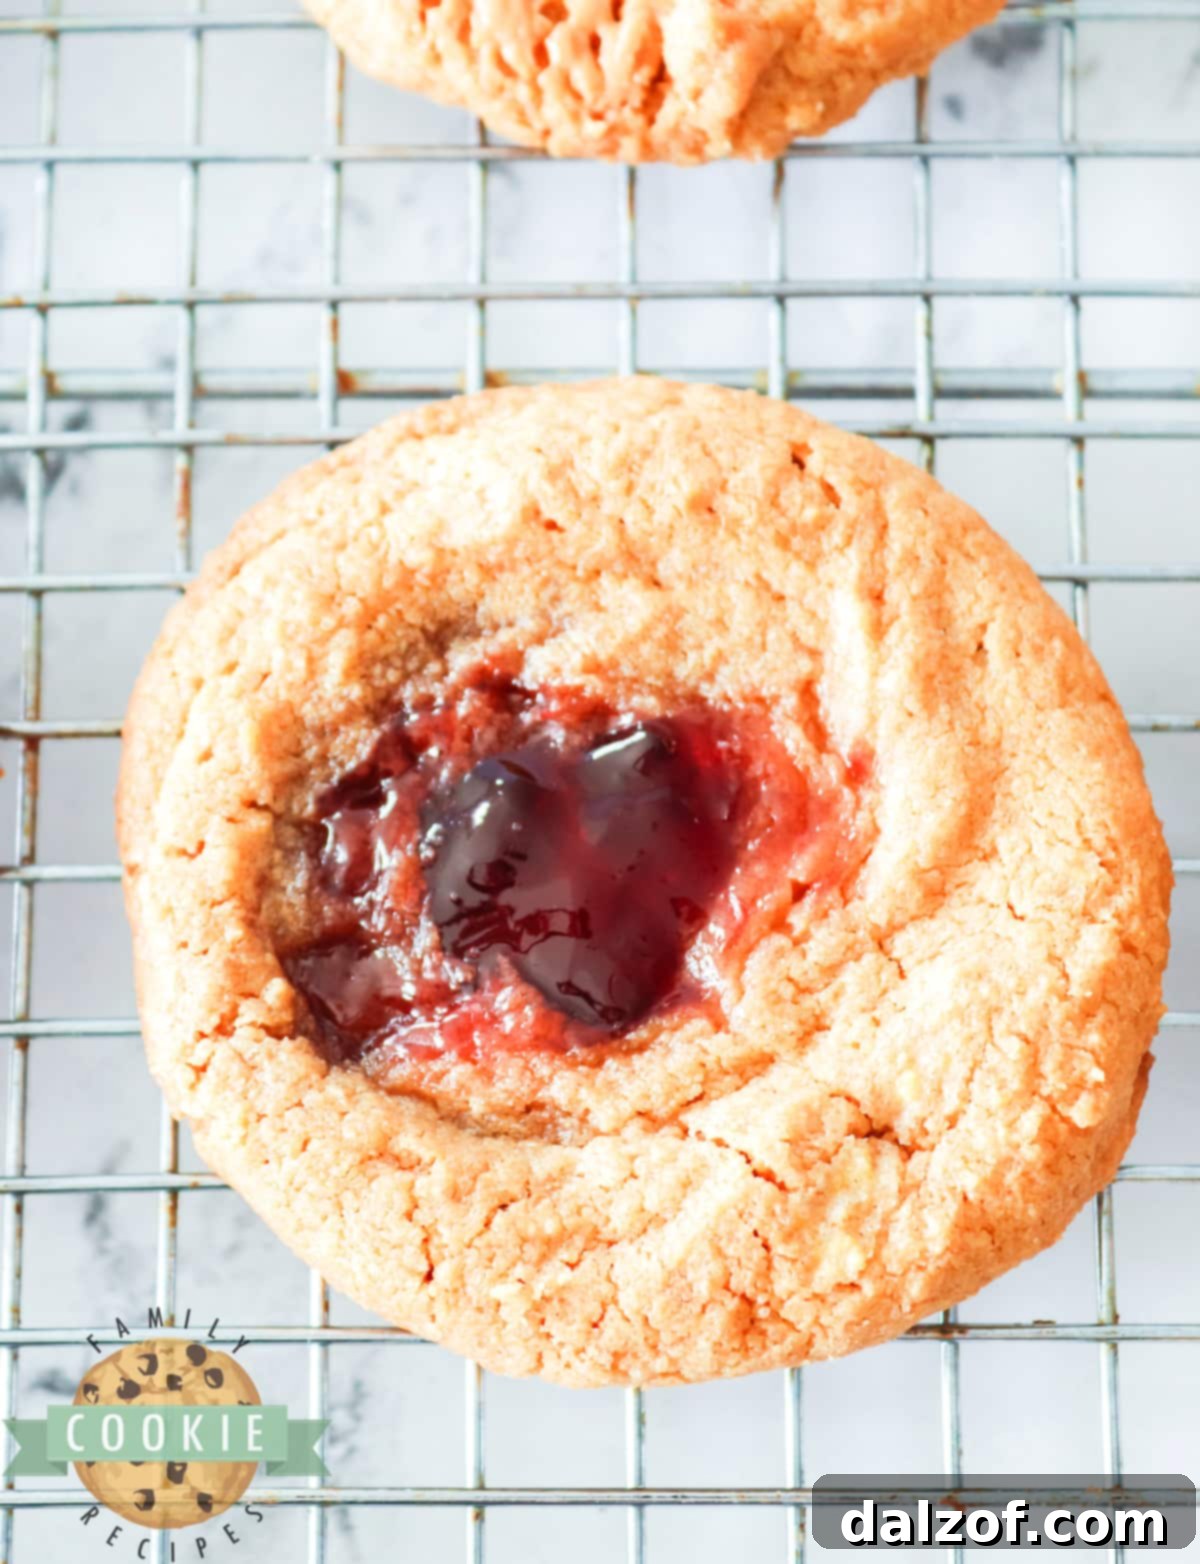
There’s something universally appealing about the combination of creamy peanut butter and sweet, fruity jelly. These cookies capture that magic effortlessly, making them a perfect treat for any occasion. Not only are they exceptionally easy to whip up, but they also offer a fantastic opportunity for kids to get involved in the kitchen. With minimal ingredients and straightforward steps, even novice bakers can achieve perfect results.
One of the standout features of this recipe is its versatility and dietary friendliness. Because these cookies are naturally free of flour, they are completely gluten-free, making them an excellent choice for those with gluten sensitivities or dietary restrictions. Furthermore, by opting for a sugar-free sweetener and a sugar-free jelly, you can easily adapt this recipe to create delicious sugar-free peanut butter and jelly cookies, catering to a wider range of health-conscious dessert lovers without compromising on taste.
The beauty of these 4-ingredient peanut butter jelly cookies lies in their simplicity. They require no complex techniques or specialized equipment, yet they deliver a rich, flavorful experience that’s both comforting and exciting. Whether you’re a seasoned baker or just starting your culinary journey, these cookies are a foolproof way to bring a smile to everyone’s face.
Key Ingredients for Your Peanut Butter and Jelly Cookies
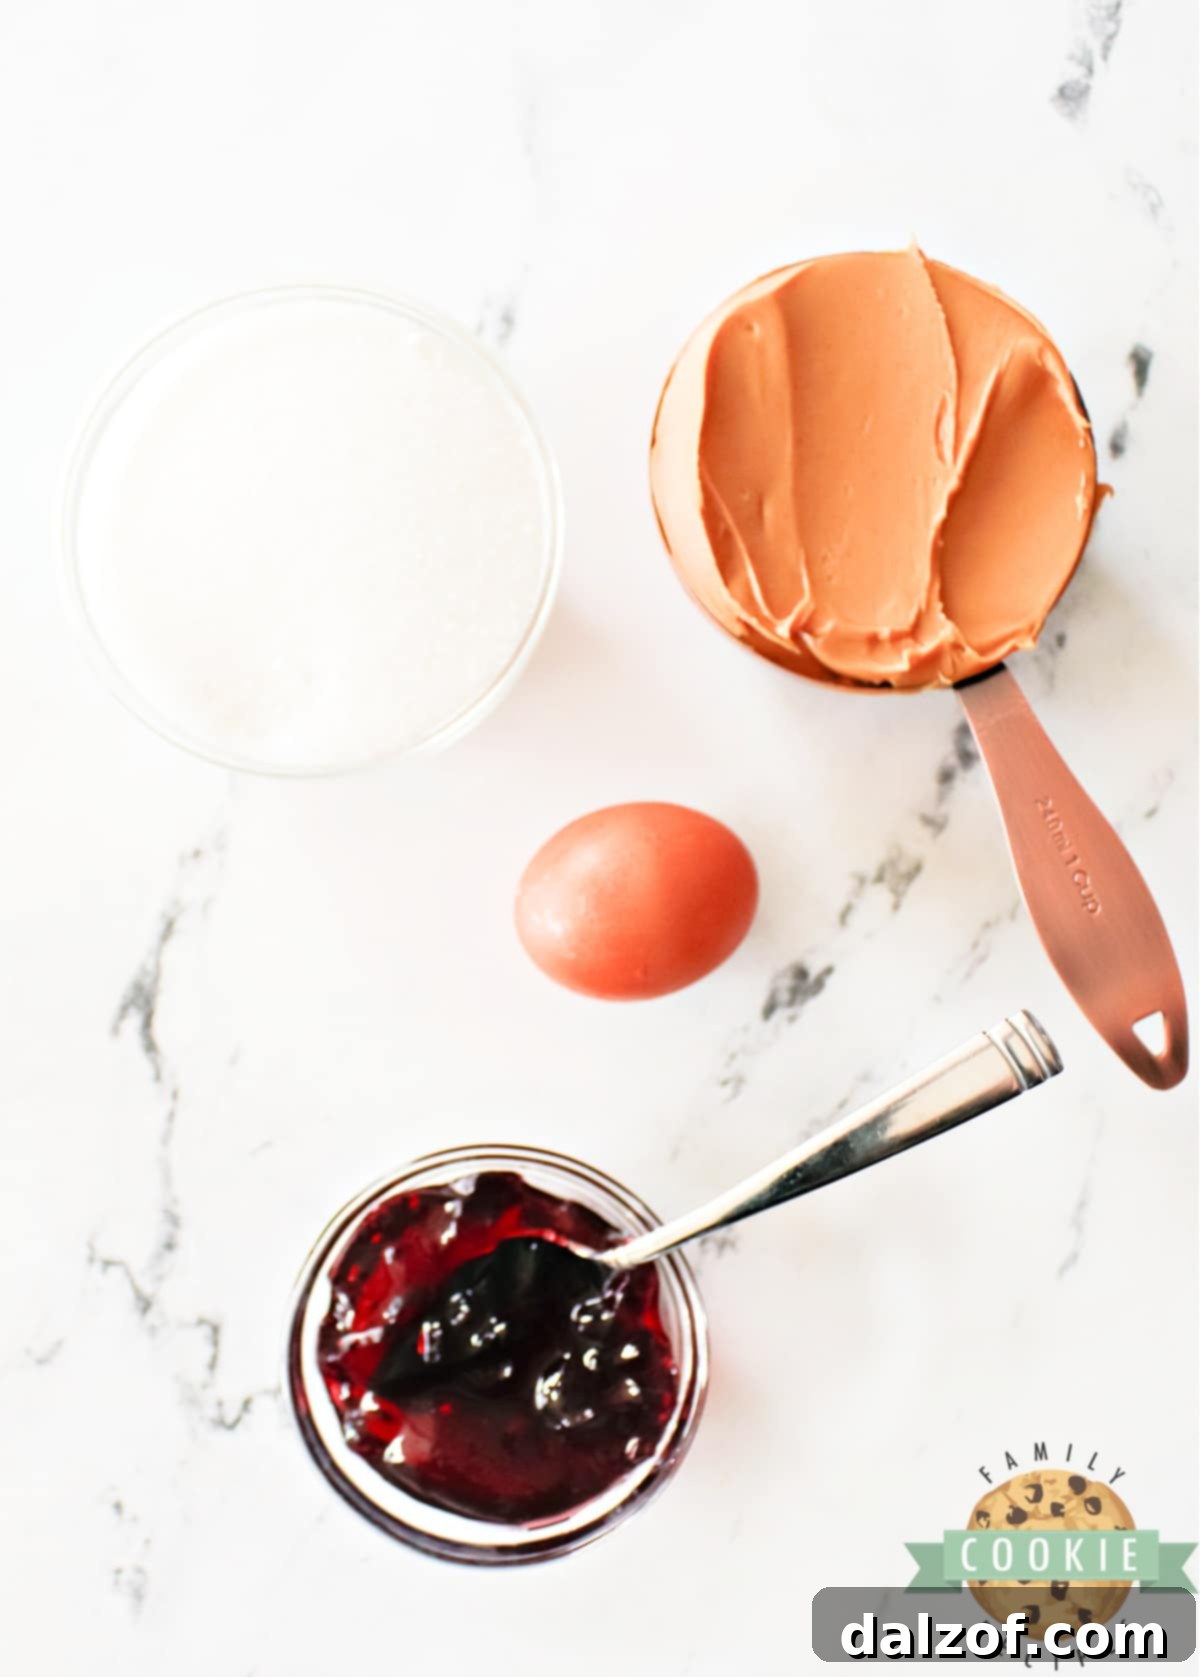
Crafting these delectable peanut butter and jelly thumbprint cookies requires just a handful of common pantry staples. Each ingredient plays a crucial role in achieving the perfect texture and flavor. Here’s a closer look at what you’ll need:
- Peanut Butter: This is the star of the show, providing the rich, nutty base for our cookies. For the smoothest texture and easiest mixing, creamy peanut butter is highly recommended. However, if you enjoy a little extra bite and texture in your cookies, feel free to use crunchy peanut butter. Make sure to use a standard, processed peanut butter (like Jif or Skippy) rather than natural peanut butter, as natural varieties can alter the cookie’s texture due to their differing oil content.
- Granulated Sugar: A full cup of granulated sugar is essential to sweeten the peanut butter cookie dough to perfection. Beyond sweetness, sugar also contributes to the cookie’s structure and helps create those delightful crisp edges. For those monitoring sugar intake, a 1:1 sugar substitute can be used as a direct swap. Always check the specific recommendations for your chosen substitute to ensure it’s suitable for baking.
- Egg: Just one large egg is all it takes to bind these simple ingredients together. The egg acts as a crucial emulsifier, holding the peanut butter and sugar into a cohesive dough. It also adds moisture and richness, helping the cookies bake up with a tender, slightly chewy interior. Without flour, the egg is vital for the cookie’s stability and proper texture.
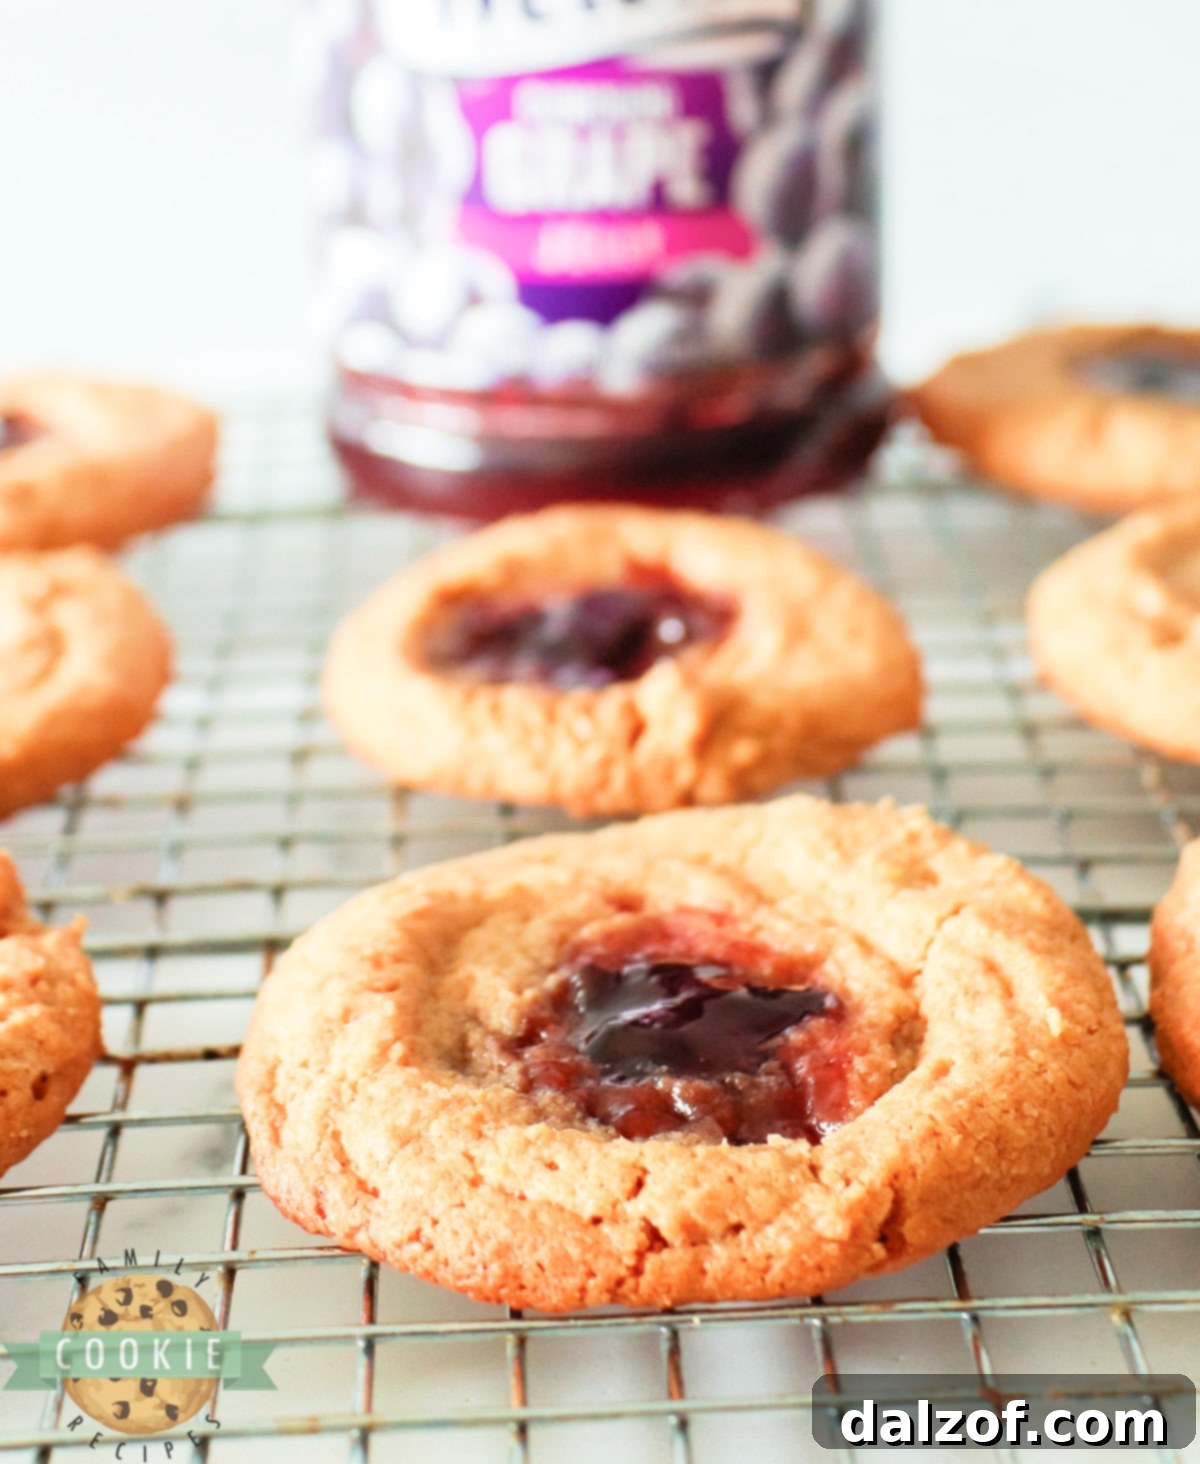
- Jelly (or Jam): The vibrant, fruity filling is what transforms these into classic PB&J cookies. You have complete freedom here – use any flavor of jelly or jam that your heart desires! Grape and strawberry are timeless favorites that perfectly complement the peanut butter, but don’t hesitate to experiment with raspberry, apricot, or even a mixed berry blend. Just ensure your chosen jelly isn’t too runny, as this can cause it to spread excessively during baking.
That’s it! With these four simple ingredients, you’re well on your way to baking a batch of irresistible homemade peanut butter jelly cookies that are sure to become a family favorite.
How to Make Easy Peanut Butter and Jelly Cookies
Creating these delightful peanut butter and jelly thumbprint cookies is a breeze. Follow these simple steps for perfect results every time:
- Prepare Your Baking Environment: Begin by preheating your oven to 350°F (175°C). This ensures the oven is at the correct temperature when your cookies are ready to bake, leading to even cooking. Line a standard baking sheet with parchment paper. Parchment paper is key for preventing sticking and making cleanup a cinch, especially with these soft, delicate cookies. Set the prepared baking sheet aside.
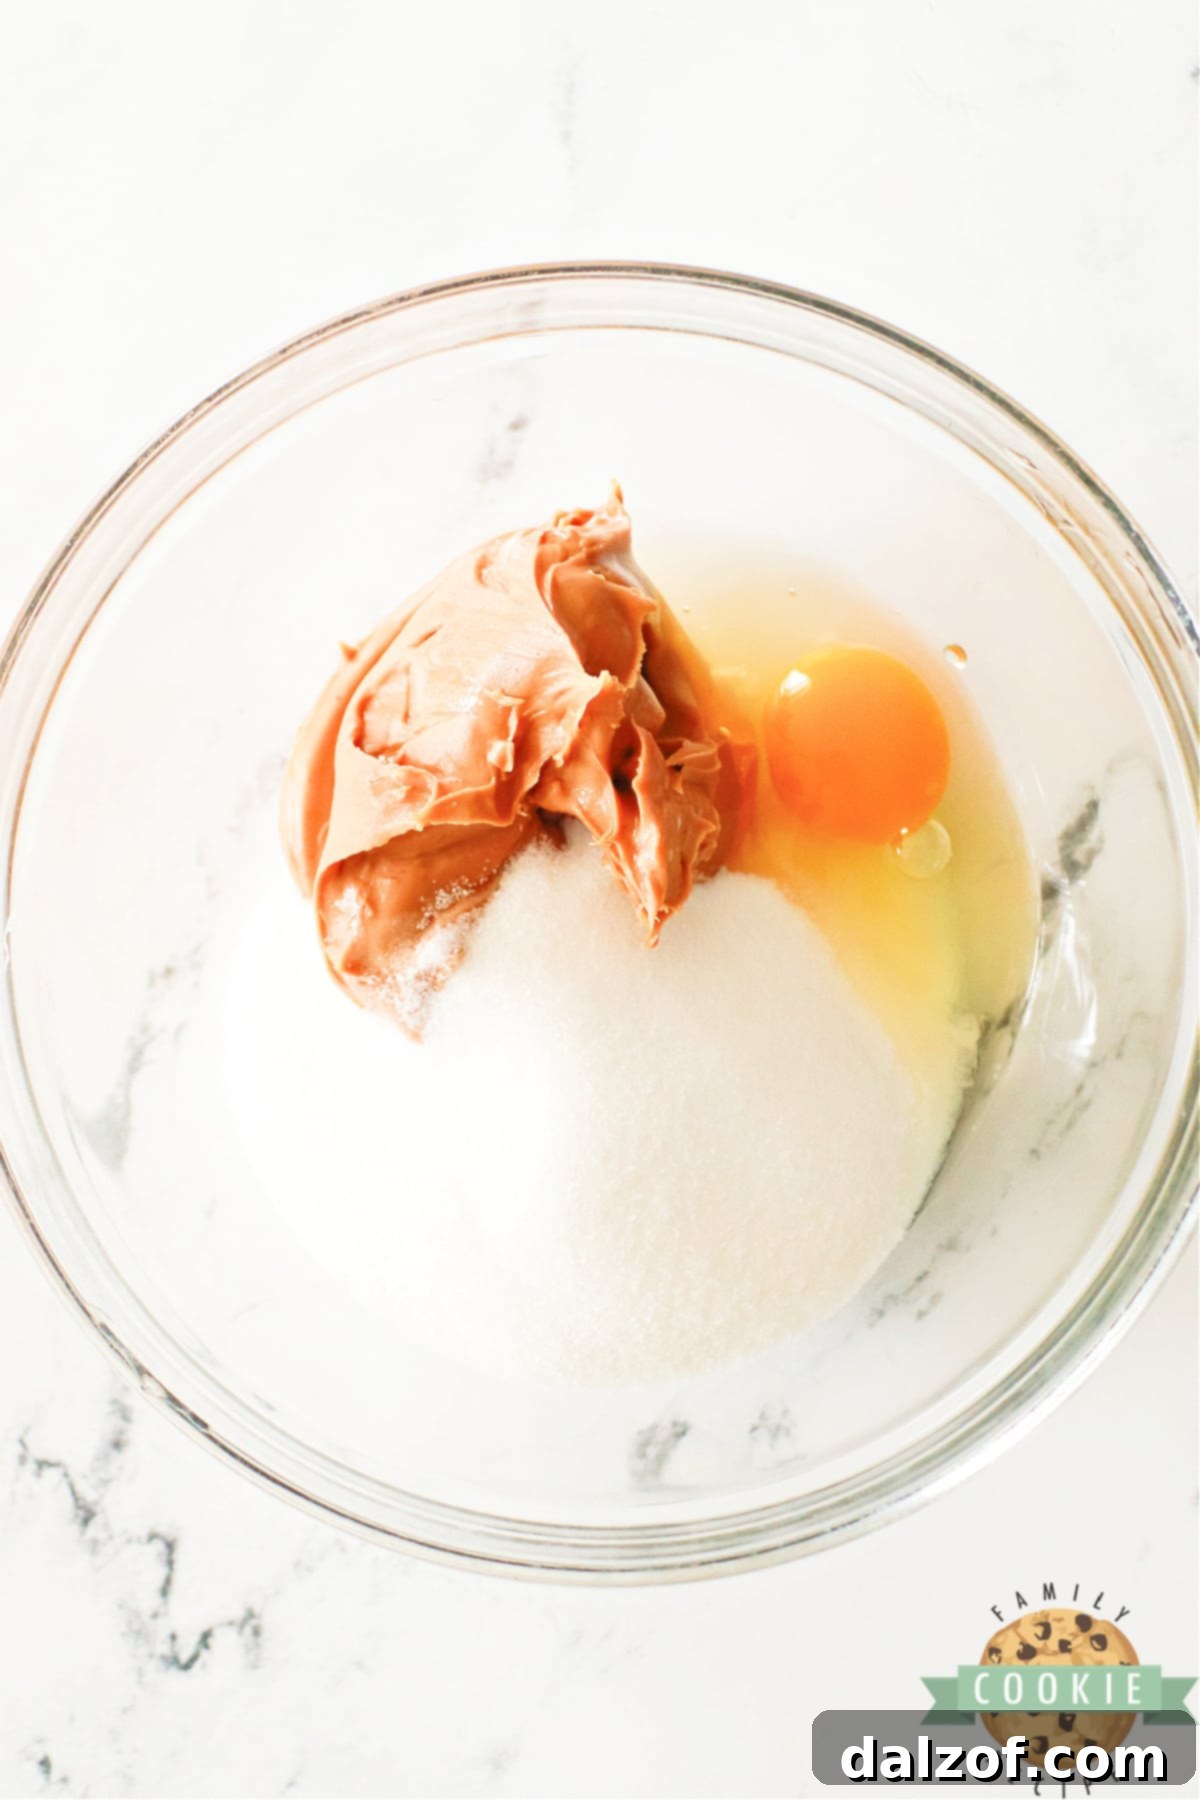
- Mix the Cookie Dough: In a medium-sized mixing bowl, combine the peanut butter, granulated sugar, and the egg. Use a sturdy spoon or a rubber spatula to mix these ingredients thoroughly until they are completely blended and form a cohesive, slightly thick dough. The mixture should be uniform in color and texture.
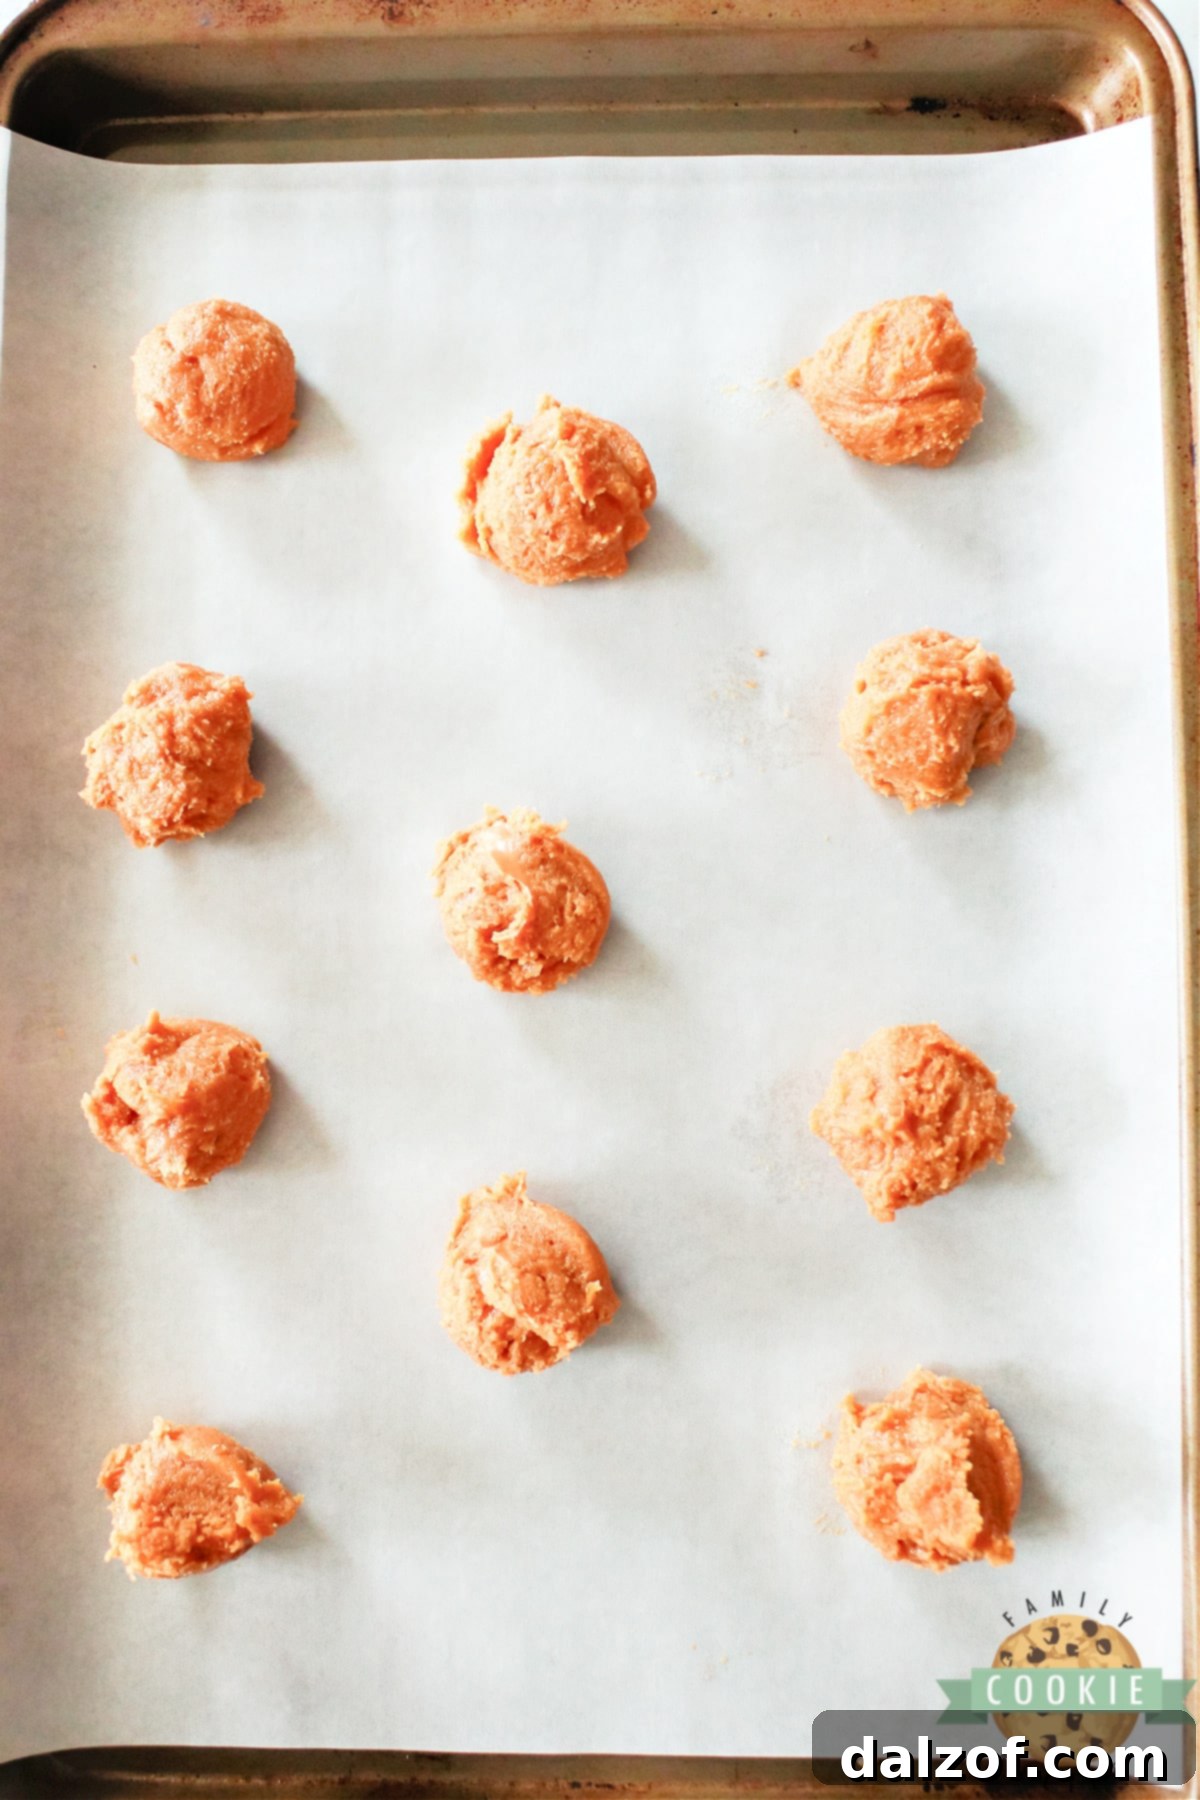
- Scoop the Dough Balls: Using a cookie scoop (a 1.5-tablespoon scoop works perfectly for most cookies), portion out scoopfuls of the peanut butter cookie dough. Place them onto your prepared baking sheet, ensuring you leave approximately 2 inches of space between each cookie. This allows them room to spread slightly without merging during baking.
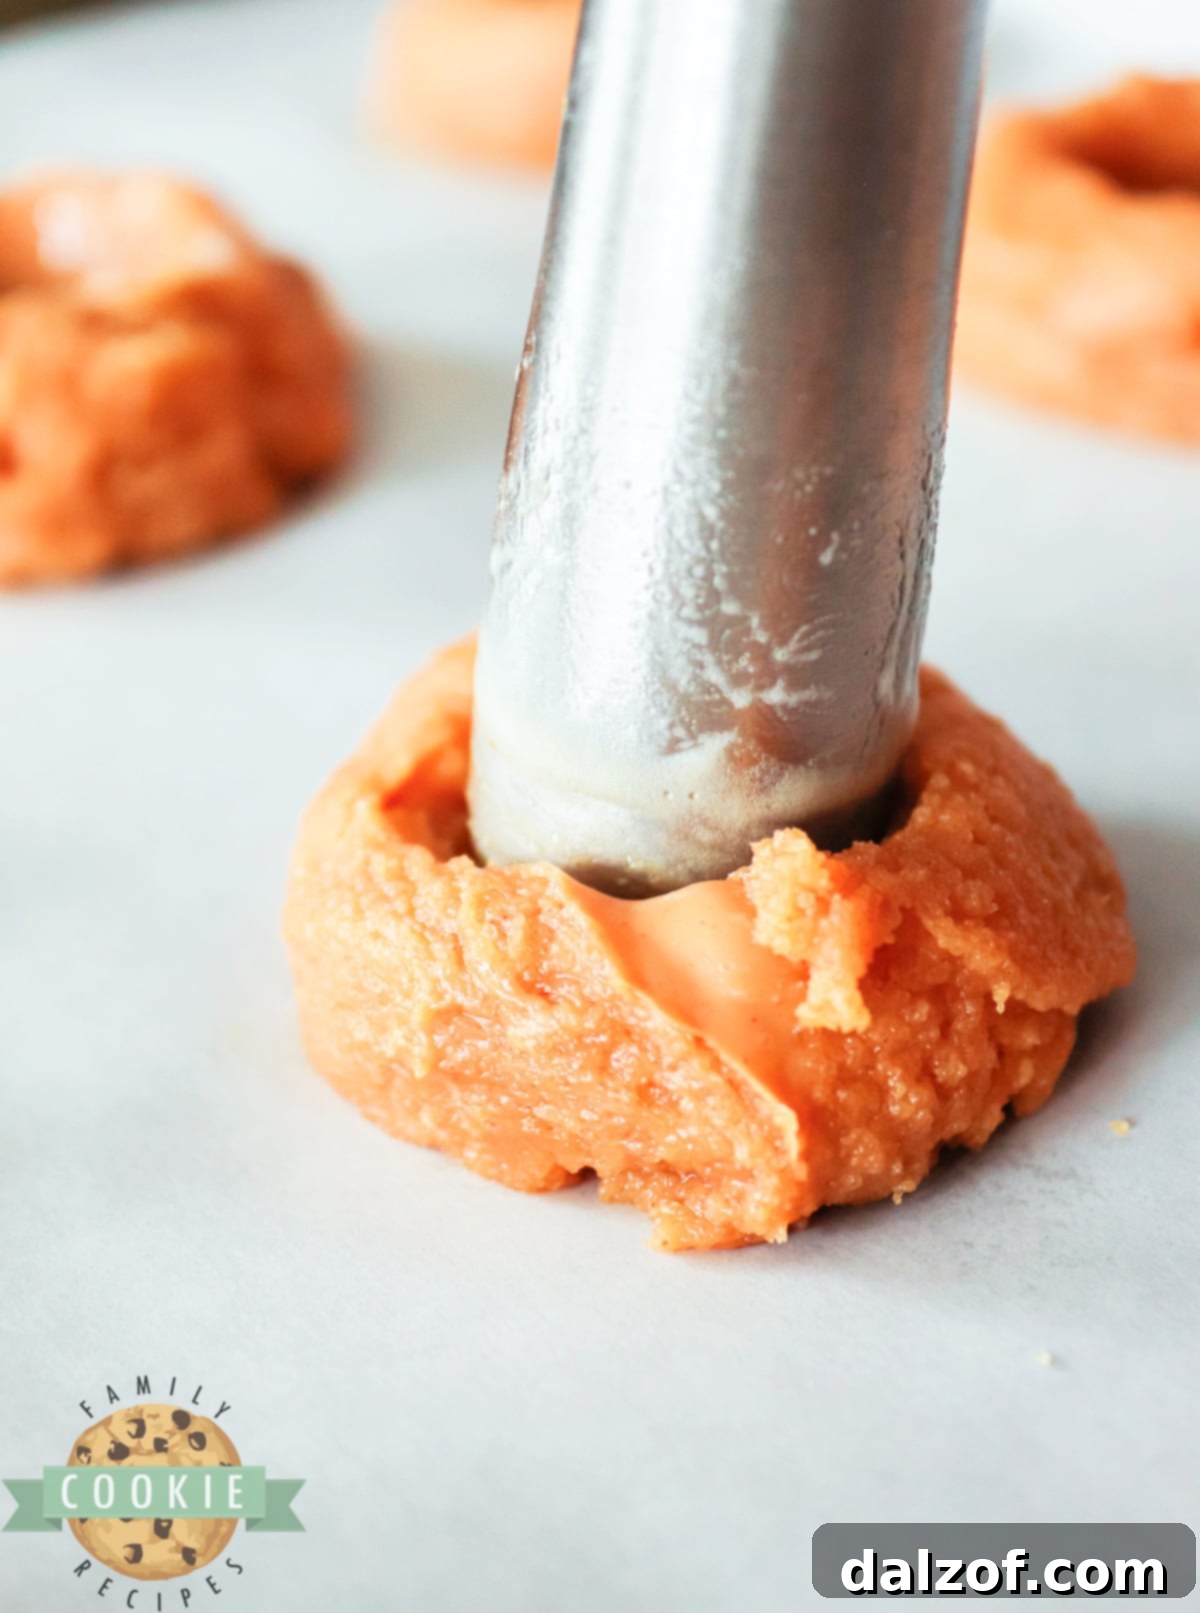
- Create the Thumbprints: Now comes the “thumbprint” part! Gently indent the center of each cookie dough ball. The back of a small measuring spoon (a teaspoon is ideal) or even the handle of an ice cream scoop works perfectly for this. Press down just enough to create a well, but not so deep that you break through the bottom of the cookie.
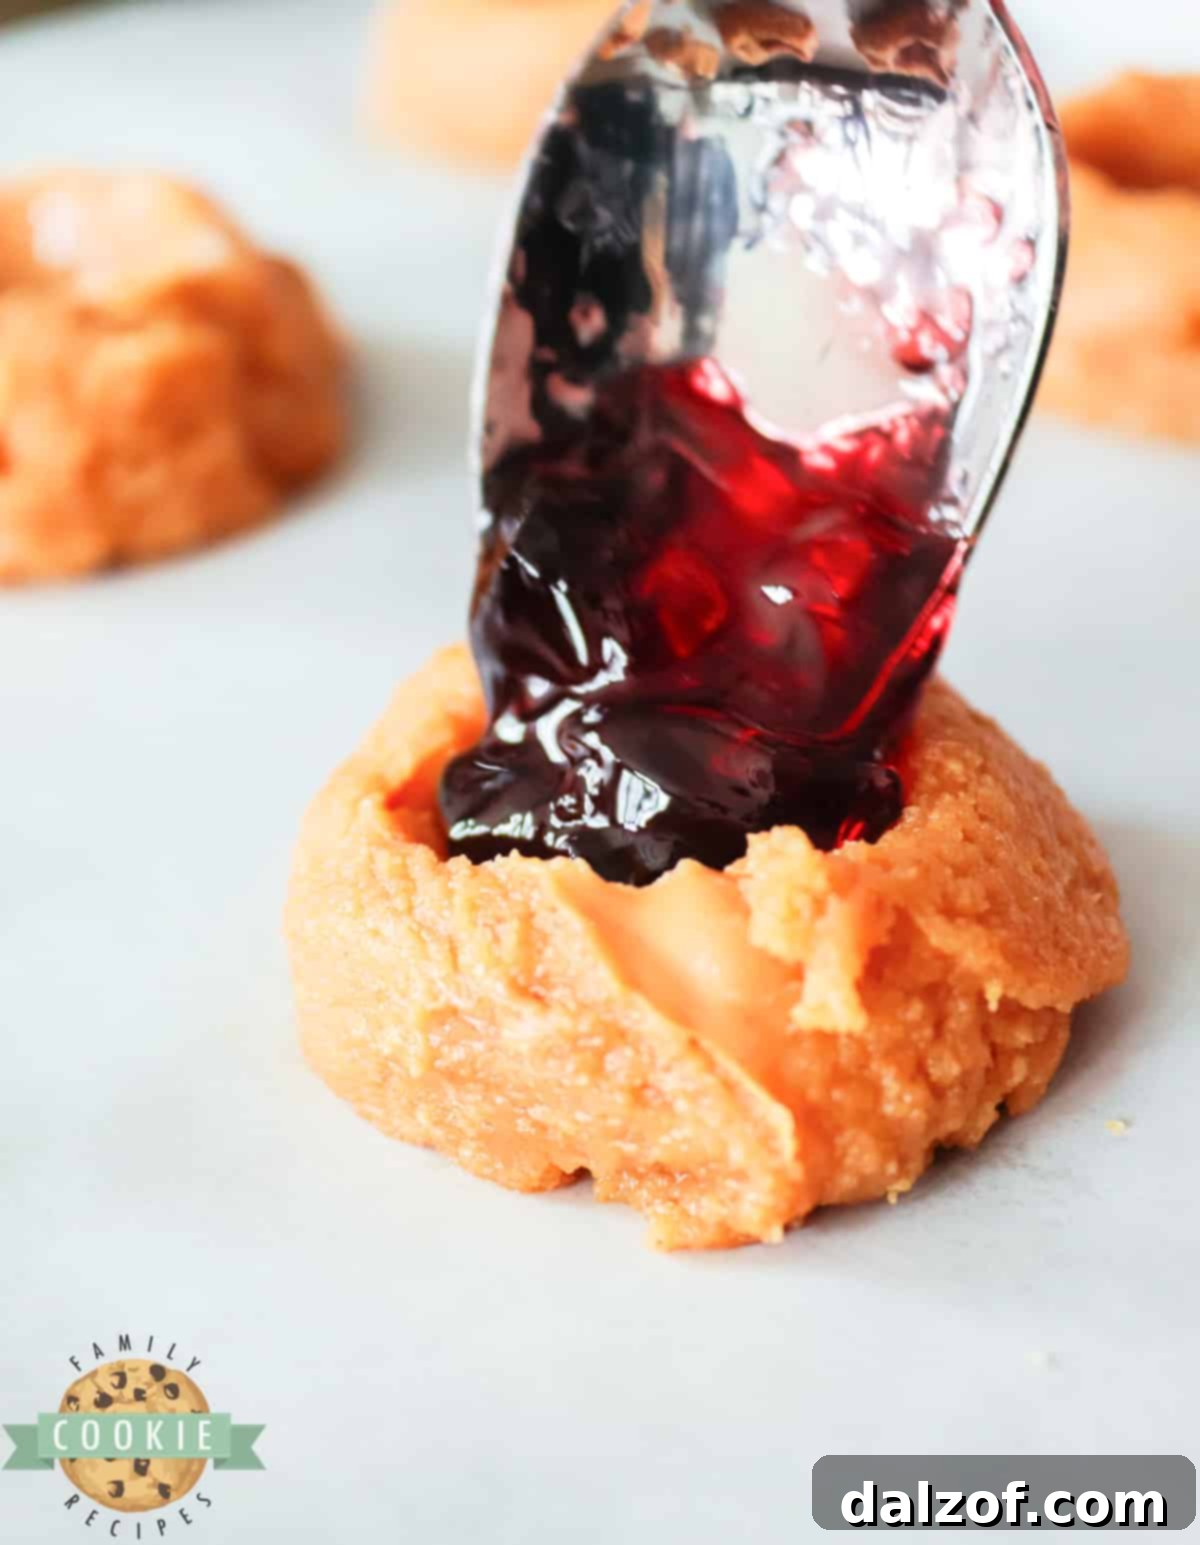
- Fill with Jelly: Take a clean teaspoon and carefully drop your chosen jelly into the indentations you just created. Be mindful not to overfill, as the jelly will expand and spread slightly as the cookies bake. A good rule of thumb is to fill it just below the rim of the indentation.
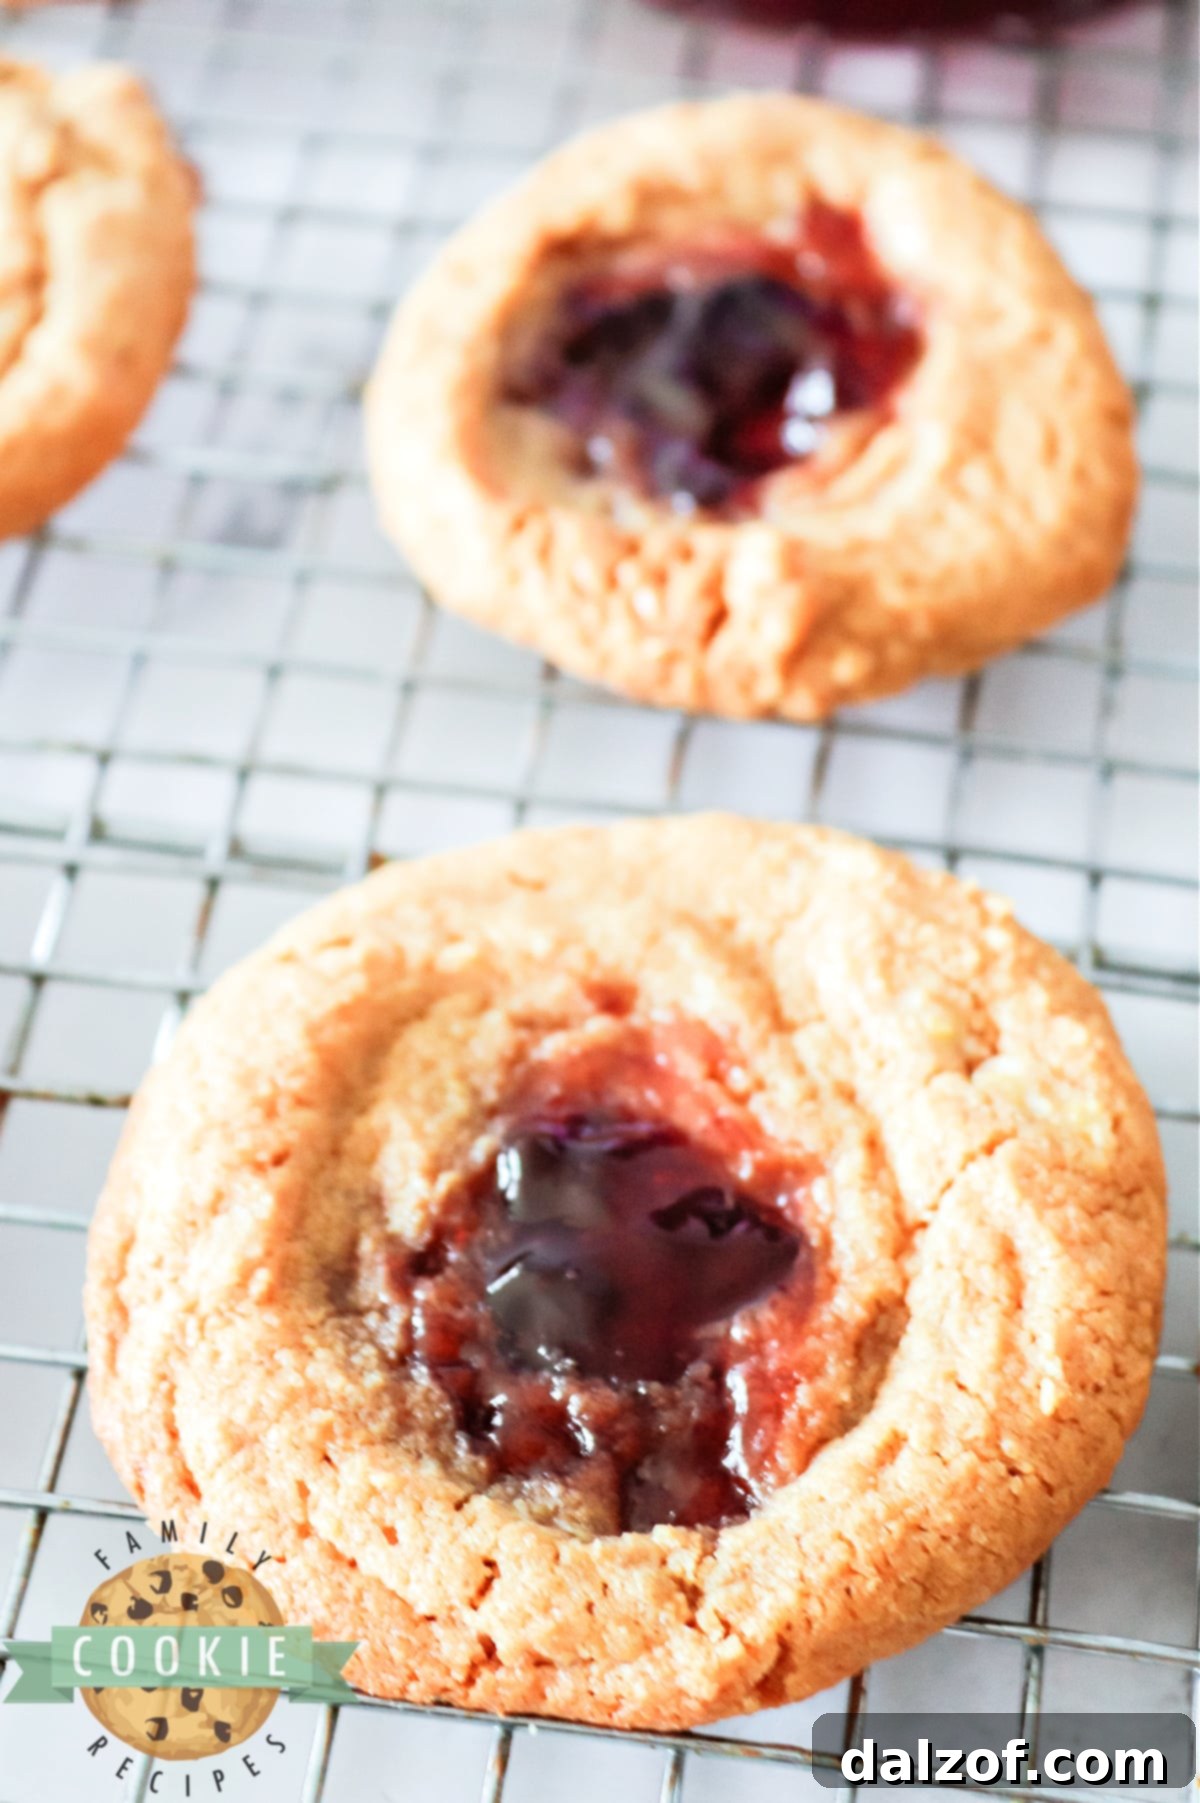
- Bake to Perfection: Place the baking sheet into your preheated oven and bake for 8-10 minutes. The cookies are done when their edges are lightly set and very slightly golden, and the jelly is bubbly. It’s important not to overbake, as these cookies are meant to be soft and chewy.
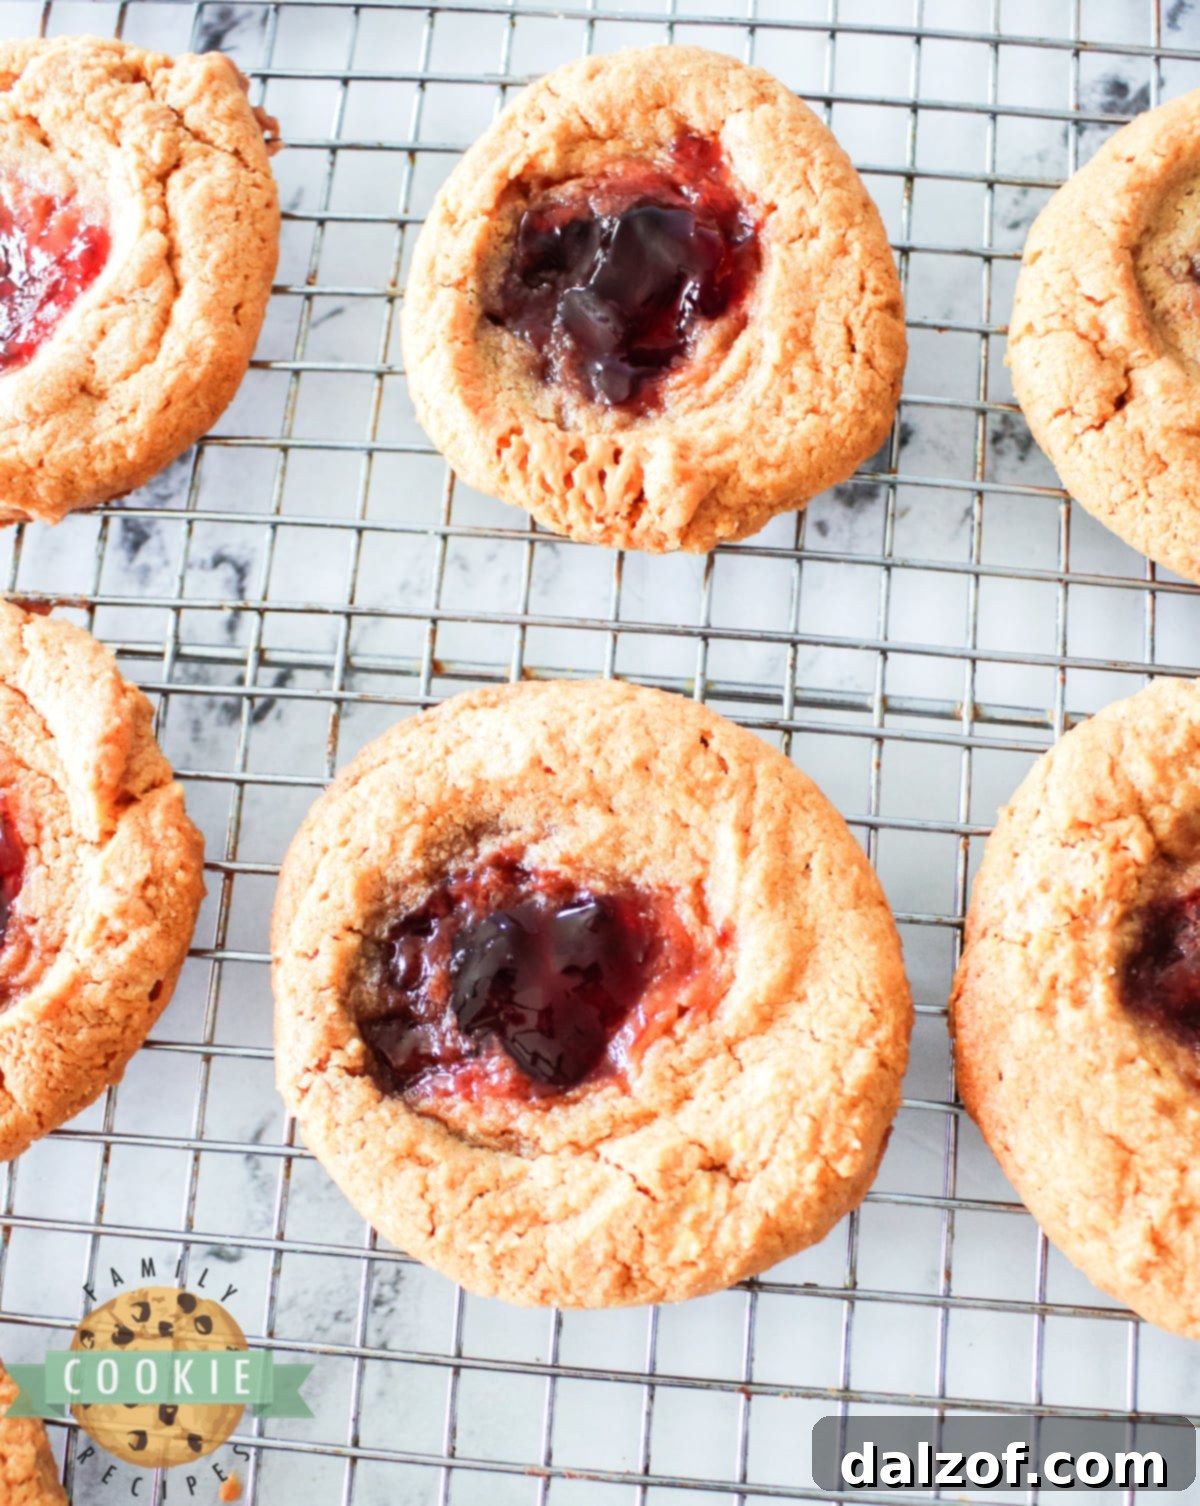
- Cool and Enjoy: Once baked, remove the cookies from the oven. Allow them to cool completely on the baking sheet for at least 10-15 minutes. This is a crucial step because the cookies are quite soft when warm and can easily fall apart if moved too soon. As they cool, they will firm up, becoming easier to handle. Once cooled, serve and enjoy your delightful homemade PB&J cookies!
Peanut Butter and Jelly Cookies
Peanut Butter and Jelly Cookies are a simple, nostalgic treat made with just 4 ingredients! These easy thumbprint cookies combine the classic flavors of peanut butter, sugar, and egg, beautifully filled with your favorite jelly for a quick and delicious dessert.
- Course: Cookies
- Cuisine: American
- Keyword: Peanut Butter and Jelly Cookies, Easy Cookies, Gluten-Free
- Prep Time: 10 minutes
- Cook Time: 10 minutes
- Servings: 18 cookies
- Calories: 149 kcal per cookie
- Author: Jessica & Nellie
Ingredients
- 1 cup creamy peanut butter
- 1 cup granulated sugar
- 1 large egg
- 1/3 cup jelly (any flavor you like!)
Instructions
- Preheat oven to 350°F (175°C). Line a baking sheet with parchment paper and set aside.
- In a medium bowl, mix the peanut butter, sugar, and egg until thoroughly blended into a cohesive dough.
- Using a cookie scoop (about 1.5 tablespoons), place scoopfuls of batter onto the prepared baking sheet, leaving approximately 2 inches between each cookie.
- Indent the center of each cookie dough ball with the back of a small measuring spoon (a teaspoon works well) or the handle of an ice cream scoop.
- Using a teaspoon, carefully drop your chosen jelly into each indentation. Be careful not to overfill, as the jelly will spread slightly as it bakes.
- Bake for 8-10 minutes, or until the cookie edges are lightly set and the jelly is bubbly. Do not overbake.
- Remove from the oven and allow the cookies to cool completely on the baking sheet for 10-15 minutes before handling. They are very soft when warm. Enjoy!
Nutrition
Expert Tips for Perfect Peanut Butter and Jelly Cookies:
While these cookies are incredibly simple, a few expert tips can elevate your baking experience and ensure perfect results every time. These are the secrets to consistently great cookies:
- Precision with Parchment Paper: Always line your cookie sheets with parchment paper. Not only does it prevent sticking (especially crucial for these delicate, flourless cookies), but it also promotes even baking and makes cleanup a breeze. Pre-cut parchment sheets that perfectly fit a 12×16-inch baking sheet are a fantastic time-saver.
- The Power of a Stand Mixer: While not strictly necessary, a good quality stand mixer, like a KitchenAid, can make mixing the peanut butter dough incredibly fast and efficient. The paddle attachment ensures all ingredients are uniformly combined without overworking the dough. If you don’t have one, a sturdy hand mixer or even strong arm power with a large spoon will suffice, but a mixer makes the process effortless.
- The Essential Cookie Scoop: For perfectly uniform cookies, a cookie scoop is a game-changer. It eliminates the guesswork of using two spoons and ensures each cookie bakes evenly and looks professionally made. Cookie scoops come in various sizes; a 1.5-tablespoon scoop is ideal for these peanut butter thumbprints, creating a substantial yet manageable cookie. Uniform size isn’t just for aesthetics; it guarantees consistent baking times across the entire batch.
- Room Temperature Ingredients: Ensure your egg is at room temperature. This helps it emulsify better with the peanut butter and sugar, creating a smoother, more consistent dough.
- Don’t Overfill the Jelly: Resist the urge to heap too much jelly into the indentations. A moderate amount is sufficient, as the jelly will bubble and spread slightly during baking. Too much can lead to overflow and sticky messes on your baking sheet.
- Patience is Key for Cooling: These cookies are delicate when warm. Allow them to cool completely on the baking sheet before attempting to transfer them. This firming-up process prevents them from breaking apart and preserves their perfect thumbprint shape.
Frequently Asked Questions About Peanut Butter and Jelly Cookies
CAN I USE NATURAL PEANUT BUTTER INSTEAD OF REGULAR PEANUT BUTTER?
Yes, you can use natural peanut butter, but be aware that it might significantly alter the texture and sweetness of your cookies. Natural peanut butters typically separate more, have a looser consistency, and lack the added sugars found in regular varieties. This can result in cookies that are less sweet, potentially drier, and more crumbly. For best results and the classic chewy texture, we recommend sticking to conventional creamy peanut butter.
HOW SHOULD I STORE THESE PEANUT BUTTER AND JELLY COOKIES?
To keep your homemade peanut butter jelly cookies fresh and delicious, store them in an airtight container at room temperature. They will maintain their quality and flavor for up to 5 days. For longer storage, see our freezing tips below.
CAN I USE JAM INSTEAD OF JELLY?
Absolutely! Jam or preserves can be used interchangeably with jelly in this recipe. Jam typically contains fruit pulp and seeds, which can add a lovely texture and more intense fruit flavor to your cookies. Just make sure the jam isn’t too liquidy, as very thin jams can spread more during baking.
WHAT ARE SOME OTHER JELLY FLAVOR OPTIONS?
While grape and strawberry are classic choices for peanut butter and jelly cookies, don’t be afraid to get creative! Raspberry jam offers a delightful tartness, apricot preserves can add a sophisticated sweetness, and even a tart cherry jam would be wonderful. Consider the balance of flavors and what you enjoy most with peanut butter.
CAN I ADD CHOCOLATE CHIPS OR OTHER MIX-INS?
Yes! To further customize these cookies, you can gently fold in 1/2 cup of mini chocolate chips, chopped nuts (like peanuts or walnuts), or even a sprinkle of toasted shredded coconut into the peanut butter dough before scooping. This will add another layer of flavor and texture to your easy cookie recipe.
How to Freeze Peanut Butter and Jelly Cookies
Freezing these 4-ingredient peanut butter and jelly cookies is an excellent strategy for meal prepping desserts, ensuring you always have a delightful treat on hand for unexpected guests or a sudden sweet craving. Here’s how to properly freeze them for maximum freshness:
- Cool Completely: The most crucial first step is to ensure your baked cookies are entirely cool before freezing. Attempting to freeze warm cookies will result in condensation, which leads to ice crystals and potentially soggy cookies that stick together.
- Initial Freeze (Flash Freeze): Arrange the cooled cookies in a single layer on a baking sheet or a large plate. Place this sheet into the freezer for about 1-2 hours, or until the cookies are solid. This “flash freezing” step prevents them from sticking to each other when stored in a larger batch.
- Airtight Storage: Once the cookies are individually frozen, transfer them to an airtight freezer-safe container or a heavy-duty freezer bag. For added protection against freezer burn, you can place pieces of parchment paper between layers of cookies in a container.
- Label and Date: Always label your container or bag with the date and the type of cookie. This helps you keep track of freshness. Peanut butter and jelly cookies can be safely stored in the freezer for up to 3 months.
- Thawing Instructions: When you’re ready to enjoy your frozen cookies, simply remove them from the freezer and allow them to thaw at room temperature for approximately 20-30 minutes. There’s no need to reheat them; they taste wonderful once thawed.
More Delicious Peanut Butter Cookie Recipes to Explore:
If you’ve fallen in love with the simplicity and deliciousness of these peanut butter and jelly cookies, you’re in for a treat! The world of peanut butter cookies is vast and wonderful. Here are more irresistible peanut butter cookie recipes to add to your baking list, each offering a unique twist on this beloved flavor:
- PEANUT BUTTER CHOCOLATE CHIP COOKIES: The ultimate classic combination of nutty and chocolatey goodness.
- PEANUT BUTTER BANANA COOKIES: A delightful fusion of flavors, reminiscent of a banana bread with a peanut butter twist.
- PEANUT BUTTER AND JELLY SANDWICH COOKIES: A more elaborate take on the classic, featuring two peanut butter cookies embracing a jelly filling.
- PEANUT BUTTER COOKIE RECIPES: A comprehensive collection of all things peanut butter in cookie form.
- NO-BAKE PEANUT BUTTER BLOSSOMS: Quick and easy, perfect for when you don’t want to turn on the oven.
- NUTTER BUTTER CHOCOLATE CHIP PEANUT BUTTER COOKIES: Double the peanut butter flavor with crushed Nutter Butters and chocolate chips.
- FIVE-CHIP PEANUT BUTTER OATMEAL COOKIES: A hearty cookie packed with multiple types of chips and wholesome oats.
- CHOCOLATE PEANUT BUTTER CHIP COOKIES: Rich chocolate cookies studded with creamy peanut butter chips.
- FUDGE PEANUT BUTTER COOKIE CUPS: A decadent dessert combining a peanut butter cookie base with a luscious fudge topping.
- OREO PEANUT BUTTER COOKIES: The irresistible crunch of Oreos meets the creamy delight of peanut butter.
- REESE’S PEANUT BUTTER BANANA COOKIES: A fantastic blend of banana, peanut butter, and everyone’s favorite candy, Reese’s.
- GRANDMA’S PEANUT BUTTER COOKIES: The classic, timeless recipe that evokes warmth and nostalgia.
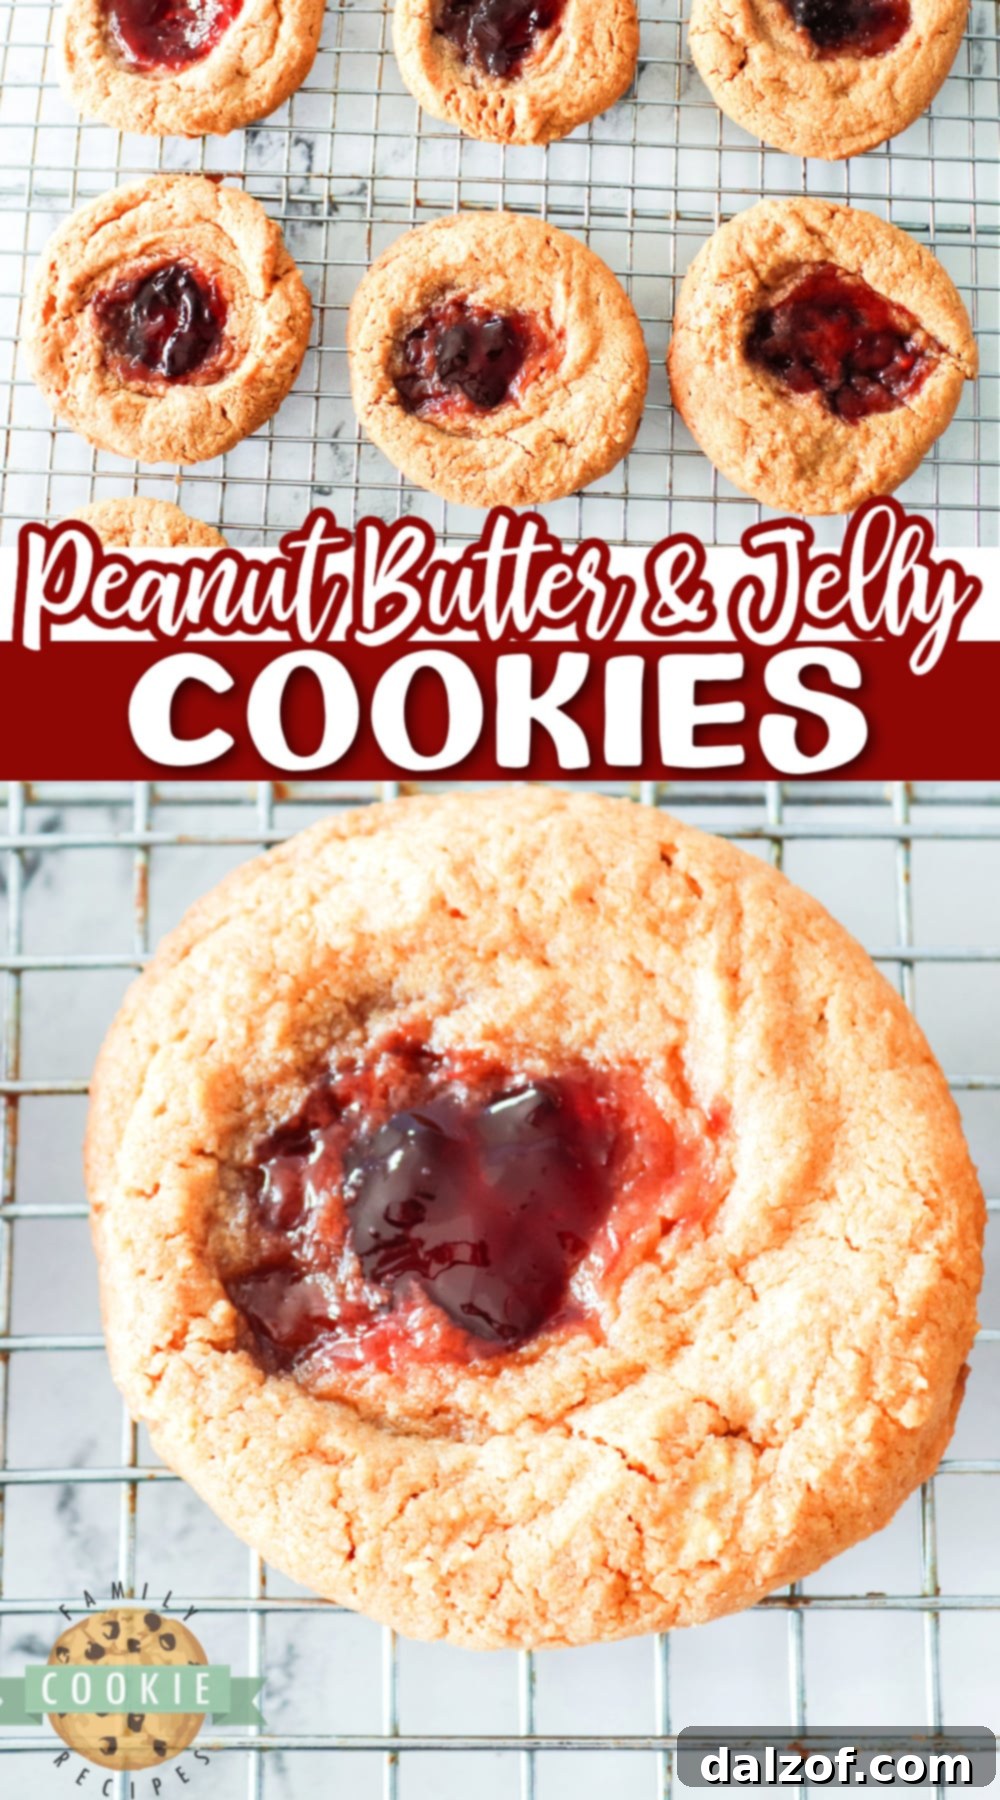
These Peanut Butter and Jelly Cookies are more than just a simple dessert; they’re a quick trip down memory lane, a testament to the fact that extraordinary flavor doesn’t require a long list of ingredients. With just 4 ingredients, you can create these charming thumbprint cookies, delivering that perfect blend of salty peanut butter and sweet, fruity jelly in every bite. They are an ideal treat for busy weeknights, school lunchboxes, or a delightful addition to any party. Happy baking!