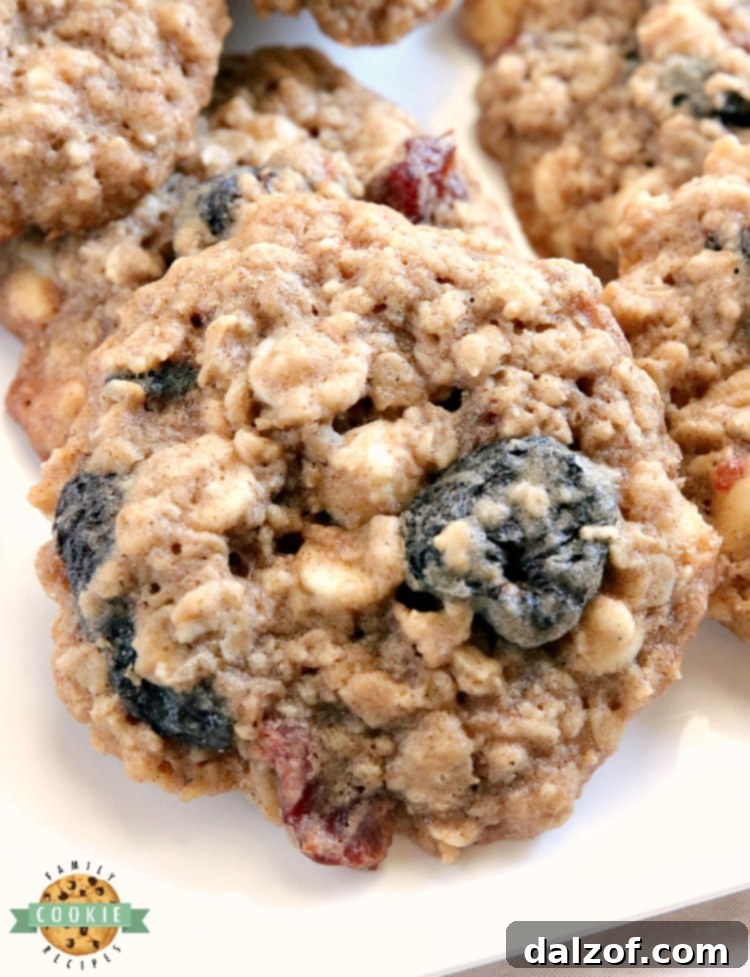
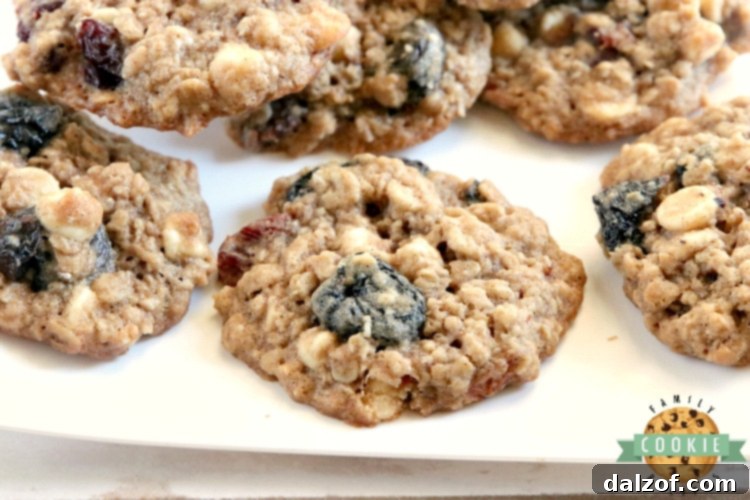
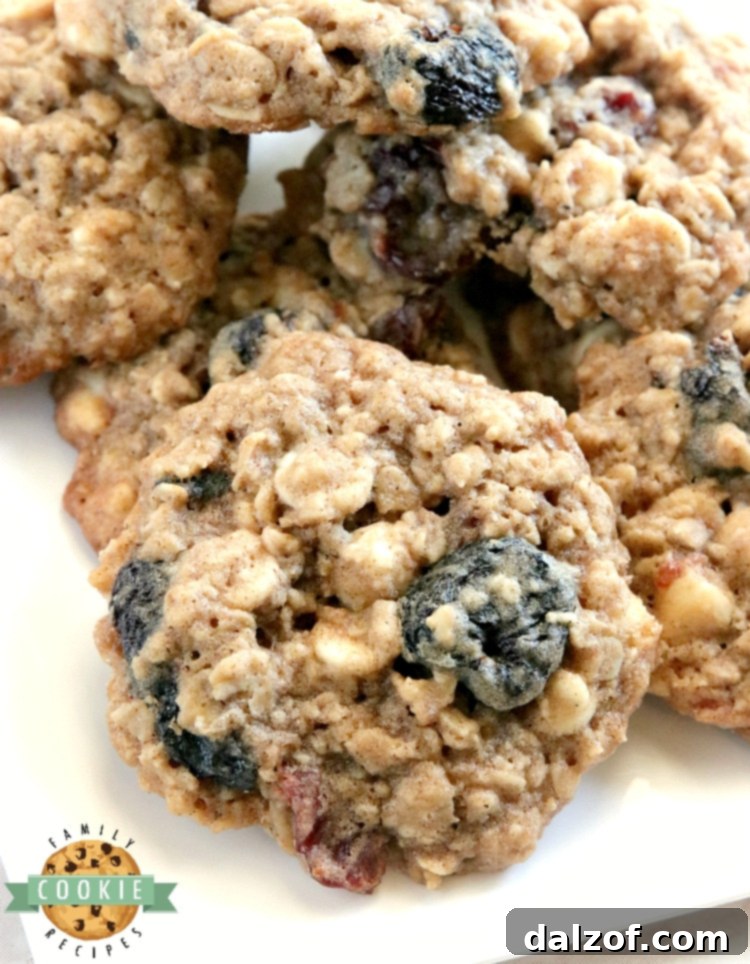
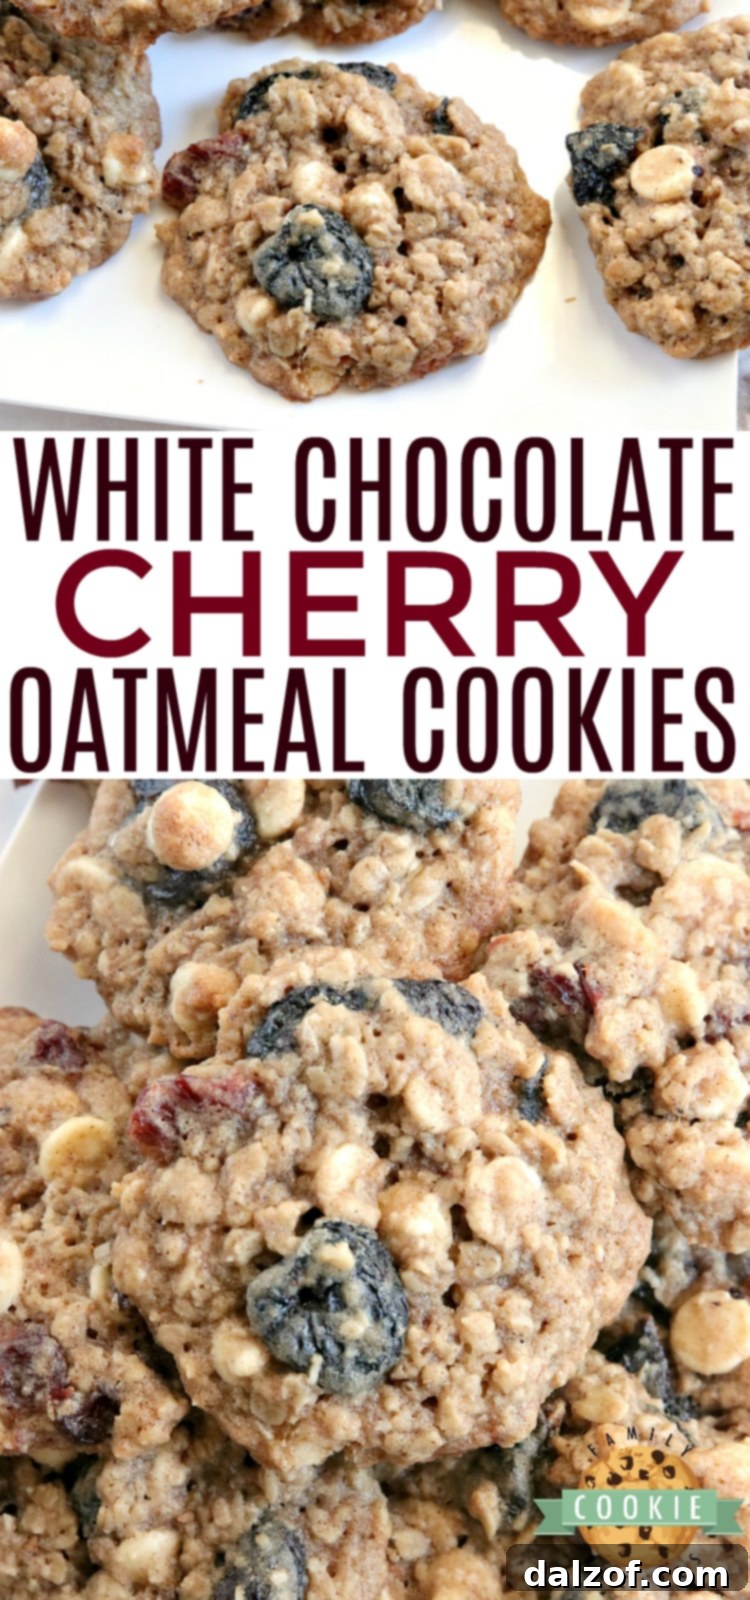
Welcome to a recipe that will redefine your love for oatmeal cookies! These White Chocolate Cherry Oatmeal Cookies are not just another treat; they are a delightful fusion of classic comfort and vibrant flavor. By combining luscious white chocolate chips with plump, juicy dried cherries, we elevate the humble oatmeal cookie to an extraordinary level. Prepare yourself for a soft, chewy texture and a taste experience that is truly incredible.
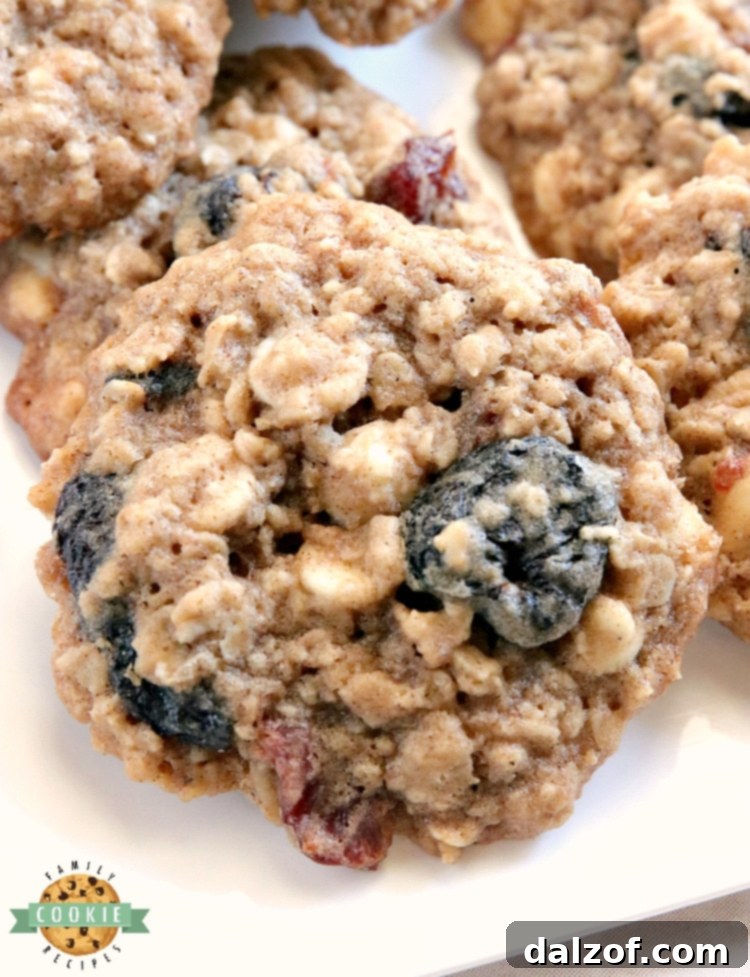
I must confess, when I first developed this oatmeal cookie recipe, I expected them to be good, but the reality surpassed all expectations. My husband and I found ourselves utterly unable to resist them – they were simply divine! While I’ve always appreciated a good oatmeal cookie, these are in a league of their own. Even for those who don’t typically adore dried fruit in their baked goods, the marriage of sweet white chocolate and tart dried cherries is a flavor combination that truly shines.
A unique step in this recipe, which might be new to some bakers, involves soaking the dried cherries in orange juice for approximately 30 minutes before incorporating them into the dough. This simple yet brilliant technique serves multiple purposes: it rehydrates the cherries, making them wonderfully plump and soft, and infuses them with a subtle, bright citrus note. While you could technically skip this step, I highly encourage you to try it if time allows. It genuinely transforms the dried cherries, making them softer, juicier, and an even more delightful component of these magnificent cookies.
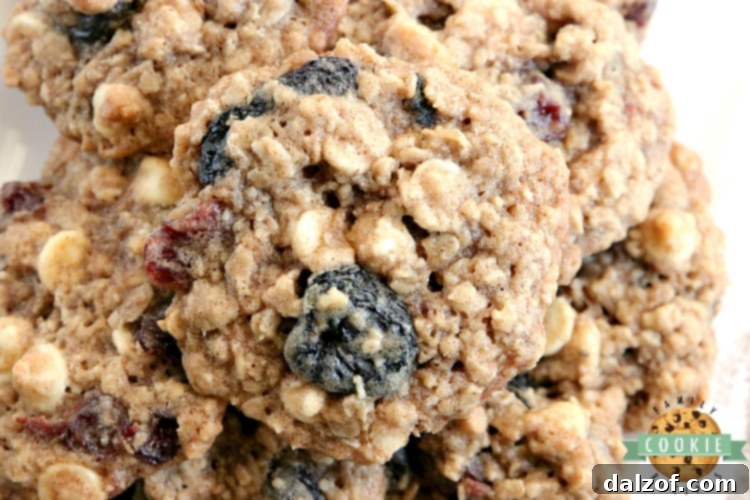
Secrets to Baking the Best Oatmeal Cookies Every Time
Through countless baking experiments over the years, I’ve gathered several invaluable insights that ensure your oatmeal cookies turn out perfectly soft, chewy, and flavorful every single time. Follow these expert tips to achieve cookie perfection:
- Ensure Adequate Flour: The right amount of flour is crucial for cookie structure. If your dough feels excessively sticky after mixing, you might need to add a touch more flour, a tablespoon at a time, until it reaches a manageable consistency. Too little flour can lead to cookies that spread too much and become overly thin or greasy.
- Cream Butter and Sugars Thoroughly: This step is foundational for the texture of your cookies. Take an extra 2-3 minutes to cream the softened butter with both brown and granulated sugars until the mixture is light, fluffy, and noticeably pale. This process incorporates air into the dough, which contributes significantly to the cookies’ light and tender crumb.
- Always Preheat Your Oven: Patience is key! A properly preheated oven maintains a consistent temperature, which is essential for even baking and proper cookie spread. Placing dough into a cold or warming oven can result in flat, unevenly baked cookies.
- Utilize a Cookie Scoop: For beautifully uniform cookies, a cookie scoop is your best friend. It ensures that each cookie is the same size, which means they will all bake evenly and be ready at the same time. Plus, it makes the scooping process incredibly quick and mess-free.
- Invest in Quality Baking Surfaces: Say goodbye to sticking and uneven baking by using parchment paper or a silicone baking mat. These provide a non-stick surface, making it remarkably easy to remove your delicate cookies from the baking sheet without any scraping or damage. They also promote more even heat distribution, helping prevent burnt bottoms.
- Avoid Overbaking: This is perhaps the most critical tip for achieving that coveted soft and chewy texture. When I remove my oatmeal cookies from the oven, they still appear slightly underbaked in the center. Don’t worry, this is intentional! Cookies continue to bake and firm up on the hot baking sheet for a few minutes after removal. Baking them until fully browned in the oven will lead to hard, dry cookies once cooled.
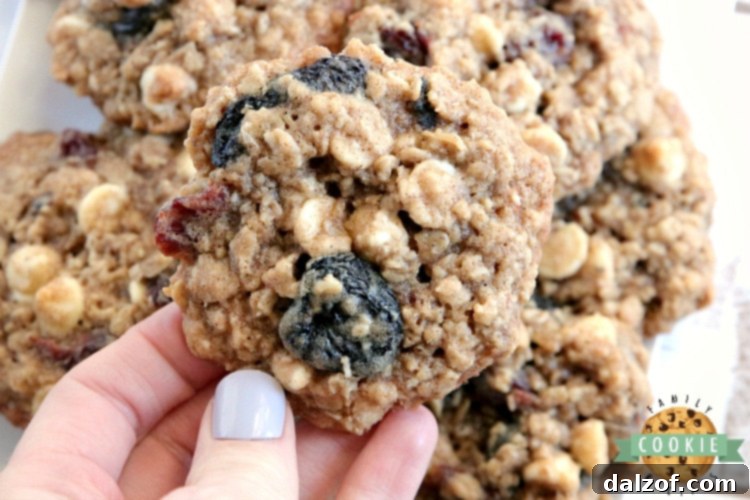
Choosing the Best Oats for Your Oatmeal Cookies
The type of oats you use can significantly impact the final texture of your cookies. You have two primary choices: quick oats or old-fashioned rolled oats. The decision often comes down to personal preference, but understanding the differences will help you achieve your desired cookie experience.
- Old-Fashioned Rolled Oats: These are my preferred choice for this oatmeal cookie recipe. Old-fashioned oats are thicker and less processed, which gives the cookies a distinctly chewier texture and a more robust oat flavor. They retain their shape better during baking, providing a rustic, hearty feel that makes the cookies satisfying and substantial. The visible oat flakes also contribute to the “homemade” aesthetic and can even make you feel like you’re enjoying a wholesome breakfast treat!
- Quick Oats: If you opt for quick oats, your cookies will likely be a bit denser and puffier. Quick oats are cut into smaller pieces and partially cooked, allowing them to absorb liquid more rapidly and break down more during baking. This results in a smoother, more uniform texture, which some bakers prefer.
You can even experiment with a combination of both quick and old-fashioned oats to find your perfect balance of chewiness and density. Just remember that the total quantity of oats should remain the same.
Ingredients for Irresistible White Chocolate Cherry Oatmeal Cookies
Gather these high-quality ingredients to bake a batch of the most amazing White Chocolate Cherry Oatmeal Cookies:
- 2 cups dried cherries (A mix of varieties can add beautiful color and subtle flavor nuances.)
- 1 cup orange juice
- 1 1/2 cups all-purpose flour
- 1 Tbsp ground cinnamon
- 1 tsp baking soda
- 1/2 tsp salt
- 1 1/2 cups butter, softened to room temperature
- 1 cup light brown sugar, packed
- 1/2 cup granulated sugar
- 2 large eggs
- 1 Tbsp vanilla extract (Pure vanilla extract for the best flavor)
- 3 cups old-fashioned rolled oats
- 1 bag (12 oz) white chocolate chips (Choose a good quality brand for superior melting and flavor)
Step-by-Step Guide to Making White Chocolate Cherry Oatmeal Cookies
Follow these detailed instructions to bake your perfect batch of White Chocolate Cherry Oatmeal Cookies:
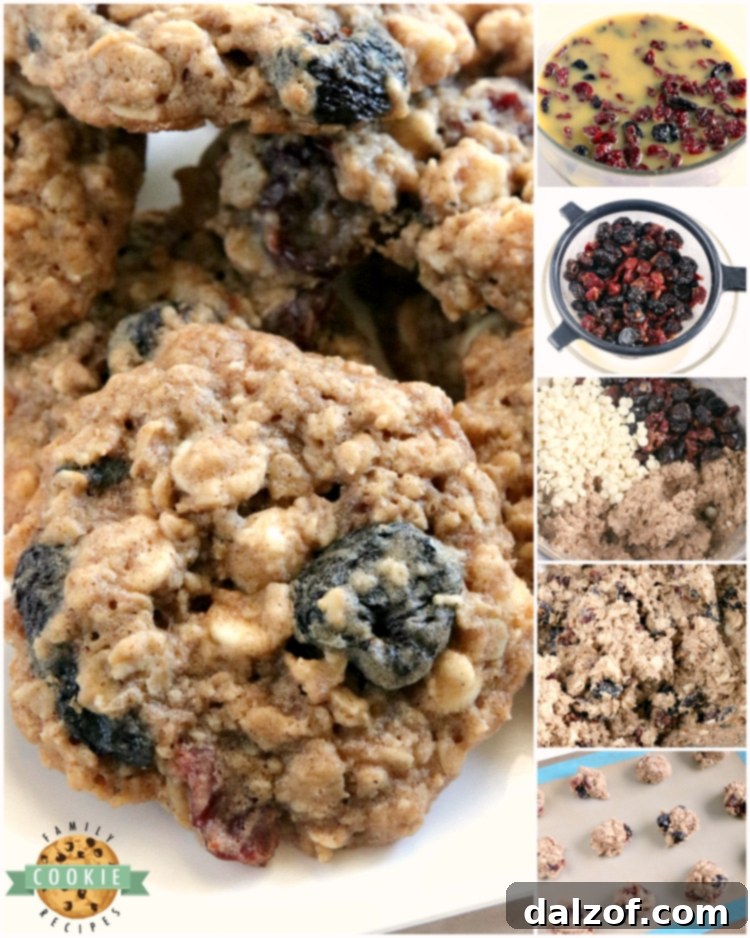
- Begin by preparing the dried cherries. Place them in a heatproof bowl. In a small saucepan, bring the orange juice to a boil over medium heat. Carefully pour the hot orange juice over the cherries and let them soak for approximately 30 minutes. This rehydration step makes them wonderfully plump and juicy. Once soaked, drain the cherries thoroughly and pat them dry with a paper towel to remove any excess moisture. Set the rehydrated cherries aside.
- Preheat your oven to 350°F (175°C). Prepare your baking sheets by lining them with parchment paper or silicone baking mats.
- In a small bowl, whisk together the all-purpose flour, ground cinnamon, baking soda, and salt. Set this dry mixture aside.
- In a larger mixing bowl, cream together the softened butter and both sugars (light brown sugar and granulated sugar) for at least 2-3 minutes using an electric mixer. Continue mixing until the mixture is light in color and has a creamy, fluffy texture. This aeration is key to soft cookies.
- Add the eggs one at a time, mixing well after each addition. Stir in the vanilla extract. Continue to mix for another 2-3 minutes, ensuring everything is thoroughly combined and airy.
- Gradually add the reserved dry flour mixture to the wet ingredients. Mix on low speed, just until the flour is barely incorporated. Be careful not to overmix at this stage, as overworking the gluten can lead to tough cookies.
- Stir in the old-fashioned rolled oats. Mix gently until they are fully and evenly distributed throughout the cookie dough.
- Finally, fold in the drained cherries and the white chocolate chips. Mix just until they are evenly combined into the dough. Again, avoid overmixing once the flour and mix-ins have been added.
- Using a cookie scoop (about 1.5-2 tablespoons per cookie), drop rounded scoops of dough onto your prepared baking sheets, leaving about 2 inches between each cookie.
- Bake the cookies for 10-12 minutes, or until the edges are lightly golden and the centers still look slightly soft and set. Remember, they will continue to firm up as they cool.
- Allow the cookies to cool on the baking sheets for 5 minutes before carefully transferring them to a wire rack to cool completely. This prevents them from breaking and ensures they finish setting.
White Chocolate Cherry Oatmeal Cookies
Print Recipe
Pin Recipe
Ingredients
- 2 cups dried cherries
- 1 cup orange juice
- 1 1/2 cups all-purpose flour
- 1 Tbsp ground cinnamon
- 1 tsp baking soda
- 1/2 tsp salt
- 1 1/2 cups butter softened to room temperature
- 1 cup light brown sugar
- 1/2 cup sugar
- 2 eggs
- 1 Tbsp vanilla extract
- 3 cups old-fashioned rolled oats
- 1 bag (12 oz) white chocolate chips
Instructions
-
Put the cherries in a heatproof bowl. In a small saucepan, bring the orange juice to a boil over medium heat. Pour the orange juice over the cherries and set them aside for about 30 minutes to soak. Drain the cherries well and pat dry with a paper towel to remove any remaining moisture. Set the cherries aside.
-
Preheat the oven to 350°F (175°C).
-
Mix the flour, cinnamon, baking soda and salt together in a small bowl and set aside.
-
In a larger bowl, cream the butter and sugars together for at least 2-3 minutes, until light and creamy.
-
Add the eggs and vanilla and mix for another 2-3 minutes.
-
Add the dry mixture and mix just until combined.
-
Stir in the oats, mixing just until they are fully incorporated in the dough.
-
Fold in the drained cherries and the white chocolate chips, mixing just until barely combined. Do not overmix the dough after you have added the flour mixture!
-
Use a cookie scoop to scoop the dough onto prepared cookie sheets. I prefer to use silicone baking mats, but parchment paper or lightly greased cookie sheets work fine as well.
-
Bake the cookies for about 10-12 minutes, or until the edges just barely start to brown. Let the cookies cool for a few minutes on the baking sheets before transferring to a wire rack to cool completely.
Achieving Perfectly Softened Butter for Baking
The consistency of your butter is paramount for cookie success, especially for creamed butter recipes. Butter that is too cold won’t incorporate properly with sugar, resulting in a dense cookie. Butter that is melted will lead to greasy, flat cookies. Here’s how to get that perfect room temperature:
- Plan Ahead: The easiest method is to simply take your butter out of the refrigerator a few hours before you plan to bake. This allows it to soften naturally.
- The Microwave Method (Use with Caution!): This is a quick fix, but it requires careful attention to avoid melting. Place the unwrapped stick of butter in the microwave. Heat it for 6-7 seconds on a low power setting (or defrost setting). Flip the stick and repeat for another 5-7 seconds. Continue in short bursts until the butter is pliable enough to leave an indentation when gently pressed, but not shiny or melted. The defrost setting can be more forgiving, taking closer to 30 seconds total, but still check frequently.
- Cut into Cubes: Cut your cold butter into small 1-inch cubes. Spread them out on a plate and let them sit on the counter for 15-30 minutes. The increased surface area will help them soften more quickly.
- Warm Water Bath: Place the stick of butter (still in its wrapper) into a bowl of warm (not hot!) water for 5-10 minutes. This method works quickly, but ensure no water seeps into the butter.
- Grate It: If you’re really in a hurry, you can grate cold butter with a box grater. The small shreds will soften almost instantly at room temperature.
Troubleshooting: Why Are My Oatmeal Cookies Burning on the Bottom?
It’s incredibly frustrating when your cookies burn on the bottom while the centers remain undercooked. This is a common baking challenge, but it’s usually easy to remedy. Here are the primary culprits and how to prevent them:
- Dark Baking Sheets: Dark-colored cookie sheets absorb and retain more heat than lighter ones, leading to faster and more intense browning on the bottom of your baked goods. If you consistently find your cookie bottoms burning, switch to lighter, shiny aluminum baking sheets.
- Excessive Greasing: While some recipes call for greasing pans, too much cooking spray or butter can create an additional layer of fat that superheats, causing the bottoms to burn. This is why I’m such a proponent of silicone baking mats or parchment paper – they offer a naturally non-stick surface without the need for any added fats, ensuring a perfectly even bake.
- Oven Temperature and Hot Spots: Your oven might be running hotter than its display indicates, or it could have uneven hot spots. Consider investing in an oven thermometer to verify accuracy. Rotating your cookie sheets halfway through baking can also help mitigate hot spots.
- Rack Position: Baking on the lowest rack in your oven exposes cookies to more direct heat from the bottom element, increasing the risk of burning. For most cookies, the middle rack is ideal, promoting even heat circulation.
Storage, Freezing, and Flavor Variations for Your Oatmeal Cookies
Once you’ve mastered these delightful White Chocolate Cherry Oatmeal Cookies, you’ll want to ensure they stay fresh and perhaps even experiment with new variations.
Storage and Freezing Tips:
- At Room Temperature: Store baked and cooled cookies in an airtight container at room temperature for up to 3-4 days. For optimal freshness, place a slice of bread in the container to help maintain their softness.
- Freezing Baked Cookies: Allow cookies to cool completely. Arrange them in a single layer on a baking sheet and freeze until solid. Once frozen, transfer them to a freezer-safe bag or container, separating layers with parchment paper. They can be frozen for up to 2-3 months. Thaw at room temperature.
- Freezing Cookie Dough: You can also prepare the dough in advance! Scoop the dough onto a parchment-lined baking sheet and freeze until firm. Transfer the frozen dough balls to a freezer-safe bag and store for up to 3 months. When ready to bake, place the frozen dough balls on a prepared baking sheet and bake for a few extra minutes (approximately 12-15 minutes), without thawing.
Creative Flavor Variations:
While the white chocolate and cherry combination is stellar, this versatile oatmeal cookie recipe lends itself well to customization:
- Nutty Additions: Fold in 1/2 to 1 cup of chopped walnuts, pecans, or almonds for added crunch and flavor. Toasting the nuts lightly before adding them can enhance their taste.
- Other Dried Fruits: Experiment with different dried fruits such as dried cranberries, blueberries, chopped apricots, or even a mixed fruit blend. Adjust the soaking liquid if necessary to complement the new fruit.
- Spice it Up: Add a pinch of nutmeg, allspice, or ginger along with the cinnamon for a more complex spice profile, especially during fall and winter months.
- Chocolate Alternatives: If white chocolate isn’t your favorite, try milk chocolate chips, dark chocolate chunks, or butterscotch chips for a different sweet note.
- Citrus Zest: Incorporate the zest of one orange or lemon into the dough for an extra layer of bright, fresh flavor that complements the fruit.
These White Chocolate Cherry Oatmeal Cookies are a testament to how simple ingredients, combined with a few thoughtful techniques, can create something truly extraordinary. Whether you’re baking for a special occasion, a casual snack, or simply to treat yourself, these cookies are guaranteed to impress with their perfect balance of sweetness, tang, and wholesome chewiness. Enjoy every delightful bite!