
Irresistible Mint Oreo Pudding Cookies: Soft, Chewy, and Bursting with Flavor!
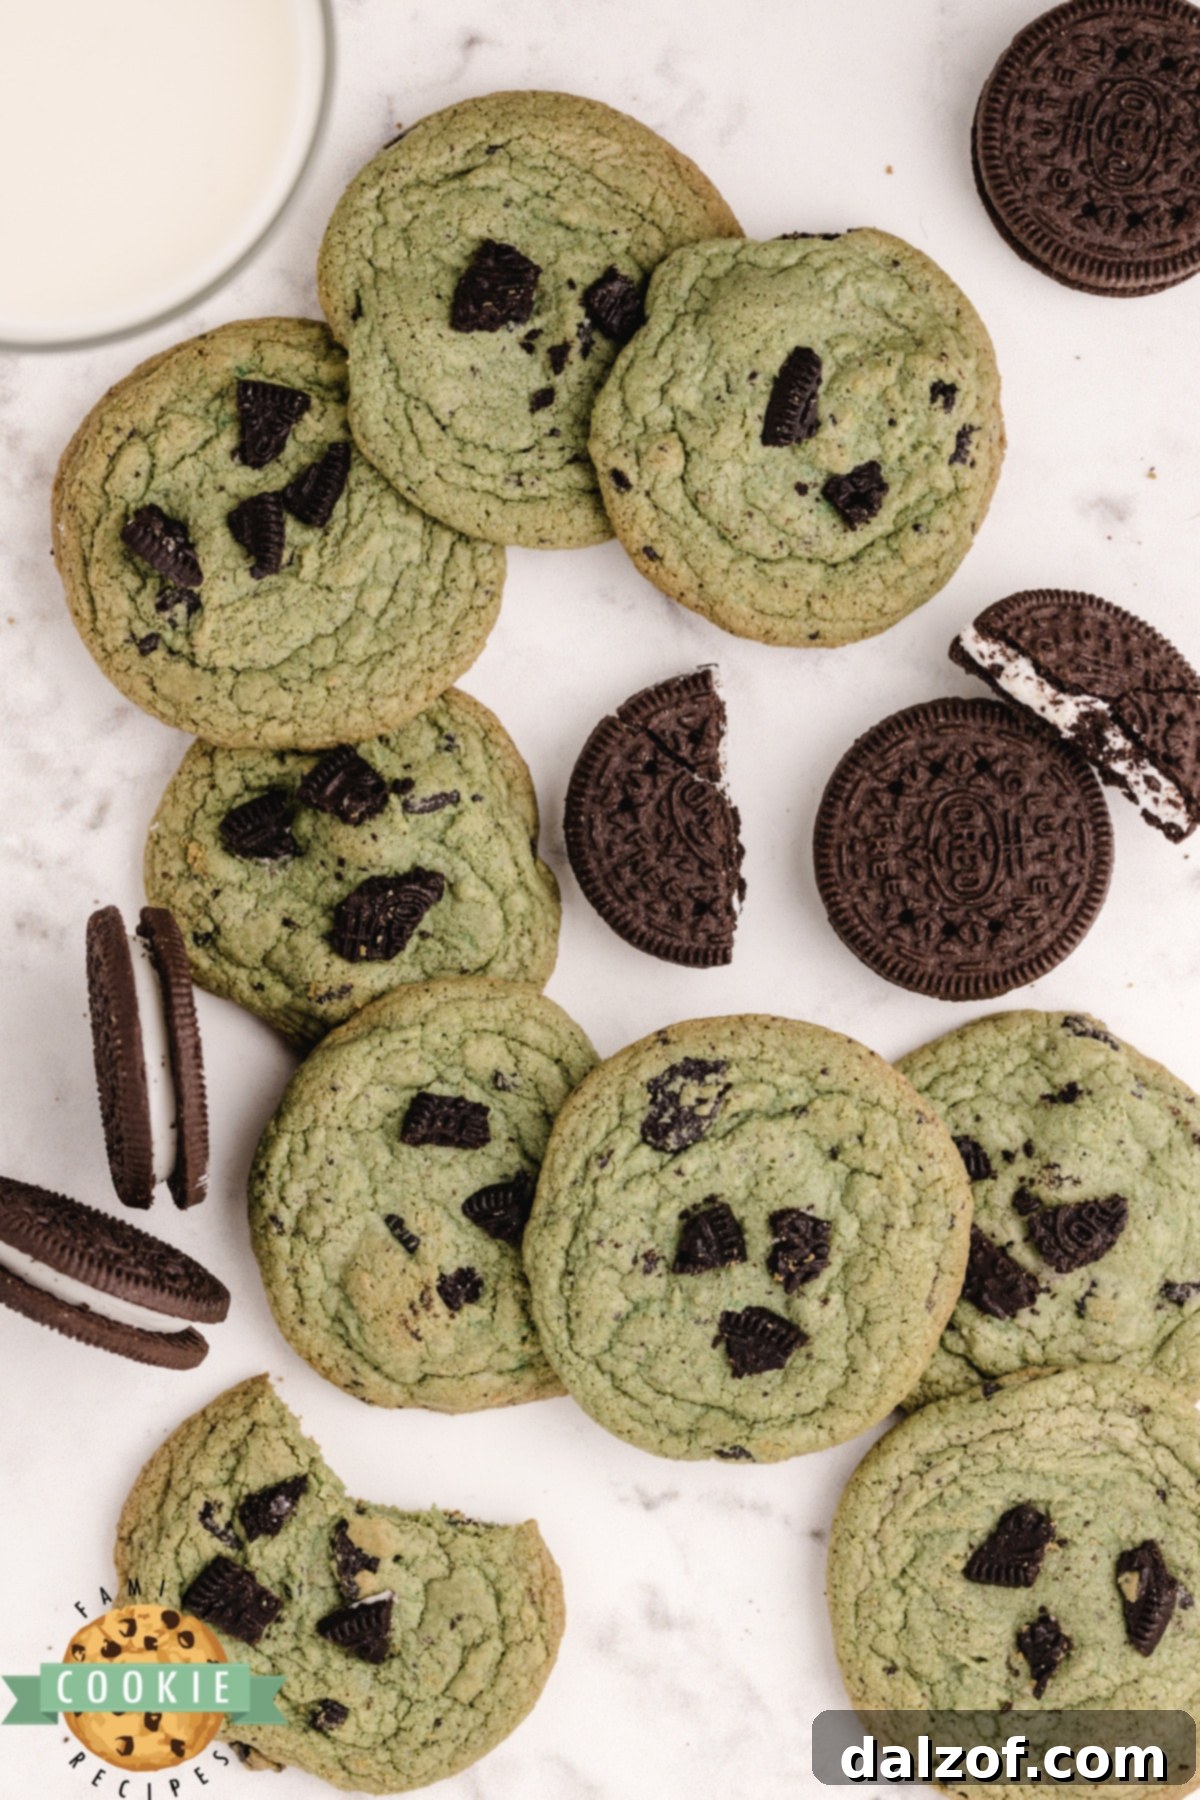
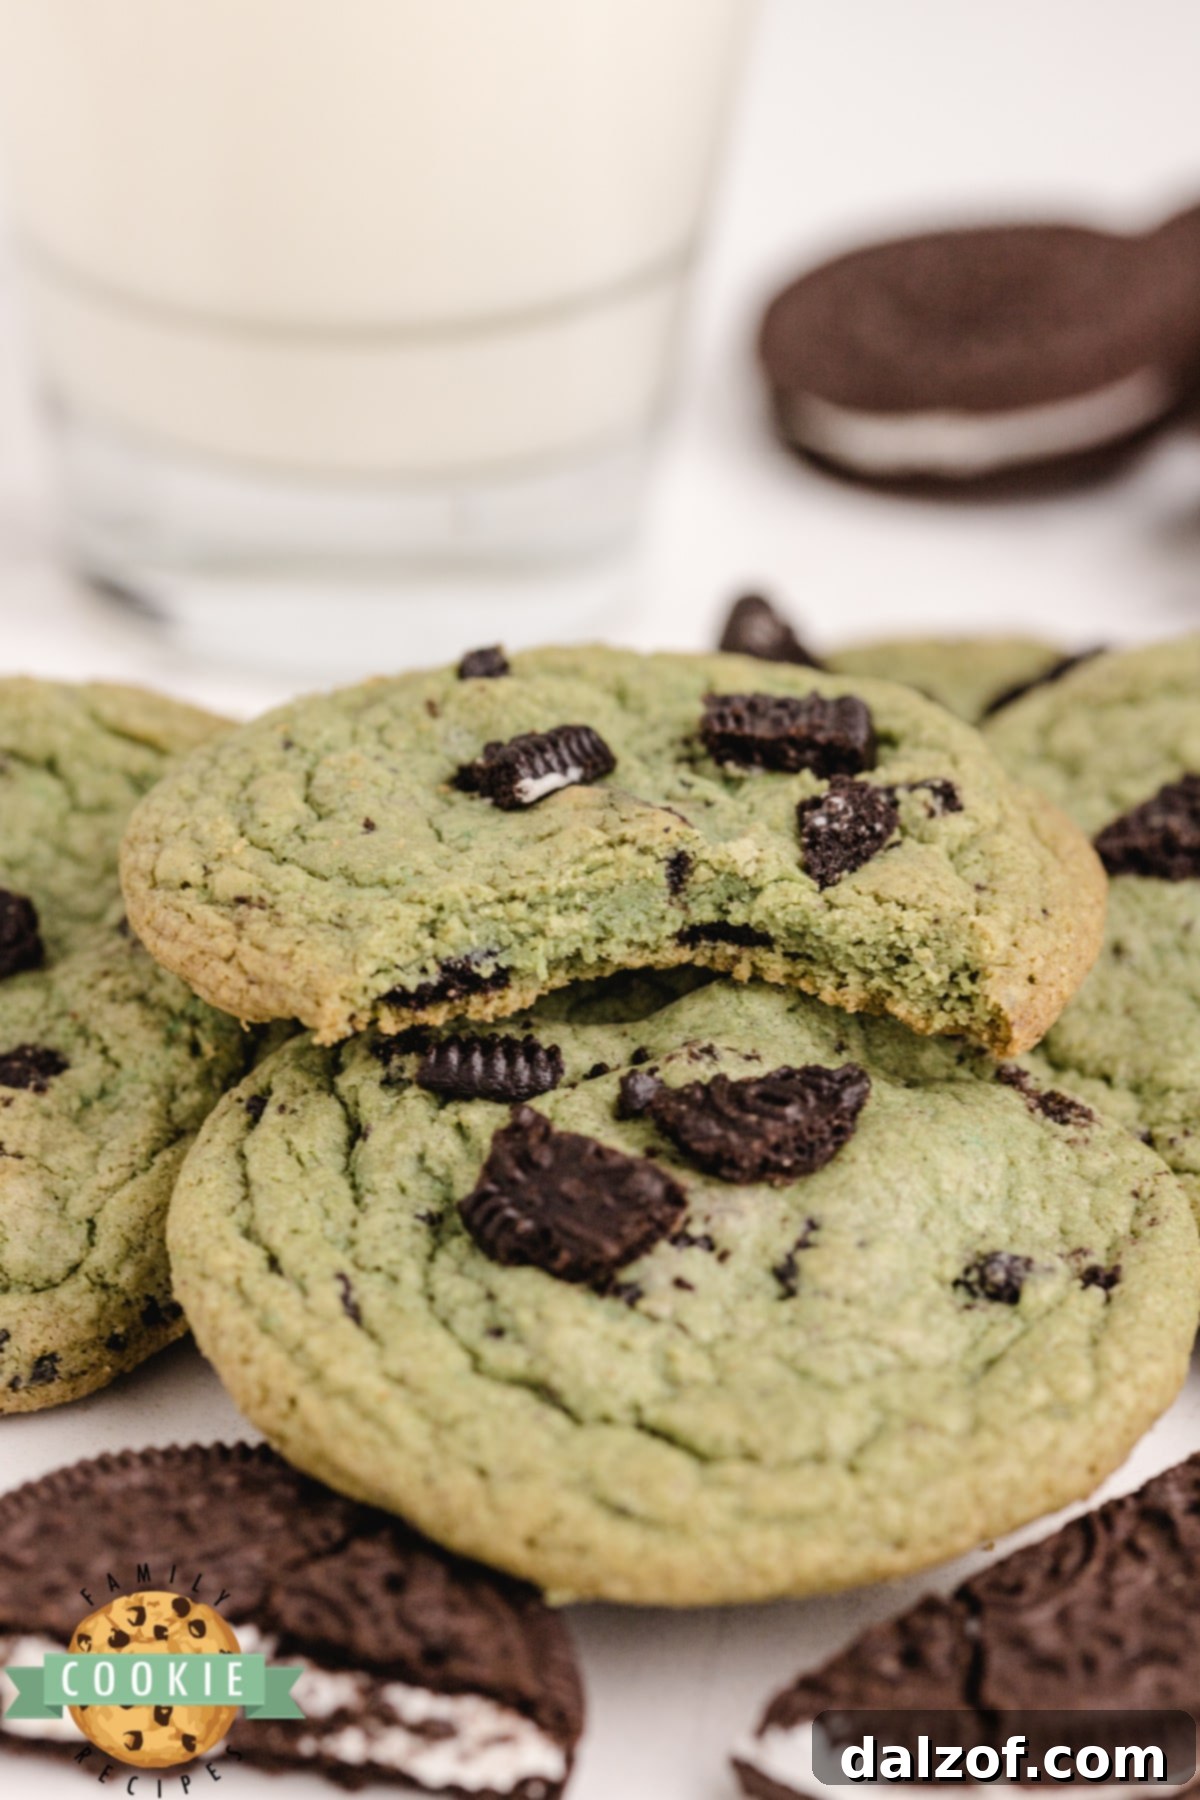
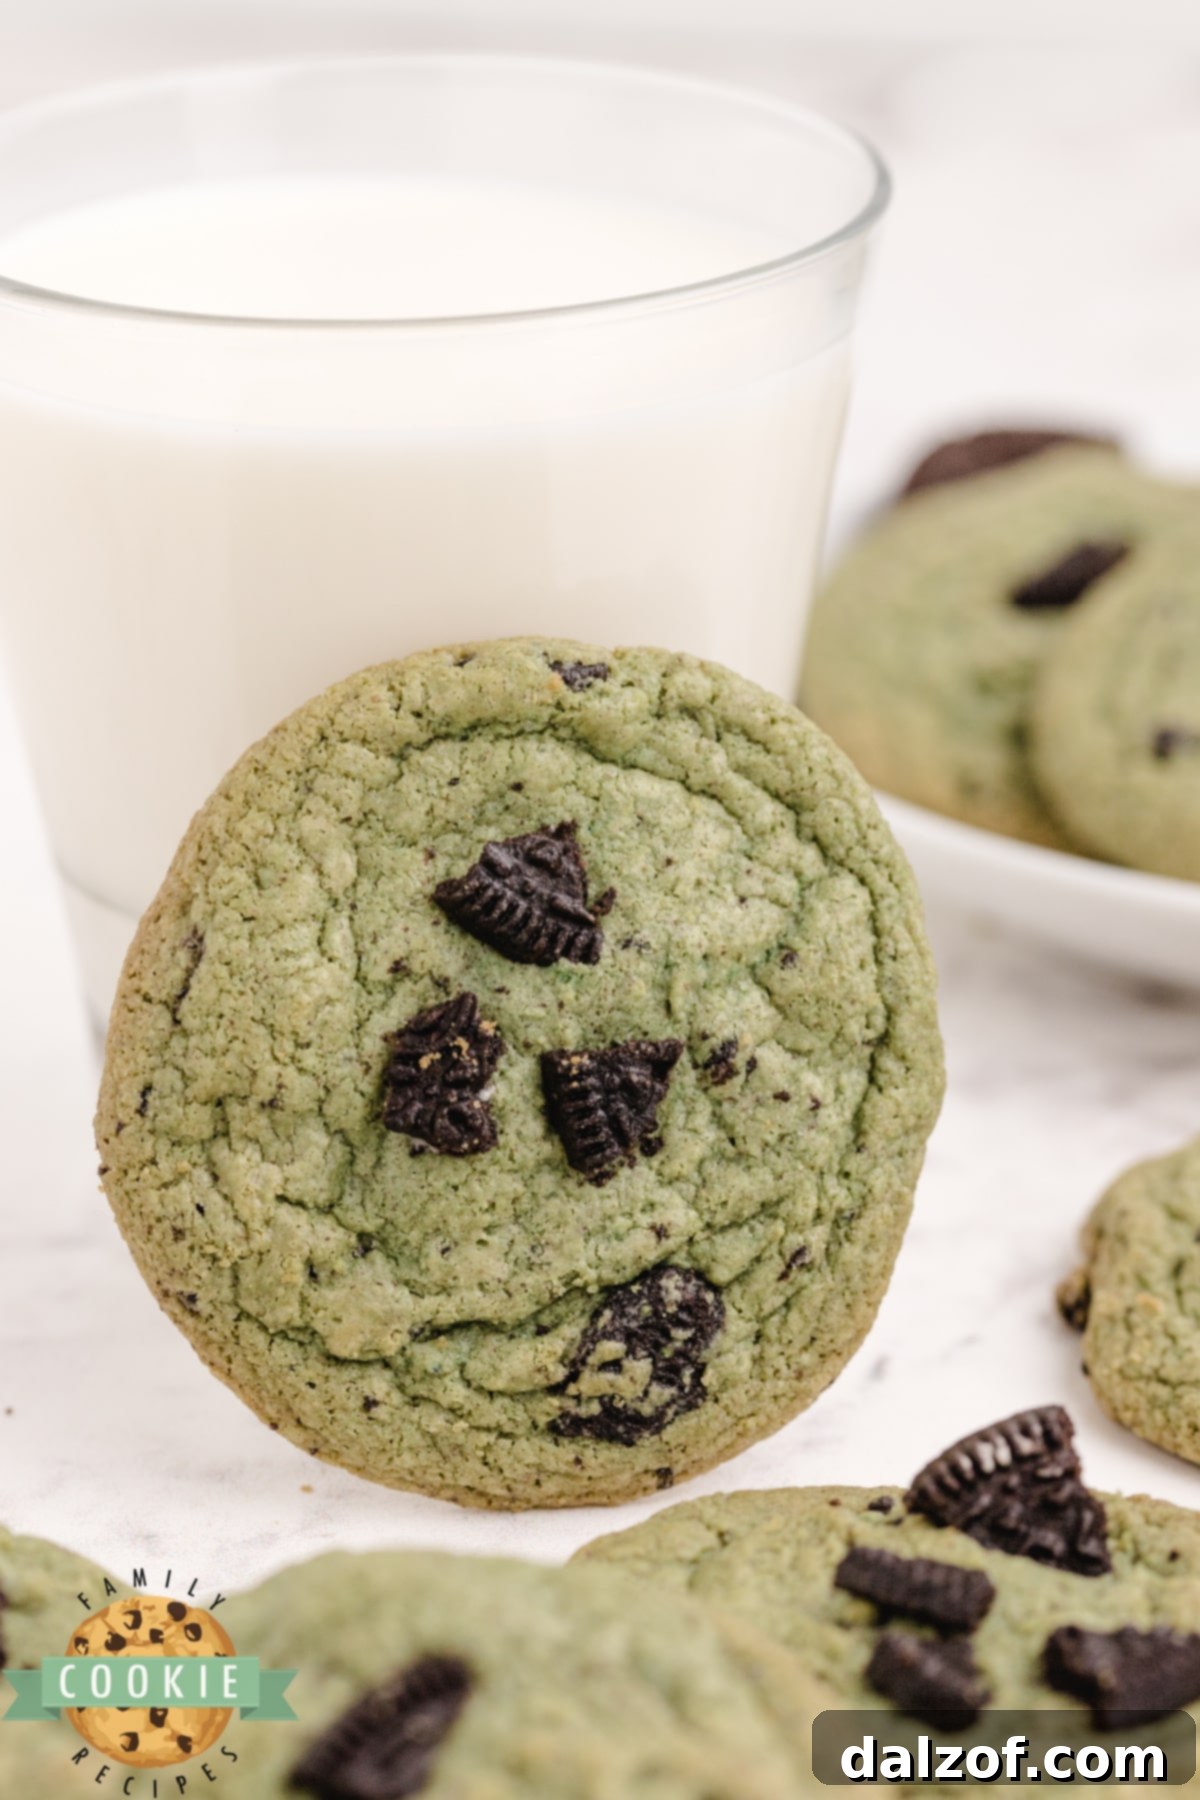
Indulge in the perfect harmony of mint and chocolate with our incredible Mint Oreo Pudding Cookies. These delightful treats are renowned for their exceptionally soft, wonderfully chewy texture, loaded with the cool essence of mint, the rich flavor of Oreo pudding mix, and generous chunks of America’s favorite cookie. If you’re a fan of mint chocolate desserts, prepare to fall in love with these easy-to-make, utterly delicious cookies that promise a melt-in-your-mouth experience with every single bite.
The journey to these amazing Mint Oreo Pudding Cookies began several years ago with a discovery that transformed my baking: incorporating Oreo Pudding mix into cookie dough. This magical ingredient was the secret behind my popular Cookies and Cream Cookies, which quickly became a household favorite. One day, with a package of Mint Oreos beckoning from the cupboard, inspiration struck! A simple adaptation of the original recipe, adding a touch of mint extract and a hint of green food coloring, resulted in these sensational minty marvels. The outcome was nothing short of spectacular, solidifying their place as a cherished recipe in our collection.

What sets these cookies apart is not just the incredible mint and chocolate fusion, but also the unparalleled softness imparted by the instant pudding mix. This ingredient acts as a secret weapon, ensuring your cookies remain tender and moist for days, while also intensifying that distinct Oreo flavor. While pudding is a common ingredient in many of my go-to cookie recipes for achieving that desired soft, chewy texture, there are several other essential tips to master to ensure every batch of your homemade cookies turns out perfectly delightful, every single time.
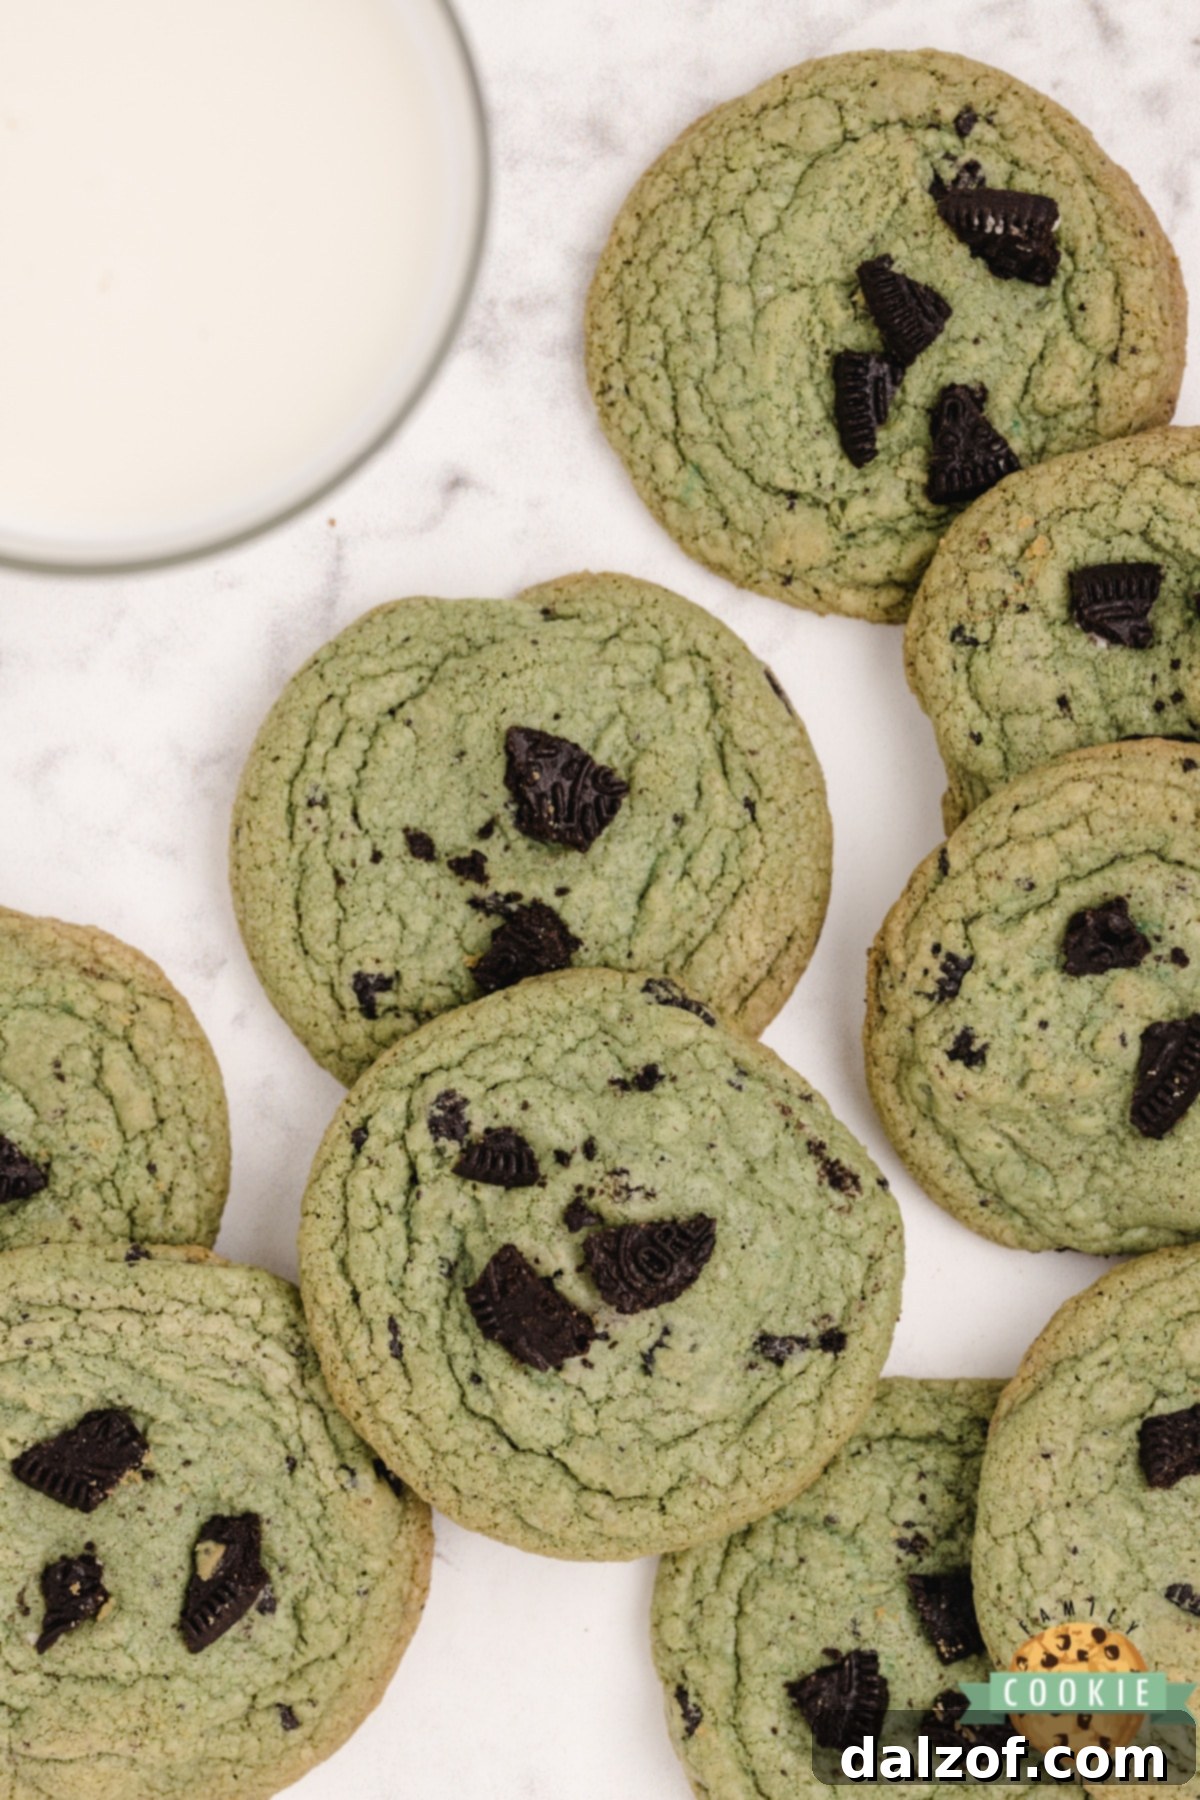
Expert Tips for Baking Perfectly Soft and Chewy Cookies
Achieving bakery-quality cookies at home is simpler than you might think. Follow these expert tips to ensure your Mint Oreo Pudding Cookies—and all your future cookie endeavors—are consistently soft, chewy, and utterly delicious:
- Avoid Overmixing the Dough: Once you add the flour, mix just until combined. Overmixing develops gluten, which can lead to tough, dense cookies instead of light and airy ones. A light hand and careful mixing are key to maintaining a tender crumb.
- Use Properly Softened Butter: This is crucial. Your butter should be softened to room temperature, meaning it yields slightly when pressed but isn’t greasy or melted. Melted butter will cause your cookies to spread too much, resulting in flat, crispy disks. The ideal temperature allows for proper creaming with sugars, creating tiny air pockets essential for a soft texture.
- Do Not Overbake Your Cookies: This is arguably the most important tip for soft cookies. Cookies continue to bake for a few minutes after they are removed from the oven, thanks to residual heat. Take them out when the edges are just set and very lightly golden, even if the centers appear slightly underbaked or still shiny. For this Mint Oreo Pudding Cookie recipe, ten minutes is typically the sweet spot.
- Cool Cookies Correctly: Allow your freshly baked cookies to cool on the hot baking sheet for 1 to 3 minutes before carefully transferring them to a wire rack to cool completely. This brief period on the warm sheet allows them to finish setting without overbaking.
- Store Cookies in an Airtight Container: To preserve their soft and chewy texture, always store your cookies in an airtight container at room temperature. This prevents them from drying out and keeps them fresh for longer.
- Separate Cookie Types for Storage: If you’re storing different types of cookies, keep soft, chewy cookies separate from crisp ones. Moisture from soft cookies can transfer to crispy cookies, making them soft, and vice-versa, compromising the texture of both.
- Choose the Right Baking Sheet: Opt for shiny, light-colored aluminum cookie sheets over dark ones. Dark sheets absorb more heat, which can lead to overbaking the bottoms of your cookies. Alternatively, using silicone baking mats is a game-changer! They provide even heat distribution, prevent sticking, and make cleanup a breeze, keeping your cookie sheets pristine.
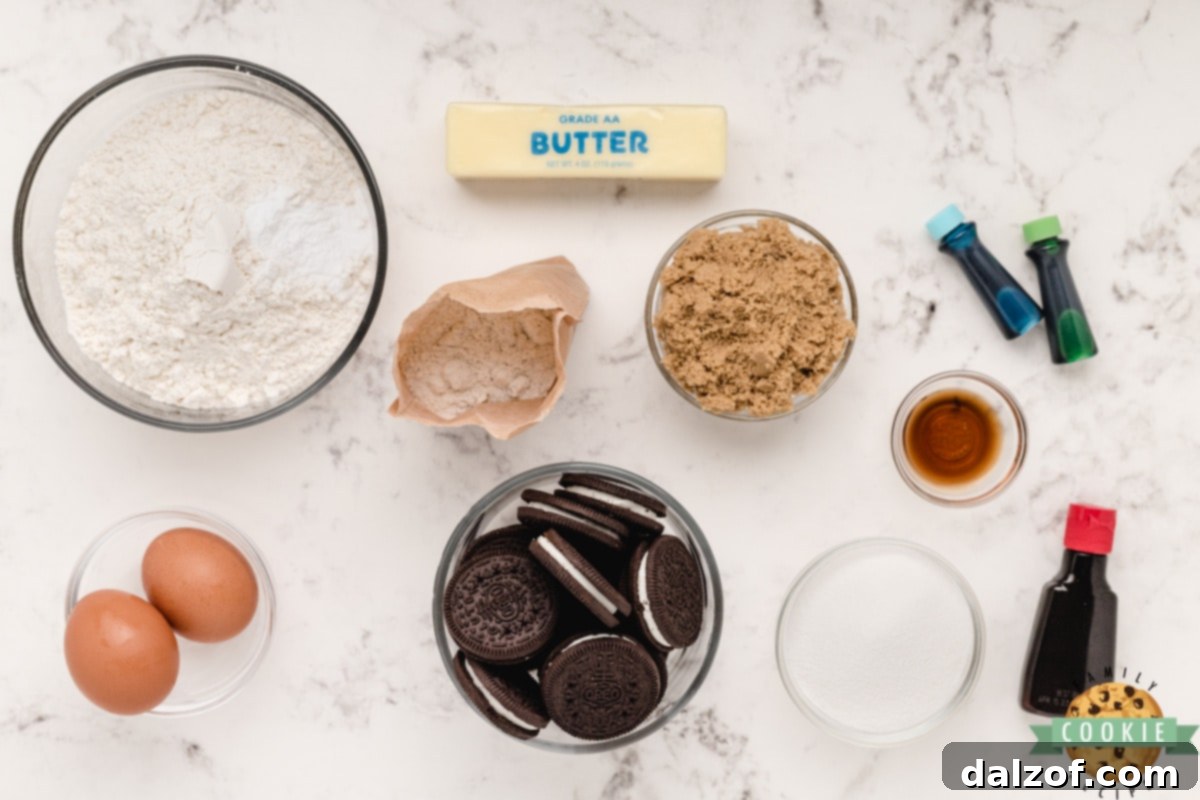
Key Ingredients for Mint Oreo Pudding Cookies
Each ingredient plays a vital role in creating the exceptional taste and texture of these Mint Oreo Pudding Cookies. Here’s a closer look at what you’ll need and why it matters:
- Butter: Essential for richness and tender texture. Ensure your butter is fully softened to room temperature. This allows it to cream properly with the sugars, creating an emulsified base that holds air and contributes to a light, airy crumb. Cold butter won’t blend correctly, and melted butter will result in greasy, flat cookies.
- Brown Sugar: Adds moisture, chewiness, and a subtle caramel note. I always use light brown sugar for a balanced flavor profile. Always check that your brown sugar is soft and fresh; dried-out brown sugar can negatively impact the texture and moisture of your cookies.
- Granulated Sugar: Provides sweetness and helps with spreading and crisping the edges. Used in combination with brown sugar, it contributes to the perfect balance of soft centers and slightly crisp edges.
- Oreo Cookies & Cream Instant Pudding Mix: The star ingredient for that unbeatable softness and enhanced Oreo flavor! This instant pudding mix makes these cookies incredibly moist and delicious. While it can sometimes be hard to find, Walmart often carries it. If you absolutely cannot locate the Oreo flavor, vanilla instant pudding mix is a suitable substitute and still contributes to the tender texture.
- Eggs: Act as a binder, adding structure and moisture. Always use large eggs for consistent results in baking recipes. They also contribute to the richness and help create a good crumb structure.
- Vanilla Extract: A crucial flavor enhancer. A good quality vanilla extract or a Vanilla Bean Paste will significantly elevate the overall taste, adding depth and warmth to the mint and chocolate.
- Mint Extract: This provides the signature minty kick. A teaspoon is usually enough for a vibrant flavor, but remember that extracts are potent, so measure carefully to avoid an overwhelming taste. Be sure to use mint extract, not peppermint, unless you specifically desire a stronger, candy-cane like flavor. Mint offers a softer, more rounded profile.
- All-Purpose Flour: The primary structural component of the cookies. While all-purpose flour works perfectly, you can experiment with bread flour for a slightly chewier cookie or pastry flour for an even more delicate texture. Always measure flour correctly, preferably by weight, or by spooning it into the measuring cup and leveling it off, to avoid dense cookies.
- Baking Soda: A leavening agent that helps the cookies rise and spread. Ensure your baking soda is fresh and not expired for optimal results; old baking soda loses its potency.
- Food Coloring (Optional): For that vibrant, festive green hue! This is purely for aesthetics. I typically use a combination of 3 drops of blue and 10-12 drops of green food coloring to achieve a pleasant mint green. You can adjust the amounts or use green gel food coloring for a more intense color.
- Mint Oreo Cookies: The star inclusion! These provide delightful chunks of minty chocolate cookie crunch throughout. Coarsely crush them rather than pulverizing them into fine crumbs; you want substantial pieces for texture and visual appeal. Regular Oreos can also be used if Mint Oreos are unavailable, offering a classic cookies and cream dynamic.
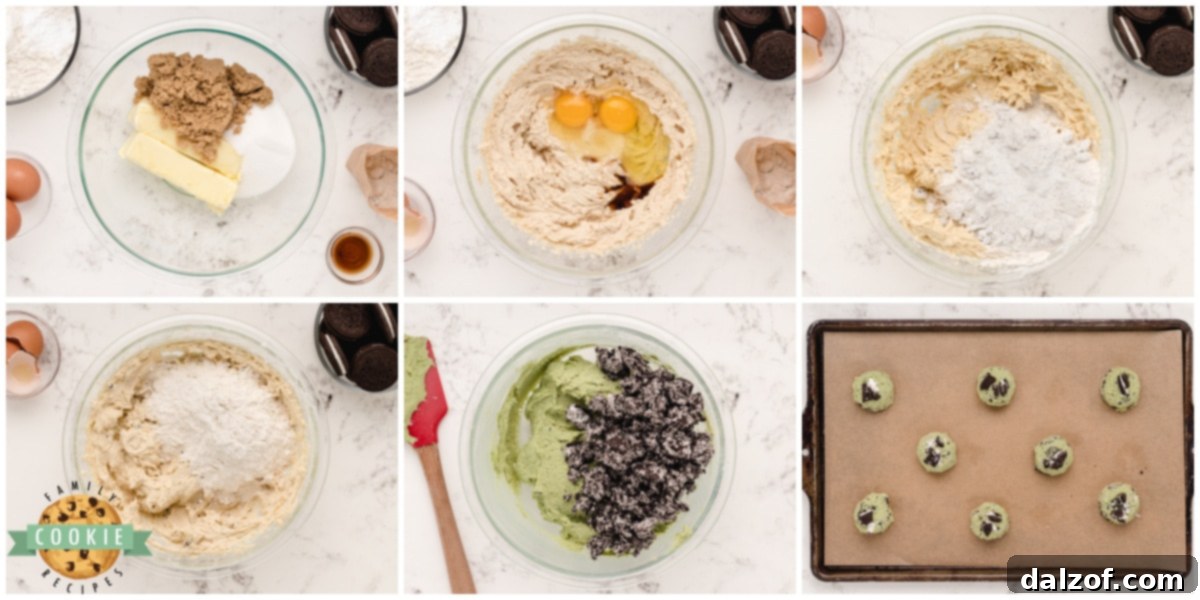
How to Prepare Mint Oreo Pudding Cookies: A Step-by-Step Guide
Creating these delightful cookies is a straightforward process. Follow these instructions for a batch of perfectly baked Mint Oreo Pudding Cookies:
- Step 1: Preheat Oven. Begin by preheating your oven to 350°F (175°C). Prepare your baking sheets by lining them with parchment paper or silicone baking mats.
- Step 2: Cream Butter and Sugars. In a large mixing bowl, using a hand mixer or stand mixer, cream together the softened butter, brown sugar, and granulated sugar until the mixture is light, fluffy, and well combined. This usually takes about 2-3 minutes.
- Step 3: Add Pudding Mix. Incorporate the dry instant Oreo pudding mix into the creamed butter and sugar mixture. Mix until it is thoroughly blended and no dry pudding powder remains.
- Step 4: Incorporate Wet Ingredients. Add the eggs one at a time, mixing well after each addition. Then, stir in the vanilla extract and mint extract until fully combined. Scrape down the sides of the bowl to ensure everything is evenly mixed.
- Step 5: Mix in Dry Ingredients. In a separate bowl, whisk together the flour and baking soda. Gradually add the dry ingredients to the wet ingredients, mixing on low speed until just combined. Be careful not to overmix the dough.
- Step 6: Add Food Coloring. If you desire green cookies, add the blue and green food coloring drops to the dough. Mix until your desired shade of green is evenly distributed throughout the dough.
- Step 7: Fold in Oreo Chunks. Gently stir in the coarsely crushed Mint Oreo cookie chunks using a spatula or spoon. You want to distribute them evenly without breaking them down too much.
- Step 8: Scoop and Bake. Drop rounded teaspoonfuls of cookie dough onto your prepared baking sheets. I highly recommend using a cookie scoop for uniform sizing. Place them about two inches apart. Bake for 10 minutes. Remember, do not overbake!
- Step 9: Cool. Allow the cookies to cool on the cookie sheet for 1-3 minutes before transferring them to a wire rack to cool completely. This helps them firm up without becoming hard.


MINT OREO PUDDING COOKIES
Mint Oreo Pudding Cookies are soft, chewy and full of mint flavor, Oreo pudding mix and crumbled Oreo cookies! The mint and chocolate flavor combination is a winner in these amazing cookies!
Print Recipe
Pin Recipe
Rate Recipe
Course: Cookies
Cuisine: American
Keyword: Mint Oreo Pudding Cookies
Prep Time: 10 minutes
Cook Time: 10 minutes
Servings: 36 cookies
Calories: 136 kcal
Author: Jessica & Nellie
Ingredients
- 1 cup butter, softened
- ½ cup brown sugar
- ½ cup granulated sugar
- 1 (4.2 oz) package Oreo Cookies & Creme instant pudding mix
- 2 large eggs
- 1 tsp vanilla extract
- 1 tsp mint extract
- 2 ¼ cups all-purpose flour
- 1 tsp baking soda
- 3 drops blue food coloring, 10-12 drops green food coloring (optional)
- 15 Mint Oreo cookies (or regular Oreos), coarsely crushed (you want big chunks!)
Instructions
- Preheat oven to 350°F (175°C).
- Using a hand mixer, cream the butter and sugars until light and fluffy. Add the pudding mix and mix until well blended.
- Add the eggs, vanilla, and mint extract; mix well until fully incorporated.
- Gradually add the flour and baking soda, mixing until just combined.
- If desired, add the food coloring and mix until the desired green color is evenly reached throughout the dough.
- Gently stir in the coarsely crushed Oreo cookie chunks.
- Drop cookies by rounded teaspoonfuls (using a cookie scoop for consistency) onto a greased or parchment-lined cookie sheet. Bake for 10 minutes. Do not overbake! Let them cool on the cookie sheet for a few minutes before transferring to wire racks to cool completely.
Nutrition
Calories: 136 kcal | Carbohydrates: 18g | Protein: 2g | Fat: 6g | Saturated Fat: 4g | Polyunsaturated Fat: 1g | Monounsaturated Fat: 2g | Trans Fat: 1g | Cholesterol: 23mg | Sodium: 142mg | Potassium: 37mg | Fiber: 1g | Sugar: 10g | Vitamin A: 171IU | Calcium: 8mg | Iron: 1mg
Tried this recipe?
Mention @familycookierecipes or tag #familycookierecipes!
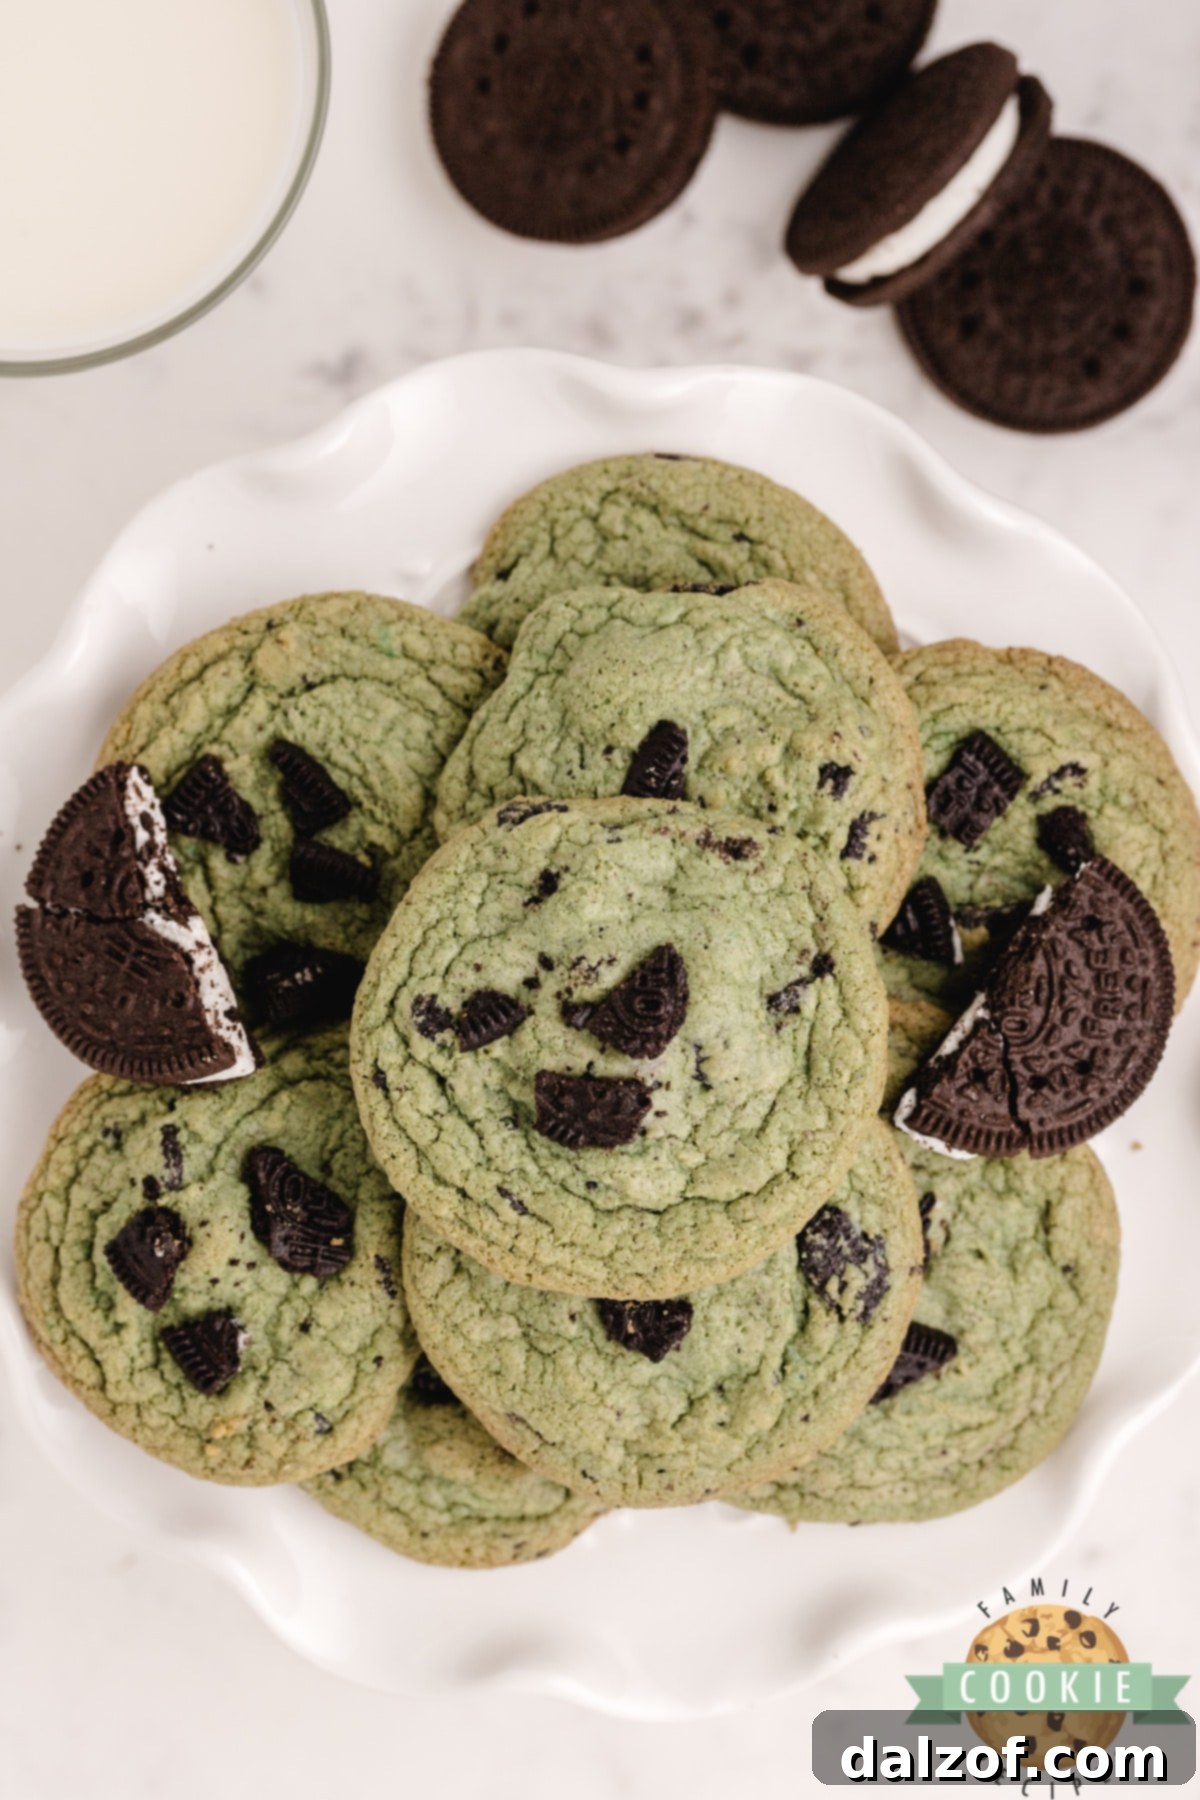
How to Perfectly Crush Oreo Cookies for Baking
The way you crush your Oreo cookies can significantly impact the final texture of your Mint Oreo Pudding Cookies. The goal is to have distinct chunks of Oreo throughout the dough, not fine crumbs, to ensure a delightful textural contrast. Here are a couple of methods to achieve the perfect crush:
Method 1: The Ziplock Bag and Mallet Technique (Recommended)
This is my preferred method for achieving those desirable large chunks. Simply place your desired number of Mint Oreo cookies into a sturdy Ziplock bag. Seal the bag, removing as much air as possible. Then, using a meat mallet, a rolling pin, or even the bottom of a heavy glass, gently but firmly smash the cookies. This method gives you excellent control over the size of the pieces. You can focus on breaking them into larger fragments, ensuring those delightful bursts of Oreo flavor and texture in every bite. Avoid over-crushing; a few solid thumps should do the trick.
Method 2: Using a Blender or Food Processor
While faster, this method requires more precision to prevent over-processing. Place the Mint Oreos in your blender or food processor. Use the “pulse” setting for very short bursts (just a quick second at a time). Check the consistency after each pulse. This method is excellent if you need very fine crumbs for a pie crust or topping, but if you’re aiming for larger chunks, it’s easier to accidentally turn them into powder. Keep a close eye on the cookies and stop as soon as you reach your desired chunky texture.
Regardless of the method, remember that the key is to aim for a coarse crush, leaving plenty of varying-sized pieces. These larger chunks will provide wonderful pockets of chocolatey, minty goodness in your cookies.
Troubleshooting: Why Are My Cookies Flat and Spreading Too Much?
It’s a common baking frustration: you pull your cookies out of the oven, only to find them flat and spread out instead of beautifully puffed. Several factors can contribute to flat cookies:
- Butter Temperature: The most frequent culprit. If your butter is too warm, oily, or completely melted, it won’t hold air properly when creamed with sugar. This lack of structure causes cookies to spread excessively in the oven. Ensure butter is softened to room temperature, not melted (unless the recipe specifically calls for it, which is rare for chewy cookies).
- Too Little Flour: If your dough is too wet, it won’t have enough structure to hold its shape. Start by adding 1-2 tablespoons more flour to your dough and mixing until just combined. Test bake one or two cookies to see if the consistency improves before baking the entire batch.
- Overmixing the Dough: As mentioned in our tips, overmixing develops gluten, which can make cookies tough. However, it can also trap too much air, which then collapses in the oven, leading to spreading.
- Oven Temperature: An oven that isn’t hot enough can cause cookies to spread before they have a chance to set. Invest in an oven thermometer to ensure your oven is truly at the temperature you set it to.
- Greased Baking Sheets: If your baking sheets are too greasy, the cookies will slip and slide, leading to excessive spreading. Parchment paper or silicone baking mats are often preferred as they provide a non-stick surface without the extra fat.
- Dough Temperature: Warm dough spreads faster. If your kitchen is warm or you’ve handled the dough extensively, consider chilling the dough for 15-30 minutes before baking. This helps solidify the butter, preventing immediate spreading.
Achieving the Perfect Soft Butter: Tips and Tricks
Many cookie recipes call for “room temperature” or “softened” butter, and for good reason! This state allows the butter to cream properly with sugar, creating a fluffy mixture that traps air, which is essential for light and tender cookies. If your butter is too cold, it won’t blend correctly; if it’s too warm or melted, your cookies will spread too much. Here’s how to get your butter just right:
- The “Plan Ahead” Method: The simplest and best way is to take your butter out of the refrigerator 1-2 hours before you plan to bake. This allows it to naturally come to room temperature. It should be soft enough to make a slight indentation when pressed, but still firm enough to hold its shape.
- The Microwave Method (Use with Caution): This is the fastest method, but it requires careful attention to avoid melting the butter. Place a whole stick of butter (unwrapped from foil) in the microwave. Microwave it for 5-7 seconds. Check its softness. If it’s still quite firm, microwave for another 5 seconds, and then in 2-3 second intervals thereafter. The goal is soft, not liquid. Many microwaves also have a “defrost” setting, which can be less aggressive. While it might take closer to 30 seconds, this setting often softens butter more evenly without melting the edges.
- The Rolling Pin Method: If you’re short on time, place a stick of butter between two sheets of parchment paper or plastic wrap. Use a rolling pin to gently roll and flatten the butter. The pressure and friction will warm it up quickly, softening it. Once flattened, you can cut it into smaller pieces to further accelerate softening.
- The Warm Water Bath Method: Fill a bowl with warm (not hot!) water. Place the wrapped stick of butter into the water for about 5-10 minutes. Check its softness; if it’s not quite ready, give it a few more minutes. Ensure no water seeps into the butter.
- Cutting into Smaller Pieces: Simply cutting a cold stick of butter into smaller cubes will expose more surface area to the ambient air, significantly speeding up the softening process.
Whichever method you choose, the key is to ensure the butter is consistently soft throughout, without any melted spots, for optimal cookie texture.
Why Are My Cookies Crispy and Hard Instead of Soft?
If your Mint Oreo Pudding Cookies, or any cookies for that matter, turn out hard, crunchy, or crispy when you were hoping for soft and chewy, the most common reason is overbaking. But there are a few other culprits as well:
- Overbaking is Key: Cookies continue to cook on the hot baking sheet for a couple of minutes even after they’ve been removed from the oven. If you wait until they look perfectly golden brown and firm in the oven, they will likely be overdone by the time they cool. For most chewy cookie recipes, including these pudding cookies, you want to remove them when the edges are just barely set and starting to turn a light golden, while the centers still look slightly soft or even a bit underbaked and shiny. This allows them to finish cooking to perfection during the cooling period. My husband prefers some cookies extra crispy for dipping in milk, so I often make a small portion just for him, baking them a couple of minutes longer.
- Not Enough Moisture: An imbalance in your wet-to-dry ingredient ratio can lead to dry cookies. Ensure accurate measurements, especially for flour, which can easily be over-measured.
- Sugar Ratio: The type of sugar used impacts texture. More brown sugar generally leads to chewier cookies, while more granulated sugar can result in crispier ones. This recipe uses a good balance for optimal chewiness.
- Improper Storage: Leaving cookies exposed to air will quickly dry them out, making them hard. Always store soft cookies in an airtight container at room temperature. For longer storage, they can be frozen.
- Incorrect Oven Temperature: An oven that’s too hot can bake cookies too quickly on the outside, making them hard before the inside has a chance to set properly. An oven thermometer can help verify your oven’s accuracy.
By keeping a close eye on your baking time and understanding the signs of a perfectly baked cookie (barely set edges, slightly soft centers), you can achieve that sought-after soft and chewy texture every time.
Love Cookies? So Do We! Discover More Favorite Cookie Recipes:
If you’re like us and can never have enough delicious cookie recipes, you’re in the right place! Our collection is brimming with diverse flavors and textures, perfect for any occasion or craving. After you’ve mastered these incredible Mint Oreo Pudding Cookies, be sure to explore some of our other top-rated recipes:
- Banana Cream Cookies
- The BEST Peanut Butter Chocolate Chip Cookies EVER
- Blueberry Cream Cookies
- Raspberry Chocolate Chip Cookies
- Peanut Butter Oatmeal Chocolate Chip Cookies
- Potato Chip Cookies
- Mint Chocolate Pudding Cookies
- Raspberry Meltaway Cookies
- Mrs. Fields White Chocolate Chip Cookies
- Snickerdoodle Apple Pie Cookie Cups
- The Best Snickerdoodle Cookies
- Lemon Cake Mix Cookies
- Copycat Swig Sugar Cookies
- Best Monster Cookies
- 5 Chip Peanut Butter Oatmeal Cookies