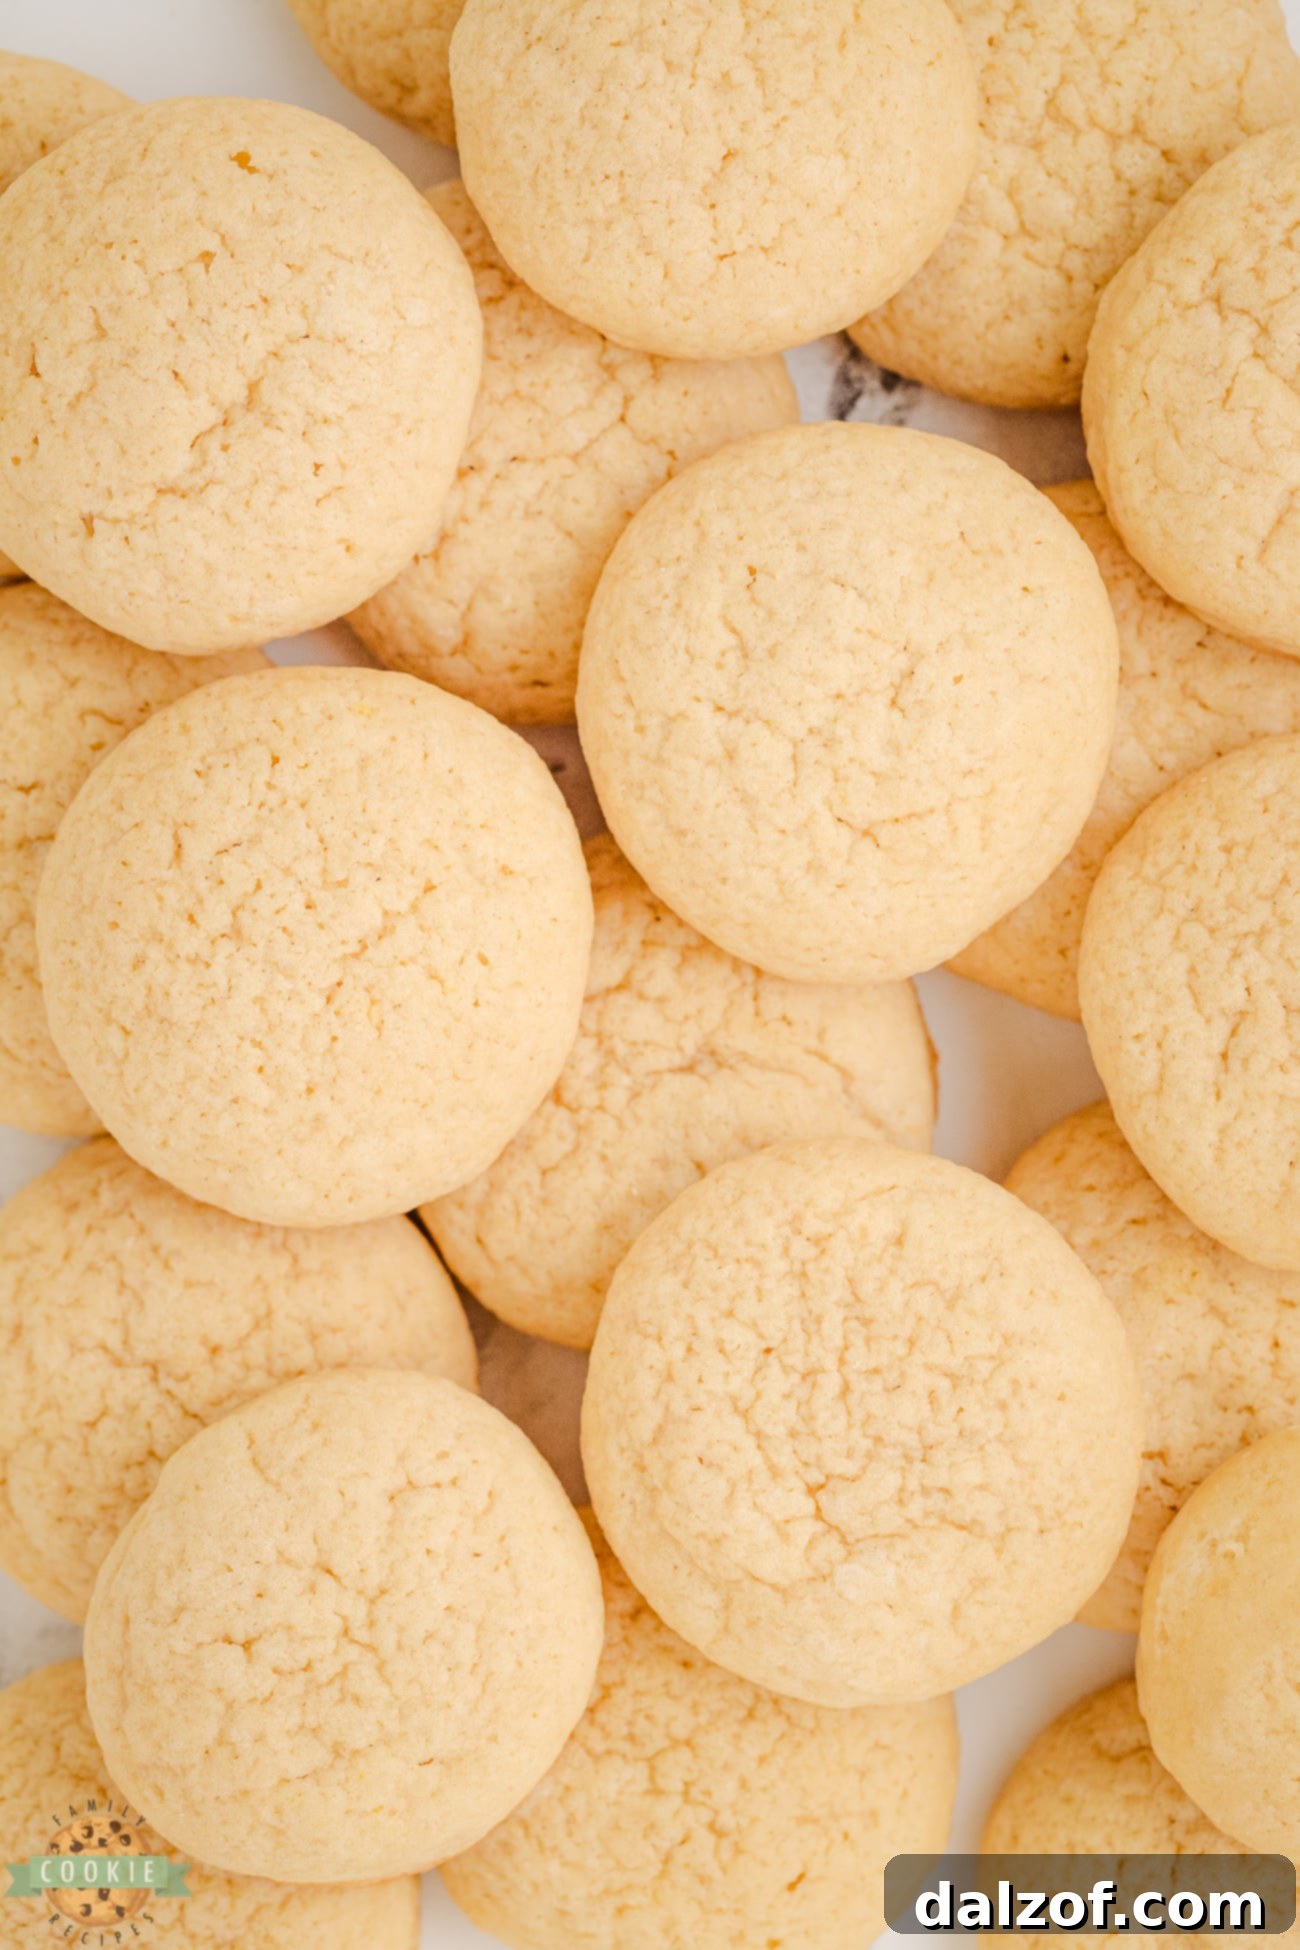
Copycat Nilla Wafer Cookies are beloved for their distinct light and crispy texture, coupled with a delightful vanilla flavor that makes them ideal for snacking, dipping, or incorporating into your favorite dessert recipes. Imagine creating your very own batch of these iconic vanilla wafer cookies at home—a simple process that yields truly amazing results. This comprehensive guide will walk you through crafting vanilla wafers from scratch, ensuring they’re just as delicious, if not more so, than their store-bought counterparts.
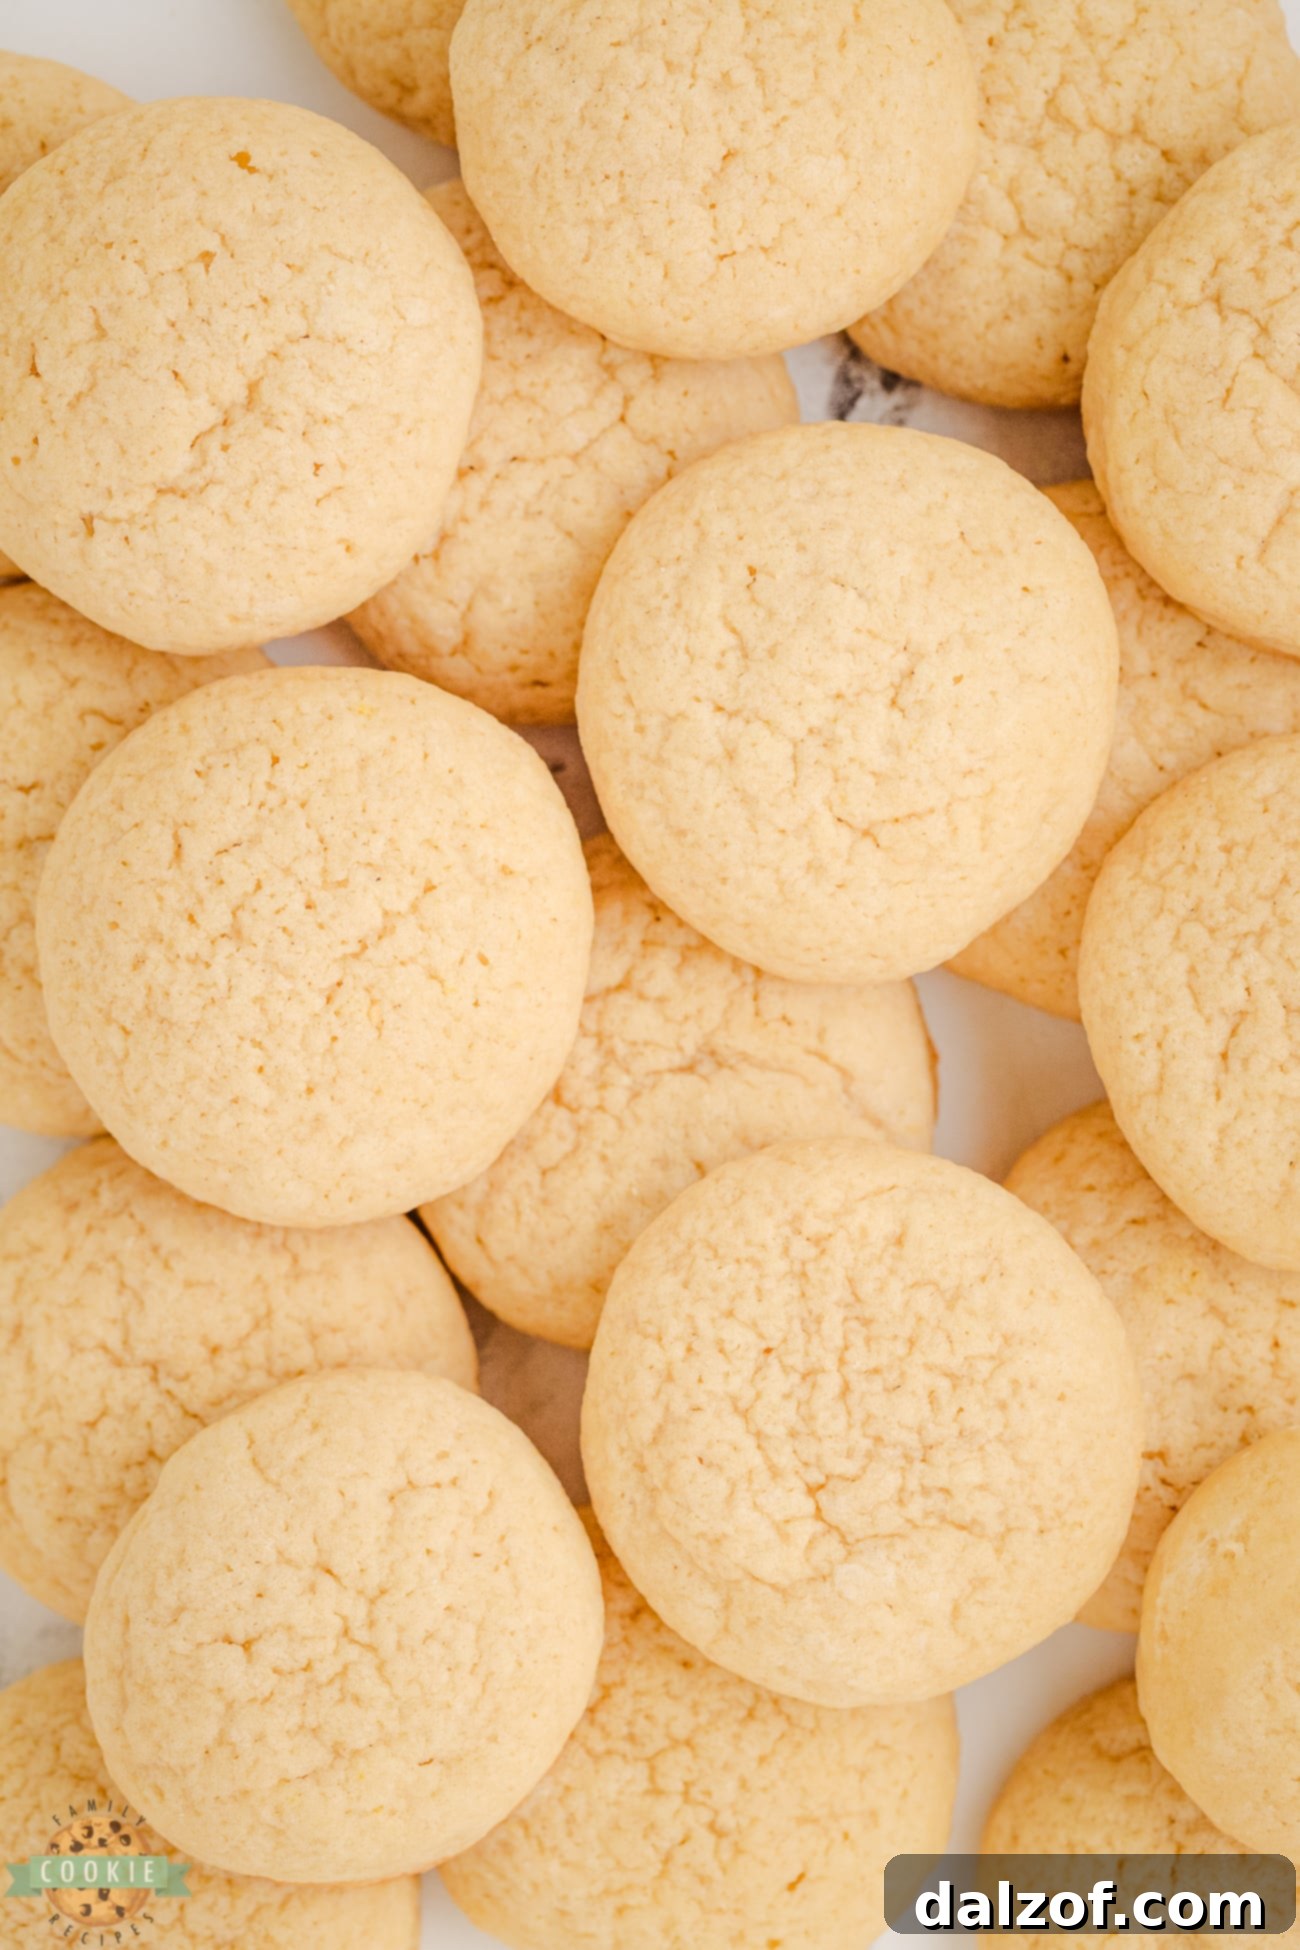
This homemade vanilla wafer recipe is designed to be straightforward, utilizing common pantry staples you likely already have on hand. By taking the homemade route, you gain complete control over ingredient quality, allowing you to fine-tune the recipe to perfectly match your personal taste preferences. Beyond customization, there’s an undeniable truth: freshly baked, homemade cookies consistently offer a superior taste and texture experience compared to anything you’d find in a package at the grocery store. This recipe promises not just a treat, but a rewarding baking adventure.
Crafting Homemade Vanilla Wafer Cookies
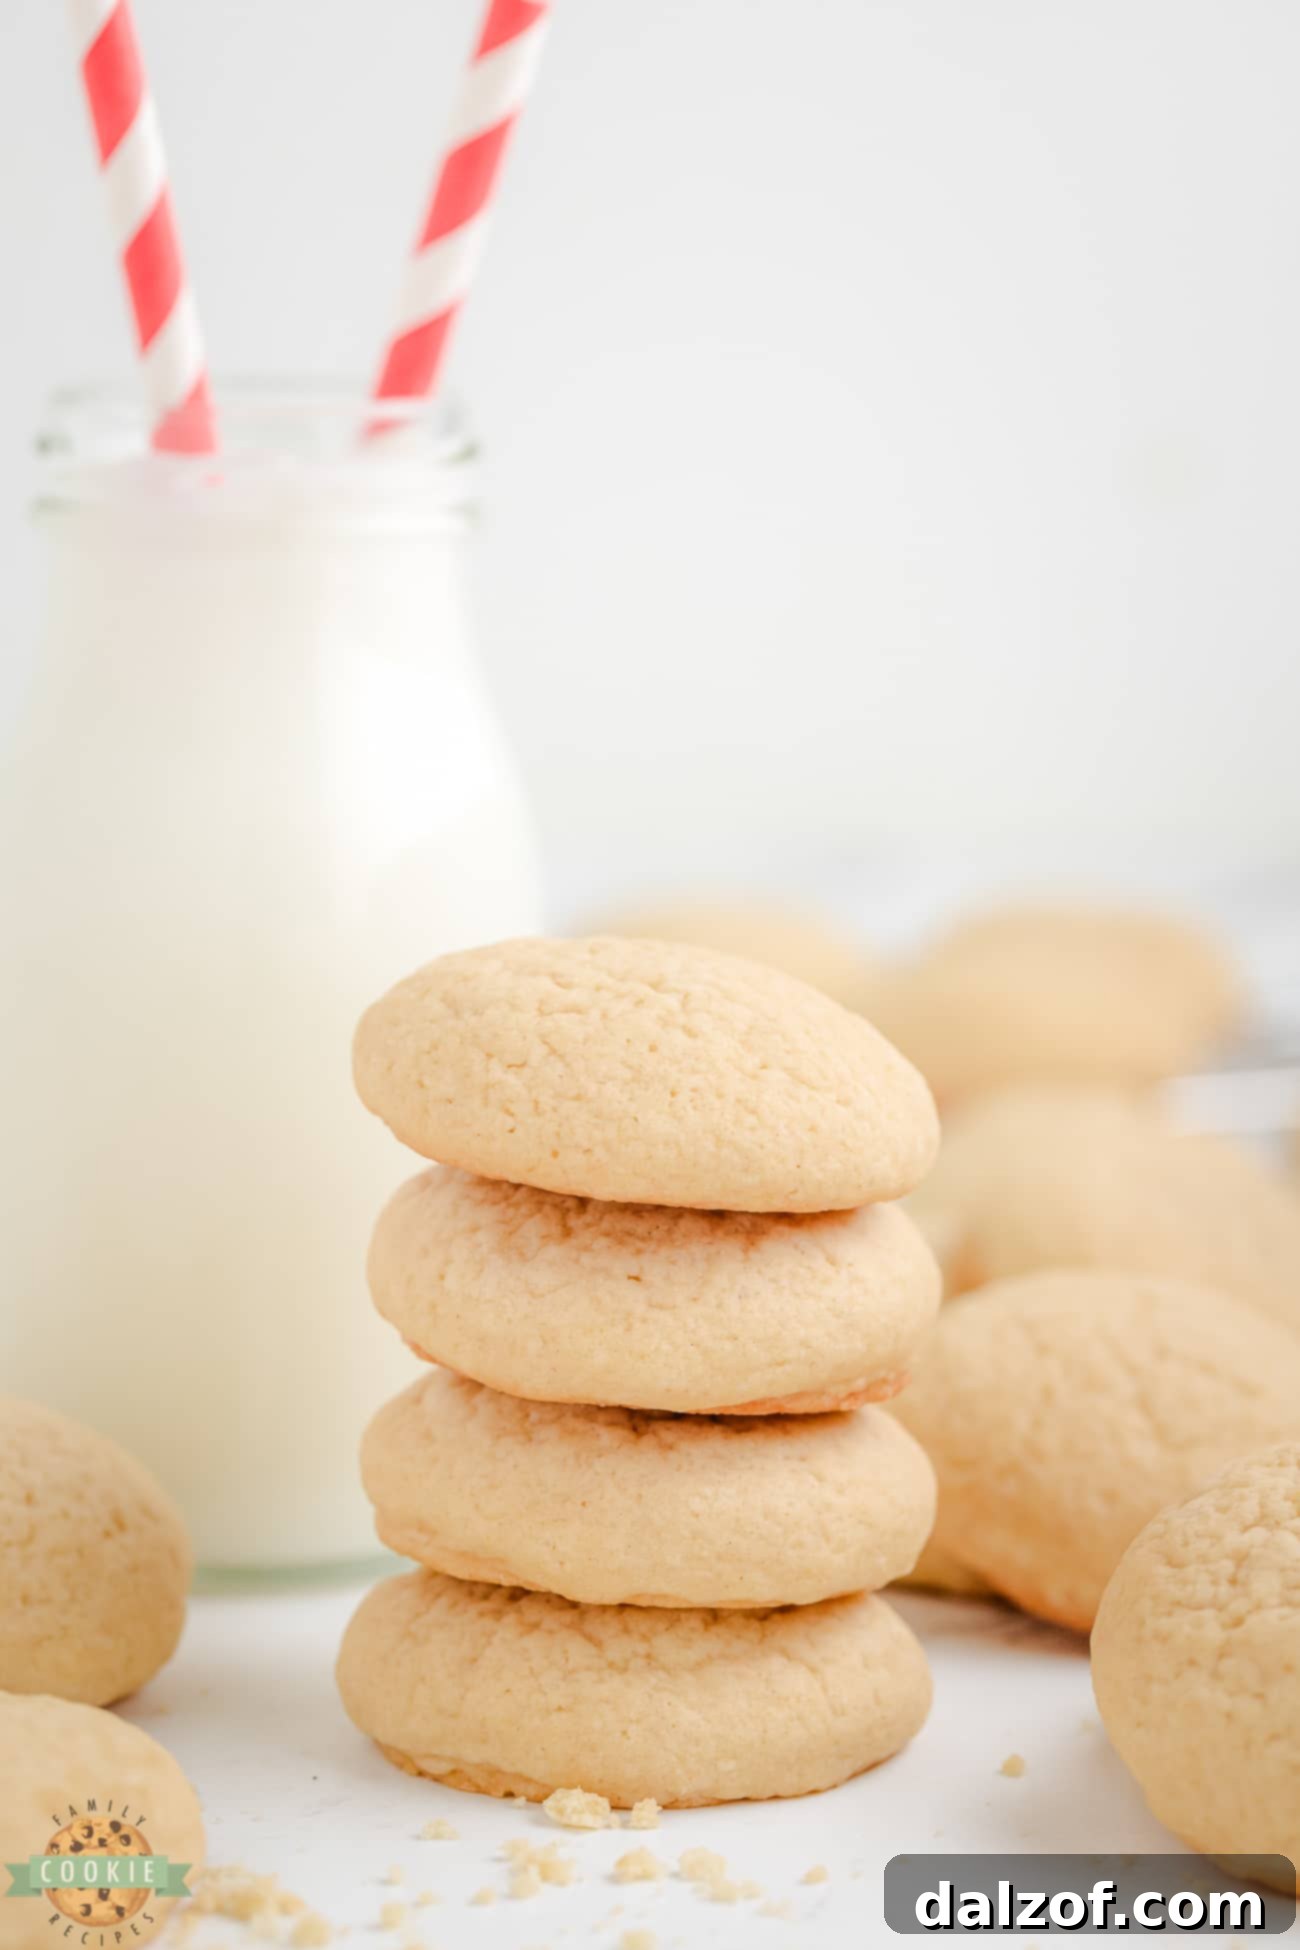
The allure of thin, crispy vanilla cookies extends far beyond simple snacking. These delicate wafers are a cornerstone in a multitude of classic desserts, most notably in creamy banana pudding and refreshing icebox cakes. Their subtle sweetness and crisp bite provide a perfect textural and flavor balance to richer, softer components. While commercial brands like Nabisco have cemented the vanilla wafer’s place in many kitchens, mastering a homemade version offers unparalleled freshness and a deeper, more authentic vanilla profile. Whether you’re a long-time fan of these versatile cookies or discovering their charm for the first time, this recipe is your gateway to a truly exceptional treat.
Embarking on the journey to make Copycat Vanilla Wafer Cookies is an excellent way to unleash your creativity in the kitchen, regardless of your baking experience level. From seasoned bakers to enthusiastic beginners, everyone can achieve fantastic results with a little dedication. With minimal time and effort, you can ensure a continuous supply of these delectable cookies, ready to be enjoyed whenever a craving strikes. So, why not embrace the joy of homemade baking? Discover just how easy and satisfying it is to create your very own batch of perfect vanilla wafers.
Why You’ll Adore This Easy Copycat Nilla Wafer Cookie Recipe
This particular copycat Nilla wafer recipe stands out for several compelling reasons, promising a delightful baking experience and even more delightful results:
- Effortless Preparation: This recipe is incredibly easy to follow, requiring no specialized baking equipment. Even if you’re new to baking, you’ll find the steps intuitive and the process enjoyable, leading to perfectly baked cookies with minimal fuss.
- Remarkable Versatility: These crispy vanilla cookies are incredibly adaptable for any occasion. Whether you need a simple, sweet snack to accompany your afternoon tea, a delightful component for an elaborate dessert, or a charming treat to share at a dinner party, these vanilla wafers are always the perfect choice.
- Irresistibly Delicious: At its heart, the primary reason you’ll fall in love with these cookies is their incredible taste. The exquisite combination of a buttery, delicate crunch with the rich, sweet essence of vanilla creates a harmonious flavor profile that is truly heavenly. Each bite offers a satisfying crispness that melts away, leaving a lingering, sweet vanilla note.
Essential Ingredients for Copycat Vanilla Wafer Cookies
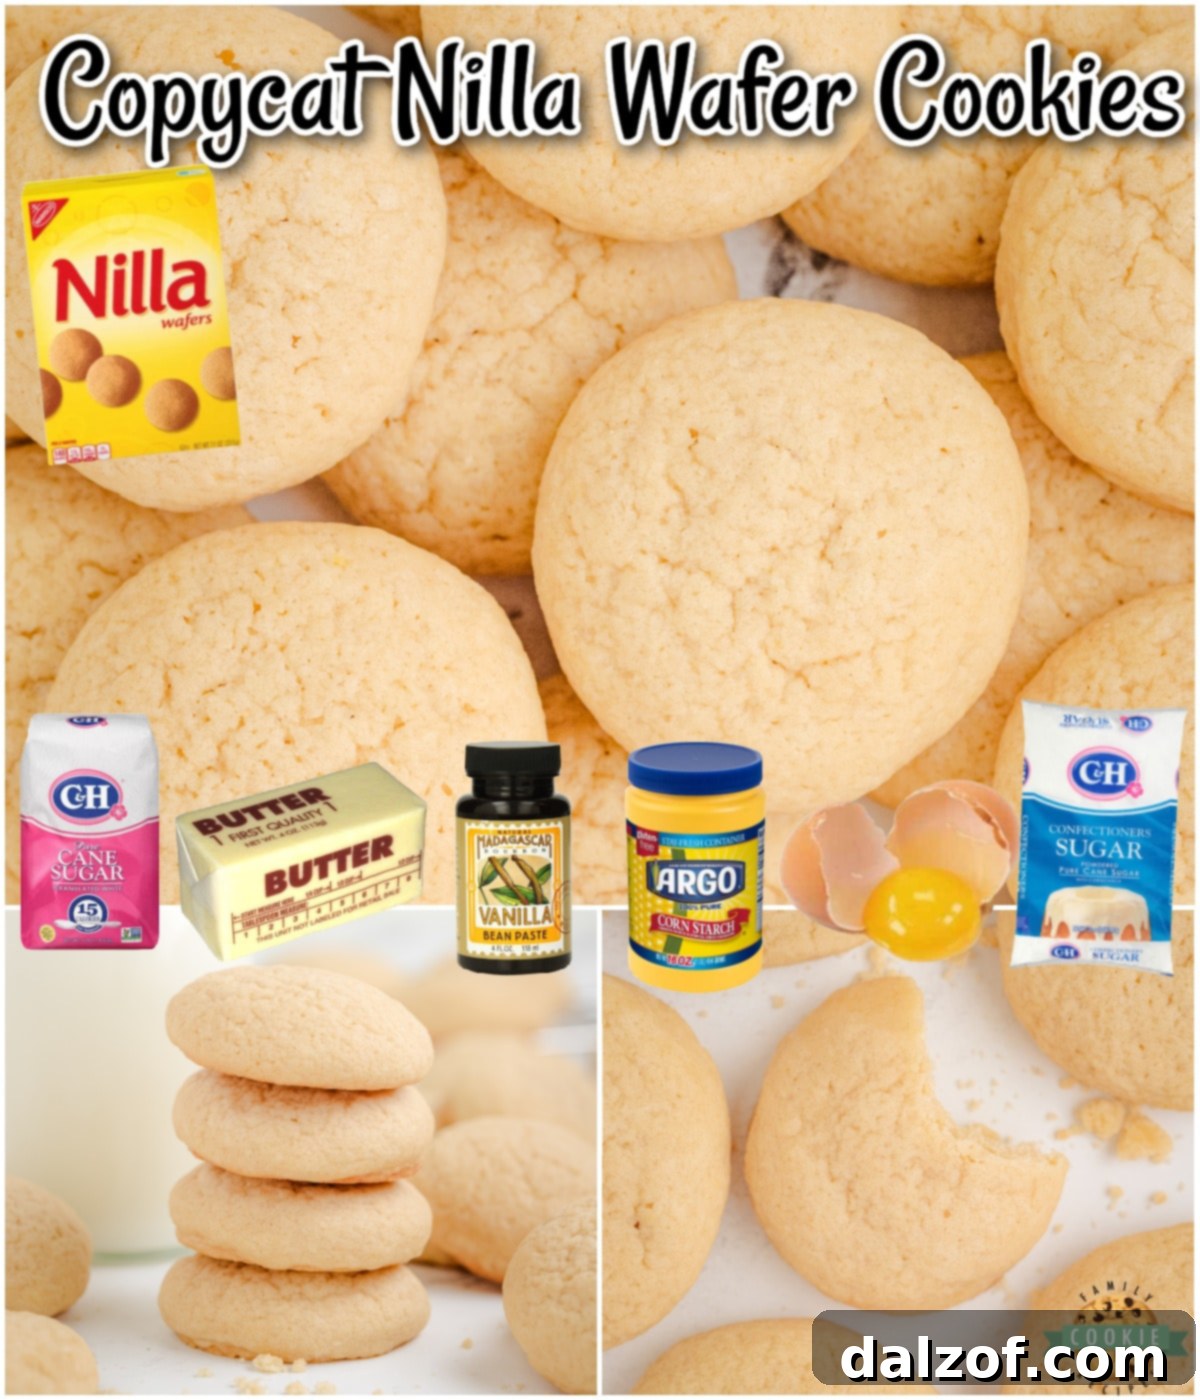
Crafting these delectable homemade vanilla wafers requires a selection of fundamental baking ingredients, each playing a crucial role in achieving the signature taste and texture:
- All-Purpose Flour: You’ll need 1 ½ cups of all-purpose flour. This forms the primary structural base of your cookie dough, providing the necessary gluten to hold the cookies together while baking to a delicate crisp.
- Cornstarch: A single tablespoon of cornstarch is a key ingredient. It contributes significantly to the cookies’ wonderfully soft, melt-in-your-mouth texture, preventing them from becoming too tough.
- Baking Powder: To ensure these cookies achieve a light and airy puff as they bake, incorporate ¾ teaspoon of baking powder. This leavening agent creates small air pockets, contributing to their signature crispness.
- Salt: A mere ½ teaspoon of salt works wonders in enhancing and balancing all the incredible sweet and buttery flavors within this recipe. It prevents the cookies from tasting overly sweet and adds depth.
- Unsalted Butter: For a truly rich and luxurious taste, use ½ cup of unsalted butter, softened to room temperature. Softened butter creams beautifully with sugar, incorporating air for a lighter cookie.
- Granulated Sugar: You’ll need ⅔ cup of granulated sugar. This provides the perfect level of sweetness and contributes to the lovely crisp edges and slight chewiness that makes these treats so enjoyable.
- Large Egg: One large egg, preferably at room temperature, acts as a vital binder, bringing all the ingredients together into a cohesive dough and adding richness.
- Vanilla Extract: To truly elevate and amplify all the incredible flavors in this cookie dough, a generous 1 tablespoon plus 1 teaspoon of high-quality vanilla extract is essential. Don’t skimp on the vanilla; it’s the star!
- Milk: Just 1 tablespoon of milk is added for a touch of moisture, ensuring the dough comes together smoothly and the cookies remain tender and not dry.
How to Prepare Homemade Nilla Wafer Cookies: A Step-by-Step Guide
Preparation Phase
To begin, line two standard baking sheets with parchment paper. This crucial step prevents sticking and ensures easy removal of your delicate vanilla wafers after baking. Once lined, set these prepared sheets aside within easy reach.
Dough Creation
In a medium-sized mixing bowl, combine your dry ingredients: sift together the all-purpose flour, cornstarch, baking powder, and salt. Sifting helps to aerate the flour and ensures all ingredients are evenly distributed, preventing lumps. Once combined, set this dry mixture aside.
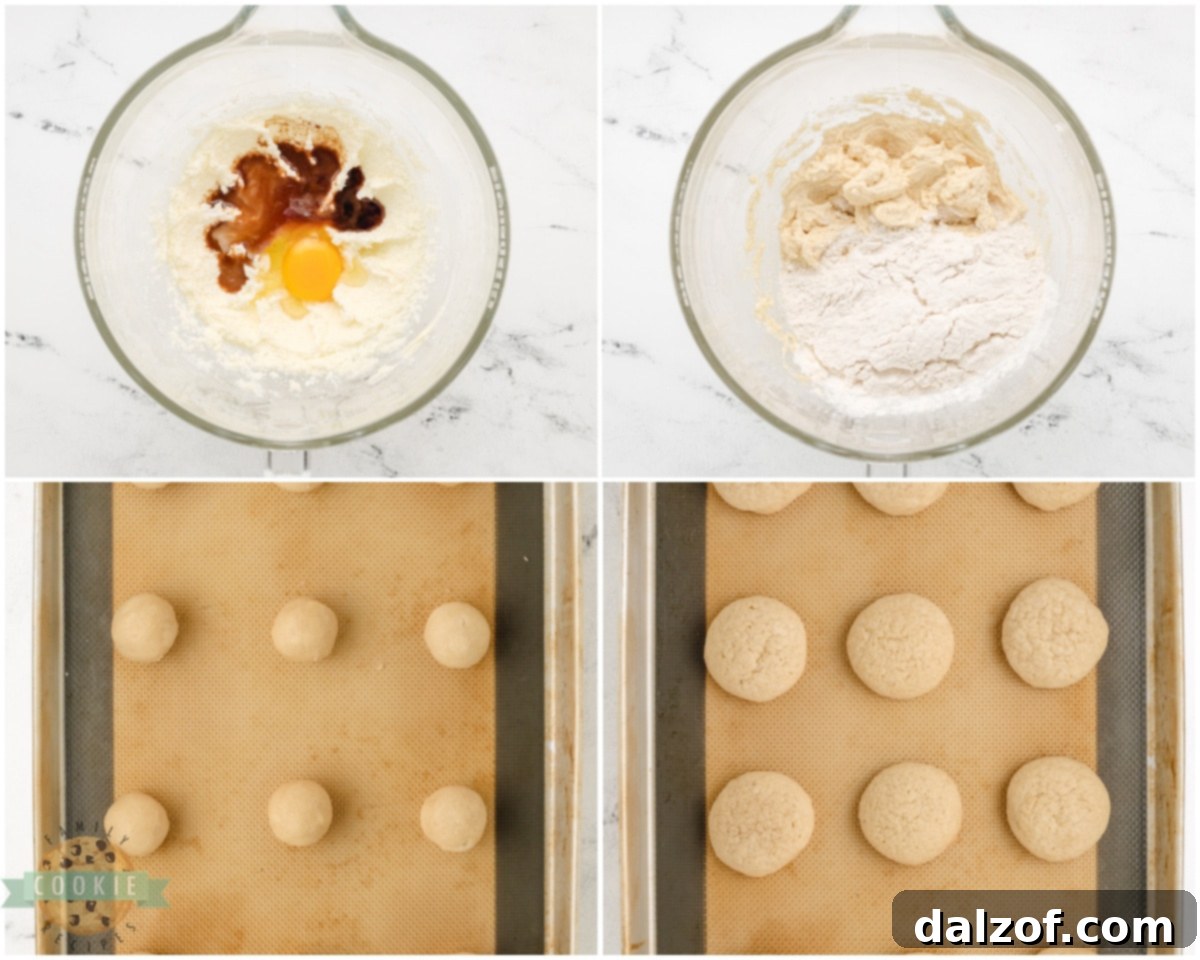
Next, in a large mixing bowl, using an electric mixer, beat the softened butter and granulated sugar together on medium speed. Continue mixing for approximately 5 minutes, or until the mixture becomes wonderfully light, fluffy, and creamy. This creaming process is vital for incorporating air, which contributes to the cookies’ light texture. Reduce the mixer speed to low, then gradually beat in the large egg, the generous amount of vanilla extract, and the milk. Continue mixing until all these wet ingredients are fully combined and seamlessly incorporated into the butter-sugar mixture. Avoid overmixing once the egg is added.
Finally, gradually add the reserved dry flour mixture to the wet ingredients in the large bowl. Mix on low speed until everything is just combined and a smooth, consistent dough forms. Be careful not to overmix the dough at this stage, as overmixing can lead to tougher cookies.
Shaping and Chilling
Divide the smooth dough into two equal halves. Take each half and gently roll it into a ball. Then, roll small portions of the dough into 1-inch balls. As you form each ball, place them onto your prepared parchment-lined cookie sheets. Once all the cookies are shaped, cover the cookie sheets with plastic wrap and transfer them to the refrigerator. Allow the dough to chill for at least 1 hour. This chilling period is crucial as it helps the butter firm up, preventing the cookies from spreading too much during baking and ensuring they maintain their delicate, crispy structure.
Baking to Perfection
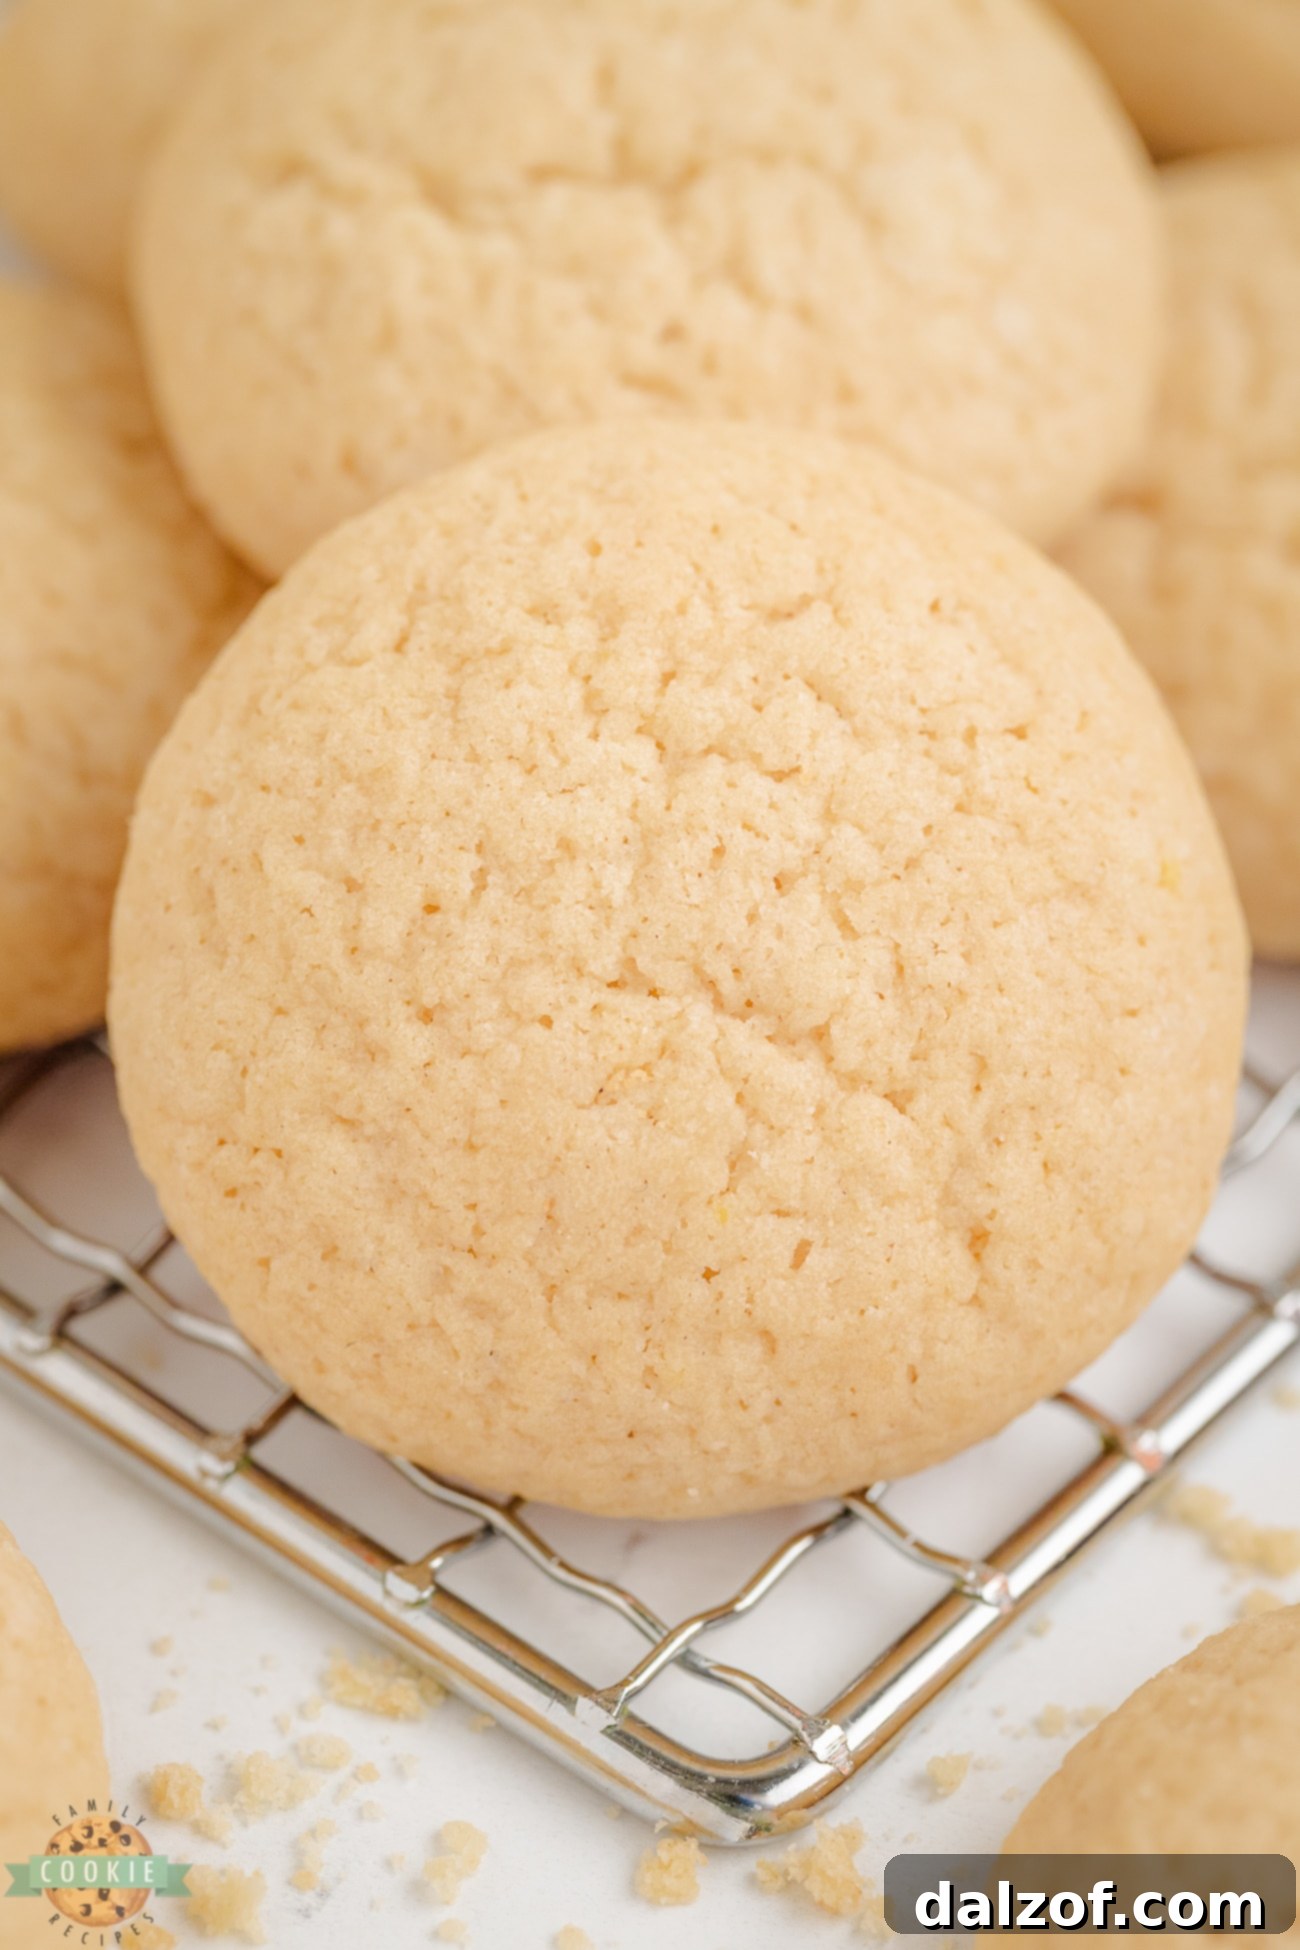
Preheat your oven to 350°F (175°C). Once the oven reaches temperature, remove the chilled cookie dough balls from the refrigerator. Arrange the cookie balls on the baking sheets, ensuring they are spaced approximately 2 inches apart to allow for even baking and slight spreading. Place the baking sheets in the preheated oven and bake for 11-12 minutes. The cookies are perfectly done when their edges turn a beautiful light golden brown, indicating a crispy finish.
After baking, remove the sheets from the oven and allow the cookies to cool on the baking sheets for about 2 minutes. This brief cooling period helps them set and makes them less fragile. Then, carefully transfer the warm cookies to wire cooling racks to cool completely. Allowing them to cool fully on racks promotes air circulation, ensuring they achieve maximum crispness. Once cooled, serve these delightful homemade vanilla wafers and savor their incredible flavor!
Detailed Recipe: Copycat Vanilla Wafer Cookies
This recipe yields approximately 40 delicious servings, with a prep time of about 15 minutes, cook time of 12 minutes, and a chill time of at least 1 hour (recommended 2 hours for best results). The total active time is around 27 minutes. For quick reference, here are the precise details:
Ingredients
- 1 ½ cups all-purpose flour
- 1 TBSP cornstarch
- ¾ tsp baking powder
- ½ tsp salt
- ½ cup unsalted butter, softened
- ⅔ cup granulated sugar
- 1 large egg, room temperature preferred
- 1 TBSP + 1 tsp vanilla extract
- 1 TBSP milk
Instructions
- Prep: Line two baking sheets with parchment paper and set them aside.
- Dough – Dry: In a medium bowl, sift together the all-purpose flour, cornstarch, baking powder, and salt. Set this mixture aside.
- Dough – Wet: In a large mixing bowl, using an electric mixer, beat the softened butter and granulated sugar on medium speed until creamy and light, about 5 minutes. Reduce mixer speed to low and beat in the room-temperature egg, vanilla extract, and milk until all ingredients are thoroughly combined.
- Combine Dough: Gradually add the reserved dry flour mixture to the wet butter mixture. Mix on low speed until just combined and the dough is smooth. Avoid overmixing.
- Shape & Chill: Roll the dough into small, uniform 1-inch balls. For convenience, you can divide the dough in half and roll each half into a log, then cut and roll the pieces. Place the dough balls onto the prepared cookie sheets, spaced apart. Cover the sheets with plastic wrap and chill in the refrigerator for at least 1 hour (2 hours is ideal for optimal texture).
- Bake: Preheat your oven to 350°F (175°C). Remove the chilled cookie dough from the fridge and ensure the balls are spaced about 2 inches apart on the baking sheets.
- Finishing: Bake for 11-12 minutes, or until the edges of the cookies are a delicate light golden brown. Allow the cookies to cool on the baking sheets for 2 minutes before carefully transferring them to wire cooling racks to cool completely. Serve and enjoy your perfect homemade vanilla wafers!
Notes for Success
For optimal freshness and crispness, store your Copycat Vanilla Wafer Cookies in an airtight container at room temperature for up to one week. While they remain delicious, their crisp texture may soften slightly over time. To preserve their signature crunch, it’s best to enjoy them within the first few days of baking. For longer storage, these cookies can be placed in an airtight container or freezer bag and frozen for up to 3 months. Thaw them at room temperature before serving to restore their delightful qualities.
Nutrition Information (per serving, based on 40 servings): Approximately 54 kcal, 7g carbohydrates, 1g protein, 2g fat (2g saturated fat, 0.1g polyunsaturated fat, 1g monounsaturated fat, 0.1g trans fat), 10mg cholesterol, 31mg sodium, 16mg potassium, 0.1g fiber, 3g sugar, 77IU Vitamin A, 6mg calcium, 0.2mg iron.
Creative Recipe Variations for Nilla Wafer Cookies
While the classic vanilla wafer is undeniably perfect, these cookies offer a fantastic canvas for culinary experimentation. Here are some delightful variations to customize your homemade batch:
Gluten-Free Alternatives: For those managing gluten intolerance or celiac disease, adapting this recipe is straightforward. Simply substitute the all-purpose flour with an equal amount of a high-quality gluten-free flour blend. Brands like Bob’s Red Mill Gluten-Free 1-to-1 Baking Flour are excellent choices as they are formulated to be a direct replacement. Always double-check that your vanilla extract and any other additional ingredients are certified gluten-free to ensure a completely safe treat.
Vegan Substitutions: To make these cookies suitable for a vegan diet, a few simple swaps are needed. Replace the unsalted butter with a plant-based vegan butter substitute, such as Earth Balance. For the egg, a ‘flax egg’ or ‘chia egg’ works perfectly as a binder. To make a flax egg, combine 1 tablespoon of ground flaxseed with 3 tablespoons of water and let it sit for 5 minutes until it thickens to an egg-like consistency. For a chia egg, use 1 tablespoon of chia seeds with 3 tablespoons of water, allowing it to thicken similarly. Ensure your chosen vanilla extract is also vegan-friendly.
Exciting Flavor Add-Ins: Expand beyond the traditional vanilla by introducing new flavor dimensions. For a bright, citrusy note, grate 1 tablespoon of fresh lemon zest directly into the dough during the mixing stage. If you’re a chocolate lover, sift ¼ cup of unsweetened cocoa powder into the dry ingredients for a rich, chocolatey twist. For those who enjoy a nutty undertone and a little extra crunch, fold ½ cup of finely chopped pecans or walnuts into the dough just before chilling. These variations can be combined or enjoyed individually, allowing you to create truly unique and delicious cookie experiences.

Optimal Storage and Maintaining Crispness for Nilla Wafer Cookies
Your homemade Copycat Vanilla Wafer Cookies are at their peak freshness and crispness immediately after cooling. When stored properly in an airtight container at room temperature, they will maintain their quality for up to a week. However, it’s natural for these delicate cookies to gradually absorb moisture from the air, causing them to lose some of their initial crispness and become slightly softer over time. For the best textural experience, we highly recommend enjoying them within the first few days of baking.
If you’re aiming for longer preservation, these cookies freeze exceptionally well. Arrange them in a single layer in an airtight freezer-safe container or a heavy-duty freezer bag, with parchment paper between layers if stacking. They can be stored in the freezer for up to 3 months. To enjoy, simply remove them from the freezer and allow them to thaw completely at room temperature. While freezing helps maintain flavor, the crispness might still be slightly reduced compared to a freshly baked batch.
Achieving the Signature Nilla Wafer Texture in Homemade Cookies
Replicating the delicate, crisp, and light texture of classic Nilla Wafers in your homemade cookies is an art that hinges on precise ingredient selection and careful technique. The choice of dry ingredients is paramount: a balanced combination of all-purpose flour for structure, cornstarch for tenderness, and baking powder for a subtle lift creates the ideal foundation. Cornstarch, in particular, is key to achieving that desirable melt-in-your-mouth quality without making the cookies dense.
Beyond ingredients, the method of preparation is equally critical. The creaming method—beating butter and sugar together until light and fluffy—is essential. This process incorporates air into the mixture, which expands during baking, resulting in a lighter, more delicate crumb. Additionally, avoiding overmixing the dough once the flour is added is vital, as excessive gluten development can lead to a tough cookie rather than a tender, crispy one. Finally, baking at the correct temperature and allowing sufficient cooling time on a wire rack ensures moisture evaporates properly, solidifying that coveted crisp texture.
Exploring Healthy Alternatives for Traditional Vanilla Wafer Cookies
For those seeking a more health-conscious version of the classic vanilla wafer cookie, there are several thoughtful substitutions that can be made. One popular approach involves modifying the flour. Replacing some or all of the all-purpose flour with alternative flours such as almond flour or coconut flour can significantly reduce carbohydrate content while boosting protein and healthy fats. These flours also introduce unique textural nuances and flavors that can be quite appealing.
Another area for modification lies in sweeteners. Instead of traditional white granulated sugar, consider natural alternatives like honey, maple syrup, or even a granulated sugar substitute (e.g., erythritol or stevia blends). These options can help lower the glycemic index and reduce overall sugar intake. It is important to note, however, that these healthy modifications will inherently alter the original taste and texture of the cookies. Almond and coconut flours, for instance, absorb liquids differently and may require adjustments to the wet ingredients, while natural liquid sweeteners can affect spread and crispness. Experimentation is key to finding your preferred healthy balance.
Innovative Ways to Utilize Vanilla Wafer Cookies in Desserts
Vanilla wafer cookies are celebrated not only for their standalone deliciousness but also for their incredible versatility as a dessert ingredient. Their delicate flavor and crisp texture make them a perfect canvas for a wide array of culinary creations. Beyond simply eating them plain, here are some inspiring ways to incorporate these classic cookies into your dessert repertoire:
For starters, crushed vanilla wafers make an exceptional base for pie and cheesecake crusts. Their buttery vanilla notes complement creamy fillings beautifully. Simply mix the crushed wafers with melted butter, press into a pie dish, and chill or bake. They are also phenomenal when layered in parfaits, trifles, or individual dessert cups, adding a delightful crunch and separating layers of fruit, whipped cream, or pudding. Consider dipping them in melted chocolate—dark, milk, or white—for an elegant treat, or drizzle them with caramel sauce to elevate a simple ice cream sundae. For a charming touch, use them as the base for mini cheesecakes, fruit tarts, or even small edible serving cups for mousse. The possibilities are truly endless, limited only by your imagination!
Explore More Homemade Copycat Cookie Recipes:
If you’ve enjoyed crafting these delicious vanilla wafers, you’ll love diving into more homemade versions of your favorite store-bought treats. Baking at home allows for unparalleled freshness and flavor customization. Discover these other fantastic copycat cookie recipes to expand your baking skills:
- Copycat Samoa Cookies
- Mrs. Fields Copycat White Chocolate Chip Cookies
- Copycat Chick Fil A Cookies
- Thin Mint Copycat Cookies
- Twix Cookie Bars
- Homemade Nutter Butters
- Honeybun Cookies
- Homemade Oatmeal Cream Pies
- Cosmic Brownie Cookies
- Frosted Strawberry Cookies
- Best Soft Sugar Cookie
- Birthday Cake Cookie
In conclusion, these Copycat Nilla Wafer Cookies are an absolute joy to bake and an even greater pleasure to eat. They are delightful, light, and easy-to-make treats that truly shine when made from scratch. Elevate your snacking and dessert game by making these iconic vanilla wafers at home, using simple ingredients that you likely already have readily available in your pantry. The superior taste and satisfaction of homemade baking are just a few steps away!