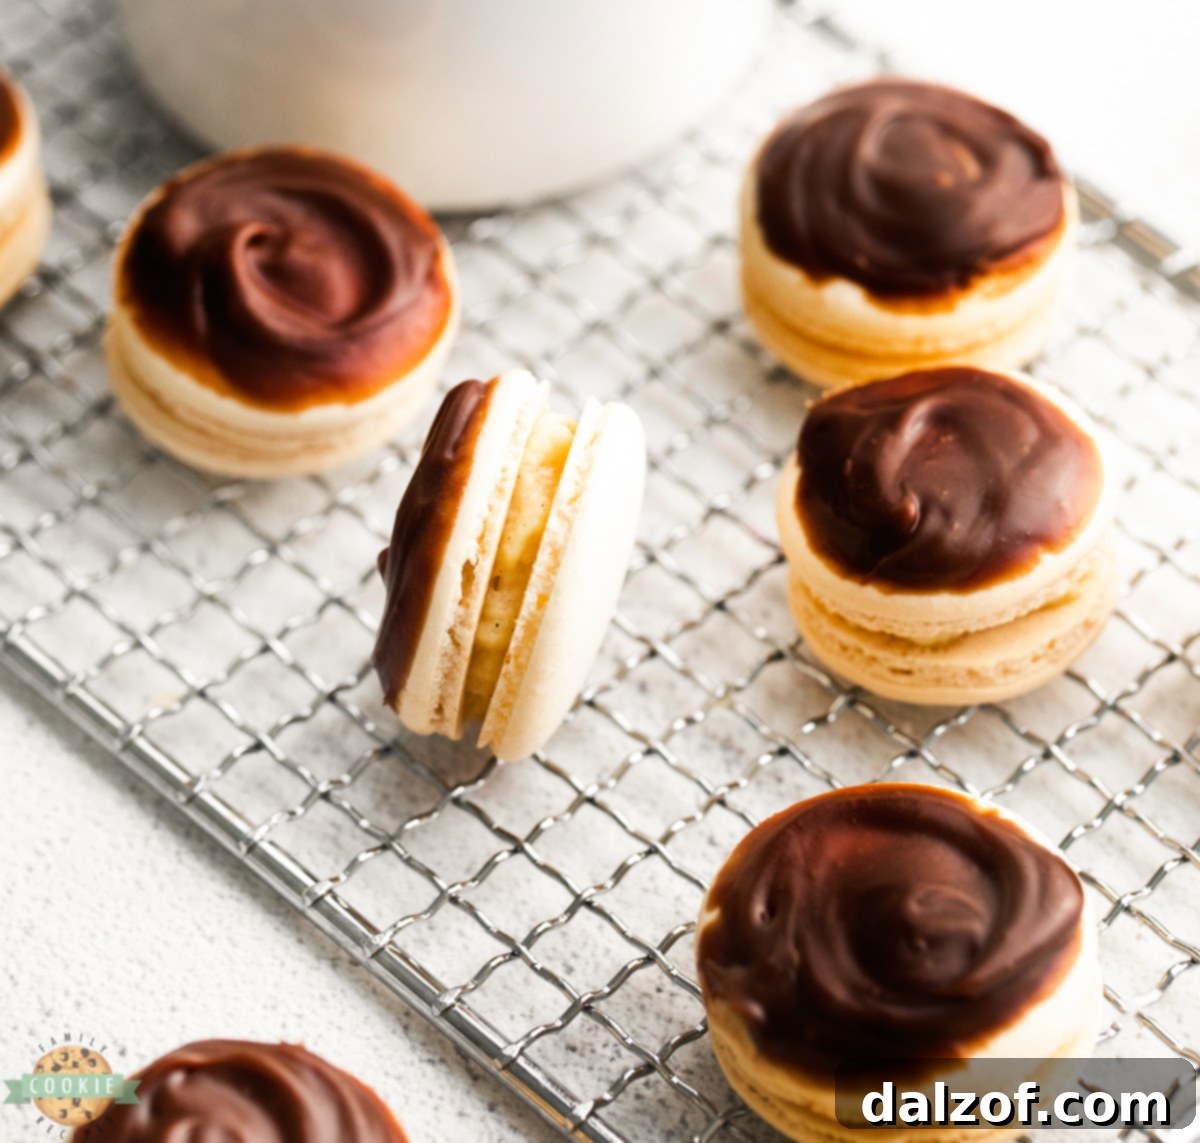
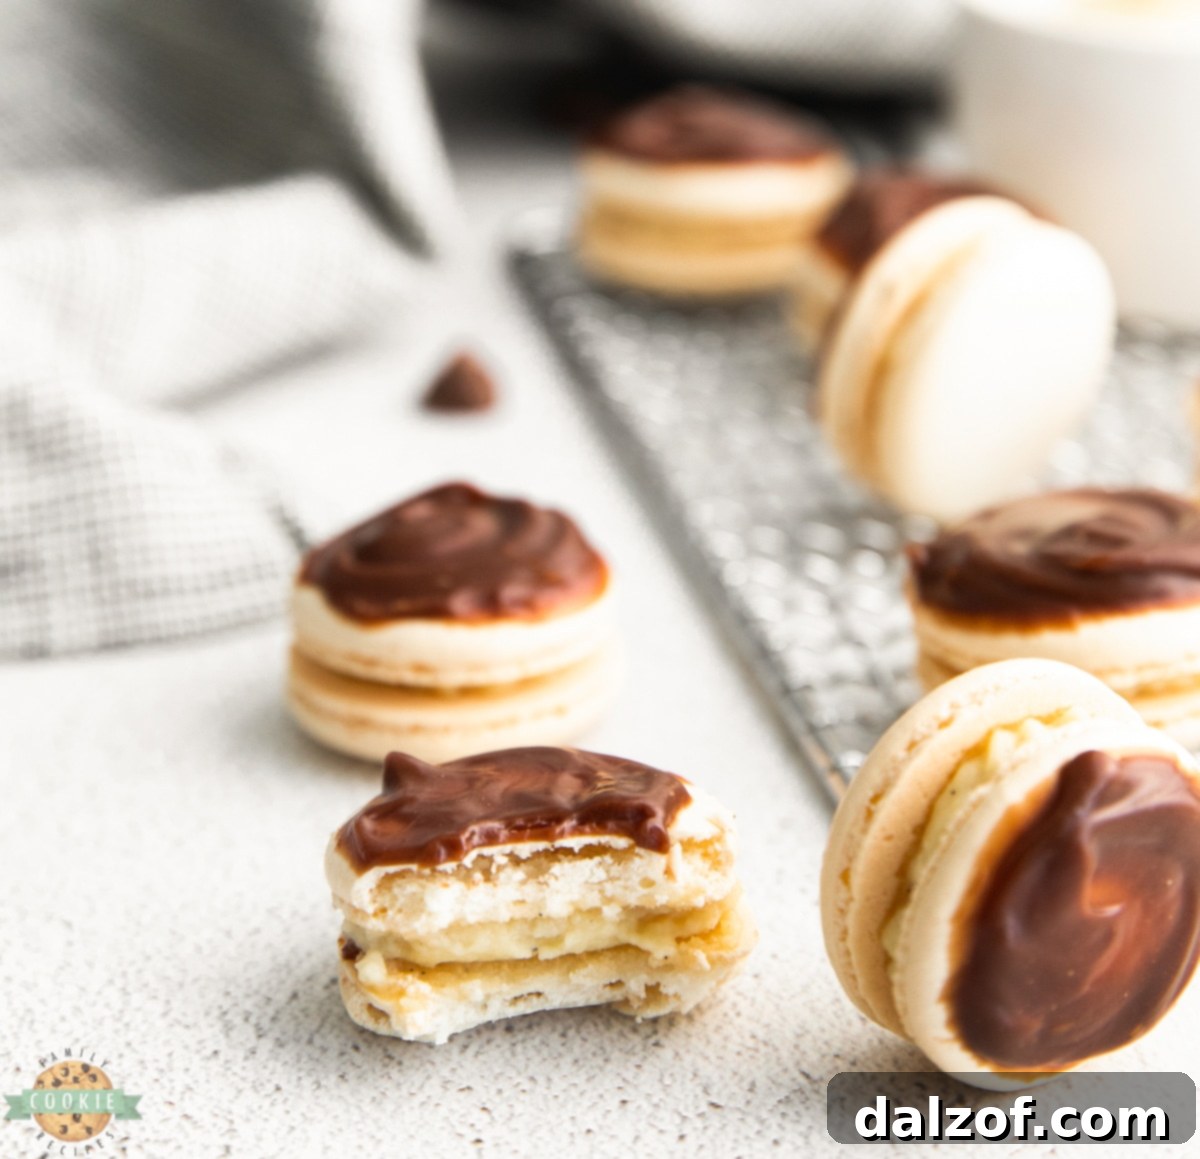
Indulge in a truly exquisite baking adventure with these incredible Boston Cream Pie Macarons. These delicate sandwich cookies beautifully marry the classic flavors of a beloved Boston Cream Pie with the sophisticated elegance of French macarons. Picture perfectly chewy macaron shells, each encasing a luscious, creamy vanilla custard filling, all crowned with a glistening layer of rich, dark chocolate ganache. This recipe transforms a timeless dessert into bite-sized, irresistible treats that are sure to impress both your taste buds and your guests.
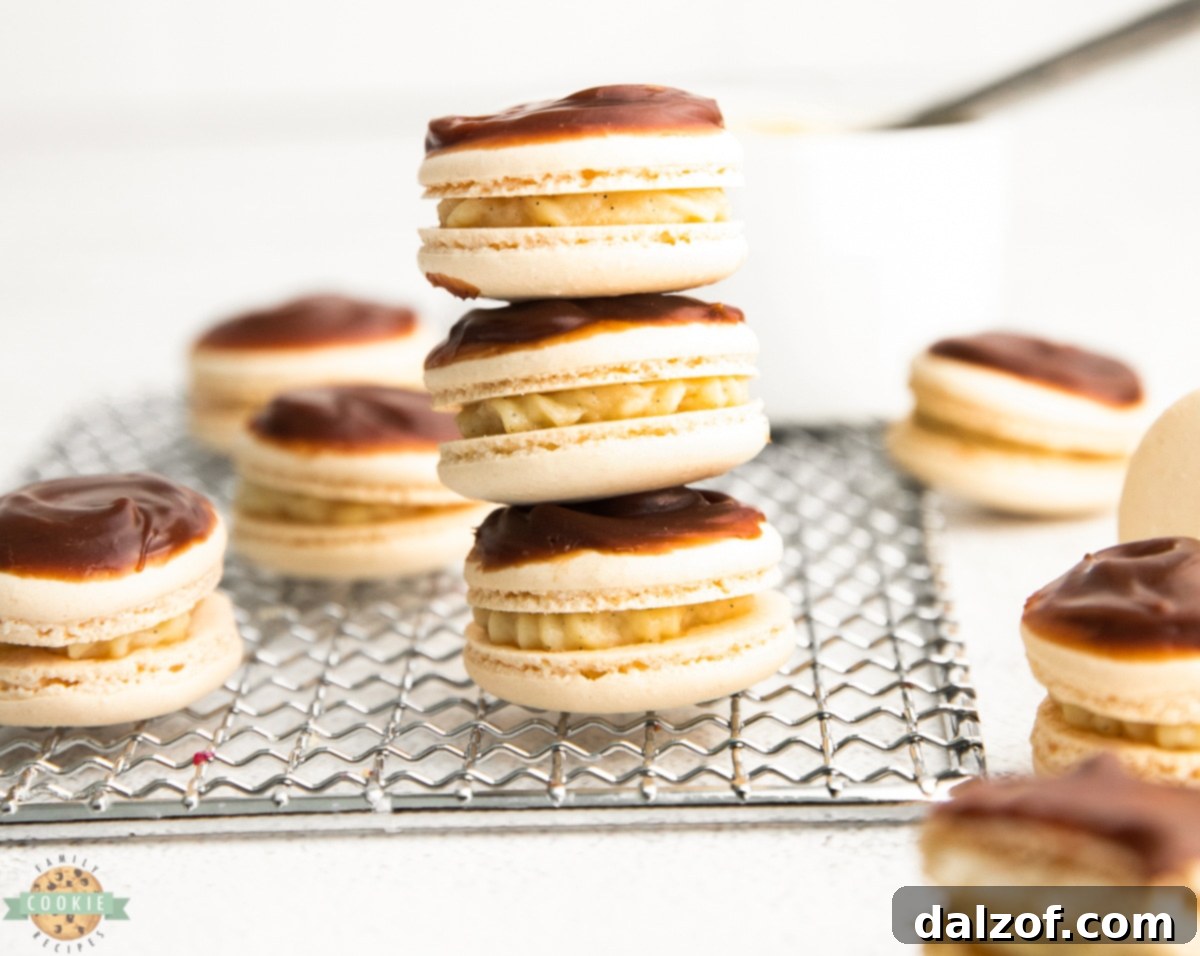
Crafted entirely from scratch, these Boston Cream Pie Macaron cookies are a homemade delight that’s as visually stunning as it is delicious. The harmonious blend of a light, airy macaron shell, a velvety vanilla custard, and a decadent chocolate topping creates a flavor profile that’s truly unforgettable. You’ll find yourself reaching for just one more of these creamy, dreamy cookies, making them perfect for special occasions, elegant gatherings, or simply treating yourself to a luxurious dessert experience.
Understanding the Macaron: A Culinary Delight
Before we dive into creating these delightful Boston Cream Pie Macarons, let’s understand what makes a macaron so special. Macarons are exquisite French sandwich cookies, renowned for their delicate texture and vibrant appearance. They consist of two airy, almond-flour-based meringue shells, typically joined together with a variety of fillings, ranging from rich ganaches and smooth buttercreams to tangy jams and, in our case, a delectable vanilla custard. The defining characteristic of a perfect macaron shell is its crisp exterior, slightly chewy interior, and the distinctive “foot” (or “pied”) – a ruffled edge at the base of the shell that forms during baking.
Originating in Italy before being refined in France, macarons have evolved into a versatile dessert, celebrated for their endless possibilities in terms of size, color, and flavor combinations. Our Boston Cream Pie rendition captures the essence of this beloved pastry, infusing each bite with the classic vanilla custard and chocolate ganache notes, making for a truly unique macaron experience.
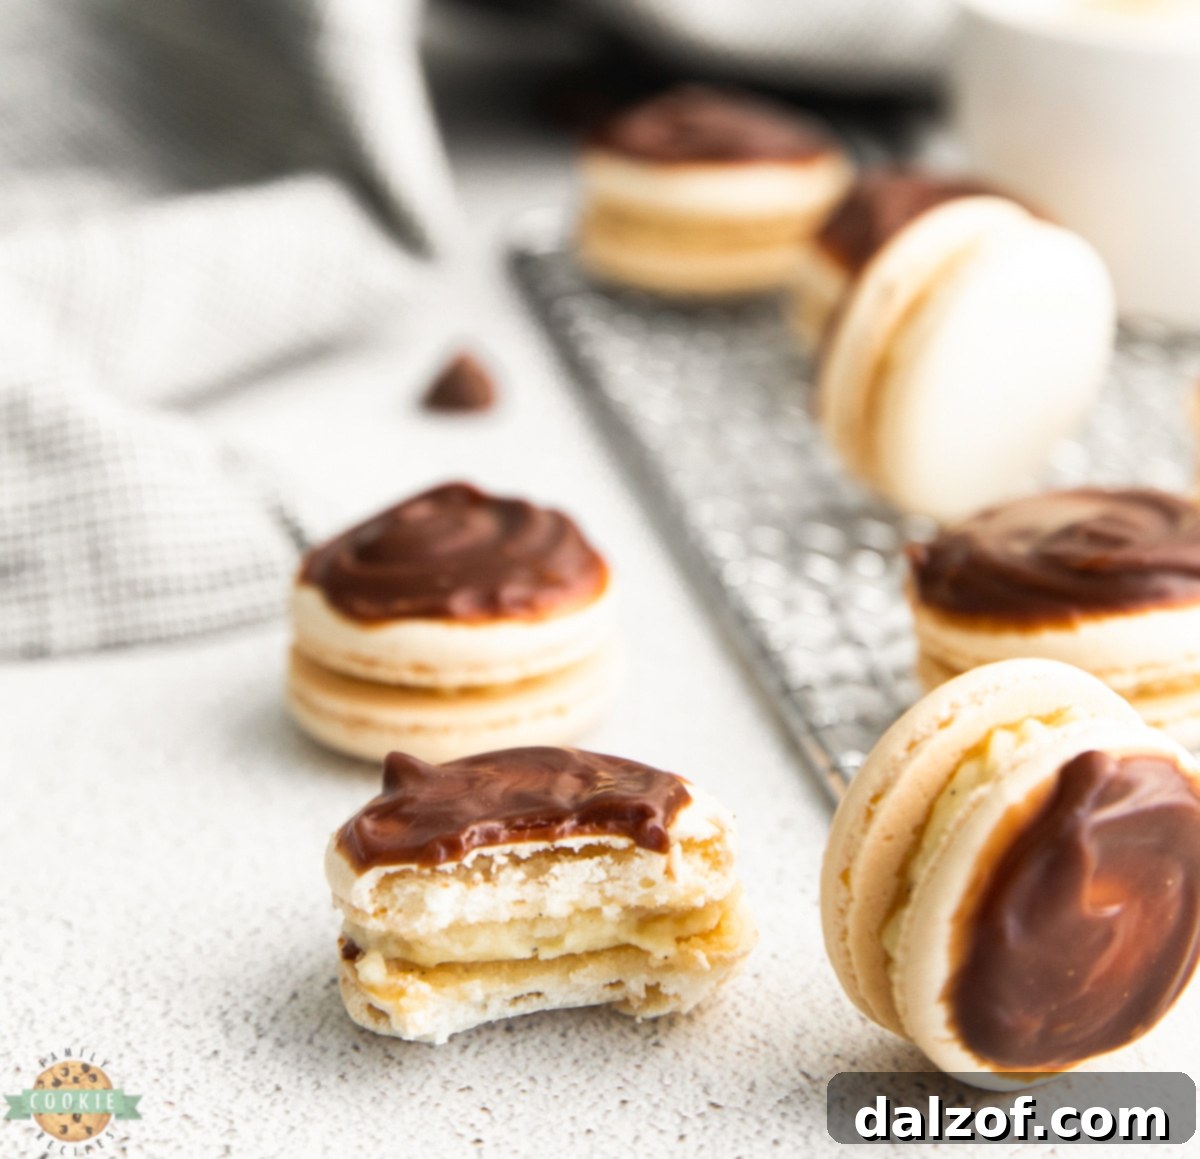
Essential Ingredients for Boston Cream Pie Macarons
Creating perfect macarons requires precise measurements and high-quality ingredients. Here’s a detailed breakdown of what you’ll need for each component of these Boston Cream Pie masterpieces:
For the Macaron Shells
- Large Egg Whites (3): Essential for creating the meringue, which forms the macaron’s airy structure. Using aged egg whites (separated a day or two in advance and left at room temperature) can improve stability, though fresh ones work if whipped correctly.
- Granulated White Sugar (½ cup): This sugar is incorporated into the egg whites to create a stable meringue, contributing to both sweetness and structure.
- Powdered Sugar (1 cup): Also known as confectioners’ sugar, it’s crucial for the delicate texture of the shells. It’s important to sift it finely with the almond flour to prevent lumps.
- Almond Flour (1 cup): The foundation of macaron shells, providing their distinctive flavor and fine, slightly chewy texture. Ensure it’s very finely ground for the smoothest shells.
For the Velvety Vanilla Cream Filling (Custard)
- Granulated Sugar (2 tablespoons): Sweetens the custard to perfection, balancing the richness of the egg yolks and milk.
- Cornstarch (1 tablespoon): Acts as a thickening agent, giving the custard its desirable creamy consistency without being too heavy.
- Large Egg Yolks (2): Provides richness, color, and contributes significantly to the custard’s smooth texture and classic flavor.
- Whole Milk (½ cup): The liquid base of the custard, ensuring a creamy and cohesive mixture. Whole milk offers the best richness.
- Vanilla Bean Paste (2 teaspoons): Infuses the custard with an intense, authentic vanilla flavor and beautiful speckles. If unavailable, use the caviar from one vanilla bean pod or 1.5 teaspoons of high-quality vanilla extract as a substitute (see notes for details).
- Butter (1 tablespoon): Stirred in at the end, it adds a luxurious sheen and an extra layer of richness to the finished custard.
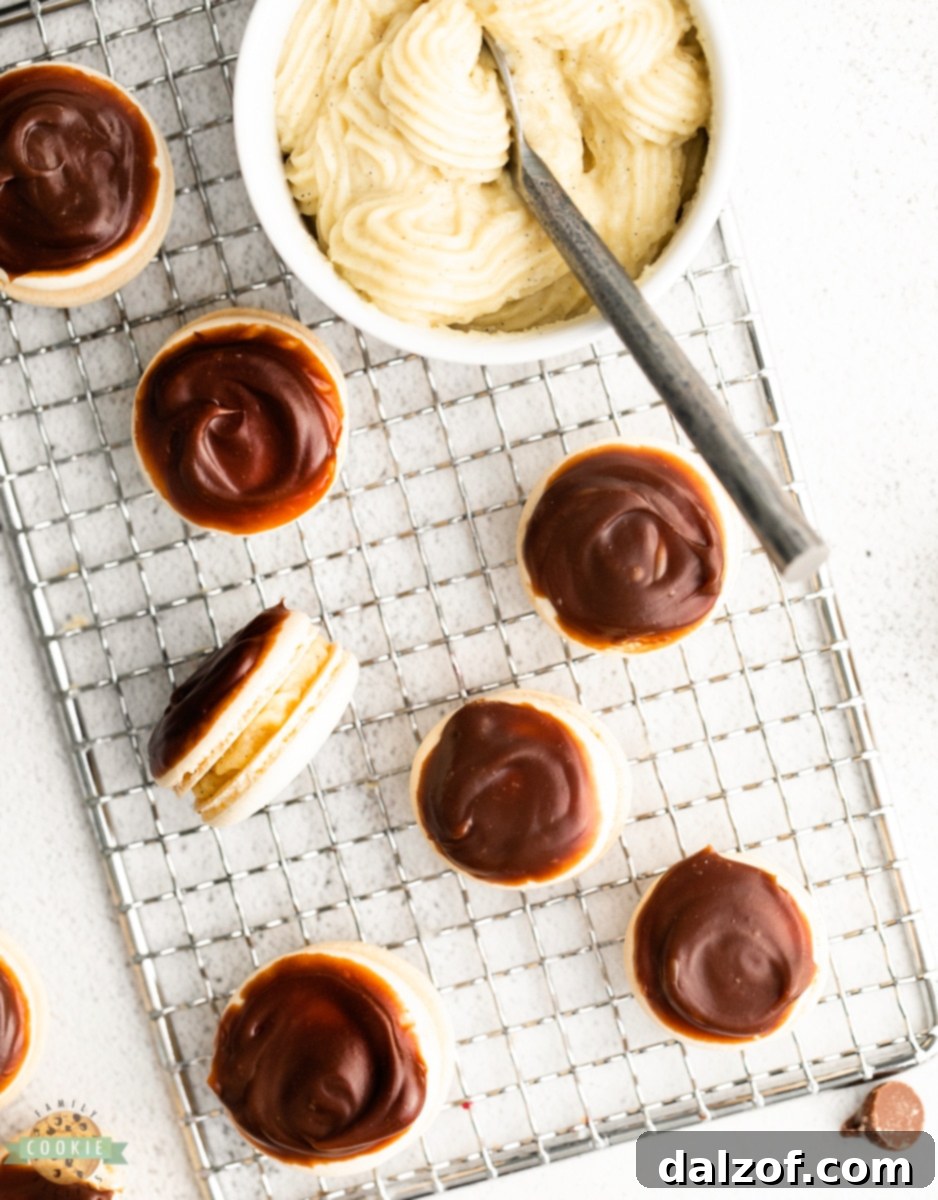
For the Decadent Chocolate Ganache
- Chopped Chocolate or Chocolate Chips (4 ounces): The star of the ganache. High-quality chocolate (dark or semi-sweet) will yield the best flavor and texture.
- Heavy Cream (½ cup): Combined with chocolate, it creates a rich, thick, and pourable ganache that sets beautifully.
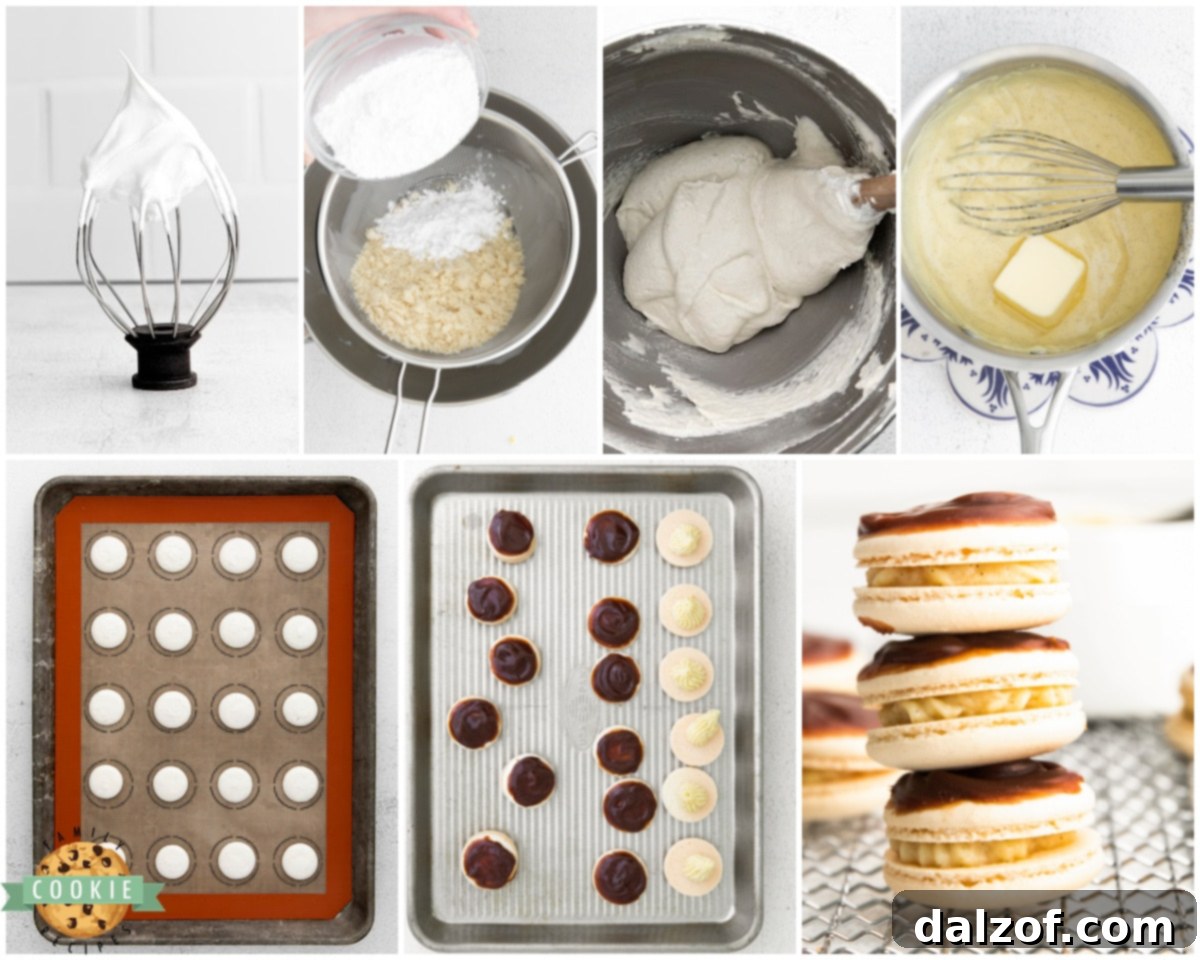
Step-by-Step Guide to Crafting Boston Cream Pie Macarons
Making macarons is a rewarding process that requires patience and attention to detail. Follow these steps carefully to achieve macaron perfection.
Part 1: Mastering the Macaron Shells
- Prepare Your Baking Sheets: Begin by lining two large baking sheets with parchment paper or high-quality silicone baking mats (Silpat). These provide a non-stick surface crucial for easy macaron removal.
- Warm the Egg Whites and Sugar: Set a heatproof bowl over a small pot of simmering water (ensure the bowl doesn’t touch the water). Add the egg whites and granulated sugar to the bowl. Whisk continuously for about 2 minutes, or until all the sugar has completely dissolved and the mixture is warm to the touch. This technique creates a stable meringue.
- Whip the Meringue: Carefully transfer the warm egg white mixture to the clean bowl of a stand mixer fitted with the whisk attachment. Be extremely careful not to introduce any water into the bowl. Beat the mixture at medium-high speed (around setting #8 on a KitchenAid) for 5-7 minutes. Continue beating until the meringue forms stiff, glossy peaks. When you lift the whisk, the meringue should hold its shape firmly.
- Sift Dry Ingredients: Using a fine-mesh sieve, sift the powdered sugar and almond flour directly into the whipped meringue. This step is vital for lump-free, smooth macaron shells. Discard any large clumps of almond flour or sugar that don’t pass through the sieve; do not force them.
- Mastering Macaronage (Folding): This is the most crucial step! Gently begin folding the dry ingredients into the meringue. Use a spatula to make a “J” shape, scraping from the bottom of the bowl, then folding over the top. Once the dry ingredients are mostly incorporated, continue folding, but this time, gently “smush” the batter against the sides of the bowl as you fold. Continue this smushing and folding motion a few times.
- Test for “Figure 8” Consistency: The batter is ready when it flows slowly and continuously off your spatula, allowing you to draw a figure 8 without the stream breaking. This “lava-like” consistency is key for smooth, footed macarons. Over-mixing will result in flat, spread-out shells, while under-mixing will lead to lumpy, cracked ones.
- Pipe the Macaron Shells: Transfer the prepared macaron batter into a piping bag fitted with a small round tip (Wilton #10 or #12 works well). Pipe uniform 1-inch circles onto your prepared baking mats, ensuring each circle is at least 2 inches apart to prevent them from merging during baking.
- Release Air Bubbles: Once piping is complete for one tray, hold the baking sheet about 6-8 inches above your counter and drop it firmly onto the surface. Repeat this 4-5 times. This crucial step helps to release any trapped air bubbles, preventing hollows or cracks in your baked shells. Repeat with the second tray.
- Allow to Rest (Form a Skin): Set the piped macaron trays aside on the counter to rest for approximately 25 minutes. This resting period allows a thin “skin” to form on the surface of the shells. They are ready to bake when you can gently touch them without the meringue sticking to your finger. This skin is essential for the formation of the characteristic “feet.”
- Preheat Oven & Bake: While the macarons rest, preheat your oven to 325°F (160°C). Bake the macarons, one tray at a time, for 13 minutes. To ensure even baking and foot development, rotate the baking sheet halfway through the baking time if your oven has hot spots.
- Cool Completely: Once baked, allow the macarons to cool completely on the baking sheet before attempting to remove them. Trying to lift them while still warm will likely result in them sticking and tearing. Patience is key!
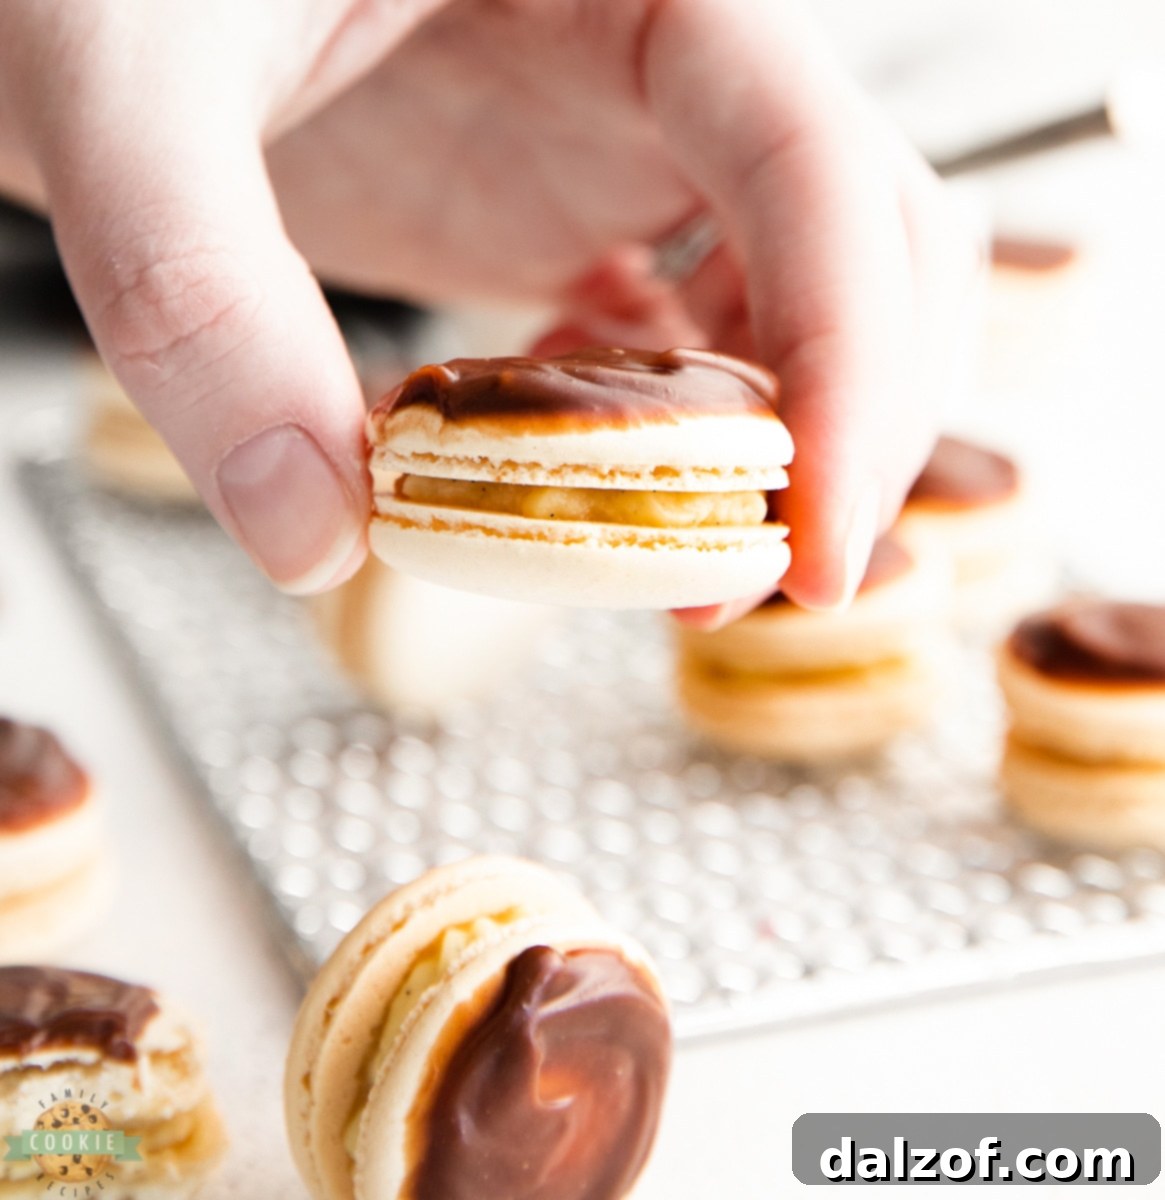
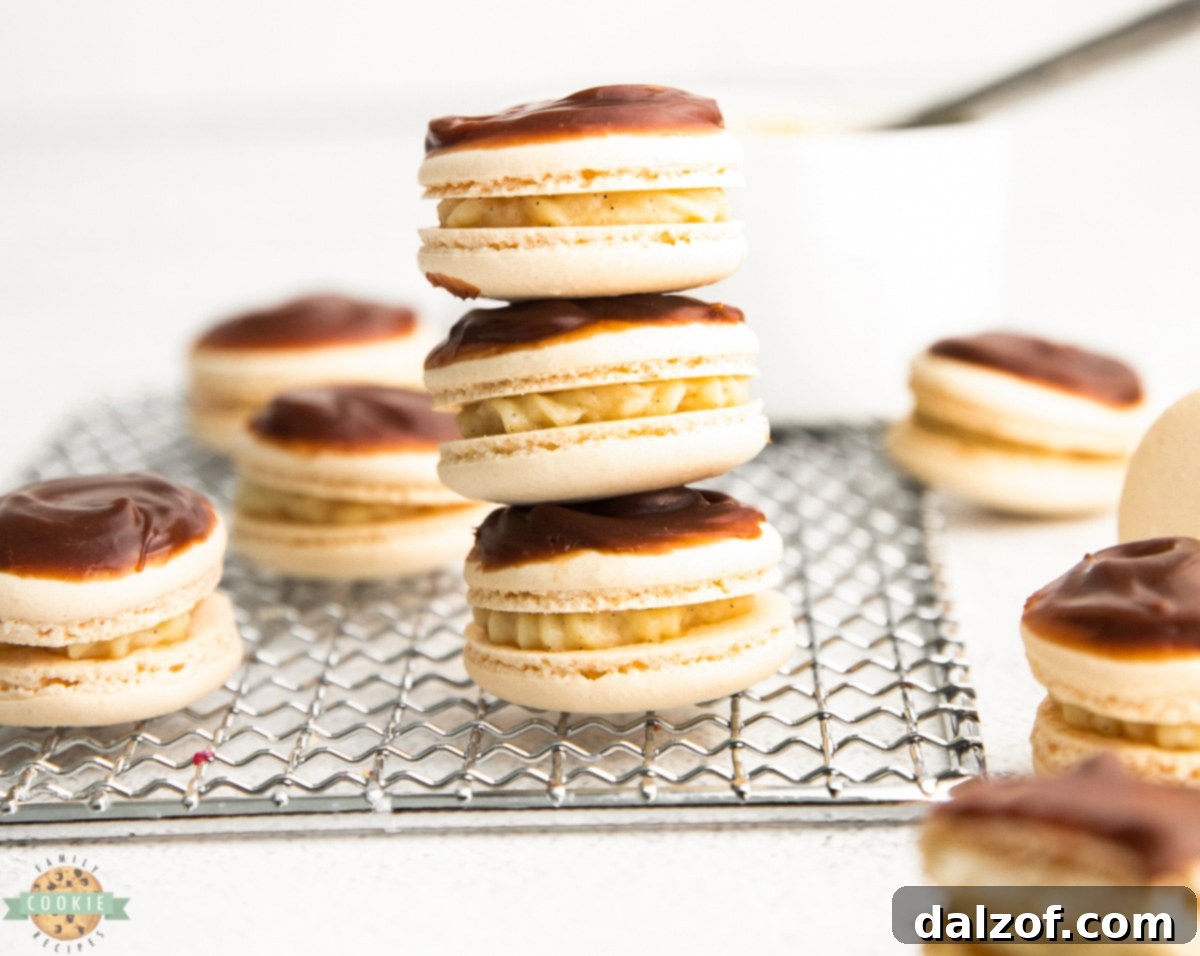
Part 2: Preparing the Creamy Vanilla Custard Filling
- Whisk Dry and Yolks: In a medium-sized heatproof bowl, whisk together the granulated sugar, cornstarch, and egg yolks until the mixture is a uniform pale yellow color. This should take about 1 minute.
- Simmer Milk and Vanilla: In a small saucepan over medium heat, combine the whole milk and vanilla bean paste. Heat until it just begins to simmer, with small bubbles appearing around the edges of the pot.
- Temper the Egg Mixture: This step is critical to prevent scrambling the eggs. Slowly and gradually pour about half of the warm milk mixture into the egg yolk mixture while continuously whisking. This slowly raises the temperature of the egg yolks.
- Cook the Custard: Once tempered, pour the entire egg-milk mixture back into the saucepan. Cook over medium heat for another 1-2 minutes, whisking constantly, until the mixture thickens significantly. It should be thick enough to coat the back of a spoon. Be very attentive during this stage, as custard can go from thin to thick very quickly and can easily burn.
- Add Butter: Immediately remove the saucepan from the heat and whisk in the tablespoon of butter until fully melted and incorporated.
- Chill the Custard: Transfer the warm custard to an airtight container. Press a piece of plastic wrap directly onto the surface of the custard to prevent a “skin” from forming as it cools. Place the container in the refrigerator to cool completely – this may take a few hours. Once chilled, transfer it to a piping bag for assembly.
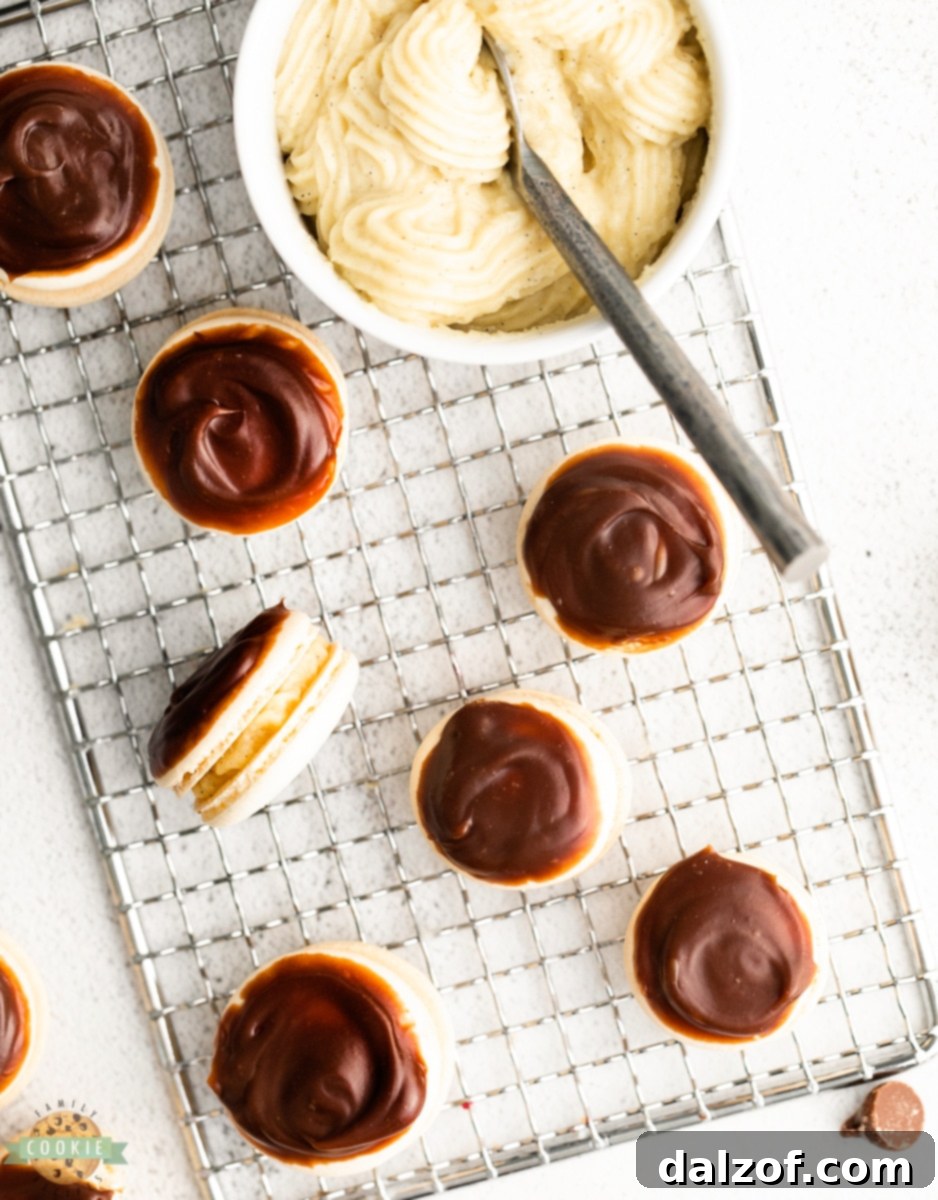
Part 3: Crafting the Silky Chocolate Ganache
- Melt Chocolate and Cream: In a heatproof bowl, combine the chopped chocolate (or chocolate chips) and heavy cream. Microwave for 1-2 minutes, stirring every 30 seconds, until the chocolate is fully melted and the mixture is smooth and glossy. Alternatively, you can melt them together over a double boiler.
- Dip Macaron Shells: Once the ganache is ready and slightly cooled but still pourable, dip the top surface of half of your cooled macaron shells into the chocolate ganache. Allow any excess ganache to drip off.
- Set the Ganache: Place the dipped macaron shells on a parchment-lined tray and allow the ganache to set completely. To speed up this process, you can transfer the tray to the refrigerator for about 10-15 minutes.
Part 4: Assemble and Age for Optimal Flavor
- Fill the Macarons: Take a macaron shell that has not been dipped in chocolate and pipe a small dollop of the chilled vanilla pastry cream onto its flat side.
- Create the Sandwich: Gently place a chocolate-dipped macaron shell on top of the pastry cream, pressing down very lightly until the filling reaches the edges of the shells.
- Repeat and Chill: Continue this process with all remaining macaron shells. Once assembled, transfer the filled macarons to an airtight container. Store them in the refrigerator overnight. This “aging” period allows the moisture from the filling to soften the macaron shells, resulting in that coveted chewy-delicate texture and a more cohesive flavor.
- Serve and Enjoy: Before serving, bring the Boston Cream Pie Macarons to room temperature for about 15-30 minutes. This enhances their flavor and texture. Enjoy these delightful treats!
Are Macarons Difficult to Master? Essential Tips for Success
Macarons have a reputation for being challenging, but with careful attention to detail and a little patience, they are absolutely achievable for home bakers! While they might be more finicky than your average cookie, the reward is truly worth the effort. It’s not about being “hard,” but rather about precision and understanding the science behind them.
Here are a few items and techniques that significantly help in achieving macaron success:
- Macaron Sizing Mat & Piping Bag: Using a silicone mat with pre-drawn macaron circles ensures uniform size and shape, which is critical for matching shells. A good quality piping bag with a round tip (like Wilton #10 or #12) allows for consistent piping.
- Finely Sifted Almond Flour: Even if your almond flour is labeled “finely sifted,” it’s crucial to sift it again with the powdered sugar before incorporating it into the meringue. This removes any remaining coarse particles, which can lead to lumpy shells or cracks.
Beyond equipment, consistency is key:
- Accurate Measurements: Use a kitchen scale for precise measurements of ingredients, especially for egg whites, almond flour, and sugars. This is arguably the most important tip.
- Don’t Rush the Macaronage: This folding process determines the final texture. Stop when the batter flows like “lava” and forms a continuous “figure 8.”
- Proper Drying Time: Allowing the shells to rest until a skin forms is vital for developing the “feet.” Don’t skip or shorten this step.
- Oven Temperature: Ovens can vary. Invest in an oven thermometer to ensure your oven is at the exact temperature required. Too high or too low can ruin the batch.
Common Macaron Problems and How to Avoid Them
Even experienced bakers sometimes encounter issues with macarons. Don’t be discouraged if your first batch isn’t perfect. Understanding common pitfalls can help you troubleshoot and improve:
- Hollow Macarons: These often result from over-whipped meringue, under-mixed batter (macaronage), or baking at too high a temperature. Ensure your meringue is stiff but not dry, your macaronage is spot-on, and your oven temperature is accurate.
- Cracked Shells: This is a classic sign of insufficient resting time (no skin formed), too much trapped air (not tapped enough), or oven temperature fluctuations. Ensure the shells are dry to the touch before baking.
- No “Feet”: The elusive “feet” are a sign of properly baked macarons. Lack of feet usually indicates insufficient drying time (no skin), oven temperature issues (too low), or over-mixing the batter.
- Lumpy or Bumpy Tops: If your macarons have tiny bumps, it’s often due to un-sifted dry ingredients or insufficient tapping to release air bubbles. Always double-sift your almond flour and powdered sugar, and vigorously tap your trays.
- Spread-Out or Flat Macarons: This is a clear indicator of over-mixed batter (over-macaronage). The batter was too runny before piping.
- Sticky Bottoms: If your macarons stick to the mat after cooling, they might be underbaked. Bake them for a minute or two longer next time, ensuring they still maintain their chewiness.
BOSTON CREAM PIE MACARONS
Boston cream pie macarons made with chewy macaron shells, custard filling & chocolate ganache. Delicate sandwich cookies that mimic delicious Boston Cream Pie!
Print Recipe
Pin Recipe
Rate Recipe
Course: Cookies, Dessert
Cuisine: French
Keyword: Boston Cream Pie Macarons
Prep Time: 1 hour
Cook Time: 30 minutes
Rest: 30 minutes
Total Time: 2 hours
Servings: 24
Calories: 112kcal
Author: Jessica & Nellie
Ingredients
For the Shells
- 3 egg whites (90 grams)
- ½ cup granulated sugar (90 grams)
- 1 cup powdered sugar (95 grams)
- 1 cup almond flour (95 grams)
For the Vanilla Custard Filling
- 2 tablespoons granulated sugar
- 1 tablespoon cornstarch
- 2 egg yolks (25 grams)
- ½ cup whole milk
- 2 teaspoons vanilla bean paste (see notes)
- 1 tablespoon butter
For the Chocolate Ganache
- 4 ounces chopped chocolate or chocolate chips
- ½ cup heavy cream
Instructions
For the Shells
- Line two large sheet pans with parchment paper or silpat mats.
- Heat a small pot of simmering water over medium-low heat. Add the egg whites and granulated sugar to a heatproof bowl and set it over the simmering water. Whisk constantly until the sugar has fully dissolved– about 2 minutes.
- Transfer the mixture to the bowl of a stand mixer fitted with the whisk attachment– be careful not to get any water in the bowl!
- Beat on medium-high speed (Kitchenaid #8) until stiff peaks form– about 5-7 minutes.
- Using a fine mesh sieve, sift the powdered sugar and almond flour into the egg white mixture.
- Gently fold the dry ingredients into the egg whites by making a J shape with your spatula.
- Once all of the dry ingredients have been incorporated, continue to fold the meringue but this time gently smush the batter against the sides of the bowl before folding it back together.Continue to smush and fold the meringue a few times before testing to see if it has reached the Figure 8 stage. The meringue is ready to pipe when you can draw a figure 8 without the stream breaking.
- Transfer the meringue to a piping bag fitted with a small round tip (Wilton #10-12). Pipe 1” macaron shells onto the tray, making sure to pipe them at least 2” apart.
- Once you’ve finished piping the first tray, hold it about 6 inches off the counter and drop it straight down. Drop the tray another 5-6 times, or until it looks like any large air bubbles have popped. Repeat with the second tray.
- Set the trays aside to rest for 25 minutes, or until they have developed a skin. They’re ready to bake when you can touch them gently without the meringue sticking to your finger.
- While the macarons rest, preheat your oven to 325F.
- Bake the macarons, one tray at a time, for 13 minutes. If your oven has hot spots, make sure to turn the tray halfway through baking so the feet rise evenly.
- Allow the macarons to cool to room temperature on the pan. Trying to remove the macarons while still warm may result in sticking.
For the Filling
- In a medium-sized heat proof bowl, whisk together the granulated sugar, cornstarch, and egg yolk until it is pale yellow in color– about 1 minute.
- Add the milk and vanilla bean paste to a small saucepan set over medium heat. Bring it just to a simmer (it should just be starting to bubble around the edges).
- Slowly pour the milk mixture into the egg mixture, whisking constantly. Make sure to pour slowly and don’t stop whisking– you don’t want scrambled eggs!
- Once all of the milk has been added, pour the mixture back into the saucepan and cook over medium heat for an additional 1-2 minutes, or until the mixture starts to thicken.
- Once the custard can coat the back of a spoon, remove it from the heat and whisk in the butter.
- Transfer it to an airtight container and cover the top with plastic wrap (make sure it’s touching the custard so it doesn’t form a skin).
- Place the custard in the fridge to cool completely before transferring it to a piping bag.
For the Chocolate Ganache
- Add the cream and chocolate to a heatproof bowl and microwave for 1-2 minutes, whisking every 30 seconds.
- Dip the top of half of the macaron shells into the ganache and allow them to set fully before continuing– placing them in the fridge can help speed up this process.
Assemble and Age
- Pipe a small dollop of pastry cream onto the flat side of a macaron that has not been dipped in chocolate. Place a chocolate dipped macaron shell on top and press down gently, just until the filling reaches the edges.
- Repeat with the remaining macarons. Transfer the filling macarons to an airtight container and store them in the fridge overnight to soften. Bring them to room temperature and enjoy.
Notes
Nutrition
How Long Do Macarons Last? Storage Tips
Once assembled, Boston Cream Pie Macarons are best enjoyed within 3-5 days when stored properly in an airtight container in the refrigerator. Due to the moisture content in the vanilla custard filling, macarons can become soggy if left for too long. For optimal flavor and texture, always allow them to come to room temperature for about 15-30 minutes before serving. If you want to prepare them in advance, you can freeze unfilled macaron shells for up to a month in an airtight container. Thaw them at room temperature before filling.

My hubby travels for work, and it’s always a treat when I get to join him! I remember one particularly memorable trip to Maui where we were just about to go snorkeling… when my husband realized his cell phone was still in his pocket! Ahhh, memories. I secretly think he did it on purpose because he wanted a new phone, LOL! Baking these Boston Cream Pie Macarons always reminds me of sweet, unexpected moments.

Discover More Delightful Sandwich Cookie Recipes
If you love the concept of these exquisite sandwich cookies, you’re in for a treat! Explore other fantastic recipes that offer unique flavor combinations and textures, perfect for any occasion:
- S’MORES COOKIE SANDWICHES: A campfire classic transformed into a delightful cookie form.
- PEANUT BUTTER SANDWICH COOKIES: Rich peanut butter cookies with a creamy filling for a nostalgic favorite.
- PINK SANDWICH COOKIES: Sweet, vibrant, and perfect for celebrations or a charming tea party.
- PEPPERMINT CHOCOLATE SANDWICH COOKIES: A refreshing combination of cool peppermint and deep chocolate, ideal for holidays.
These Boston Cream Pie Macarons are more than just a dessert; they’re an experience. The delicate balance of chewy macaron shells, the luxurious vanilla custard, and the smooth chocolate ganache creates a symphony of textures and flavors that will tantalize your palate. Get ready to impress with these show-stopping treats!