
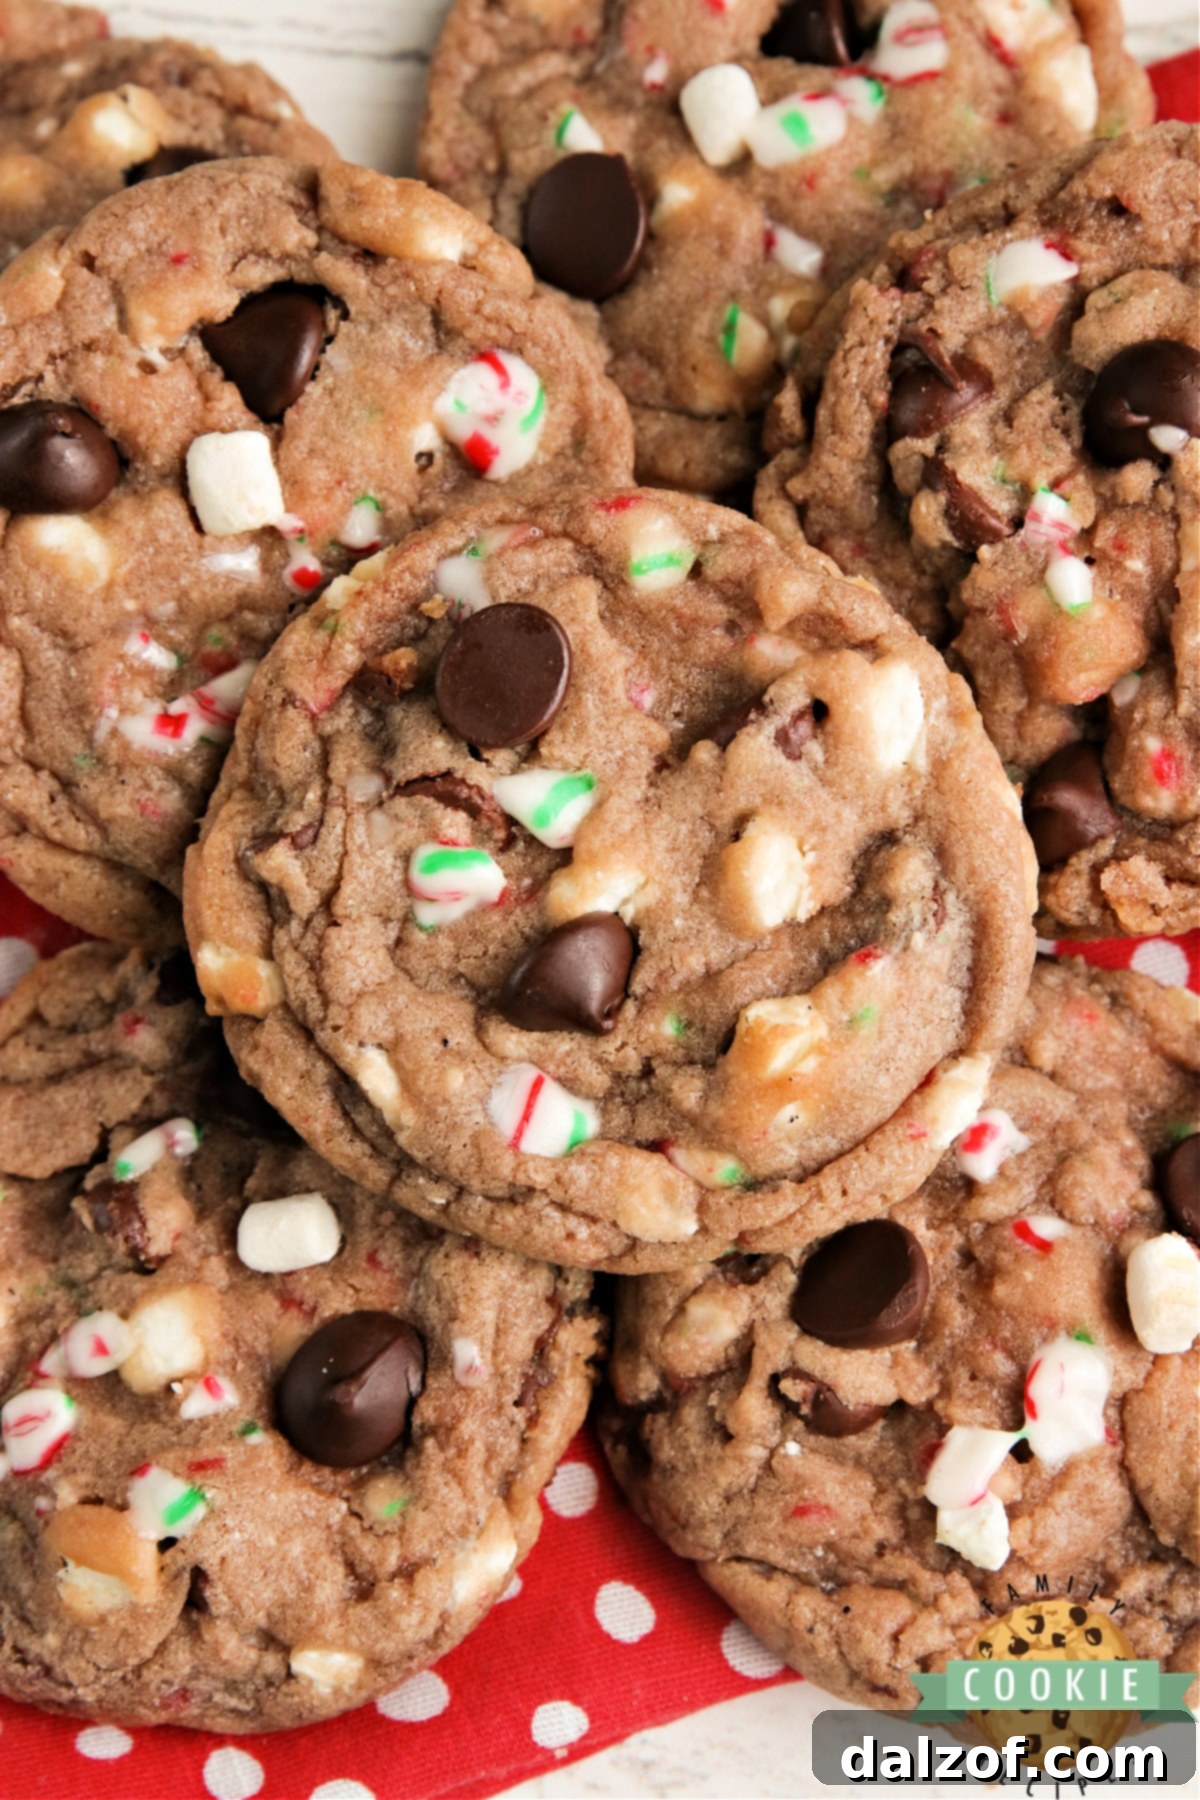
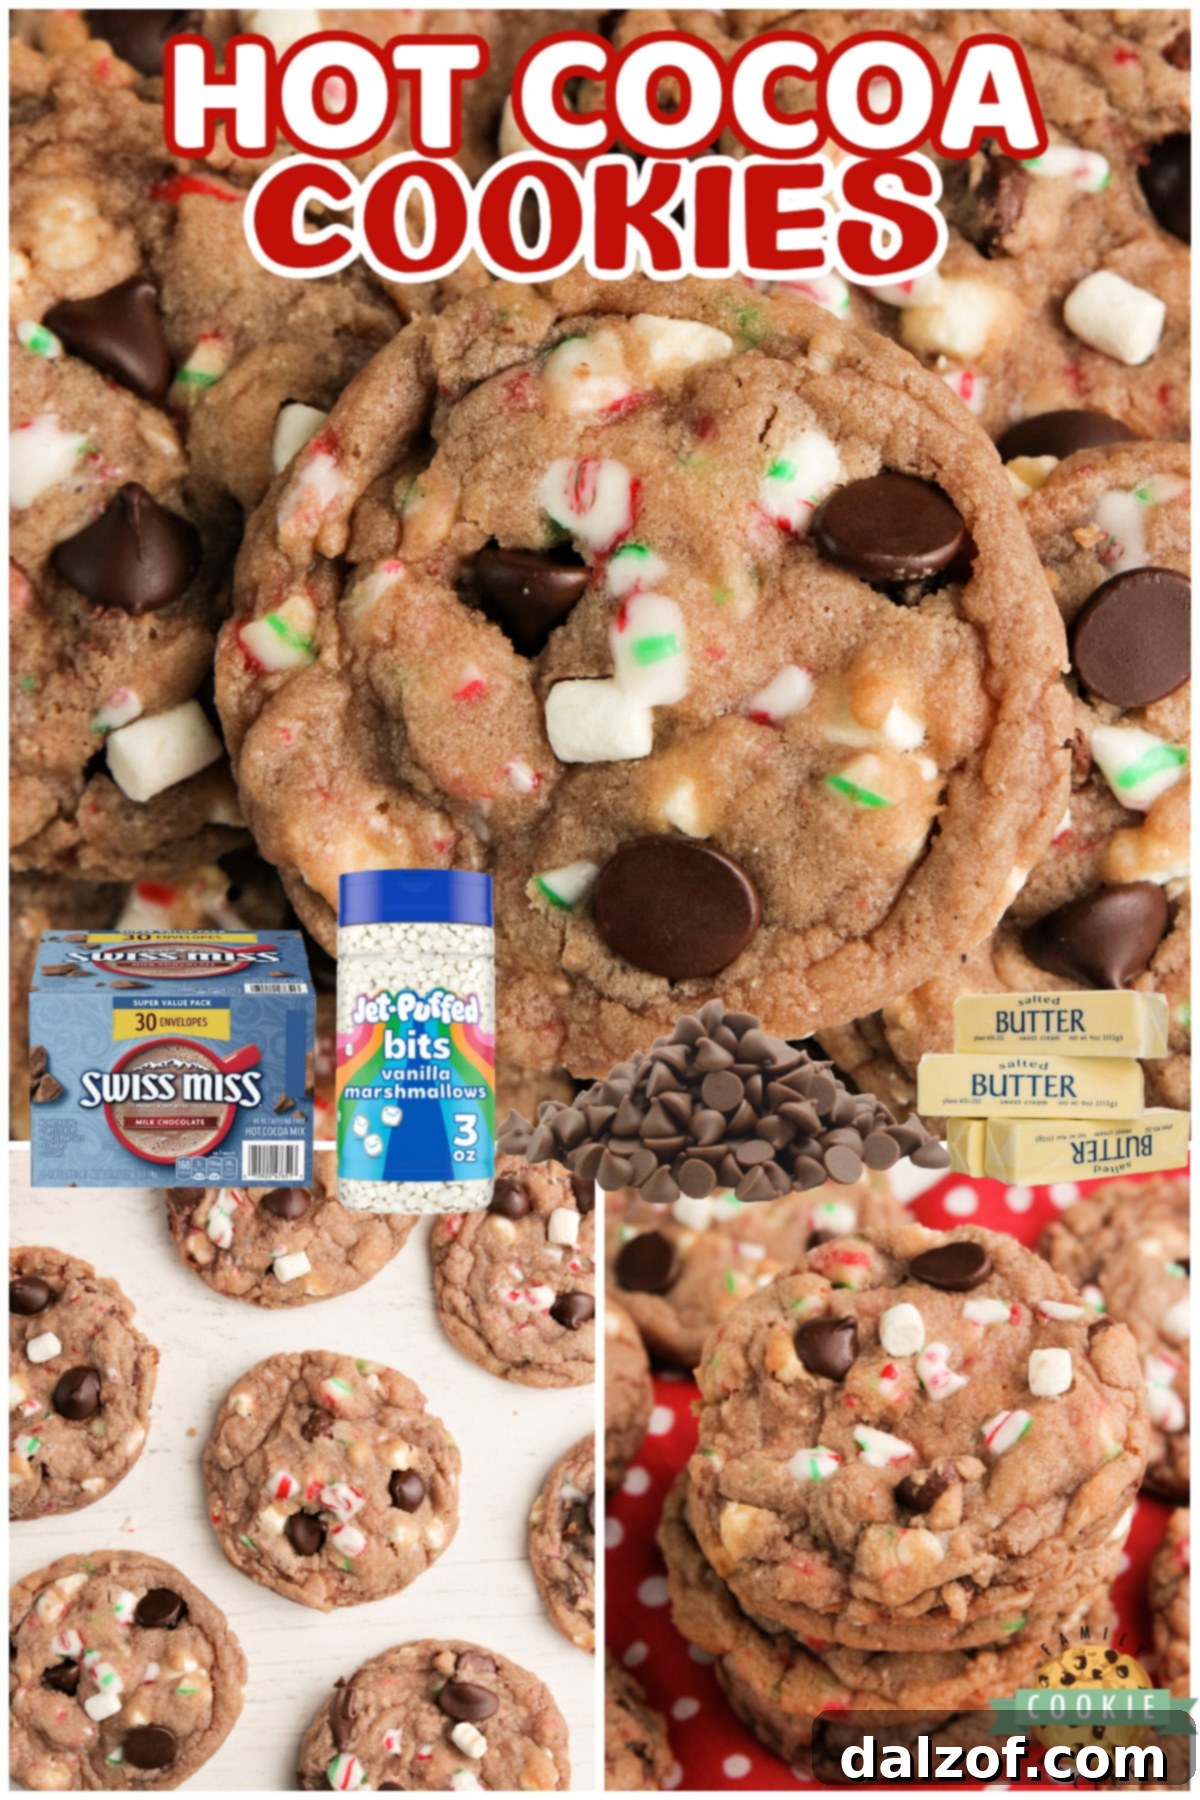
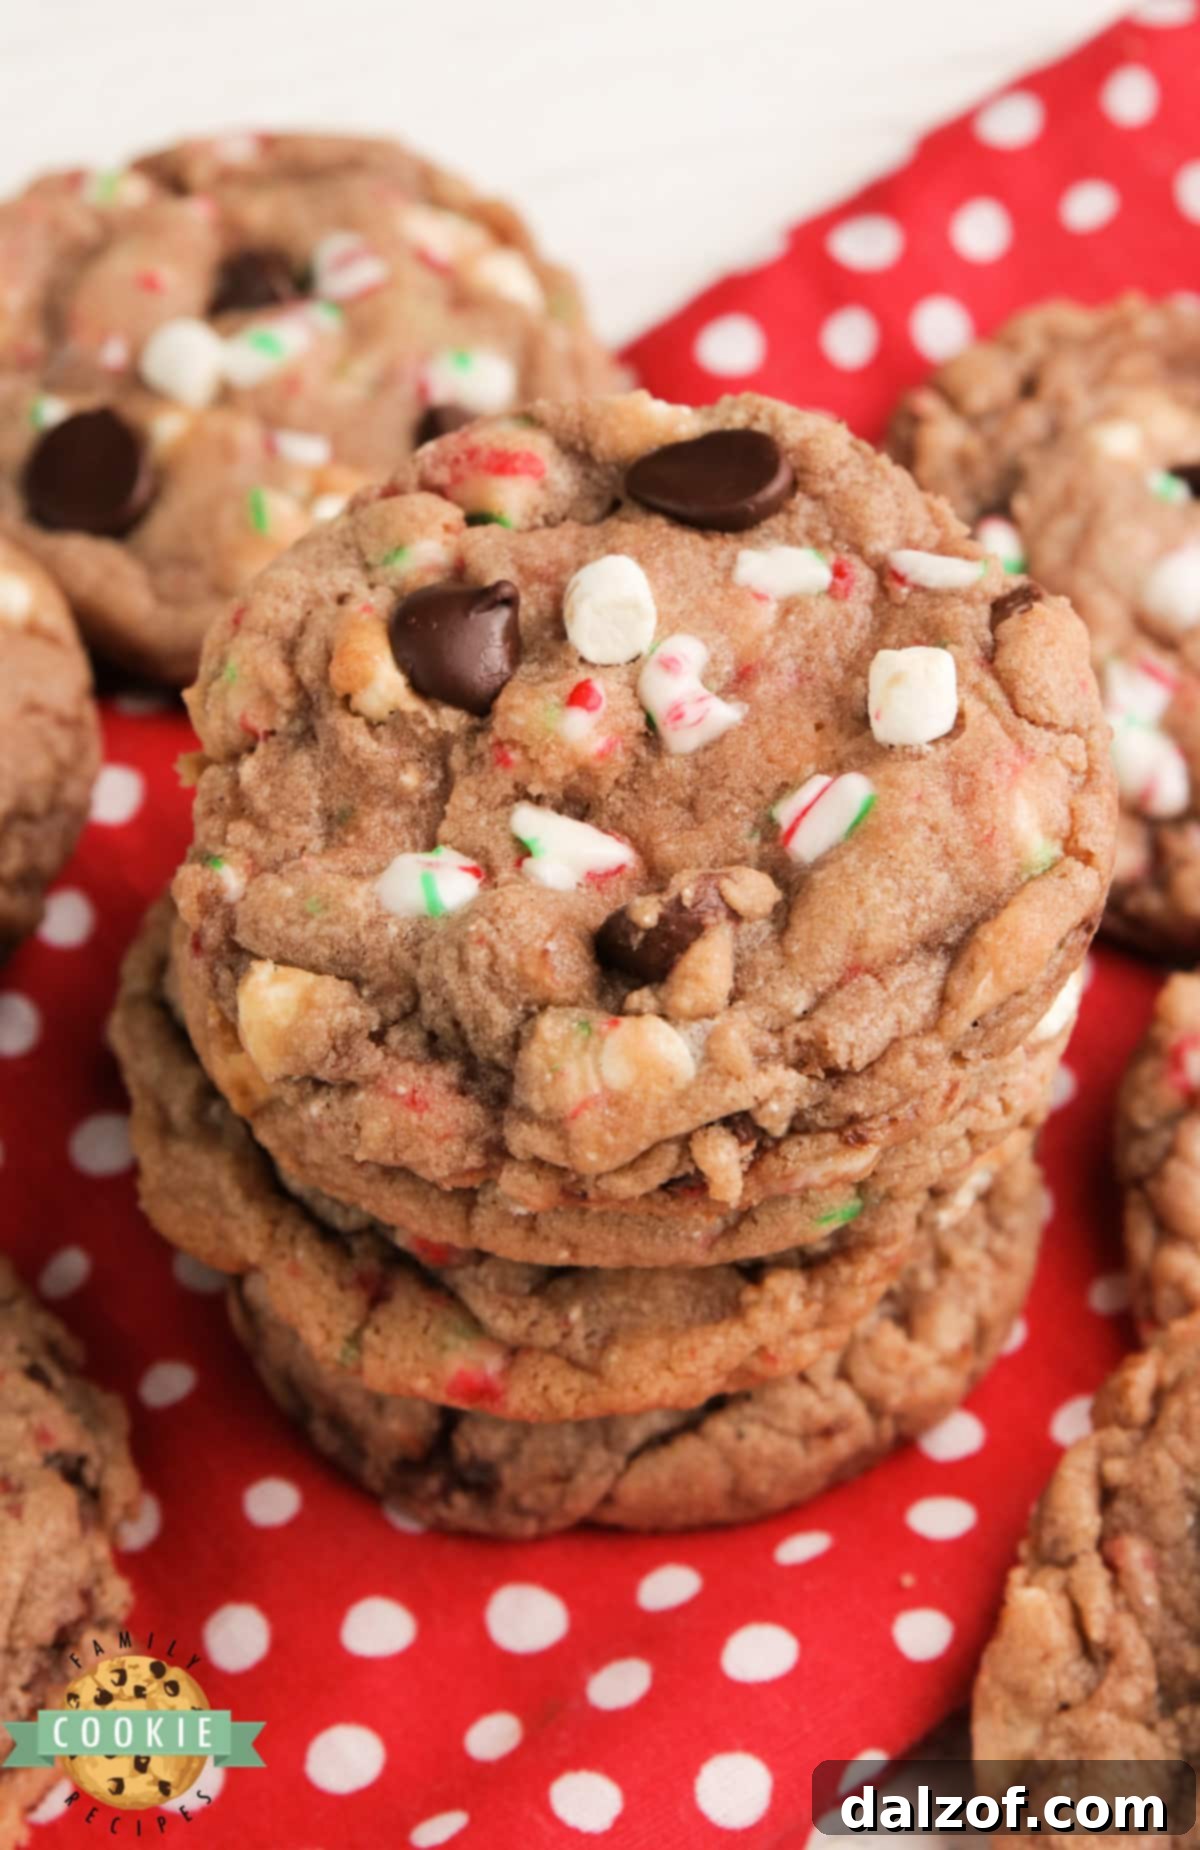
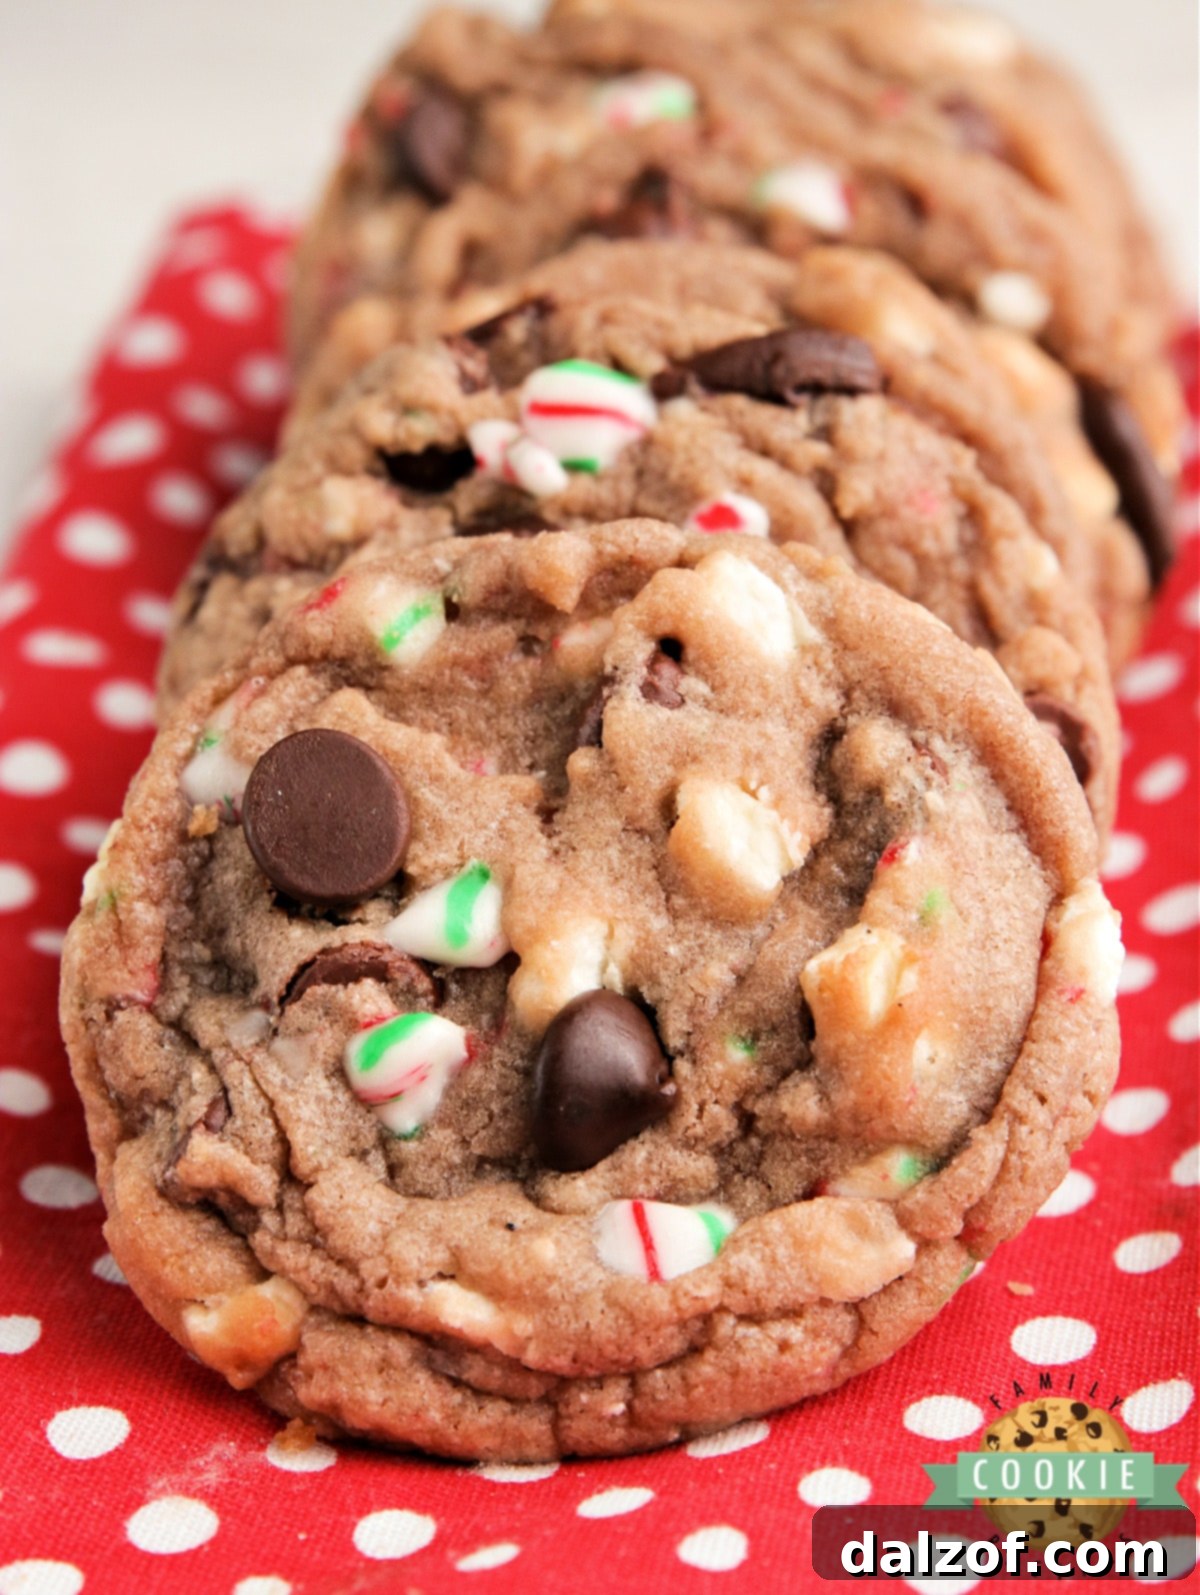
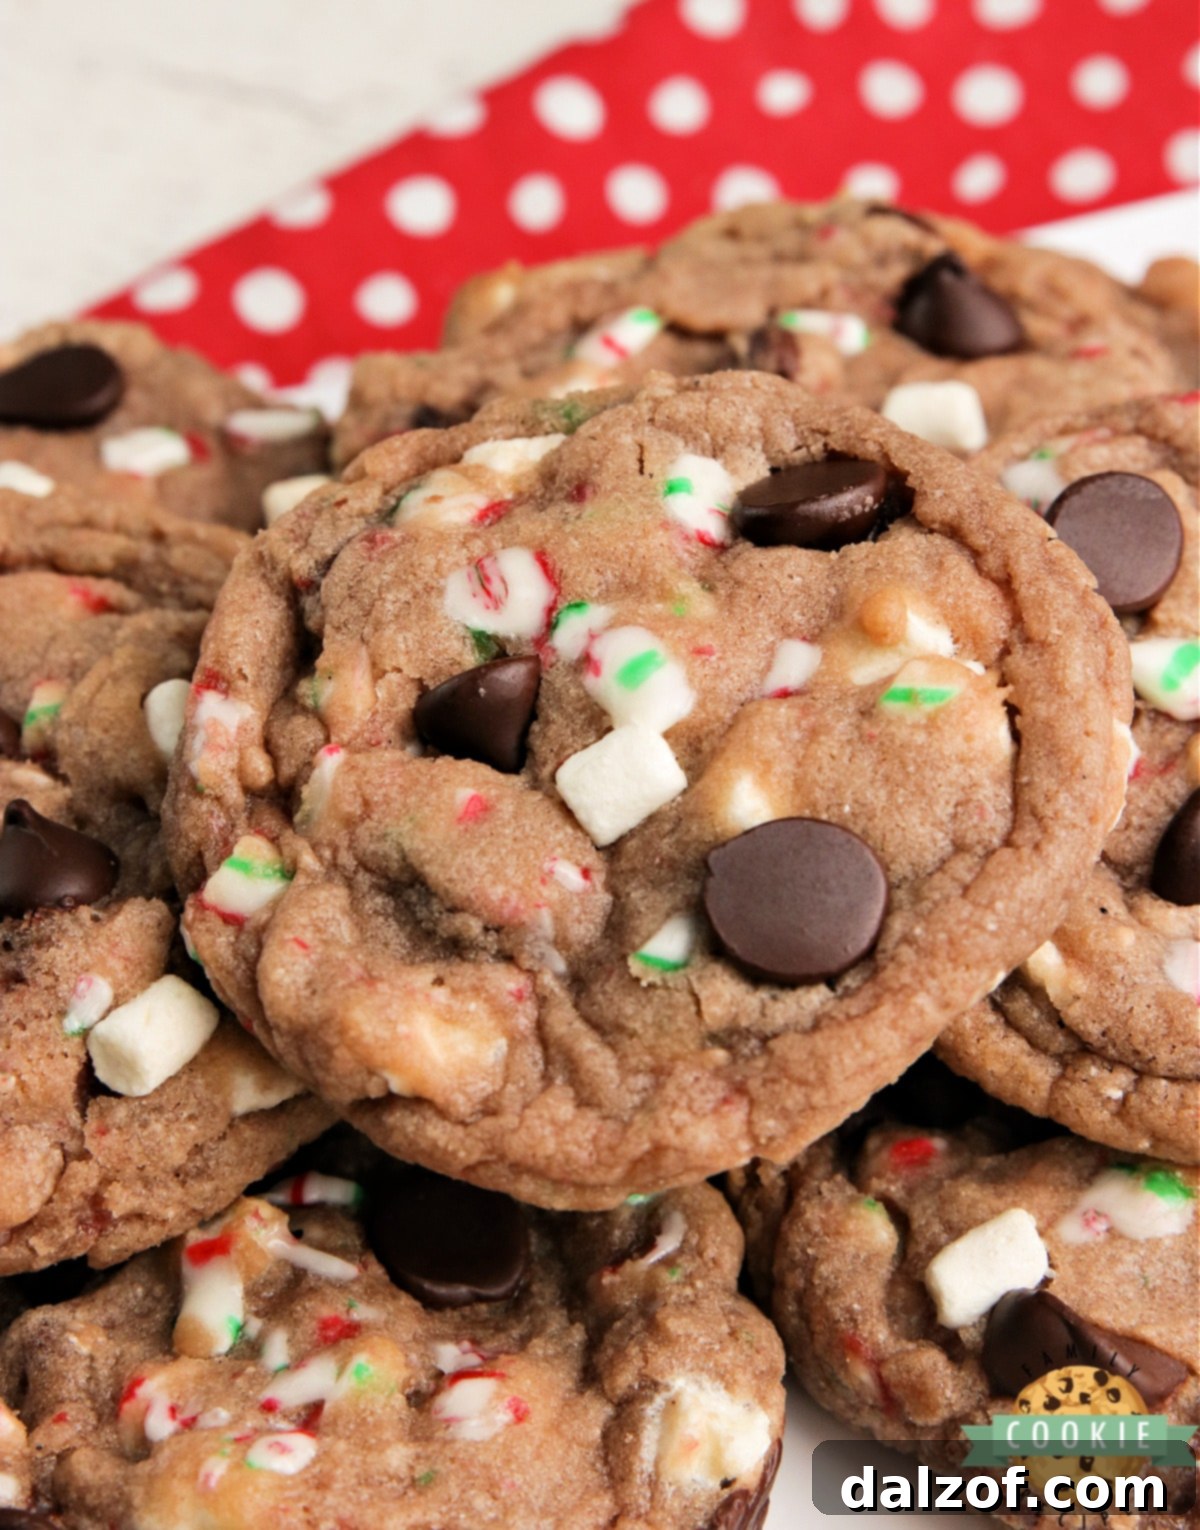
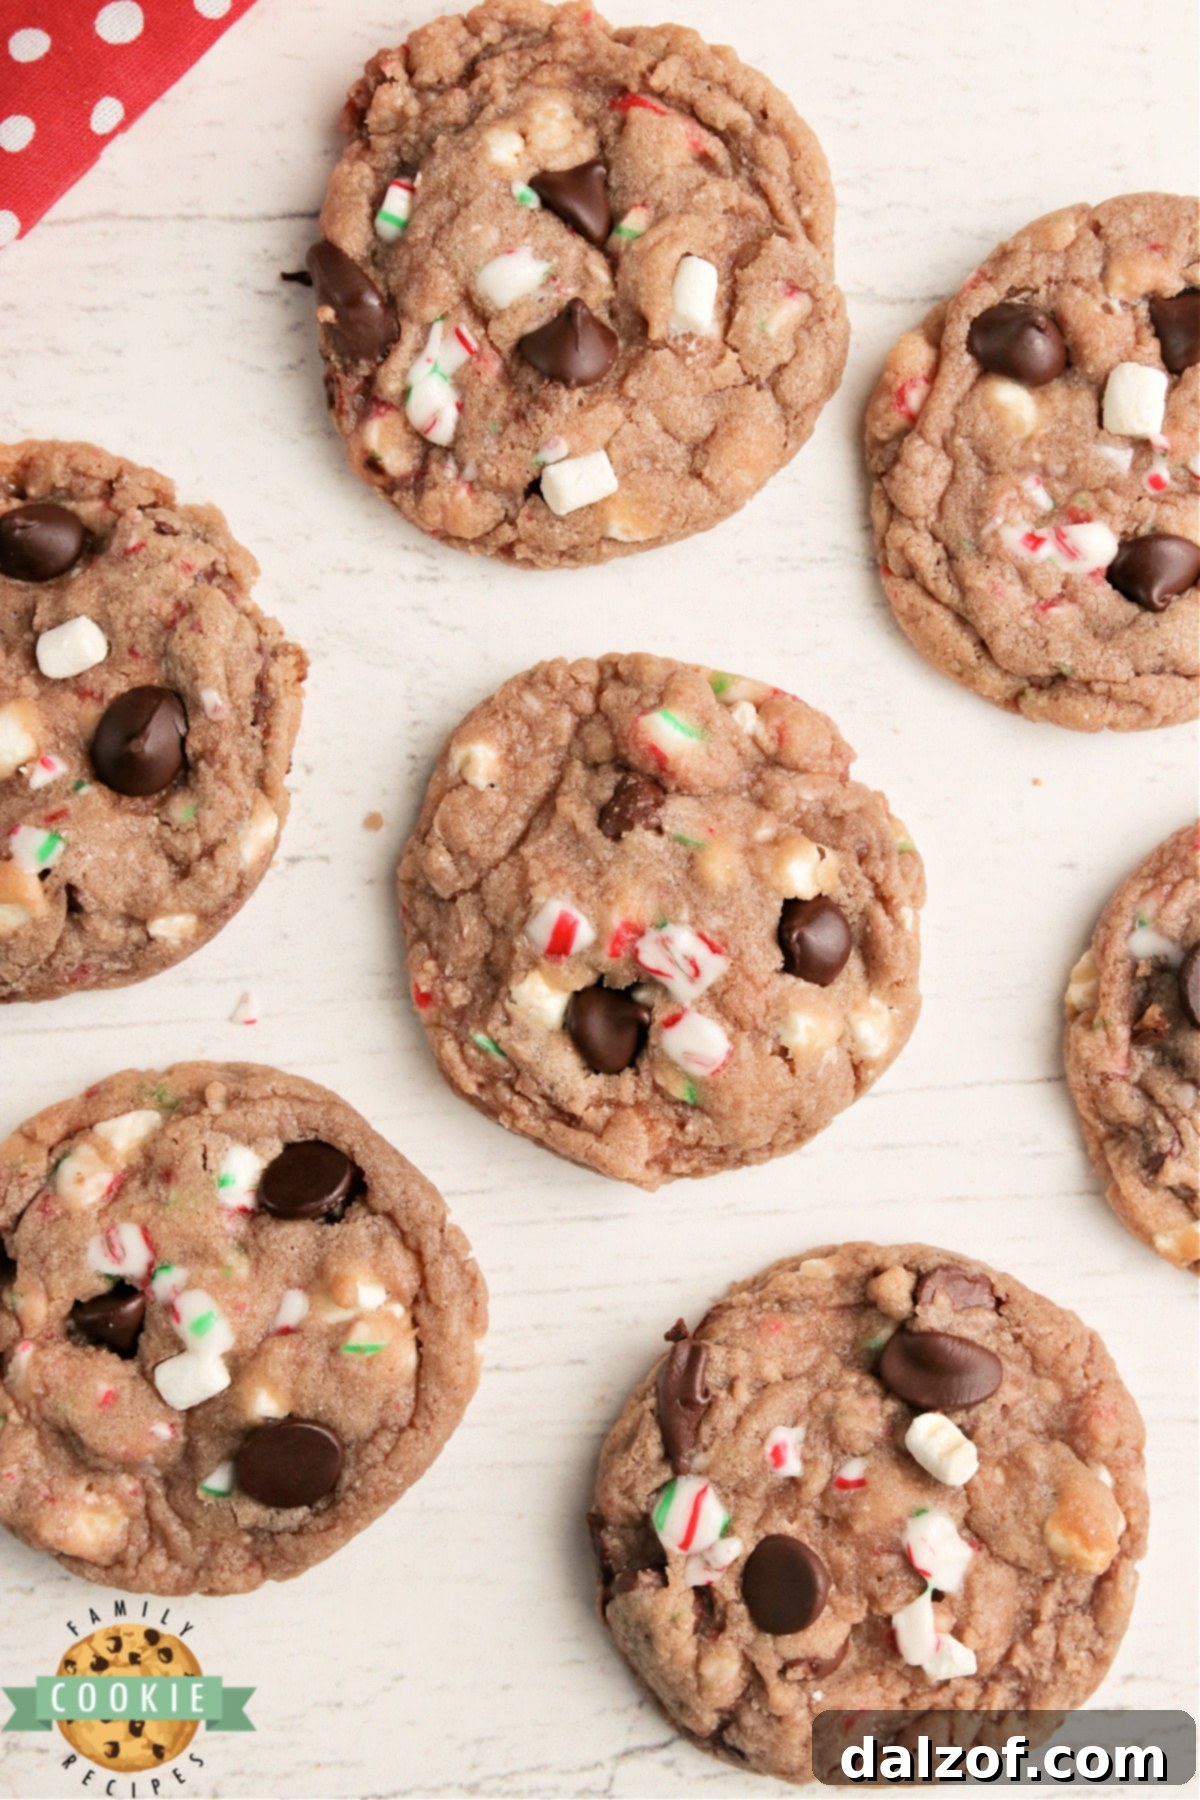
Welcome to the ultimate guide for crafting the most delightful **Hot Cocoa Cookies**! Imagine all the comforting flavors of your favorite mug of hot chocolate – rich cocoa, gooey marshmallows, and a hint of refreshing peppermint – perfectly encapsulated in a soft, chewy cookie. These **hot chocolate cookies**, made with a clever blend of hot cocoa mix, luscious chocolate chips, crisp crushed candy canes, and melt-in-your-mouth marshmallow bits, are not just a treat; they’re an experience. Simple to prepare, they bring warmth and joy with every bite, making them an instant favorite for holiday gatherings, cozy winter evenings, or simply when you crave a taste of pure comfort.
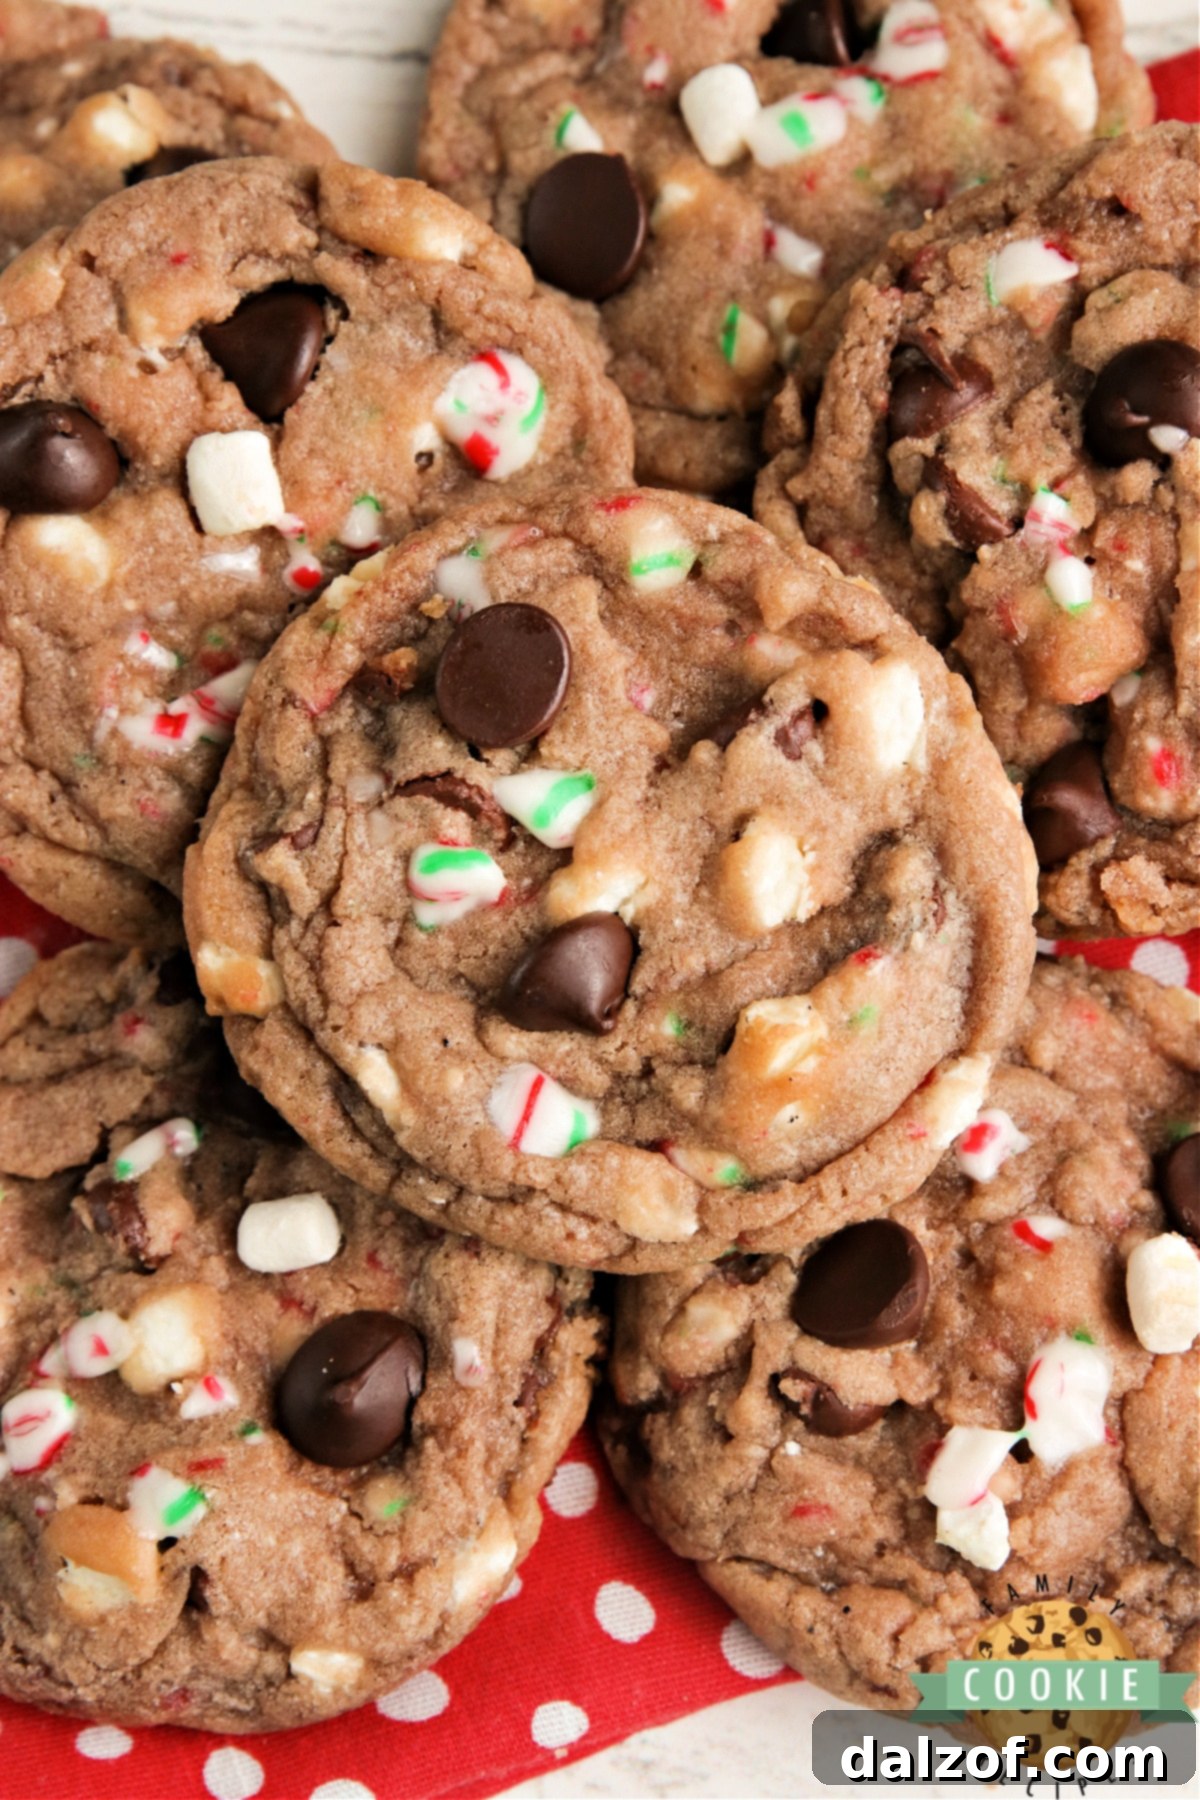
While the cold weather might not be everyone’s favorite, it ushers in the undeniable pleasure of indulging in comforting treats. There’s truly nothing quite like snuggling by a crackling fire, a good book in hand, and a steaming cup of hot chocolate generously topped with marshmallows. Now, imagine transforming that beloved beverage into a portable, chewy cookie that you can enjoy anywhere, anytime. That’s precisely the magic of these Hot Cocoa Cookies. They capture the essence of that perfect winter moment, offering a sweet escape from the chill and a delightful celebration of the season’s flavors.
Discover the Magic of Hot Cocoa Cookies
At their core, Hot Cocoa Cookies are a brilliant culinary innovation that incorporates instant hot chocolate mix directly into the cookie dough. This simple addition infuses every bite with that distinctive, rich cocoa flavor we all adore. But the indulgence doesn’t stop there. We elevate these cookies with an array of festive additions: decadent chocolate chips for extra melted goodness, crunchy crushed candy canes for a refreshing minty zing and delightful texture, and airy marshmallow bits that soften beautifully during baking, mimicking the melted marshmallows in a mug. The result is a cookie that doesn’t just taste *like* hot chocolate; it *is* hot chocolate in cookie form, a truly unique and satisfying experience.
Essential Ingredients for Your Hot Cocoa Cookies
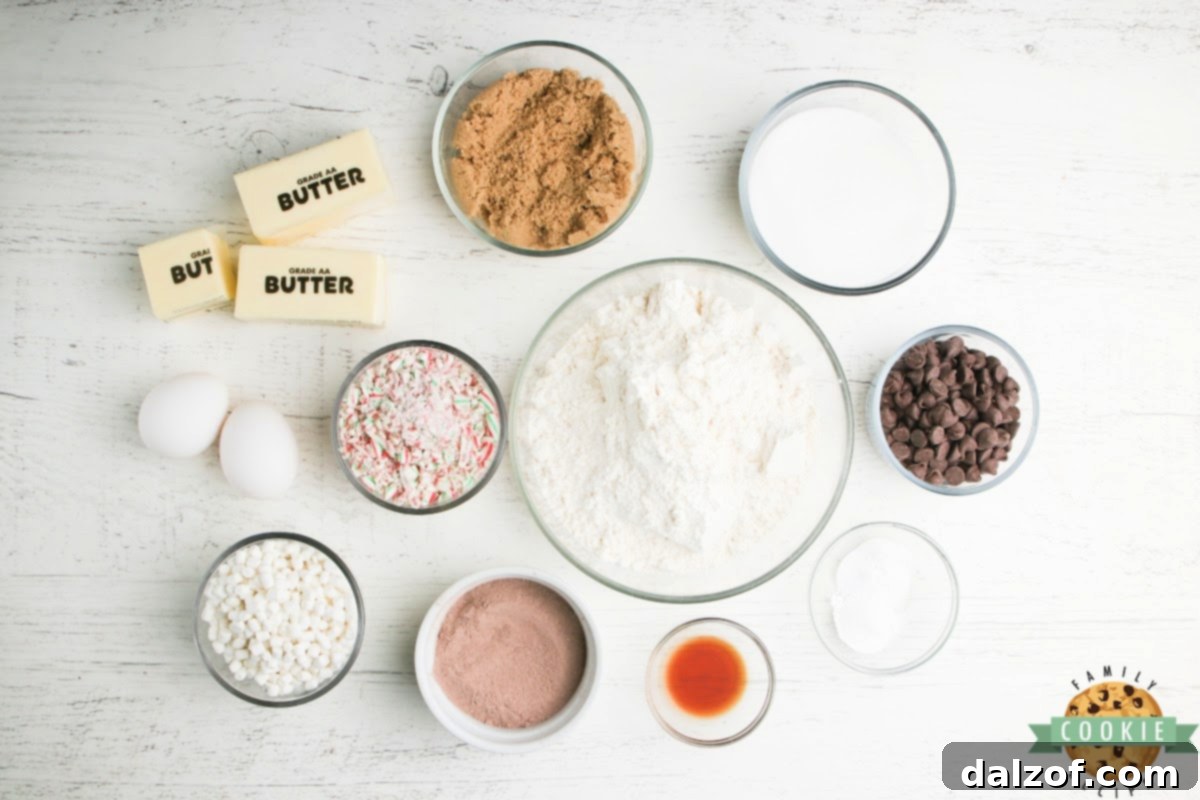
Crafting these delectable hot chocolate cookies begins with gathering the right ingredients. Each component plays a vital role in achieving that perfect balance of flavor and texture, reminiscent of a warm, comforting cup of cocoa. Here’s a closer look at what you’ll need and why each element is crucial:
Butter: You’ll need 1 1/4 cups (2 1/2 sticks) of high-quality unsalted butter. It’s imperative that your butter is softened to room temperature. This isn’t just a suggestion; it’s a critical step for achieving the ideal cookie texture. Room temperature butter creams beautifully with sugar, incorporating air and creating a light, fluffy base that results in tender, perfectly textured cookies. For the richest flavor, always opt for real butter over margarine or butter substitutes.
Sugars: This recipe calls for a combination of both granulated sugar and light brown sugar. Granulated sugar contributes to crisp edges and overall sweetness, while light brown sugar adds a lovely caramel note, moisture, and chewiness to the cookies. The molasses in brown sugar also helps keep the cookies soft. Ensure your brown sugar is fresh and soft for the best results; hard, clumpy brown sugar can affect the texture and distribution of sweetness.
Eggs: Two large eggs serve as the primary binding agent in these cookies, bringing all the ingredients together and adding structure. They also contribute to the richness and moisture content, ensuring your cookies are not dry or crumbly. Make sure your eggs are also at room temperature for better emulsification with the butter and sugar mixture.
Vanilla Extract: A single teaspoon of good quality vanilla extract is a flavor enhancer that adds depth and warmth to the chocolate notes. Don’t skimp on the vanilla; a high-quality extract makes a noticeable difference, elevating the overall taste profile of your cookies.
Flour: All-purpose flour is the foundation of these cookies, providing the necessary structure. Proper measurement is key: spoon the flour into your measuring cup and level it off with a straight edge rather than scooping directly from the bag, which can compact the flour and lead to too much flour in your dough, resulting in dry cookies.
Hot Cocoa Mix: This is the star ingredient! You’ll need 4 packets of instant hot cocoa mix, or approximately 1/2 cup of bulk hot cocoa mix. Feel free to use your favorite brand and flavor; whether it’s classic milk chocolate, dark chocolate, or even a specialty flavor, it will infuse your cookies with delightful cocoa notes. A crucial tip: make sure to use a *sugar-containing* mix, not a sugar-free variety, as the sugar content contributes significantly to the cookie’s structure and sweetness.
Baking Soda and Baking Powder: These are the essential leavening agents that give your cookies their rise and characteristic chewy texture. Baking soda reacts with the acidic brown sugar, while baking powder provides an additional lift. For optimal results, ensure your baking soda and baking powder are fresh and not expired, as their potency directly impacts the cookies’ rise and spread.
Chocolate Chips: A full cup of semi-sweet chocolate chips adds pockets of melted chocolate throughout the cookies, enhancing the rich cocoa flavor. While semi-sweet is traditional, feel free to experiment! Milk chocolate chips offer a sweeter profile, dark chocolate chips provide a more intense cocoa hit, or white chocolate chips can add a lovely creamy contrast. For a festive touch, especially around the holidays, consider using red and green holiday-themed chocolate chips.
Jet-Puffed Vanilla Mallow Bits: These dehydrated marshmallows are a game-changer for hot cocoa cookies, adding adorable, slightly chewy pockets of marshmallow flavor. While sometimes a little tricky to locate, they’re typically found in the baking aisle near the hot chocolate mixes. If you can’t find them, finely chopping regular mini marshmallows can work as a substitute, though they may melt more readily.
Candy Canes: A cup of crushed candy canes brings a refreshing burst of peppermint and a delightful crunch that perfectly complements the rich chocolate. Around the holidays, you might find pre-crushed candy canes in the baking aisle, which is a fantastic convenience. If crushing your own, mini candy canes are much easier to work with than full-sized ones. You’ll need about 40 miniature candy canes to yield a cup. Be careful not to crush them into a fine powder; aim for larger chunks to ensure you get that satisfying textural pop in every bite.
How to Make Hot Chocolate Cookies: A Step-by-Step Guide
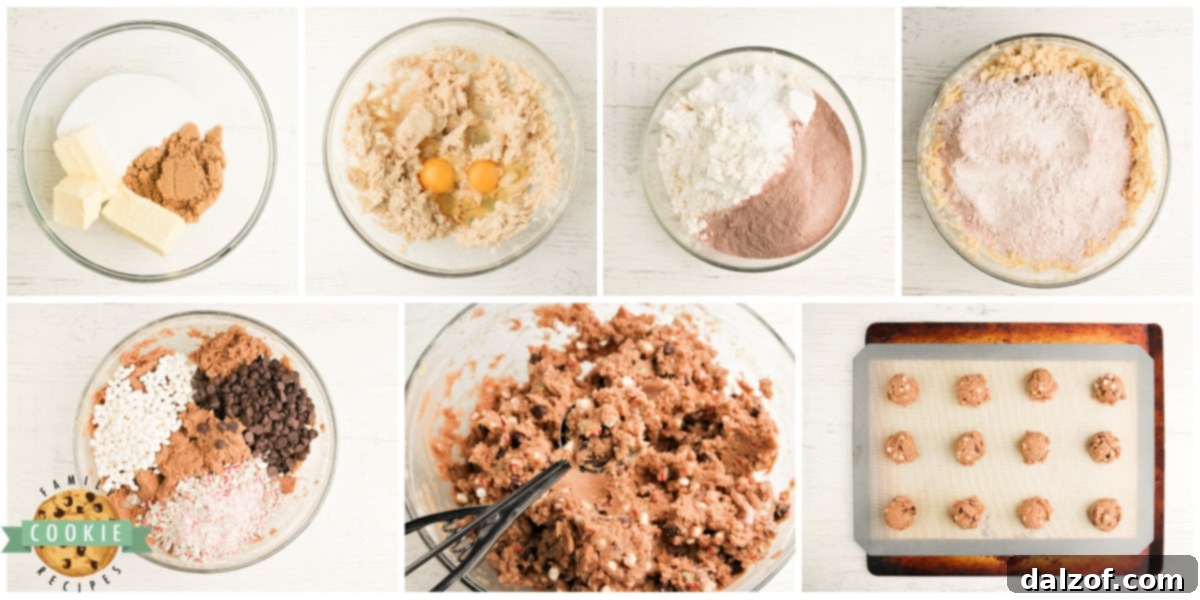
Follow these straightforward steps to bake a batch of warm, festive hot cocoa cookies that will impress everyone:
- Prepare Your Oven and Baking Sheets: Begin by preheating your oven to 350°F (175°C). Line your baking sheets with parchment paper or silicone baking mats. This ensures even baking and prevents the cookies from sticking, making cleanup a breeze.
- Cream Butter and Sugars: In a large mixing bowl, using an electric mixer, beat the softened butter with both the granulated and brown sugars. Cream them together on medium speed until the mixture is light, fluffy, and pale in color, typically 2-3 minutes. This step is crucial for incorporating air into the dough, which contributes to the cookies’ light texture.
- Add Wet Ingredients: Incorporate the eggs one at a time, mixing well after each addition. Then, stir in the vanilla extract. Continue to beat the mixture for another 2-3 minutes until everything is thoroughly combined and appears smooth and creamy.
- Combine Dry Ingredients: In a separate medium bowl, whisk together the all-purpose flour, hot cocoa mix, baking soda, and baking powder. Ensure these dry ingredients are well combined to guarantee even distribution throughout the dough.
- Gradually Mix Dry into Wet: With the mixer on low speed, gradually add the dry flour mixture into the butter mixture. Mix only until just combined, being careful not to overmix the dough. Overmixing can lead to tough cookies due to overdevelopment of gluten.
- Fold in the Festive Mix-ins: Gently stir in the chocolate chips, Jet-Puffed Vanilla Mallow Bits, and crushed candy canes by hand using a spatula or wooden spoon. Distribute them evenly throughout the dough.
- Scoop and Bake: Drop rounded tablespoons of dough onto your prepared baking sheets, leaving about 2 inches between each cookie. A cookie scoop is ideal for achieving uniform cookie sizes, which ensures they bake evenly. Bake for 9-11 minutes, or until the edges are lightly browned. Given the brown color of the dough, it’s easy to overbake, so watch them carefully! The centers should still appear slightly soft.
- Cool the Cookies: Allow the cookies to cool on the baking sheets for a few minutes after removing them from the oven. They will continue to bake slightly from the residual heat. After a few minutes, carefully transfer them to a wire rack to cool completely. This helps them firm up and achieve the perfect texture.
HOT COCOA COOKIES
Hot Cocoa Cookies made with hot cocoa mix, chocolate chips, crushed candy canes and marshmallow bits. These hot chocolate cookies are simple to make and have all the flavors of a cup of your favorite hot cocoa!
Print
Pin
Rate
Ingredients
- 1¼ cups butter, softened
- 1 cup granulated sugar
- ⅔ cup packed brown sugar
- 2 eggs
- 1 tsp. vanilla extract
- 3¼ cups all-purpose flour
- 4 packets instant hot cocoa (NOT sugar-free) OR 1/2 cup hot cocoa mix
- 1¼ tsp. baking soda
- 1 tsp. baking powder
- 1 cup semi-sweet chocolate chips (holiday variety optional for fun)
- 1 cup Jet-Puffed Vanilla Mallow Bits
- 1 cup crushed candy canes
Instructions
-
Preheat oven to 350°F (175°C).
-
In a large bowl, beat softened butter and sugars until light and fluffy.
-
Add eggs and vanilla extract to the butter mixture, mixing until well combined.
-
In a separate bowl, combine flour, hot cocoa mix, baking soda, and baking powder.
-
Gradually beat the dry mixture into the wet butter mixture until just blended. Stir in chocolate chips, Mallow Bits, and crushed candy canes.
-
Drop spoonfuls of dough onto prepared baking sheets. Bake for 9-11 minutes, or until edges are lightly browned. Do not overbake!
-
Let cookies cool on the baking sheets for a few minutes before transferring to wire racks to cool completely.
Nutrition
Calories: 179kcal | Carbohydrates: 23g | Protein: 2g | Fat: 9g | Saturated Fat: 5g | Polyunsaturated Fat: 0.4g | Monounsaturated Fat: 2g | Trans Fat: 0.3g | Cholesterol: 26mg | Sodium: 118mg | Potassium: 65mg | Fiber: 1g | Sugar: 13g | Vitamin A: 213IU | Calcium: 19mg | Iron: 1mg
How to Perfectly Crush Candy Canes for Your Cookies
The delightful crunch and refreshing peppermint flavor of crushed candy canes are integral to these hot cocoa cookies. Achieving the right consistency for your candy cane pieces is key to ensuring they stand out in the cookie. Here are some tips for crushing them like a pro:
It’s significantly easier to crush miniature candy canes compared to their larger counterparts. The smaller size means they are more fragile and will break down with less effort. Begin by unwrapping all the mini candy canes and placing them in a sturdy, re-sealable plastic bag. Before sealing the bag, press out as much excess air as possible. This prevents the bag from bursting during the crushing process.
Next, use a rolling pin or a meat mallet to gently, yet firmly, smash the candy canes. The goal is to create varying sizes of pieces, not a fine powder. You want distinct chunks of candy cane that you can both see and taste in the finished cookies. These larger pieces will provide a wonderful textural contrast to the soft, chewy cookie, adding an exciting element to every bite.
A little insider tip: if you’re baking during the holiday season, keep an eye out for pre-crushed candy canes in the baking aisle of your grocery store. Many brands now offer them, saving you the extra step of unwrapping and crushing. It’s a fantastic convenience that allows you to get to the baking fun even faster!
Secrets to Baking the Best Hot Chocolate Cookies
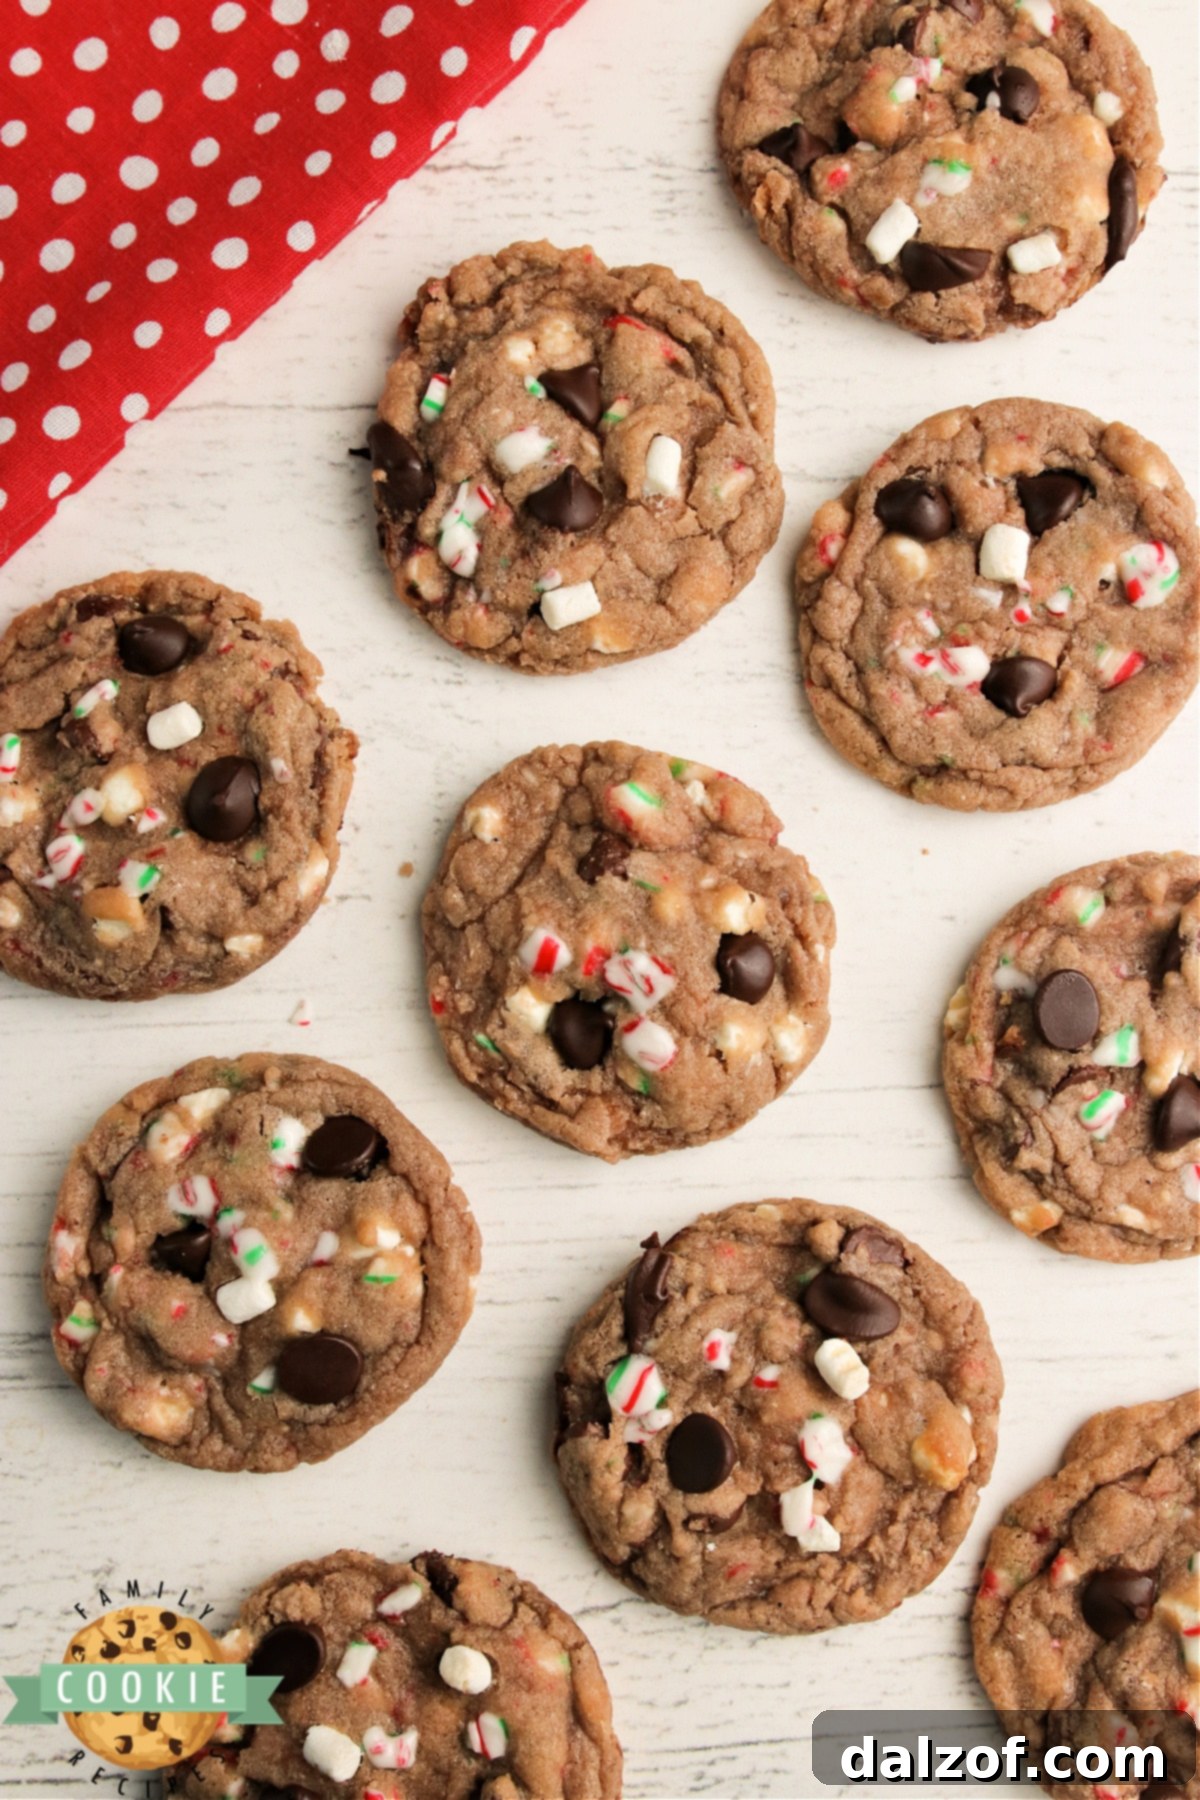
After countless batches of cookies over the years, I’ve compiled a list of essential tips to help you achieve perfectly soft, chewy, and flavorful Hot Cocoa Cookies every time. These tricks will elevate your baking game and ensure your cookies are nothing short of spectacular:
- Achieve the Right Dough Consistency: The amount of flour in your dough is crucial. If your cookie dough feels overly sticky after mixing, it might need a touch more flour. Add it gradually, a tablespoon at a time, until the dough is manageable but still soft. Too little flour can lead to flat, overly spread cookies, while too much will make them dry and crumbly.
- Master the Creaming Method: Don’t rush the creaming of butter and sugars. Beating them together for at least 2-3 minutes until the mixture is light and fluffy is a foundational step. This process incorporates air into the butter, creating tiny pockets that expand in the oven, giving your cookies a tender, airy texture.
- Thoroughly Mix Wet Ingredients: Once you’ve added the eggs and vanilla, continue mixing for another 2-3 minutes. This ensures these wet ingredients are fully emulsified with the butter and sugar, leading to a cohesive dough and a more uniform cookie texture.
- Always Preheat Your Oven: This might seem obvious, but baking in a fully preheated oven is vital. An oven that hasn’t reached its target temperature can cause cookies to spread too much or bake unevenly. A consistent oven temperature helps your cookies set properly and achieve their desired shape and texture.
- Invest in a Quality Cookie Scoop: For perfectly shaped, uniformly sized cookies, a cookie scoop is your best friend. Uniform size is not just for aesthetics; it ensures that all your cookies bake at the same rate, preventing some from being overdone while others are still raw in the middle.
- Utilize Parchment Paper or Silicone Baking Mats: Say goodbye to sticking and uneven browning. Lining your baking sheets with parchment paper or a silicone baking mat creates a non-stick surface, making it incredibly easy to remove your baked cookies. It also promotes even heat distribution, resulting in beautifully golden-brown bottoms without the risk of burning.
- Avoid Overbaking at All Costs: This is perhaps the most important tip for chewy cookies. When I remove my hot cocoa cookies from the oven, they often still look slightly underbaked in the center. This is intentional! Cookies continue to cook on the hot baking sheet for several minutes after removal. Waiting for them to be fully golden brown in the oven will result in hard, crispy cookies. Look for lightly browned edges as your cue to pull them out.
Hot Cocoa Cookie Troubleshooting: Common Baking Problems Solved
Even seasoned bakers encounter cookie mishaps from time to time. If your hot cocoa cookies aren’t turning out quite as expected, don’t despair! Here are some common problems and practical solutions to help you achieve cookie perfection:
Why Are My Cookies Flat and Spreading Too Much?
Flat, excessively spread cookies are a common frustration. This issue often stems from a few factors. Firstly, if your cookie dough is too sticky or soft, it indicates insufficient flour. Try adding an extra 2-4 tablespoons of all-purpose flour to your batter. Secondly, the temperature of your butter is paramount. Most cookie recipes, including this one, call for softened, room-temperature butter, not melted butter. Melted butter will cause your cookies to spread significantly because it lacks the structure to trap air. Ensure your butter is soft enough to indent with a finger but not greasy or liquid. An oven that is not fully preheated can also contribute to excessive spreading, as the butter melts too quickly before the cookie structure sets.
How Do You Soften Butter to Room Temperature Quickly?
The ideal way to soften butter is to simply leave it out on the counter for a few hours. However, life doesn’t always allow for such foresight! For those moments when you need perfectly softened butter in a pinch, here are a few quick tricks:
My favorite method is using the microwave, but it requires precision. Place a whole stick of butter (unwrapped from foil) in the microwave and heat it for about 6-7 seconds. Check its softness. If it’s still quite firm, give it another 5-7 seconds, and continue in shorter bursts (2-3 seconds) until it yields slightly to pressure without melting. The goal is soft, not melted.
Alternatively, many microwaves have a defrost setting which can be gentler. This might take closer to 30 seconds but offers more control, minimizing the risk of accidental melting. You can also grate cold butter using a cheese grater, or cut it into small cubes and let it sit for 10-15 minutes to speed up the process. Another trick is to place a warm glass over the butter for a few minutes.
Why Are My Cookies Crispy and Hard Instead of Chewy?
If your cookies are turning out hard, crunchy, or crispy, the most common culprit is overbaking. Remember, cookies continue to bake for a few minutes on the hot cookie sheet even after they’ve been removed from the oven. This phenomenon is called carryover cooking. Therefore, you should never wait for your cookies to be fully golden brown on top before taking them out. Instead, look for edges that are just barely set and lightly golden. The centers should still appear slightly soft and not fully cooked through. This allows the residual heat to finish the baking process, resulting in a perfectly soft and chewy interior. If you prefer a crispier cookie for dunking in milk, you can certainly bake a portion of your batch for an extra minute or two.
Why Do My Cookies Burn on the Bottom but Remain Undercooked in the Middle?
Burning on the bottom while the middle remains doughy is a classic sign of an issue with your baking sheets or oven rack placement. Dark-colored cookie sheets absorb more heat, which can cause the bottoms of your baked goods to brown (and potentially burn) much faster than the rest of the cookie. If you’re using a lot of cooking spray, this can also contribute to uneven browning. To prevent this, consider investing in lighter-colored, non-stick baking pans. These distribute heat more evenly. Additionally, I highly recommend using silicone baking mats. They provide an excellent non-stick surface, ensuring easy removal and preventing the bottoms from scorching. Also, make sure your oven rack is positioned in the middle, allowing for optimal heat circulation around the cookies.
More Winter Treat Recipes That Are Perfect for Cold Weather!
If you’ve fallen in love with these hot cocoa cookies, you’ll surely enjoy exploring more comforting and delicious treats for the colder months. Here are some of our favorite recipes to keep you warm and cozy:
- Peppermint Vanilla Shortbread Cookies
- Gingerbread House Cookies
- Peppermint Meltaways
- Linzer Cookies
- Iced Ginger Molasses Cookies
- Mint Chocolate Chip Cookies
- Frosted Eggnog Cookies
- Best Gingerbread Cutout Cookies
- Santa’s Whiskers Cookies
- Peppermint Cookie Bars
- Peppermint Chocolate Sandwich Cookies
- Christmas Sugar Cookies
- Hot Chocolate Christmas Cookie Cups

Embrace the cozy spirit of the season by whipping up a batch of these extraordinary Hot Cocoa Cookies. With their perfect blend of hot cocoa mix, rich chocolate chips, invigorating crushed candy canes, and delightfully soft marshmallow bits, these cookies are more than just a dessert – they’re a celebration of warmth and festive cheer. Simple to create and packed with the comforting taste of your favorite hot chocolate, they are guaranteed to bring smiles and sweet memories to any occasion. Happy baking!