
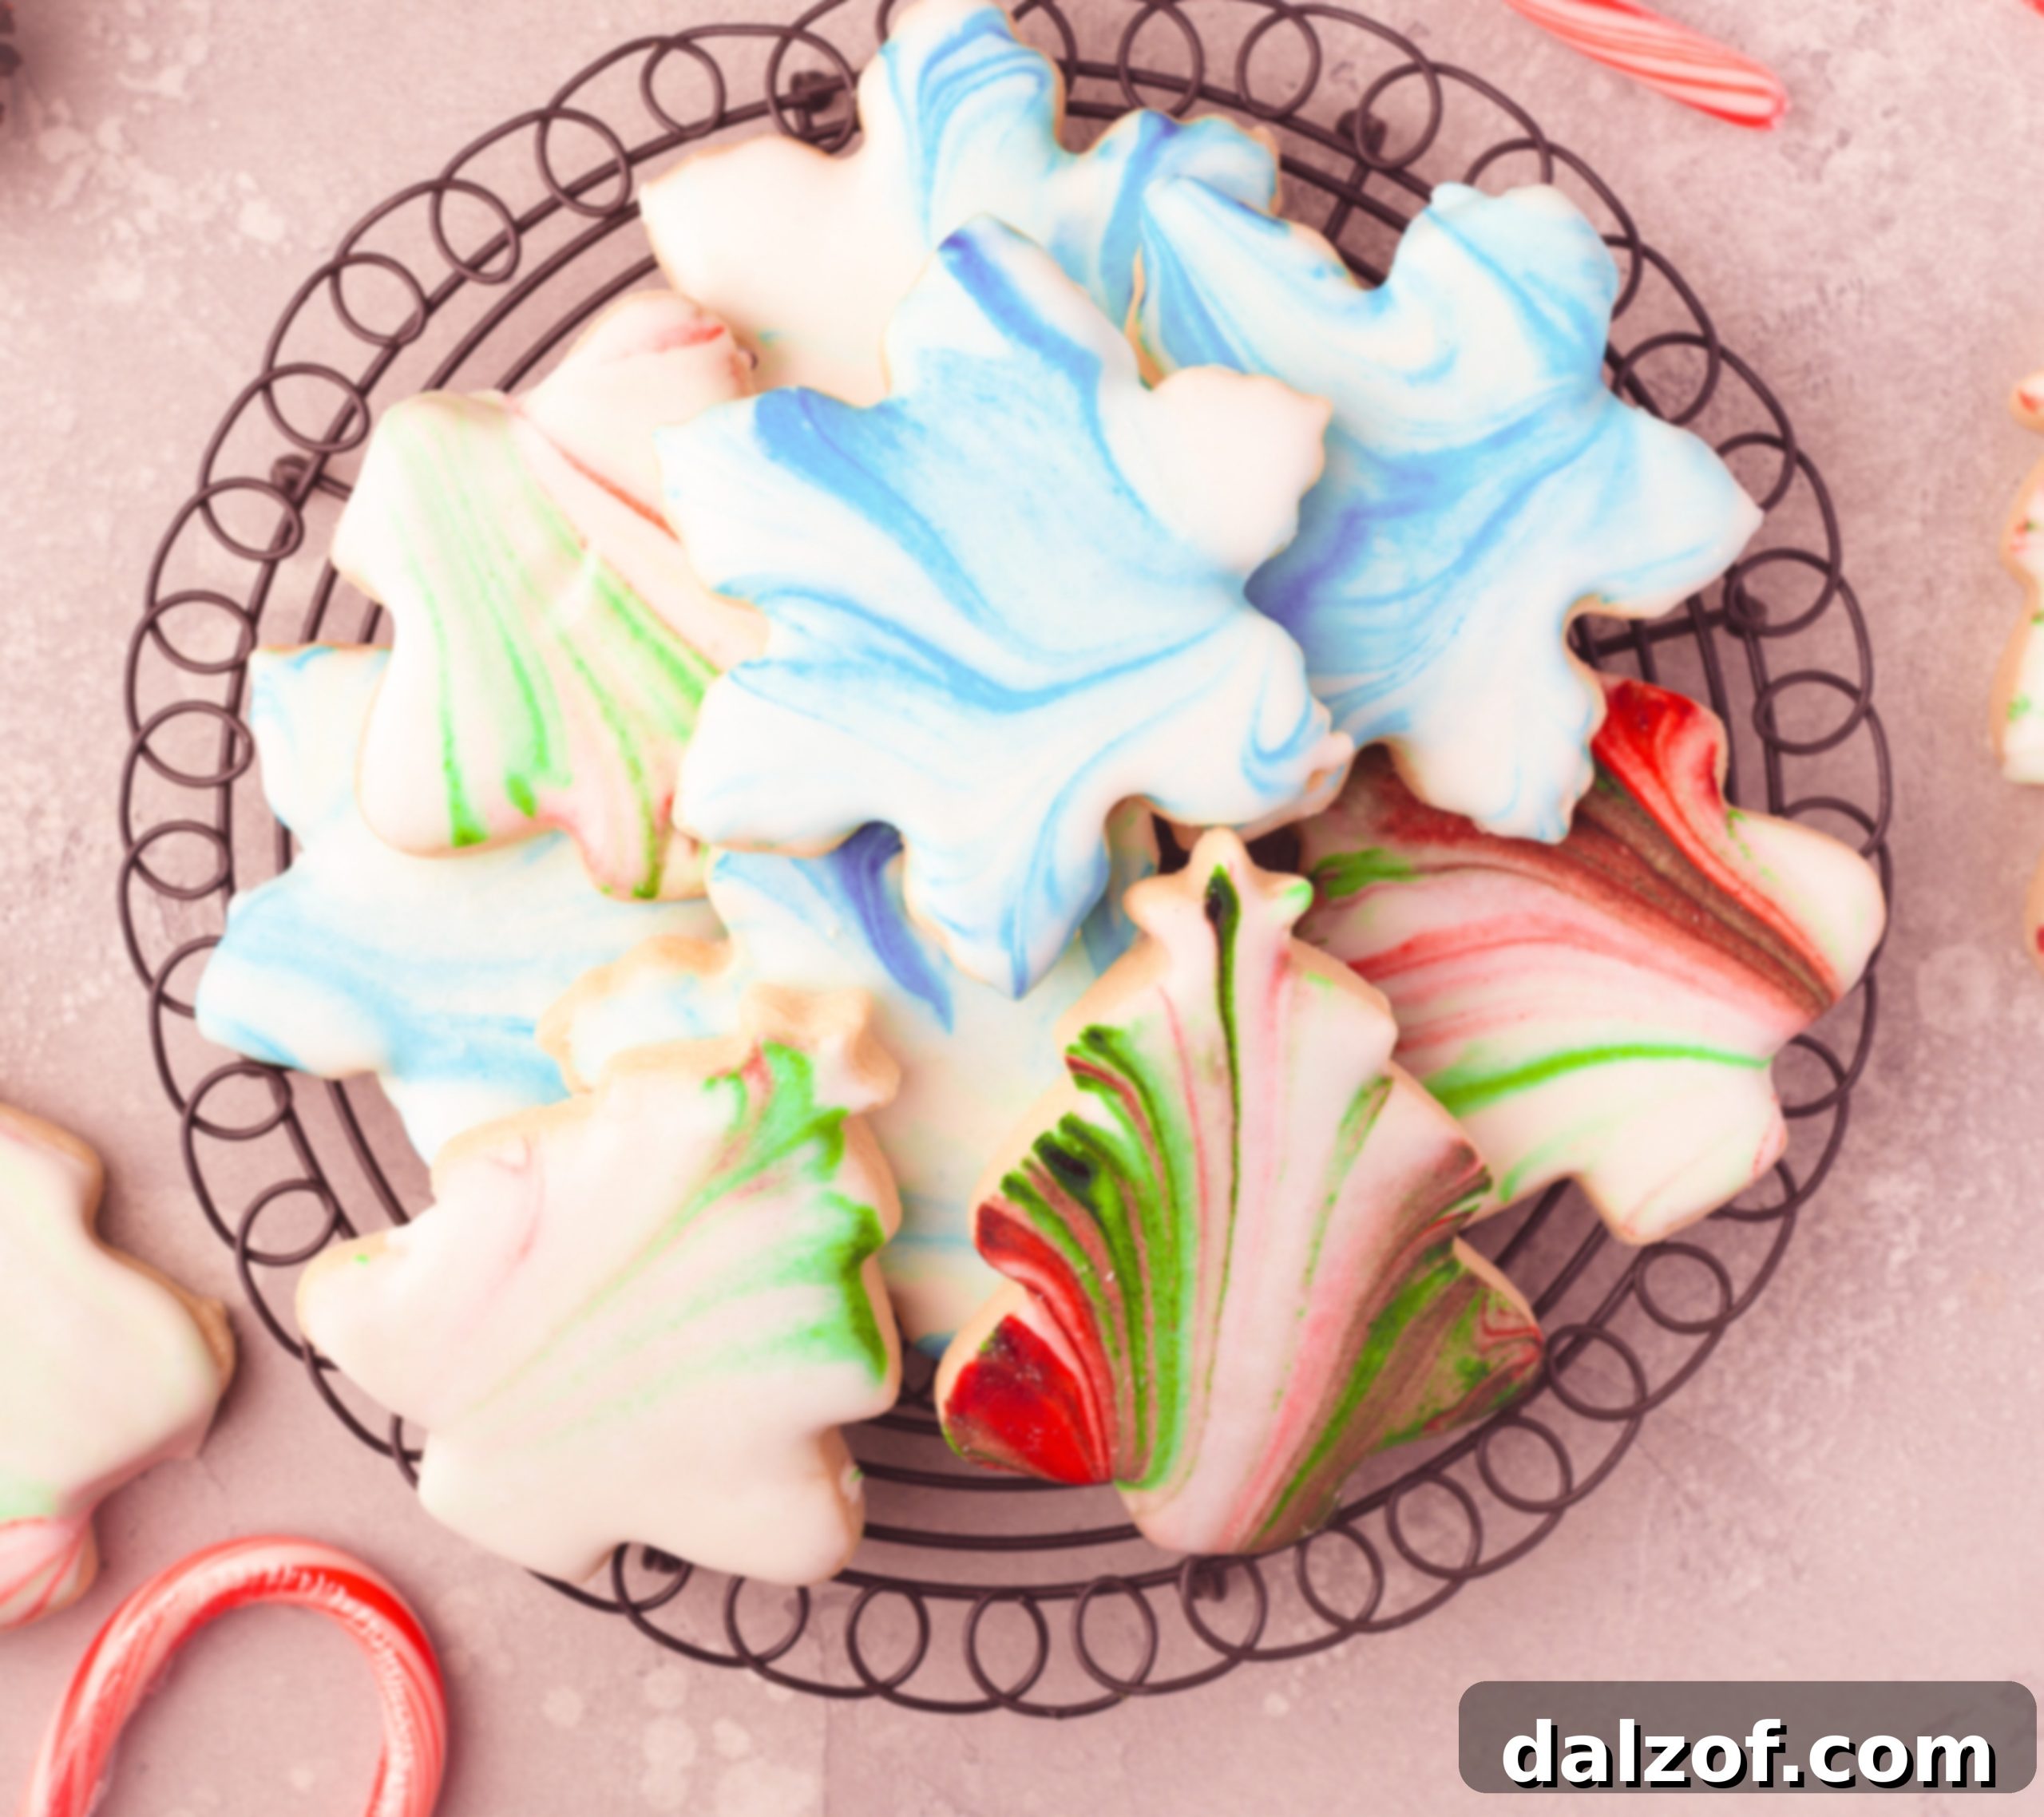
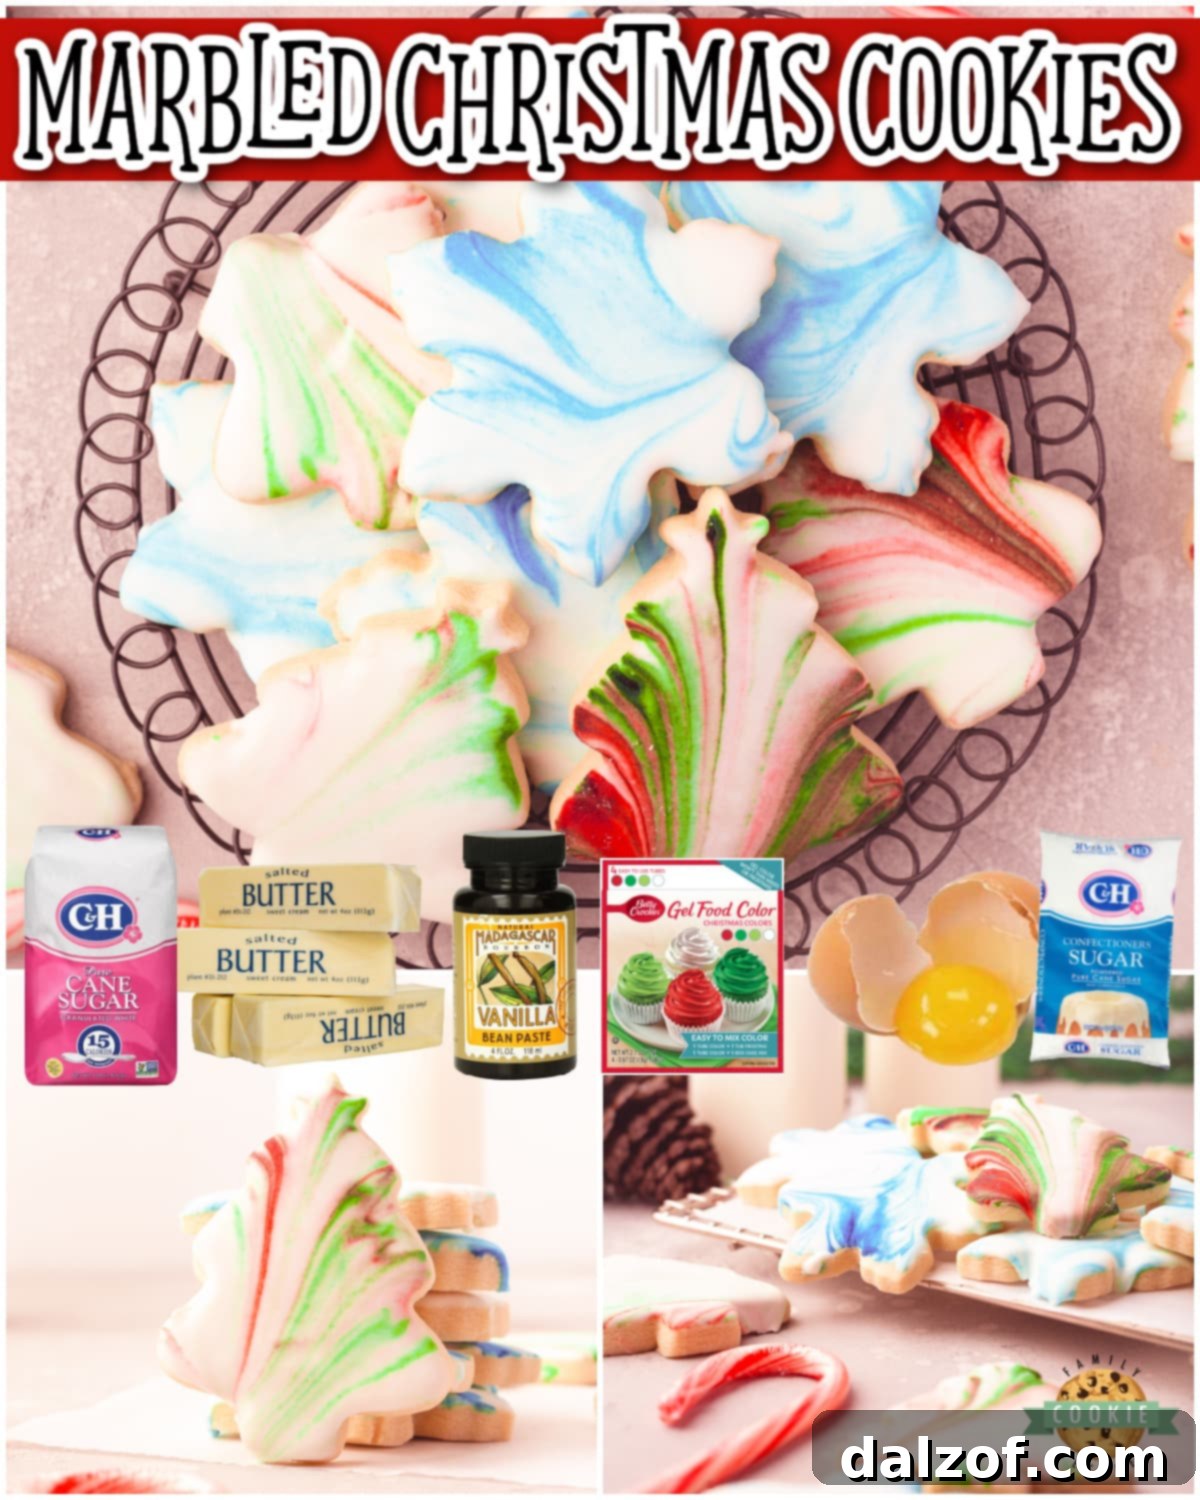
Marbled Christmas Cookies are a true holiday masterpiece, blending the comforting taste of tender, buttery sugar cookies with the stunning visual appeal of vibrant, swirled royal icing. These eye-catching treats are more than just a dessert; they’re an artistic expression, perfect for making your festive cookie platter truly unforgettable. Each bite offers a delicate sweetness, while the beautiful marbled patterns make them stand out amongst traditional holiday confections.
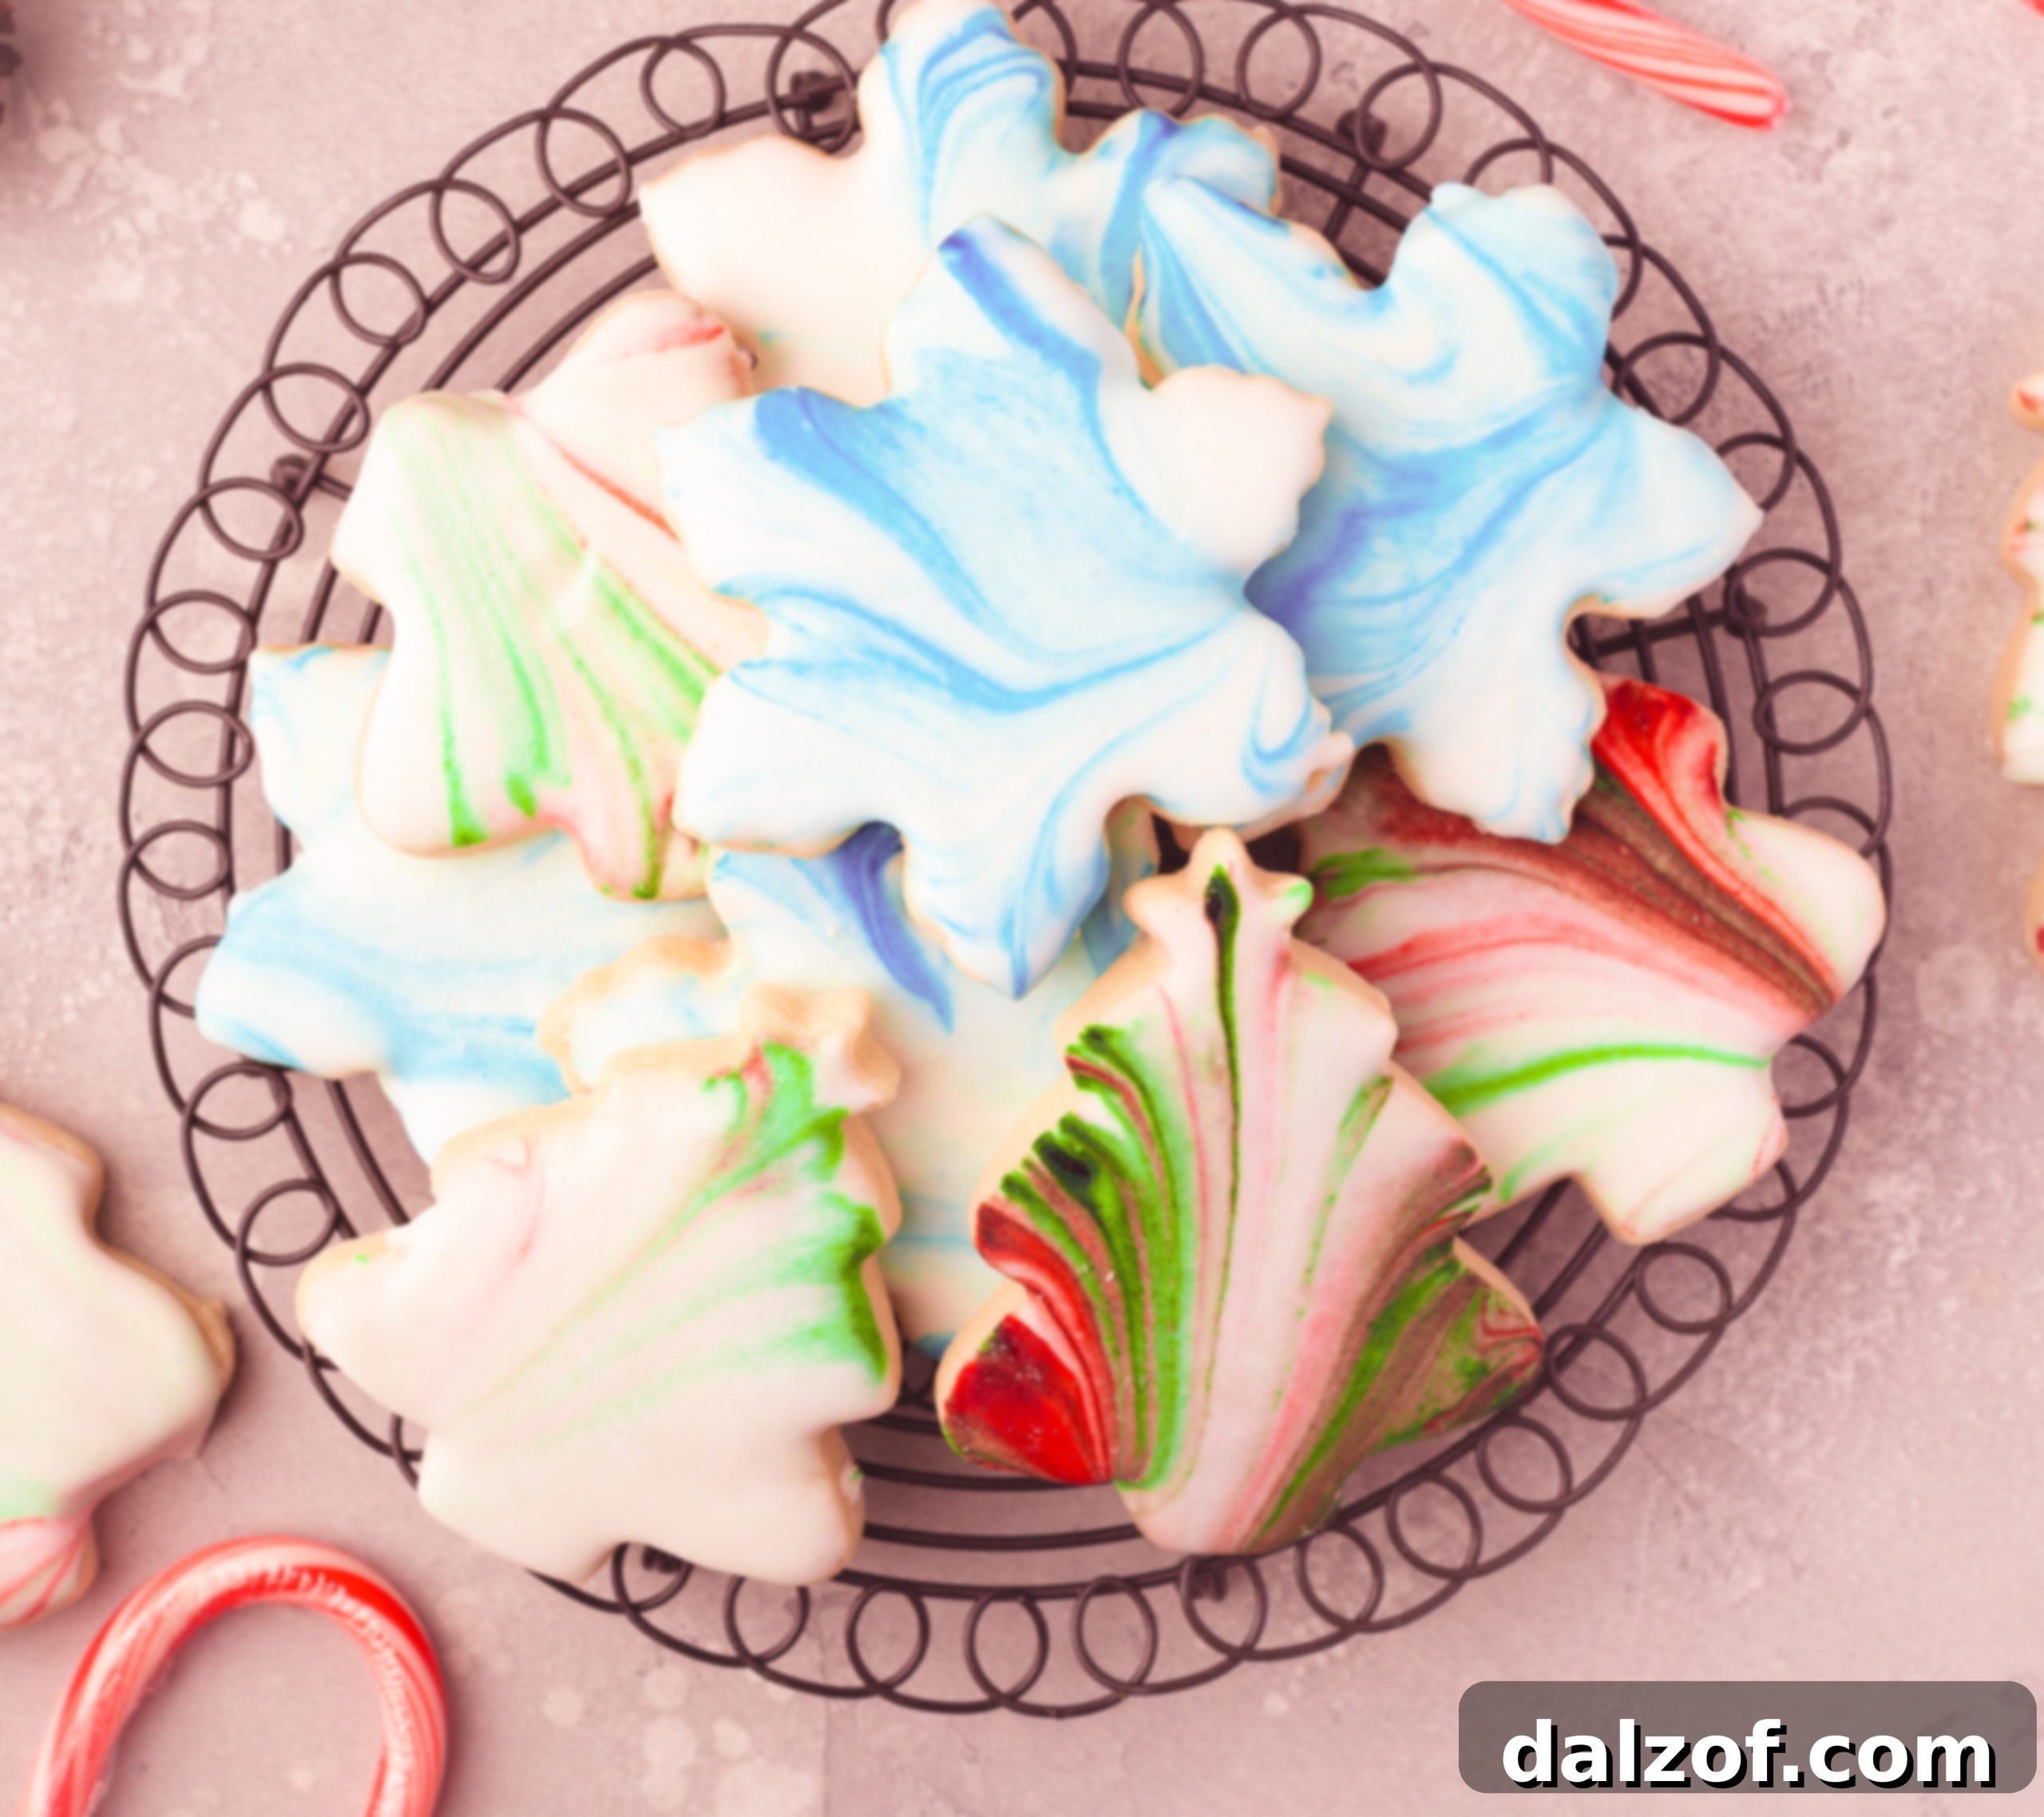
If you’re seeking to create some truly unique Christmas cookies to bake and share this festive season, then look no further. This recipe empowers you to craft delicious sugar cookies adorned with mesmerising marbled royal icing, providing an incredibly distinct and elegant look for your holiday celebrations. Whether you’re gifting them to loved ones or showcasing them at a holiday party, these cookies are sure to impress both palate and eye.
Discover the Magic of Marbled Royal Icing Cookies: A Festive & Delicious Treat
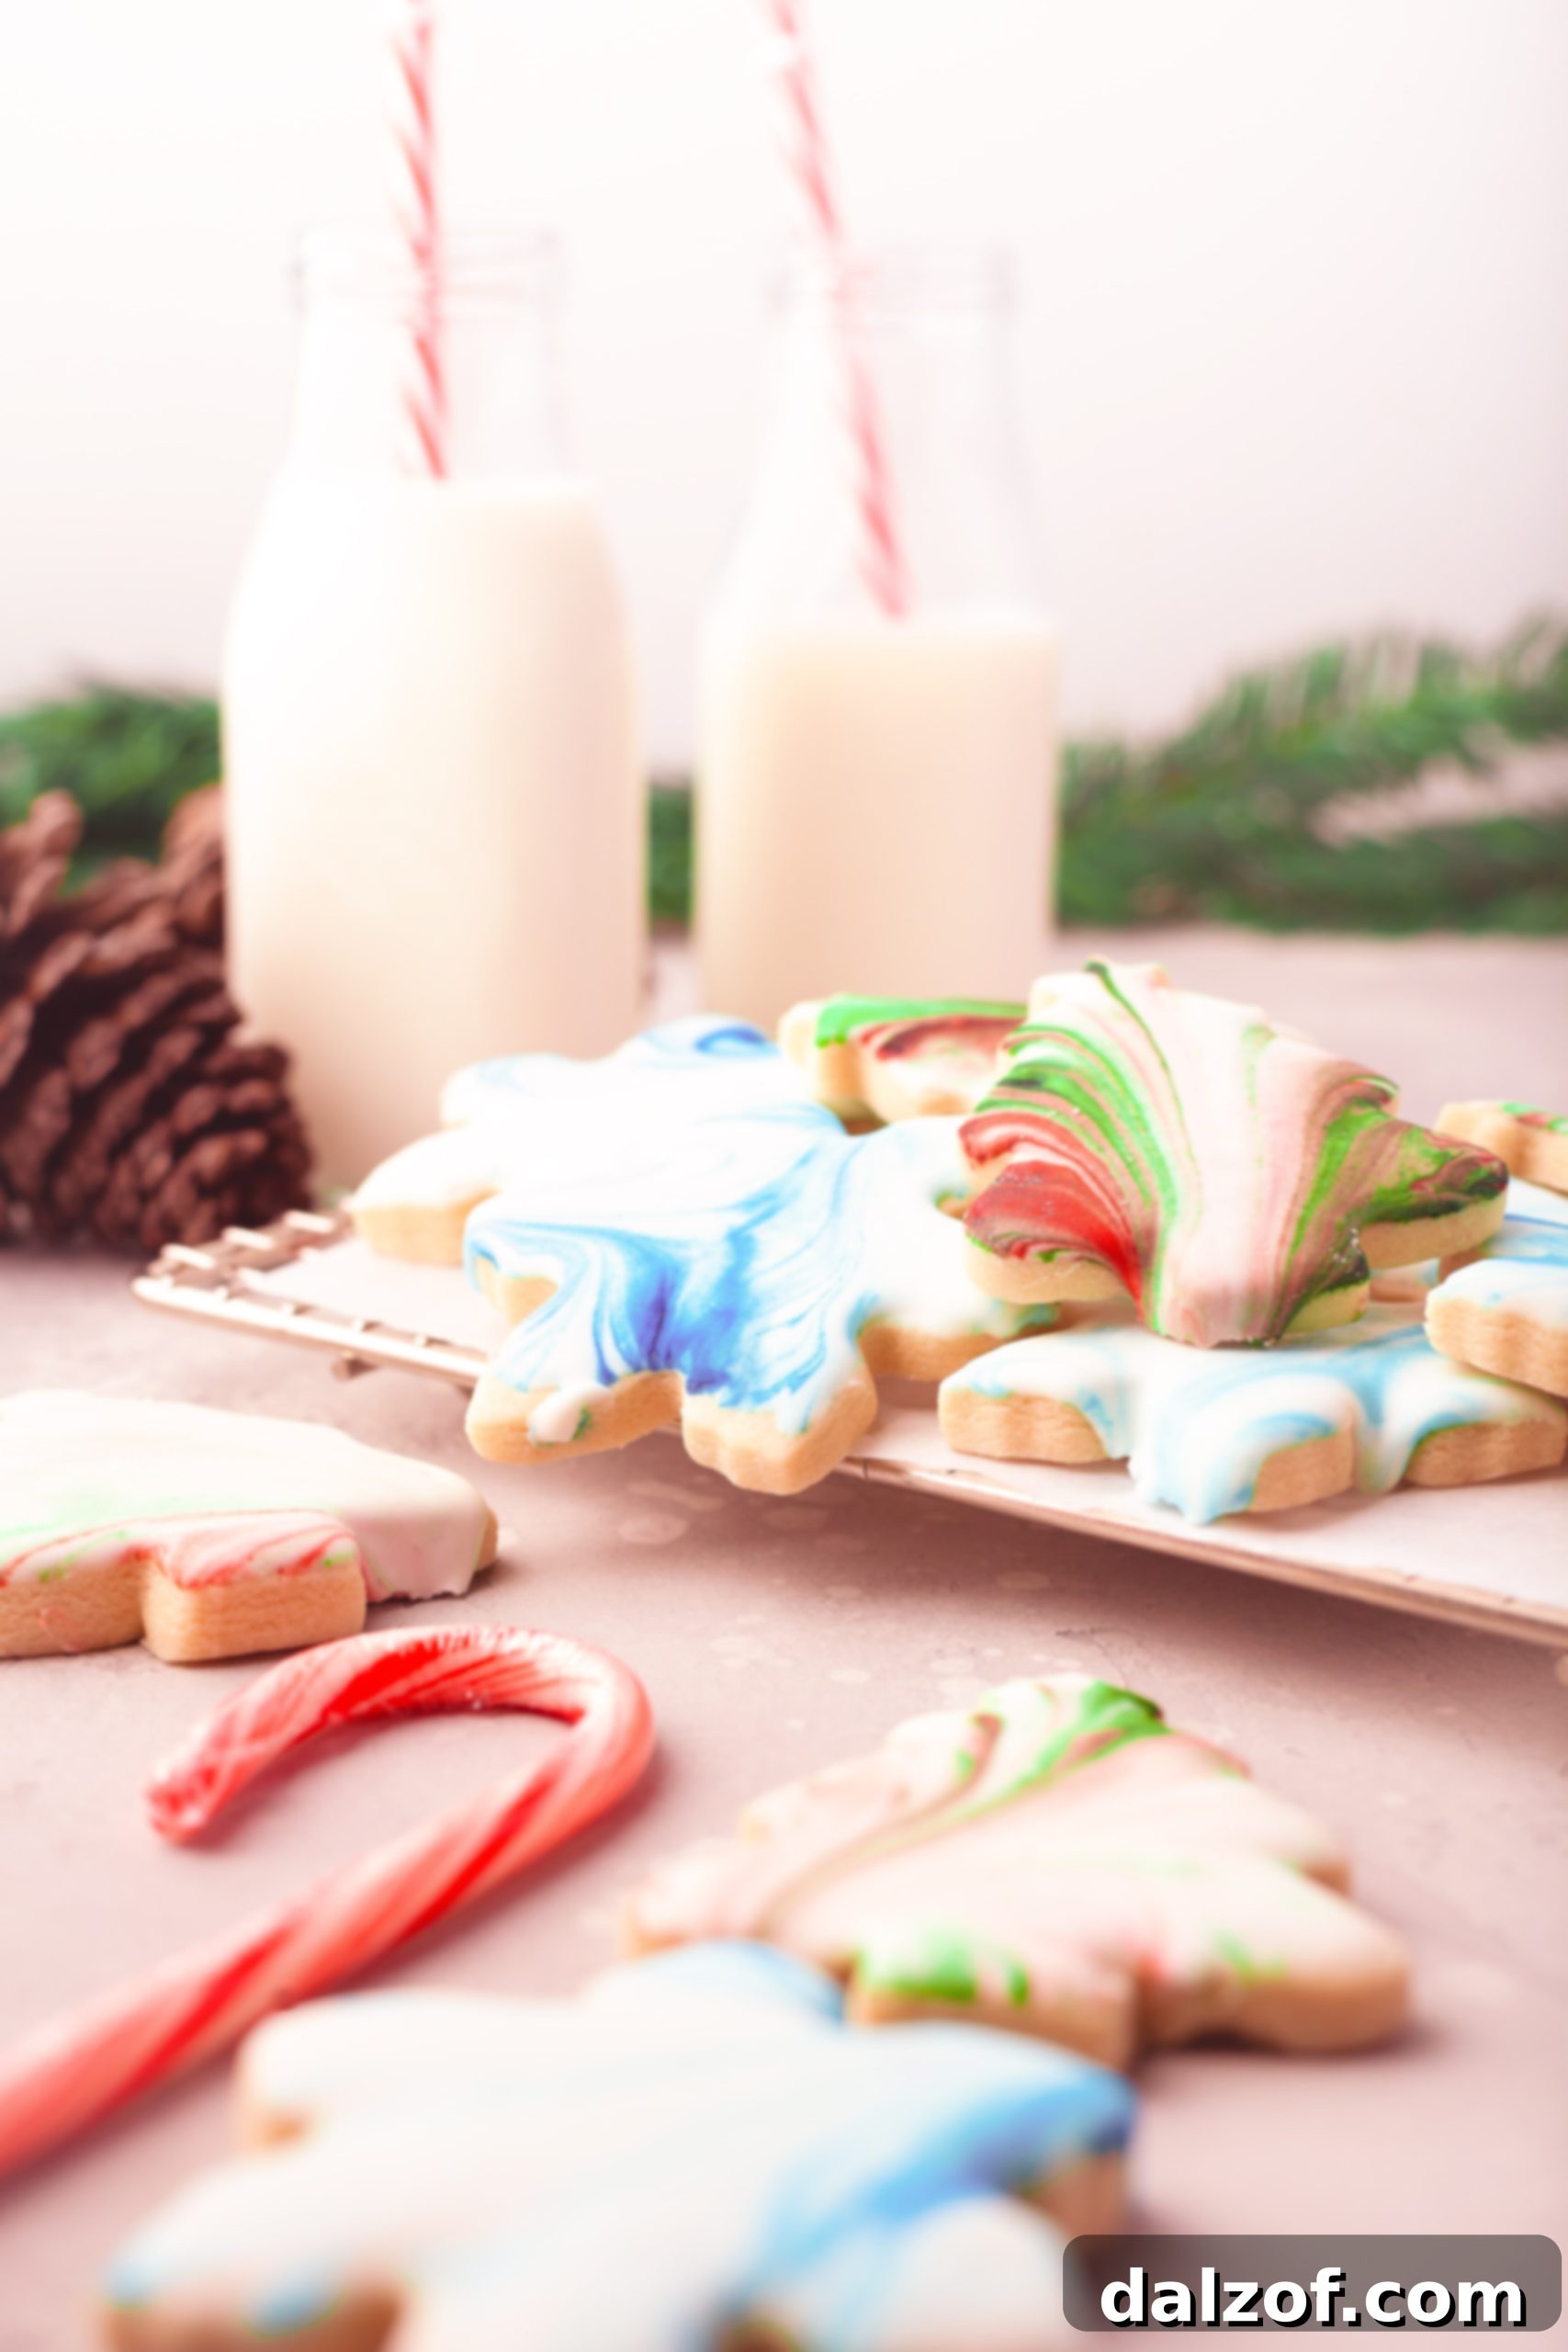
Marbled icing cookies are a truly enchanting addition to any holiday gathering or festive celebration. Their vibrant, colorful swirls create a captivating visual display, making them an instant conversation starter. Beyond their stunning appearance, these cookies boast a soft, buttery texture and a delightful sweetness that will have everyone reaching for another. They strike the perfect balance between gourmet elegance and homemade comfort, embodying the spirit of holiday baking.
The journey to creating these beautiful cookies begins with a simple yet classic cookie dough. It requires foundational ingredients such as high-quality butter for richness, powdered sugar for tenderness, a fresh egg to bind everything together, and all-purpose flour to provide structure. Each component is carefully chosen to ensure a soft, flavorful, and perfectly balanced cookie base. The real artistry, however, comes with the royal icing. This smooth, shiny glaze is crafted from powdered sugar, meringue powder for stability, and a touch of water to achieve the ideal consistency. To bring the “marbled” effect to life, gel food coloring is introduced, allowing for endless creative possibilities with vibrant hues. This straightforward yet highly effective icing technique transforms a simple sugar cookie into a spectacular edible work of art, making them ideal for holiday gifting, cookie exchanges, or simply enjoying with family and friends.
Why You’ll Adore This Easy Christmas Cookie Recipe
There are countless reasons why these Marbled Christmas Cookies will become a staple in your holiday baking repertoire. From their irresistible flavor to their stunning presentation, they offer an unparalleled experience for bakers and eaters alike.
- Exquisite Flavor & Texture: The foundation of these cookies is a rich, tender sugar cookie that practically melts in your mouth. The combination of creamy butter and delicate powdered sugar creates an incredibly smooth crumb, while a generous dash of vanilla extract elevates the overall aroma and taste. The addition of the sweet royal icing not only adds an extra layer of sweetness but also contributes to the delightful texture and visual appeal, making each bite a truly luxurious experience.
- Remarkably Simple Steps: Despite their sophisticated appearance, this recipe is surprisingly straightforward and approachable for bakers of all skill levels. It calls for common pantry ingredients that you likely already have on hand, eliminating the need for special shopping trips. The instructions are clear and concise, guiding you through each stage from dough preparation to the mesmerizing marbling technique, ensuring a successful outcome every time.
- Perfect for Festive Gatherings: These cookies are designed to be the star of any holiday party or family gathering. Their unique marbled design and vibrant colors will captivate your guests and are guaranteed to impress. They are not just delicious; they are a conversation starter, adding a touch of elegance and festivity to your dessert table. Be prepared for compliments and requests for the recipe!
- Endless Customization Options: One of the most enjoyable aspects of these cookies is the freedom to customize them. You can experiment with various color combinations for the royal icing to match your holiday theme, use different cookie cutter shapes to add variety, or even introduce subtle flavor changes to the cookie base or icing. This adaptability makes each batch a unique creation.
- A Delightful Baking Project: Beyond the delicious results, the process of making these marbled cookies is incredibly fun and rewarding. It’s an excellent activity to share with family, especially children, who will love watching the colors swirl and creating their own unique designs. The hands-on nature of this recipe transforms baking into a joyful holiday tradition.
- Thoughtful Edible Gifts: Beautifully packaged Marbled Christmas Cookies make for thoughtful and impressive homemade gifts. Their artisanal look suggests a level of effort and care that will be deeply appreciated by friends, neighbors, teachers, and loved ones. A batch of these cookies conveys warmth and holiday cheer in the most delicious way.
Essential Ingredients for Your Marbled Christmas Cookies
Crafting these delectable and visually striking Marbled Christmas Cookies requires a careful selection of quality ingredients. Here’s a detailed look at what you’ll need for both the tender cookie base and the gorgeous royal icing:
For the Cookie Dough:
- Butter: You’ll need ¾ cup (180g) of unsalted butter, softened to room temperature. Softened butter is crucial for creaming effectively with sugar, creating a light and airy base for your cookies.
- Powdered Sugar: Incorporate 1 ½ cups (180g) of powdered sugar. Using powdered sugar instead of granulated sugar contributes significantly to the cookies’ soft, pillowy texture and delicate crumb, which is highly desirable for decorated cookies.
- Egg: One large egg acts as a binder, adding moisture and helping to create a cohesive dough that holds its shape beautifully during baking.
- Vanilla Extract: Two teaspoons of vanilla extract are essential for imparting that classic, warm, and inviting flavor profile that complements the sweetness of the sugar so perfectly.
- All-Purpose Flour: You will need 2 cups (450g) of all-purpose flour. This provides the primary structure for the cookies, ensuring they are sturdy enough to handle the icing without being tough.
- Baking Powder: A mere ¼ teaspoon of baking powder provides a slight lift to the cookies as they bake, preventing them from being too dense and contributing to their tender texture.
- Salt: Just ¼ teaspoon of salt is added to balance the sweetness of the cookies and enhance all the other flavors.
For the Royal Icing:
- Powdered Sugar: The foundation of this smooth icing is 2 ½ cups of powdered sugar. Ensure it’s sifted to prevent lumps and achieve a silky consistency.
- Meringue Powder: You’ll need 1 ¼ tablespoons of meringue powder. This crucial ingredient provides stability, helps the icing harden, and gives it a beautiful, glossy finish, making it perfect for dipping and marbling.
- Lukewarm Water: Start with 3–4 tablespoons of lukewarm water. The exact amount may vary slightly depending on humidity, so add it gradually to achieve the desired flooding consistency.
- Gel Food Coloring: Use your choice of high-quality gel food coloring (e.g., red, green, blue) to create vibrant and festive marbled patterns. Gel colors are concentrated and won’t thin out the icing like liquid food coloring can.
- Clear Vanilla Extract: Add ½ teaspoon of clear vanilla extract to the icing. Clear vanilla is preferred here to keep the white base icing pure and bright, without tinting it brown.
Equipment You’ll Need
- Stand mixer with paddle and whisk attachments
- Large mixing bowls
- Parchment paper
- Rolling pin
- Cookie cutters (various Christmas shapes)
- Baking sheets
- Cooling racks
- Toothpicks (for marbling)
- Airtight containers for storage
Step-by-Step Guide: How to Craft Your Marbled Christmas Cookies
Follow these detailed instructions to create stunning Marbled Christmas Cookies that are as delightful to look at as they are to eat.
Preparing the Perfect Cookie Dough
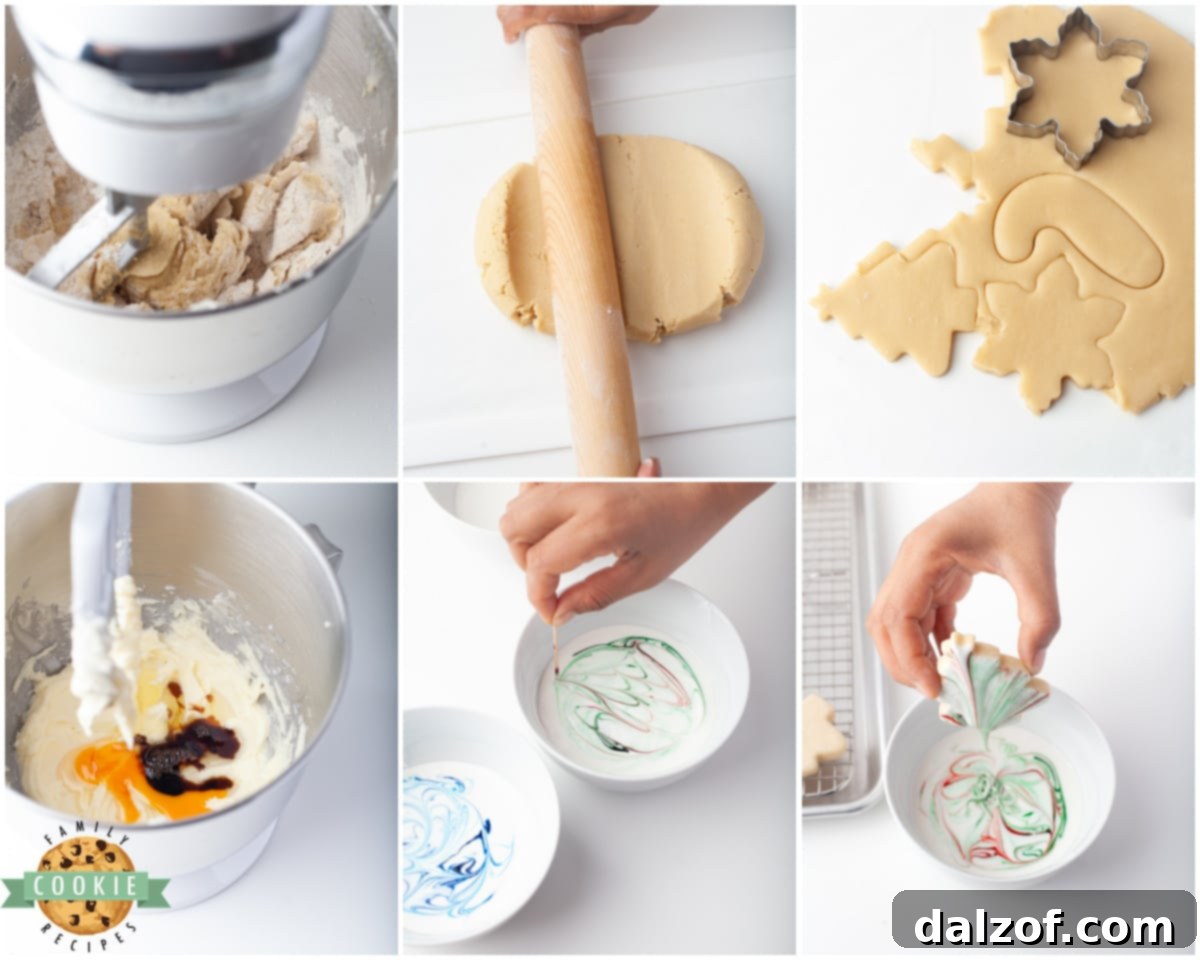
1. Cream Butter and Sugar: In the bowl of a stand mixer, fitted with the paddle attachment, combine the softened butter and powdered sugar. Beat them together at medium speed for about 2-3 minutes, until the mixture is light, fluffy, and creamy. This creaming process incorporates air, which is vital for tender cookies.
2. Add Wet Ingredients: Scrape down the sides of the bowl. Add the egg and vanilla extract to the creamed mixture. Mix again on low speed until just combined, being careful not to overmix. Overmixing at this stage can lead to a tougher cookie.
3. Combine Dry Ingredients: In a separate medium-sized bowl, whisk together the all-purpose flour, salt, and baking powder. Ensure these dry ingredients are thoroughly combined to distribute the leavening evenly.
4. Incorporate Dry into Wet: Gradually add the flour mixture to the wet ingredients in the stand mixer, a little at a time. Mix on the lowest speed until the flour is just incorporated and a cohesive dough forms. Make sure to scrape down the sides and bottom of the bowl as you go to ensure all ingredients are well combined without overworking the dough. Stop mixing as soon as no dry streaks of flour remain.
Chilling the Dough for Optimal Results
5. Roll and Chill: Divide the dough in half. Place one half onto a large sheet of parchment paper. Cover with another sheet of parchment paper and roll the dough evenly until it is approximately ¼ inch thick. This parchment paper method prevents sticking and makes transfer easy. Transfer the rolled dough (still between parchment sheets) onto a baking pan or cutting board and place it in the refrigerator to chill for a minimum of 30 minutes. Chilling is crucial as it prevents the cookies from spreading too much during baking and helps them maintain their intricate cut-out shapes.
Baking Your Festive Shapes
6. Preheat Oven & Prepare Baking Sheet: While the dough chills, preheat your oven to 350°F (175°C). Line a large baking sheet with parchment paper or a silicone baking mat; this prevents sticking and ensures even baking.
7. Cut & Arrange Cookies: Remove the chilled sheet of cookie dough from the fridge. Using your favorite Christmas-themed cookie cutters (stars, trees, snowflakes, circles), cut out your desired shapes. Carefully transfer each cookie cut-out onto the prepared baking sheet, leaving about an inch of space between each one.
8. Bake to Golden Perfection: Place the baking sheet in the preheated oven and bake for 9-11 minutes. Baking time may vary depending on your oven and the size/thickness of your cookies. Look for the edges to turn a light golden brown, indicating they are done. Avoid overbaking to keep them tender. Once baked, remove the cookies from the oven and let them cool on the baking sheet for 5 minutes before carefully transferring them to a wire cooling rack to cool completely. It’s essential that the cookies are fully cooled (at least an hour, or until room temperature) before applying the royal icing, otherwise, the icing will melt.
Creating the Magical Marbled Icing
9. Prepare Royal Icing: In the bowl of your stand mixer, fitted with the whisk attachment, combine the powdered sugar, meringue powder, 3 tablespoons of lukewarm water, and clear vanilla extract. Begin beating the ingredients on low speed, then increase to high speed and beat for approximately 2 minutes. The icing should become smooth and glossy. To test for “flooding consistency,” dip a spoon or knife into the icing and lift it. The icing should drizzle down and smoothly reincorporate into the mixture within 5-8 seconds. If it’s too thick, add more water very gradually (¼ teaspoon at a time) to avoid making it too thin. If it becomes too thin, add a small amount of additional powdered sugar until the correct consistency is achieved. The consistency should resemble slightly runny honey, able to flow but not watery.
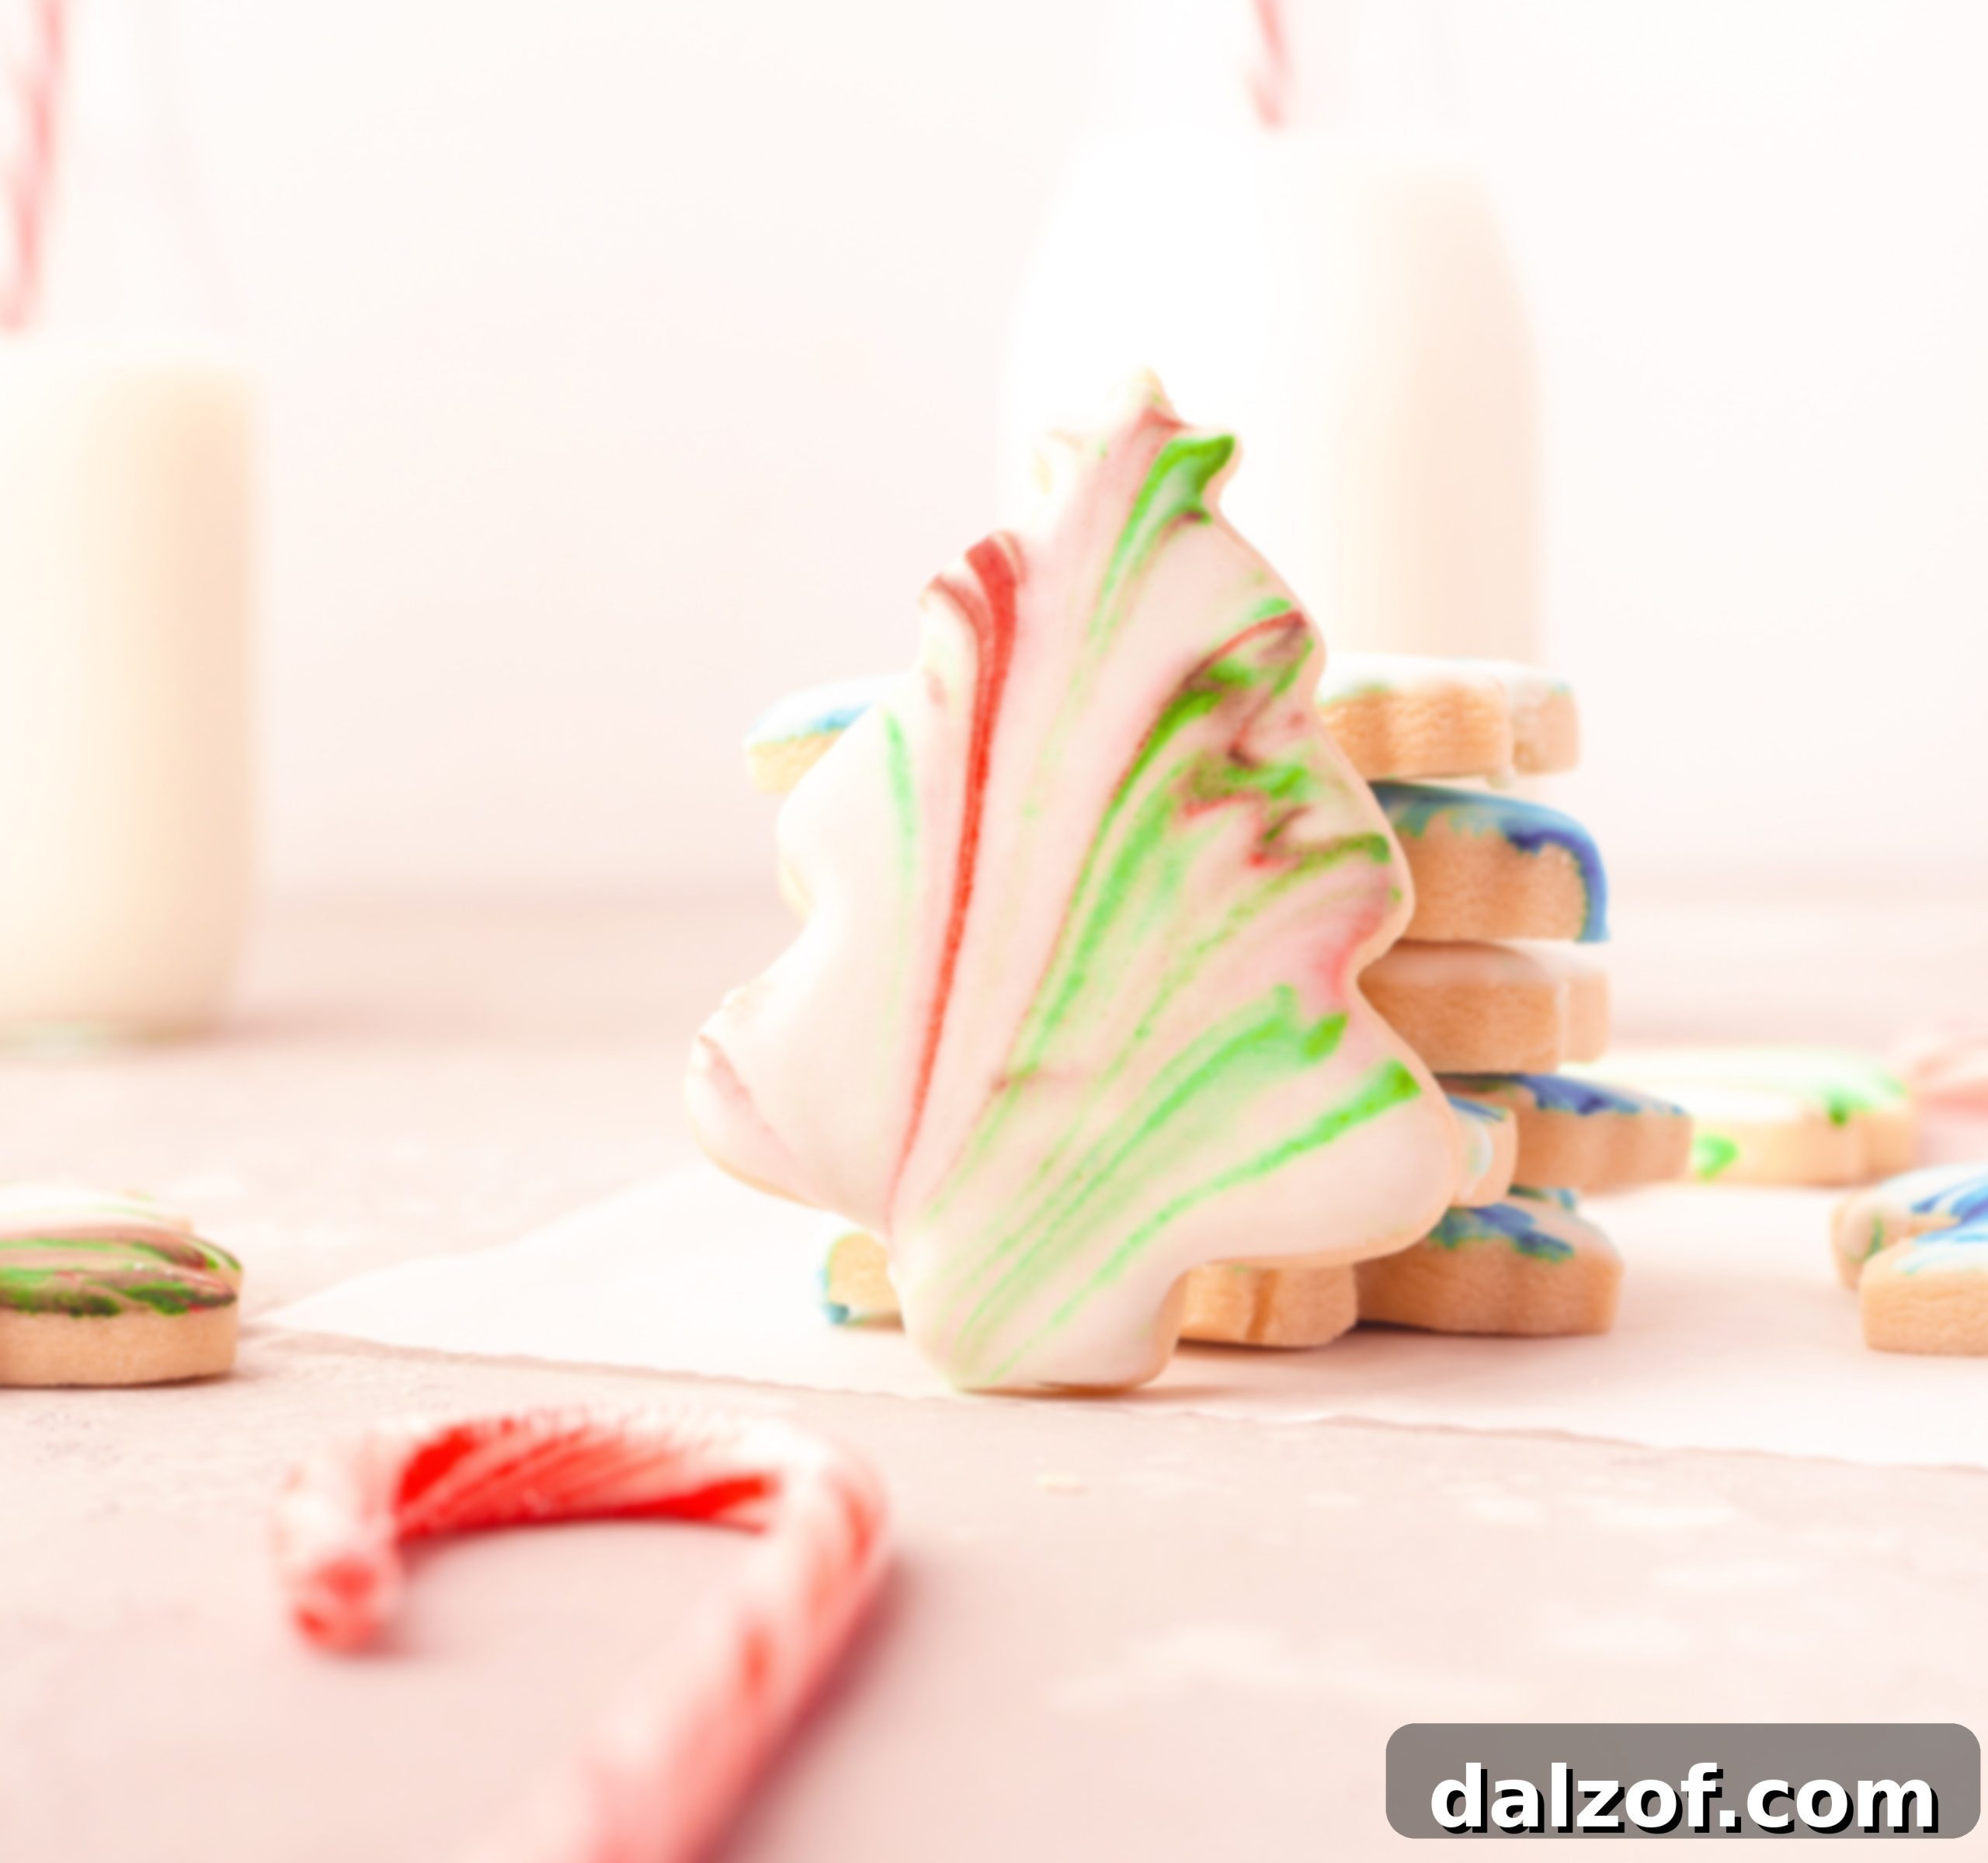
10. Coloring the Icing for Marbling: Divide the prepared white royal icing into separate bowls – one for each color combination you plan to use (e.g., three bowls for three different marble effects). Using a toothpick, add a small drop of your chosen gel food coloring (e.g., green) onto the surface of the white icing in one bowl. Gently swirl the color with the toothpick, creating delicate patterns. If you desire a multi-colored marble effect within one bowl, add a second drop of a different color (e.g., red) with a clean toothpick and swirl it into the same bowl. As you swirl, you’ll observe beautiful shades and intricate patterns emerge across the icing surface. Remember, the royal icing will begin to harden relatively quickly once exposed to air, so it’s important to work efficiently and cover any unused icing bowls with plastic wrap pressed directly onto the surface to prevent crusting.
11. Dipping and Marbling the Cookies: Take a cooled cookie and carefully dip its entire top surface into the prepared marbled royal icing mixture. Ensure all the edges are fully covered. Gently lift the cookie, allowing any excess icing to drip back into the bowl. This helps prevent thick, uneven layers. Carefully place the dipped cookie onto a clean wire cooling rack to allow the icing to set. Note that some minor dripping from the edges is normal during this stage.
12. Repeat and Set: Continue the dipping process, utilizing the different colored icing bowls you’ve prepared. For example, you might use only blue coloring swirled into white icing in a second bowl for a different look, and just red coloring in a third bowl. Repeat this process for all your cooled cookies until each one is beautifully marbled. Once all cookies are dipped, let them sit undisturbed on the cooling racks at room temperature for at least 2 hours, or until the royal icing has completely hardened and set. This ensures a firm, non-sticky finish.
Serve your stunning Marbled Christmas Cookies and enjoy the admiration they bring!

Marbled Christmas Cookies
Print
Pin
Rate
Ingredients
- ¾ cup butter softened (180g)
- 1 ½ cup powdered sugar 180g
- 1 egg
- 2 tsp vanilla extract
- 2 cups all-purpose flour 450g
- ¼ tsp baking powder
- ¼ tsp salt
Royal Icing
- 2 ½ cups powdered sugar
- 1 ¼ TBSP meringue powder
- 3 – 4 TBSP lukewarm water
- Gel food coloring red, green, blue
- ½ tsp clear vanilla extract
Instructions
-
Cookie dough: In a bowl of a stand mixer, fitted with a paddle attachment, beat the butter and sugar, at medium speed, until creamy. Add in the egg and vanilla extract, mix again to combine.
-
Whisk the flour, salt, and baking powder together in a separate bowl.
-
Add the flour mixture to the wet ingredients little by little. Mix at low speed until well combined. Make sure you scrape the sides of the bowl so it is all mixed in.
-
Chill dough: Roll the dough onto a parchment sheet until the dough is 1/4” thick. Transfer to a pan and place the dough in the refrigerator for 30 minutes.
-
Bake: Preheat the oven to 350°F. Add some parchment paper onto your baking sheet and set aside.
-
Remove the sheet of dough from the fridge. Use cookie cutters to cut the cookie shapes and place them on a baking sheet.
-
Bake for 9-11 minutes, or until the edges are golden. Let them cool for at least an hour.
-
Marble Icing: Mix your powdered sugar, meringue powder, 3 tablespoons of water and vanilla with a standing mixer using a whisk attachment. Beat the icing ingredients together on high speed for about 2 minutes. Place a spoon or knife into the icing, and lift it up. It should drizzle down and smooth out in about 5 – 8 seconds. If it looks too thick, add a bit more water little by little because it could easily get too thin. If it’s too thin, add a bit more powdered sugar. The icing should be about a flooding consistency (like honey, should be a little runny, but not watery.)
-
Separate the frosting into three bowls and using a toothpick, add a drop of coloring onto it and swirl it on the white icing. If you are using two colors, repeat the same with another color in that bowl. You will notice the first color in this case, I used green, and as you swirl you will notice different shades across the icing. Continue by adding your second color onto the toothpick, in this case red, and do the same. Swirl it around the icing. Keep in mind that the icing will harden quickly, so make sure to cover anything not being used right away.
-
Dip the whole top of the cookie in the royal icing mixture. Make sure all of the edges are covered. Lift the cookie carefully and let the extra icing drip off the cookie by holding it over the bowl. Place it on a cooling rack to set, but keep in mind some of the icing might drip a bit.
-
Continue to do it for the color you like in each of the bowls. In the other one, I only used blue coloring on the white icing, and the last one I only used red coloring. Repeat the process for the cookies, until you have finished marbling them all. Let the cookies sit until the frosting has set for about 2 hours. Then serve & enjoy!
Notes
Place UNFROSTED cookies in an airtight container or freezer bag and freeze for up to 3 months. Thaw at room temperature before serving, then add the royal icing.
Nutrition
Tips for Achieving Perfect Marbled Christmas Cookies
While the recipe is straightforward, a few expert tips can elevate your marbled cookie game and ensure consistently beautiful and delicious results:
- Room Temperature Ingredients are Key: Ensure your butter and egg are at true room temperature. This allows them to emulsify properly, creating a smooth, homogenous dough and preventing a curdled mixture.
- Don’t Overwork the Dough: Mix the flour into the wet ingredients only until just combined. Overmixing develops the gluten in the flour, which can lead to tough, chewy cookies instead of tender ones.
- Chill Thoroughly: Do not skip the chilling step! Chilling the dough helps firm up the butter, which prevents the cookies from spreading too much in the oven, thus maintaining your intricate cookie cutter shapes and resulting in a crisp edge.
- Consistent Dough Thickness: When rolling out the dough, aim for an even ¼-inch thickness. This ensures consistent baking times and prevents some cookies from being overcooked while others are underdone.
- Achieve the Right Icing Consistency: The royal icing consistency is critical for successful marbling. It should be thin enough to flow and cover the cookie smoothly, but thick enough to hold the marbled swirls without melting into a single color. Practice with a small amount if you’re unsure.
- Work Quickly with Icing: Royal icing starts to set when exposed to air. Keep any unused icing bowls tightly covered with plastic wrap, pressed directly onto the surface of the icing to prevent a crust from forming.
- Experiment with Colors: Don’t be afraid to play with different color combinations. For a classic Christmas look, stick with reds, greens, and whites. For a more modern twist, try blues, silvers, or purples. Gel food colorings offer the best vibrancy without affecting icing consistency.
- Clean Toothpicks for Swirling: Use a fresh toothpick for each color or when switching colors to prevent muddying your vibrant swirls. A light touch is best for delicate patterns.
- Allow Icing to Fully Set: Patience is a virtue here! Ensure the royal icing is completely dry and hardened before stacking or storing the cookies. This typically takes at least 2 hours, but can be longer in humid environments. Rushing this step can smudge your beautiful designs.
How to Properly Store Iced Christmas Cookies?
Correct storage is vital to keep your beautifully iced Marbled Christmas Cookies fresh, delicious, and visually appealing for as long as possible. Here are some comprehensive tips:
- Room Temperature Storage: For cookies intended to be enjoyed within 3-5 days, storing them at room temperature is ideal. Place them in an airtight container once the royal icing has fully set. Layering them with parchment paper or wax paper between each cookie will prevent them from sticking together or damaging the intricate icing designs. Keep the container away from direct sunlight or heat sources.
- Refrigeration (if necessary): While royal icing cookies generally do well at room temperature, if you live in a particularly hot or humid climate, refrigeration might be considered to extend freshness. However, be aware that refrigeration can sometimes cause the cookies to become slightly harder or alter their delicate texture. If you must refrigerate, ensure they are in an airtight container to protect against moisture absorption and odors from other foods. Bring them back to room temperature before serving for the best flavor and texture.
- Freezing Unfrosted Cookies: For long-term storage, it’s highly recommended to freeze the unfrosted sugar cookies. Once baked and completely cooled, arrange the plain cookies in a single layer on a baking sheet and freeze until solid. Then, transfer them to an airtight freezer-safe container or heavy-duty freezer bag, separated by parchment paper, and freeze for up to 3 months. When ready to serve, thaw the cookies at room temperature and then proceed with preparing and applying the royal icing.
- Avoid Stacking Wet Icing: Never stack cookies before the royal icing is completely dry and hard. This can take several hours, so plan accordingly. Placing them on a single layer on cooling racks until fully set is crucial.
- Protect from Humidity: Humidity can be the enemy of royal icing, making it soft or sticky. If your climate is humid, consider running a dehumidifier in your kitchen or storing cookies in an airtight container with a desiccant packet (food-safe, like those found in vitamin bottles) to absorb excess moisture.
Frequently Asked Questions About Marbled Christmas Cookies
Is it better to use powdered sugar or granulated sugar in sugar cookies?
For sugar cookies, especially those intended to be decorated, powdered sugar (also known as confectioners’ sugar) is often the preferred choice. It typically creates a significantly softer, more tender, and melt-in-your-mouth texture. This is because its fine particles dissolve more easily during mixing, resulting in a finer crumb structure. Granulated sugar, with its larger, coarser granules, can sometimes lead to a denser or slightly crispier cookie. For cookies meant to be sturdy yet delicate under icing, powdered sugar provides the perfect base.
What happens when you overmix butter and sugar for cookies?
Overmixing butter and sugar during the creaming stage can incorporate too much air into the mixture. While some air is desirable for lightness, excessive air can lead to several undesirable outcomes. It can cause the cookies to spread excessively while baking, losing their intended shape and becoming thin and brittle. Furthermore, overmixing can develop the gluten in the flour (once added), resulting in a drier, tougher, and less desirable consistency. It’s crucial to beat until the mixture is just light and fluffy, then mix subsequent ingredients only until combined.
What is the purpose of meringue powder in cookie icing?
Meringue powder is an indispensable ingredient in royal icing, serving several key purposes. Firstly, it acts as a stabilizer, providing strength and structure to the icing, which allows it to hold intricate shapes and lines perfectly. Secondly, it helps the icing dry quickly and firmly, creating a hard, protective shell that prevents smudging and makes the cookies stackable. This also gives the icing a beautiful, professional, glossy finish. Lastly, meringue powder contributes to the overall stability and improves the shelf life of the icing, making it more resistant to humidity and extending the freshness of the decorated cookies.
Can I use liquid food coloring instead of gel food coloring for the royal icing?
While technically possible, it is highly recommended to use gel food coloring over liquid food coloring for royal icing, especially for marbling. Liquid food coloring contains water, which can significantly alter the delicate consistency of royal icing, making it too thin and difficult to work with. Gel food coloring, on the other hand, is highly concentrated, allowing you to achieve vibrant colors with only a tiny amount, thus maintaining the perfect icing consistency for beautiful marbling.
My royal icing is too thick/thin. How do I fix it?
Achieving the perfect royal icing consistency is key. If your icing is too thick, add lukewarm water a tiny amount at a time (e.g., ¼ teaspoon), mixing thoroughly after each addition until you reach the desired “flooding” consistency (where a dropped line disappears in 5-8 seconds). If your icing becomes too thin, gradually add more sifted powdered sugar, a tablespoon at a time, mixing until it thickens to the correct consistency. Patience and small adjustments are crucial here.

Explore More Festive Holiday Cookie Recipes Here:
- PEPPERMINT VANILLA SHORTBREAD COOKIES
- LINZER COOKIES
- PEPPERMINT MELTAWAYS
- PUMPKIN GINGERSNAP COOKIES
- CHRISTMAS SUGAR COOKIES
- CHRISTMAS TREE TWIX COOKIES
- GINGERBREAD COOKIE RECIPES
- FROSTED PUMPKIN GINGER COOKIES
- MINT CHRISTMAS COOKIES
- PEPPERMINT COOKIE RECIPES
- RED VELVET CHRISTMAS COOKIES
- PEPPERMINT BARK COOKIES
- GINGERBREAD HOUSE COOKIES
- ICED GINGER MOLASSES COOKIES
- GINGERSNAP COOKIES
- CHOCOLATE ORANGE SLICE COOKIES
- ORANGE CARDAMOM COOKIES
- PEPPERMINT CHOCOLATE CHIP COOKIES
- STRAWBERRY THUMBPRINT COOKIES
In conclusion, these Marbled Christmas Cookies are more than just a recipe; they are an invitation to create joy and beauty in your kitchen this holiday season. Combining soft, buttery sugar cookies with a delicate, vividly swirled royal icing, these unique Christmas cookies are surprisingly easy to master. The straightforward dough preparation and simple marbling technique allow anyone to achieve stunning, festive results. Gather your ingredients, unleash your creativity, and delight in the process of making these magnificent, homemade holiday cookies that are sure to become a cherished tradition.