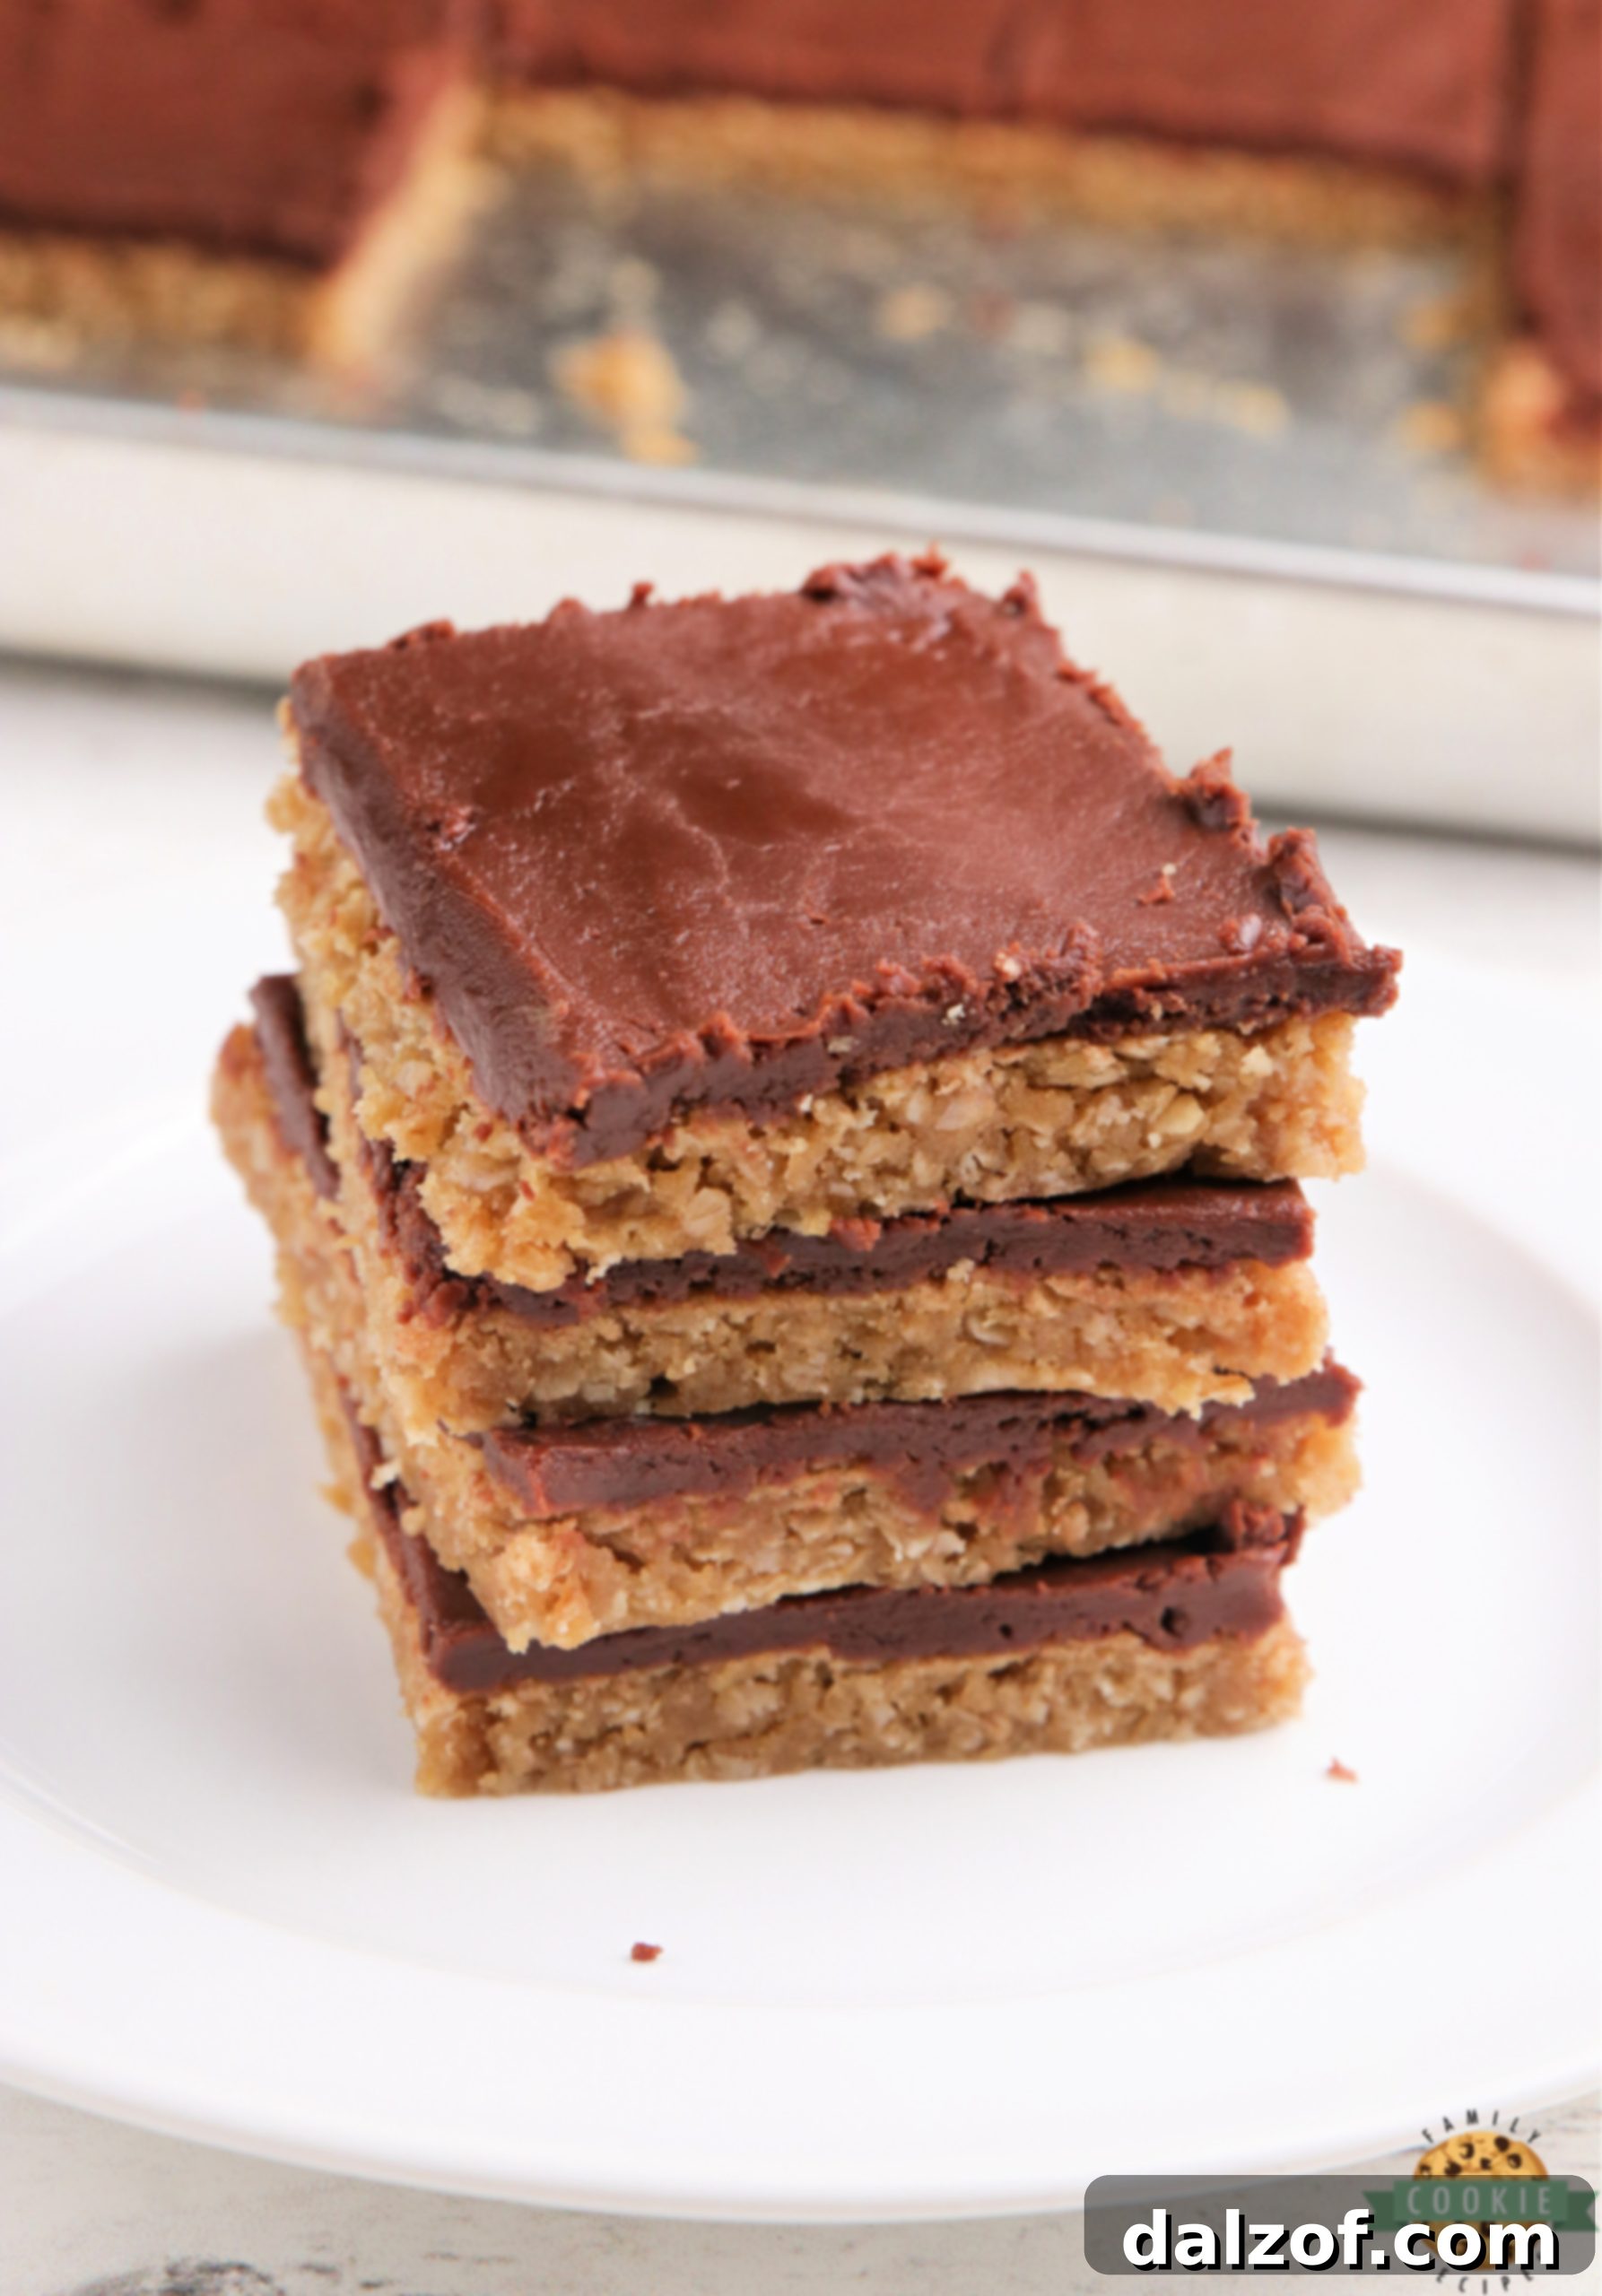
Irresistible Peanut Butter Cookie Bars with Rich Chocolate Fudge Frosting
Indulge in the ultimate treat with these incredible Peanut Butter Cookie Bars! They are wonderfully soft and perfectly chewy, crowned with a decadent chocolate fudge frosting that melts in your mouth. This delightful cookie bar recipe, crafted with creamy peanut butter and hearty oats, is incredibly easy to make and guaranteed to become a family favorite. Forget individual cookies; these bars offer all the flavor with half the effort, making them perfect for any occasion.
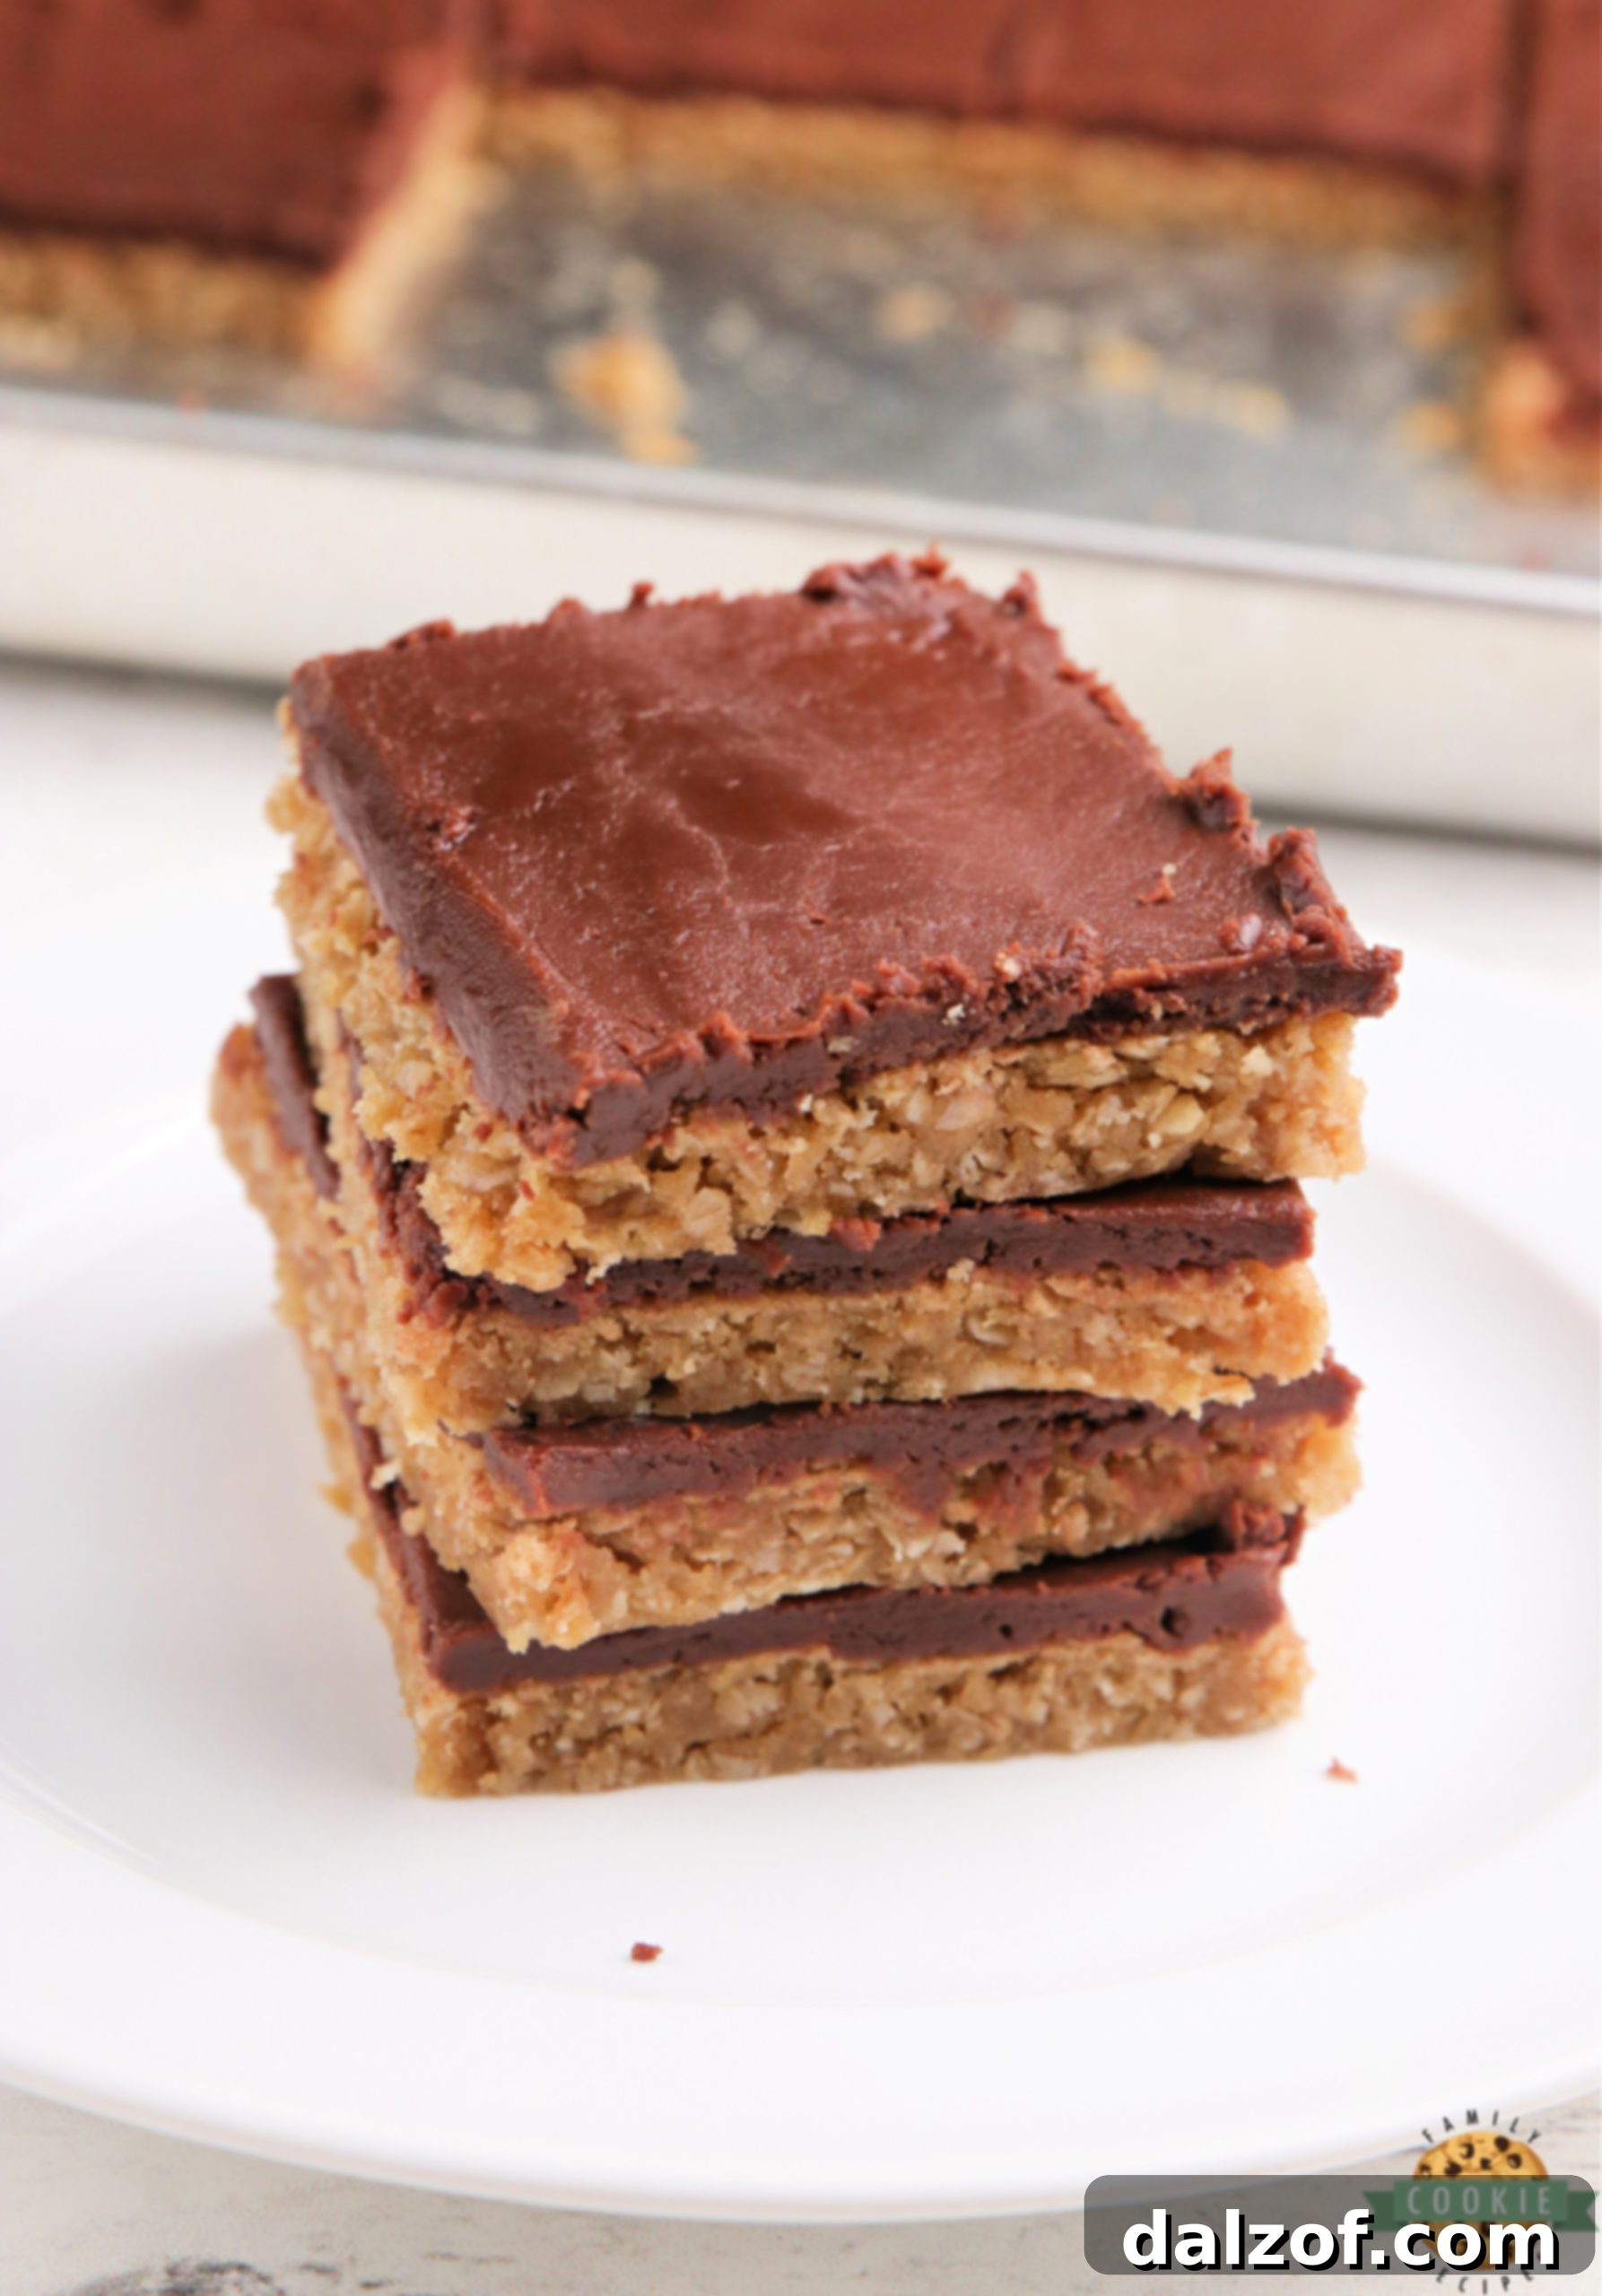
It’s no secret that the combination of chocolate and peanut butter is a match made in heaven. When you find a treat that perfectly blends these two beloved flavors, you know you’ve struck gold! These Peanut Butter Cookie Bars have quickly climbed to the top of our family’s favorite dessert list. In fact, everyone has declared them to be among the “top 5 treats I’ve ever made,” which is high praise considering how frequently I bake. Their rich flavor and irresistible texture make them a standout that disappears faster than you can say “more please!”
Why You’ll Love These Peanut Butter Cookie Bars
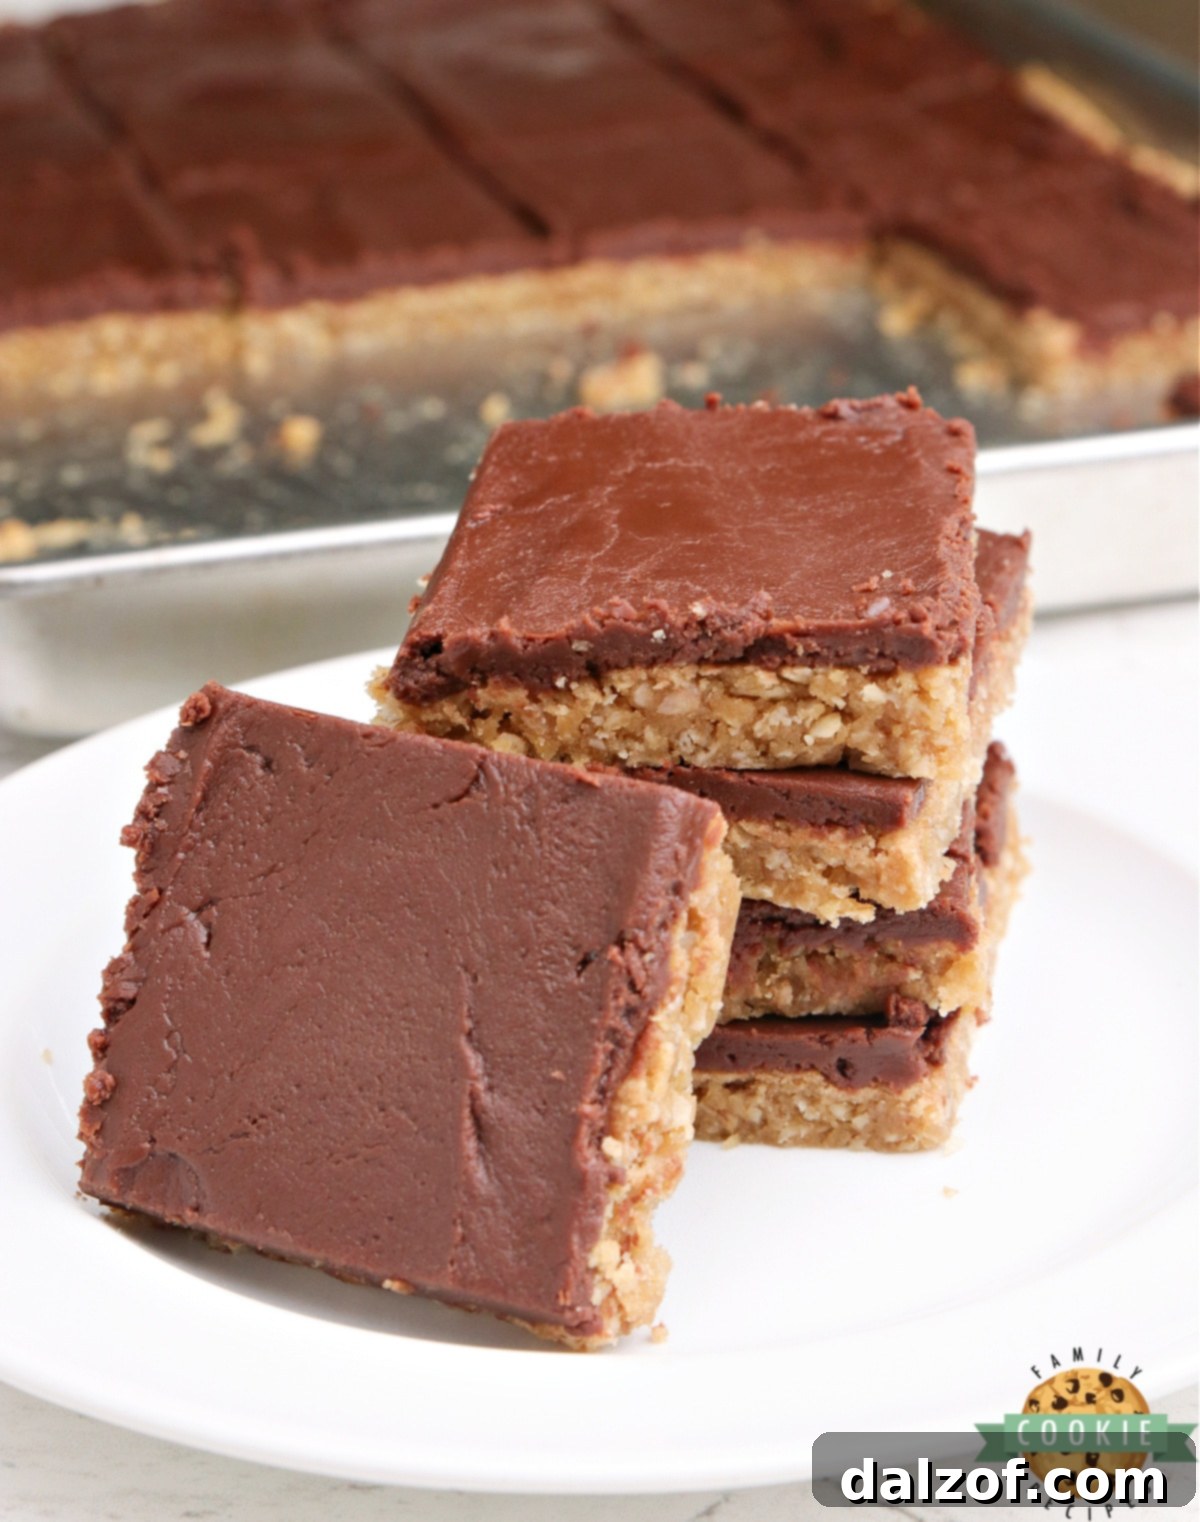
These thick and chewy peanut butter bars are made with a delightful blend of peanut butter, wholesome oats, granulated sugar, brown sugar, all-purpose flour, and a few other simple pantry staples. Once baked to golden perfection, they are generously topped with a luscious layer of fudgy chocolate frosting. This heavenly topping is crafted from sugar, butter, milk, semi-sweet chocolate chips, and mini marshmallows – yes, they are as amazingly delicious as they sound!
One of the biggest advantages of making cookie bars over individual cookies is the significant time saving. Instead of meticulously scooping, shaping, and baking multiple batches of dough, you can simply press all the dough into a single pan and bake it all at once. This streamlined process makes cookie bars an excellent choice for busy bakers or when you need a crowd-pleasing dessert in a hurry. They’re also incredibly easy to slice and serve, making them ideal for potlucks, parties, or simply a convenient treat at home.
More Favorite Cookie Bar Recipes to Explore
- Butterfinger Cookie Bars
- Mint Chocolate Chip Cookie Bars
- Tagalong Cookie Bars
- Snickerdoodle Cookie Bars
- Cherry Almond Cookie Bars
- Fudgy Oatmeal Cookie Bars
- Strawberry Cheesecake Cookie Bars
- Sugar Cookie Bars
- Chocolate Chip Cookie Bars
- No Bake Cookie Bars
- Oatmeal Chocolate Chip Cookie Bars
- Lemon Sugar Cookie Bars
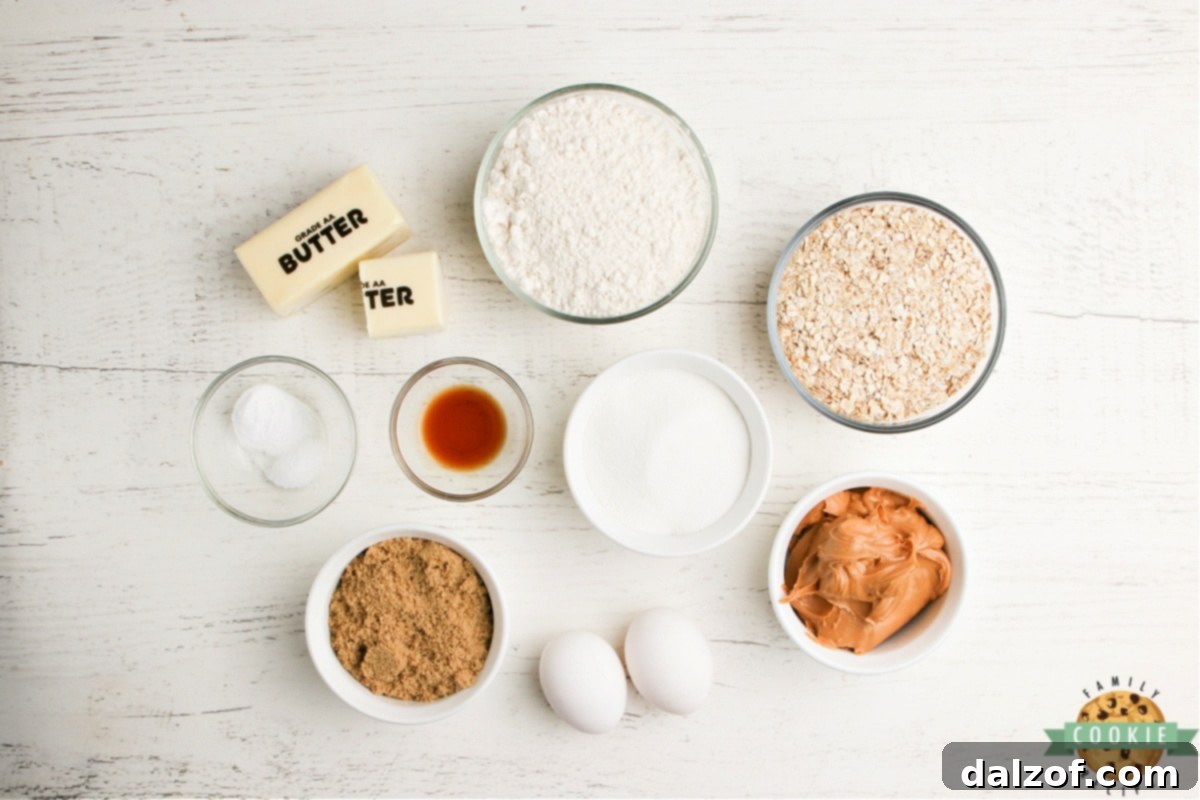
Key Ingredients for Perfect Peanut Butter Cookie Bars
Crafting the perfect batch of Peanut Butter Cookie Bars starts with understanding the role of each ingredient. Here’s a detailed look at what you’ll need and why it matters:
- Butter: I always opt for salted butter, but unsalted works just as well if that’s your preference. Margarine is not recommended for these bars as it can alter the texture. Crucially, ensure your butter is softened to room temperature, but definitely not melted, before you begin mixing. This is vital for a smooth, creamy dough.
- Granulated Sugar: An essential component for sweetness and structure in any cookie, granulated sugar contributes to the bar’s delightful chewiness.
- Brown Sugar: This adds a deeper, caramel-like sweetness and helps keep the bars incredibly moist and tender. Always check that your brown sugar isn’t dried out or clumpy for the best results.
- Peanut Butter: For consistent and optimal results, use a regular creamy peanut butter, such as Jif or Skippy, or a comparable store brand. Natural peanut butters, which often separate and are runnier, can drastically change the texture of these cookie bars, leading to a less predictable outcome. Stick to the classic creamy variety for that perfect bite.
- Eggs: We need two large eggs to act as a binding agent, holding all the ingredients together and adding richness to the dough.
- Vanilla Extract: A good quality vanilla extract or even a vanilla bean paste will elevate the flavor of your cookie bars, adding a warm, aromatic note that complements the peanut butter beautifully.
- Baking Soda: This is our primary leavening agent, responsible for the slight rise and tender texture of the bars. Always ensure your baking soda is fresh and not expired for maximum effectiveness.
- Salt: Just a pinch of salt is all it takes to balance the sweetness and enhance all the other flavors in the cookie bars. Don’t skip it!
- All-Purpose Flour: Standard all-purpose flour is my go-to for this recipe, providing the necessary structure. You can experiment with bread flour for a slightly chewier bar or pastry flour for a more delicate crumb, though all-purpose is typically ideal.
- Oats: Quick oats are recommended as they blend seamlessly into the batter, contributing to the soft and chewy texture. While old-fashioned oats can be used, they might result in a slightly chewier and less moist bar.
For the Irresistible Chocolate Fudge Frosting:
- Granulated Sugar: Provides the fundamental sweetness for our rich frosting.
- Butter: Real butter is key for achieving that smooth, creamy consistency and buttery flavor.
- Milk: You’ll only need 1/3 cup of milk. Any type of milk you have on hand will work perfectly.
- Semi-Sweet Chocolate Chips: These are the star of the show, delivering that classic chocolate flavor for your fudge frosting.
- Mini Marshmallows: The secret ingredient! Mini marshmallows not only add a subtle sweetness and flavor but also contribute significantly to the perfect, incredibly smooth, and fudgy consistency of the frosting.
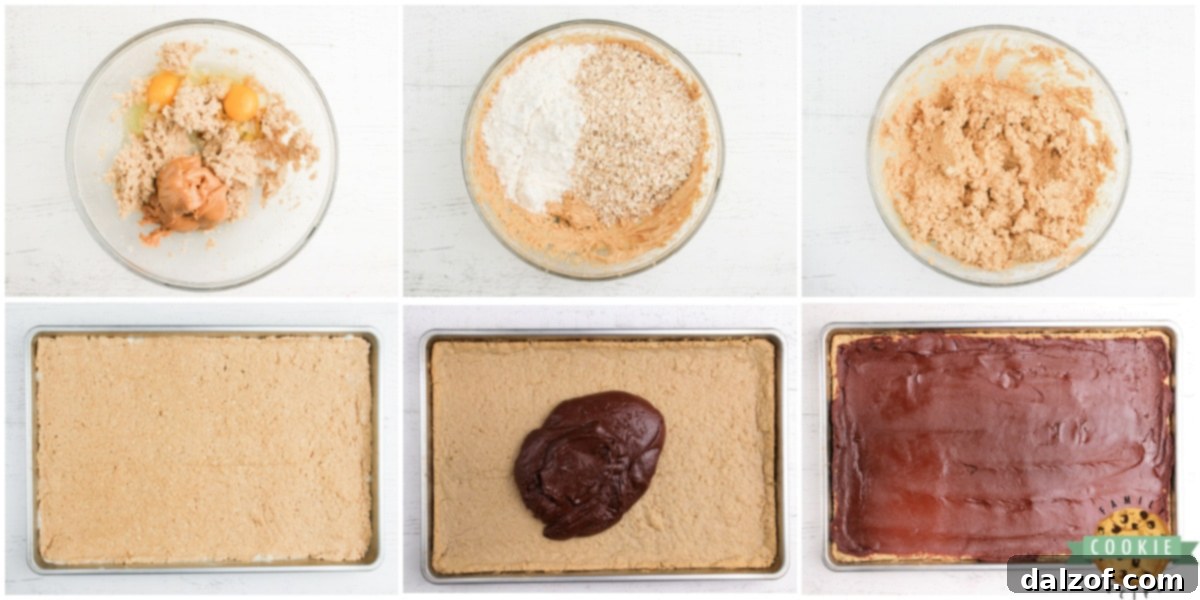
Effortless Steps to Make Delicious Peanut Butter Cookie Bars
Making these decadent Peanut Butter Cookie Bars is surprisingly simple. Follow these straightforward steps to achieve a perfect batch every time:
- Prepare Your Pan: Begin by preheating your oven to 325°F (160°C). Lightly grease a jelly roll pan (approximately 10″x15″x1″). Ensuring the pan is well-greased will prevent sticking and make for easy removal of your baked bars.
- Cream Butter and Sugars: In a large mixing bowl, using an electric mixer, cream together the softened butter, granulated sugar, and brown sugar for about 2 minutes. Continue creaming until the mixture is light and fluffy, which significantly improves the texture of the cookie bars.
- Add Wet Ingredients: Next, add the peanut butter, eggs, and vanilla extract to the creamed mixture. Continue to beat with the electric mixer for another 2-3 minutes, ensuring all ingredients are thoroughly combined and the mixture is smooth.
- Incorporate Dry Ingredients: Gradually add the baking soda, salt, and flour to the wet ingredients. Mix on low speed just until combined, being careful not to overmix. Overmixing can lead to tough cookie bars. Once the dry ingredients are mostly incorporated, gently stir in the quick oats by hand until evenly distributed.
- Spread the Batter: Pour the thick cookie batter into your prepared jelly roll pan. The batter will be quite dense, so you’ll need to spread it evenly to cover the entire pan. A small rolling pin, your fingertips, or the back of a spoon can be used to achieve an even layer.
- Bake to Perfection: Bake the bars for approximately 13-15 minutes, or until the edges just begin to turn a light golden brown. It’s crucial not to overbake these bars; they should still look slightly underbaked in the center when you remove them from the oven. They will continue to set and firm up as they cool in the pan, maintaining their delightful moisture.
- Prepare the Frosting: While your cookie bars are cooling, you can start on the luscious chocolate fudge frosting. In a small saucepan, combine the butter, sugar, and milk. Melt these ingredients together over medium heat, stirring frequently to prevent scorching. Bring the mixture to a gentle boil and allow it to boil for exactly 1 minute.
- Finish the Frosting: Remove the saucepan from the heat. Immediately add the semi-sweet chocolate chips and stir continuously until the chocolate is completely melted and smooth. Then, add the mini marshmallows and stir until they are fully melted and incorporated, creating a rich, fudgy consistency.
- Frost and Serve: Spread the warm chocolate fudge frosting evenly over the slightly cooled cookie bars. The bars don’t need to be completely cold, but they should sit for at least 20-30 minutes before frosting to ensure the frosting sets beautifully. Once the frosting has set (you can speed this up by chilling them briefly), slice the bars into squares or rectangles and serve!
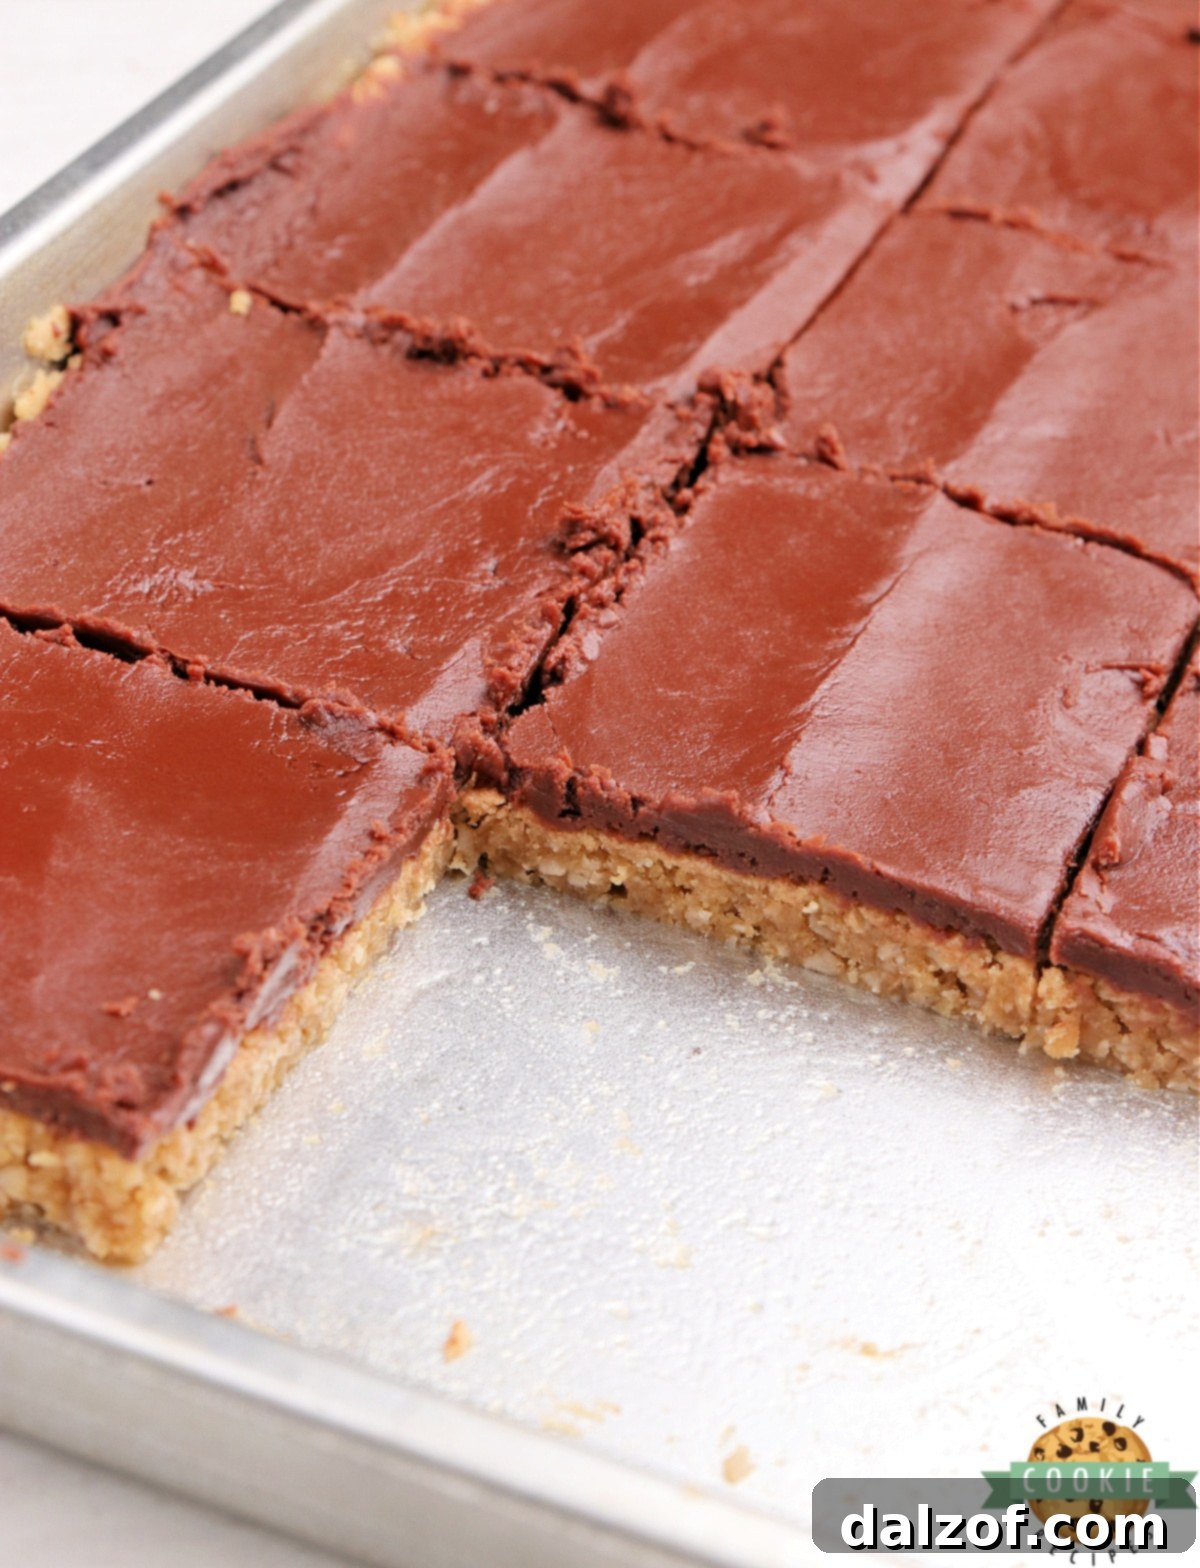
Peanut Butter Cookie Bars
Peanut Butter Cookie Bars are soft and chewy with a chocolate fudge frosting on top. This delicious cookie bar recipe, made with peanut butter and oats, is perfect for any occasion!
Course: Cookies, Dessert
Cuisine: American
Keyword: Peanut Butter Cookie Bars
Prep Time: 10 minutes
Cook Time: 15 minutes
Servings: 24 servings
Author: Jessica & Nellie
Ingredients
For the Peanut Butter Cookie Bars:
- ¾ cup butter, softened
- ¾ cup granulated sugar
- ¾ cup brown sugar, packed
- ¾ cup creamy peanut butter (Jif or Skippy recommended)
- 2 large eggs
- 1 tsp vanilla extract
- ¾ tsp baking soda
- ½ tsp salt
- 1 ½ cups all-purpose flour
- 1 ½ cups quick oats
For the Chocolate Fudge Frosting:
- 1 cup granulated sugar
- 5 tablespoons butter
- ⅓ cup milk (any type)
- 1 cup semi-sweet chocolate chips
- ¾ cup mini marshmallows
Instructions
- Preheat oven to 325°F (160°C). Grease a jelly roll pan (10″X15″X1″).
- In a large bowl, cream softened butter, granulated sugar, and brown sugar together with an electric mixer for about 2 minutes until light and fluffy.
- Add peanut butter, eggs, and vanilla extract. Continue to cream for another 2-3 minutes until well combined.
- Add baking soda, salt, and flour to the wet mixture. Mix on low speed just until combined. Stir in the quick oats until evenly distributed.
- Pour the thick batter into the prepared jelly roll pan. Spread it evenly to fill the entire pan using a small rolling pin, your fingers, or the back of a spoon.
- Bake for about 13-15 minutes, or until the edges just begin to turn a light golden brown. Do not overbake; the bars will continue to set as they cool.
- While the bars are cooling, prepare the chocolate fudge frosting. In a small saucepan, melt the butter, granulated sugar, and milk together over medium heat, stirring frequently.
- Bring the mixture to a boil and let it boil for exactly 1 minute. Remove from heat.
- Add the semi-sweet chocolate chips to the hot mixture and stir until completely melted and smooth. Then, add the mini marshmallows and stir until they are fully melted and incorporated.
- Spread the warm chocolate fudge frosting over the cooled (at least 20-30 minutes) peanut butter cookie bars.
- Once the frosting has set, slice into squares and serve. Enjoy!
Nutrition
Calories: 305kcal | Carbohydrates: 38g | Protein: 4g | Fat: 16g | Saturated Fat: 8g | Polyunsaturated Fat: 2g | Monounsaturated Fat: 5g | Trans Fat: 1g | Cholesterol: 36mg | Sodium: 192mg | Potassium: 137mg | Fiber: 2g | Sugar: 26g | Vitamin A: 279IU | Calcium: 27mg | Iron: 1mg
Choosing the Right Peanut Butter for Your Bars
The type of peanut butter you use can significantly impact the outcome of your Peanut Butter Cookie Bars. I’ve consistently found that traditional, regular creamy peanut butter (like Jif, Skippy, or a similar store-brand variety) yields the best results for these bars and most baked goods. These types of peanut butter have a more consistent texture and oil content, which contributes to a more reliable and delicious cookie bar.
In contrast, natural-style peanut butters, which often separate and require stirring, tend to be runnier. This higher oil separation and thinner consistency can lead to cookie bars that are either too dry or too oily, or simply don’t achieve the desired soft and chewy texture. For the absolute best and most consistent results with this recipe, I highly recommend sticking with conventional creamy peanut butter.
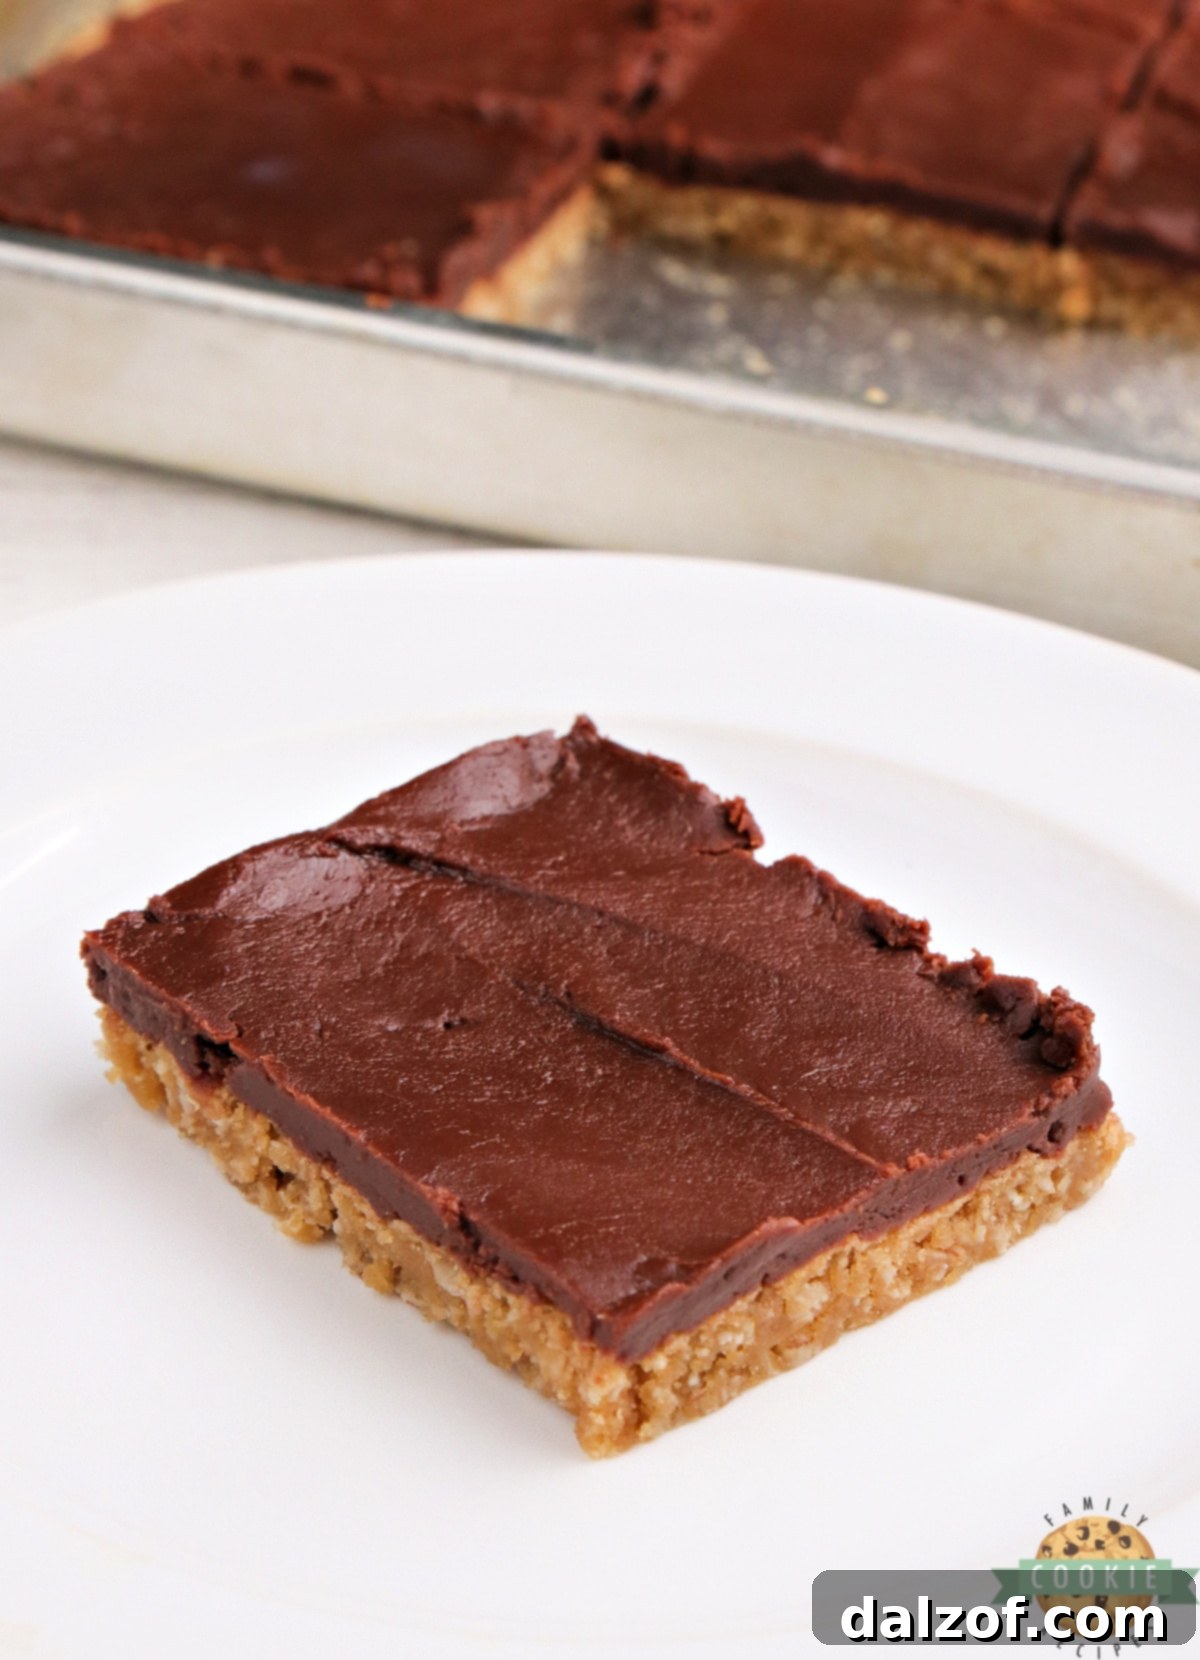
Expert Tips for Making the Best Peanut Butter Cookie Bars
To ensure your Peanut Butter Cookie Bars turn out perfectly every single time, keep these essential baking tips in mind:
- Do Not Melt the Butter: This is a crucial step! The butter must be softened to room temperature, not melted. Melted butter will throw off the consistency of the dough, making your cookie bars less tender and more prone to drying out.
- Cream Butter and Sugars Thoroughly: Dedicate a little extra time—about 2-3 minutes—to creaming the butter and sugars together until the mixture is light and fluffy. This aeration process is key to achieving the soft, chewy texture that makes these bars so irresistible.
- Use Regular Creamy Peanut Butter: As discussed, conventional creamy peanut butter (like Jif or Skippy) is your best bet. Natural peanut butters, with their tendency to separate oils, can lead to unpredictable baking results and may not give you the desired moist and chewy texture.
- Preheat Your Oven: Always preheat your oven fully before placing the cookie bars inside. A consistently heated oven ensures even baking and helps your bars achieve the perfect texture and doneness from edge to edge.
- Avoid Overbaking: This is perhaps the most important tip for moist cookie bars! When you remove your bars from the oven, they should still look slightly underbaked in the center. The residual heat in the pan will continue to cook them for a few more minutes, ensuring they remain wonderfully soft and don’t dry out.
- Cool Before Frosting: While the bars don’t need to be completely cold, allowing them to cool for at least 20-30 minutes before adding the chocolate fudge frosting is essential. This prevents the frosting from melting and sliding off, allowing it to set beautifully.
- Even Spreading: The batter is thick, so take your time spreading it evenly into the pan. An even layer ensures consistent baking and uniform thickness in your bars.
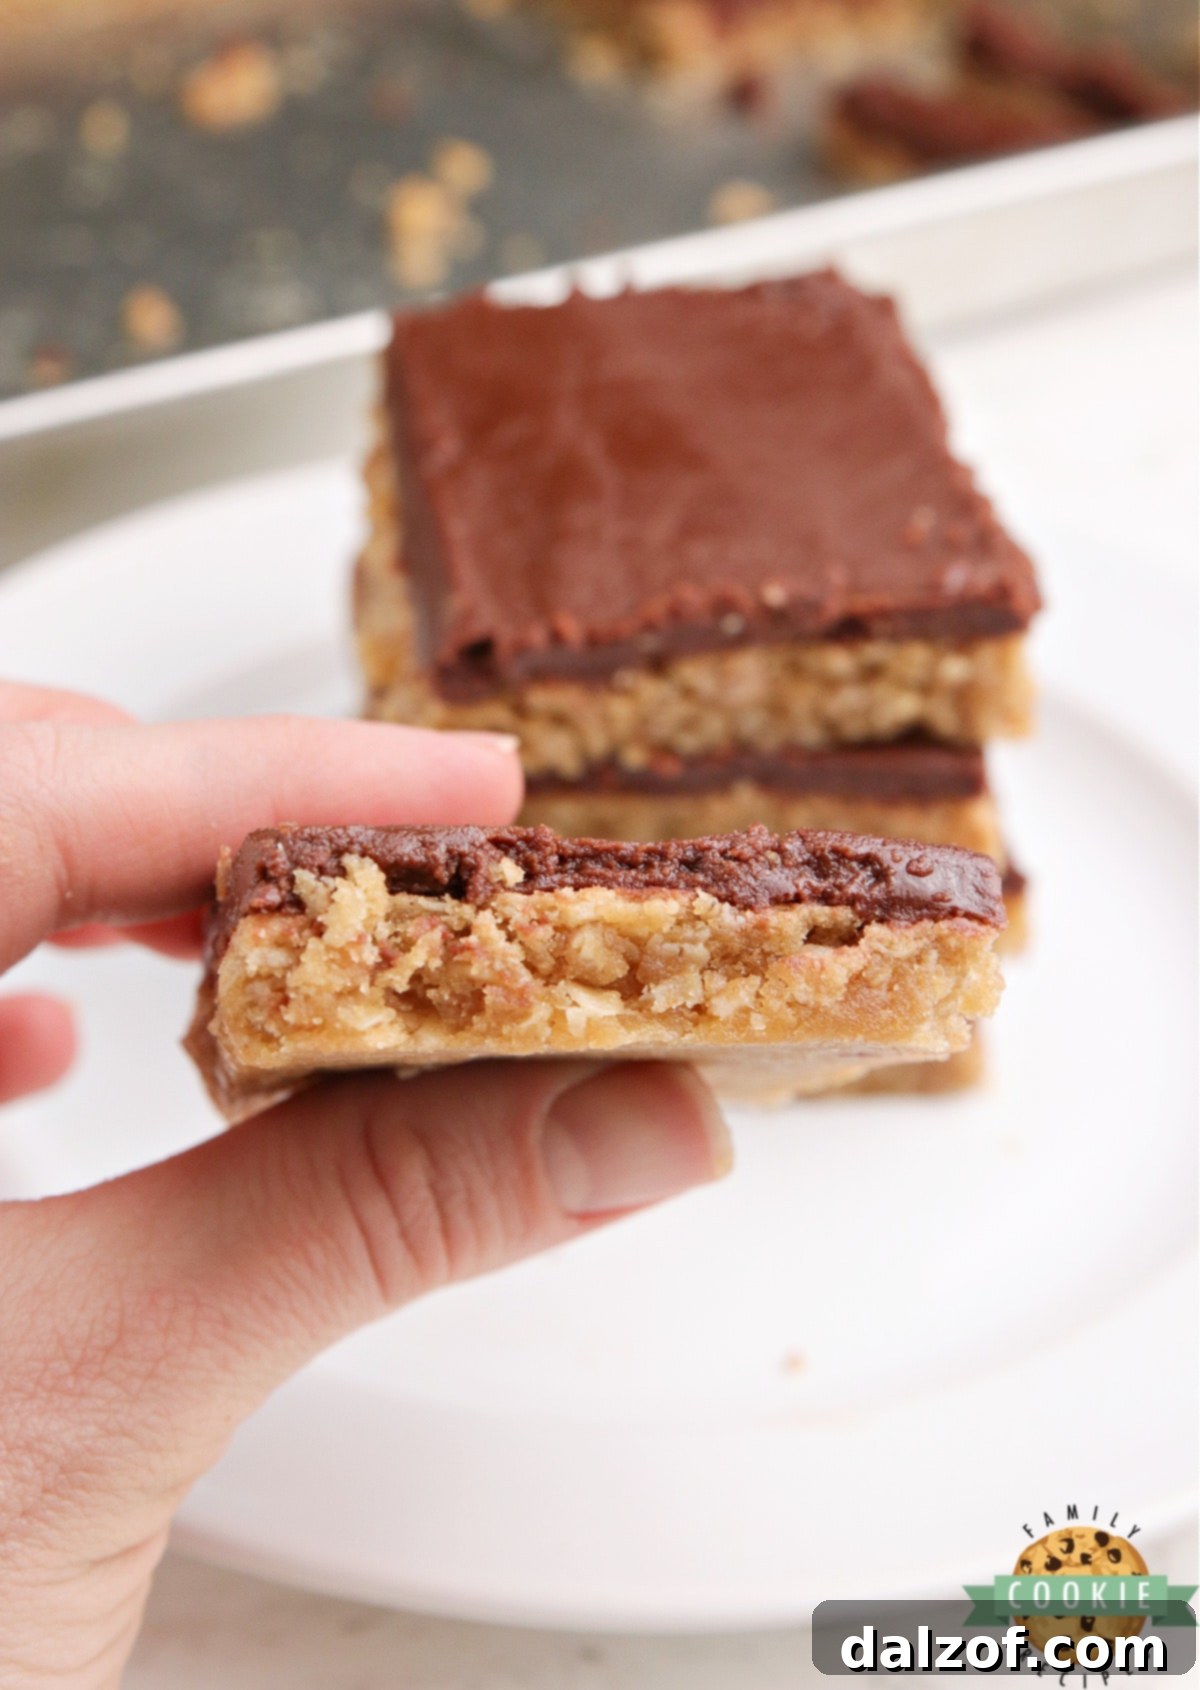
More Peanut Butter Cookie Recipes You’ll Love
If you’re a true peanut butter enthusiast, then these cookie bar recipes are just the beginning! Here are a few more delightful peanut butter cookie creations you might enjoy:
- Best Chocolate Chip Peanut Butter Cookies
- Peanut Butter Oatmeal Chocolate Chip Cookies
- Peanut Butter Chip Chocolate Cookies
- Easy Peanut Butter Cookies
- Fudge Peanut Butter Cookie Cups
- Reese’s Peanut Butter Cookies
- Best Monster Cookies
- Peanut Butter No Bake Cookies
- Reese’s Peanut Butter Pudding Cookies
- Reese’s Chocolate Peanut Butter Cookies
- Butterfinger Peanut Butter Cookies
- Snickers Peanut Butter Cookies
- Apple Peanut Butter Cookies
- Rice Krispie Chocolate Chip Peanut Butter Cookies
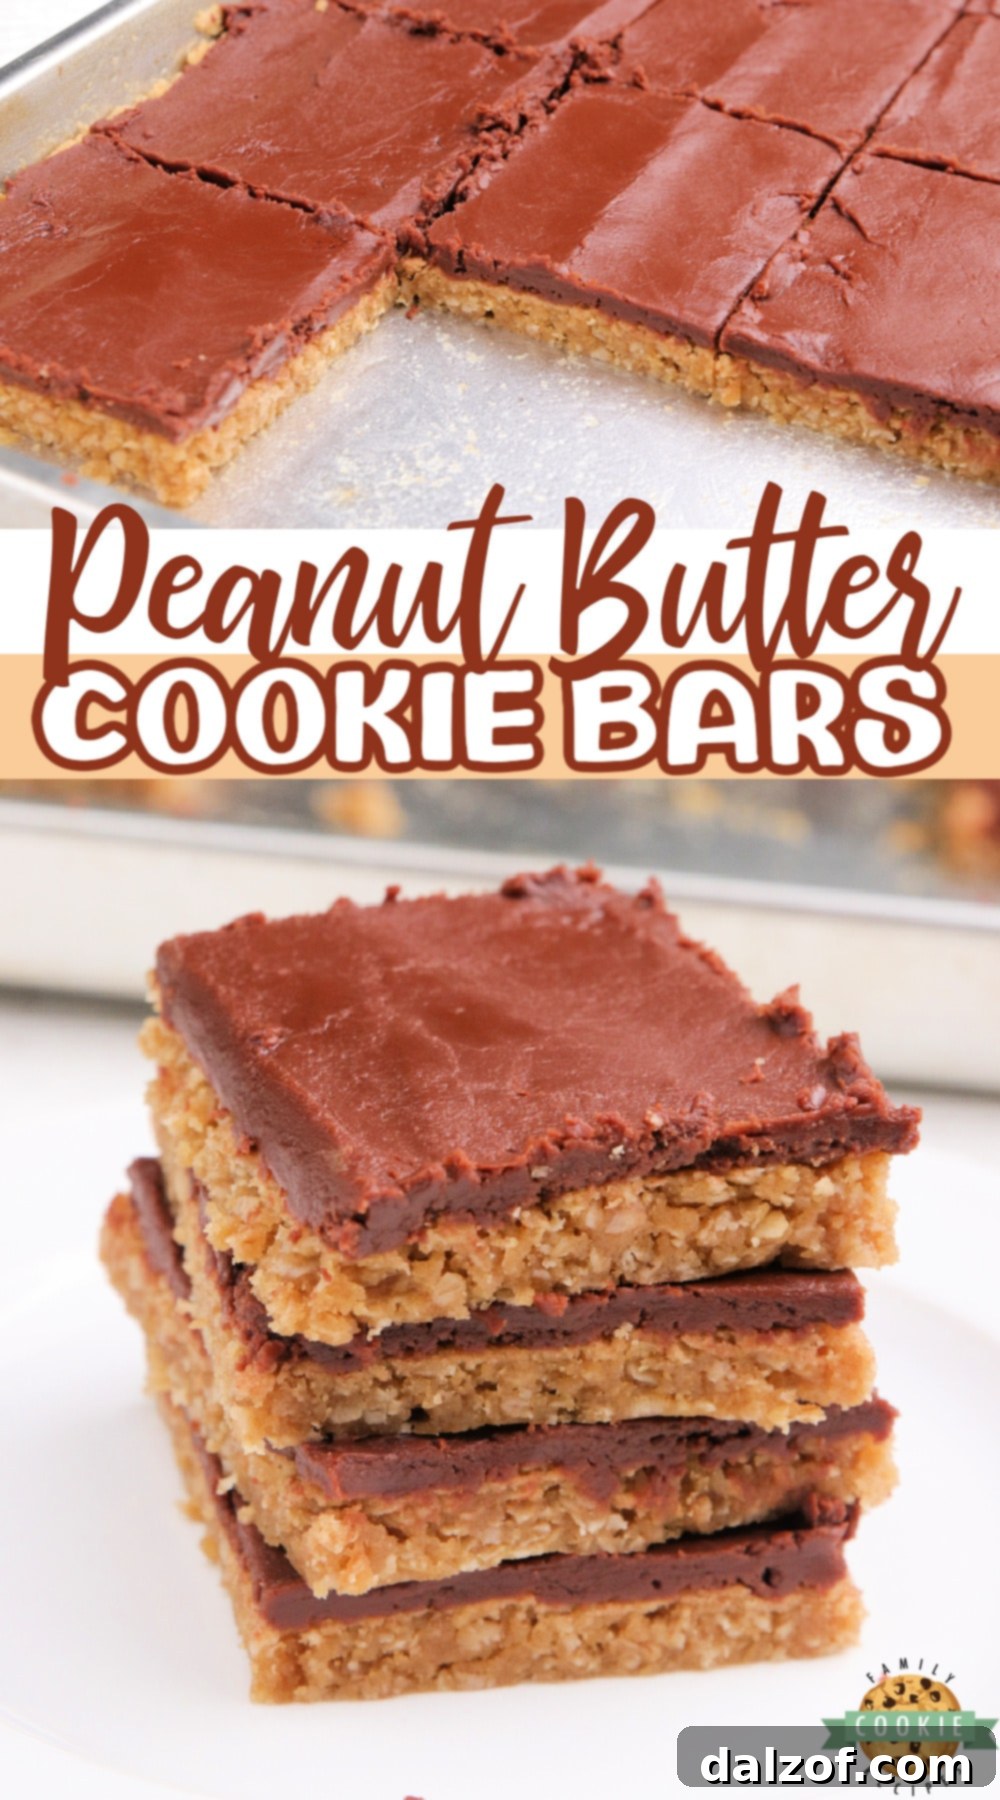
These **Peanut Butter Cookie Bars** truly offer the best of both worlds: a soft, chewy cookie base combined with a rich, dreamy chocolate fudge frosting. It’s an irresistible dessert made effortlessly with simple ingredients like peanut butter and oats, proving that sometimes the easiest recipes are the most satisfying!


A Little Family Story: The Fascination with Sparkle and Heels
A couple of weeks ago, we embarked on a rather frantic shopping trip in search of the perfect pair of shoes for my oldest daughter’s prom. She, like most of the women in our family for the past three generations, has absolutely no love for high heels. This made the task of finding something both elegant and flat quite the challenge. Little Miss B, my youngest, was along for the adventure, and she had a completely different agenda.
Every aisle we turned down, she would spot the most dazzling, tallest high heels she could find. Her eyes would light up with excitement as she’d slip her tiny feet into them – even though they were often still attached by the plastic tags and about ten sizes too big! She’d confidently clomp all over the shoe department, completely unperturbed by the oversized, sparkly monstrosities. The moment she discovered an even taller, even shinier pair, the previous favorites were immediately discarded. This went on for what felt like an eternity. When it was finally time to leave, the inevitable meltdown ensued because I wouldn’t let her keep any of her newfound treasures. It seems Little Miss B is destined to break our family’s long-standing flat-shoe tradition. She’s truly a crazy, wonderful girl with a definite flair for the dramatic and a burgeoning love for all things sparkly and elevated!