
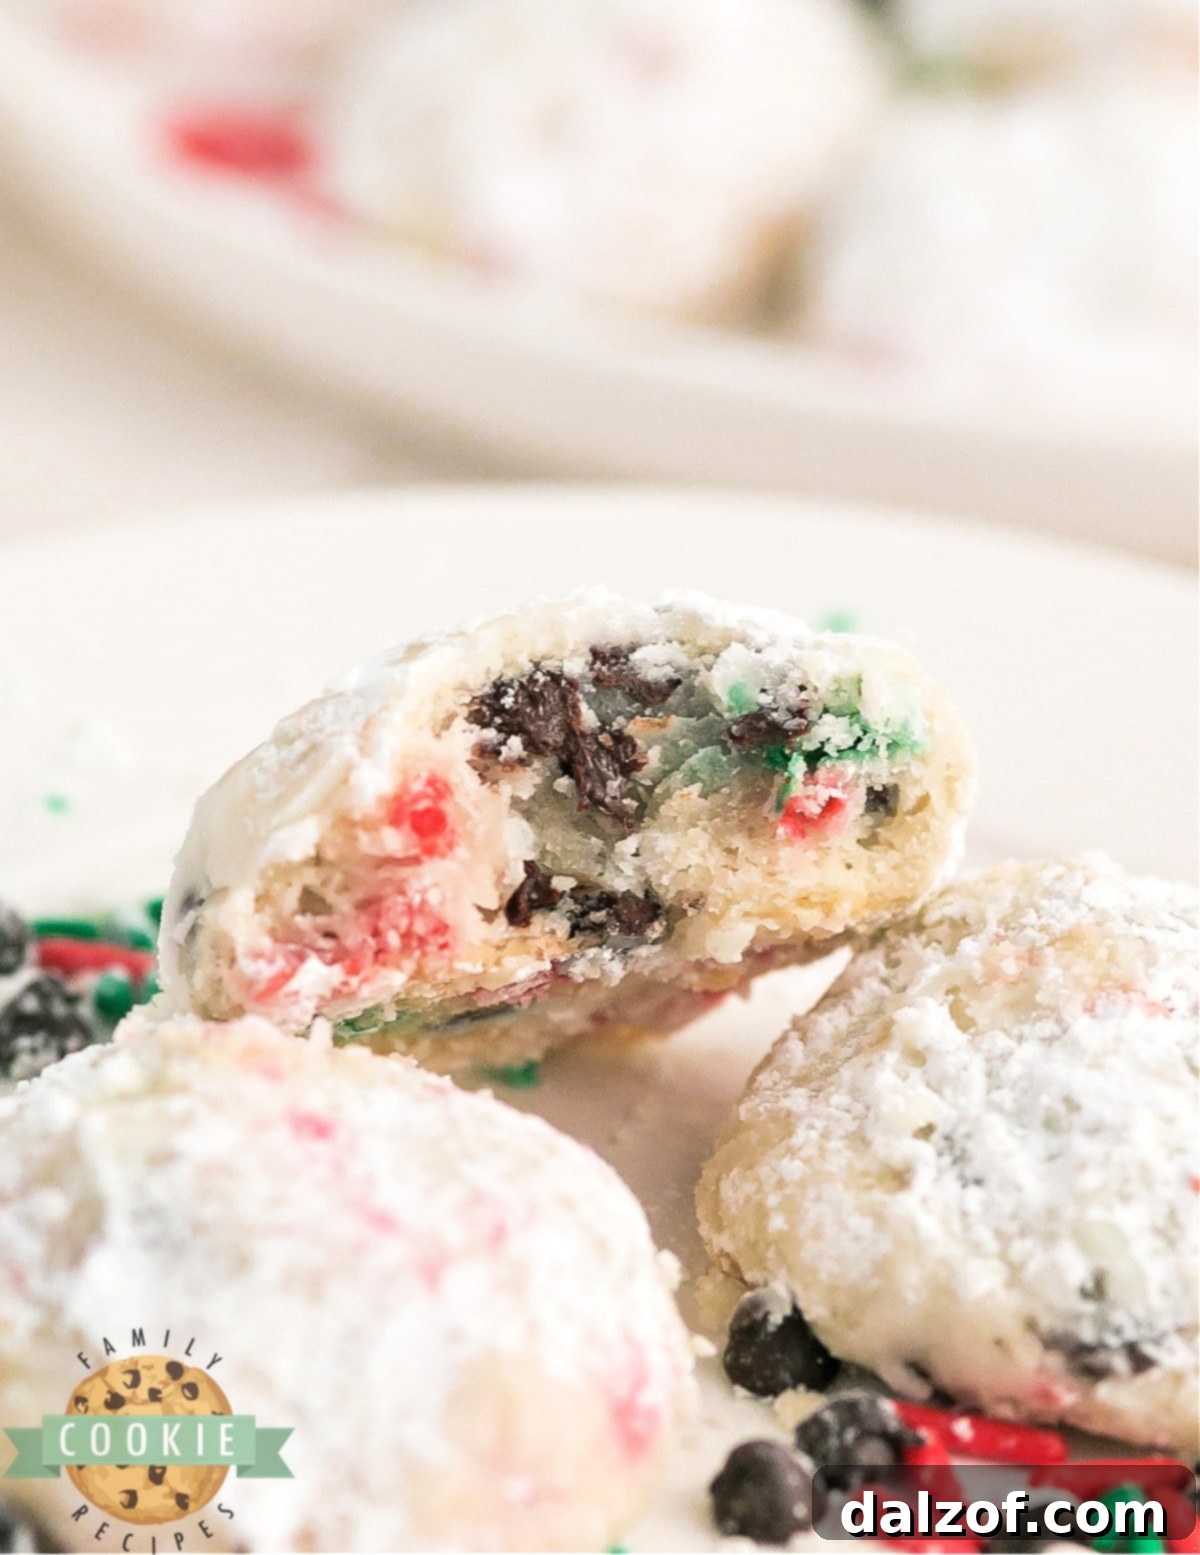
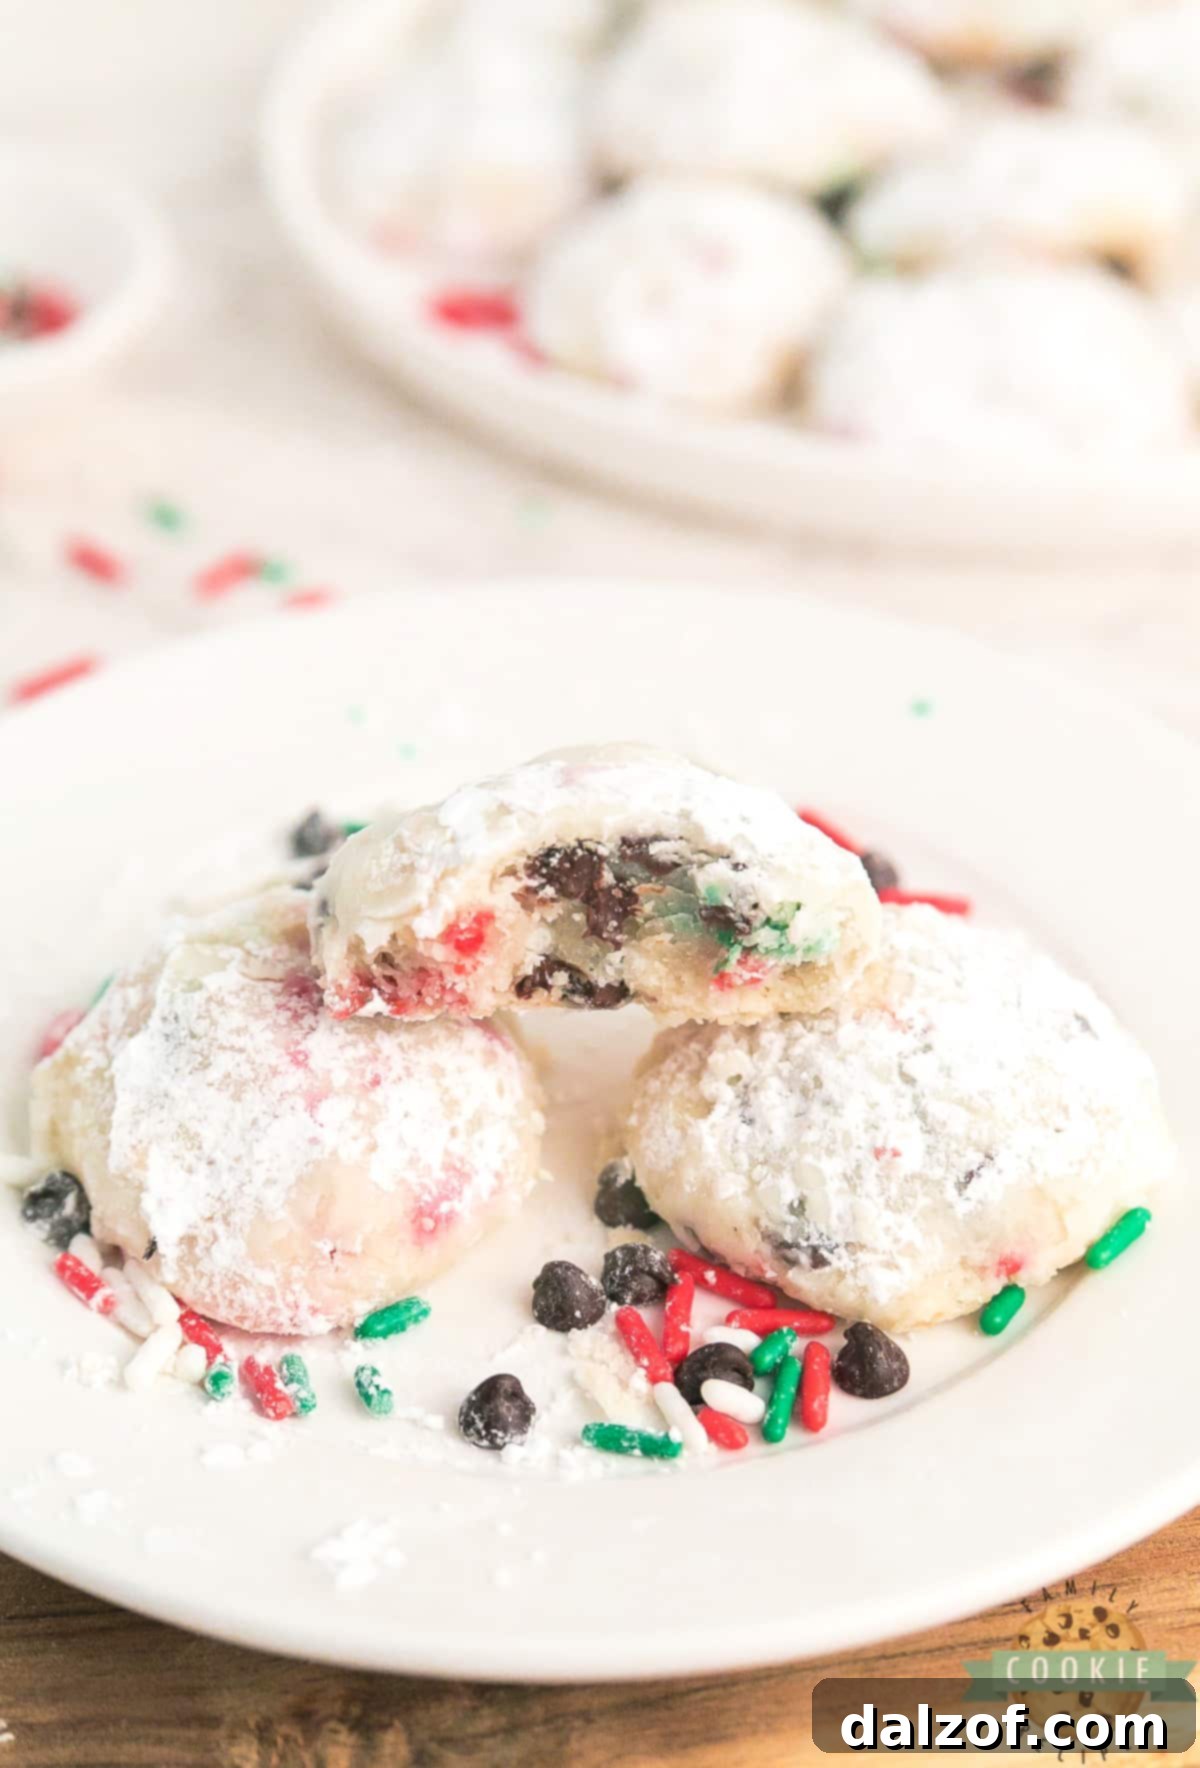
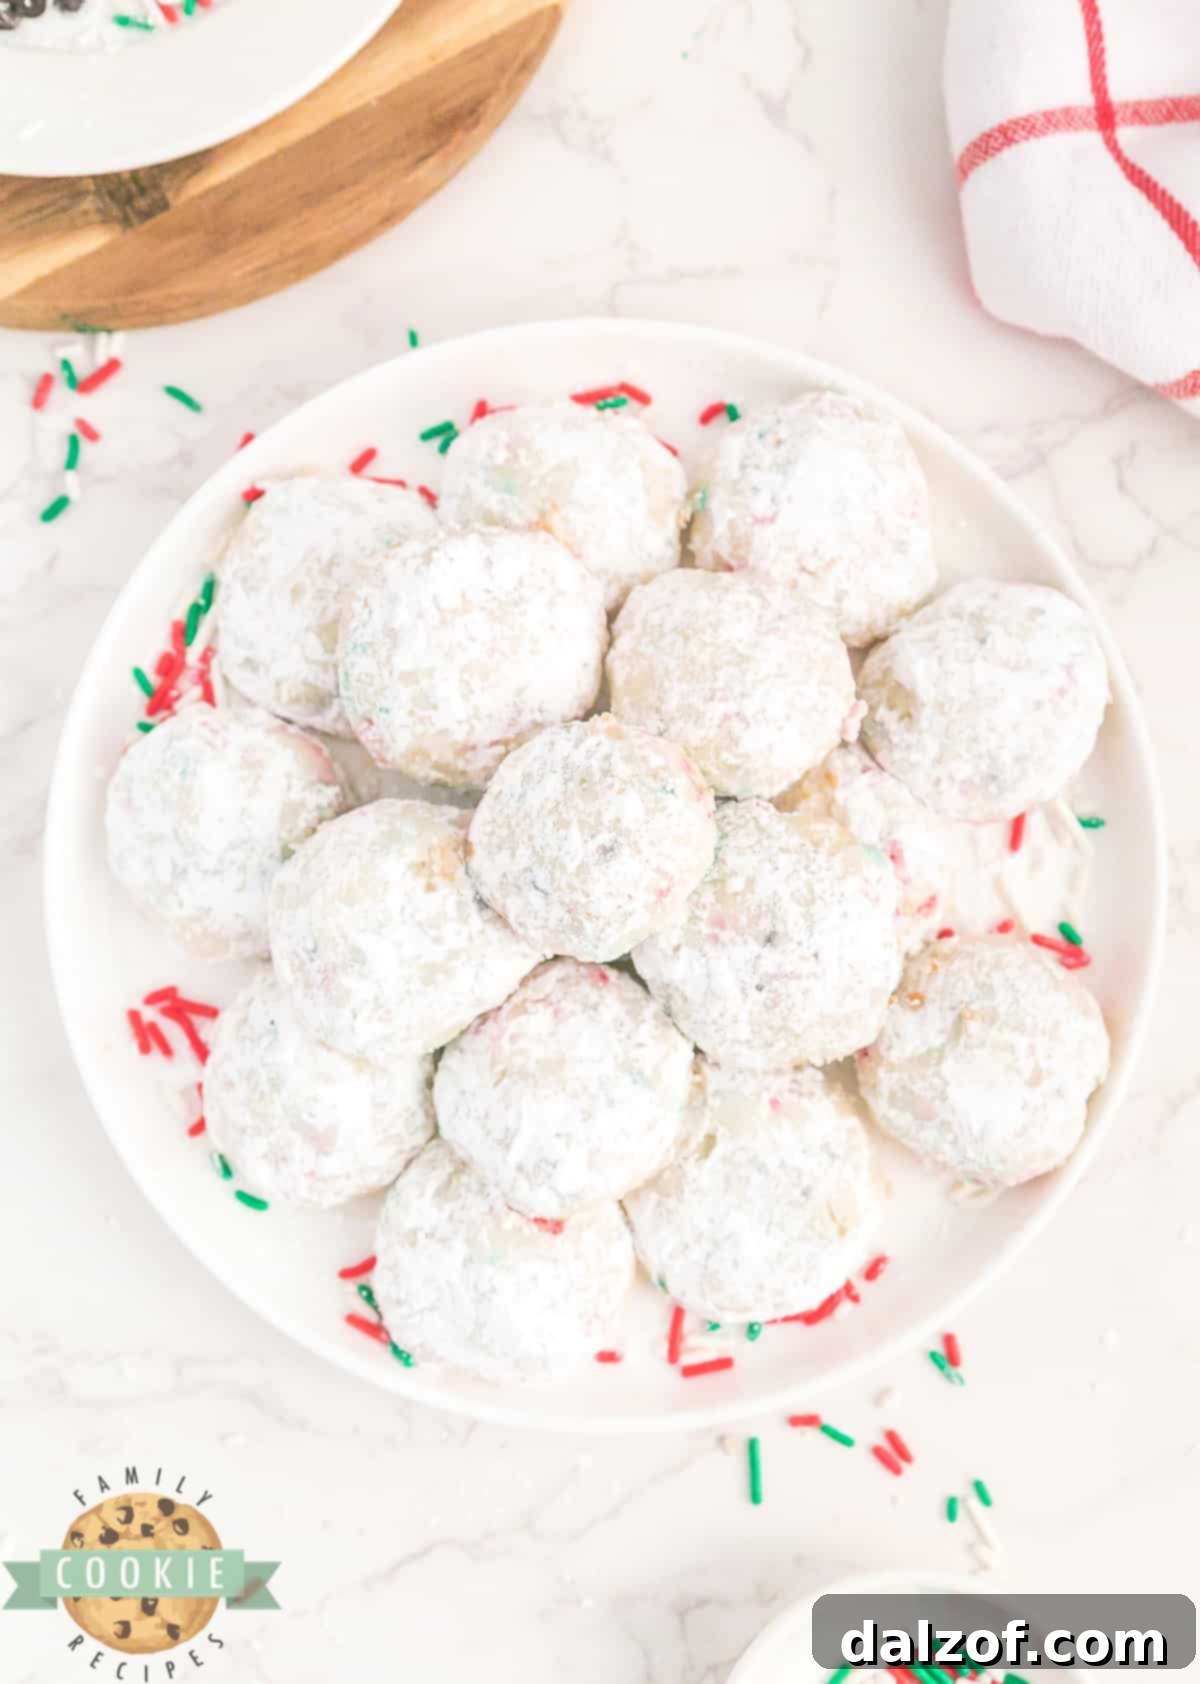
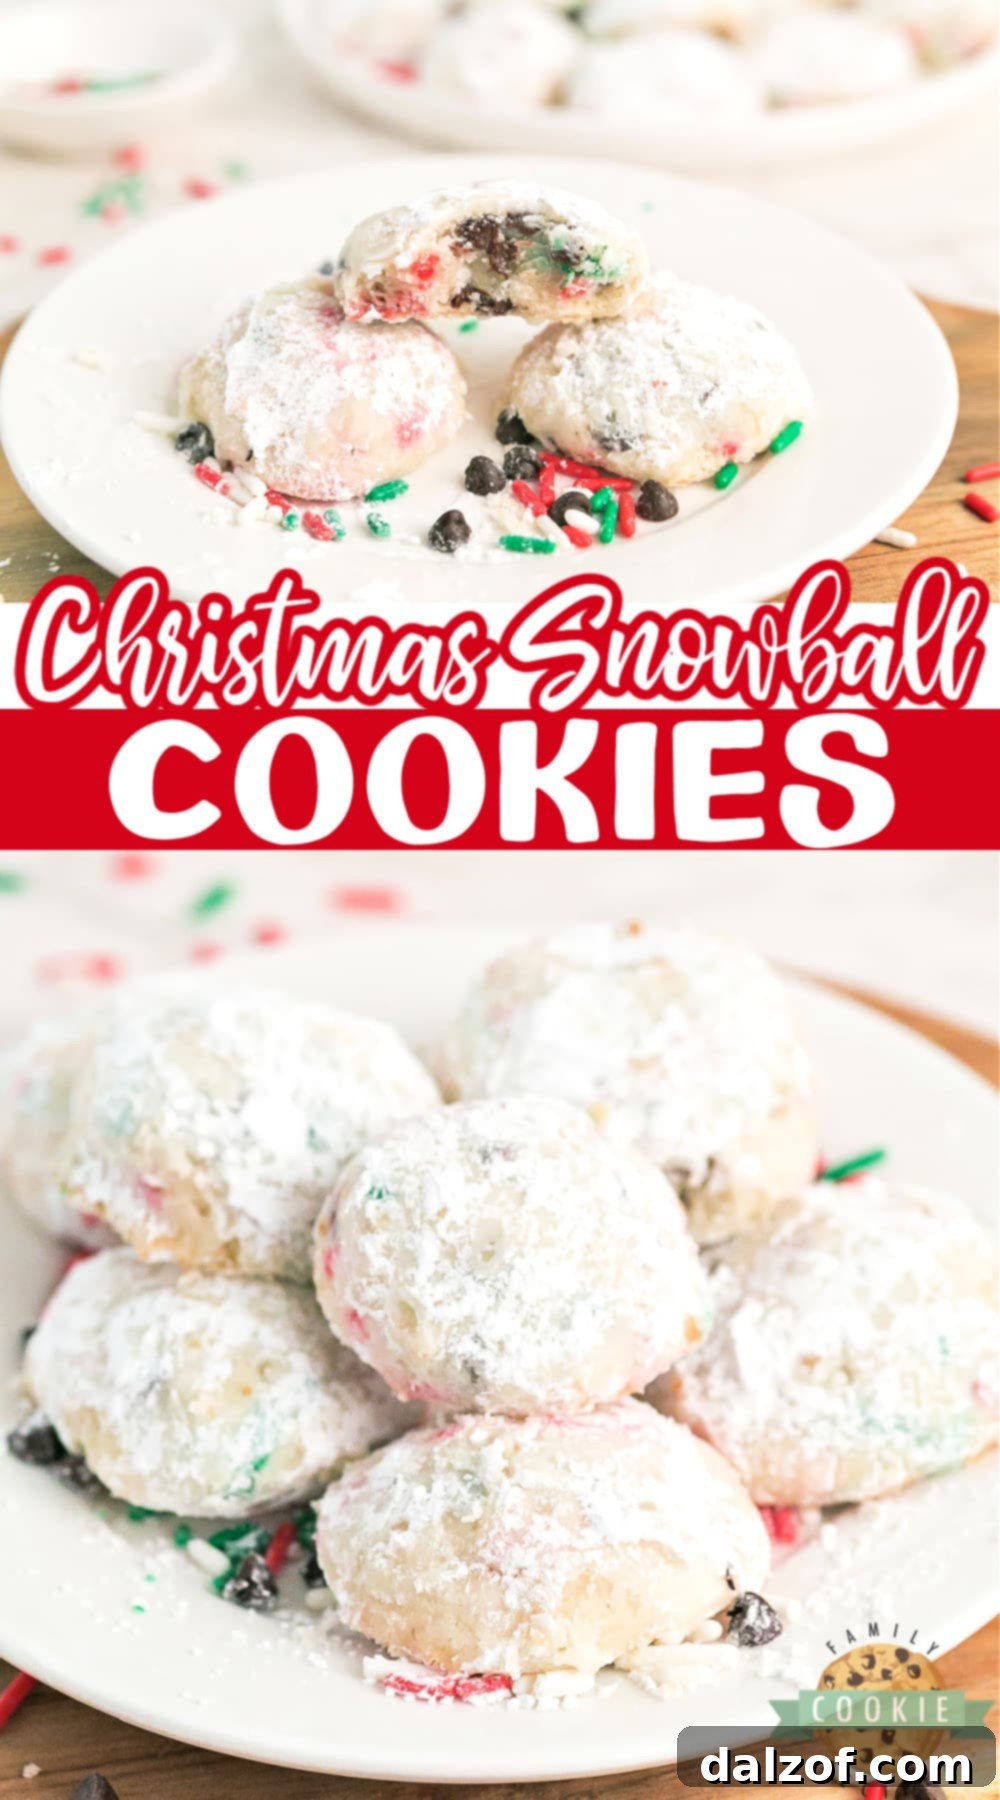
Christmas Snowball Cookies are more than just a treat; they are a cherished holiday tradition, a symbol of winter’s joy, and a delightful addition to any festive gathering. These sweet, buttery, and incredibly easy-to-make cookies are simply perfect for adorning cookie trays, sharing in gift exchanges, or simply enjoying with a warm cup of cocoa by the fireplace. Their signature powdery white appearance evokes the pristine beauty of freshly fallen snow, making them an irresistible sight and taste during the most wonderful time of the year. Every batch promises a generous yield of about two dozen cookies, ensuring there’s plenty of holiday cheer to spread among friends and family.
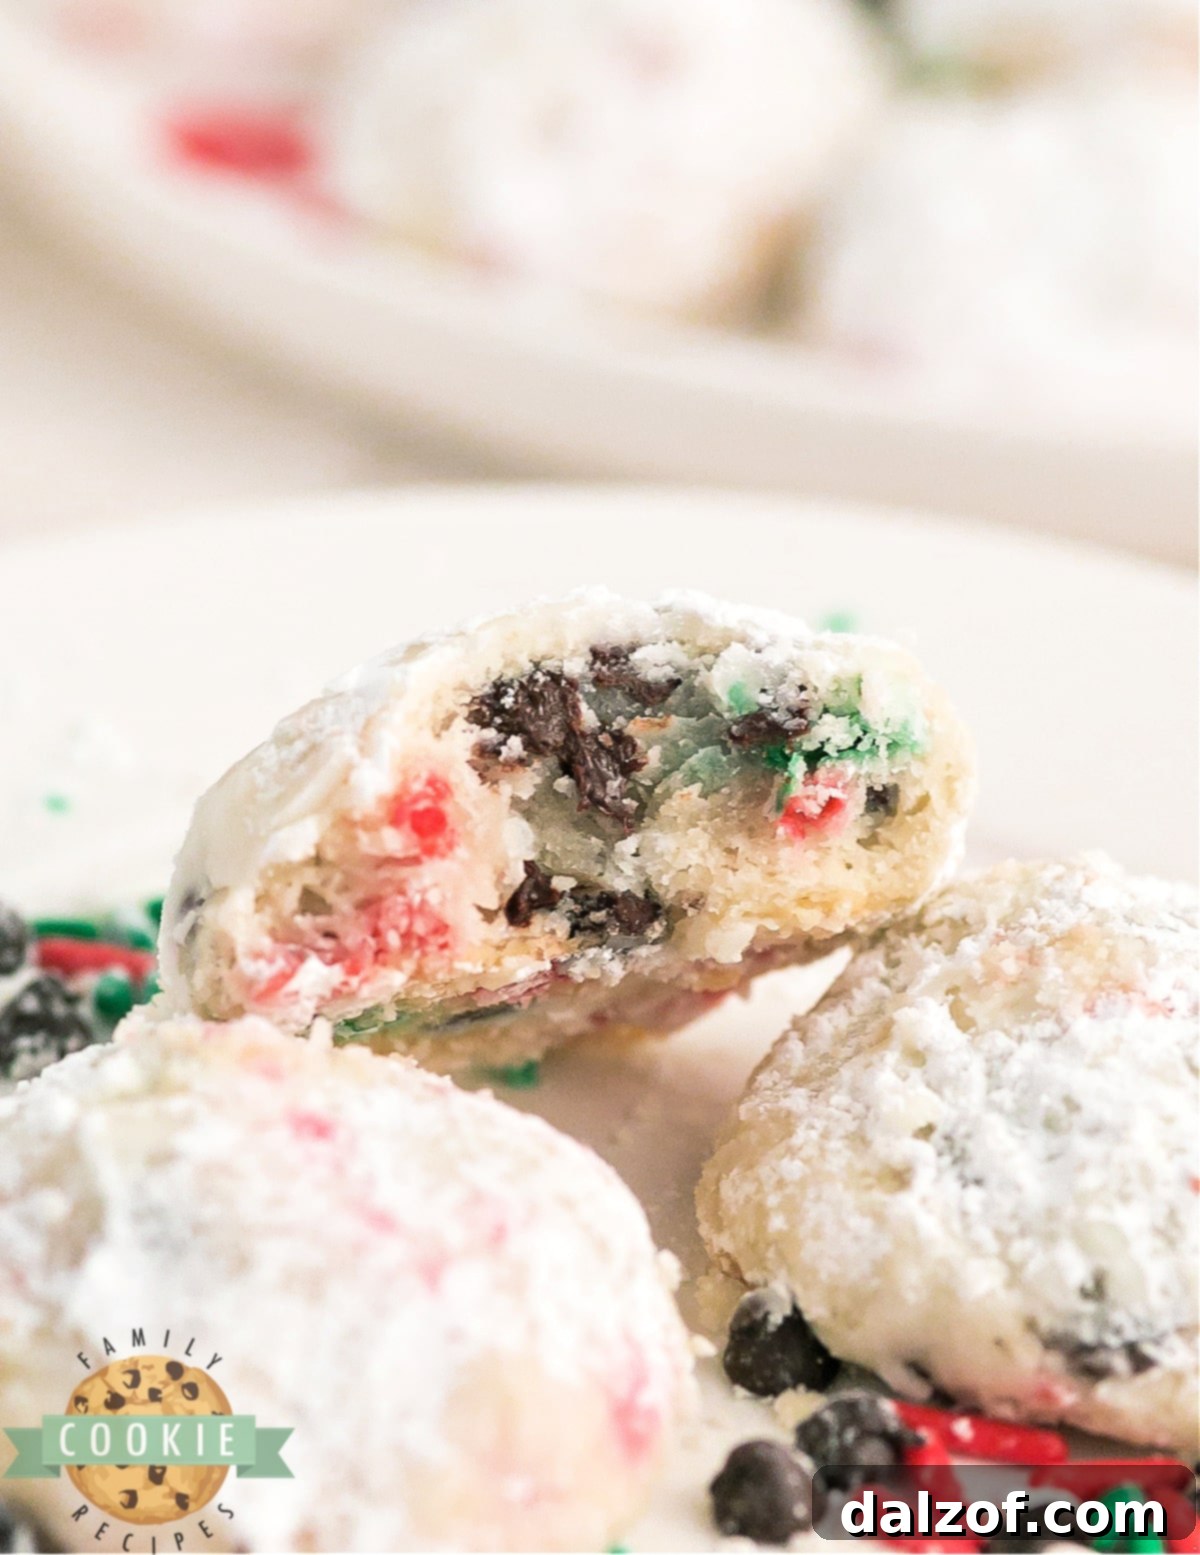
This unique cookie recipe has quickly become a new favorite in many households, and for good reason. It’s remarkably straightforward to prepare, yet each bite is packed with such rich, comforting flavor that it’s genuinely hard to stop at just one. The combination of melt-in-your-mouth texture, subtle sweetness, and delightful mix-ins creates a truly special holiday experience. Whether you’re a seasoned baker or just starting your holiday baking journey, these Snowball Cookies offer a foolproof and rewarding experience that will undoubtedly bring smiles to everyone who tries them.
What Exactly Are Christmas Snowball Cookies?
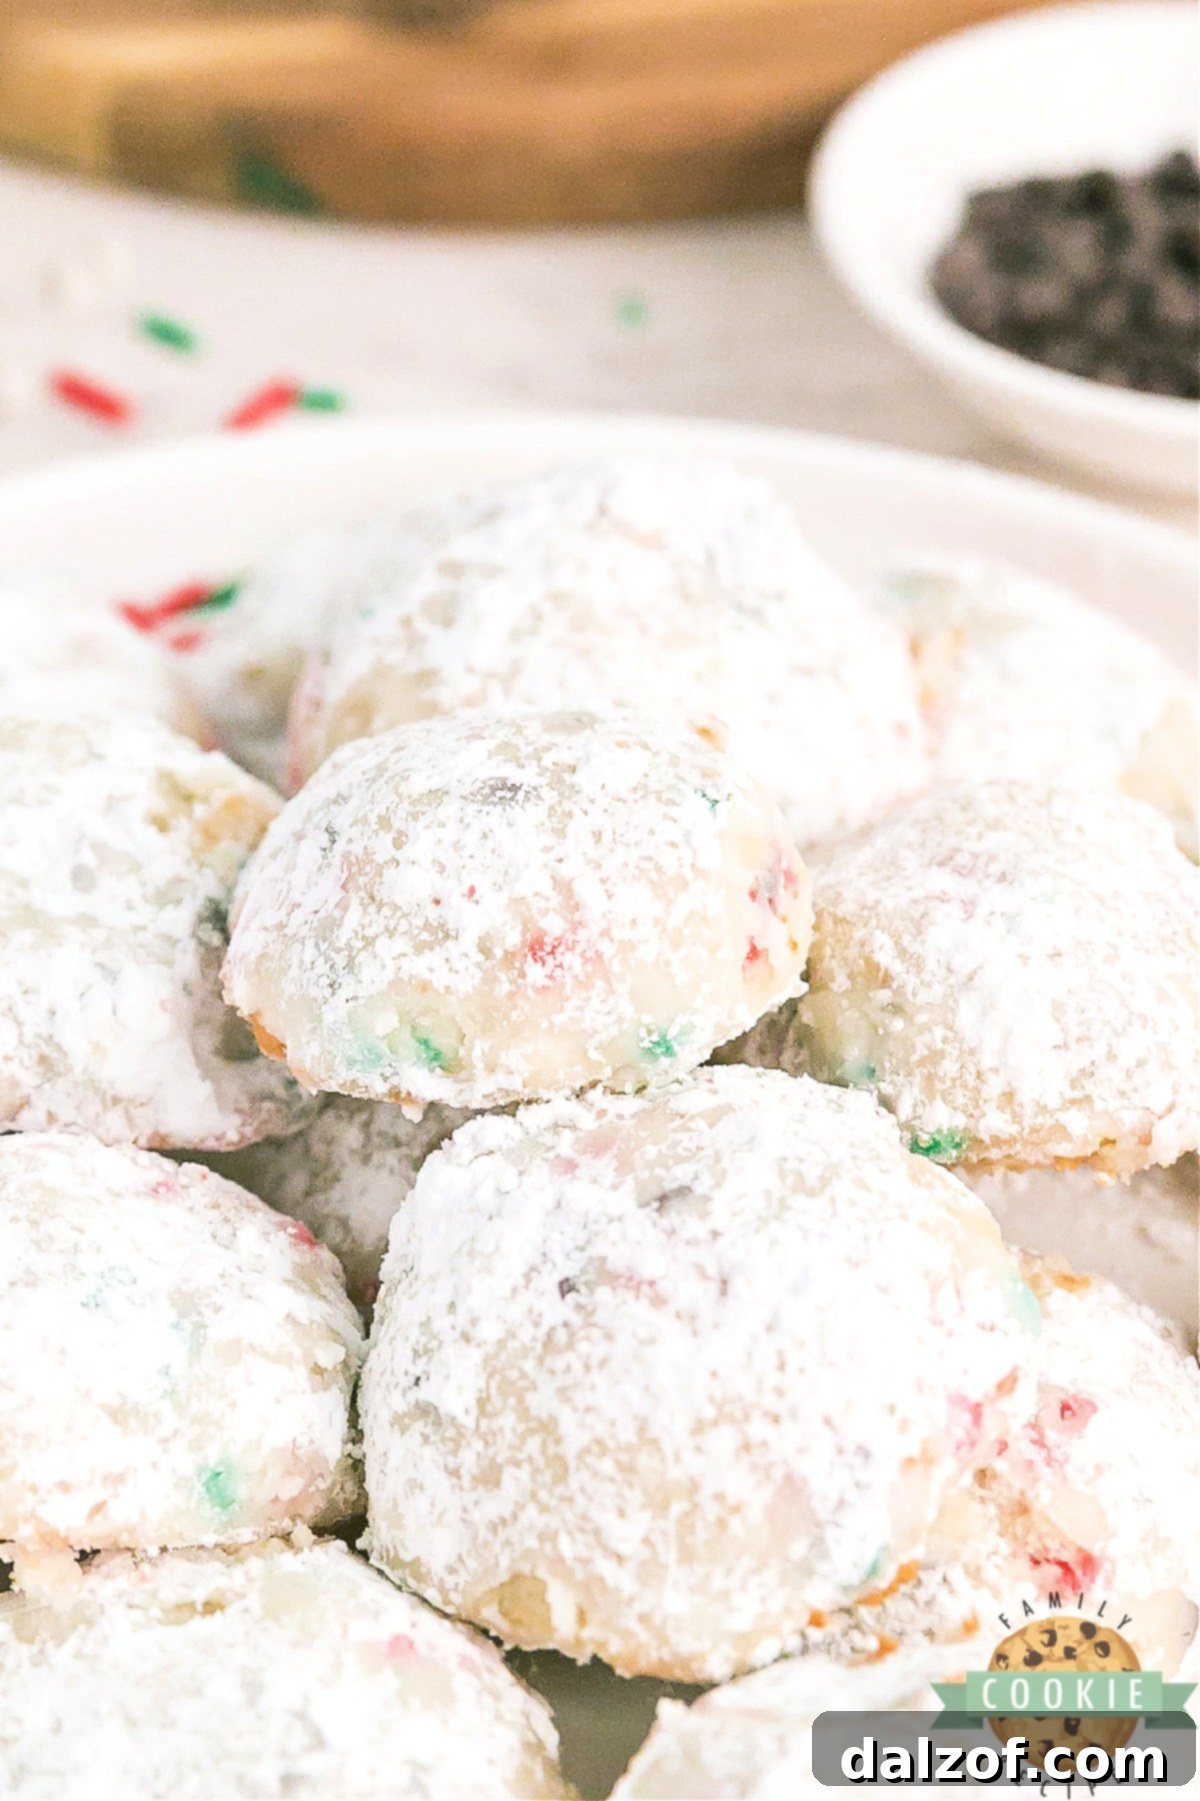
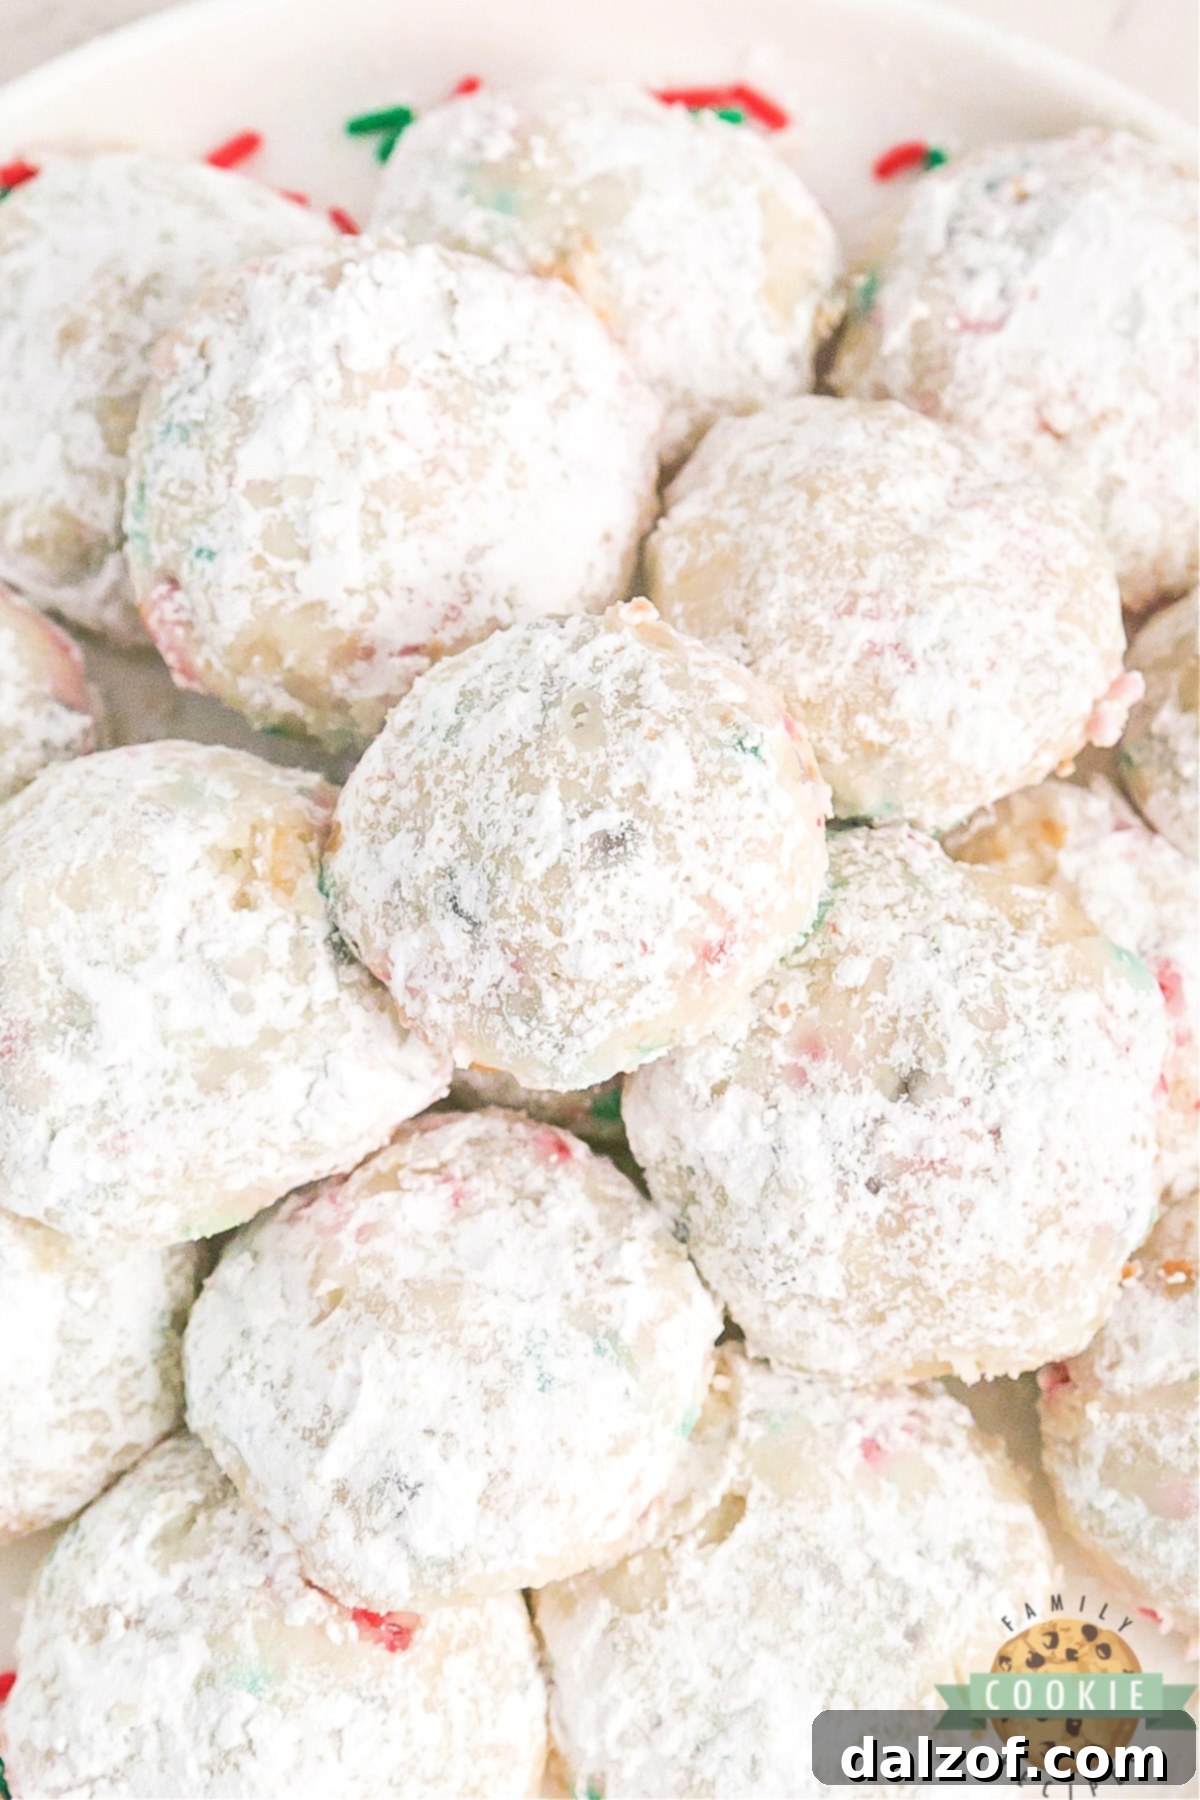
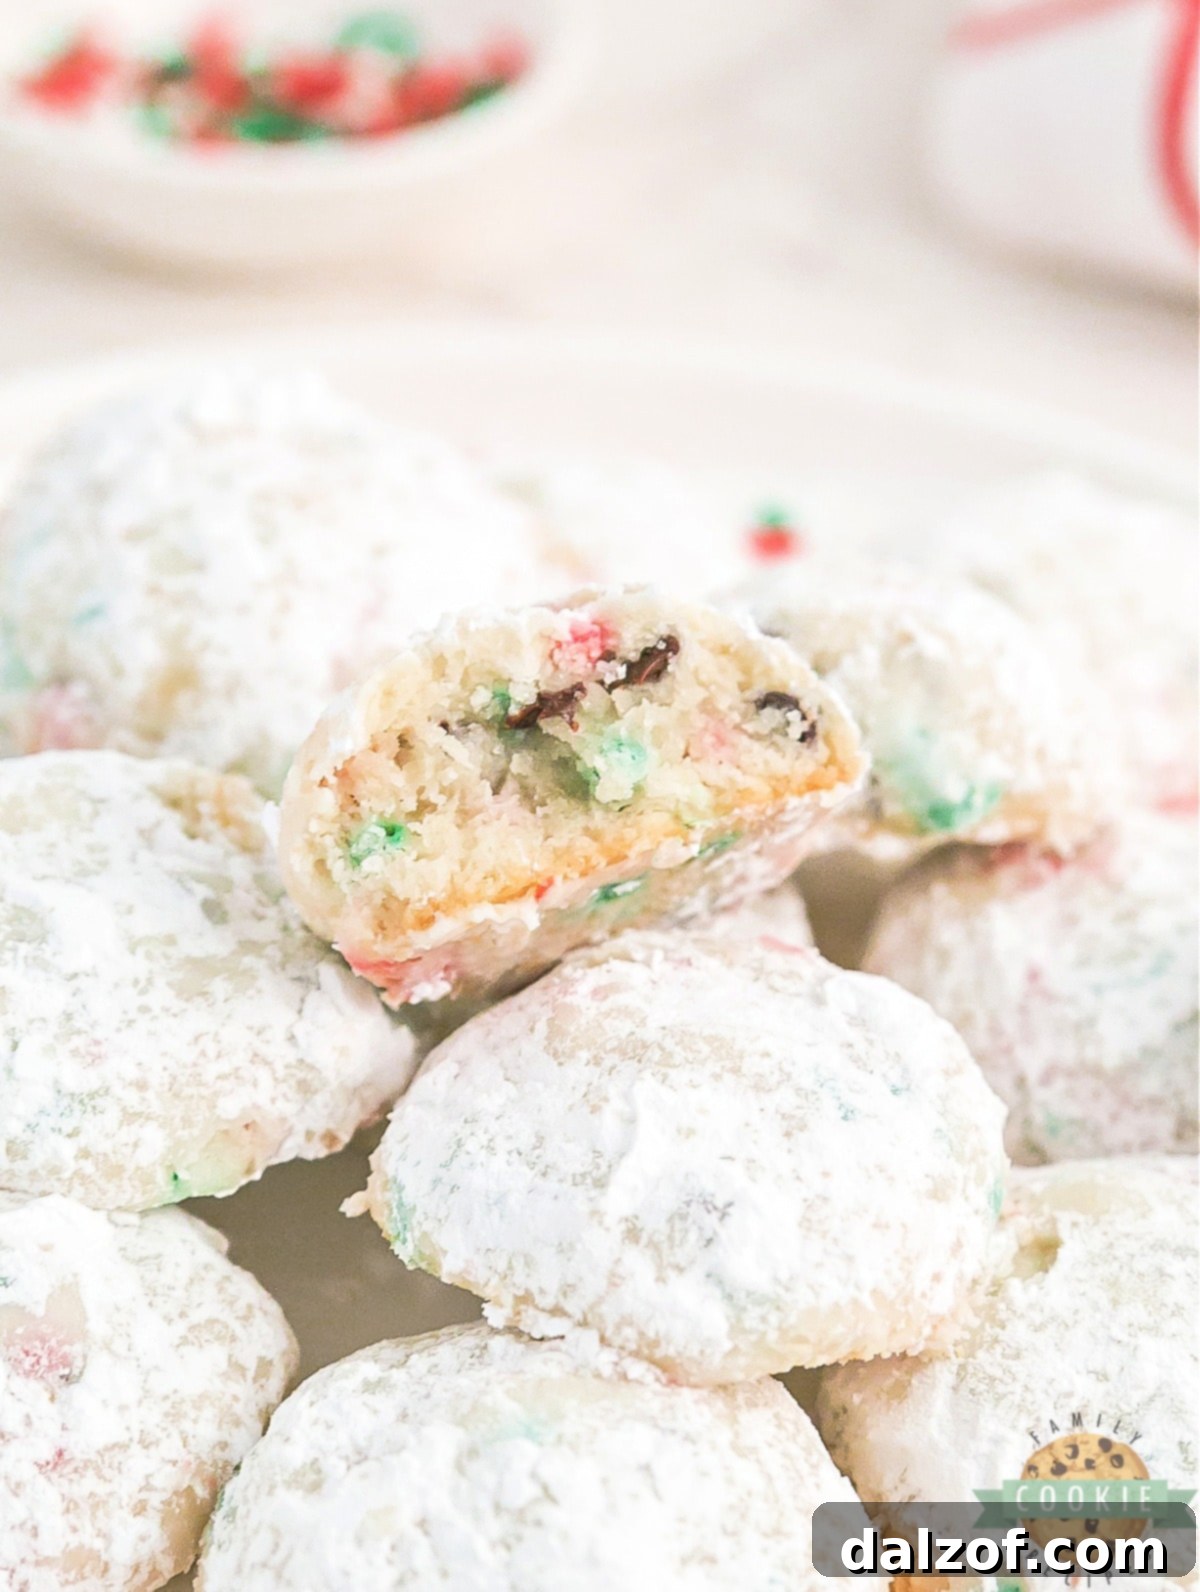
Christmas Snowball Cookies are a delightful confection known by many names across different cultures, including Mexican Wedding Cookies, Russian Tea Cakes, and even Pecan Sandies. At their heart, they are small, round shortbread-style cookies characterized by their rich, buttery, and often nutty flavor. What truly sets them apart and gives them their festive “snowball” moniker is the generous coating of powdered sugar they receive after baking, which gives them a beautiful, frosty white appearance, reminiscent of winter snowballs. This classic preparation creates a cookie that is crisp on the outside and wonderfully tender and crumbly on the inside.
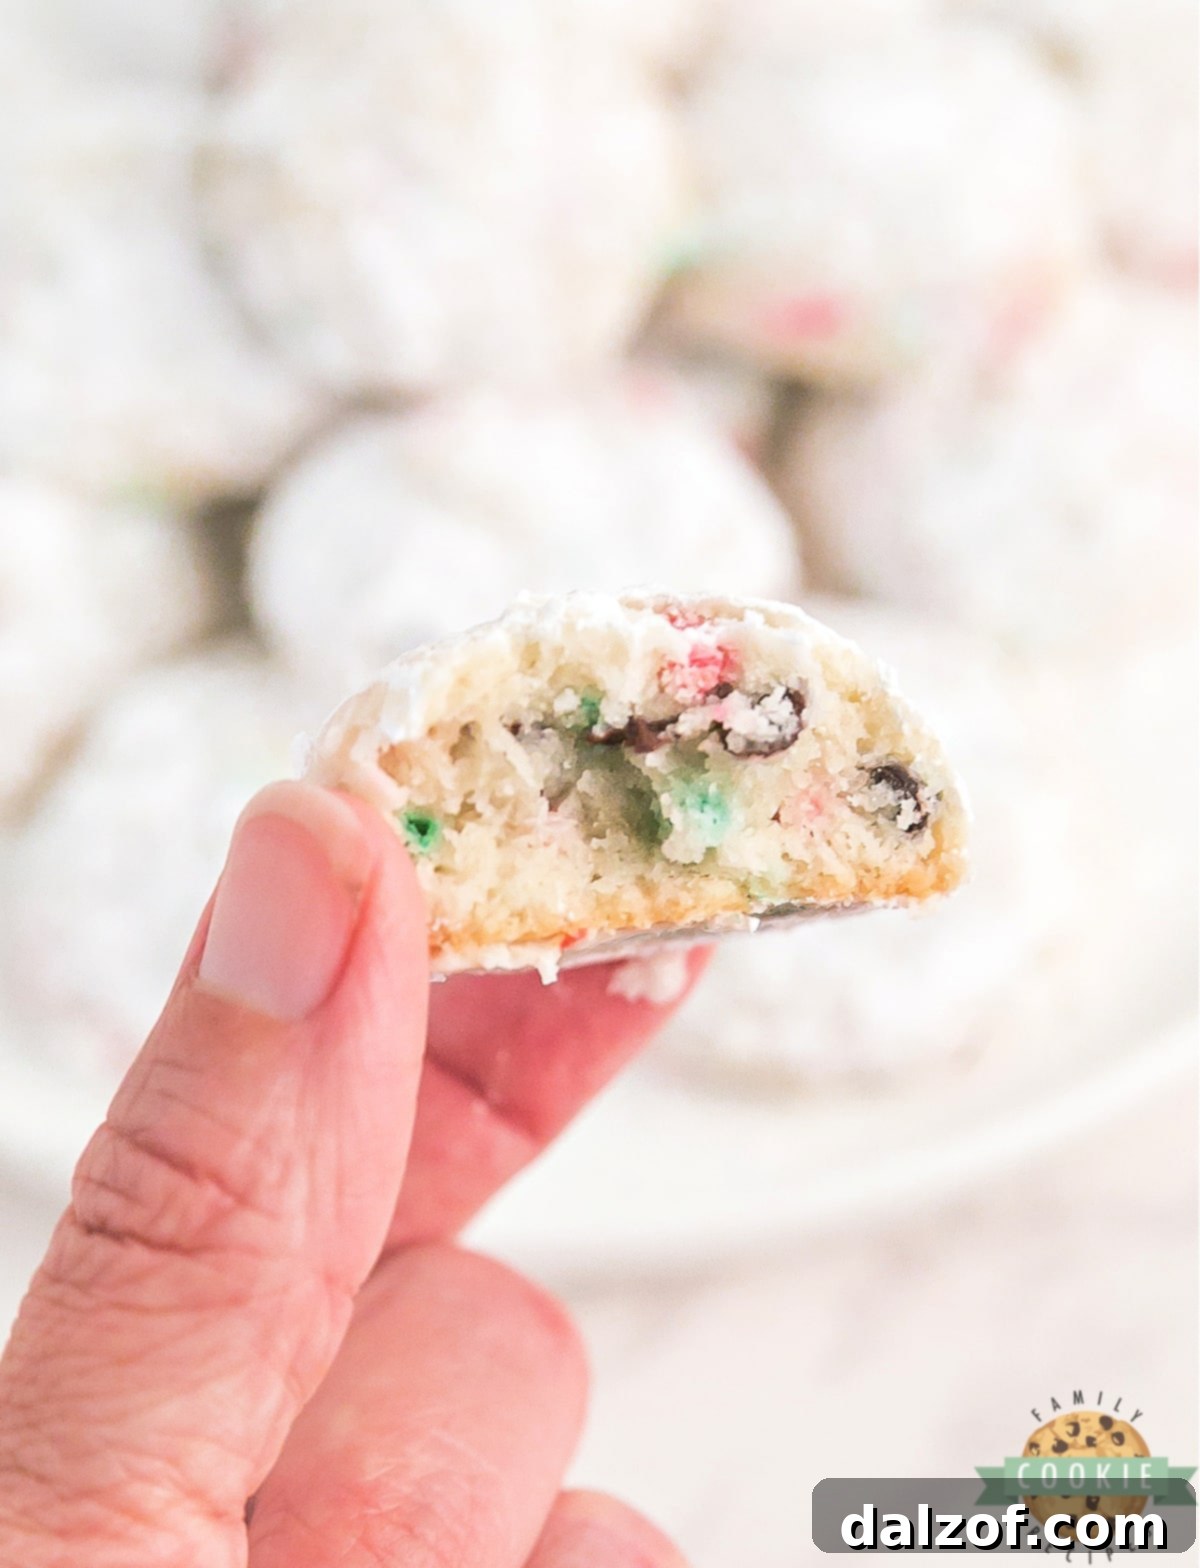
Our specific recipe elevates this traditional treat by incorporating mini chocolate chips and vibrant holiday sprinkles directly into the dough. This thoughtful addition not only enhances the texture with delightful little pockets of melted chocolate but also infuses each cookie with an extra layer of festive cheer, making them visually stunning and even more appealing for Christmas celebrations. The sprinkles melt slightly during baking, creating subtle pops of color within the buttery dough, while the chocolate chips add a comforting, familiar sweetness. These cookies are perfect for those who appreciate classic flavors with a fun, modern twist, embodying the spirit of holiday indulgence in every bite.
Expert Tips for Crafting Perfect Snowball Cookies
- Cool Before Coating: A crucial step for the perfect snowball look! Once removed from the oven, your cookies will be delicate and soft. Allow them ample time to cool slightly on the baking sheet for about 5-7 minutes. This setting period is vital, as attempting to roll them in powdered sugar while too hot will cause the sugar to melt and create a glaze instead of the desired powdery finish. The slight cooling helps the cookies firm up enough to handle and allows the powdered sugar to adhere beautifully without dissolving.
- Double the Dusting: Don’t be shy with the powdered sugar! As the cookies continue to cool, some of the initial powdered sugar coating will naturally absorb into their buttery surface. For that iconic, thick, and snowy appearance, a second roll in powdered sugar after they’ve completely cooled is highly recommended. For an extra refined look, consider sifting your powdered sugar before rolling. This ensures a lighter, lump-free, and more evenly distributed coating, making your snowballs truly picture-perfect.
- Flavor & Texture Variations: While the holiday sprinkles and mini chocolate chips are fantastic, these cookies are incredibly versatile. You can easily transform their flavor profile and texture. For a more traditional, nutty take, replace the sprinkles with finely chopped walnuts, pecans, or almonds. This harks back to their Russian Tea Cake or Mexican Wedding Cookie origins. For an extra boost of flavor, consider adding a hint of almond extract alongside the vanilla, or a touch of citrus zest (lemon or orange) to brighten the taste. A pinch of cinnamon or nutmeg can also introduce a warm, spicy note perfect for winter.
- Room Temperature Ingredients are Key: Ensure your butter is properly softened to room temperature, as this directly impacts the cookie’s texture. Softened butter creams beautifully with sugar, creating a light and airy base for your dough. Cold butter won’t incorporate well, leading to a denser, tougher cookie, while melted butter can cause your cookies to spread excessively and flatten.
- Measure Flour Accurately: Over-measuring flour is a common pitfall that can lead to dry, crumbly cookies. The best method is to lightly spoon the flour into your measuring cup and then level it off with a straight edge, rather than scooping directly from the bag. This prevents compacting the flour and ensures the correct ratio of wet to dry ingredients.
- Don’t Overmix: Once you add the dry ingredients to the wet, mix only until just combined. Overmixing develops the gluten in the flour, resulting in a tougher cookie. A gentle touch ensures a tender, melt-in-your-mouth texture that is characteristic of snowball cookies.
- Uniformity for Even Baking: Using a 1-inch cookie scoop helps ensure that all your cookies are the same size. This consistency is important for even baking, preventing some cookies from being underdone while others are overbaked. It also makes for a more visually appealing presentation on your holiday platter.
Essential Ingredients for Christmas Snowball Cookies
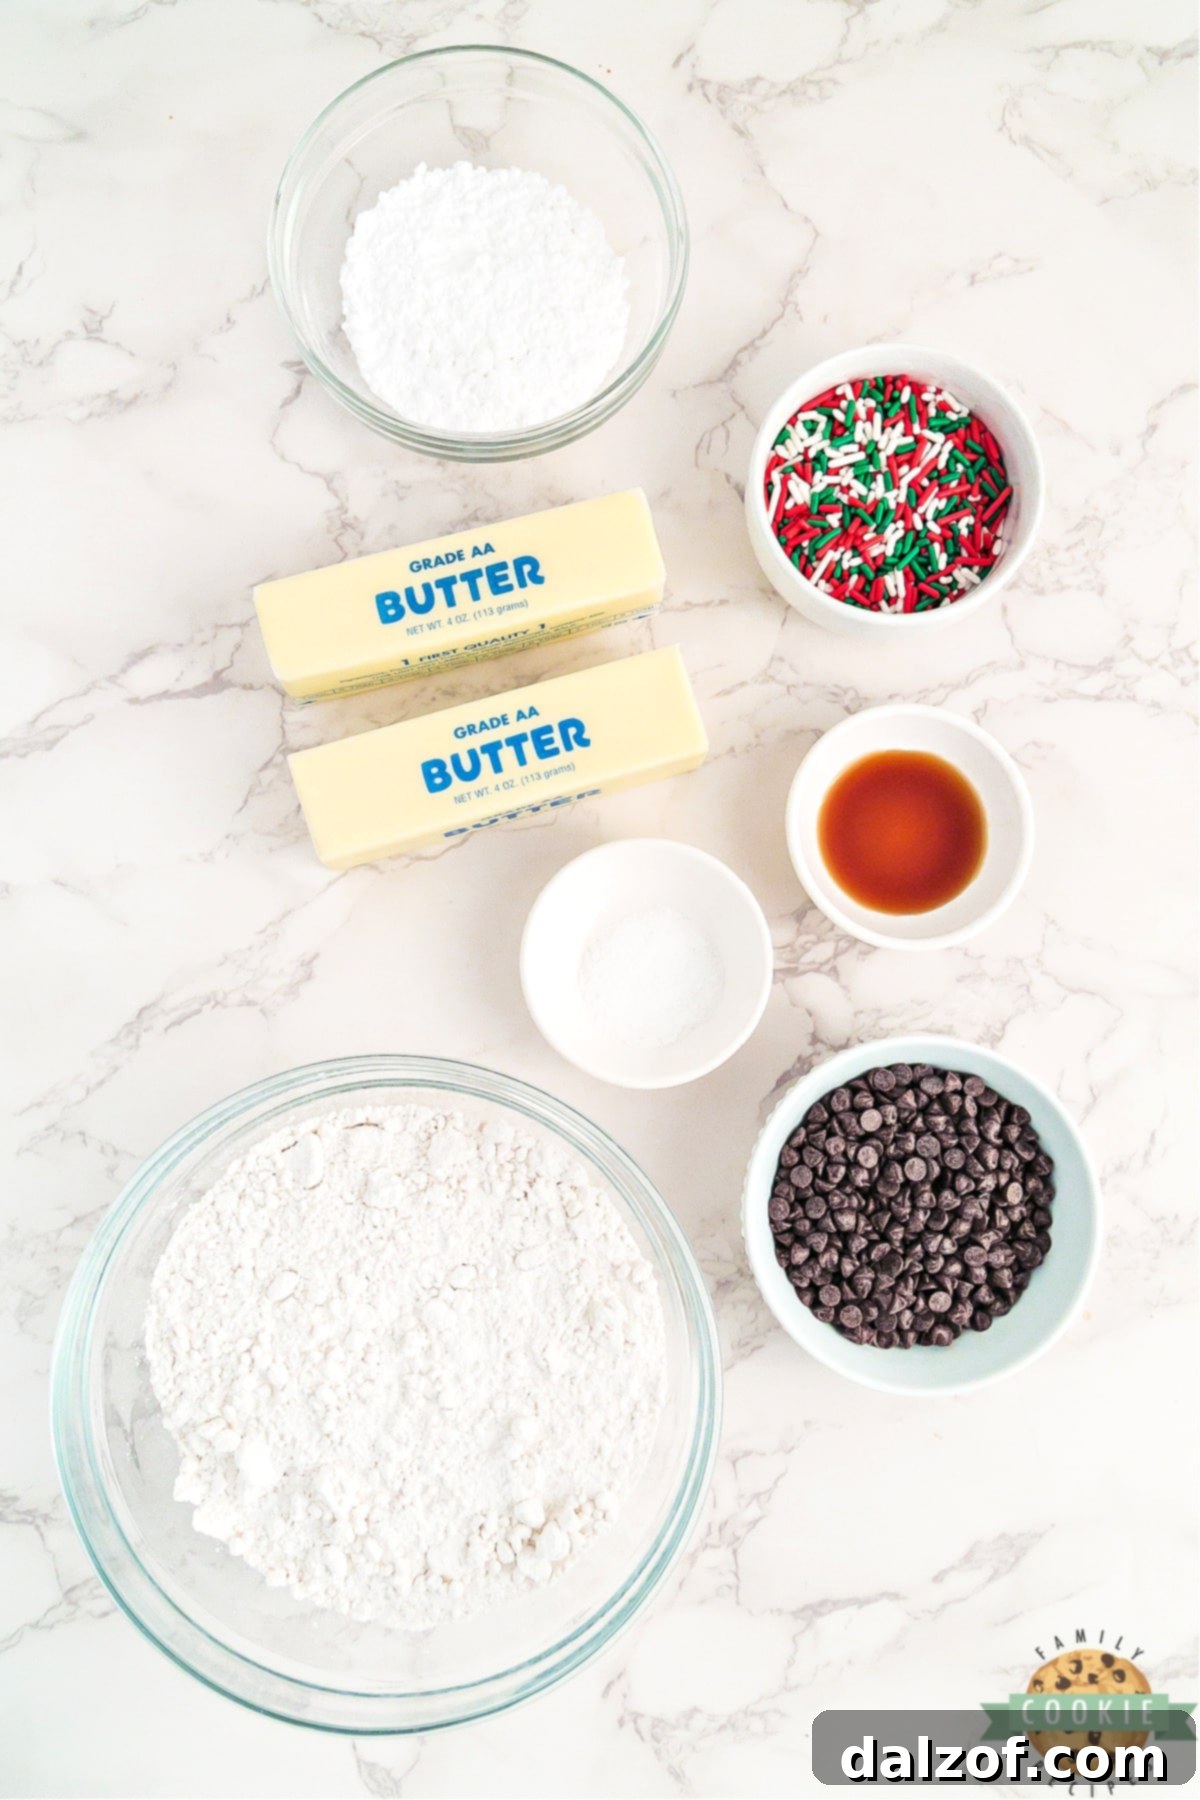
Crafting the perfect Christmas Snowball Cookies begins with selecting quality ingredients. Each component plays a vital role in achieving that signature buttery flavor and tender, melt-in-your-mouth texture. Here’s a closer look at what you’ll need:
Unsalted Butter – For truly exceptional flavor and texture, always opt for real, unsalted butter. Using unsalted butter gives you complete control over the salt content in your recipe. It’s crucial that the butter is softened to room temperature before you begin. This allows it to cream properly with the powdered sugar, incorporating air into the mixture and creating a light, fluffy base that results in a tender cookie. If your butter is too cold, it won’t cream correctly; if it’s melted, it will make the dough greasy and the cookies flat.
Powdered Sugar (Confectioners’ Sugar) – This is the primary sweetener for the cookie dough and also the magical dusting that gives these cookies their “snowball” look. Unlike granulated sugar, powdered sugar dissolves easily into the butter, contributing to the cookies’ fine, delicate crumb and preventing a gritty texture. Its superfine consistency is essential for that signature smooth, tender chew, and for forming the perfect exterior coating.
Vanilla Extract – A cornerstone of classic cookie flavor, vanilla extract adds warmth and depth. The quality of your vanilla extract truly makes a difference here, so invest in a good pure vanilla extract for the best flavor. Avoid imitation vanilla if possible, as it can have a less complex and sometimes artificial taste. You could also experiment with other extracts like almond or peppermint for a festive twist.
All-Purpose Flour – This forms the structural foundation of your cookies. It’s important to measure your flour correctly to avoid dry or tough cookies (see tips above for accurate measuring). For those with dietary restrictions, a good quality 1:1 gluten-free baking flour blend can often be substituted successfully, ensuring everyone can enjoy these festive treats.
Salt – Often underestimated, a small amount of salt is critical for balancing and enhancing all the other flavors in the cookie. It cuts through the sweetness, making the butter and vanilla notes more pronounced and preventing the cookies from tasting one-dimensional. Don’t skip it!
Mini Chocolate Chips – Adding mini chocolate chips to the cookie dough introduces wonderful bursts of semi-sweet chocolate flavor and a pleasing texture contrast to the otherwise pillowy soft cookies. Mini chips are preferred here because their smaller size disperses more evenly throughout the dough and prevents the cookies from becoming too heavy or misshapen. You can use semi-sweet, milk, or even white chocolate chips depending on your preference.
Holiday Sprinkles – These are what truly transform these classic snowball cookies into a vibrant, festive holiday treat. Mixing red and green sprinkles into the dough instantly makes them Christmas-ready. However, feel free to get creative! Use different colors for other holidays (e.g., pastels for Easter, orange and black for Halloween) or special occasions, allowing you to enjoy these delightful cookies year-round.
More Powdered Sugar – Beyond what goes into the dough, you’ll need about a cup of extra powdered sugar specifically for coating the baked cookies. This is where the “snowball” magic truly happens, giving them their characteristic pristine white, powdery finish. Have a small bowl ready for rolling.
Step-by-Step Guide: How to Make Christmas Snowball Cookies
Making these delightful Christmas Snowball Cookies is a straightforward and enjoyable process. Follow these simple steps for perfect results every time:
- Prepare Your Workspace: Begin by preheating your oven to 375°F (190°C). This ensures your oven is at the correct temperature when your dough is ready, promoting even baking. Line a baking sheet with parchment paper. Parchment paper is essential here as it prevents sticking and ensures easy removal of the delicate cookies. Set this prepared baking sheet aside.
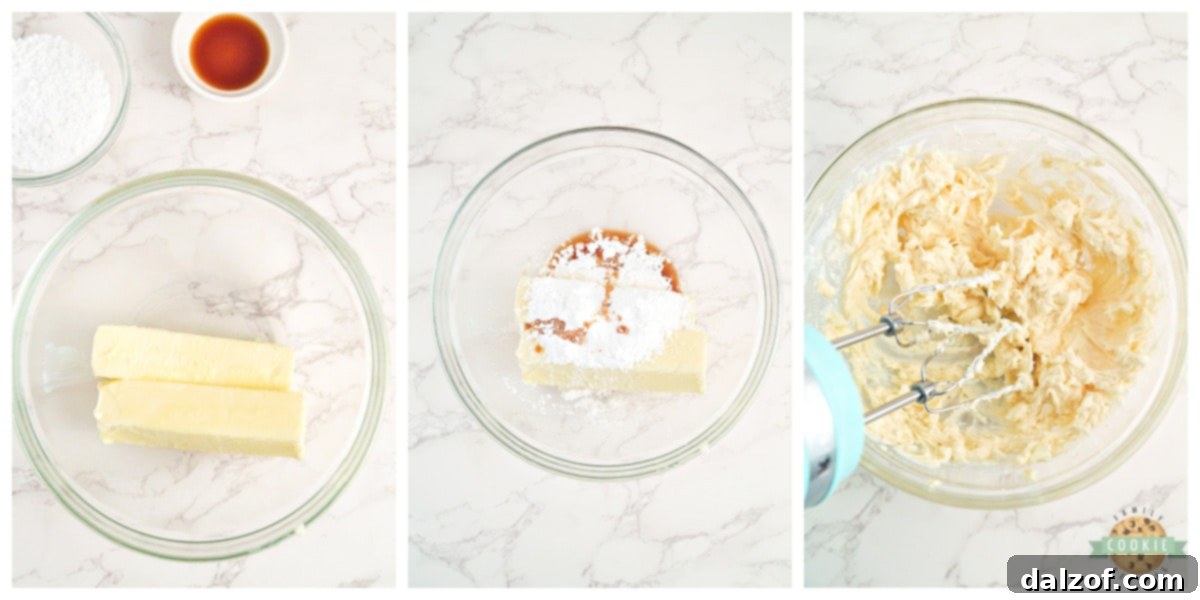
- Cream Wet Ingredients: In a medium-sized mixing bowl, add your softened butter, ½ cup of powdered sugar, and vanilla extract. Using a stand mixer fitted with a paddle attachment or a hand mixer, beat these ingredients together on medium speed for 2-3 minutes. You’re looking for the mixture to become light, fluffy, and pale in color. This creaming process incorporates air, which is crucial for the tender texture of the finished cookies.
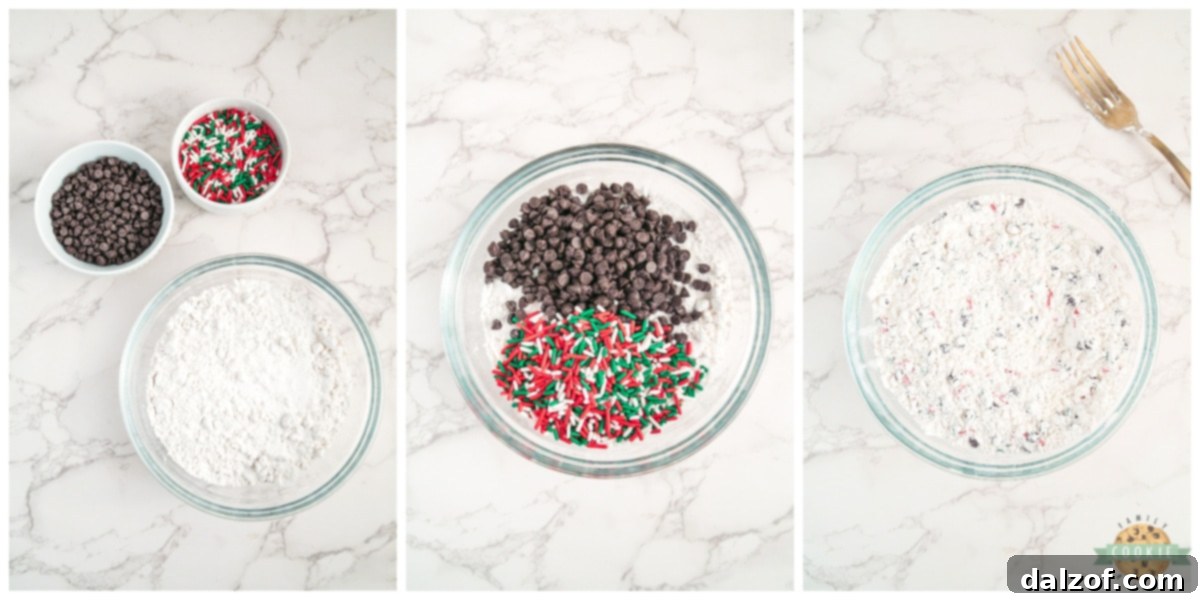
- Combine Dry Ingredients: In a separate, smaller bowl, whisk together the all-purpose flour, salt, mini chocolate chips, and holiday sprinkles. Stir thoroughly to ensure the salt and mix-ins are evenly distributed throughout the flour mixture. This prevents clumps and ensures every cookie has a balanced flavor and delightful additions.
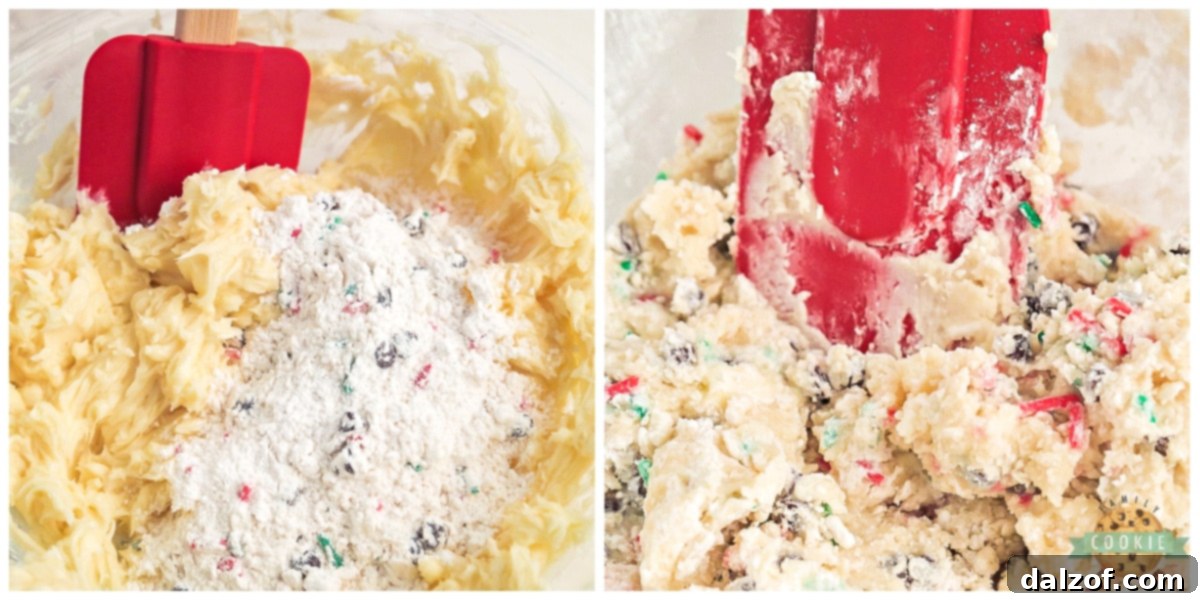
- Integrate Wet and Dry: Gradually add the flour mixture to the butter mixture, about a third at a time. Mix gently on low speed or by hand with a rubber spatula or wooden spoon until just combined. Be careful not to overmix; stop as soon as no dry streaks of flour remain. Overmixing can lead to tough cookies. The dough will be thick and crumbly at first, then come together.
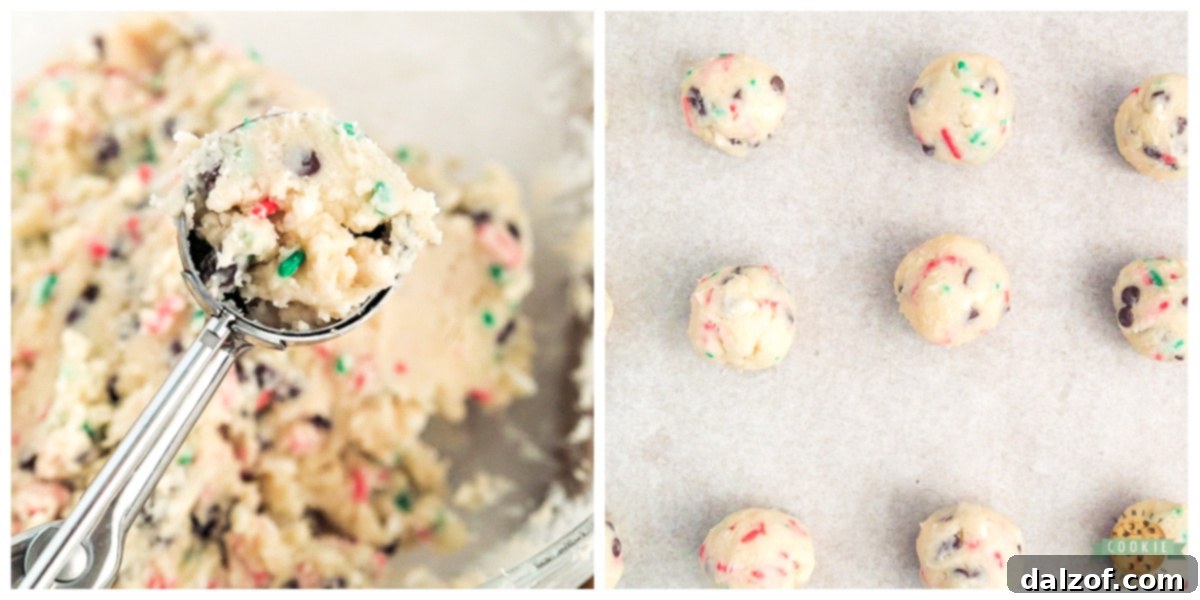
- Form the Cookies: Use a 1-inch cookie scoop to portion the dough. Then, gently roll each portion between your palms to form a smooth, compact ball. Place these dough balls onto your prepared baking sheet, leaving about an inch between each cookie to allow for slight spreading.
- Bake to Perfection: Bake the cookies for 8-10 minutes. Keep a close eye on them; they are done when they are just beginning to show a very faint golden brown color around the edges. They should still look quite pale. Overbaking will make them dry and crumbly instead of tender.
- Initial Cooling: Remove the baking sheet from the oven and allow the cookies to cool on the sheet for 5-7 minutes. They will be very soft and fragile right out of the oven, so this cooling period helps them set and firm up before handling.
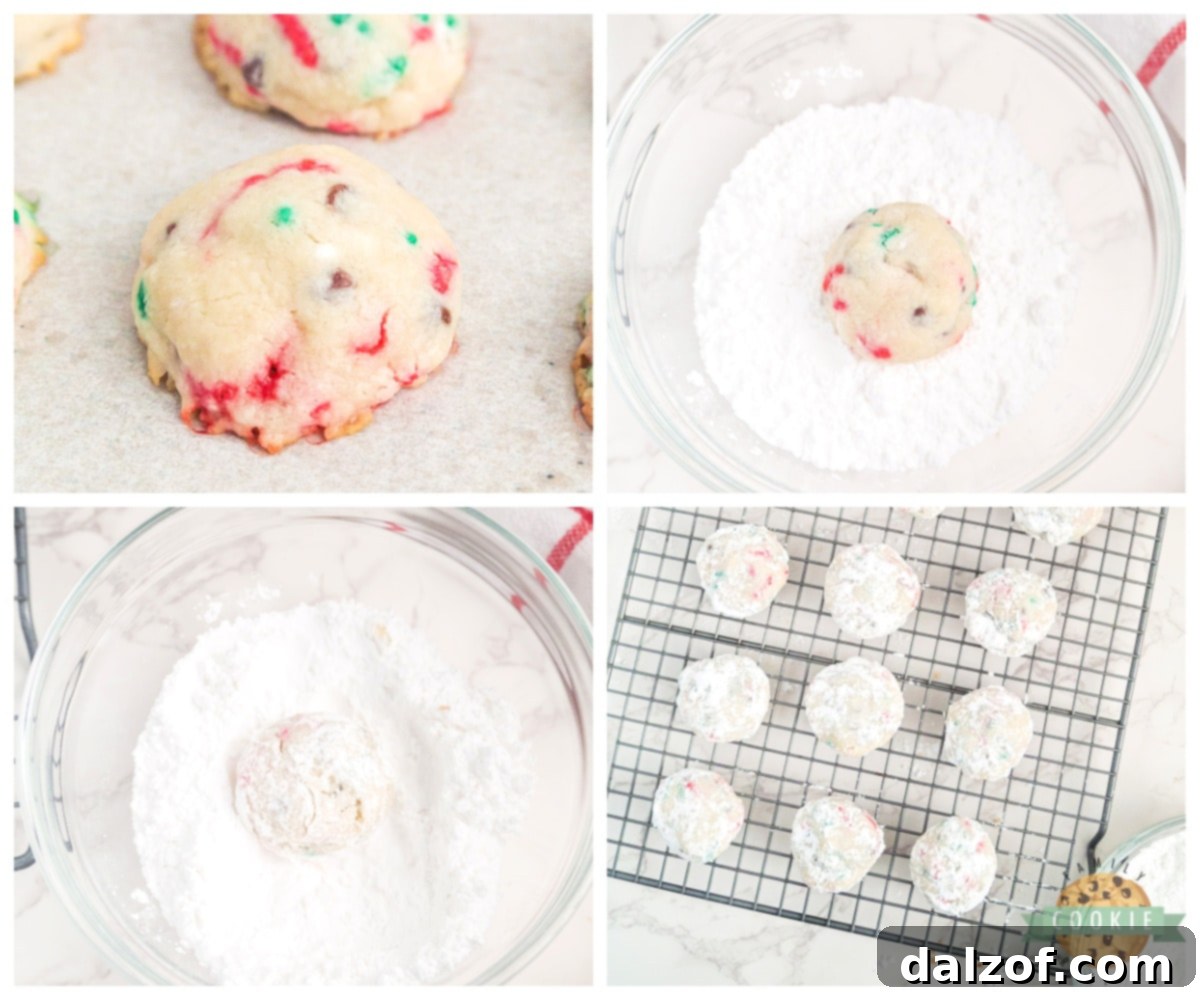
- Roll in Powdered Sugar: While the cookies are still warm but cool enough to handle, add about a cup of extra powdered sugar to a small bowl. Gently roll each cookie in the powdered sugar until it is thoroughly and evenly covered. The warmth of the cookies will allow the sugar to adhere beautifully.
- Final Cool Down: Transfer the coated cookies to a wire rack and allow them to cool completely. For an extra snowy effect, once fully cool, you can roll them in powdered sugar a second time. This final cooling process ensures they reach their optimal texture and allows the flavors to fully meld.
- Serve and Enjoy: Once completely cooled, your beautiful Christmas Snowball Cookies are ready to be served and enjoyed!
Christmas Snowball Cookies
Christmas Snowball Cookies are sweet, buttery, and easy to make! Perfect holiday Snowball Cookies for cookie trays & gift exchanges.
- Course: Cookies
- Cuisine: American
- Keyword: Christmas Snowball Cookies, Holiday Cookies
- Prep Time: 15 minutes
- Cook Time: 10 minutes
- Servings: 24 cookies
- Calories: 144 kcal per cookie
- Author: Jessica & Nellie
Ingredients
- 1 cup unsalted butter, softened
- ½ cup powdered sugar
- 1 tsp vanilla extract
- 2 cups all-purpose flour
- ½ tsp salt
- ½ cup semi-sweet mini chocolate chips
- ⅓ cup holiday sprinkles
- Extra powdered sugar for rolling
Instructions
- Preheat the oven to 375°F (190°C). Line a baking sheet with parchment paper and set aside.
- Add the softened butter, ½ cup powdered sugar, and vanilla extract to a medium-sized mixing bowl. Beat together for 2-3 minutes with a stand or hand mixer until light and fluffy.
- In a separate bowl, add the all-purpose flour, salt, mini chocolate chips, and holiday sprinkles. Stir together until well combined.
- Slowly add the flour mixture to the butter mixture, mixing well with a rubber spatula or wooden spoon until just combined. Be careful not to overmix.
- Scoop the dough using a 1-inch cookie scoop. Roll each portion between your palms, forming a smooth ball before placing it onto the prepared baking sheet.
- Bake for 8-10 minutes, or until the edges are just beginning to turn a very light golden brown. The cookies should still look pale.
- Remove from the oven and allow to cool slightly on the baking sheet for 5-7 minutes. This helps them firm up before handling.
- Add extra powdered sugar to a small bowl. Gently roll each warm cookie until it is evenly covered in the powdered sugar.
- Transfer the coated cookies to a wire rack and allow them to cool completely before serving. For an extra snowy look, roll them in powdered sugar a second time once fully cooled.
Nutrition Information (per cookie)
Calories: 144kcal | Carbohydrates: 13g | Protein: 1g | Fat: 10g | Saturated Fat: 6g | Polyunsaturated Fat: 0.4g | Monounsaturated Fat: 3g | Trans Fat: 0.3g | Cholesterol: 21mg | Sodium: 50mg | Potassium: 42mg | Fiber: 1g | Sugar: 4g | Vitamin A: 239IU | Calcium: 7mg | Iron: 1mg
How Do You Soften Butter to Room Temperature?
Achieving perfectly softened butter is a critical step for many baking recipes, especially those like snowball cookies where butter forms the backbone of the texture. The best way to soften butter naturally is to plan ahead: simply set it out on your kitchen counter for a few hours before you intend to bake. Room temperature butter, typically around 65-70°F (18-21°C), should be pliable enough to leave an indentation when gently pressed but not so soft that it’s greasy or melted.
However, life often calls for a quicker solution. My favorite speedy method involves the microwave, but it requires a delicate touch to avoid melting. Place the whole stick of butter (unwrapped from foil, if applicable) in the microwave and microwave on 50% power for about 6-7 seconds. Check its consistency. If it’s still quite firm, try another 5-7 seconds at 50% power. You may need a few short intervals. As the butter begins to soften, shorten subsequent intervals to just 2-3 seconds to prevent melting. Melted butter will make your cookies spread and flatten, so vigilance is key!
Another excellent microwave technique is using the defrost setting. While it might take a little longer (closer to 30 seconds to a minute, depending on your microwave and butter’s initial temperature), this mode often thaws more gently, reducing the risk of accidental melting. Always remember that the goal is softened, not melted, butter for optimal cookie texture.
If you prefer a non-microwave approach, you have a couple of options:
- The Grating Method: Use a box grater to grate cold butter onto a plate. The smaller pieces will come to room temperature much faster, typically within 10-15 minutes.
- The Rolling Method: Place the stick of butter between two sheets of parchment paper and gently roll it with a rolling pin. This flattens the butter, increasing its surface area and allowing it to soften quickly, usually within 5-10 minutes.
Why Are My Snowball Cookies Flat?
If your otherwise perfectly formed snowball cookies emerge from the oven looking disappointingly flat, the most common culprit is usually related to the butter. While we strive for softened butter in our dough, using butter that is too soft—or worse, melted—can lead to this issue. Melted butter lacks the solid structure required to hold air bubbles when creamed with sugar. These air bubbles are crucial for creating a light and tender crumb and helping the cookies maintain their shape during baking. When a warm, greasy dough enters a hot oven, the fat quickly spreads before the flour has a chance to set, resulting in cookies that collapse and flatten instead of holding their desired round, plump shape. Ensure your butter is at the correct room temperature – pliable but still solid – for beautifully shaped, tender snowball cookies.
Can Snowball Cookies Be Frozen?
Absolutely, these Christmas Snowball Cookies are fantastic candidates for freezing, making them an excellent make-ahead option for busy holiday seasons. Freezing allows you to prepare them well in advance, saving precious time closer to your celebrations. To freeze baked cookies, simply allow them to cool completely after their final dusting of powdered sugar. Arrange them in a single layer on a baking sheet and flash freeze for about an hour, or until solid. This prevents them from sticking together. Once firm, transfer the frozen cookies to an airtight freezer-safe container or a heavy-duty freezer bag, layering them with parchment paper if needed. They will keep beautifully for up to 3 months. When you’re ready to enjoy them, simply thaw them at room temperature. For a fresh-from-the-bakery look, you can give them another light toss in powdered sugar after they’ve thawed, which will refresh their snowy appearance.
You can also freeze the unbaked cookie dough. After forming the dough balls (step 5 in the instructions), place them on a parchment-lined baking sheet and flash freeze until solid. Transfer the frozen dough balls to an airtight freezer bag and store for up to 3 months. When ready to bake, you can bake them directly from frozen, adding a couple of minutes to the baking time, or let them thaw slightly in the refrigerator before baking as usual.
How to Store Snowball Cookies
Proper storage is key to maintaining the delicious flavor and delicate texture of your Christmas Snowball Cookies. Once completely cooled, store your cookies in an airtight container at room temperature. A cookie tin or a plastic container with a tight-fitting lid works perfectly. Keeping them sealed prevents them from drying out and absorbing ambient moisture, which can make them stale. Stored this way, your snowball cookies will remain fresh, buttery, and tender for up to one week. If you live in a particularly humid climate, you might find their freshness window slightly shorter, or you may need to add a piece of bread to the container to help absorb moisture. For longer storage, freezing (as described above) is your best bet.
MORE DELICIOUS CHRISTMAS COOKIES TO TRY:
The holiday season is synonymous with baking, and there’s no limit to the festive treats you can create. If you loved these Christmas Snowball Cookies, you’re in for a treat with these other irresistible holiday cookie recipes. Each one offers a unique flavor and texture, perfect for expanding your cookie platter or trying out new baking traditions:
- MINI CHRISTMAS SANDWICH COOKIES: Delightful bite-sized cookies with a creamy filling, perfect for a delicate touch on your dessert table.
- HOLIDAY BUTTER COOKIES: Classic, melt-in-your-mouth butter cookies that are simple yet elegant, and endlessly customizable with festive decorations.
- CHRISTMAS CHOCOLATE WAFFLE COOKIES: A unique take on holiday baking, combining the rich flavor of chocolate with a fun waffle texture.
- HOLIDAY SPICED SNICKERDOODLES: A comforting classic with a festive twist, featuring warm spices and a delightful cinnamon-sugar coating.
- CHRISTMAS BROWNIE M&M COOKIES: Rich, fudgy brownie-like cookies studded with colorful M&M’s, a guaranteed hit with chocolate lovers.
- HOLIDAY STAR COOKIES: Beautiful star-shaped cookies that are as fun to decorate as they are to eat, bringing celestial cheer to your spread.
- CHRISTMAS SUGAR COOKIE BARS: All the joy of sugar cookies in an easy-to-make bar form, perfect for feeding a crowd and simple to frost.
- RED VELVET CHRISTMAS COOKIES: Deep red, subtly chocolatey, and wonderfully soft, these cookies add a luxurious touch to your holiday assortment.
- CHRISTMAS TREE TWIX COOKIES: A creative and indulgent cookie that combines the beloved flavors of Twix bars with festive Christmas tree shapes.
- MINT CHRISTMAS COOKIES: Refreshing and festive, these cookies offer a cool minty flavor, often paired with chocolate, perfect for winter.
- CHRISTMAS SUGAR COOKIES: The ultimate holiday classic, versatile for any shape and decoration, providing endless creative possibilities.
- CHRISTMAS GINGERBREAD COOKIE BITES: Spicy, sweet, and perfectly chewy, these bite-sized gingerbread treats are packed with holiday flavor.
- STACKED CHRISTMAS TREE COOKIES: Impressive and fun, these cookies are layered to create beautiful edible Christmas trees, a true showstopper.
- CHRISTMAS SPRINKLE COOKIES: Simple yet joyful, these cookies are loaded with festive sprinkles, making them vibrant and appealing to all ages.
- HOT CHOCOLATE CHRISTMAS COOKIES: Imagine your favorite warm drink in cookie form! These rich cookies often feature chocolate and marshmallow, evoking cozy winter evenings.
No matter which recipe you choose, the act of baking and sharing cookies during Christmas is a time-honored tradition that brings warmth and happiness. Enjoy creating these festive masterpieces and making cherished memories with your loved ones this holiday season!