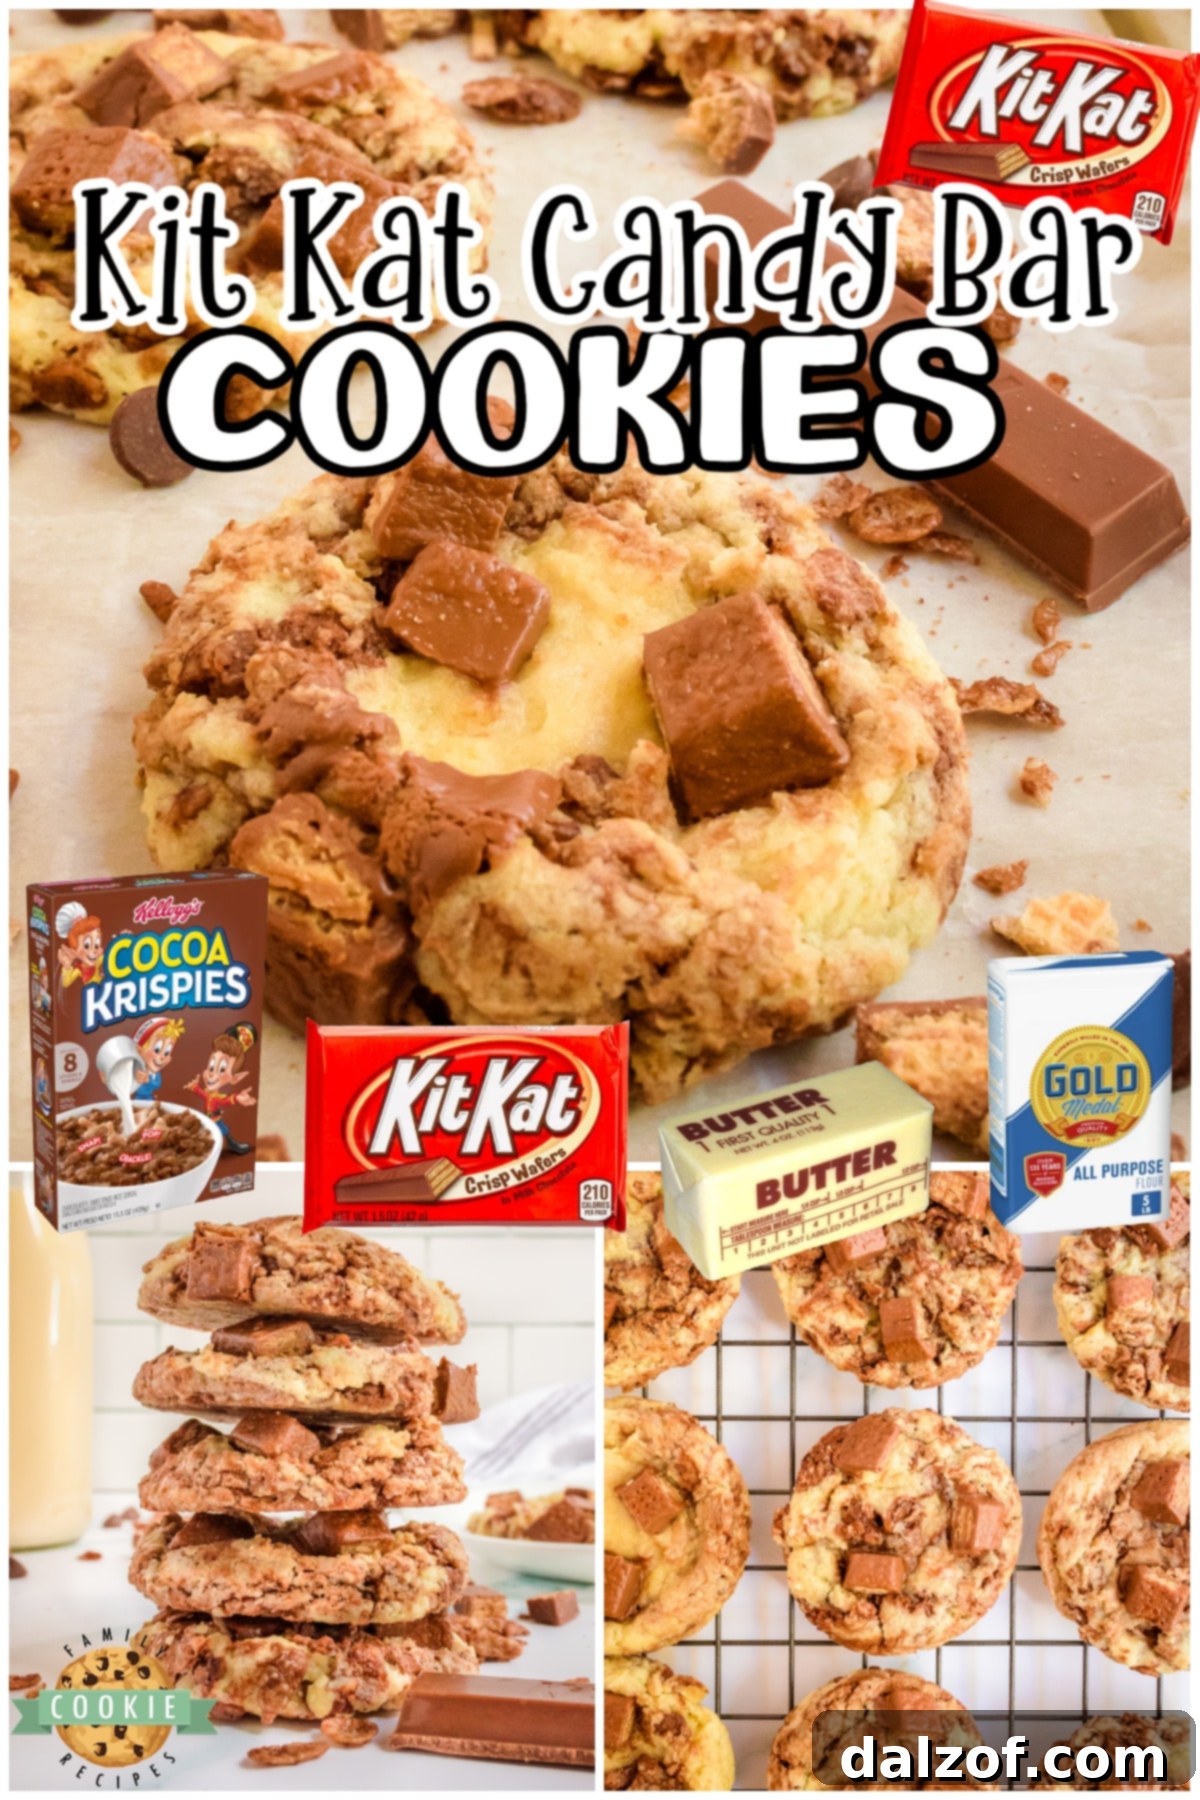
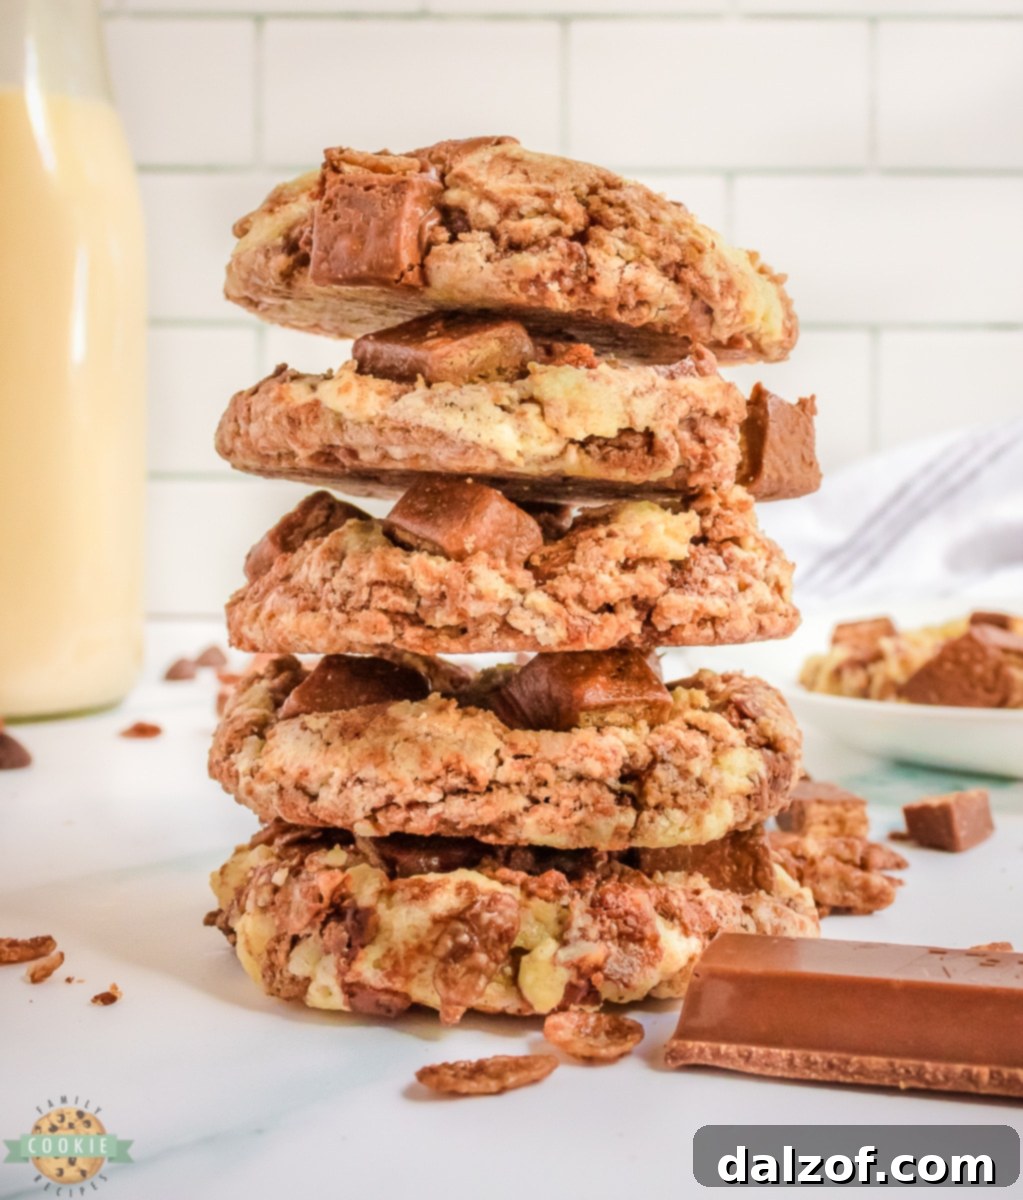
Indulge in a truly unique and irresistible treat with our incredible Kit Kat Cookies! These aren’t just any chocolate cookies; they’re a celebration of texture and flavor, bringing together the beloved crispy wafer and rich chocolate of a Kit Kat bar into a soft, chewy, and utterly delightful cookie. Each bite offers a satisfying crunch from the chopped Kit Kat candy and a subtle crisp from Cocoa Krispies, all swirled into a decadent chocolate cookie dough. This recipe is designed to be straightforward and fun, ensuring that even novice bakers can achieve bakery-quality results right in their own kitchens.
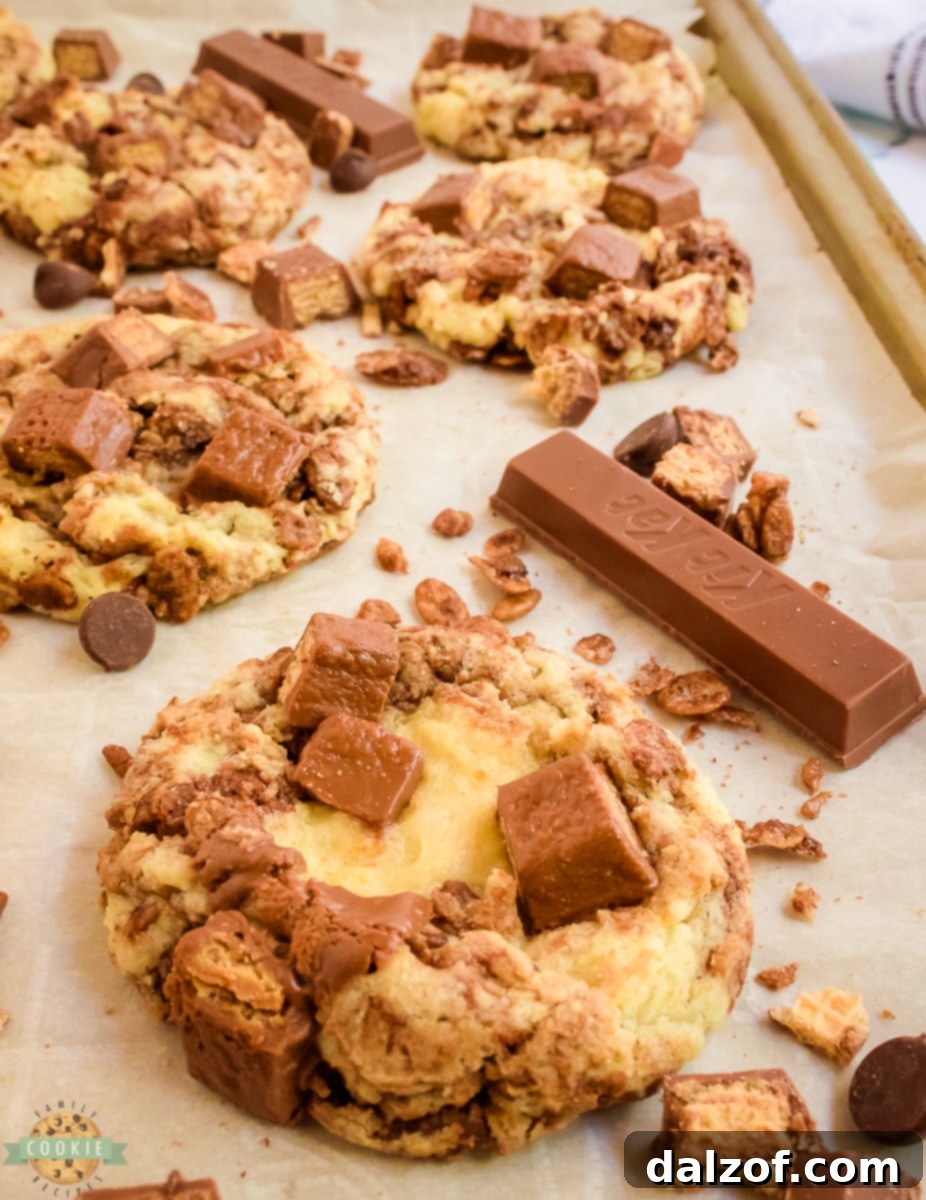
Forget bland, boring cookies! Our Kit Kat Cookies transform simple ingredients into something extraordinary. This chocolate cookie recipe lays the foundation with classic components like softened butter, granulated sugar, all-purpose flour, and essential leavening agents. But the real magic happens with the generous inclusion of melted chocolate chips for a rich swirl and the playful crunch of Cocoa Krispies, perfectly complementing the star of the show: chunks of your favorite Kit Kat candy bars. The resulting cookies are not only visually appealing with their chocolatey marbling and candy topping but also offer a symphony of textures that will have everyone reaching for more.
Irresistible Candy Bar Cookies for Every Occasion!
Are you searching for a dessert that’s fun, easy to make, and guaranteed to put a smile on everyone’s face? Look no further than these spectacular Kit Kat Cookies! They are the ultimate crowd-pleaser, delivering a delightful blend of chocolatey sweetness and a perfectly balanced crunch in every single bite. This recipe is not just about baking; it’s about creating joyful moments and making delicious use of those extra candy bars lingering after holidays. Whether it’s Halloween, Christmas, or a birthday celebration, transforming leftover candy into these sensational cookies is a brilliant idea.
These Krispie cookies are exceptionally versatile and perfect for any gathering. Planning a potluck? Need a special treat for movie night? Or perhaps you just want to brighten a mundane Tuesday? Kit Kat Cookies fit the bill perfectly. Their ease of preparation makes them ideal for spontaneous baking sessions, and their unique appeal ensures they’ll be the talk of the dessert table. Prepare to impress your friends and family with these delectable creations – once you try them, you’ll understand why they’re so utterly addictive. Give them a bake and experience the joy firsthand!
Why You’ll Adore This Easy Candy Bar Cookie Recipe
Our Kit Kat Cookie recipe isn’t just another cookie; it’s an experience waiting to happen. Here’s why these cookies will quickly become a cherished favorite in your recipe collection:
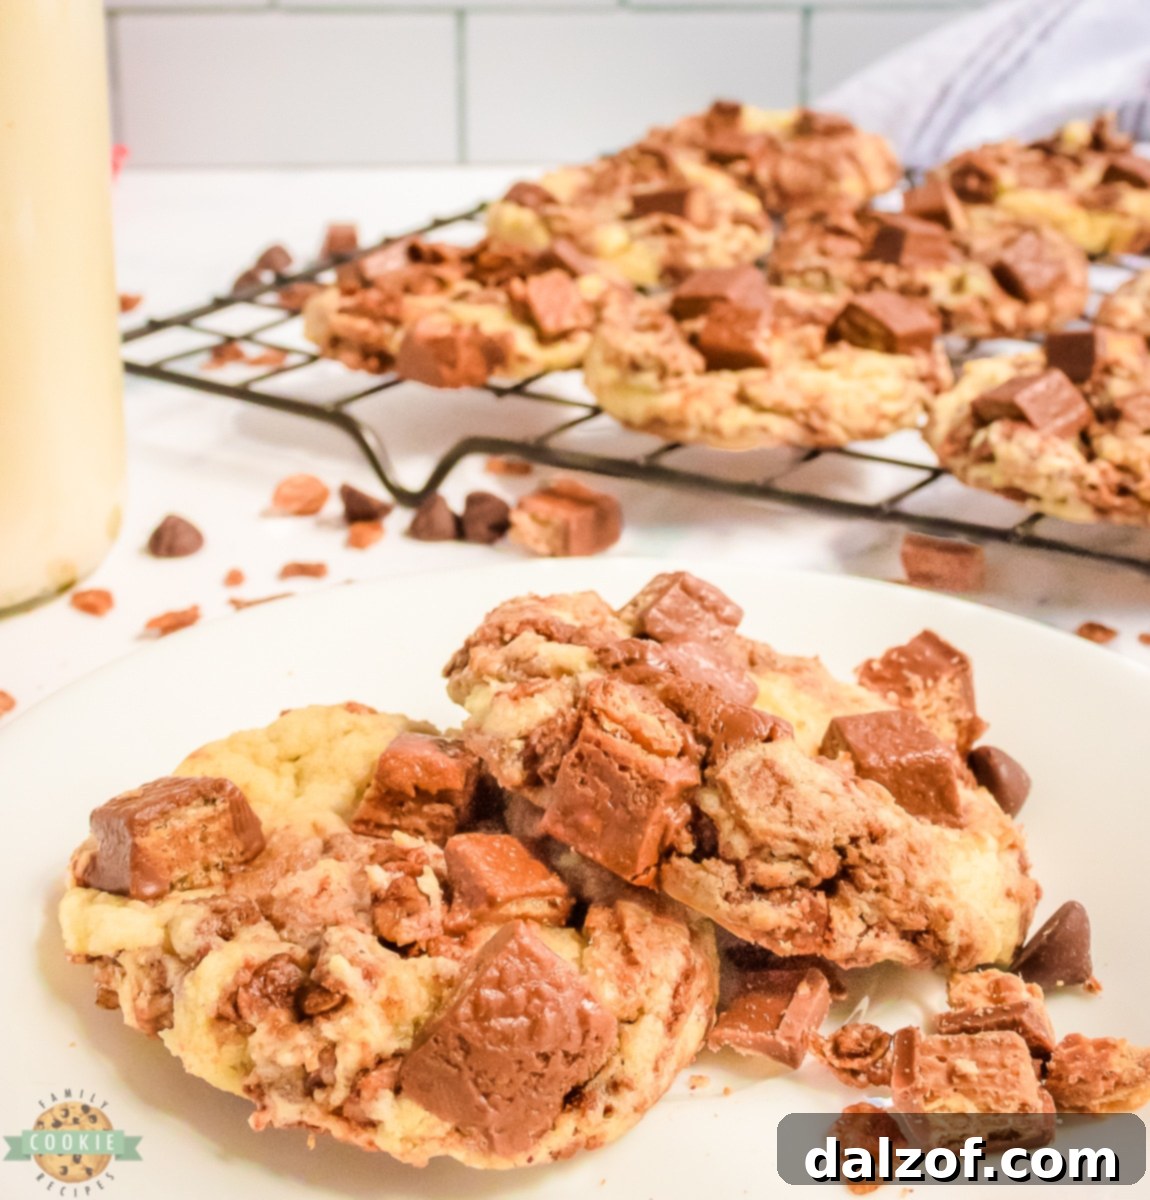
- The Ultimate Party Treat: Planning a get-together? These cookies are a fantastic conversation starter and a unique addition to any dessert spread. They’re easy to transport, look incredibly festive, and are guaranteed to impress guests of all ages, leaving them asking for the recipe. Their vibrant appearance and delightful crunch make them a standout choice for celebrations.
- Endless Customization Possibilities: While Kit Kats are the star, this recipe encourages creativity! Feel free to experiment with other beloved candy bars. Chunks of Snickers can add a chewy, nutty caramel dimension, Twix bars introduce shortbread goodness, and M&M’s bring a burst of colorful chocolate. The beauty of this recipe is that the candy is added right before baking, allowing you to top each cookie with a mix of your favorite chocolates or even offer a variety on a single tray. Let your imagination run wild!
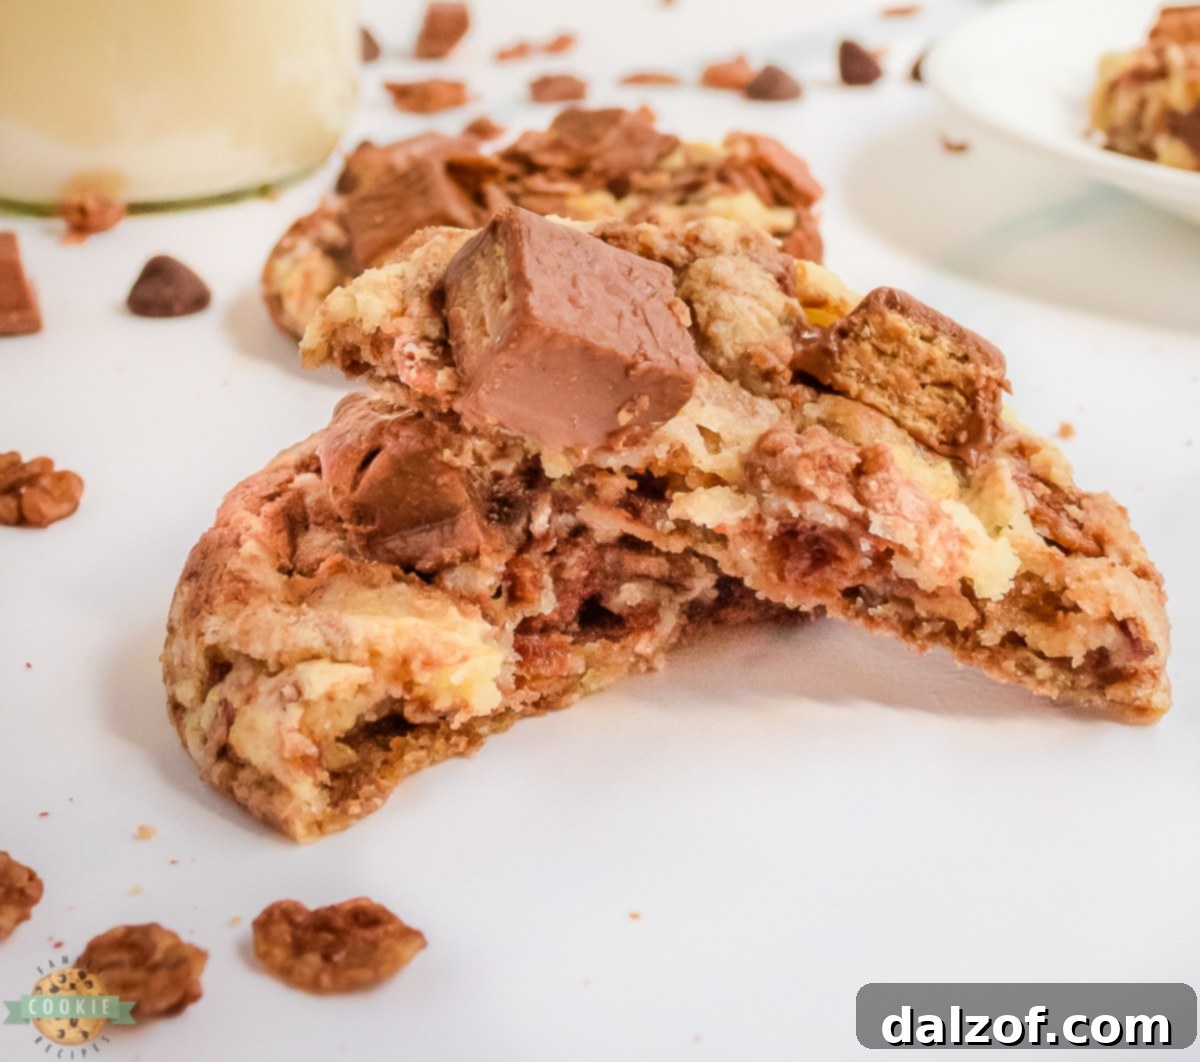
- A Symphony of Unique Flavors and Textures: What truly sets Kit Kat Cookies apart is their distinct profile. The iconic crispy wafer of the Kit Kat bar provides an unparalleled crunch that contrasts beautifully with the soft, chewy cookie base. The addition of Cocoa Krispies further enhances this textural play, contributing a subtle, airy crispness. Meanwhile, the melted chocolate swirl within the dough ensures a rich, deep chocolate flavor that perfectly complements the milk chocolate of the candy, creating a multi-layered taste sensation that is simply unforgettable.
- Quick and Easy Baking Fun: Despite their gourmet appeal, these cookies are surprisingly simple to make. The straightforward instructions and minimal prep time mean you can whip up a batch whenever a craving strikes, or you need a last-minute dessert. They’re perfect for involving kids in the kitchen, fostering a love for baking with a delicious reward.
Essential Ingredients for Crafting These Amazing Kit Kat Cookies
Creating these delightful candy bar cookies starts with a few basic, high-quality ingredients. Each plays a crucial role in achieving the perfect texture and flavor:
Unsalted Butter (½ cup, softened): Butter is the foundation of any great cookie, providing richness, flavor, and a tender crumb. Using softened butter is key for creaming effectively with sugar, creating a light and airy base for your dough.
Granulated White Sugar (¾ cup): This provides the primary sweetness and contributes to the chewy texture of the cookies. It also helps with browning, giving the cookies a beautiful golden edge.
Pure Vanilla Extract (2 teaspoons): A baking staple, vanilla extract enhances all the other flavors in the cookies, adding a warm, aromatic depth that complements the chocolate beautifully.
All-Purpose Flour (1 ½ cups): Flour provides the essential structure for your cookies. Using the correct amount ensures they hold their shape without being too dense or too crumbly.
Leavening Agents (1 teaspoon Baking Powder & ½ teaspoon Baking Soda): This dynamic duo ensures your cookies rise perfectly. Baking powder provides an initial lift, while baking soda reacts with acidic ingredients (even mild ones in cocoa or chocolate) to create a tender, soft texture and a bit more spread.
Fine Sea Salt (½ teaspoon): Don’t skip the salt! It’s essential for balancing the sweetness and enhancing the chocolate flavors, preventing the cookies from tasting overly saccharine. It also strengthens the gluten in the flour, contributing to structure.
Semi-Sweet Chocolate Chips (⅓ cup, melted): Melted chocolate chips are swirled into the dough to create beautiful chocolate marbling and an extra layer of rich, intense chocolate flavor throughout the cookie. This contributes to the overall decadent profile.
Cocoa Krispies Cereal (⅔ cup): This is one of the secret ingredients for that amazing, subtle crunch! Cocoa Krispies add a light, airy texture and an extra hint of chocolate without making the cookies heavy or overly sweet. They maintain their crispness surprisingly well during baking.
Kit Kat Candy Bars (1 cup, chopped): The star ingredient! Roughly chopped Kit Kat bars are added both within the dough (optional, but highly recommended) and placed on top before baking. This ensures every cookie is loaded with the iconic crispy wafer and milk chocolate, delivering that signature Kit Kat experience.
How to Make Kit Kat Cookies: A Step-by-Step Guide
Baking these delightful Kit Kat Cookies is a straightforward process that yields incredibly rewarding results. Follow these simple steps for perfectly crisp-chewy treats every time:
Prep Work: Getting Started
Begin by preheating your oven to 350 degrees Fahrenheit (175°C). This ensures your oven is at the correct temperature for even baking. Next, prepare a large baking sheet by lining it with parchment paper or a silicone baking mat. If you don’t have these, a light spray of non-stick cooking spray will work in a pinch. This step prevents sticking and makes cleanup a breeze.
Crafting the Cookie Dough
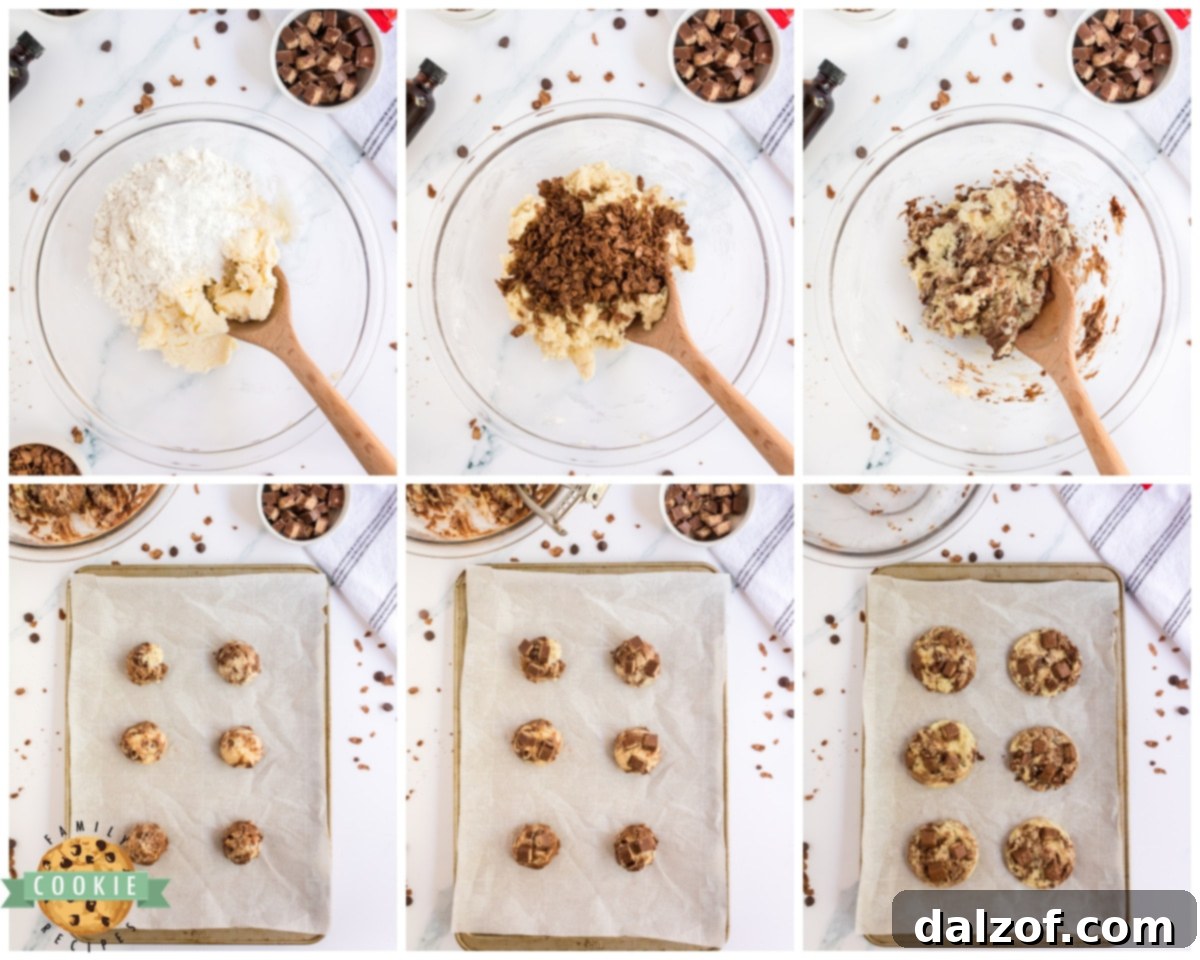
In a large mixing bowl, combine the softened butter and granulated sugar. Using an electric mixer (either a stand mixer with a paddle attachment or a hand mixer), cream these two ingredients together on medium speed until the mixture is light, fluffy, and pale in color. This process incorporates air, which is crucial for a tender cookie. Then, add the vanilla extract and mix until just incorporated, scraping down the sides of the bowl as needed.
Next, in a separate bowl, whisk together your dry ingredients: the all-purpose flour, baking powder, baking soda, and salt. Gradually add this dry mixture to the wet ingredients in the large mixing bowl. Mix on low speed, just until the flour streaks disappear and the dough comes together. Be careful not to overmix, as this can develop the gluten too much, resulting in tough cookies. Once combined, gently fold in the Cocoa Krispies using a spatula.
Now for the luscious chocolate swirl! In a separate small, microwave-safe bowl, melt the chocolate chips. Microwave in 30-second intervals, stirring well after each interval, until the chocolate is smooth and completely melted. Drizzle the melted chocolate over your cookie dough. Using a spoon or a knife, gently swirl the melted chocolate into the dough a few times, but do not fully incorporate it. You want to see distinct ribbons of chocolate rather than a uniformly colored dough – this creates that beautiful marbling effect.
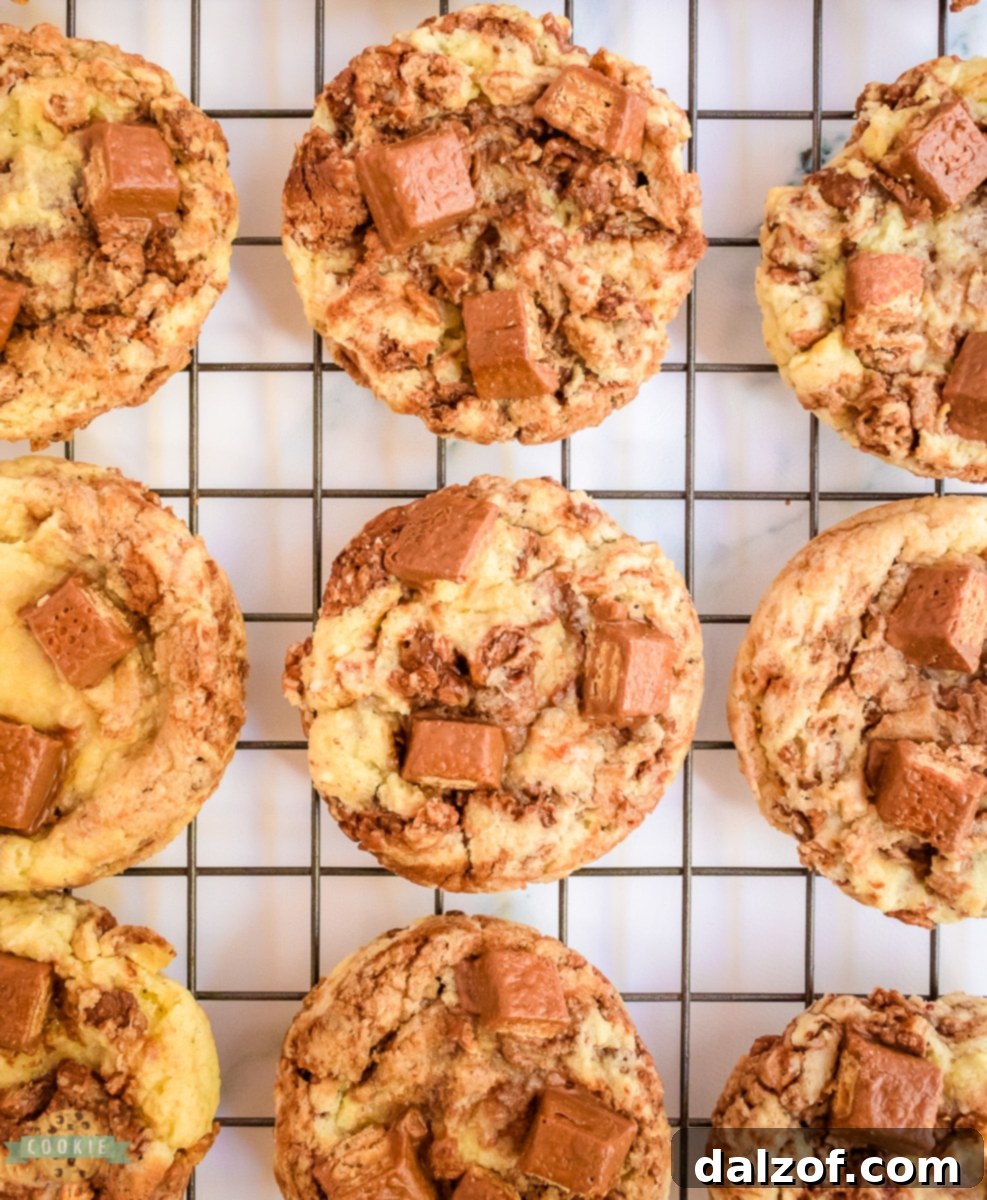
Using a cookie scoop (approximately 2 tablespoons in size is ideal for uniform cookies), scoop balls of dough onto your prepared baking sheet. Remember to leave about 2 inches of space between each dough ball, as the cookies will spread while baking. This prevents them from merging into one giant cookie.
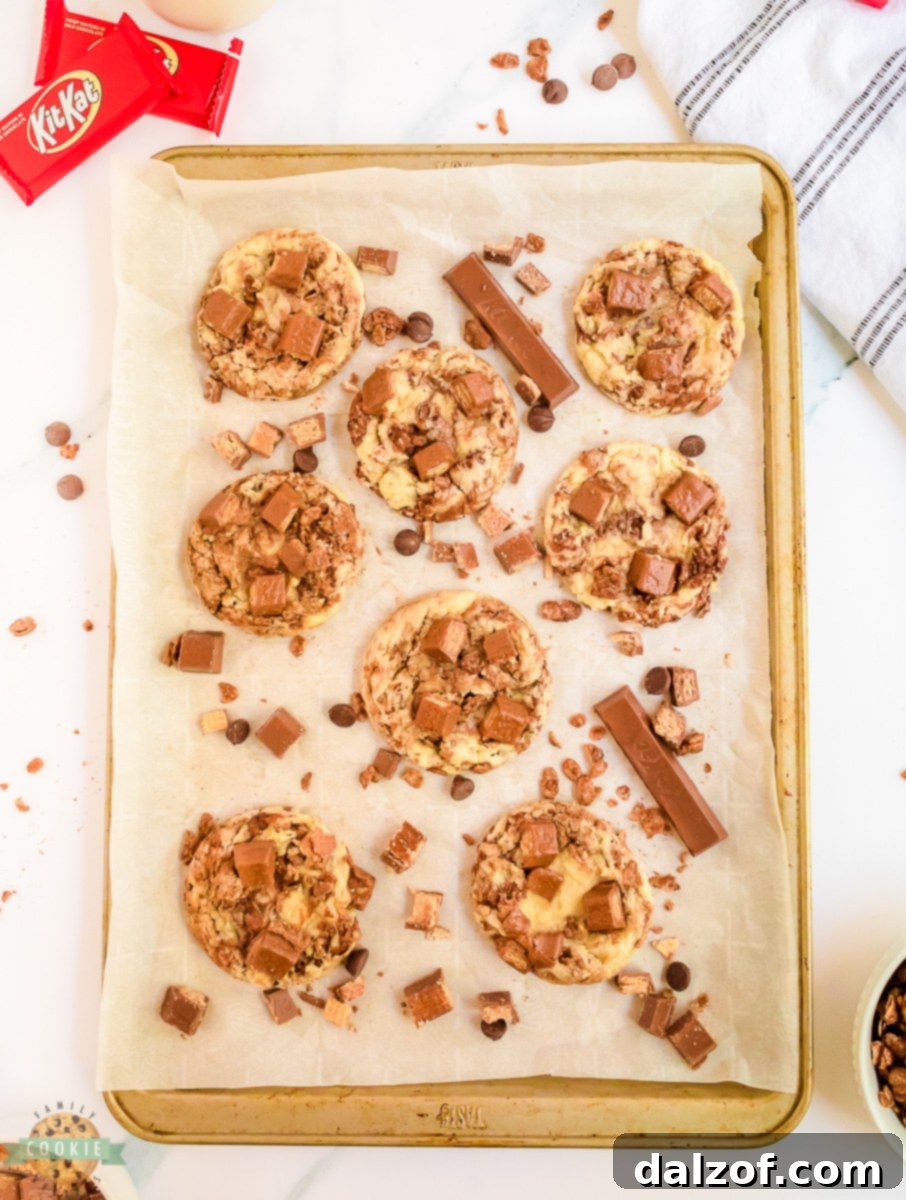
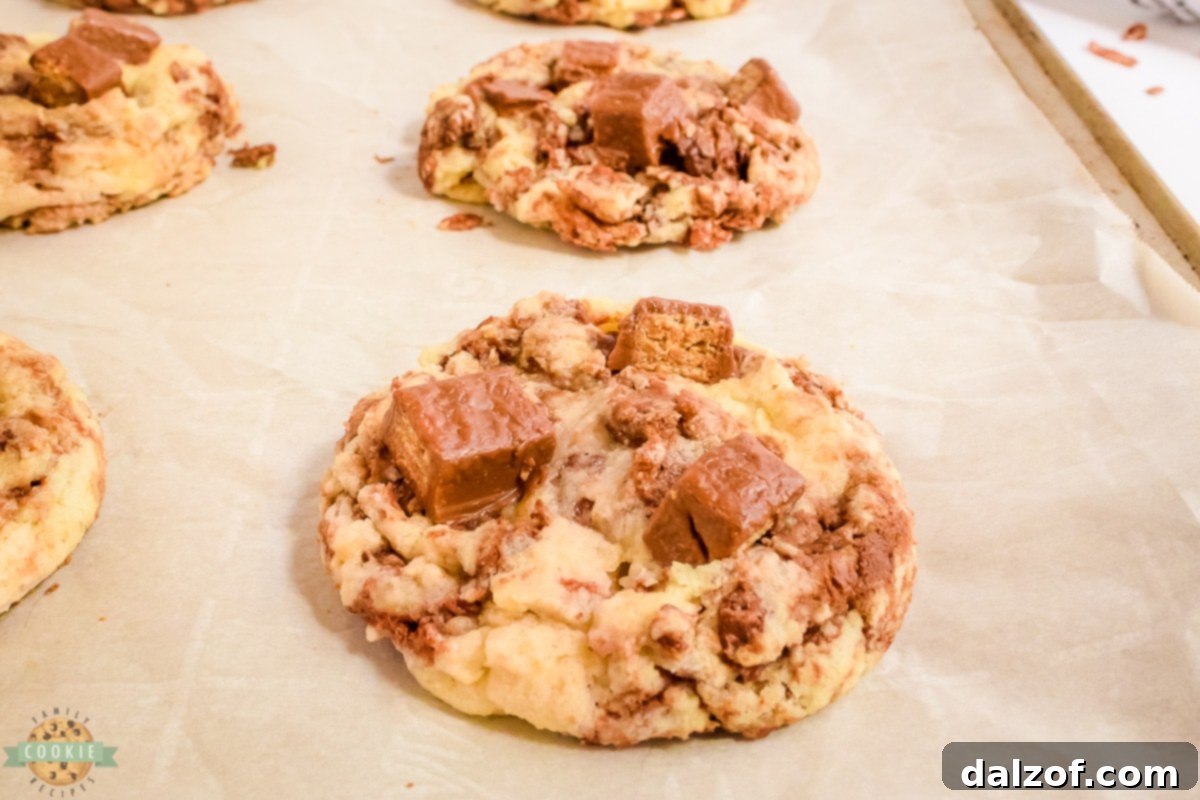
Finally, for the ultimate Kit Kat experience, gently press 4 to 5 small pieces of chopped Kit Kat candy bars onto the top of each scooped cookie dough ball. Break your Kit Kat bars into smaller, bite-sized chunks that fit nicely and are visible on the uncooked dough. This ensures every cookie has a beautiful candy topping that melts slightly and becomes perfectly crisp-chewy as it bakes.
Baking and Cooling
Carefully place the baking sheet into your preheated oven. Bake for approximately 10 minutes. The cookies are done when the edges are lightly golden, and the centers appear set but still slightly soft. Avoid overbaking if you prefer a chewier cookie.
Once baked, remove the cookies from the oven and let them cool on the baking sheet for about 5 minutes. This allows them to firm up slightly before you move them. After 5 minutes, carefully transfer the cookies to a wire rack to cool completely. Cooling on a rack prevents the bottoms from becoming soggy and helps them maintain their texture. Serve these delightful cookies immediately and savor every delicious bite!
Creative Variations: Beyond the Kit Kat Bar
While Kit Kat Cookies are a triumph on their own, the concept of incorporating candy bars into cookies offers endless possibilities. These candy bar cookies are a fantastic departure from traditional chocolate chip cookies, allowing you to infuse unique flavors and textures that will surprise and delight your palate. Here are a few exciting variations to inspire your baking adventures:
Snickers Cookies: For those who love a rich, chewy, and satisfying cookie, try adding chopped Snickers bars. The combination of nougat, caramel, peanuts, and milk chocolate creates a deeply decadent flavor profile. Simply chop Snickers bars into small chunks and press them onto the cookie dough before baking, or even mix some into the dough along with the Cocoa Krispies for an extra gooey surprise.
Twix Cookies: If you’re a fan of the classic chocolate and caramel pairing with a biscuity crunch, Twix cookies are a must-try. Substitute the chopped Kit Kats with an equal amount of chopped Twix bars. The shortbread biscuit within the Twix bar adds a wonderful texture that complements the soft cookie dough beautifully, creating a harmonious blend of flavors and sensations.
Butterfinger Cookies: For an irresistible crispy and crunchy texture, Butterfinger cookies are an excellent choice. Chop Butterfinger bars into small pieces and press them onto the tops of your cookie dough before baking. The distinctive peanut buttery, toffee-like flavor of Butterfinger adds a unique and satisfying taste that stands out from other chocolate-based candy cookies. The way the candy melts slightly while retaining its crunch is truly magical.
Other Delicious Candy Cookie Ideas: Don’t limit yourself! Consider adding other favorites like chopped Heath bars for a toffee crunch, Reese’s Peanut Butter Cups (mini or chopped) for a peanut butter explosion, or even Rolo candies for a molten caramel center. The key is to chop the candy into manageable pieces and often add them towards the end of the dough mixing or on top before baking to preserve their distinct texture and prevent them from fully melting away into the dough.
Kit Kat Cookies Recipe
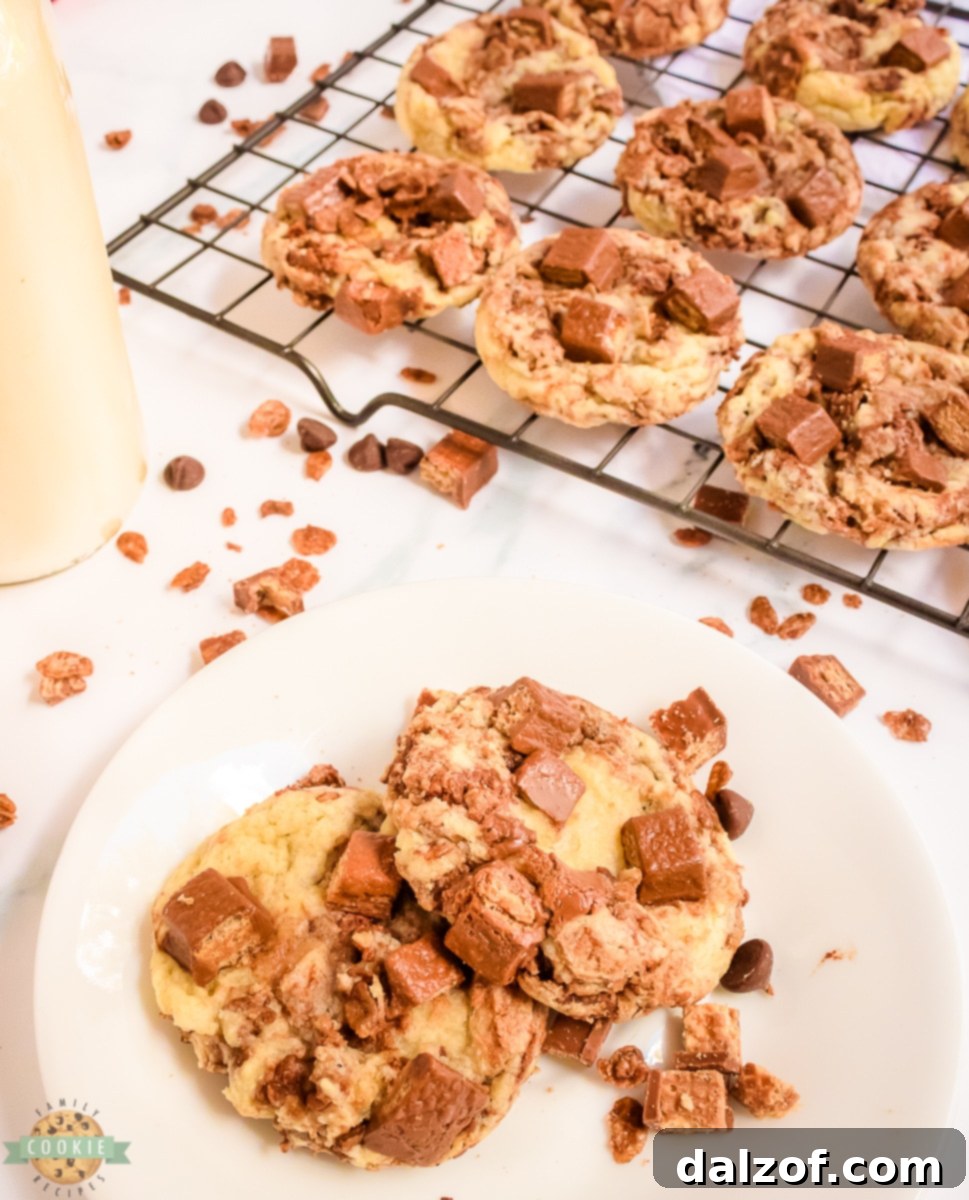
These Kit Kat Cookies are a delightful fusion of classic cookie comfort and playful candy bar crunch. Featuring rich chocolatey goodness, a subtle crisp from Cocoa Krispies, and chunks of your favorite Kit Kat bars, they’re an irresistible treat perfect for any occasion.
Pin Recipe
Rate Recipe
Course: Cookies, Dessert, Treat
Cuisine: American
Keyword: Kit Kat Cookies, Candy Bar Cookies
Prep Time: 10 minutes
Cook Time: 10 minutes
Total Time: 20 minutes
Servings: 18 cookies
Calories: 206 kcal per cookie
Author: Jessica & Nellie
Ingredients
- ½ cup Butter, softened
- ¾ cup White Sugar
- 2 tsp Vanilla Extract
- 1 ½ cups All-Purpose Flour
- 1 tsp Baking Powder
- ½ tsp Baking Soda
- ½ tsp Salt
- ⅓ cup Chocolate Chips, melted
- ⅔ cup Cocoa Krispies
- 1 cup Kit Kats, chopped
Instructions
- Prep: Preheat your oven to 350°F (175°C). Line a baking sheet with parchment paper or a silicone mat.
- Dough: In a large mixing bowl, cream together the softened butter and white sugar with an electric mixer until light and fluffy. Stir in the vanilla extract until fully incorporated.
- In a separate bowl, whisk together the flour, baking powder, baking soda, and salt. Gradually add the dry ingredients to the wet ingredients, mixing on low speed until just combined. Be careful not to overmix. Gently fold in the Cocoa Krispies.
- Melt the chocolate chips in a small microwave-safe bowl (30-second intervals, stirring between each). Drizzle the melted chocolate over the dough and gently swirl it in a few times, leaving distinct chocolate ribbons. Do not fully incorporate.
- Use a cookie scoop (about 2 tablespoons) to portion the dough onto the prepared baking sheet, leaving ample space between each cookie.
- Top each cookie dough ball with 4 to 5 small, chopped pieces of Kit Kat candy bar, pressing them gently into the dough.
- Bake: Place the baking sheet in the preheated oven and bake for 10 minutes, or until the edges are lightly golden and the centers are set.
- Allow the cookies to cool on the baking sheet for 5 minutes before transferring them to a wire rack to cool completely. Serve and enjoy your delicious Kit Kat Cookies!
Notes
These cookies will remain fresh for 2-3 days when stored in an airtight container at room temperature. The candy chunks are best enjoyed fresh, so try to finish them within this timeframe.
For extended storage, cookies can be frozen. Place them in an airtight container or freezer bag, separating layers with parchment paper, and freeze for up to 3 months. Thaw at room temperature before serving.
Nutrition Information (per serving)
Serving: 1 cookie | Calories: 206 kcal | Carbohydrates: 28g | Protein: 2g | Fat: 9g | Saturated Fat: 6g | Polyunsaturated Fat: 0.4g | Monounsaturated Fat: 2g | Trans Fat: 0.2g | Cholesterol: 16mg | Sodium: 150mg | Potassium: 68mg | Fiber: 1g | Sugar: 17g | Vitamin A: 218IU | Vitamin C: 1mg | Calcium: 34mg | Iron: 1mg
Mastering the Art of Melting Chocolate Chips
Achieving that perfect, silky smooth melted chocolate swirl in your cookie dough is easier than you think. The most convenient method involves using a microwave, but precision is key to avoid scorching the chocolate. Here’s a detailed guide:
Microwave Method (Recommended):
- Place your chocolate chips in a clean, dry, microwave-safe bowl. Glass or ceramic bowls work best.
- Microwave the chocolate chips on high power for 30 seconds.
- Remove the bowl from the microwave and stir the chocolate thoroughly with a rubber spatula, even if it doesn’t look melted yet. The residual heat will continue to melt the chocolate.
- Return the bowl to the microwave for another 15-20 seconds. Stir again vigorously.
- Continue microwaving in shorter intervals (10-15 seconds) and stirring until the chocolate is smooth and completely melted, with no lumps remaining. For a small amount like ⅓ cup, this typically takes less than 2 minutes in total.
- **Pro Tip:** Be patient! Chocolate can hold its shape even when melted, so stirring between intervals is crucial to prevent overheating and burning. If it looks almost melted, just keep stirring; the heat in the bowl will do the rest.
Double Boiler Method (Alternative):
If you prefer a gentler approach or don’t have a microwave, a double boiler is an excellent alternative:
- Fill a saucepan with about 1-2 inches of water and bring it to a simmer over medium heat.
- Place a heat-proof bowl (glass or stainless steel) on top of the saucepan, ensuring the bottom of the bowl does not touch the simmering water.
- Add the chocolate chips to the bowl. The steam from the simmering water will gently melt the chocolate.
- Stir occasionally with a rubber spatula until the chocolate is completely smooth and melted.
- **Pro Tip:** Be extremely careful not to let any water or steam get into the chocolate, as this can cause it to seize and become grainy.
Storage & Freshness: Keeping Your Kit Kat Cookies Delicious
To ensure your delightful Kit Kat Cookies remain as fresh and delicious as the day they were baked, proper storage is essential. These cookies are best enjoyed within 2-3 days, as the candy bar chunks, particularly the wafer in Kit Kats, can start to lose their crispness and become slightly stale after this period. Here are comprehensive tips for storing your cookies, whether you plan to devour them quickly or save them for later:
- Room Temperature Storage (Short Term): If you anticipate finishing your batch of cookies within a few days, storing them at room temperature is perfectly acceptable. The key is an airtight container. Place the cooled cookies in a container with a tight-fitting lid to prevent air exposure, which causes them to dry out and go stale. A cookie jar or plastic container works wonderfully. This method maintains their soft texture for immediate enjoyment.
- Refrigeration (Humid Climates or Extended Short Term): For those living in warmer or more humid environments, refrigeration can help extend the freshness slightly beyond 3 days. However, be aware that chilling can alter the texture of some cookies, making them a bit firmer or drier. If refrigerating, still use an airtight container to protect them from absorbing odors from other foods and to prevent them from becoming too hard. Allow them to come to room temperature before serving for the best texture.
- Freezing (Long Term Preservation): If you’ve baked a large batch or want to enjoy these cookies over an extended period, freezing is your best option. This method effectively locks in their freshness and flavor for up to 3 months.
- Ensure cookies are completely cooled before freezing. Warm cookies will create condensation and lead to ice crystals.
- Arrange the cookies in a single layer on a baking sheet and flash freeze them for about 30 minutes to an hour. This prevents them from sticking together.
- Once firm, transfer the cookies to an airtight freezer-safe container or a heavy-duty freezer bag. For added protection and to prevent them from sticking, place layers of parchment paper or wax paper between the cookies.
- When you’re ready to enjoy them, simply remove the desired number of cookies from the freezer and let them thaw at room temperature for a few hours. For a warm, freshly baked feel, you can gently reheat them in a microwave for 10-15 seconds or a low oven for a few minutes.
- Separate Layers During Storage: Regardless of your chosen storage method, always place parchment paper or wax paper between layers of cookies in a container. This simple step prevents them from sticking to each other, maintaining their individual perfect shapes and making it easier to grab just one (or two!).
Which Cookie Scoop is Best for This Recipe?
For this specific Kit Kat Cookie recipe, we recommend using a standard cookie scoop that holds approximately 2 tablespoons of dough. This size typically yields around 18 uniformly sized cookies, ensuring even baking and consistent results. Using a scoop not only makes the process quicker and less messy but also helps achieve professional-looking cookies.
While a 2-tablespoon scoop is ideal, feel free to use a different size if that’s what you have on hand, or even two spoons to drop the dough. Just be aware that adjusting the size of your cookie dough balls will affect both the total number of cookies the recipe yields and the baking time. Smaller cookies will bake faster, while larger cookies will require a few extra minutes in the oven. Always look for those golden edges and set centers as your cue for doneness.
Can I Freeze These Loaded Candy Cookies?
Absolutely, these loaded candy cookies freeze exceptionally well! Freezing is a fantastic way to prepare a batch ahead of time or to preserve leftovers, ensuring you always have a delightful treat ready to go. To freeze them effectively:
- Once your cookies have fully cooled, place them in a single layer on a baking sheet and flash freeze for about 30 minutes until firm. This prevents them from sticking together.
- Transfer the firm cookies to an airtight freezer-safe container or a heavy-duty freezer bag. For best results and to prevent any sticking, it’s wise to separate each layer of cookies with a sheet of parchment paper.
- Properly stored, these Kit Kat Cookies can be kept in the freezer for up to 3 months.
- To enjoy, simply remove the desired number of cookies from the freezer and let them thaw at room temperature. Depending on their size, this usually takes about 30 minutes to an hour. For a warm, gooey experience, you can gently reheat them in a microwave for a few seconds or in a low oven (around 250°F / 120°C) for 5-7 minutes.
Frequently Asked Questions About Kit Kat Cookies
Here are answers to some common questions you might have when baking these delicious candy bar cookies:
Q: Can I use different types of chocolate chips for the swirl?
A: Yes! While semi-sweet chocolate chips are recommended for their balanced flavor, you can certainly experiment. Milk chocolate chips will make the swirl sweeter and creamier, while dark chocolate chips will add a more intense, slightly bitter contrast. Feel free to use your favorite!
Q: What if I don’t have Cocoa Krispies? Can I omit them?
A: You can omit them, but you will miss out on the subtle crunch they provide. If you want to maintain a similar texture, you could try adding a small amount of finely crushed plain rice krispies cereal, or even a few extra chopped Kit Kat pieces for more crunch, though the flavor profile will be slightly different.
Q: My cookies spread too much! What went wrong?
A: Several factors can cause cookies to spread excessively:
- Butter was too warm: Ensure your butter is softened, but not melted or greasy. Room temperature (slightly pliable) is ideal.
- Oven temperature: An oven that isn’t hot enough can cause spreading. Make sure your oven is properly preheated.
- Too little flour: Double-check your measurements, especially for flour.
- Overmixing the dough: Overmixing develops gluten, leading to tougher and flatter cookies. Mix only until ingredients are just combined.
- Not enough space on the baking sheet: Overcrowding can hinder proper air circulation, affecting spread.
Q: Can I make the cookie dough ahead of time?
A: Absolutely! You can prepare the cookie dough (without the Kit Kat toppings) and store it in an airtight container in the refrigerator for up to 3 days. When ready to bake, let the dough sit at room temperature for about 15-20 minutes to soften slightly before scooping and adding the Kit Kats. You can also freeze the dough balls (again, without the Kit Kat toppings) for up to a month. Thaw them in the refrigerator overnight before baking.
Q: Can I use miniature Kit Kat bars instead of chopping regular ones?
A: Yes, miniature Kit Kat bars would work wonderfully! You might need to adjust the quantity slightly to get the equivalent of 1 cup chopped. You can leave them whole or chop them further, depending on your preference for chunk size.
Explore More Delicious Candy Cookie Recipes!
If you’ve fallen in love with the idea of incorporating your favorite candies into delicious baked goods, you’re in luck! Our collection of candy cookie recipes is brimming with creative ideas to satisfy every sweet craving. Dive into these other fantastic recipes and discover your next favorite treat:
- REESE’S PEANUT BUTTER BANANA COOKIES
- LOADED CHOCOLATE TOFFEE COOKIES
- TWIX COOKIE BARS
- SNICKERS PEANUT BUTTER COOKIES
- TRIPLE CHOCOLATE M&M COOKIES
- BUTTERFINGER COOKIE BARS
- HEATH BAR COOKIES
- REESE’S CHOCOLATE CHIP COOKIES
- CADBURY MINI EGG COOKIES
- REESE’S COOKIE BARS
- OREO STUFFED COOKIES
- M&M SPRING FLOWER COOKIE BITES
- CARAMEL STUFFED CHOCOLATE CHIP COOKIES
- CANDY BAR COOKIES
- CHOCOLATE HEART VALENTINE’S SUGAR COOKIES

On a more personal note, my son is currently serving a religious mission thousands of miles away in Argentina. While I miss him dearly, every letter and photo I receive fills me with immense joy and pride for the incredible work he’s doing. It’s moments like these, connecting through shared experiences and even recipes, that make the distance a little easier. (He’s the one on the right in this photo.)

These Kit Kat Cookies are truly a standout treat, loaded with satisfying crunch, beautiful chocolate swirls, and generous chunks of the iconic candy bar. They are perfect for numerous occasions, incredibly delicious, and guaranteed to be enjoyed down to the very last crumb. Whether you’re baking for family, friends, or just for yourself, these candy cookies offer an unforgettable experience that combines the best of homemade goodness with the playful indulgence of a favorite chocolate bar. Get ready to bake, share, and savor these delightful creations!