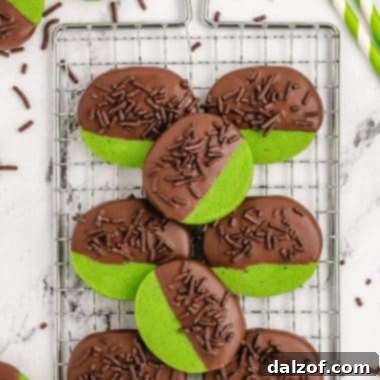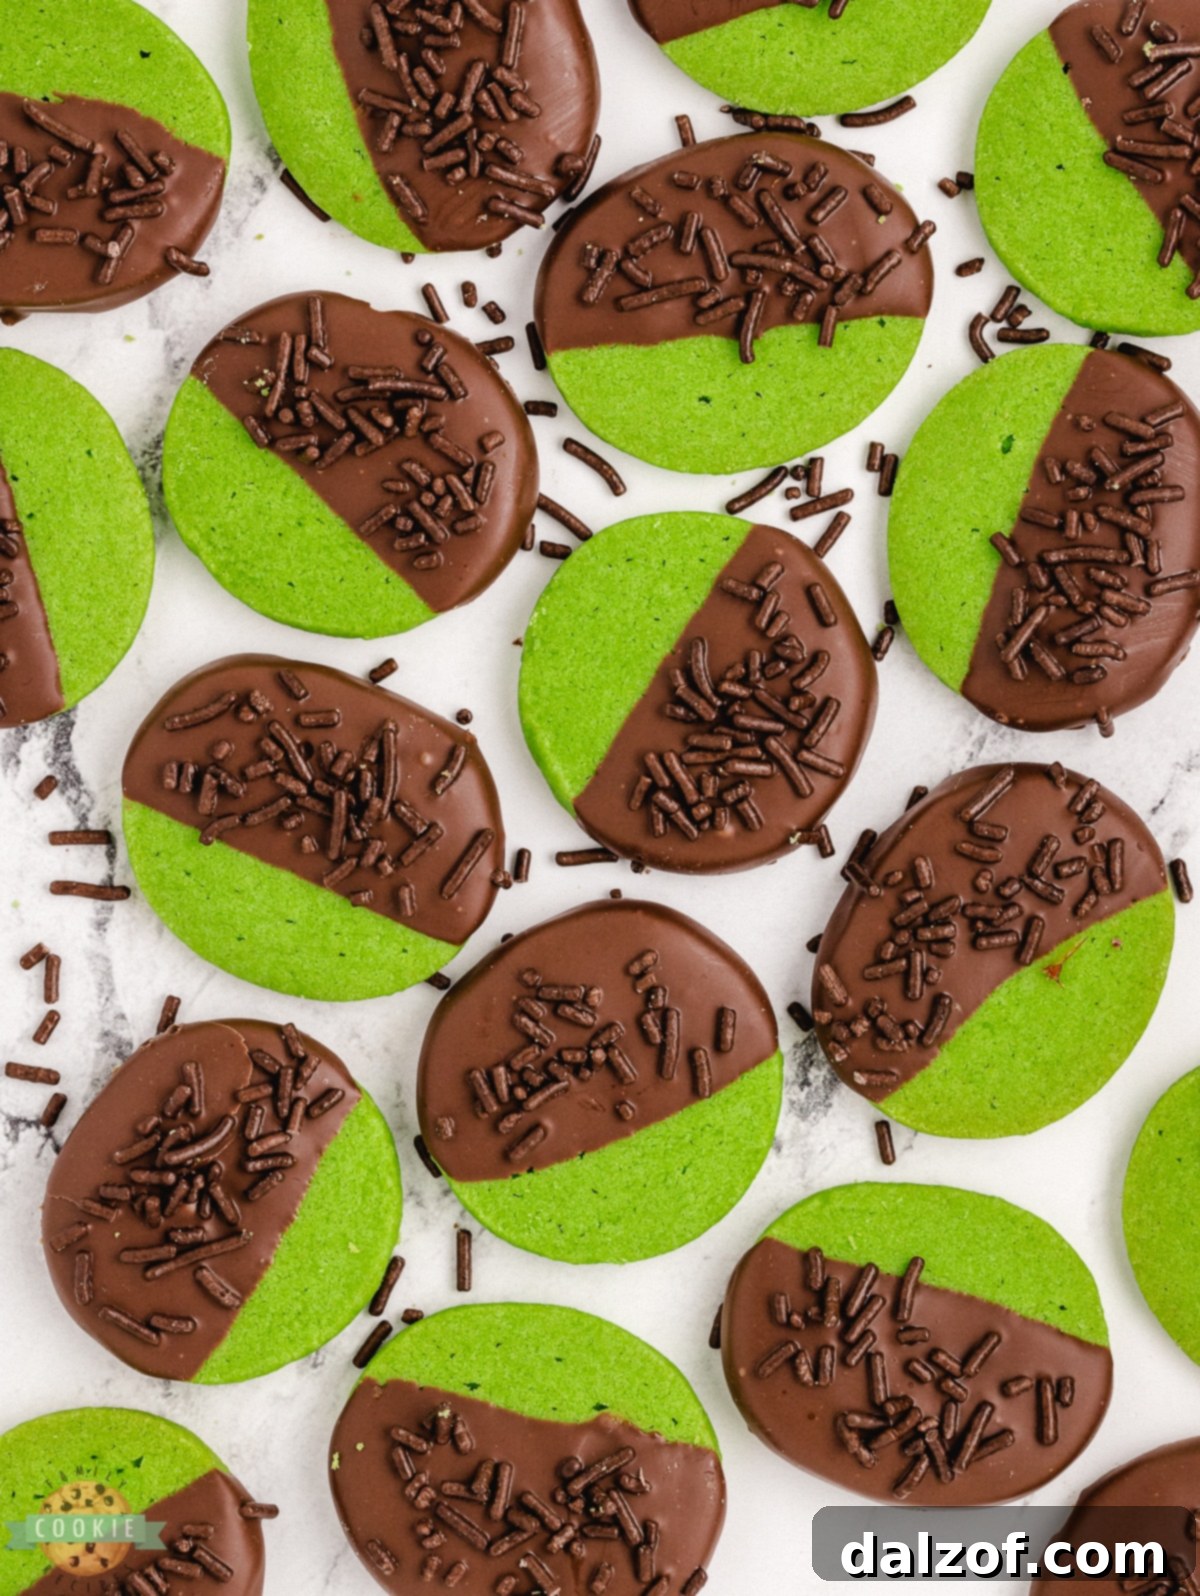
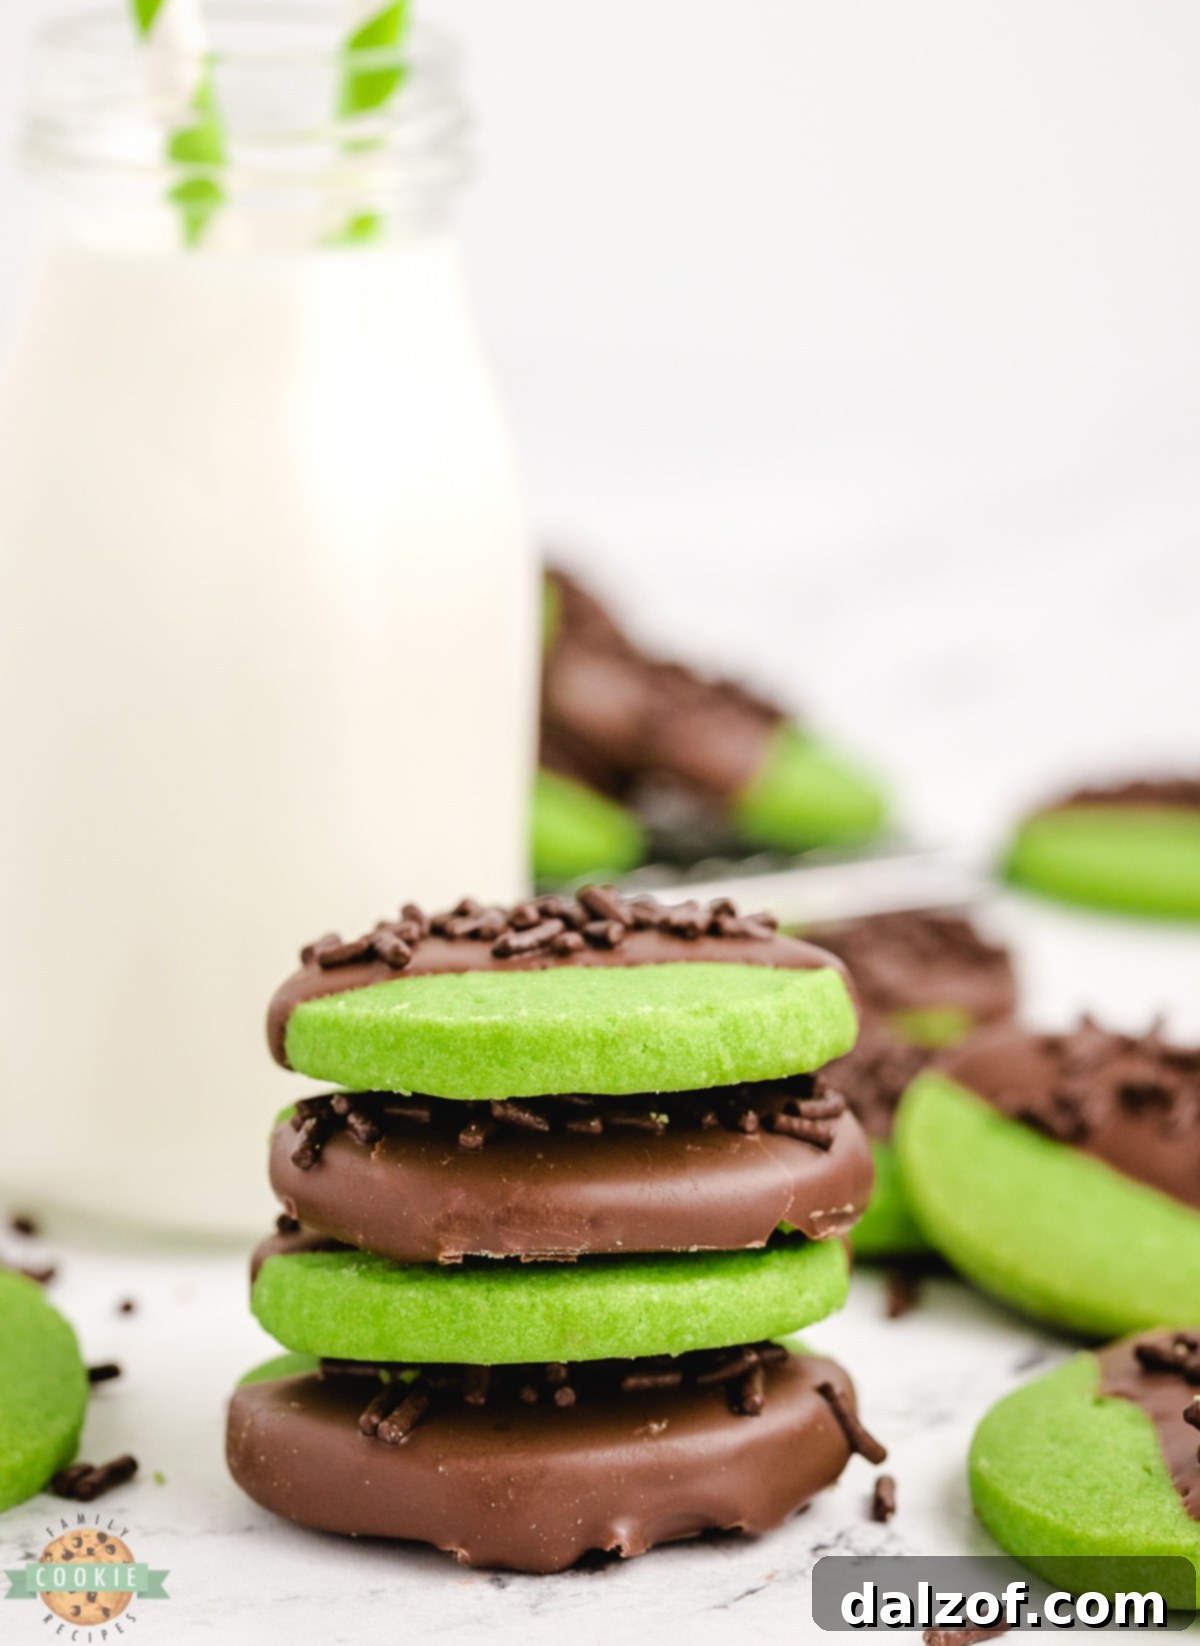
Indulge in the enchanting blend of cool mint and rich chocolate with these exquisite **Mint Chocolate Shortbread Cookies**. Imagine a tender, buttery shortbread cookie, perfectly baked to a delicate crispness, then lovingly dipped in a smooth, dark chocolate coating and adorned with festive chocolate sprinkles. These vibrant green cookies are not just a treat for the taste buds; they’re a visual delight, making them an absolutely ideal confection for any special occasion, particularly enchanting for St. Patrick’s Day celebrations or adding a touch of minty cheer to your holiday dessert spread. Their sophisticated flavor profile and charming appearance are sure to make them a standout favorite.
Why You’ll Fall in Love with These Mint Chocolate Shortbread Cookies
These Mint Chocolate Shortbread Cookies are more than just a dessert; they’re an experience. Here’s why they deserve a permanent spot in your recipe collection:
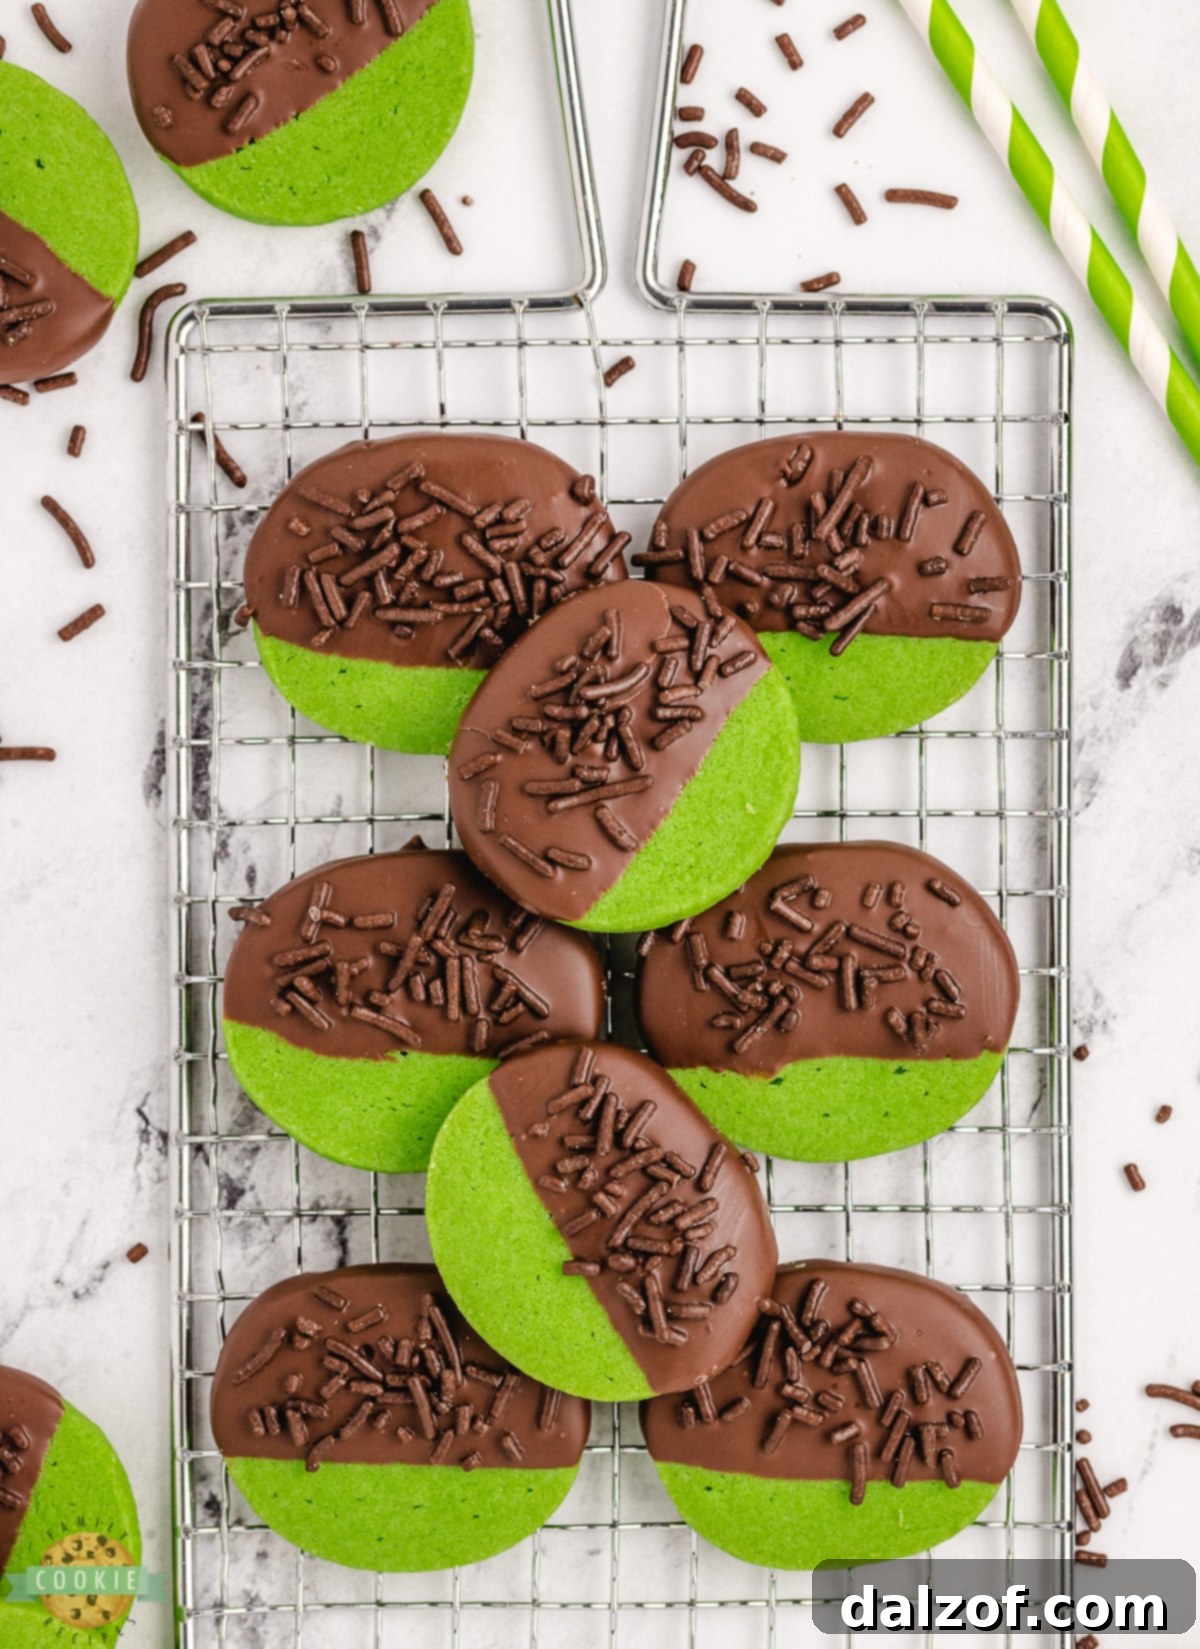
Exquisite Flavor Harmony: The delicate, buttery texture of classic shortbread provides the perfect canvas for the refreshing burst of mint extract, all beautifully complemented by the rich, slightly bitter notes of dark chocolate. It’s a classic pairing that never fails to impress, offering a sophisticated taste that appeals to both mint and chocolate lovers.
Perfect for Make-Ahead Baking: One of the most convenient aspects of this recipe is its make-ahead potential. The cookie dough can be prepared days in advance and stored in the refrigerator, allowing you to space out your baking process and enjoy fresh cookies with minimal effort when entertaining or simply craving a sweet treat. This flexibility makes them ideal for busy schedules or large gatherings.
Visually Stunning and Festive: Dyed a cheerful green, these cookies are inherently festive. They are especially perfect for St. Patrick’s Day, bringing a vibrant splash of color to your dessert table. The chocolate dip and sprinkle topping add an elegant finish, making them as pleasing to the eye as they are to the palate.
Simple Yet Impressive: While these cookies look incredibly professional and intricate, the process of making them is surprisingly straightforward. Even novice bakers can achieve spectacular results with these easy-to-follow steps, making them a fantastic recipe for building confidence in the kitchen without compromising on deliciousness or presentation.
The Art of Crafting Flawless Mint Chocolate Shortbread Cookies
Creating these delightful shortbread cookies is a rewarding culinary journey, beginning with a simple, yet versatile dough. The foundation of any great shortbread lies in its rich butter content, which gives these cookies their signature melt-in-your-mouth texture. What sets this particular recipe apart is the infusion of invigorating mint extract and a touch of green food coloring, transforming a classic into a festive masterpiece.
The beauty of this shortbread recipe lies in its forgiving nature and incredible flexibility for advance preparation. You can effortlessly whip up the cookie dough using either a hand mixer or a stand mixer, bringing all the ingredients together into a cohesive, pliable mass. Once the dough is ready, it’s shaped into logs, which are then meticulously wrapped in plastic wrap or wax paper. This crucial chilling step in the refrigerator, lasting for at least two hours or even several days, allows the flavors to meld beautifully and the butter to firm up, ensuring the cookies hold their shape perfectly during baking. When you’re ready to bake, simply slice the chilled logs, bake until golden, allow them to cool completely, and then proceed with the luxurious chocolate dipping and sprinkle application. This methodical approach not only simplifies the baking day but also enhances the overall quality and flavor of the cookies, delivering a truly gourmet experience.
Essential Baking Tips for Flawless Green Shortbread Cookies
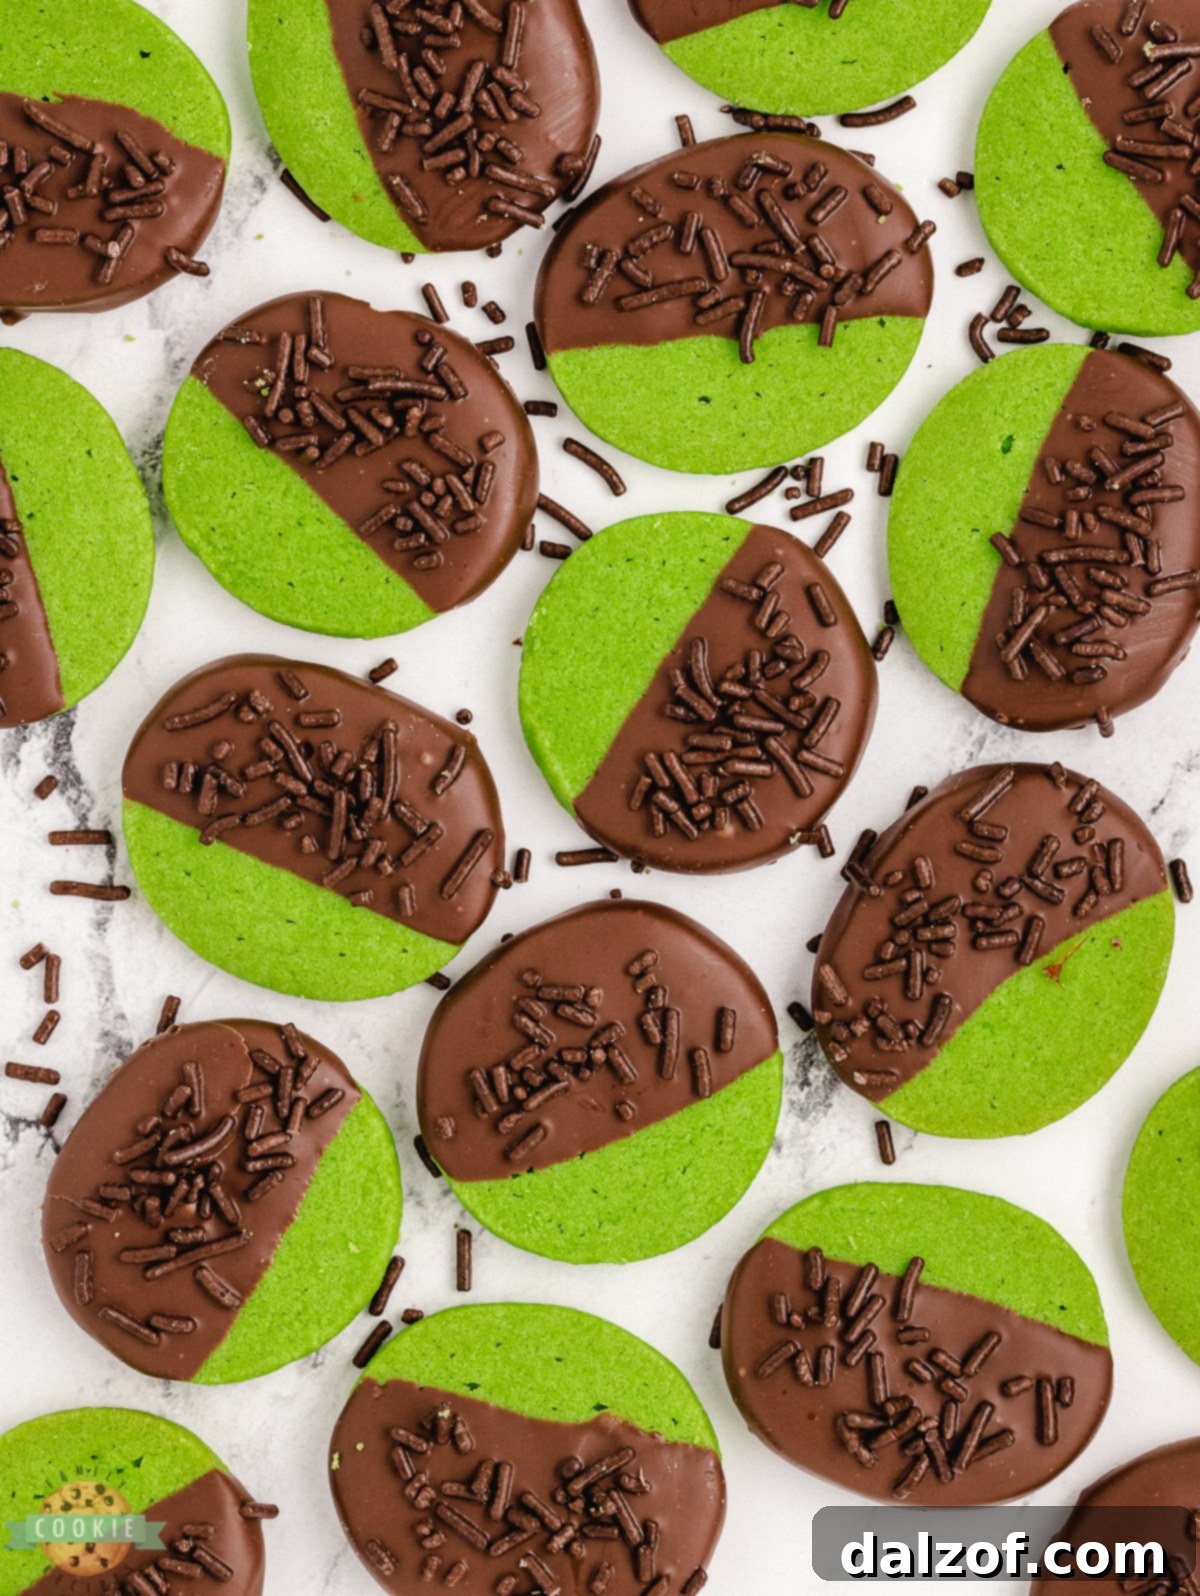
Achieving bakery-quality shortbread cookies at home is entirely within reach with a few tried-and-true baking secrets. These tips not only simplify the process but also elevate the final product, ensuring your Mint Chocolate Shortbread Cookies are perfectly baked, beautifully colored, and utterly delicious.
The Right Baking Sheets Make All the Difference
One of the most impactful decisions in cookie baking is your choice of baking sheet. To prevent sticking and ensure even cooking without any burnt bottoms, I highly recommend lining your cookie sheets with parchment paper. Pre-cut parchment sheets that perfectly fit standard 12×16 cookie sheets are a game-changer, eliminating the need for greasy cooking sprays and the messy cleanup that follows. Avoid thin or dark-colored cookie sheets, as these tend to absorb too much heat and can lead to over-browning or burning the bottom of your cookies. Lighter-colored, heavy-gauge baking sheets, paired with parchment paper or silicone baking mats, provide a more consistent and gentle bake. My personal favorites are Nordicware cookie sheets; their durability and even heat distribution are unmatched.
Investing in a Quality Mixer
While you can certainly make these cookies with a good old-fashioned wooden spoon and elbow grease, an electric mixer truly streamlines the process and ensures a superior dough consistency. Whether you opt for a powerful KitchenAid stand mixer or a reliable hand mixer, the goal is to cream the butter and sugar until light and fluffy. A stand mixer, especially with its dedicated cookie paddle attachment, offers unmatched efficiency and ensures all ingredients are uniformly incorporated, which is vital for the tender texture of shortbread. It’s an investment that pays dividends across countless recipes.
Achieving the Perfect Green Hue
The vibrant green color is key to the festive appeal of these cookies. When adding green food coloring, always start with a small amount, such as 5-6 drops, and gradually add more until you achieve your desired shade. Remember, it’s easier to add more color than to remove it! Natural food colorings are a fantastic option if you prefer to avoid artificial dyes, but be aware that they typically produce less vibrant hues, so you’ll likely need to use a larger quantity to reach a similar intensity.
Temperature Matters: Softened Butter
The consistency of your butter is paramount for shortbread. You need softened butter, not melted, and not too cold. Softened butter creams beautifully with sugar, incorporating air that contributes to the cookie’s light texture. If your butter is too cold, it won’t cream properly; if it’s melted, your dough will be oily and difficult to work with, resulting in a dense, greasy cookie. Plan ahead and let your butter sit at room temperature for about an hour before baking.
Don’t Overmix the Dough
Once you add the flour, mix the dough just until it comes together. Overmixing develops the gluten in the flour, which can lead to tough, chewy cookies instead of the desired tender, crumbly shortbread. A light hand and a keen eye are essential during this stage.
Chill Time is Crucial
The chilling period isn’t just for convenience; it’s a vital step for the structure and flavor of your shortbread. Chilling the dough solidifies the butter, which helps the cookies maintain their shape during baking and prevents them from spreading too much. It also allows the flavors, particularly the mint, to fully develop and meld throughout the dough. Don’t skip this step for the best results!
Gather Your Ingredients for These Delectable Mint Chocolate Shortbread Cookies
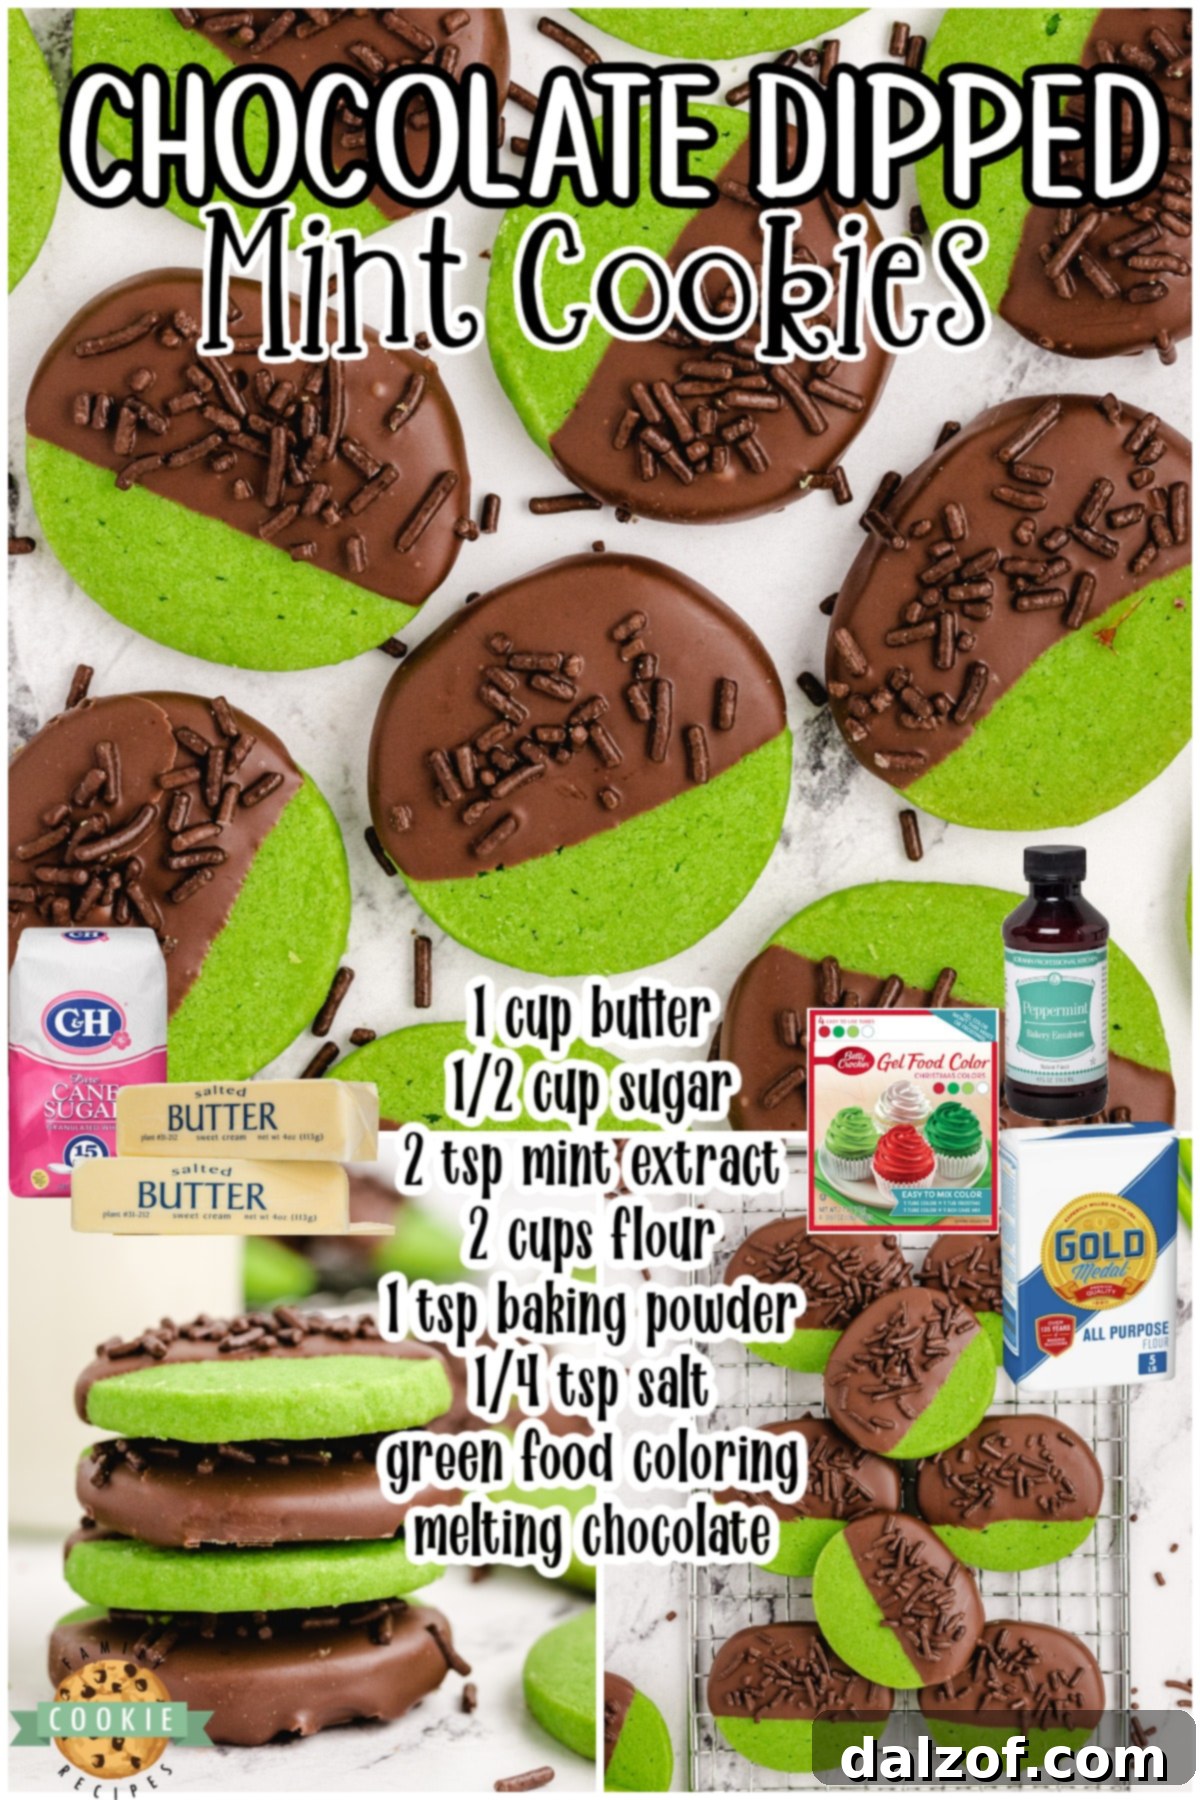
Crafting these sensational Mint Chocolate Shortbread Cookies requires a handful of common pantry staples, each playing a crucial role in achieving their signature taste and texture. Here’s a detailed look at what you’ll need:
The Buttery Shortbread Base
- Butter: You’ll need 1 cup (or 2 sticks) of unsalted butter, softened to room temperature. Butter is the star of shortbread, imparting a rich flavor and tender crumb. Ensure it’s truly softened, not melted, for proper creaming.
- Sugar: ½ cup of granulated sugar provides the perfect balance of sweetness without overpowering the mint and chocolate.
- Mint Extract: 2 teaspoons of mint extract are essential for that refreshing, distinct mint flavor. Be sure to use extract, not peppermint oil, as oil is much more concentrated and can be overwhelming. Start with 1.5 tsp if unsure and add more to taste.
- All-Purpose Flour: 2 cups of all-purpose flour form the structural backbone of our shortbread. Measure it correctly by spooning it into your measuring cup and leveling it off.
- Baking Powder: 1 teaspoon of baking powder gives the cookies a slight lift and contributes to their tender texture.
- Salt: ¼ teaspoon of salt enhances all the other flavors, balancing the sweetness and richness.
- Green Food Coloring: For that festive hue, plan on using 5-15 drops of green food coloring. Start with fewer drops and gradually add more until you achieve your desired shade of vibrant green. Natural food colorings can be used, but you’ll likely need a larger quantity to achieve a similar intensity.
The Decadent Chocolate Coating
- Melting Chocolate Wafers or Chips: 2 cups of good quality melting chocolate wafers are ideal for their smooth, easy-to-melt consistency and glossy finish. Alternatively, high-quality chocolate chips can be used, though you might need to add a teaspoon of coconut oil or shortening to achieve a smoother consistency for dipping.
- Chocolate Jimmies Sprinkles: A generous amount of your favorite chocolate sprinkles, also known as jimmies, will add a delightful crunch and visual appeal to the finished cookies. These are a classic choice, but feel free to experiment with other festive sprinkles if you wish.
Step-by-Step: How to Bake Green Mint Chocolate Shortbread Cookies
Follow these detailed instructions to create your batch of irresistible green mint chocolate shortbread cookies. Precision and patience are key to achieving their perfect texture and vibrant appearance.
Preparing the Cookie Dough
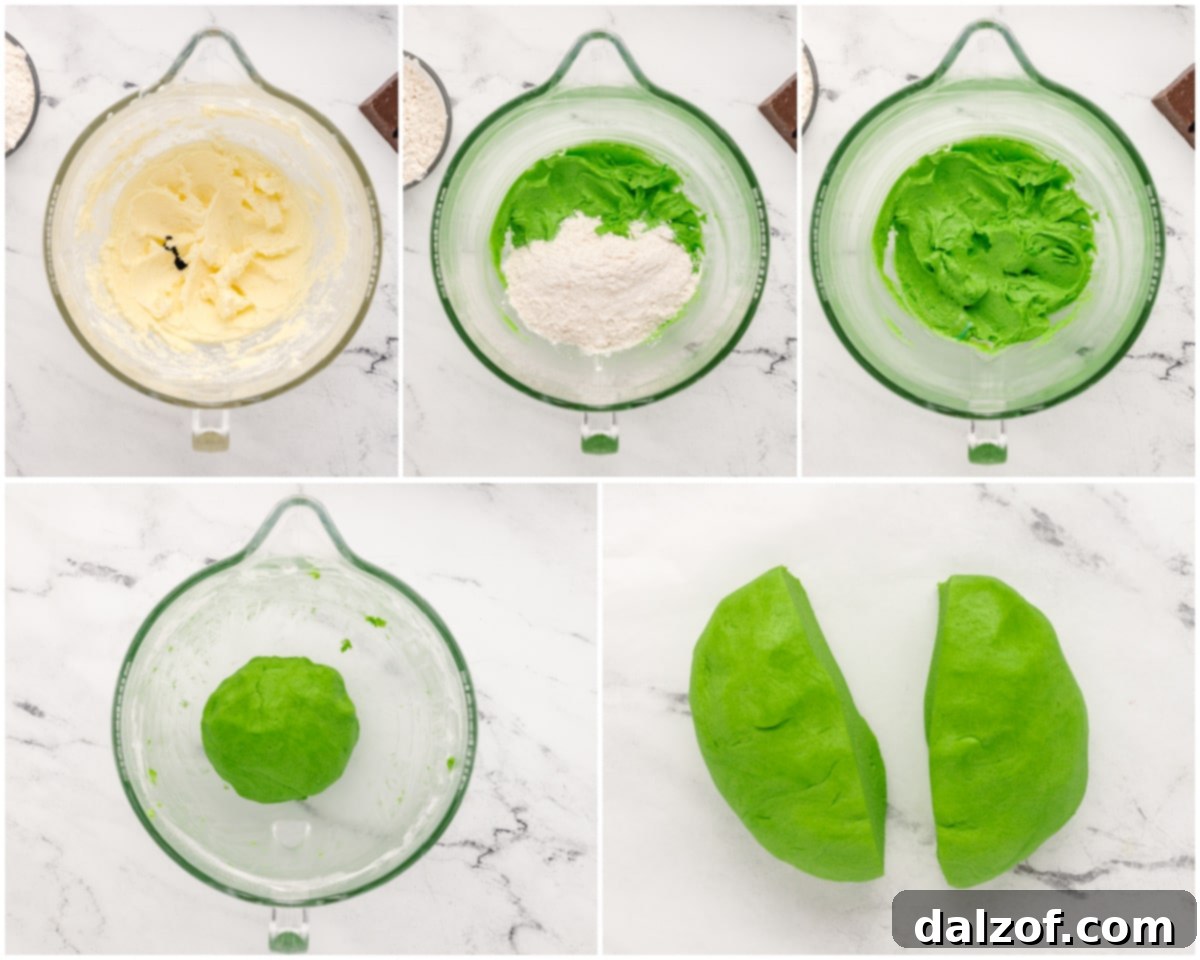
- Cream Butter and Sugar: In a large mixing bowl, using an electric mixer (stand or hand-held), cream together the softened butter and granulated sugar until the mixture becomes wonderfully light, fluffy, and pale in color. This step is crucial for incorporating air and creating a tender shortbread.
- Add Mint and Color: Beat in the mint extract and green food coloring. Start with about 5 drops of food coloring and mix until fully incorporated. Assess the color and add more drops, a few at a time, until you reach your desired shade of vibrant green.
- Combine Dry Ingredients: In a separate bowl, whisk together the flour, baking powder, and salt.
- Form the Dough: Gradually add the dry ingredient mixture to the wet ingredients, mixing on low speed until just combined and a soft, cohesive dough forms. Be careful not to overmix, as this can lead to tough cookies.
Chilling and Slicing
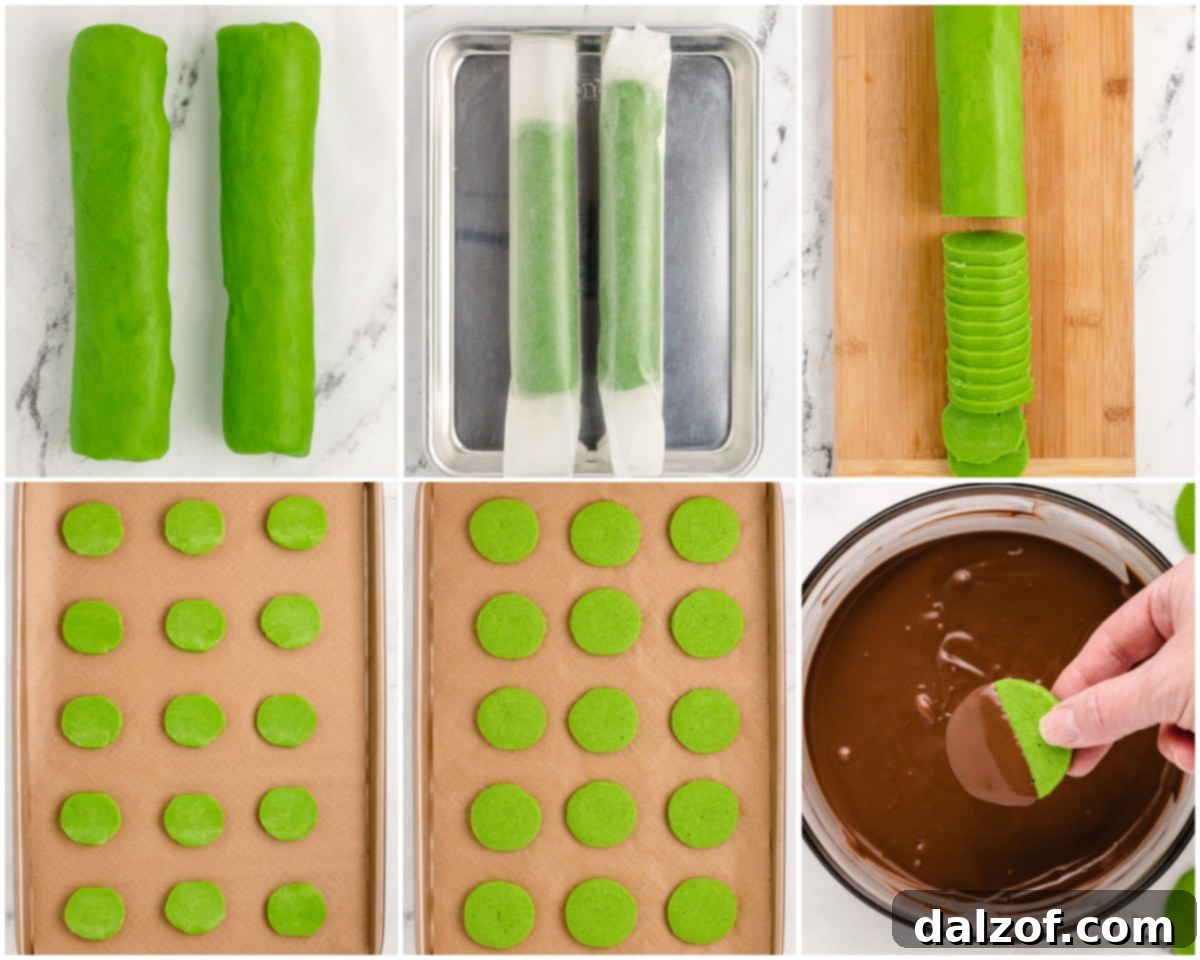
- Shape the Dough Logs: Divide the dough in half. On a sheet of wax paper or parchment paper, form each half into an 8-inch log. Try to make them as round as possible, but don’t worry if they are slightly oval – they will still bake beautifully.
- Chill Thoroughly: Wrap each dough log tightly in the wax paper or plastic wrap and refrigerate for a minimum of 2 hours, or preferably overnight. For those short on time, placing the logs in the freezer for about 30 minutes can also work wonders to firm them up quickly. This chilling process is essential for the cookies to hold their shape and achieve the characteristic shortbread texture.
- Prepare for Baking: When you’re ready to bake, preheat your oven to 300°F (150°C). Line several baking sheets with parchment paper.
- Slice the Cookies: Using a sharp knife, carefully cut the chilled dough logs into ¼-inch-thick slices.
- Arrange on Baking Sheets: Place the cookie slices about 2 inches apart on the prepared baking sheets.
Baking to Perfection
- Bake the Cookies: Bake on the top rack of your preheated oven for 22-26 minutes. The baking time can vary slightly depending on your oven, so keep a close eye on them. The cookies are done when the bottom edges just begin to show a very subtle hint of browning.
- Cool Completely: Once baked, remove the baking sheets from the oven and let the cookies rest on the sheets for 2-5 minutes to firm up slightly. Then, carefully transfer them to wire racks to cool completely before dipping in chocolate. This ensures the chocolate adheres properly and doesn’t melt off.
The Chocolate Dip and Finishing Touches
- Melt the Chocolate: In a microwave-safe bowl, heat the melting chocolate wafers (or chips) in the microwave for 1 minute. Stir gently. Continue heating in 15-second increments, stirring after each, until the chocolate is smooth and fully melted. Alternatively, melt over a double boiler. (If using chocolate chips, you can add 1 tsp coconut oil or shortening for a smoother consistency.)
- Dip and Decorate: Dip about three-quarters of each cooled cookie into the melted chocolate. Allow any excess chocolate to drip off. Immediately place the chocolate-dipped cookie onto a sheet of wax paper and liberally sprinkle with chocolate jimmies.
- Set: Let the cookies sit on the wax paper until the chocolate is completely set and firm. Do not move them until they are fully cooled and set to prevent smudging.
Troubleshooting Your Green Mint Chocolate Cookies
Even seasoned bakers encounter minor hitches. Here’s how to address common issues and ensure your cookies turn out perfectly every time.
Unevenly Cooked Cookies? Here’s Why.
If you find that your cookies are noticeably darker on the bottom than you’d prefer, the culprit is most likely your cookie sheet. Thin, dark-colored cookie sheets tend to absorb and retain too much heat, leading to rapid browning or even burning of the cookie bottoms. Similarly, excessive use of cooking spray can also contribute to this issue. For a more even bake, always opt for lighter-colored, heavy-gauge baking sheets. Lining them with parchment paper or using silicone baking mats creates a barrier that prevents direct contact with the hot metal, promoting a more uniform golden finish. As mentioned, Nordicware baking sheets are excellent for their consistent performance.
How to Know When Your Cookies Are Perfectly Done
Determining the exact moment your cookies are done is crucial for achieving that ideal balance of slight crispness on the outside and a tender, soft interior. For shortbread, bake until the bottom edges of the cookies are just barely beginning to turn a light golden-brown. Once you observe this subtle change, remove the cookie sheet from the oven. Allow the cookies to continue sitting on the hot sheet for an additional 2-5 minutes. This residual heat will continue to cook them gently without overbaking. After this brief resting period, transfer them to a wire rack to cool completely. As they cool, the centers will firm up, resulting in perfectly cooked shortbread that holds its shape beautifully. Remember that every oven is different, so while the recipe provides a good guideline, learning how your specific oven bakes (it might run a minute or two hotter or cooler) will be your best asset for consistent results.
Mastering the Art of Melting Chocolate for Dipping
Melting chocolate correctly is a fundamental skill for many desserts, and for these cookies, it’s essential to ensure a smooth, glossy coating that sets beautifully. The key is to avoid seizing, a condition where chocolate becomes thick, grainy, and unworkable, usually due to overheating or exposure to even a tiny drop of water. Here’s how to achieve a perfect melt every time:
Choosing the Right Equipment
Always start with a clean, dry glass or porcelain bowl for melting. These materials retain heat well and distribute it evenly, which is crucial for a gradual melt. Avoid plastic bowls, as they can retain odors and sometimes don’t hold heat consistently, which can lead to uneven melting.
The Microwave Melting Technique
The microwave is a quick and efficient tool for melting chocolate, but it requires a gentle approach. The trick is to go slowly and stir frequently, utilizing the residual heat to finish the melting process. Begin by placing your chocolate (wafers or chips) in your glass or porcelain bowl. For every cup of chocolate, microwave for 1 minute. Once the microwave stops, resist the urge to stir immediately. Instead, let the bowl sit in the microwave with the door closed for an additional 2 minutes. This allows the latent heat to gently warm the chocolate without burning it. After this resting period, stir the chocolate gently. It might look like it hasn’t fully melted yet, but the stirring helps to distribute the heat and smooth out any lumps. If needed, continue heating in short 15-30 second increments, allowing the chocolate to rest for a minute or two after each interval before stirring again, until it’s perfectly smooth and free of any lumps.
Dipping and Decorating Tips
Once your chocolate is perfectly melted and smooth, it’s time for the fun part: dipping! For a clean, even coating, use a fork or a specialized dipping tool like a Winton Dipping tool. These tools make the process incredibly easy and mess-free. Gently dip three-quarters of each cookie into the chocolate, allowing any excess to drip back into the bowl. For a professional finish, a gentle tap on the side of the bowl can help remove extra chocolate. Immediately transfer the chocolate-coated cookies to a sheet of parchment or wax paper. Don’t forget to add your festive chocolate jimmies or other sprinkles while the chocolate is still wet. Then, let the cookies cool undisturbed until the chocolate has completely set, ensuring a crisp, beautiful finish.

Frequently Asked Questions (FAQs) About Mint Chocolate Cookies
We’ve gathered answers to some of the most common questions about making these delightful Mint Chocolate Shortbread Cookies to help ensure your baking experience is as smooth as your melted chocolate.
Can I use natural food coloring?
Absolutely! Natural food colorings are a wonderful choice if you prefer to avoid artificial dyes. However, it’s important to note that natural colors tend to be less vibrant than their artificial counterparts. You may need to use a larger quantity of natural green food coloring to achieve the intense, festive green shade seen in the photos. Start with a moderate amount and gradually add more, mixing thoroughly after each addition, until you reach your desired hue.
How long do these cookies last?
Properly stored, these Mint Chocolate Shortbread Cookies will maintain their freshness and delicious taste for up to 5-7 days at room temperature in an airtight container. If you want to extend their shelf life, you can store them in the refrigerator for up to 2 weeks. For best flavor and texture, allow refrigerated cookies to come to room temperature before serving.
Can I freeze the cookie dough?
Yes, freezing the cookie dough is an excellent way to prepare ahead! After forming the dough into logs and wrapping them tightly in plastic wrap, you can place them in a freezer-safe bag or container and freeze for up to 2-3 months. When you’re ready to bake, simply transfer the frozen logs to the refrigerator to thaw overnight, or slice them while still slightly frozen (they will be a bit harder to cut) and then bake as directed, possibly adding a minute or two to the baking time.
What if I don’t have mint extract?
Mint extract provides the distinct flavor profile for these cookies. While it’s highly recommended, if you don’t have it on hand, you could try a very small amount (start with ¼ teaspoon) of peppermint extract for a more intense, candy-cane like mint flavor. Alternatively, you could omit the mint extract and create a classic shortbread cookie, perhaps adding other flavorings like vanilla or almond extract, though they wouldn’t be “mint chocolate” cookies then. You could also try finely chopped fresh mint leaves (though this will change the texture).
Variations to Your Mint Chocolate Shortbread Cookies
While the classic Mint Chocolate Shortbread Cookie is undeniably delicious, there’s always room for a little creative customization. Feel free to experiment with these variations to make the recipe uniquely yours or to suit different occasions.
- White Chocolate Dip: Instead of dark melting chocolate, use white chocolate for a softer contrast in flavor and a brighter appearance. You can even drizzle both dark and white chocolate for an elegant effect.
- Holiday Sprinkles: Beyond chocolate jimmies, consider using green and white sprinkles, or even small edible glitter for extra sparkle, especially for events like St. Patrick’s Day or Christmas.
- Add Mini Chocolate Chips: Incorporate ½ cup of mini chocolate chips into the cookie dough itself for an extra layer of chocolatey goodness within the minty shortbread.
- Nutty Crunch: For a delightful texture, gently press finely chopped nuts (like pistachios or walnuts) onto the wet chocolate coating before it sets.
- Zesty Twist: A touch of orange or lemon zest in the shortbread dough can add a bright, unexpected flavor note that pairs surprisingly well with mint and chocolate.

More Festive Green Cookie Recipes for St. Patrick’s Day:
If you’re looking to expand your green cookie repertoire, especially for St. Patrick’s Day or any occasion that calls for a splash of vibrant color, explore these other fantastic recipes:
- KEY LIME PIE COOKIES
- LIME SUGAR COOKIES
- MINT CHOCOLATE CAKE MIX COOKIES
- EASY JELLO COOKIES
- MINT OREO PUDDING COOKIES
- PISTACHIO PUDDING COOKIES
- MINT CHOCOLATE CHIP COOKIES
- MINT CHOCOLATE BROWNIE COOKIES
- MINT CHOCOLATE CHIP COOKIE BARS
- BIG FAT MINT CHOCOLATE CHIP COOKIES
These fantastic buttery mint cookies, dyed a festive green and lavishly dipped in smooth chocolate, are more than just a sweet treat—they are an experience. Their tender texture and vibrant appearance make them absolutely perfect for celebrating St. Patrick’s Day or any moment you wish to add a touch of minty magic. Enjoy baking and sharing these delightful shortbread cookies with your loved ones!