
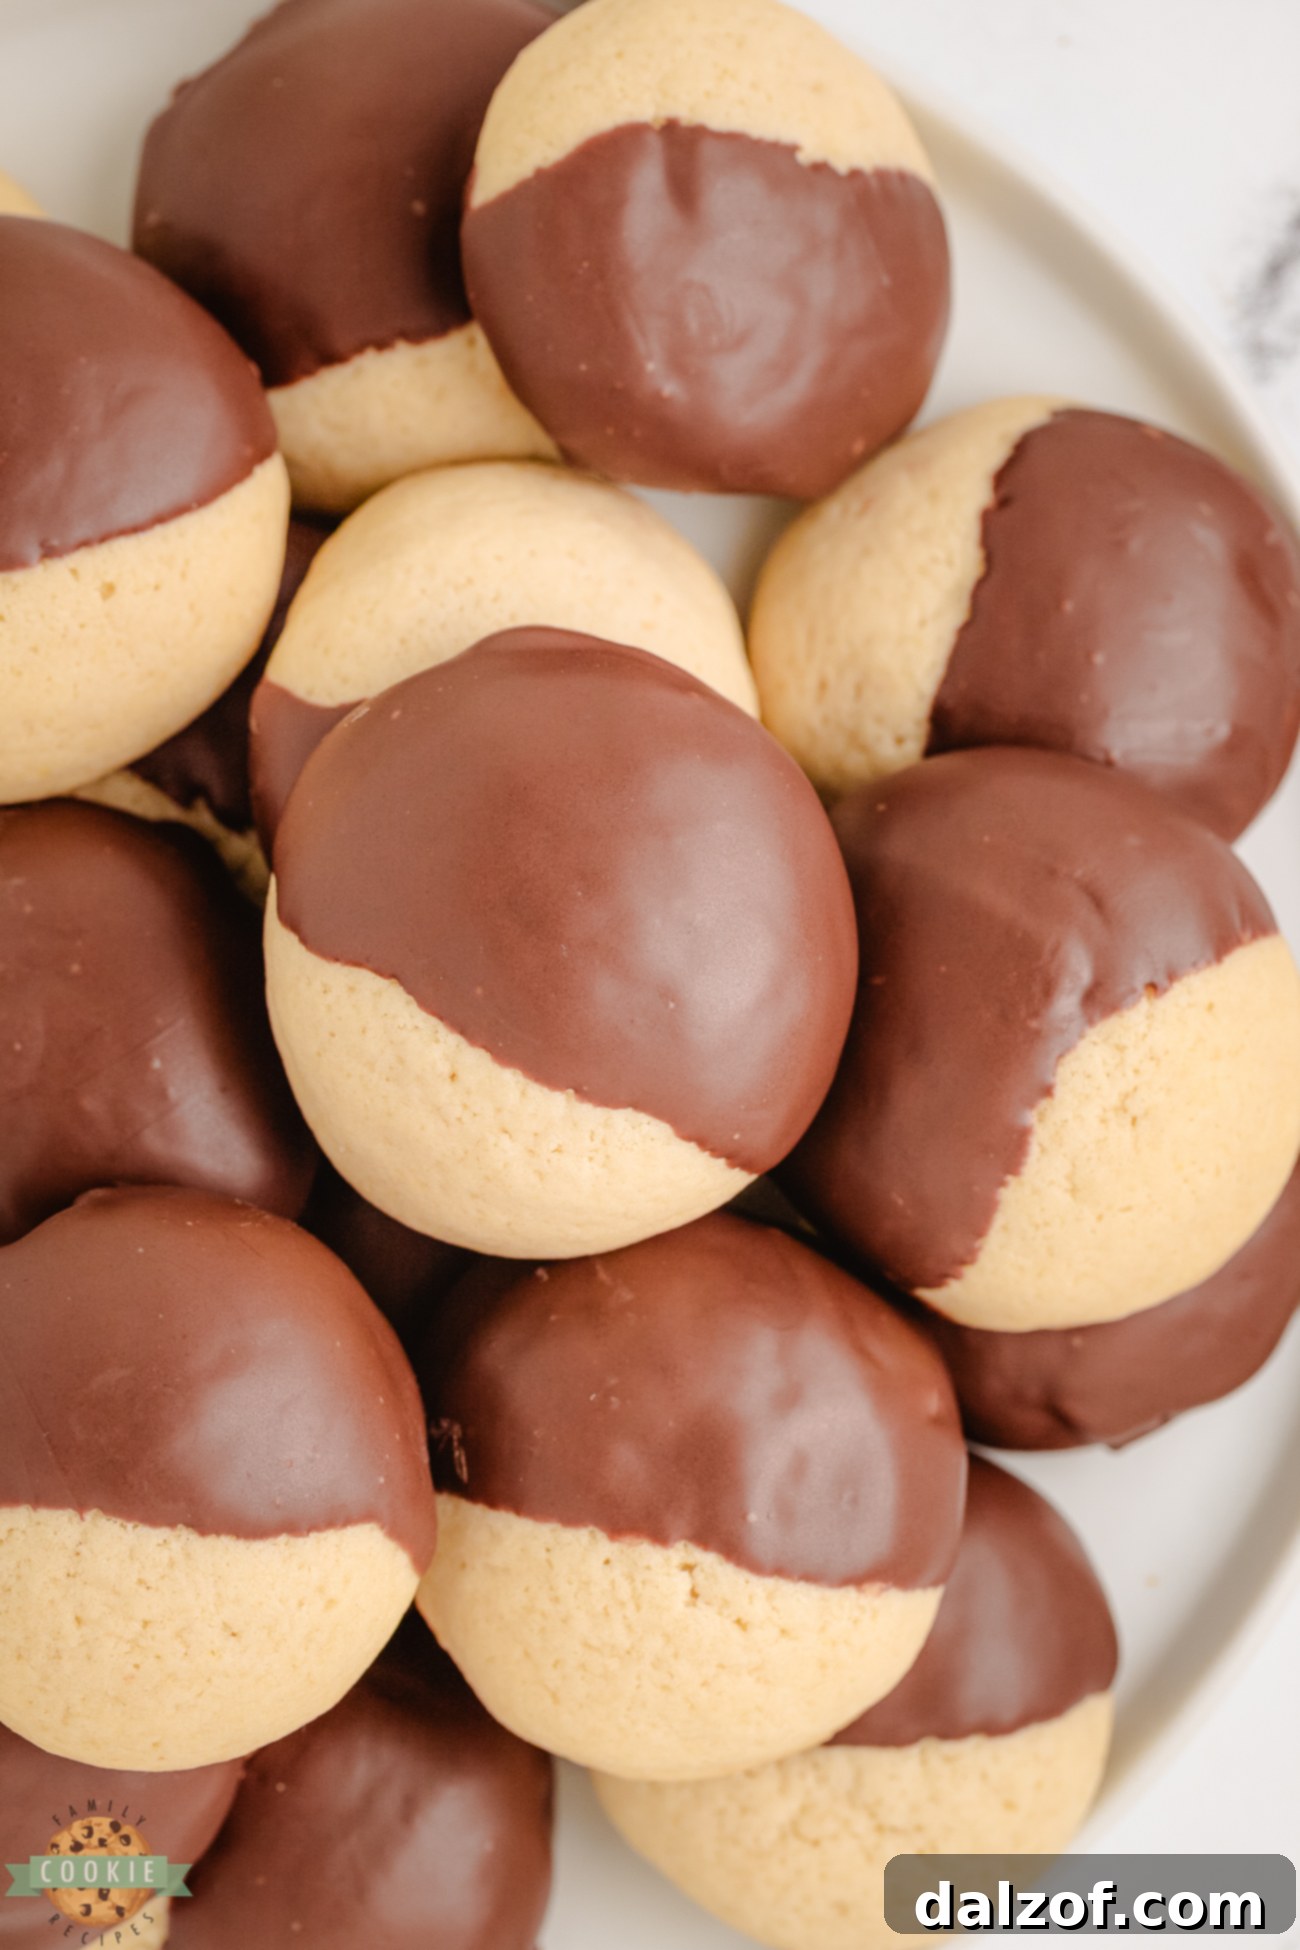
Indulge in the irresistible charm of **Chocolate Dipped Vanilla Cookies**, a delightful homemade treat that brings together the classic comfort of vanilla with the rich allure of chocolate. These aren’t just any cookies; they are tender, buttery vanilla wafers, reminiscent of cherished Nilla Wafers, elevated to gourmet status with a decadent coating of smooth, melted chocolate. Crafted from simple ingredients like flour, cornstarch, butter, and pure vanilla extract, each cookie is baked to golden perfection before being lovingly half-dipped in luscious chocolate, creating a symphony of flavors and textures.
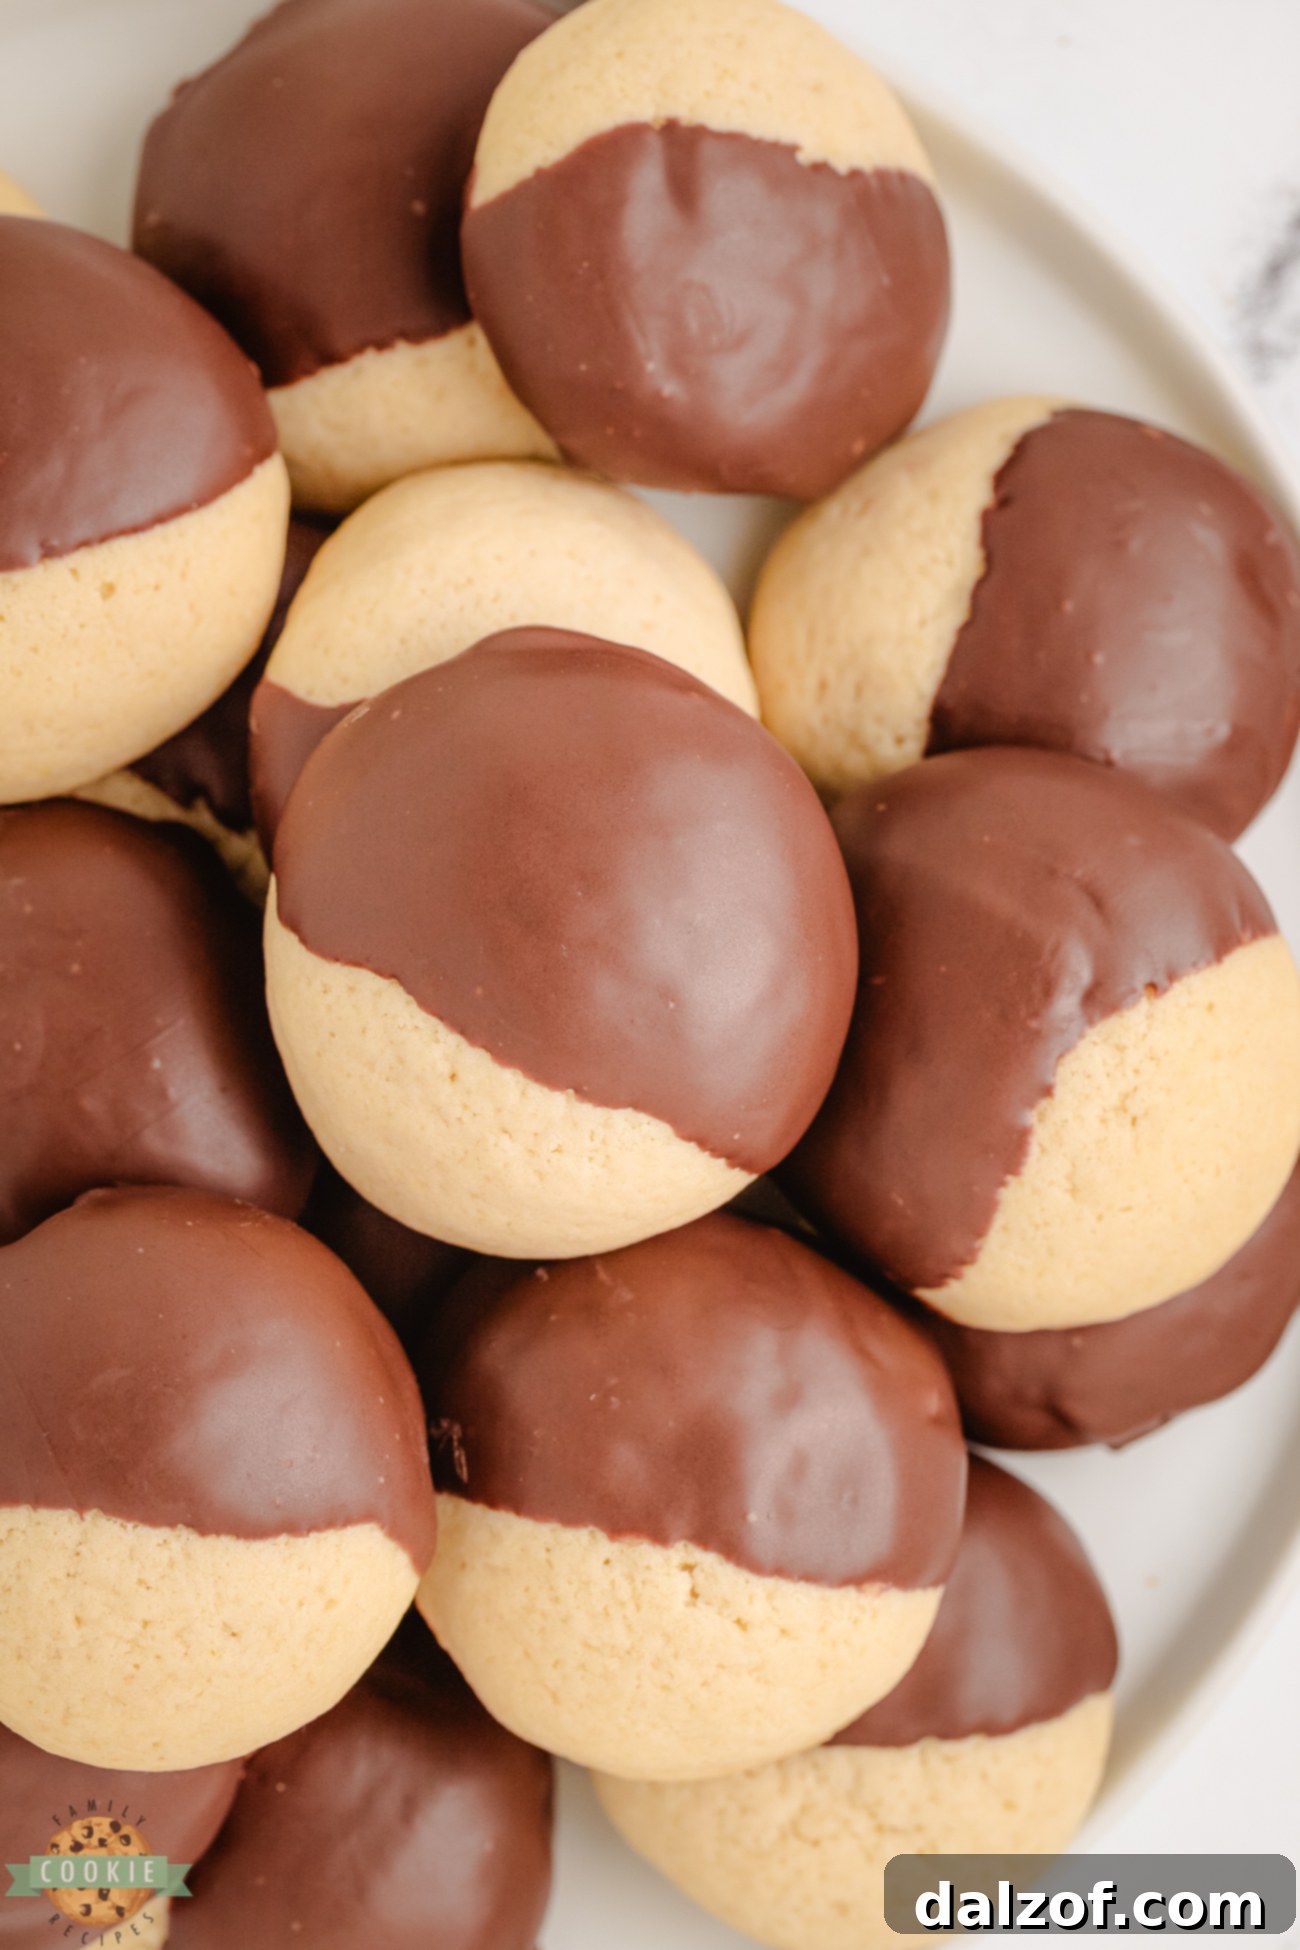
We’ve taken our beloved **vanilla cookie recipe** to an exquisite new level by introducing the magical touch of melted chocolate. This addition transforms a simple cookie into a decadent masterpiece, where the subtle sweetness and aromatic notes of vanilla are beautifully complemented by the intense, luxurious flavor of chocolate. With a straightforward approach and readily available ingredients, you’re just a few steps away from baking a batch of these truly captivating **chocolate dipped cookies** that are perfect for any occasion, from an afternoon snack to an elegant dessert platter.
Why You’ll Fall in Love with This Vanilla Cookie Recipe
This recipe isn’t just about making cookies; it’s about creating an experience. Here’s what makes our chocolate-dipped vanilla cookies truly stand out:
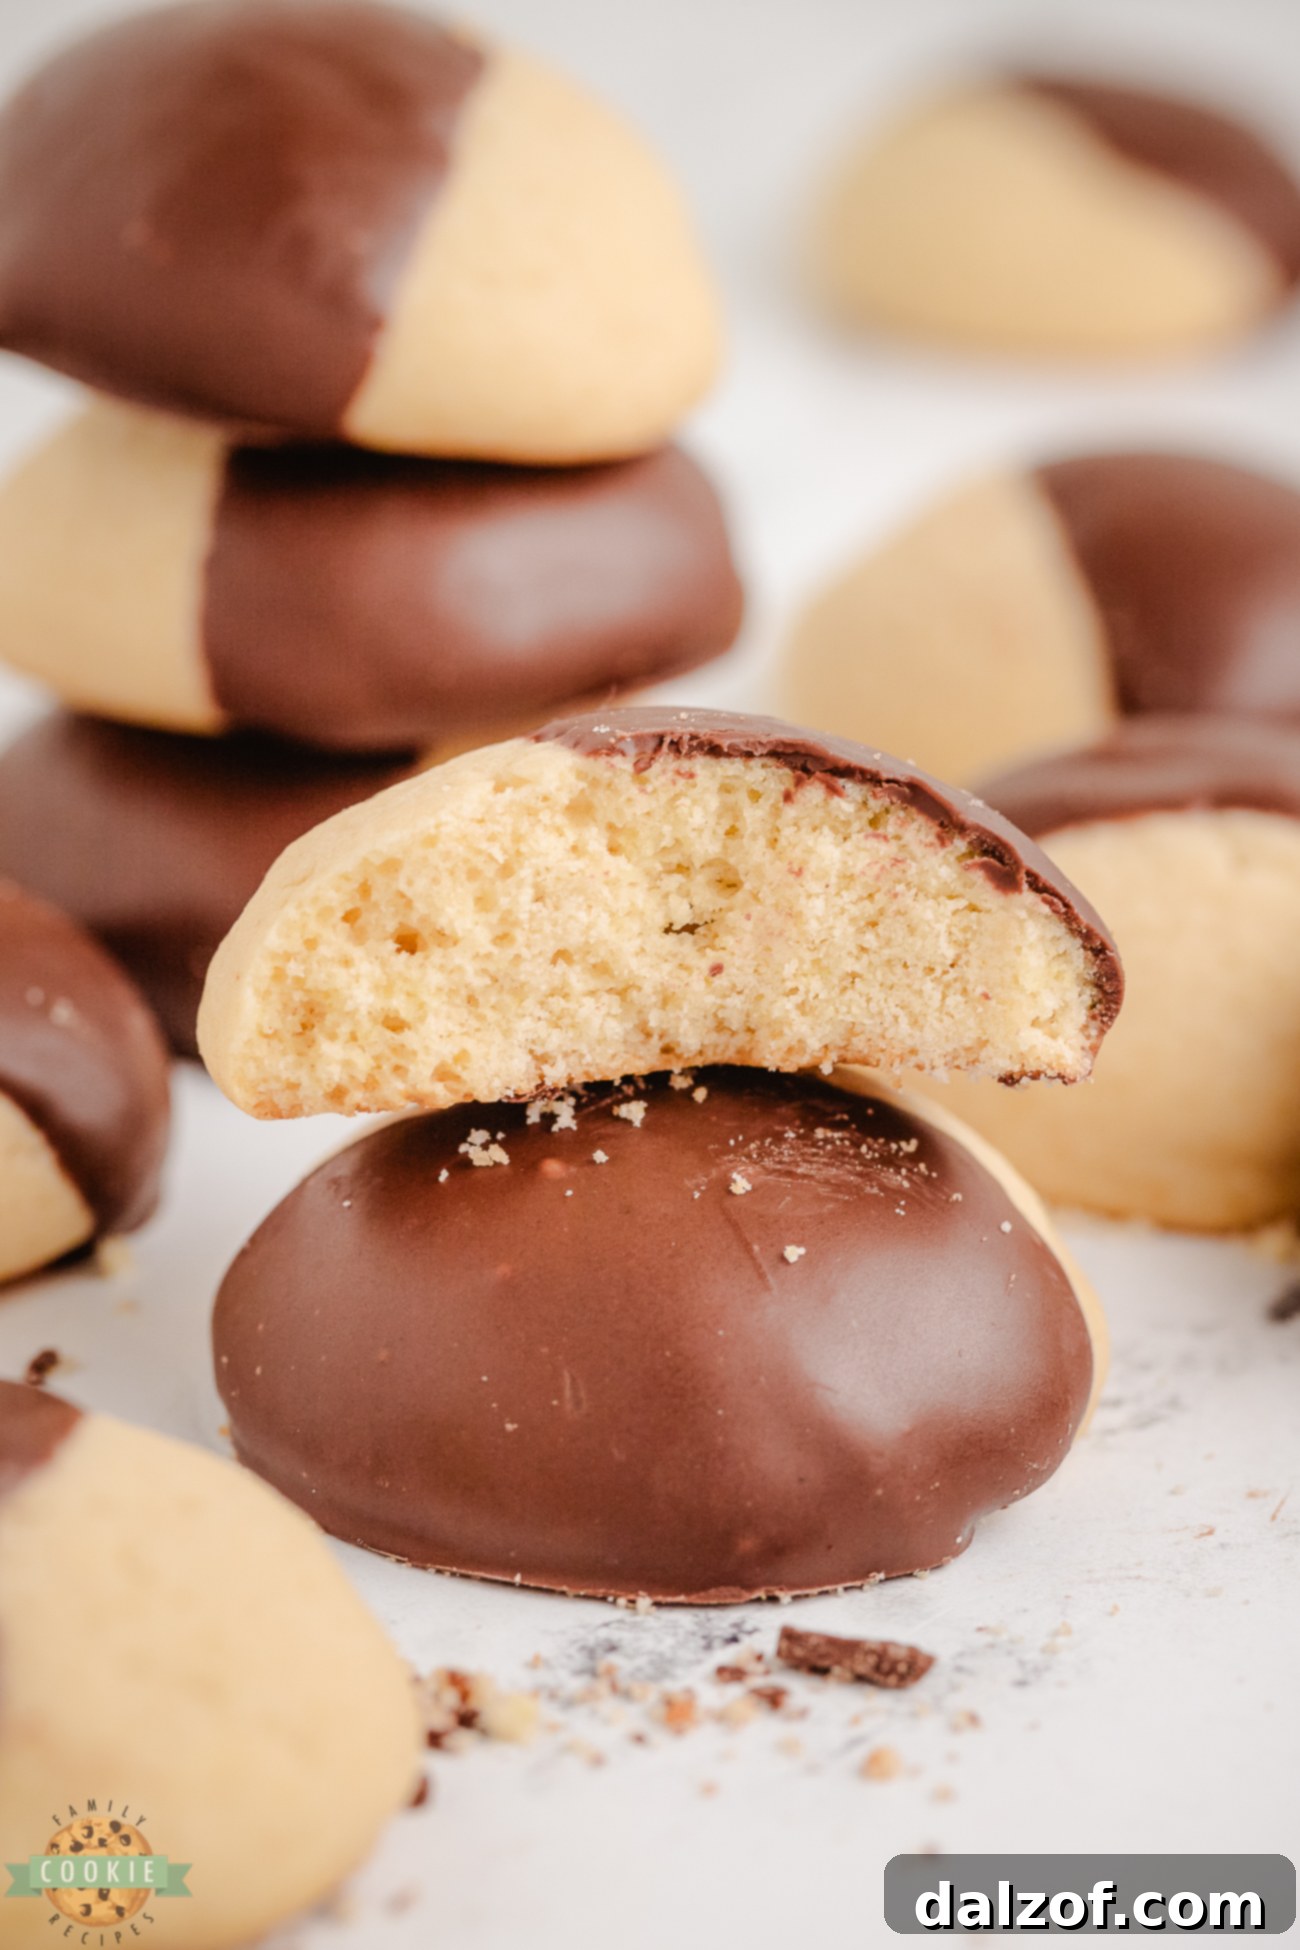
- Unbelievably Soft and Tender Texture: Unlike typical crisp vanilla wafers, our recipe incorporates a secret ingredient – cornstarch – which works wonders alongside all-purpose flour. This unique combination ensures each cookie is incredibly soft, tender, and practically melts in your mouth, offering a delightful contrast to the crisp chocolate shell.
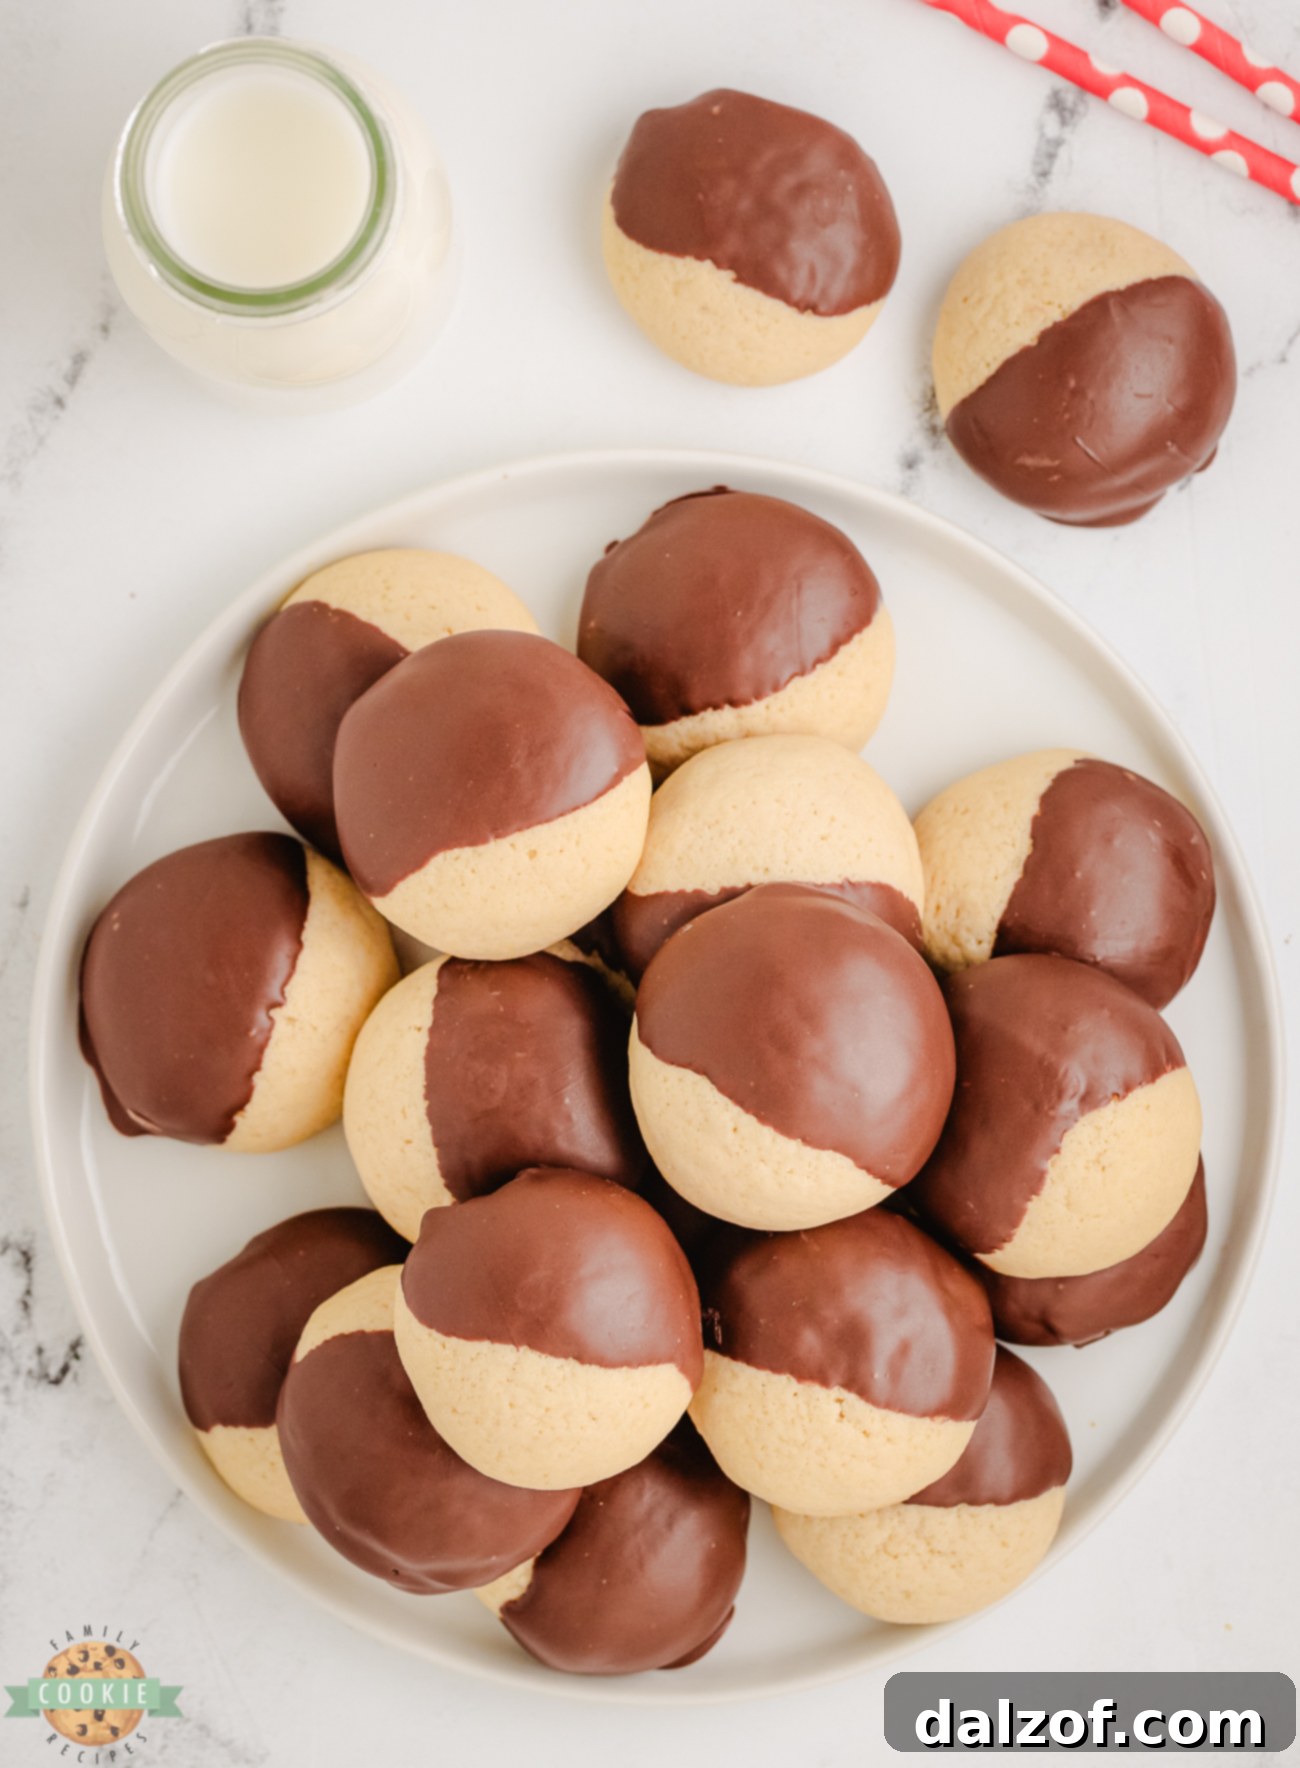
- Decadent Chocolatey Perfection: The visual appeal and flavor profile of these cookies are largely due to their rich chocolate coating. Instead of having chocolate chips baked inside, which can alter the cookie’s tender texture, we dip the cooled vanilla cookies in a smooth, glossy layer of melted chocolate. This creates a clean, uniform chocolate shell that cracks delicately with each bite, providing an intense burst of chocolate flavor that harmonizes perfectly with the vanilla base.
- A Crowd-Pleaser for Every Gathering: These cookies are universally adored, making them an ideal choice for sharing with friends and family. Their elegant appearance and balanced flavors make them perfect for bake sales, potlucks, holiday parties, or simply as a thoughtful homemade gift. They’re guaranteed to elicit smiles and requests for the recipe!
- Simple Ingredients, Gourmet Results: Despite their sophisticated taste and look, these cookies require only a handful of common pantry staples. The simplicity of the ingredients belies the incredible flavor and texture they produce, proving that extraordinary treats don’t always demand complicated processes.
- Easily Customizable: While perfect as is, this recipe also offers fantastic flexibility for customization. From adding sprinkles to experimenting with different chocolate types or even incorporating nuts, these cookies serve as a wonderful canvas for your creative baking endeavors.
Crafting Perfection: Essential Ingredients for Chocolate Dipped Cookies
Creating these delightful cookies starts with a careful selection of ingredients. Each component plays a vital role in achieving that perfect soft texture and exquisite flavor. Here’s a closer look at what you’ll need and why:
- All-Purpose Flour: This forms the structural backbone of your cookies. Using the correct amount is key to achieving the desired consistency, providing body without making the cookies tough.
- Cornstarch: This is a non-negotiable ingredient that sets our vanilla cookies apart. Just 2 teaspoons of cornstarch work wonders, contributing significantly to the extra soft, tender, and almost cake-like texture, ensuring your cookies are never dry or crumbly.
- Baking Powder: A crucial leavening agent, baking powder helps your cookies rise beautifully as they bake, contributing to their light and airy internal structure. This creates a softer bite and a more pleasant mouthfeel.
- Salt: Often underestimated, salt is vital for balancing the sweetness in the dough. It enhances the vanilla and chocolate flavors, preventing the cookies from tasting overly saccharine and bringing out a more complex taste profile.
- Unsalted Butter: Softened unsalted butter is the foundation for rich, moist, and flavorful cookies. Using unsalted butter allows you to control the exact amount of salt in the recipe. Its creamy texture, when properly softened, incorporates air into the dough, leading to a tender crumb.
- Granulated Sugar: Providing sweetness and aiding in the browning process, ⅔ cup of granulated sugar helps create that perfectly golden exterior and contributes to the cookies’ pleasant crispness around the edges, while maintaining a soft interior.
- Large Egg: A single large egg acts as a binder, holding all the ingredients together and adding moisture, richness, and structure to the cookie dough. It helps create a cohesive dough that’s easy to work with and ensures a tender baked cookie.
- Vanilla Extract: For genuine vanilla flavor, 1 tablespoon of high-quality vanilla extract is essential. This is a vanilla cookie, after all! It imparts a warm, aromatic sweetness that is both comforting and inviting, forming the perfect base for the chocolate dip.
- Milk: A small amount of milk (1 tablespoon) adds a touch more moisture to the dough, ensuring it’s pliable and easy to handle without becoming too stiff or dry. This contributes to the overall tenderness of the final cookie.
- Melting Chocolate (or Chocolate Bark): For the exquisite chocolate coating, ½ cup of melting chocolate or chocolate bark is ideal. These varieties are specifically formulated to melt smoothly and set beautifully, providing a glossy, even finish without needing tempering. This ensures a clean snap and a professional look.
Essential Tips for Baking Your Best Chocolate Dipped Vanilla Cookies
While the full step-by-step instructions are detailed in the recipe card below, here are some invaluable tips to ensure a successful and delightful baking experience, transforming simple ingredients into extraordinary cookies:
- Perfectly Softened Butter is Key: Before you even think about mixing, ensure your unsalted butter is properly softened. This means it should be pliable enough to leave an indentation when gently pressed, but not melted or greasy. Melted butter will yield flat, greasy cookies, while cold butter won’t cream properly, resulting in a dense texture. Aim for room temperature – typically about 68-70°F (20-21°C). If you’re short on time, check our detailed tip below on how to quickly and effectively soften butter.
- The Crucial Chill Time: Do not underestimate or skip the chilling step! Our recipe specifically calls for chilling the cookie dough for at least one hour, or ideally, overnight. This step is fundamental for several reasons: it allows the butter to firm up, making the dough much easier to handle and roll; it prevents the cookies from spreading excessively in the oven, helping them maintain their perfect shape; and perhaps most importantly, it allows the flavors to meld and deepen, resulting in a more complex and delicious cookie. Patience here truly pays off.
- Mastering the Chocolate Dip: Once your chocolate bark is perfectly melted and gloriously smooth, it’s time for the artistic touch. Dip each completely cooled cookie halfway into the melted chocolate. Gently lift the cookie and allow any excess chocolate to drip back into the bowl. This crucial step prevents overly thick, clumpy layers of chocolate, ensuring a delicate and balanced coating. Immediately after dipping, place the cookies on a parchment paper-lined tray. This prevents sticking and makes cleanup a breeze. Allow the chocolate to set completely at room temperature or in the refrigerator for a faster set.
- Ensure Cookies Are Completely Cooled Before Dipping: This tip goes hand-in-hand with perfecting the chocolate dip. Dipping warm cookies into melted chocolate will cause the chocolate to melt further and slide off, resulting in a messy and uneven coating. Always ensure your baked vanilla cookies have cooled entirely on a wire rack before beginning the dipping process.
- Don’t Overmix the Dough: Once you’ve added the flour mixture to the wet ingredients, mix only until just combined. Overmixing develops the gluten in the flour, which can lead to tough, chewy cookies instead of the desired soft and tender texture.
Storing Your Chocolate Dipped Delights for Lasting Freshness
To keep your delicious chocolate dipped vanilla cookies fresh and flavorful for as long as possible, proper storage is essential. Here’s how to ensure they remain delightful:
- Room Temperature Storage: Once the chocolate coating has fully set, place the cookies in an airtight container. They will remain wonderfully fresh and soft for up to 5 to 7 days when stored at room temperature. For those who prefer their chocolate at room temperature, this is the ideal method.
- Refrigerated Storage (Optional): If you live in a warm climate or simply prefer your chocolate firm and chilled, you can store these cookies in an airtight container in the refrigerator for up to 1 week. Just be aware that refrigeration can sometimes slightly alter the texture of the cookie, making it a little firmer.
- Freezing for Longer Enjoyment: For extended storage, these cookies freeze beautifully. Once the chocolate is completely set, arrange the cookies in a single layer on a baking sheet and flash-freeze them for about 30 minutes until solid. Then, transfer the frozen cookies to a freezer-safe airtight container or a heavy-duty freezer bag, layering them with parchment paper to prevent sticking. They can be frozen for up to 3 months without losing their quality.
- Thawing Frozen Cookies: To enjoy frozen cookies, simply remove them from the freezer and let them thaw at room temperature for an hour or two before serving. This allows them to return to their optimal soft texture and flavor.
Chocolate Dipped Vanilla Cookies
Print
Pin
Rate
Ingredients
- 1 ½ cups all-purpose flour
- 2 tsp cornstarch
- ¾ tsp baking powder
- ½ tsp salt
- ½ cup unsalted butter softened
- ⅔ cup granulated sugar
- 1 large egg
- 1 TBSP vanilla extract
- 1 TBSP milk
- ½ cup Dipping Chocolate (melting wafers or chocolate bark)
Instructions
-
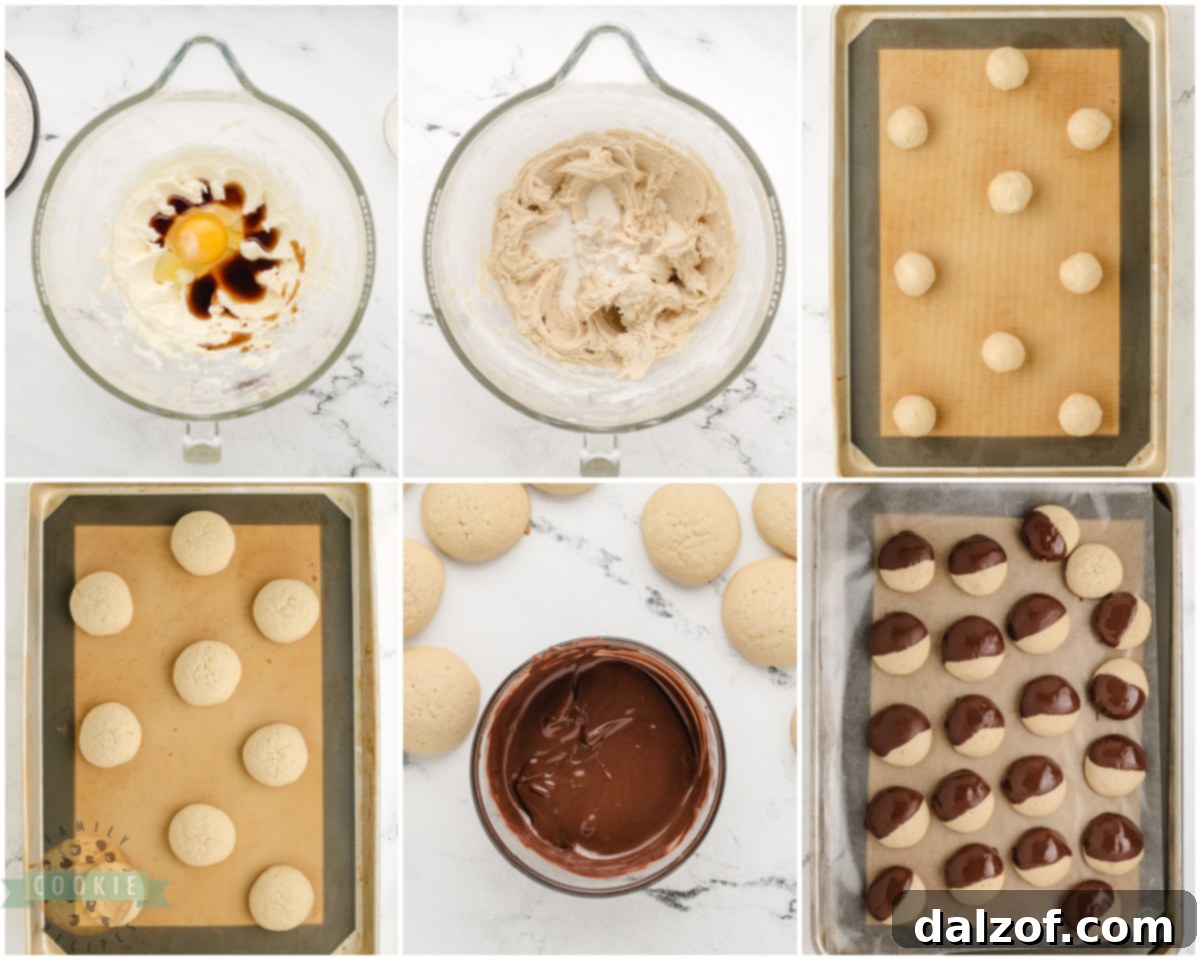
In a medium bowl, thoroughly whisk together the all-purpose flour, cornstarch, baking powder, and salt. Set this dry mixture aside.
-
In a separate large bowl, using an electric mixer, beat the softened butter and granulated sugar together until the mixture is light, fluffy, and creamy, typically 2-3 minutes. Reduce the mixer speed to low, then beat in the large egg and vanilla extract until they are fully incorporated and the mixture is smooth.
-
Gradually add the reserved flour mixture into the butter mixture, mixing on low speed until just combined. Be careful not to overmix. Finally, add the milk and stir again until the dough comes together.
-
Cover the bowl tightly with plastic wrap and refrigerate the dough for at least 1 hour. For best results and to ensure the cookies hold their shape, chilling overnight is highly recommended.
-
Preheat your oven to 350°F (175°C). Line two baking sheets with parchment paper to prevent sticking and ensure even baking. Set them aside.
-
Once the dough is adequately chilled, roll it into 1-inch balls. Place these dough balls onto the prepared baking sheets, ensuring they are spaced at least 2 inches apart to allow for proper spreading. Bake for 11-12 minutes, or until the edges of the cookies are light golden brown. The centers should still be soft.
-
While the cookies cool completely, prepare your dipping chocolate. In a small microwave-safe bowl, melt the chocolate bark. Start by heating for 30 seconds, stir well, then continue heating in 15-second increments, stirring after each, until the chocolate is completely smooth and melted. Be careful not to overheat.
-
Once the cookies are thoroughly cooled, dip each cookie halfway into the melted chocolate. Allow any excess chocolate to drip off for a clean finish. Place the dipped cookies onto wax paper or parchment paper until the chocolate has fully set and is dry to the touch. Serve and enjoy your delightful homemade treats!
Notes
For longer preservation, place them in an airtight container or a freezer bag and freeze for up to 3 months. Always allow them to thaw at room temperature before serving for the best texture and flavor.
Nutrition (per cookie)
Creative Variations to Elevate Your Vanilla Cookies
While these chocolate dipped vanilla cookies are perfect in their classic form, they also serve as an excellent canvas for culinary creativity. Don’t hesitate to experiment with these exciting variations:
- Fun Additions and Decorative Touches: For those who love to add a little flair, sprinkle some colorful rainbow sprinkles, festive nonpareils, or even delicate edible glitter onto the chocolate coating while it’s still wet. This adds a vibrant and playful touch, perfect for celebrations. If you’re a nut enthusiast, consider stirring finely chopped pecans, walnuts, or almonds into the melted chocolate for a delightful crunchy texture with every bite. A drizzle of white chocolate or contrasting dark chocolate over the set coating can also create an elegant visual.
- Gluten-Free Adaptation: For individuals with gluten sensitivities or dietary preferences, this recipe can be effortlessly modified. Simply substitute the regular all-purpose flour with a high-quality 1:1 gluten-free all-purpose flour blend. It’s crucial to select a blend that contains xanthan gum for optimal texture. Always remember to double-check that all other ingredients, especially your chosen melting chocolate or bark, are certified gluten-free to ensure a completely safe treat.
- Vegan Option: Creating a delicious vegan version of these cookies is entirely achievable. Replace the large egg with a ‘flax egg’ – simply mix 1 tablespoon of ground flaxseed meal with 3 tablespoons of water and let it sit for 5-10 minutes until it thickens to an egg-like consistency. Additionally, use a high-quality vegan butter substitute (ensure it’s suitable for baking) instead of regular butter. For the dipping chocolate, opt for a vegan chocolate bark or dairy-free chocolate chips that melt smoothly. Always verify that all other ingredients, like vanilla extract and milk, are also vegan-friendly.
- Flavor Extracts Beyond Vanilla: While vanilla is the star, a touch of a different extract can introduce a new dimension. Try adding ½ teaspoon of almond extract for a subtle nutty note, or a few drops of peppermint extract for a festive holiday twist. Lemon zest can also add a bright, refreshing zing to the vanilla cookie base.
- Decorative Half-Dipped or Fully Covered: The classic half-dip is elegant, but you can also fully cover the cookies in chocolate for an intense chocolate experience, or drizzle chocolate across the entire surface. Get creative with your dipping patterns and techniques!
Frequently Asked Questions About Chocolate Dipped Vanilla Cookies
How does cornstarch affect the texture of cookies?
Cornstarch is a fantastic secret ingredient for achieving an exceptionally soft and tender cookie texture. It works by interfering with gluten development in the flour. Gluten, when over-developed, can lead to tough or chewy cookies. By adding cornstarch, you effectively reduce the protein content of the flour mixture, resulting in a more delicate, melt-in-your-mouth crumb. Furthermore, cornstarch helps absorb moisture, which can also contribute to a softer cookie and aids in preventing the cookies from spreading too much during baking, helping them maintain their shape. For these reasons, skipping the cornstarch is highly discouraged if you’re aiming for that signature soft vanilla cookie.
What’s the best way to soften butter quickly and effectively?
Achieving perfectly softened butter is critical for cookie dough consistency. My go-to method involves using the defrost function on a microwave. If you need a full stick (½ cup) of butter, you can leave it in its paper wrapper. For smaller amounts, place the butter in a glass or porcelain bowl. Set your microwave to its lowest defrost setting and heat for short intervals, typically starting with 20 seconds. After 20 seconds, check the butter’s softness by pressing it gently with a rubber scraper or your finger. It should yield easily and leave an indentation, but not be oily or melted. If it’s still too firm, continue heating in 5-10 second increments, watching it very closely. Butter softens incredibly quickly, and even a few extra seconds can turn perfectly softened butter into melted butter, which will adversely affect your cookie texture. Alternatively, you can cut the butter into smaller cubes and let it sit at room temperature for 30-60 minutes, or place it in a sealed bag and submerge it in warm water for about 10-15 minutes.
Why did my chocolate seize when melting?
Chocolate seizing (becoming thick, grainy, and unworkable) is usually caused by the introduction of even a tiny amount of water or by overheating. When melting chocolate in the microwave, ensure your bowl and utensils are completely dry. Also, heat in short bursts (15-30 seconds), stirring thoroughly after each interval. For stovetop melting, use a double boiler to avoid direct heat and ensure no steam or water splashes into the chocolate. If your chocolate does seize, sometimes you can rescue it by stirring in a teaspoon of vegetable oil or melted shortening, but it might not be as smooth as intended.
Can I use regular chocolate chips for dipping instead of melting chocolate or bark?
While you *can* use regular chocolate chips, they are formulated with stabilizers to hold their shape during baking, which means they don’t melt as smoothly or set as hard and shiny as melting chocolate or chocolate bark. Using chocolate chips for dipping might result in a thicker, duller, or less even coating that could bloom (develop white streaks) over time. For the best, most professional-looking, and easiest-to-work-with coating, melting chocolate or chocolate bark is highly recommended.
How can I prevent my cookies from spreading too much?
Several factors contribute to cookie spread. The most crucial one for this recipe is proper chilling of the dough. Chilling firms up the butter in the dough, preventing it from melting too quickly in the oven. Ensure your butter is softened, not melted. Additionally, make sure your oven temperature is accurate; an oven that’s too cool can cause excessive spreading. Using parchment paper also helps prevent sticking and can contribute to more even baking. Finally, measure your ingredients precisely, especially flour; too little flour can lead to thin, spread-out cookies.

Discover More Vanilla Cookie Inspirations
If you’re a true vanilla enthusiast, these chocolate-dipped delights are just the beginning. Explore more ways to enjoy the comforting flavor of vanilla with these fantastic cookie recipes:
- Homemade Nilla Wafer Cookies: Forget store-bought! Our homemade Nilla Wafer cookies offer a superior taste and texture that are far more satisfying and fresh. They are perfect on their own or as a base for other desserts.
- Delightful Vanilla Cream Cookies: These cookies boast an extraordinary flavor thanks to the addition of pudding mix directly into the cookie dough. This unique touch gives them an incredibly rich, moist, and unforgettable vanilla cream taste.
- Peppermint Vanilla Shortbread Cookies: For your next holiday baking party or a festive treat, you absolutely must try these delightful peppermint vanilla shortbread cookies. The combination of classic vanilla with a refreshing hint of peppermint is truly magical and festive.
- Soft and Tender Vanilla Meltaway Cookies: Experience the ultimate melt-in-your-mouth sensation with these vanilla meltaway cookies. Also made with cornstarch, they promise an incredibly tender, delicate texture that lives up to their name.
Chocolate Covered Vanilla Cookies are more than just a dessert; they’re an easy-to-make indulgence that promises to satisfy any sweet craving. This **simple sugar cookie recipe** yields soft, chewy vanilla cookies perfectly complemented by a rich, luxurious chocolate coating. Whether you’re sharing them with loved ones or savoring them yourself, these cookies are a testament to how simple ingredients can create truly extraordinary moments of joy.