
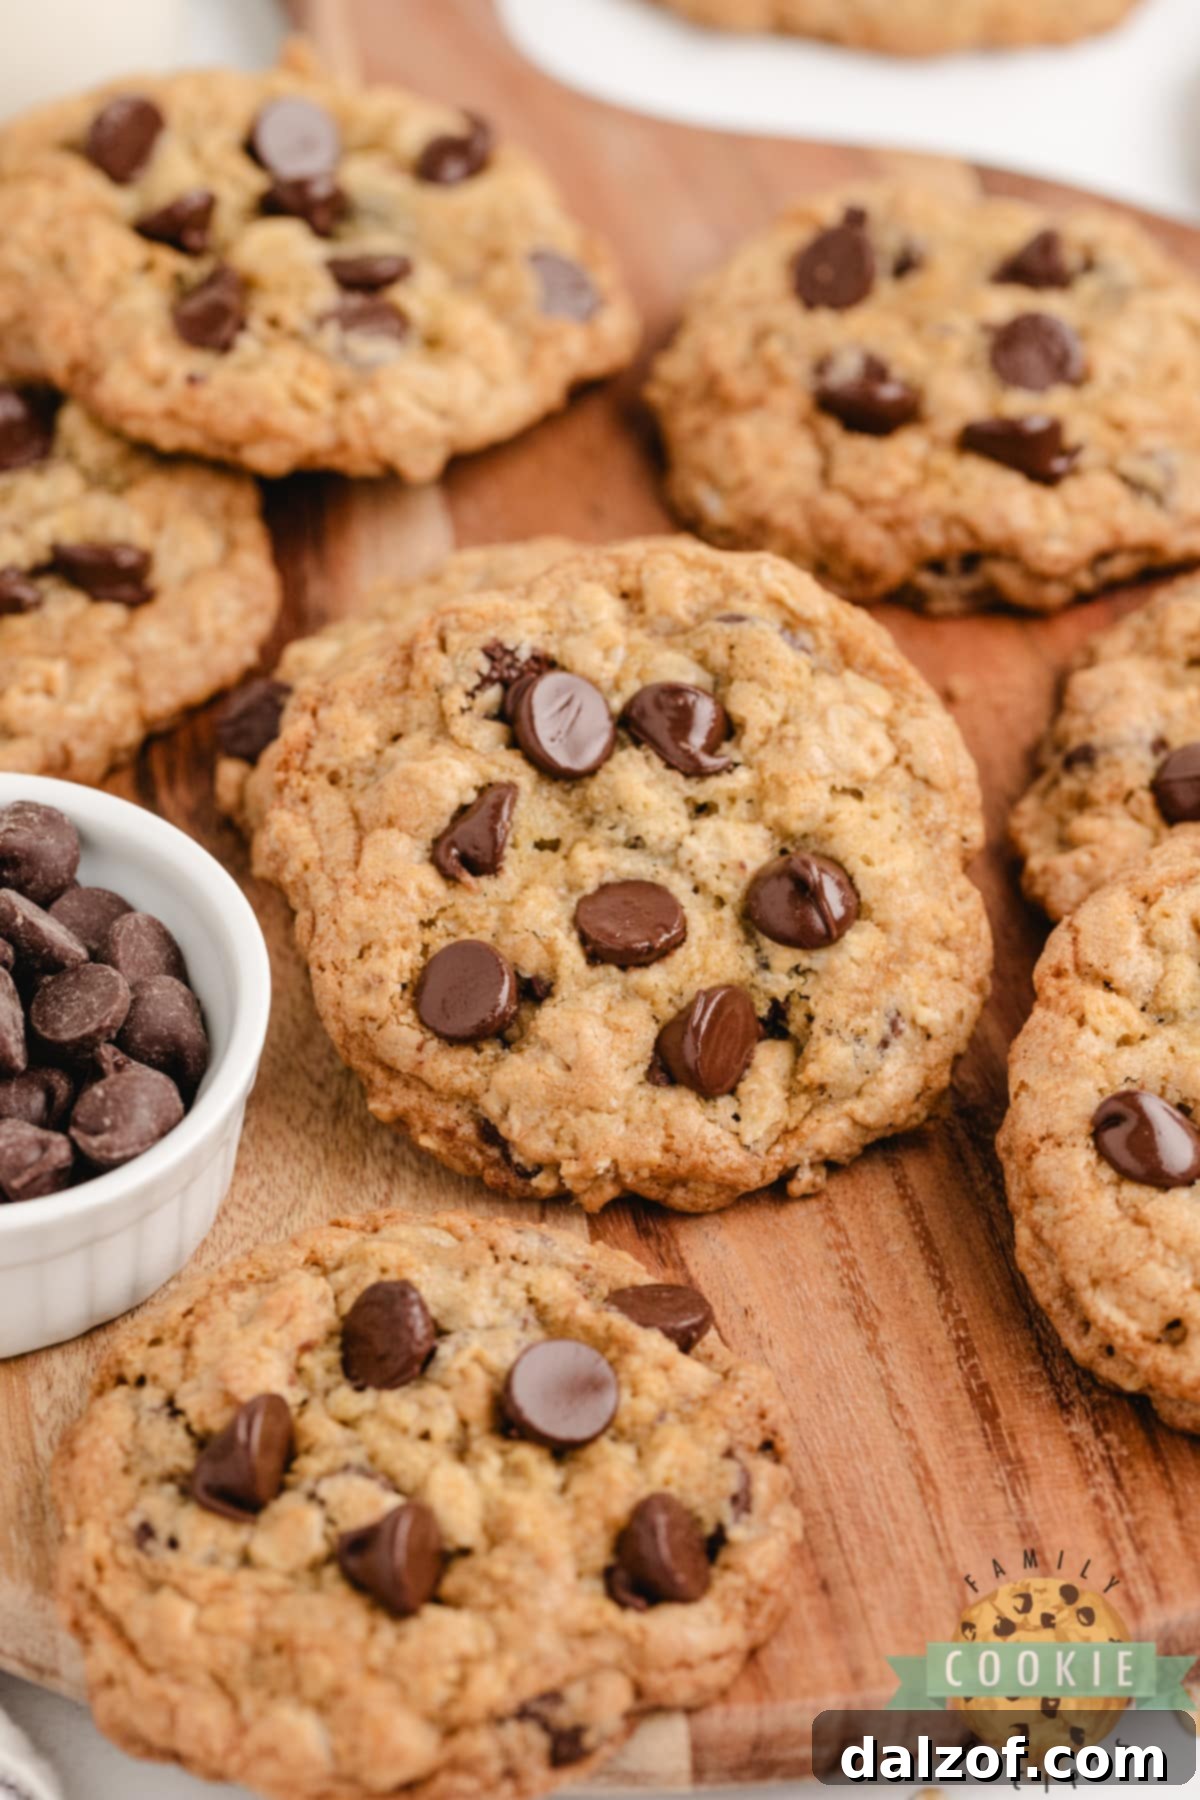
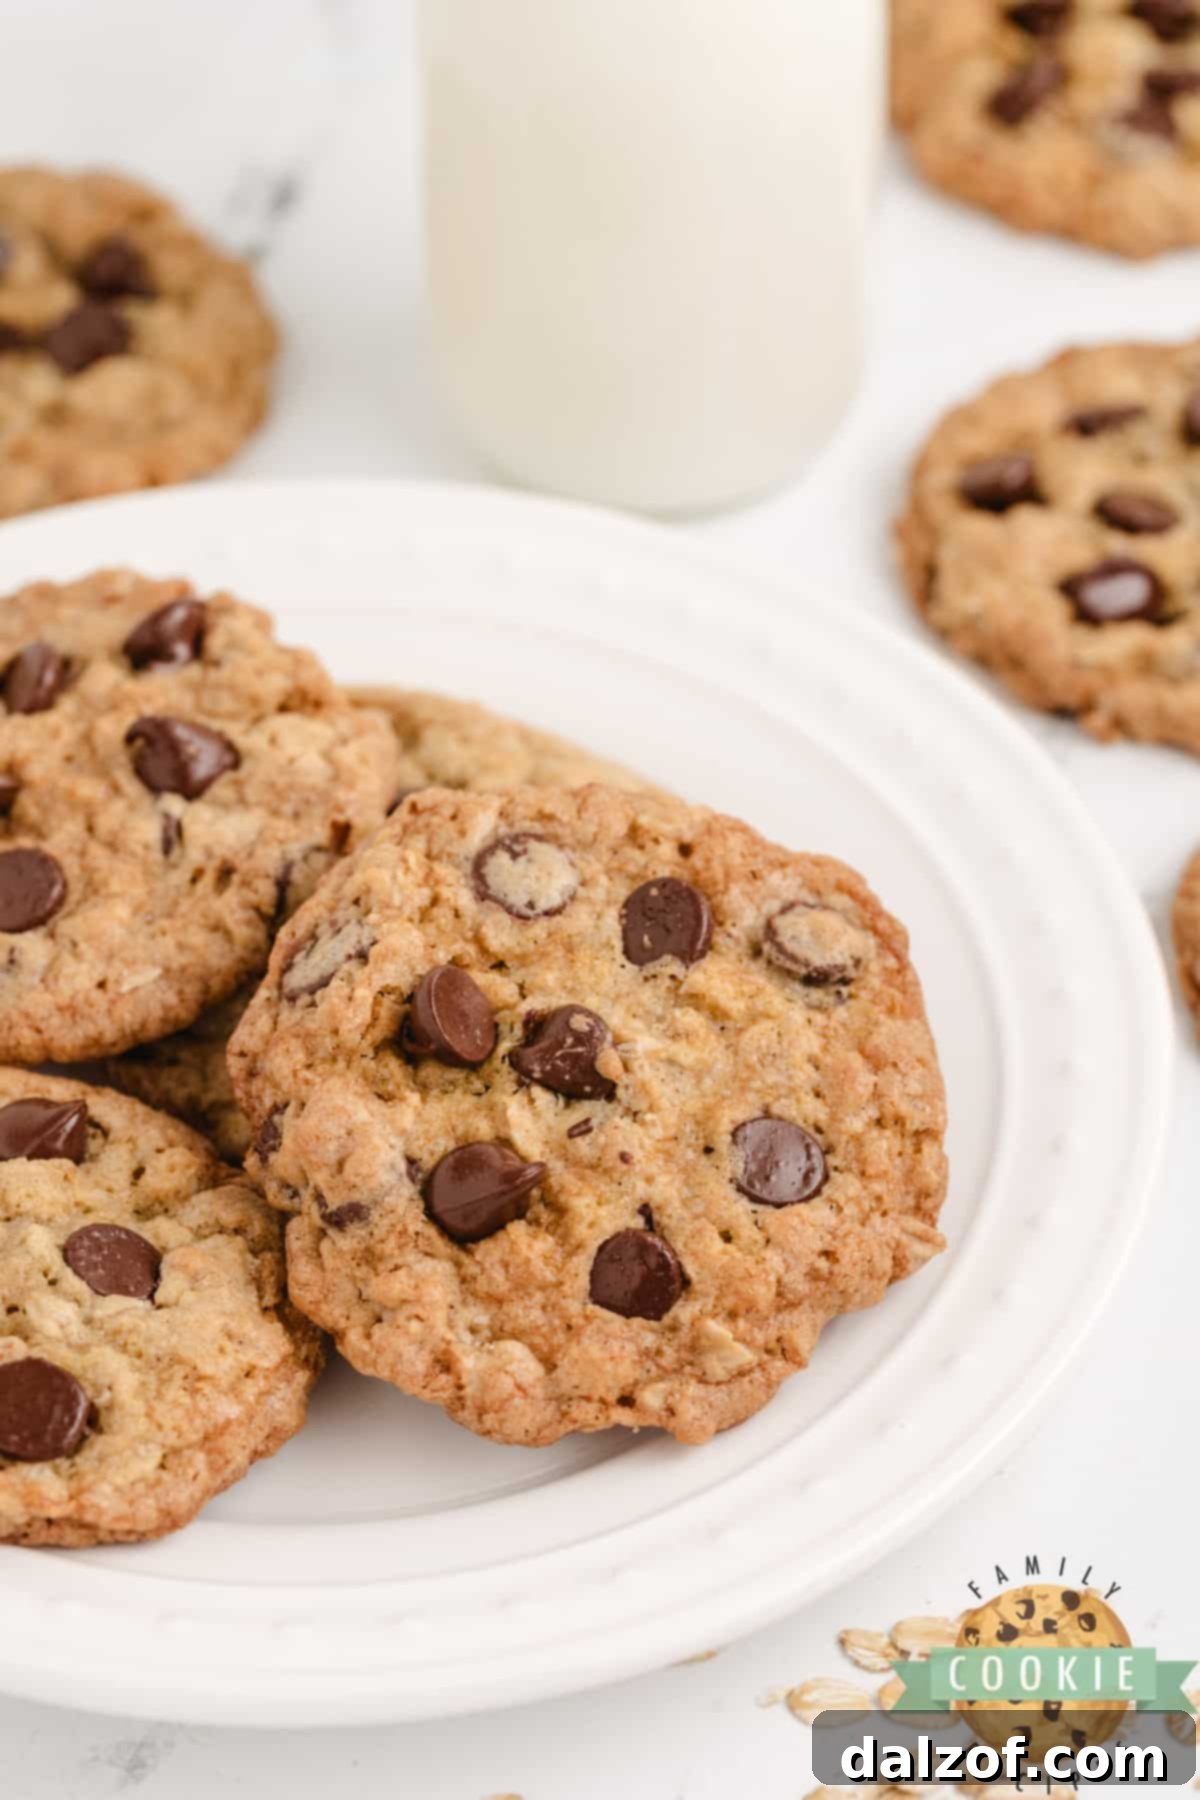
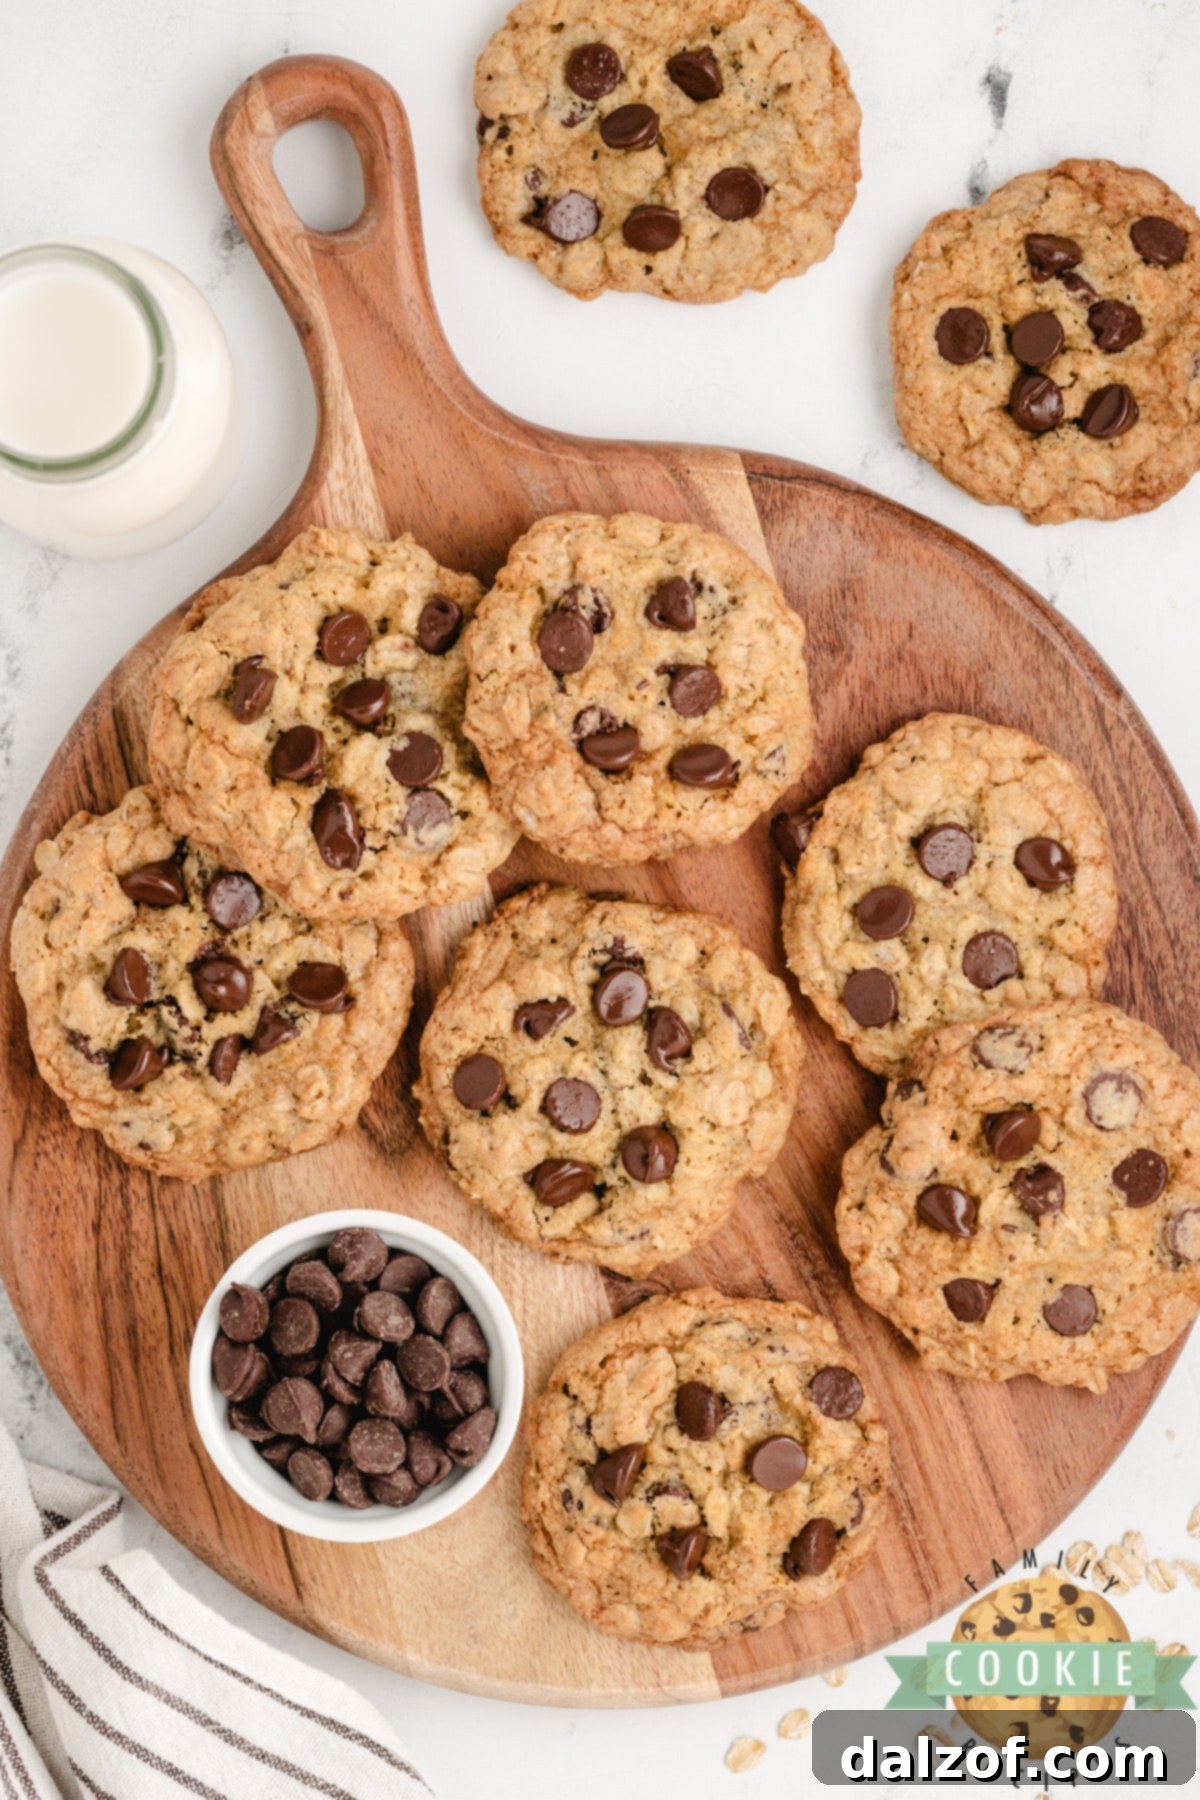
Oatmeal Chocolate Chip Cookies are a timeless delight, celebrated for their perfectly chewy texture, rich flavor, and generous scattering of oats and melt-in-your-mouth chocolate chips. This particular recipe has been a cherished family favorite for generations, consistently delivering what many consider to be the absolute best Oatmeal Chocolate Chip Cookie recipe ever!
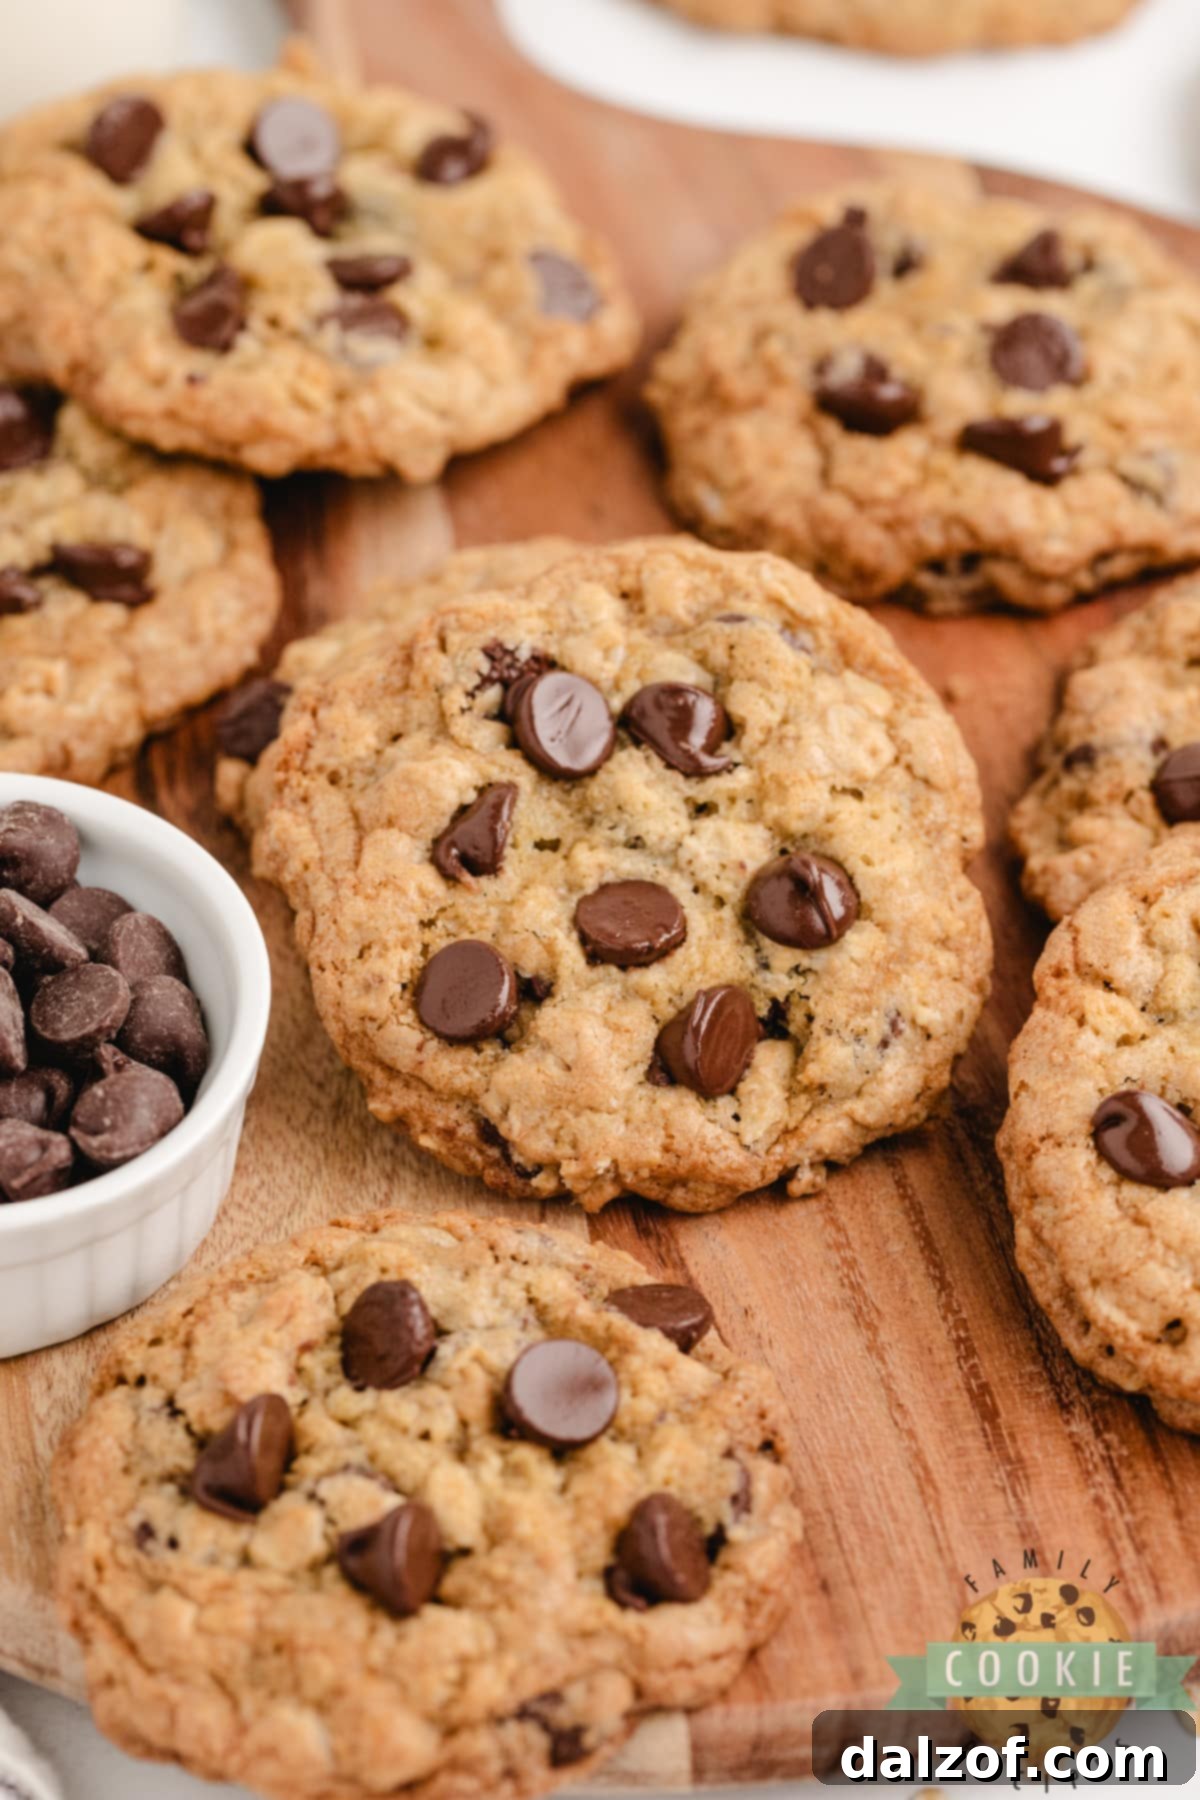
There’s a unique charm in combining the rustic goodness of oatmeal with the universally loved sweetness of chocolate chips. While I adore both oatmeal cookies and chocolate chip cookies individually, their fusion creates an unparalleled experience. This cherished Oatmeal Chocolate Chip Cookie recipe, passed down through my family, consistently produces cookies that are wonderfully soft and satisfyingly chewy every single time, without fail.
What truly sets this recipe apart is its simplicity and efficiency. It relies on very basic, readily available ingredients, and perhaps the most appealing feature for eager bakers – no chilling required! Yes, you heard that right. You can go from mixing bowl to warm, fresh cookies in record time. I’ve explored countless oatmeal cookie recipes over the years, but I always find myself returning to this tried-and-true method, a testament to its consistent excellence.
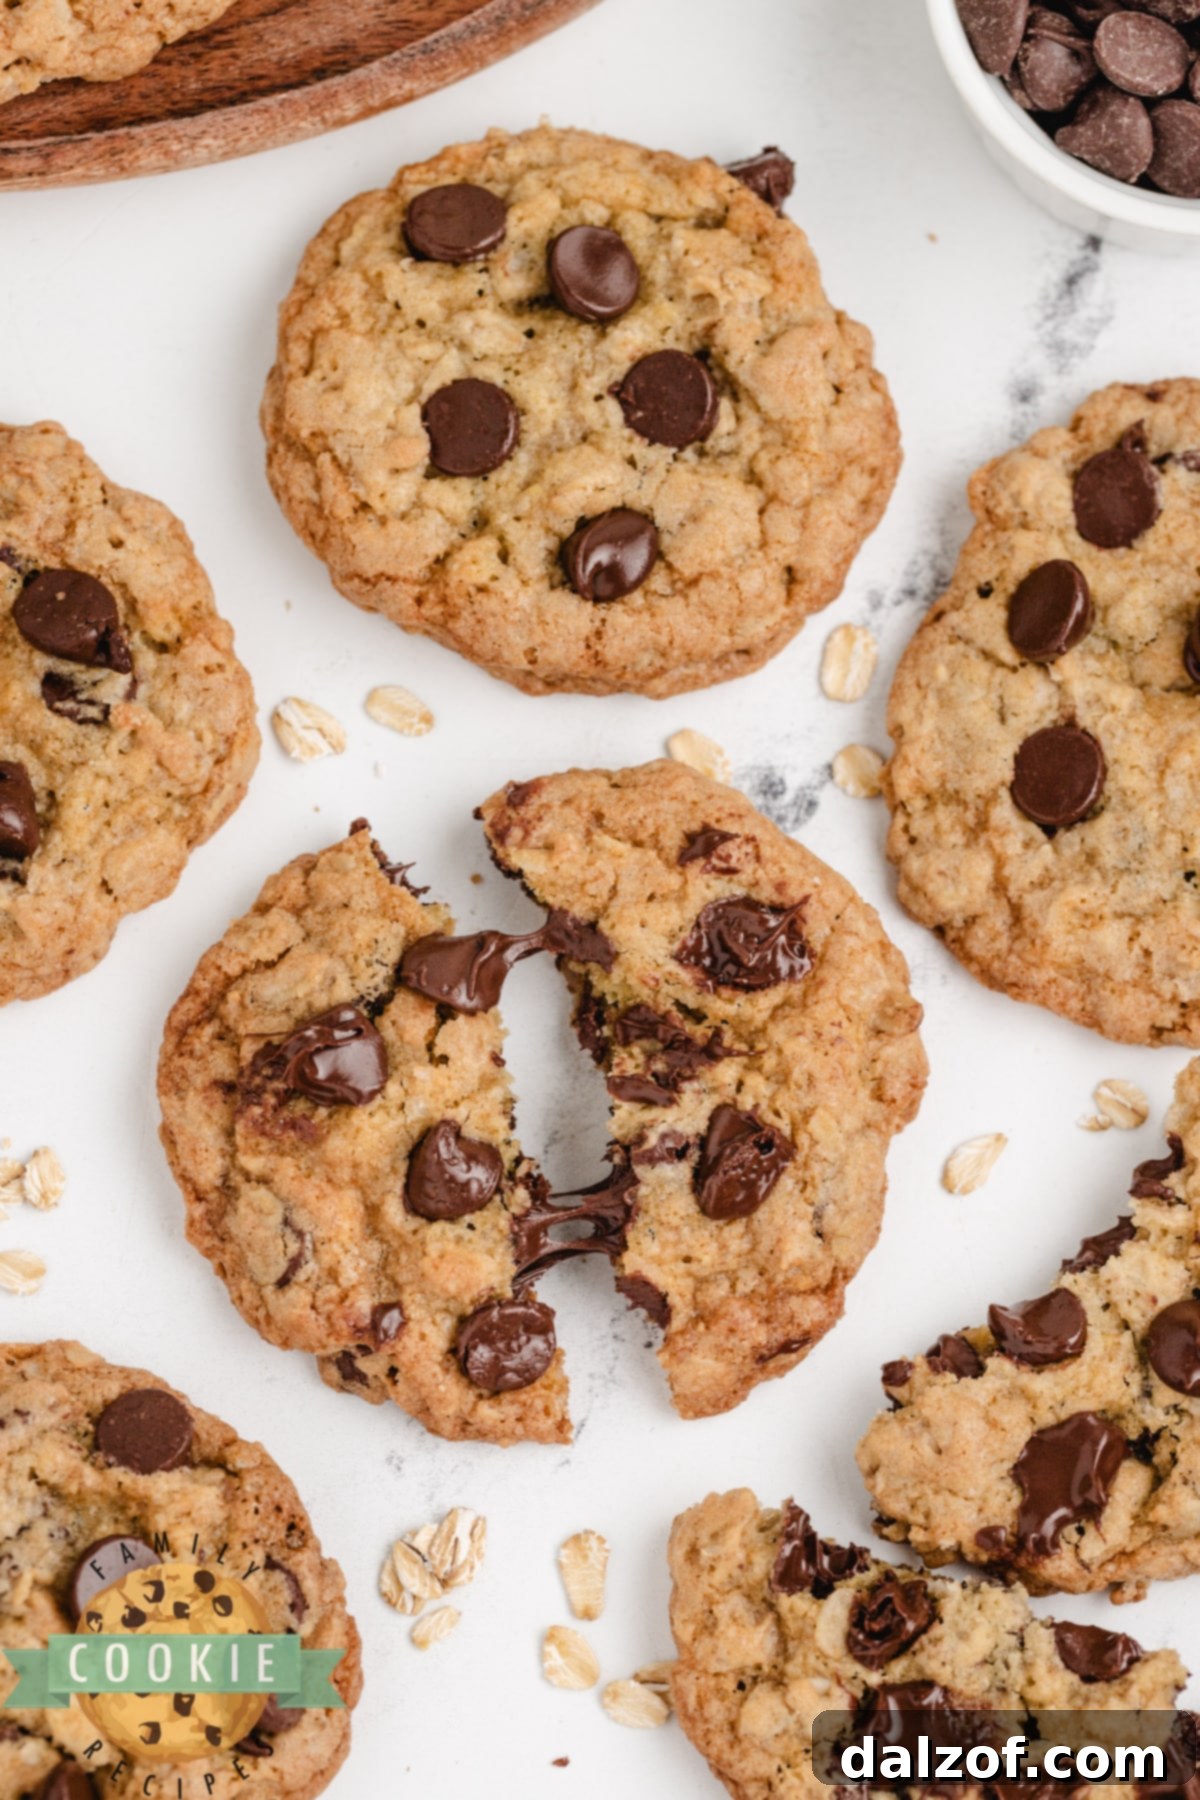
Unlocking the Secret to The BEST Oatmeal Chocolate Chip Cookies
Achieving the perfect Oatmeal Chocolate Chip Cookie is an art form, perfected over countless batches. Through years of baking and refining, I’ve gathered several invaluable tips that elevate these simple cookies from good to truly extraordinary. Follow these guidelines to ensure your cookies are consistently soft, chewy, and absolutely irresistible.
- Accurate Flour Measurement: The amount of flour significantly impacts your cookie’s texture. If your dough feels overly sticky after mixing, you might need to add a touch more flour, but always aim for a firm yet pliable consistency. Using the “spoon and level” method (spoon flour into a measuring cup, then level off with a straight edge) is crucial to avoid adding too much, which can result in dry, dense cookies.
- Cream Butter and Sugars Thoroughly: This step is foundational for incredible cookies. Dedicate a solid 2-3 minutes to creaming your softened butter with both granulated and brown sugars. This process incorporates air into the mixture, which is essential for creating those light, airy pockets that contribute to a wonderfully chewy texture and help the cookies rise beautifully. Don’t rush it!
- Always Preheat Your Oven: Patience is a virtue in baking, and preheating is non-negotiable. A properly preheated oven ensures that your cookies begin baking immediately at the correct temperature, leading to even cooking, proper spread, and consistent results batch after batch. Placing dough into a cold or partially heated oven can cause excessive spreading or uneven baking.
- Invest in a Cookie Scoop: For professional-looking, uniformly sized cookies, a cookie scoop is your best friend. Not only does it make portioning dough incredibly quick and easy, but it also guarantees that all your cookies bake at the same rate, preventing some from being overdone while others are still raw. Consistent size equals consistent baking.
- Utilize Parchment Paper or Silicone Mats: Say goodbye to sticking and scraping! Lining your baking sheets with parchment paper or a silicone baking mat simplifies the removal process immensely. Cookies will slide right off in perfect shape, and cleanup becomes a breeze. These materials also promote more even heat distribution, contributing to a better-baked cookie.
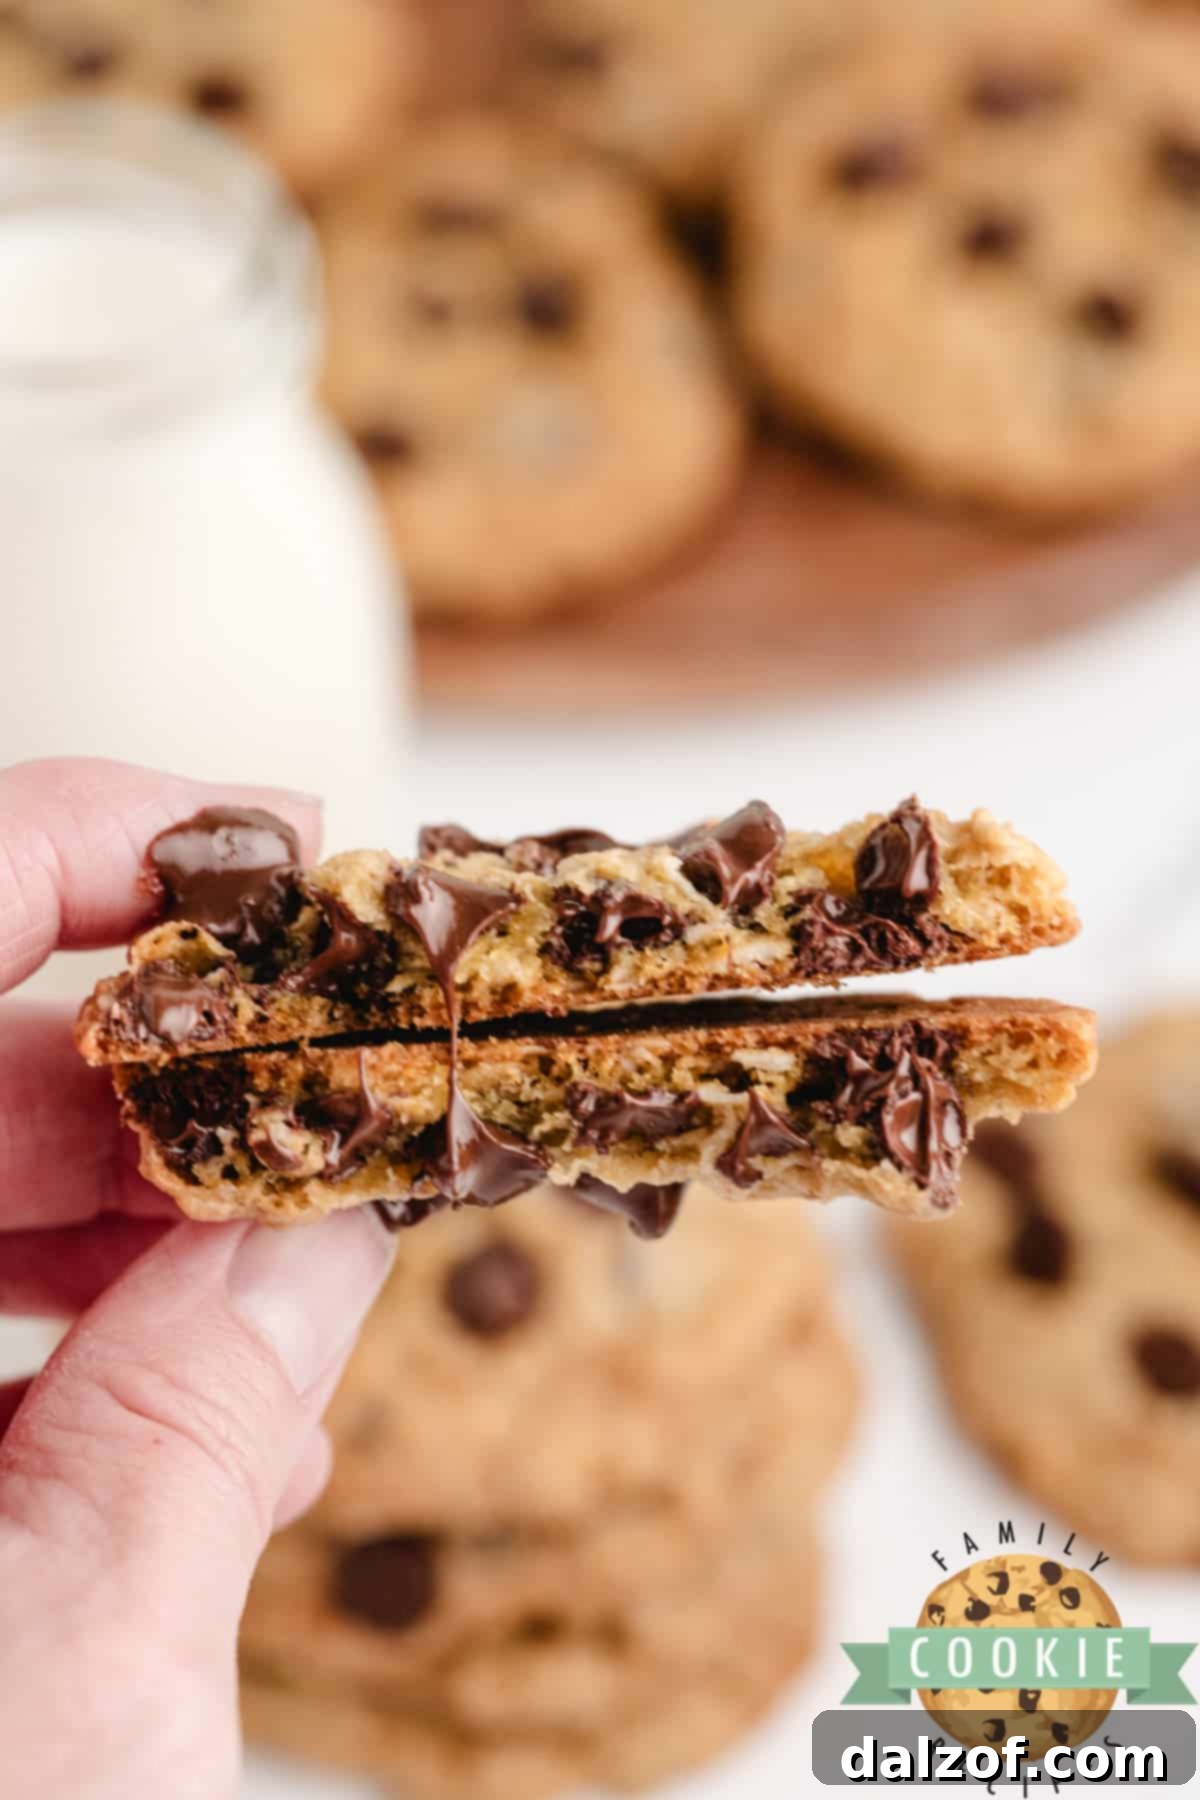
- Avoid Overbaking: This is perhaps the most critical tip for achieving that signature chewy texture. When you remove your cookies from the oven, they should still appear slightly underbaked in the center, with edges that are just barely set and lightly golden. Remember, cookies continue to bake on the hot sheet for a few minutes after they’re removed from the oven. This “carryover baking” is essential for a soft, gooey center.
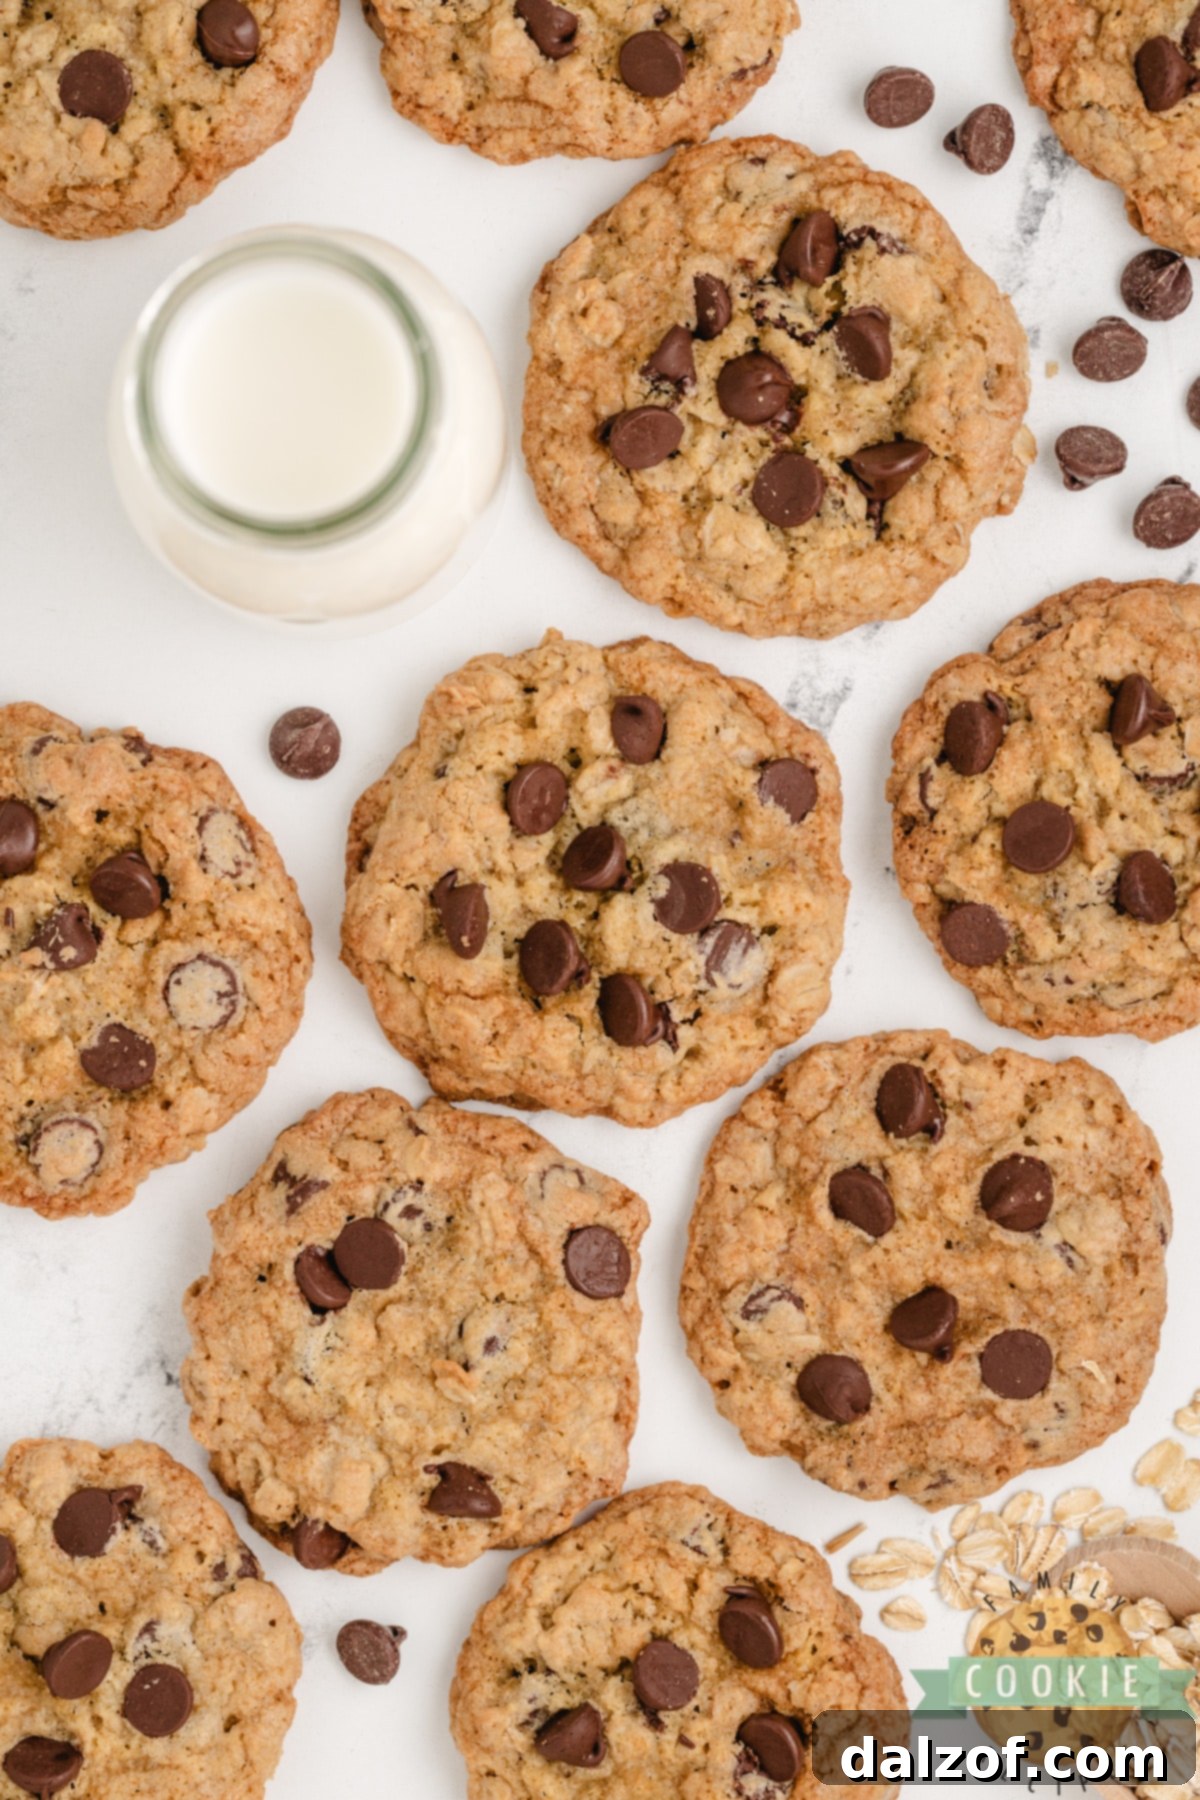
Choosing the Right Oats for Your Oatmeal Chocolate Chip Cookies
The type of oats you choose can subtly yet significantly impact the final texture of your Oatmeal Chocolate Chip Cookies. While both quick oats and old-fashioned (rolled) oats work beautifully, your preference will dictate the exact chewiness and density of your baked treats.
I often find myself using a combination of both – typically half quick oats and half old-fashioned. This blend strikes a perfect balance, offering a delightful chew while maintaining a slightly softer crumb. However, feel free to use whichever variety you have on hand or prefer!
If you opt for all quick oats, your cookies will tend to be a bit denser and slightly puffier. Quick oats are cut into smaller pieces, allowing them to absorb moisture more rapidly and integrate seamlessly into the dough. This results in a cookie with a more uniform texture and a less prominent oat presence.
Conversely, using all old-fashioned oats yields a distinctly chewier cookie. These thicker, rolled oats retain more of their structural integrity during baking, providing a heartier texture and a more pronounced “oaty” flavor. Personally, I love the robust chewiness that old-fashioned oats contribute; it makes the cookie feel more substantial and, dare I say, easier to justify as a breakfast treat! No matter your choice, ensure your oats are fresh for the best flavor.
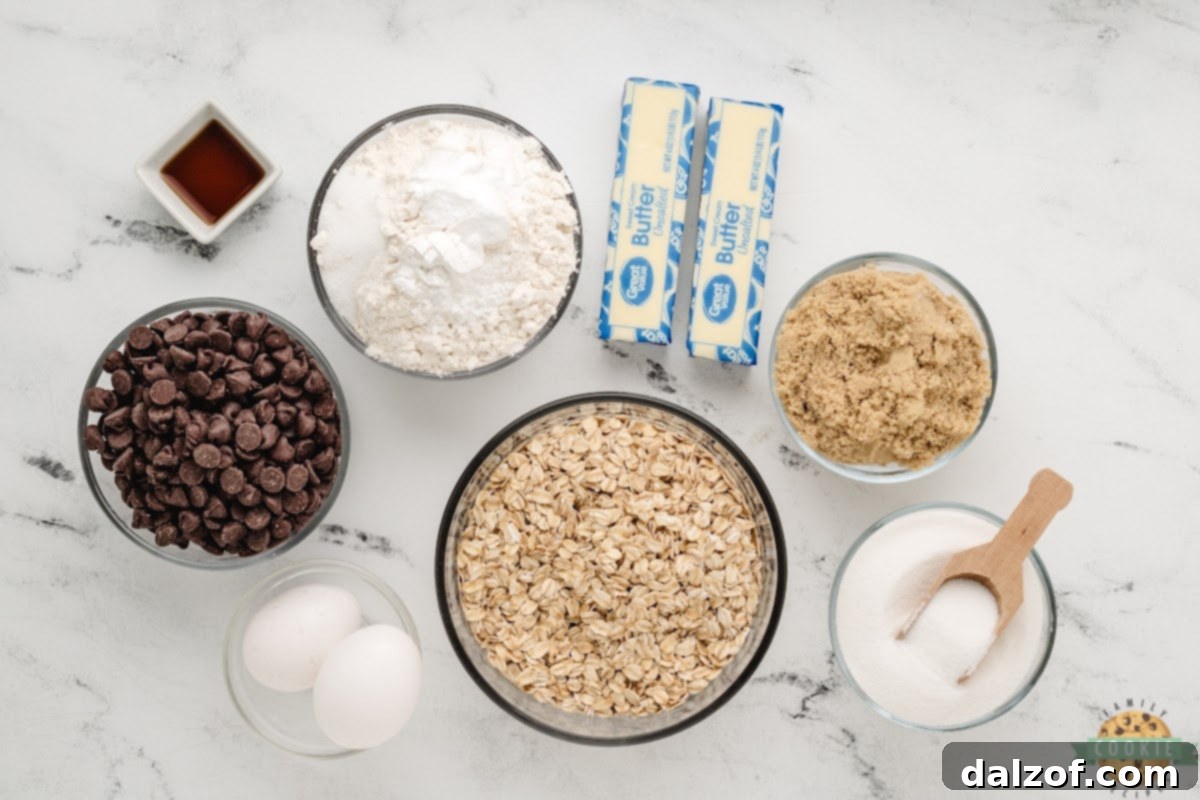
Key Ingredients for Your Perfect Oatmeal Chocolate Chip Cookies
Understanding the role of each ingredient is essential for baking the best Oatmeal Chocolate Chip Cookies. Here’s a closer look at what you’ll need and why it matters:
- Butter: I typically use salted butter for a hint of flavor balance, but unsalted butter works perfectly if you prefer to control the salt content precisely. Absolutely no margarine, please! For optimal results and a smooth, cohesive dough, ensure your butter is softened to true room temperature before you begin. This allows it to cream properly with the sugars, incorporating crucial air.
- Sugars: A combination of both granulated sugar and brown sugar is key. Granulated sugar contributes to the cookie’s slight crispness and aids in spread, while brown sugar adds depth of flavor, moisture, and that desirable chewy texture. Always use fresh, soft brown sugar for the best results; hardened brown sugar won’t blend as effectively.
- Eggs: Two large eggs act as the primary binder, holding all the ingredients together. They also contribute to the cookie’s richness, structure, and moisture content, ensuring a tender crumb.
- Vanilla Extract: High-quality vanilla extract is a non-negotiable flavor enhancer. It brightens and rounds out all the other flavors, adding a warm, aromatic depth that is quintessential to classic cookies. Don’t skimp on good vanilla!
- Oats: As discussed, you can use quick oats, old-fashioned (rolled) oats, or a combination. Quick oats lead to a denser, softer cookie, while old-fashioned oats provide a more pronounced chewy texture and hearty feel. The choice is yours and depends entirely on your preferred cookie experience.
- Flour: All-purpose flour is the standard choice for these cookies, providing the necessary structure without making them tough. For an even more tender cookie, you could experiment with cake flour, which has a lower protein content. Always measure flour correctly by spooning it into the measuring cup and leveling it off.
- Baking Soda and Baking Powder: These are your essential leavening agents. Baking soda reacts with the acidic brown sugar to help the cookies spread and achieve a slightly chewy interior, while baking powder contributes to their lift and softness. For maximum effectiveness, make sure both are fresh and not expired.
- Salt: A small but vital amount of salt is crucial for balancing the sweetness and enhancing all the other flavors in the cookie dough, making them “pop.” It prevents the cookies from tasting overly sweet and brings out the nutty notes of the oats.
- Chocolate Chips: A 12-ounce bag of semi-sweet chocolate chips is the classic choice, offering a balanced sweetness that complements the oats beautifully. However, feel free to personalize your cookies! Milk chocolate chips will make them sweeter, while dark chocolate chips will add a richer, more intense cocoa flavor. You can even use chopped chocolate bars for pools of melted chocolate in every bite.
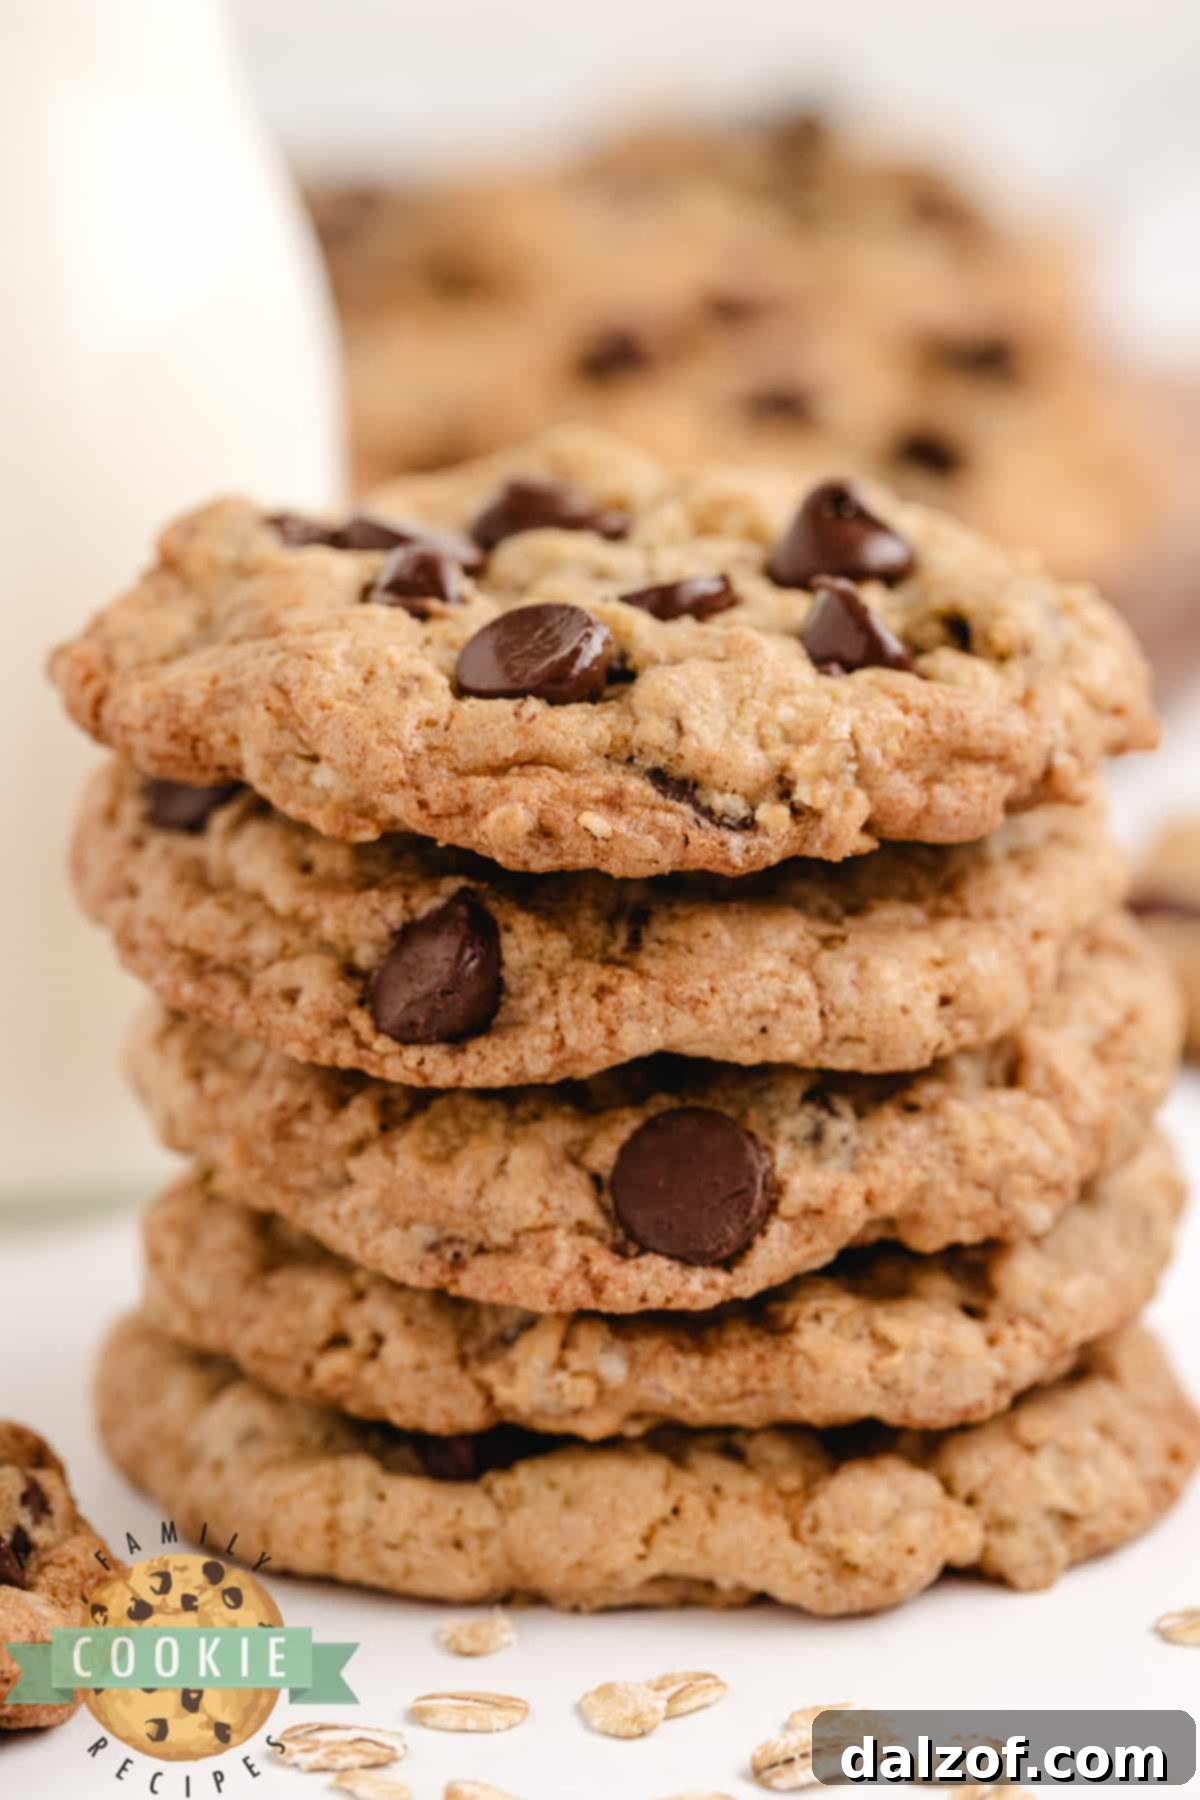
Step-by-Step Guide: How to Make Oatmeal Chocolate Chip Cookies
Follow these easy steps to bake a batch of homemade Oatmeal Chocolate Chip Cookies that will impress everyone:
First, preheat your oven to 350°F (175°C). Prepare your baking sheets by lining them with parchment paper or silicone baking mats. This crucial step ensures even baking and easy release.
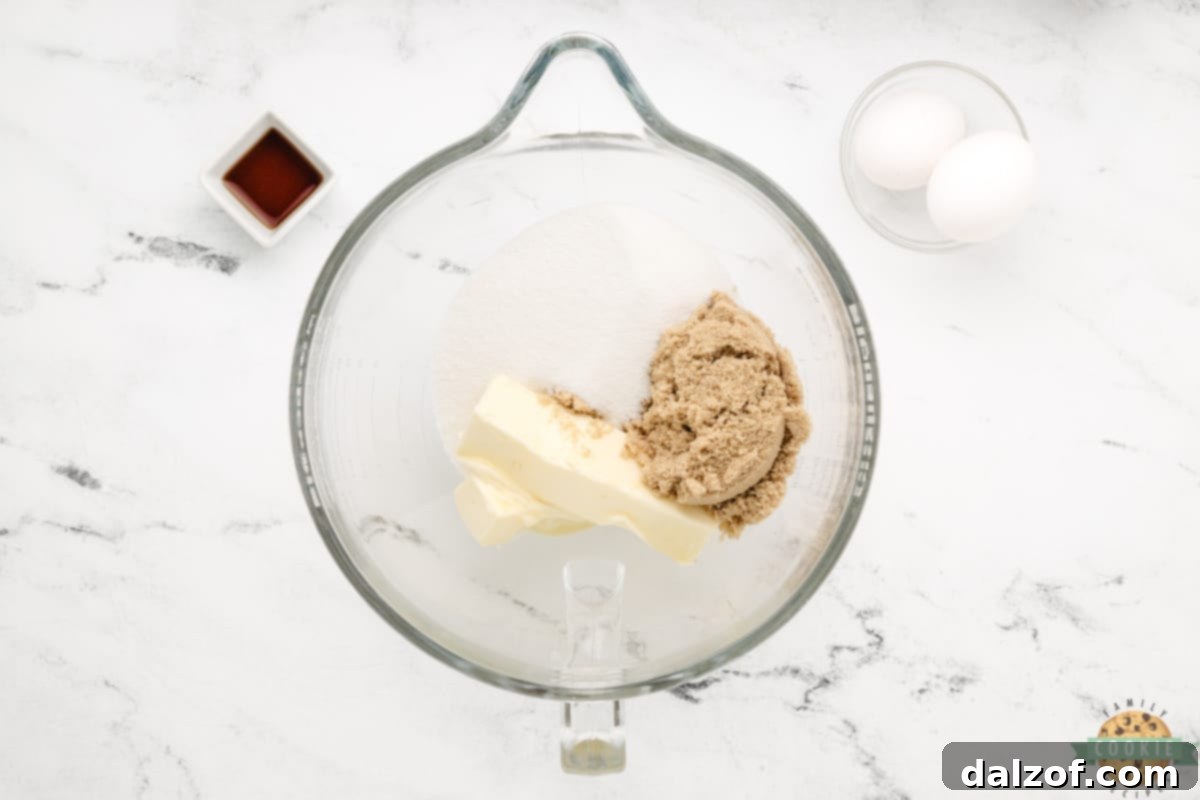
In a large mixing bowl, using an electric mixer, cream together the softened butter, granulated sugar, and brown sugar for 2-3 minutes. This process is vital for incorporating air and creating a light, fluffy base for your cookies. Continue mixing until the mixture is pale and creamy.

Next, crack in the two large eggs, one at a time, mixing well after each addition. Then, stir in the vanilla extract. Continue to beat the mixture for approximately 2 more minutes, ensuring all ingredients are fully incorporated and the mixture is smooth.
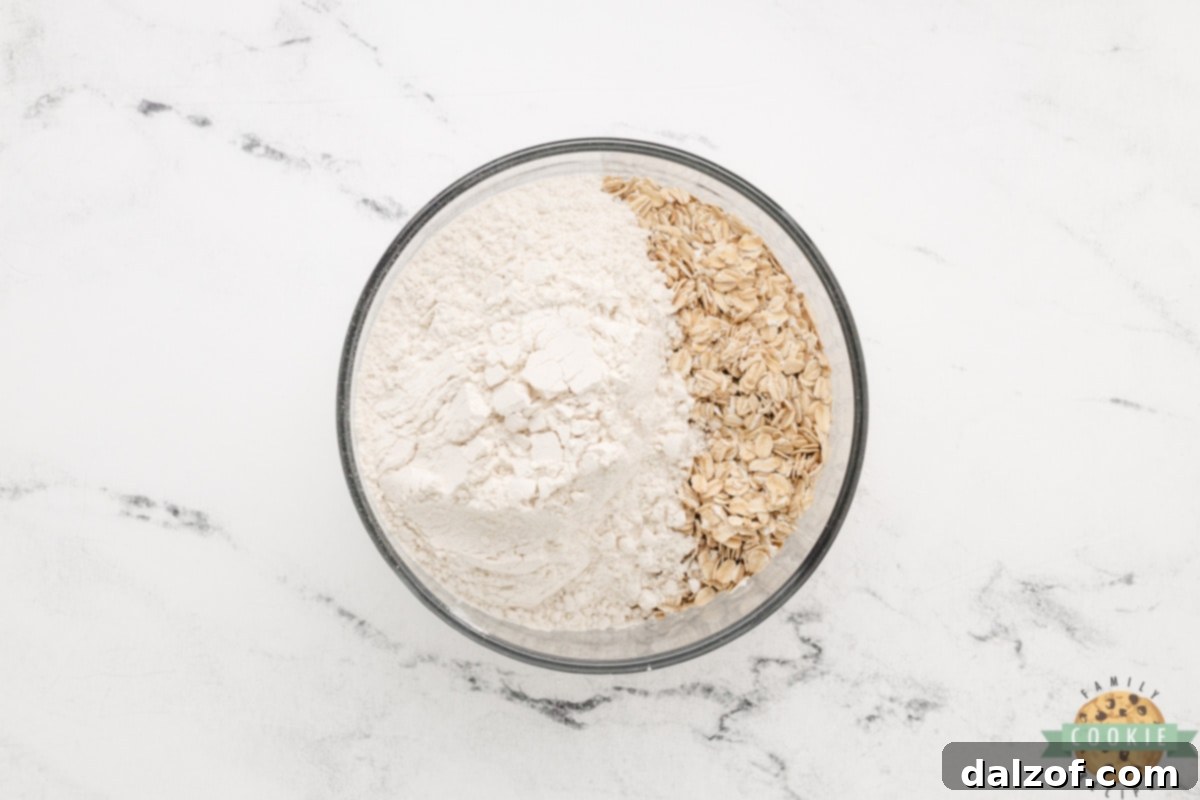
In a separate medium bowl, combine your dry ingredients: the oats, all-purpose flour, baking soda, baking powder, and salt. Whisk these ingredients together thoroughly to ensure the leavening agents and salt are evenly distributed throughout the flour mixture. This prevents pockets of unmixed ingredients in your final cookies.
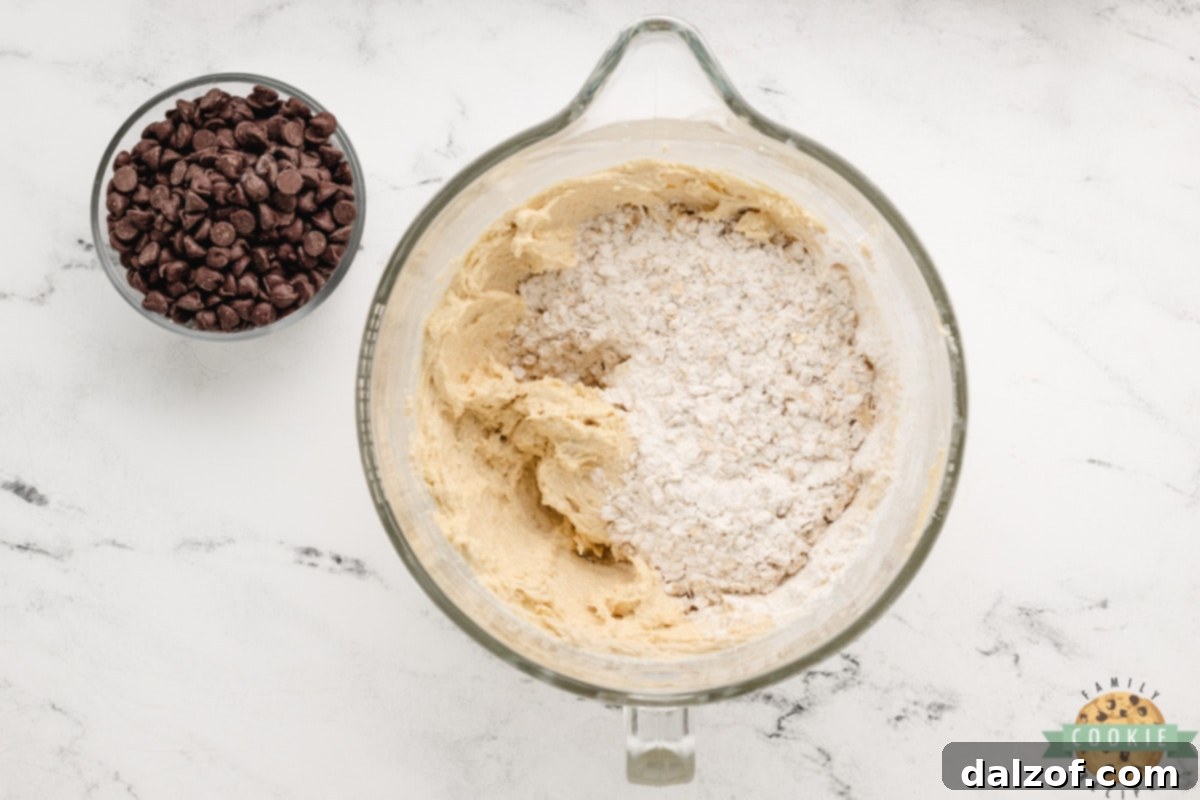
Gradually add the dry ingredients to the butter mixture, mixing on low speed with your electric mixer. Mix only until everything is just combined and no streaks of dry flour remain. Overmixing the dough can develop the gluten in the flour, resulting in tougher cookies. Stop as soon as the flour disappears.
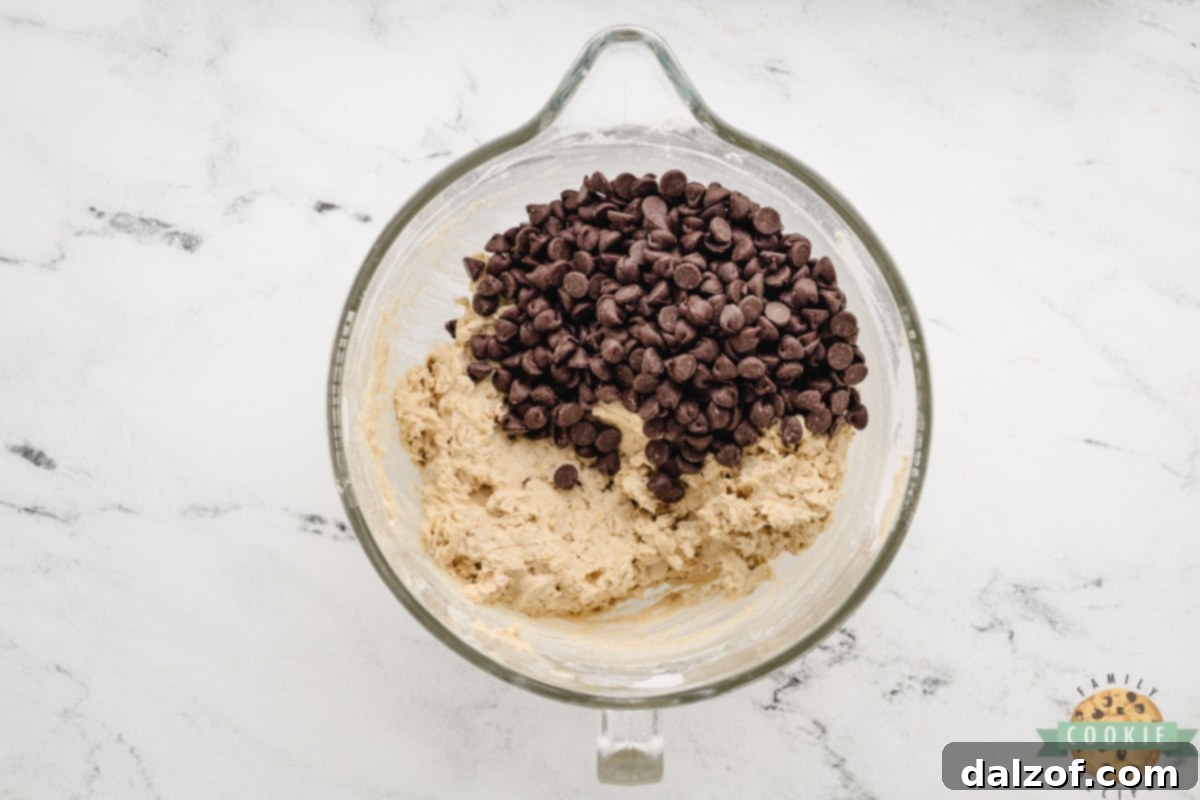
Finally, gently fold in the semi-sweet chocolate chips (or your preferred variety) using a spatula or a spoon. Distribute them evenly throughout the dough without overworking it.
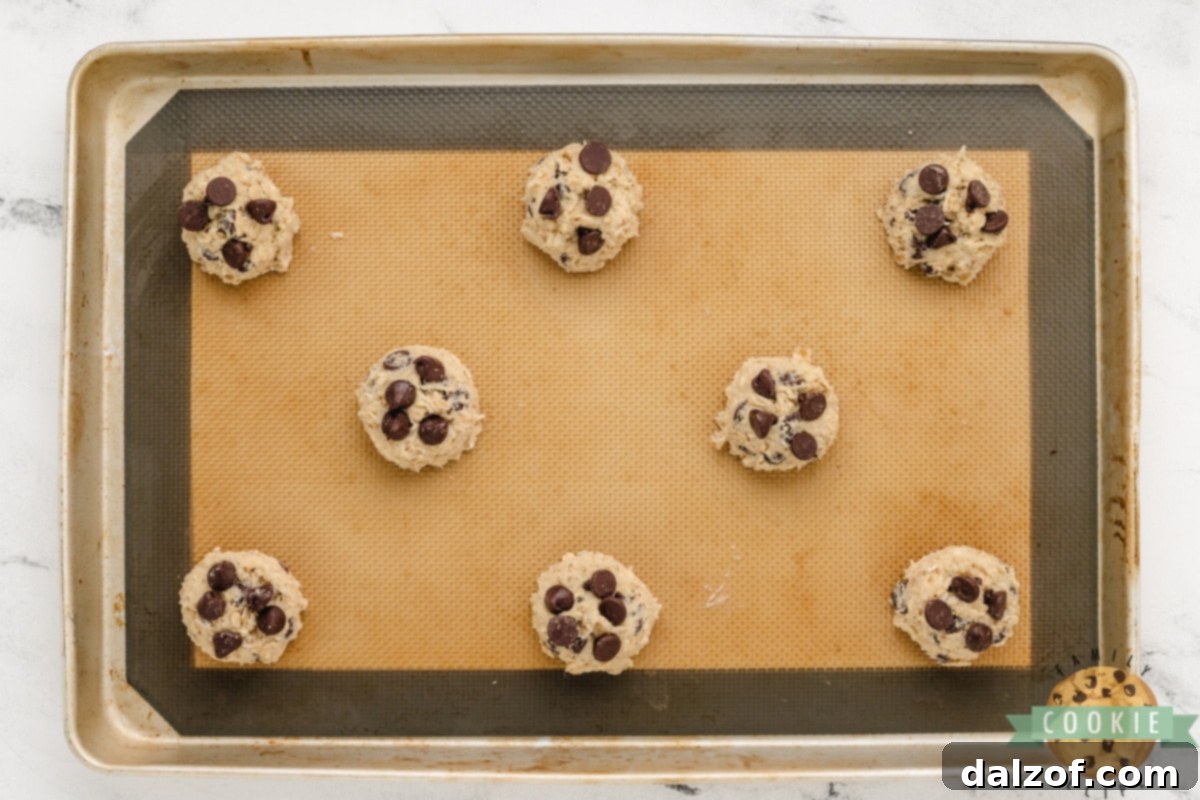
Use a cookie scoop to portion out uniform balls of dough, placing them about 2 inches apart on your prepared baking sheets. Bake in the preheated oven for approximately 10 minutes. Remember, the cookies should look slightly underbaked in the center when you pull them out. Allow the cookies to cool on the baking sheet for a few minutes before carefully transferring them to a wire rack to cool completely. This crucial step allows them to set up and continue baking slightly, ensuring that perfect chewy center.

Oatmeal Chocolate Chip Cookies
Print
Pin
Rate
Ingredients
- 1 cup butter softened
- 1 cup granulated sugar
- 1 cup brown sugar
- 2 large eggs
- 1 tsp vanilla extract
- 2½ cups oats (old-fashioned or quick, or a combination of both for best texture)
- 2 cups all-purpose flour
- 1 tsp baking soda
- 1 tsp baking powder
- 1 tsp salt
- 12 ounces semi-sweet chocolate chips (or milk/dark chocolate as preferred)
Instructions
-
Preheat your oven to 350°F (175°C). Line baking sheets with parchment paper or silicone mats.
-
In a large bowl, cream together the softened butter, granulated sugar, and brown sugar with an electric mixer for 2-3 minutes until light and fluffy. Add the eggs one at a time, mixing well after each, then stir in the vanilla extract. Beat for another 2 minutes.
-
In a separate medium bowl, combine the oats, flour, baking soda, baking powder, and salt. Whisk well to ensure even distribution. Gradually add the dry ingredients to the wet mixture, mixing on low speed until just combined. Be careful not to overmix. Gently stir in the chocolate chips until evenly distributed.
-
Use a cookie scoop to drop rounded balls of dough onto the prepared baking sheets, spacing them about 2 inches apart. Bake for 10 minutes, or until the edges are lightly golden and the centers still look slightly soft. Allow the cookies to cool on the baking sheet for a few minutes before transferring to a wire rack to cool completely.
Video
Nutrition
The Art of Softening Butter to Room Temperature
Softened butter is paramount for the success of these Oatmeal Chocolate Chip Cookies. Butter that is too cold won’t cream properly with the sugars, leading to a dense cookie, while melted butter can make your cookies spread too much and become greasy. The ideal consistency is soft enough to yield to gentle pressure but still holds its shape. While setting it out for a few hours is the traditional method, life often requires quicker solutions!
My go-to method for quickly softening butter is the microwave, but it requires a careful touch to avoid melting. Place the entire stick of butter (unwrapped, of course) in the microwave. Start with about 6-7 seconds on medium power. Check its consistency. If it’s still quite firm, give it another 5-7 seconds, then check again. You might need a few short bursts. As it begins to soften, reduce the intervals to just a few seconds to prevent any melting. The goal is soft, not liquid.
An alternative, and one I often prefer for its reliability, is using the defrost setting on your microwave. While it takes a bit longer – usually around 30 seconds to a minute, depending on your microwave’s power – it provides a gentler, more even heat distribution. This method significantly reduces the risk of accidentally melting the butter, consistently bringing it to that perfect pliable state. Another quick trick is to grate the cold butter, which increases its surface area, allowing it to soften much faster at room temperature.
Troubleshooting: Why Do My Cookies Burn on the Bottom While Remaining Undercooked in the Middle?
This is a common frustration for many bakers, and it usually points to a few key culprits, most often related to your baking equipment or technique. If you consistently find your Oatmeal Chocolate Chip Cookies with burnt bottoms and gooey, raw centers, here’s what to look for:
- Dark Baking Sheets: Dark-colored metal baking sheets absorb and conduct heat more intensely than lighter ones. This can cause the bottoms of your cookies to brown and burn rapidly before the heat has a chance to penetrate and fully cook the centers. Switching to lighter-colored, reflective aluminum baking sheets can make a dramatic difference.
- Excessive Cooking Spray: While cooking spray is convenient, using too much can also contribute to burnt bottoms. The oils in the spray can caramelize and burn on the hot baking sheet, sticking to your cookies and leading to undesirable scorching. This is another reason why I advocate so strongly for parchment paper or silicone baking mats – they provide a naturally non-stick surface without the need for additional oils.
- Oven Hot Spots: Ovens often have inconsistent heating, with certain areas being hotter than others. If your cookies are always burning in the same spot, your oven likely has a hot spot. Rotating your baking sheets halfway through the baking time can help ensure more even cooking. An oven thermometer can also help you verify if your oven is truly at the temperature you set.
- Incorrect Rack Position: Baking on the lowest rack in your oven can expose the bottom of the cookies to more direct heat, leading to burning. For most cookies, the middle rack is ideal for even heat circulation.
Over the past few years, I’ve become a firm believer in silicone baking mats. They’ve been a complete game-changer! Not only do they prevent sticking entirely, but they also provide a cushioned, even-heating surface that helps prevent burnt bottoms, ensuring your cookies achieve a beautiful golden-brown color and perfect texture every time.
Storing Your Oatmeal Chocolate Chip Cookies for Maximum Freshness
Once you’ve perfected your batch of chewy Oatmeal Chocolate Chip Cookies, you’ll want to ensure they stay fresh and delicious for as long as possible. Proper storage is key to maintaining their delightful texture and flavor.
At Room Temperature: Allow your cookies to cool completely on a wire rack before storing them. Placing warm cookies directly into an airtight container can create condensation, making them soft and potentially soggy. Once fully cooled, store them in an airtight container at room temperature for up to 3-5 days. For extra freshness, you can place a slice of bread in the container; the cookies will absorb moisture from the bread, keeping them soft.
Freezing Baked Cookies: For longer storage, Oatmeal Chocolate Chip Cookies freeze exceptionally well. Once completely cooled, arrange them in a single layer on a baking sheet and freeze until solid (about 1-2 hours). This prevents them from sticking together. Then, transfer the frozen cookies to a freezer-safe airtight container or heavy-duty freezer bag, separating layers with parchment paper. They can be frozen for up to 2-3 months. Thaw at room temperature or gently warm in the microwave for a few seconds for that freshly baked taste.
Freezing Cookie Dough: You can also freeze portions of unbaked cookie dough for future cravings. Scoop the dough onto a parchment-lined baking sheet and freeze until firm. Once frozen, transfer the dough balls to a freezer-safe bag. When ready to bake, place the frozen dough balls on a prepared baking sheet and bake as directed, adding a few extra minutes to the baking time.
Creative Variations & Add-ins for Your Oatmeal Cookies
While the classic Oatmeal Chocolate Chip Cookie is undeniably perfect on its own, it also serves as a fantastic canvas for creative additions and flavor variations. Don’t hesitate to experiment and make this recipe truly your own!
- Nutty Enhancements: Boost the texture and flavor by adding chopped nuts like walnuts, pecans, or almonds. A half-cup to a cup of your favorite nuts can transform the cookies with a delightful crunch.
- Dried Fruit Fiesta: For a twist on the traditional, consider incorporating other dried fruits. Raisins are a classic pairing with oats, but dried cranberries, chopped apricots, or even dried cherries can add a burst of fruity sweetness and chewiness.
- Spice it Up: A pinch of cinnamon is a natural partner to oats, enhancing their warm, comforting notes. You could also try a touch of nutmeg, allspice, or a blend of pumpkin pie spice for a seasonal touch.
- Different Chocolates: Beyond semi-sweet, explore other chocolate varieties. White chocolate chips add a creamy sweetness, dark chocolate chunks provide a rich bitterness, or a mix of milk and dark chocolate chips creates a complex flavor profile.
- Candy Surprises: For a fun, kid-friendly option, mix in some M&Ms, chopped caramel pieces, or even crushed toffee bits for an extra layer of sweetness and texture.
- Coconut Connection: Shredded coconut (sweetened or unsweetened) can add a tropical aroma and a lovely chewiness to your oatmeal cookies.
No matter how you choose to customize them, these Oatmeal Chocolate Chip Cookies are sure to be a hit. Enjoy the process of baking and the delicious rewards!
More Delicious Oatmeal Cookie Recipes to Try:
- Peanut Butter Oatmeal Chocolate Chip Cookies
- Banana Oatmeal Cookies
- Fudgy Oatmeal Cookie Bars
- Homemade Oatmeal Cream Pies
- White Chocolate Cherry Oatmeal Cookies
- Oatmeal Chocolate Chip Cookie Bars
- Chocolate Chip Oatmeal Cookies
- Microwave Oatmeal Chocolate Chip Cookies
- Toffee Oatmeal Cookies
- Blackberry Oatmeal Cookies
- Best Oatmeal Raisin Cookies
- Peanut Butter Oatmeal Chocolate Chip Cookies
- Best Monster Cookies
- Lemon Oatmeal Cookies
- Double Chocolate Oatmeal Cookies

In conclusion, these Oatmeal Chocolate Chip Cookies truly live up to their reputation. They are famously chewy, incredibly delicious, and packed with the hearty goodness of oats and the delightful sweetness of chocolate chips. This enduring classic cookie recipe has graced our family’s table for many cherished years, consistently proving itself as the ultimate Oatmeal Chocolate Chip Cookie recipe you’ll ever make!