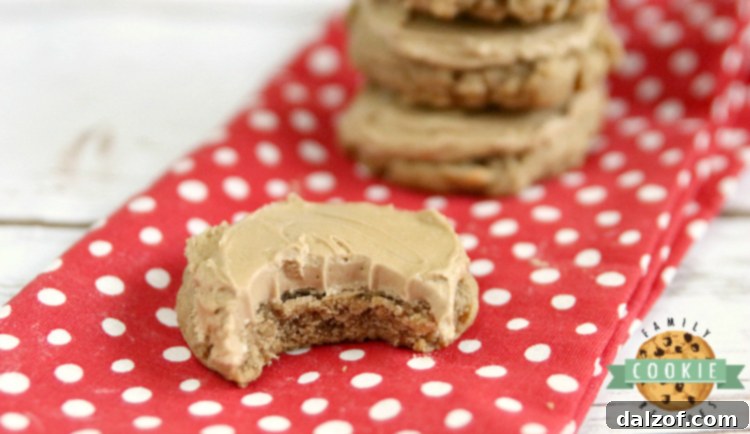
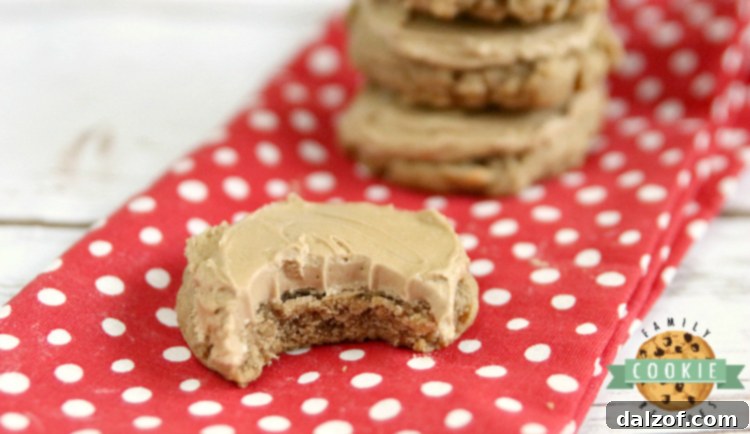
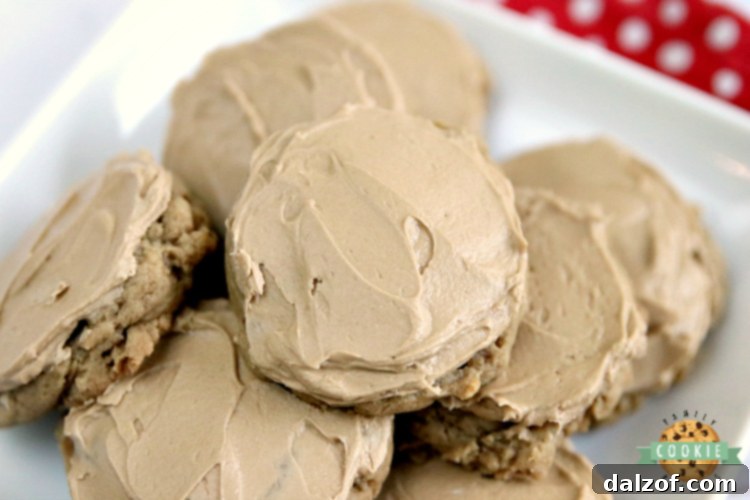
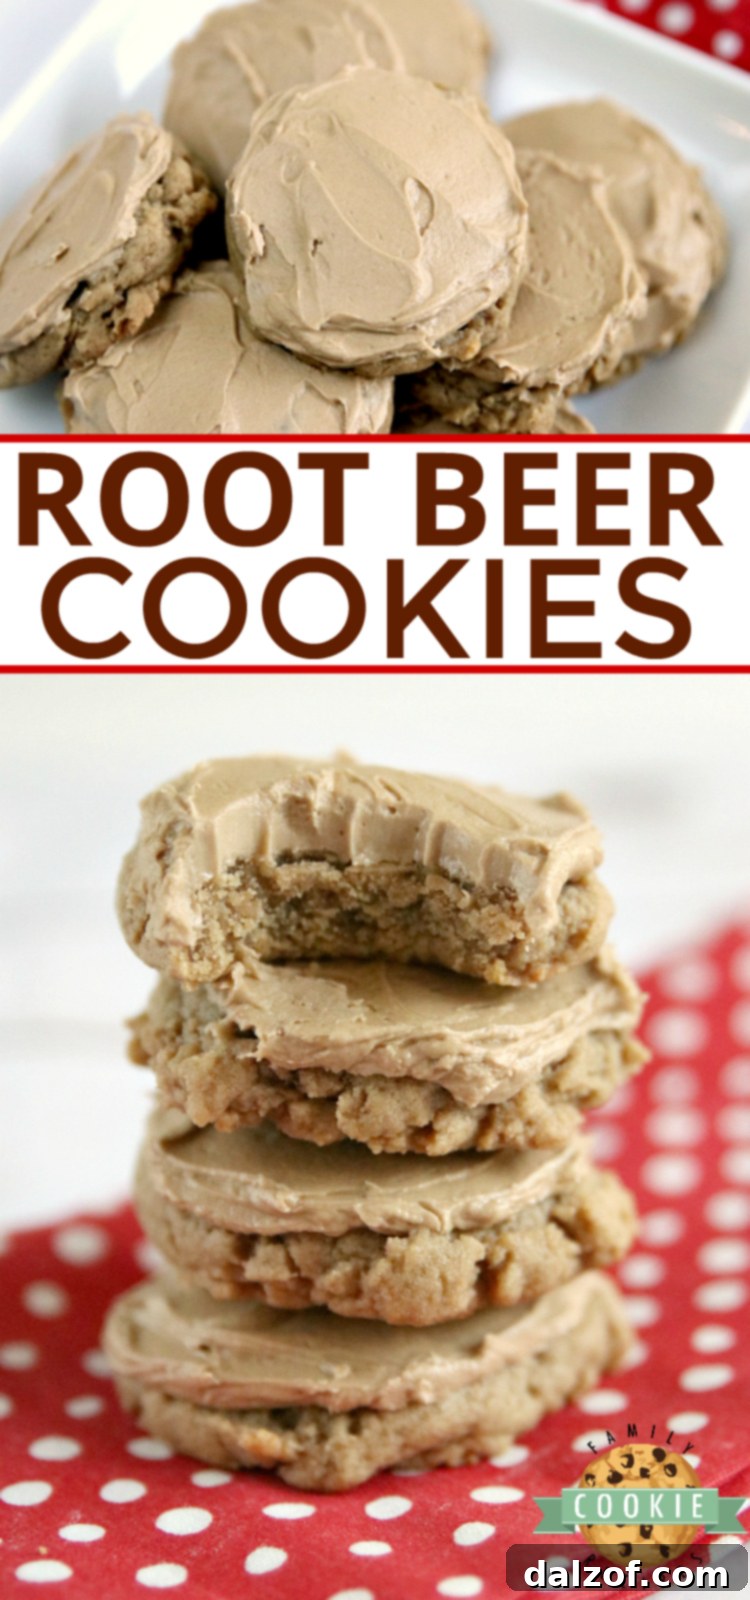
Root Beer Cookies are a delightful treat, offering a unique twist on classic homemade cookies. These soft and chewy cookies are infused with the distinctive flavor of root beer extract, both in the dough and the luscious buttercream frosting that crowns each one. If you’re searching for a dessert that combines nostalgic soda flavors with the comforting warmth of a freshly baked cookie, look no further.
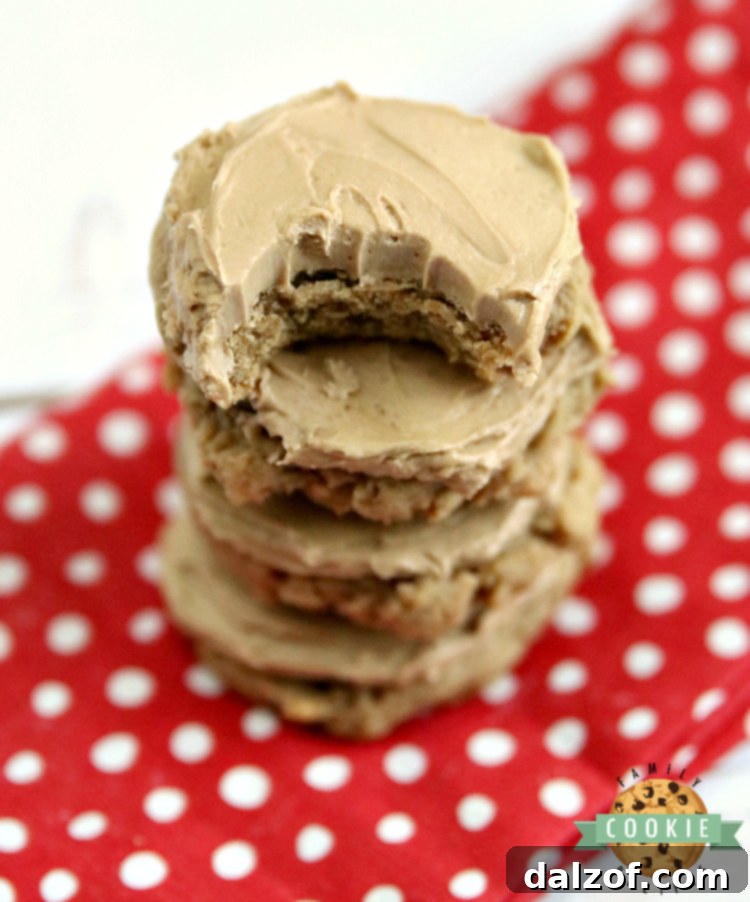
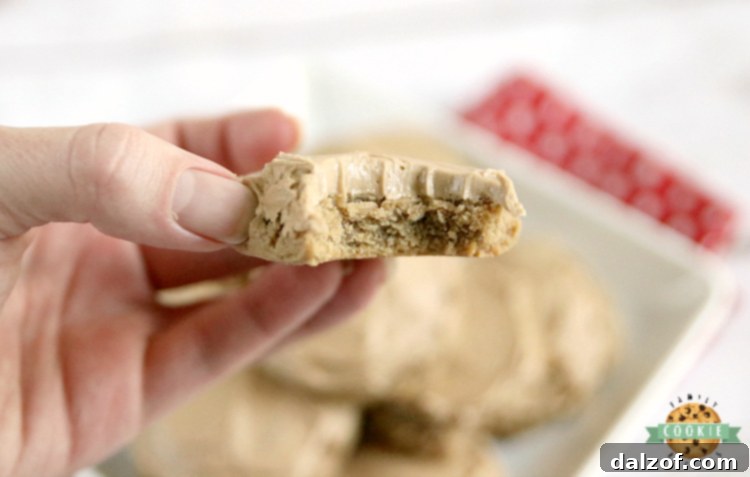
There’s something truly special about taking a beloved beverage like root beer and transforming it into a delectable cookie. Our Root Beer Cookies are not just fun to prepare; they’re an experience for your taste buds. While the initial root beer flavor is subtle, it’s perfectly balanced and allows for a wonderful interplay with the sweet, creamy frosting. For those who crave a bolder root beer presence, simply increase the extract amount to suit your preference. Regardless of the flavor intensity, these cookies boast an incredibly soft and tender consistency that makes them utterly irresistible. And let’s not forget the buttercream frosting – it’s a masterpiece in itself, adding a rich, velvety finish that complements the cookie beautifully.
How to Make the BEST Root Beer Cookies: Essential Baking Tips
Achieving bakery-quality cookies at home is simpler than you might think, especially with a few tried-and-true techniques. After years of perfecting countless cookie recipes, I’ve gathered some invaluable tips that will elevate your baking game and ensure your Root Beer Cookies, and all your future cookie creations, turn out perfectly every time.
- **Ensure Proper Flour Consistency:** The amount of flour in your dough is crucial for the final texture of your cookies. If your dough feels overly sticky after mixing all ingredients, you might need to add a small amount of extra flour, one tablespoon at a time, until it reaches a slightly sticky but manageable consistency. Too little flour can lead to flat, overly spread cookies, while too much can result in dry, crumbly ones.
- **Cream Butter and Sugar Thoroughly:** This step is foundational for creating light and airy cookies. Don’t rush it! Taking an extra 2-3 minutes to cream the softened butter and sugar together until the mixture is light, fluffy, and pale in color will incorporate air into the mixture. This air creates pockets during baking, contributing significantly to a soft, tender, and chewy cookie texture.
- **Always Preheat Your Oven:** Consistency is key in baking, and a properly preheated oven ensures your cookies start baking immediately at the correct temperature. Placing dough into a cold or warming oven can lead to uneven baking, unpredictable spreading, and a less desirable texture. Give your oven ample time to reach and stabilize at the target temperature before you even think about putting in your cookie sheets.
- **Invest in a Cookie Scoop:** For uniform, professional-looking cookies, a cookie scoop is an absolute game-changer. It ensures that each cookie is the same size, which means they will all bake evenly and be done at the same time. No more guessing or awkwardly shaping dough by hand; just perfectly portioned rounds every single time.
- **Use Parchment Paper or a Silicone Baking Mat:** Say goodbye to frustrating sticky situations! Lining your baking sheets with parchment paper or a silicone baking mat not only prevents sticking but also aids in even baking and makes cleanup a breeze. Cookies will effortlessly slide off the sheet, maintaining their perfect shape without any scraping required. This small investment makes a huge difference in your baking experience.
- **Avoid Overbaking at All Costs:** This is perhaps the most common mistake in cookie baking. Most cookies, including these Root Beer Cookies, should appear slightly underbaked in the very center when you pull them from the oven. The residual heat from the baking sheet will continue to cook them for a few crucial minutes after they’re removed. If you wait until they look fully “done” in the oven, they will be overbaked, dry, and potentially hard once cooled. Look for edges that are just set and a center that looks soft.
Essential Ingredients for Your Root Beer Cookies
Crafting these delicious Root Beer Cookies requires a few standard baking staples, plus the star ingredient: root beer extract. Here’s a detailed look at what you’ll need to create these soft, flavorful treats:
- **1 cup butter, softened to room temperature:** Crucial for creating a light and airy dough when creamed with sugar. Room temperature butter emulsifies properly, ensuring smooth mixing.
- **2 cups brown sugar:** Brown sugar contributes to the cookies’ chewiness and moisture, thanks to its molasses content, and adds a rich, caramelized flavor.
- **2 eggs:** Eggs bind the ingredients, add richness, and help with the structure and texture of the cookies.
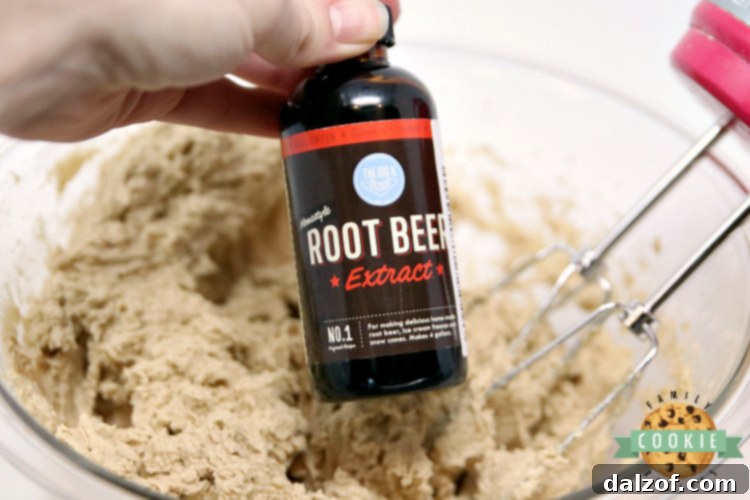
- **3 tsp root beer extract:** The magical ingredient! This extract delivers the distinct root beer flavor. Adjust to your taste for more intensity.
- **3 1/2 cups flour:** All-purpose flour provides the main structure of the cookies. Measure accurately to avoid dry or overly sticky dough.
- **1 tsp baking soda:** A leavening agent that helps the cookies rise and spread slightly, contributing to their soft texture.
- **1 tsp salt:** Balances the sweetness and enhances all the other flavors in the cookie dough.
- **3-4 Tbsp milk:** Used to adjust the dough consistency, ensuring it’s just a little bit sticky without being crumbly.
Step-by-Step Guide to Baking Root Beer Cookies
Follow these easy steps to create the perfect batch of Root Beer Cookies that are sure to impress:
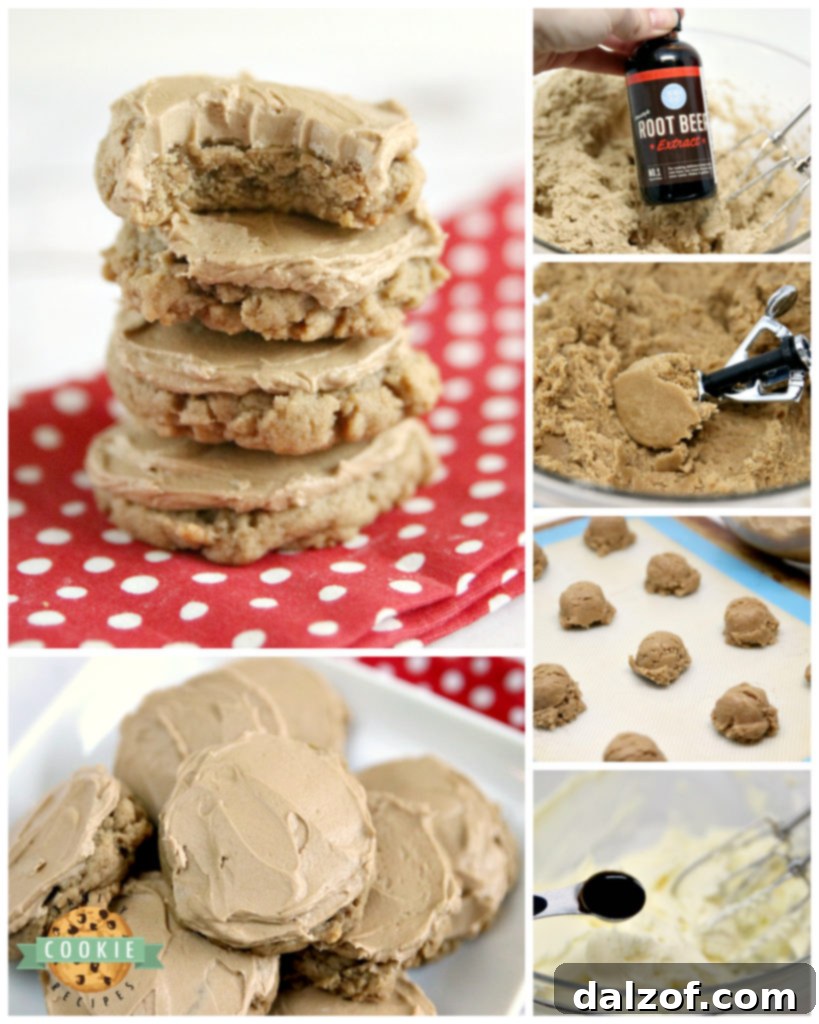
- **Cream Butter and Sugar:** In a large mixing bowl, combine the softened butter and brown sugar. Using an electric mixer, beat them together on medium speed for 2-3 minutes. This step is vital; continue mixing until the mixture becomes visibly lighter in color and fluffy in texture. This incorporates air, which is essential for soft cookies.
- **Incorporate Wet Ingredients:** Add the eggs to the creamed butter and sugar mixture, mixing thoroughly until well combined. Next, pour in the root beer extract and continue to mix until its distinctive aroma is fully integrated into the batter.
- **Prepare Dry Ingredients:** In a separate, medium-sized bowl, whisk together the flour, baking soda, and salt. Ensure these dry ingredients are evenly distributed for consistent leavening throughout the dough.
- **Combine Wet and Dry & Chill Dough:** Gradually add the flour mixture to the wet butter/sugar mixture, mixing on low speed until just combined. Be careful not to overmix, as this can develop the gluten too much and lead to tough cookies. At this point, the dough might appear a bit crumbly. Begin adding the milk, one tablespoon at a time, mixing after each addition, until the dough comes together and is slightly sticky to the touch, but no longer crumbly. Cover the bowl with plastic wrap and chill the cookie dough in the refrigerator for at least one hour. Chilling helps to firm up the butter, preventing excessive spreading during baking, and allows the flavors to meld beautifully.
- **Prepare for Baking:** Once your dough is chilled, preheat your oven to 350°F (175°C). Line your cookie sheets with parchment paper or silicone baking mats. Use a cookie scoop to portion out the dough into uniform balls. Place them on the prepared cookie sheets, leaving enough space between them for slight spreading. Gently press down the tops of the cookie dough balls just slightly to encourage even baking.
- **Bake and Cool:** Bake the cookies for exactly 8 minutes. Remember, they will likely still look a bit underbaked in the center – this is normal and desired! Allow them to cool on the hot cookie sheet for a few minutes after removing them from the oven. This brief period of carryover cooking helps them set without overbaking. Then, carefully transfer the cookies to a wire rack to cool completely. Once they are fully cooled to room temperature, they are ready for their delicious Root Beer Buttercream frosting.
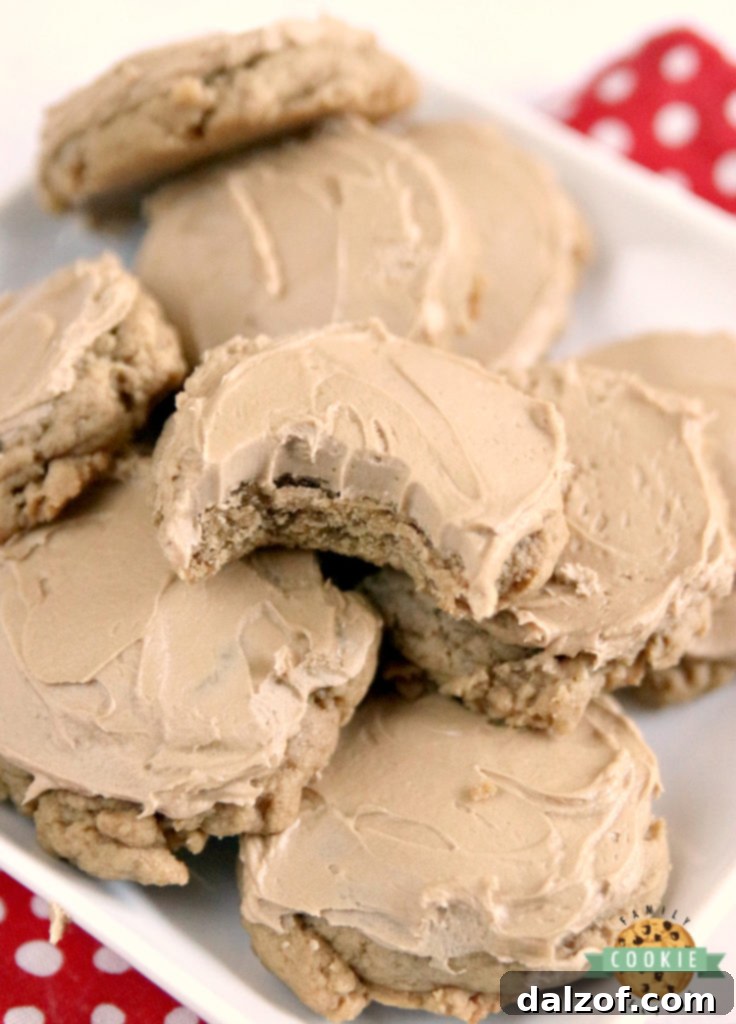
Crafting the Perfect Root Beer Buttercream Frosting
No Root Beer Cookie is complete without a generous dollop of its signature Root Beer Buttercream frosting. This creamy, flavorful topping adds an extra layer of sweetness and intensifies the root beer experience. Here’s how to whip up this irresistible frosting:
- **Whip the Butter:** In a large bowl, using an electric mixer, beat 1 cup of softened butter for about 2-3 minutes. You want the butter to become light, pale, and fluffy, indicating that air has been incorporated.
- **Add Powdered Sugar:** Gradually add 3 cups of powdered sugar (confectioners’ sugar) to the whipped butter, mixing on low speed until the sugar is fully incorporated and the mixture is smooth. Once combined, you can increase the speed to medium-high and beat for another minute or two to ensure it’s extra fluffy.
- **Infuse Root Beer Flavor:** Pour in 2-3 teaspoons of root beer extract and mix well until the flavor is evenly distributed throughout the frosting. Taste and adjust the amount of extract if you prefer a stronger root beer presence.
- **Adjust Consistency:** If your frosting appears too thick or stiff, add milk one tablespoon at a time, mixing after each addition, until you reach your desired piping or spreading consistency. A smooth, spreadable, but firm enough frosting is ideal for these cookies.
Root Beer Cookies
Print
Pin
Rate
Ingredients
- 1 cup butter softened to room temperature
- 2 cups brown sugar
- 2 eggs
- 3 tsp root beer extract
- 3 1/2 cups flour
- 1 tsp baking soda
- 1 tsp salt
- 3-4 Tbsp milk
Root Beer Buttercream frosting
- 1 cup butter softened to room temperature
- 3 cups powdered sugar
- 2-3 tsp root beer extract
- 1-2 Tbsp milk
Instructions
-
In a large bowl, cream the butter and sugar together until light and fluffy (2-3minutes).
-
Add eggs and mix well. Add the root beer extract and continue to mix.
-
In a separate bowl, mix the flour, baking soda and salt.
-
Add the flour mixture to the butter/sugar mixture and mix until well combined. Add the milk, one tablespoon at a time until the mixture is not crumbly. The dough should just be a little bit sticky. Cover the cookie dough and chill for at least one hour.
-
Preheat the oven to 350°. Use a cookie scoop to scoop the dough into balls and place them on a prepared cookie sheet. Just barely press down the tops of the cookie dough balls.
-
Bake the cookies for 8 minutes. Let them cool on the cookie sheet for a few minutes before cooling them on a wire rack. Once the cookies are completely cooled, frost with Root Beer Buttercream frosting.
Root Beer Buttercream frosting
-
Use an electric mixer to beat the butter for 2-3 minutes, until fluffy.
-
Add powdered sugar and mix until smooth.
-
Add the root beer extract and mix well.
-
Add milk to bring frosting to desired consistency.
Tips for Achieving Perfect Room Temperature Butter
Many recipes, including these Root Beer Cookies, call for butter softened to room temperature, and for good reason! Room temperature butter is crucial because it creams properly with sugar, allowing air to be incorporated into the mixture. This aeration is what gives cookies their light, fluffy texture. Cold butter won’t cream well, resulting in dense cookies, while melted butter can make the dough greasy and lead to flat, crispy cookies. Ideally, you’d set your butter out on the counter for a few hours before baking. But let’s be honest, who plans that far ahead every time? Here are a few quick tricks to soften butter perfectly in minutes:
My go-to method for quick softening is the microwave. It’s incredibly fast, but it requires careful attention to avoid melting the butter. Place a whole stick of butter (without its foil wrapper!) in the microwave. Start by microwaving it for about 6-7 seconds. Check the butter – you want it to be pliable but not shiny or oily. If it’s still quite firm, try another 5-7 seconds. You might need a few short intervals. As the butter begins to feel soft, reduce your intervals to just 2-3 seconds to prevent any accidental melting. The key is to check frequently and stop as soon as it yields slightly to gentle pressure.
Another excellent option for the microwave is using the defrost setting. While it might take a little longer, typically around 30 seconds, this setting uses lower power and reduces the risk of melting the butter. It gently brings the butter up to temperature, making it a safer bet for those busy baking days.
If you prefer a non-microwave approach, you can also cut the butter into small cubes and let it sit on the counter for 15-20 minutes, or place the unwrapped butter in a sealed plastic bag and submerge it in a bowl of warm (not hot!) water for about 10 minutes. A lesser-known trick is to gently pound the butter with a rolling pin while it’s still in its wrapper. This physical action can quickly make the butter more pliable, though it doesn’t truly bring it to “room temperature” in the same way the other methods do, it can work in a pinch.
Troubleshooting: Why Do My Cookies Burn on the Bottom but Aren’t Done in the Middle?
This is a common and frustrating baking dilemma, but often, the solution is simpler than you might think. If you consistently find your cookies’ bottoms charred while their centers remain doughy, the culprit is most likely your baking sheet or how you’re preparing it.
Dark-colored cookie sheets are notorious for causing bottoms to burn. Darker surfaces absorb and retain heat more intensely than lighter ones, leading to excessive browning (or burning) on the underside of your baked goods before the interior has had a chance to fully cook. If you’re using dark pans, try reducing your oven temperature by 25°F or shortening the baking time. A much better solution is to switch to lighter-colored, non-stick baking sheets, which reflect heat more evenly.
Another potential issue is excessive cooking spray. While a little non-stick spray can be helpful, too much can create a greasy layer that conducts heat unevenly and leads to burnt bottoms. With non-stick pans, you often don’t need any spray at all, especially if you use parchment paper or silicone mats.
Speaking of which, I cannot emphasize enough the transformative power of silicone baking mats. Over the past few years, they have become an indispensable tool in my kitchen. Not only do they provide an excellent non-stick surface, ensuring your cookies slide right off without a hitch, but they also offer a layer of insulation that helps to distribute heat more gently and evenly. This significantly reduces the chances of burnt bottoms, resulting in beautifully golden and uniformly baked cookies every single time.
By making these small adjustments to your baking equipment and preparation, you’ll be well on your way to perfectly baked cookies with no burnt surprises!
These **Root Beer Cookies** are truly a testament to how simple ingredients can create extraordinary flavor. With the comforting blend of root beer extract in both the tender cookie and the creamy buttercream frosting, they promise a soft, delicious, and utterly unique treat that will quickly become a family favorite.


A Little Something Extra: My Son’s Hobbit Hole Birthday Cake
Beyond the world of cookies, sometimes special occasions call for different kinds of baking adventures. I may not be a professional cake decorator, but I absolutely cherish the process of making unique birthday cakes for my children. This year, my son had a very specific request: a Hobbit hole cake!
After diving into the vast ocean of Pinterest for inspiration and ideas (there are some truly incredible Hobbit cakes out there!), we embarked on our own baking quest. While my creation is certainly nowhere near the level of a professional masterpiece, it was an incredibly fun experience. My son loved helping out with the decorating, and most importantly, he adored his unique cake. For me, that’s a definite win!