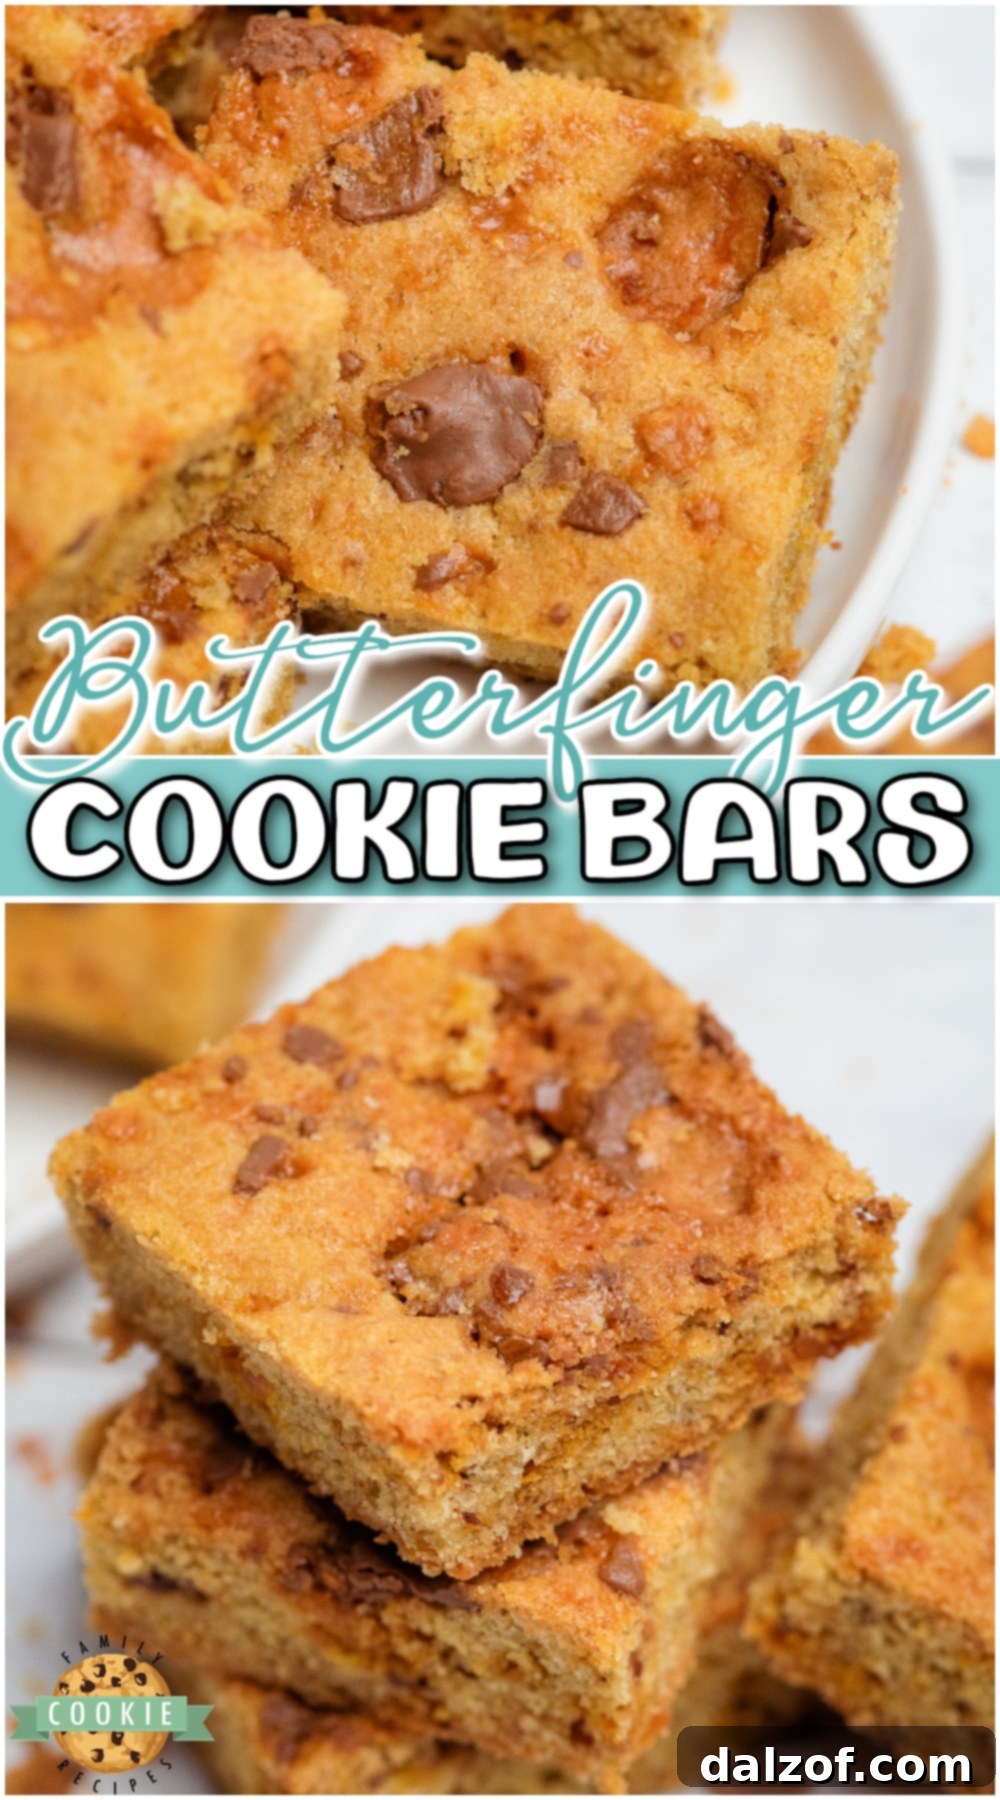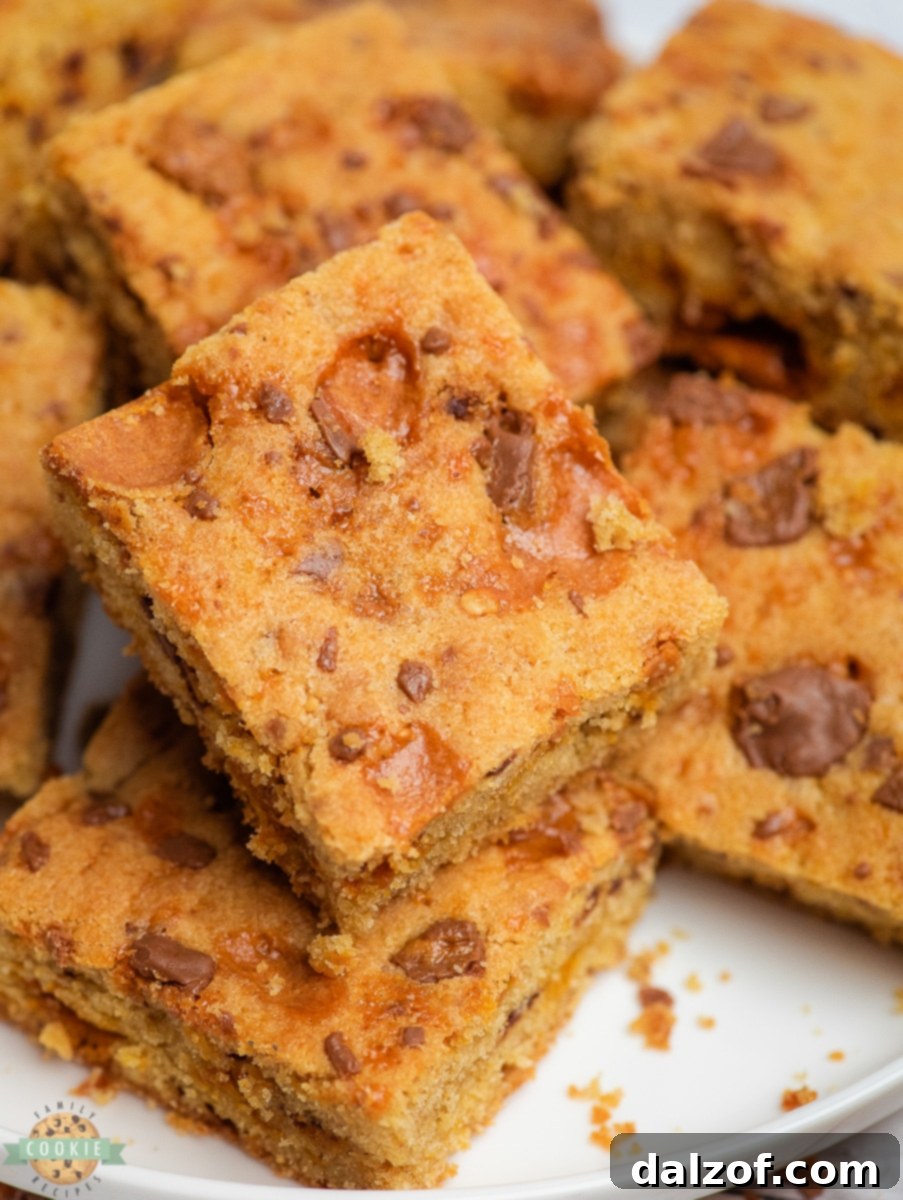
Butterfinger cookie bars are an absolutely irresistible treat that masterfully combines the beloved crunch of Butterfinger candy with the comforting chewiness of a classic cookie. These delightful Butterfinger cookies offer a unique textural and flavor experience, making them a perfect dessert for any occasion. Whether you’re hosting a festive family gathering, contributing to a casual potluck with friends, or simply craving a sweet homemade indulgence, these bars are surprisingly easy to make and guaranteed to be a crowd-pleaser.
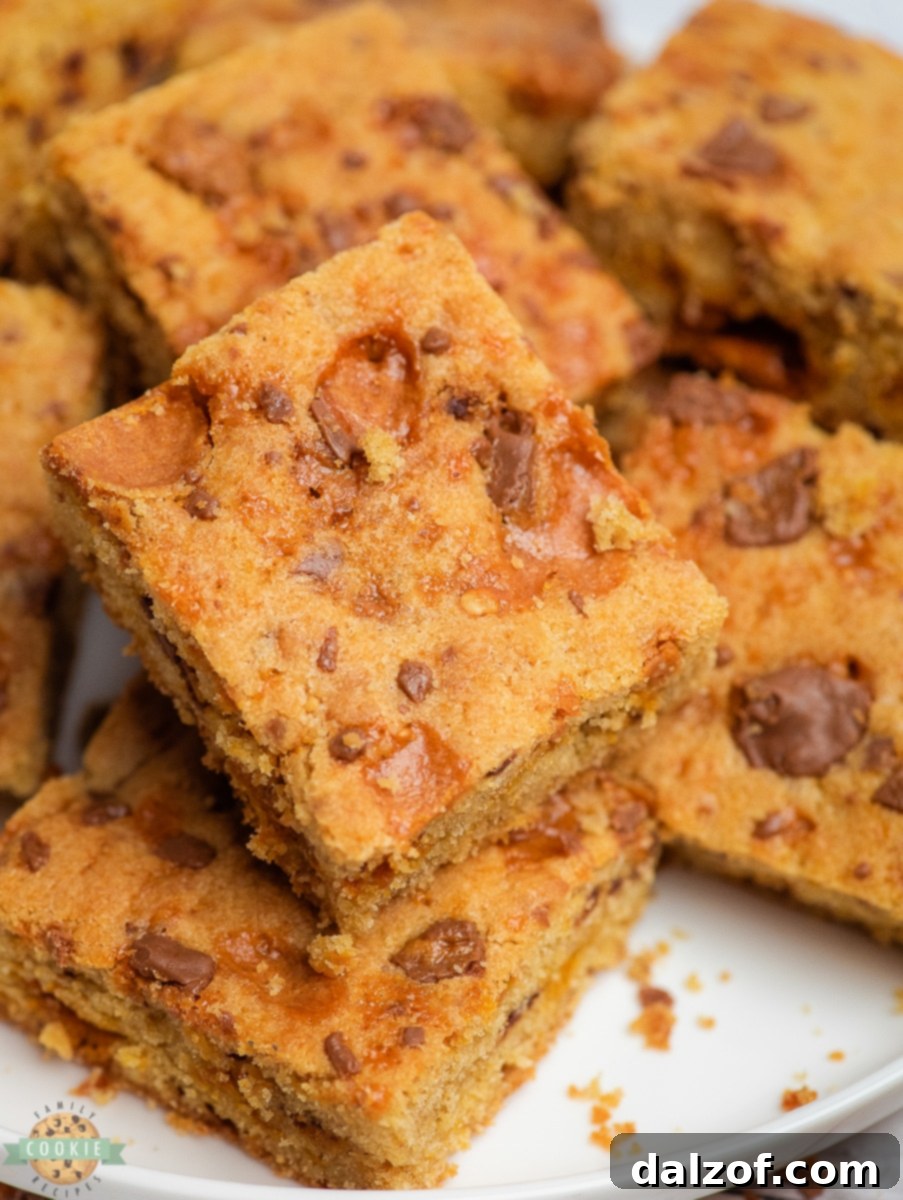
Crafting these sensational candy bar cookie bars requires just a handful of staple ingredients, most of which you likely already have in your pantry. The star, of course, is the signature Butterfinger pieces, which infuse every bite with their iconic crispy, peanut-butter-flavored goodness. Coupled with butter, sugar, flour, and eggs, these bars transform into a chewy, sweet, and crunchy dessert that truly stands out. If you’re a devout fan of Butterfinger candy bars or simply looking to explore new and exciting dessert recipes, these homemade Butterfinger cookie bars are an exceptional choice that promises a memorable sweet escape.
The Ultimate Butterfinger Cookie Bar Experience
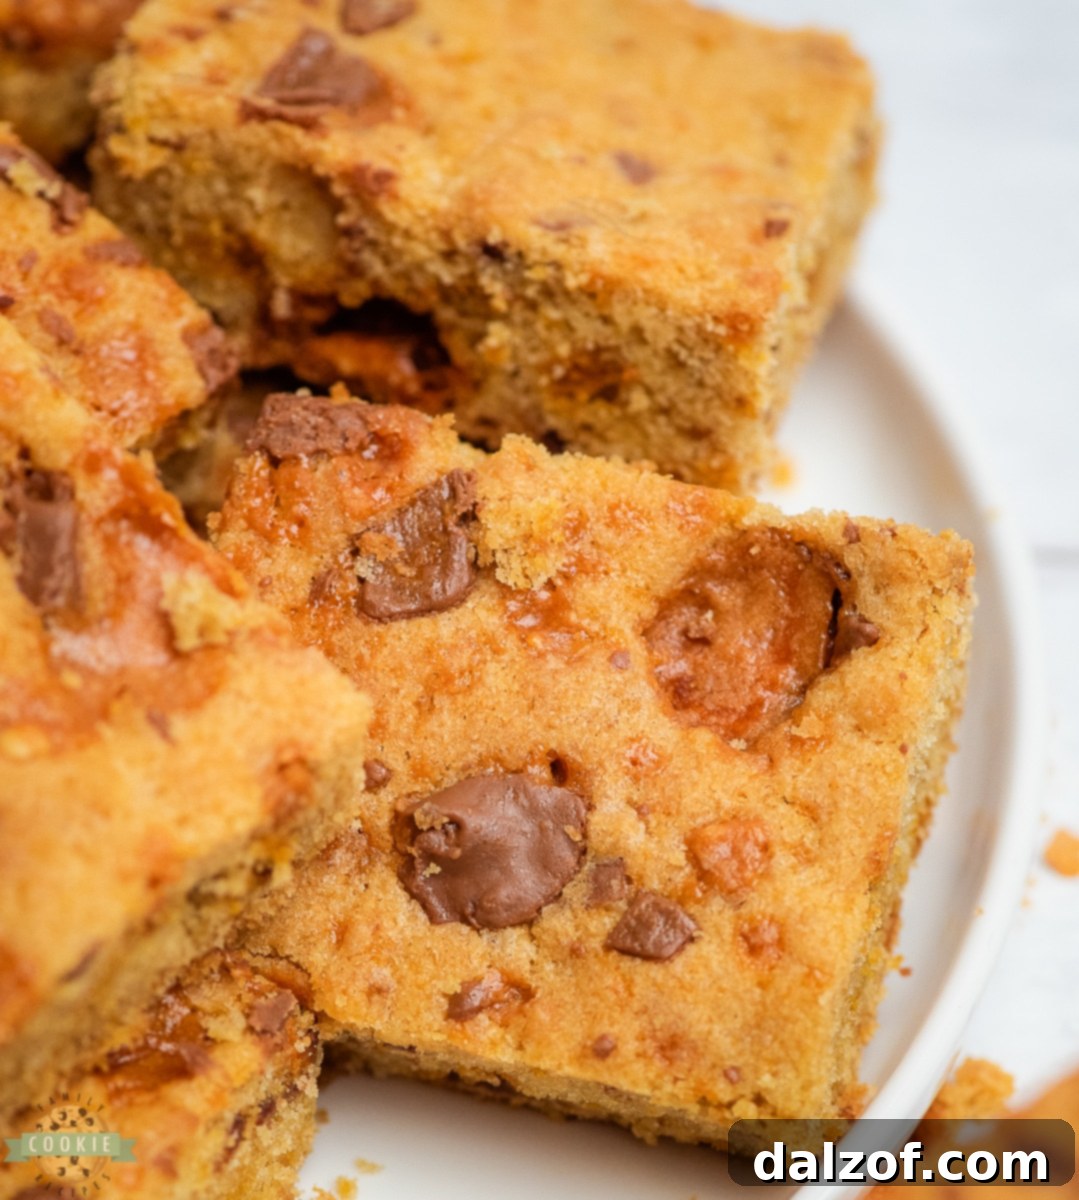
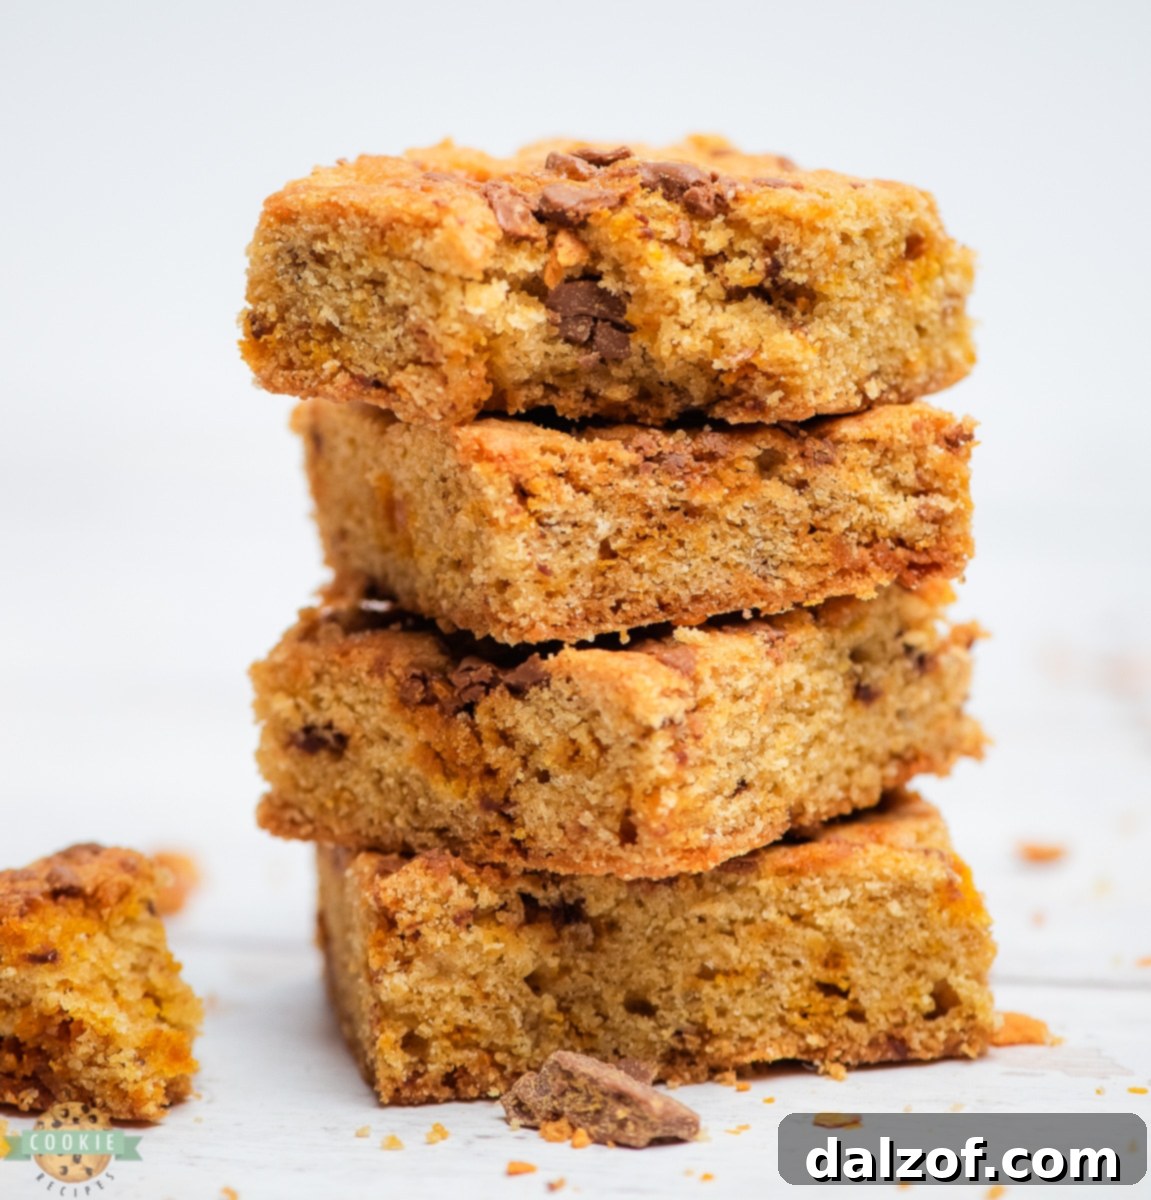
This recipe elevates the humble cookie to a new level by incorporating the incredible flavor and texture of Butterfinger chocolate bars. Imagine a soft, chewy cookie base studded with generous chunks of that crispy, peanut-buttery, and chocolatey candy. It’s a symphony of textures and tastes that creates an unforgettable dessert. The genius of making these cookies in bar form is not just the incredible convenience, but also the ease of serving. There’s no tedious rolling or scooping of individual cookies, making prep time a breeze. This particular recipe takes the simplicity of an easy sugar cookie and amplifies it with the delightful addition of everyone’s favorite crunchy candy bar. The sweet, buttery cookie foundation perfectly complements the rich peanut butter and chocolate crunch of the Butterfinger pieces, creating a dessert that you and your loved ones will crave again and again.
Each bite delivers a satisfying chewiness from the cookie dough, followed by an explosion of that distinct Butterfinger crispness and a burst of chocolate and peanut butter flavor. This combination isn’t just delicious; it’s an experience that awakens the senses and brings a touch of nostalgic joy. These bars are robust enough to transport easily to gatherings yet sophisticated enough to impress any dessert connoisseur. Get ready to bake a batch that will disappear faster than you can say “Butterfinger!”
Mastering Your Butterfinger Cookie Bars: Tips & Creative Variations
While Butterfinger cookie bars are undeniably delicious on their own, the beauty of this recipe lies in its versatility. You can easily experiment with different ingredients and techniques to tailor the flavor profile to your exact preferences. Here are some tips and variations to help you get creative in the kitchen:
- Customizing Your Cookie Base: The traditional sugar cookie base used here provides a perfect canvas, but don’t be afraid to switch things up.
- Chocolate Chip Cookie Base: For a double chocolate delight, try incorporating Butterfinger pieces into your favorite chocolate chip cookie dough recipe. The added chocolate notes will beautifully complement the peanut butter and chocolate in the candy.
- Oatmeal Cookie Base: An oatmeal cookie base offers a chewier texture and a slightly nutty flavor that pairs wonderfully with Butterfinger. Ensure your oatmeal cookie recipe isn’t too dense, allowing the Butterfinger crunch to shine.
- Brownie Cookie Base: For a truly decadent treat, use a fudgy brownie cookie base. The rich, deep chocolate flavor of the brownie will create an intense contrast with the crispy Butterfinger.
- Exploring Other Candy Bar Add-ins: If Butterfinger isn’t your only candy bar obsession, or you simply want to try something new, this recipe is incredibly adaptable to other confectionery favorites.
- Snickers Cookie Bars: Chop up Snickers bars for a delightful mix of nougat, caramel, peanuts, and chocolate. This adds another layer of chewiness and richness.
- Kit Kat Cookie Bars: Crush Kit Kat bars for a lighter, crispier, and wafer-infused texture, offering a different kind of crunch.
- Twix Cookie Bars: Incorporate crushed Twix bars for a delightful combination of crunchy biscuit, chewy caramel, and smooth chocolate.
- Reese’s Peanut Butter Cup Cookie Bars: If you’re a peanut butter fanatic, Reese’s cups (chopped) will amplify the peanut butter flavor in your bars, creating an even more indulgent experience.
- Heath Bar Cookie Bars: Crushed Heath bars add a toffee and milk chocolate crunch that’s absolutely heavenly.
No matter which candy bar you choose, aim for roughly the same volume as the Butterfinger chips to maintain the right texture balance in the cookie dough.
- Adding Extra Flair: Once your bars are baked and cooled, consider these embellishments to take them over the top:
- Drizzle: A simple drizzle of melted chocolate (milk, dark, or white), caramel sauce, or a peanut butter glaze can add an extra layer of flavor and visual appeal.
- Sea Salt: A light sprinkle of flaky sea salt on top before serving can perfectly balance the sweetness and enhance the chocolate and peanut butter notes.
- Serve A La Mode: For a truly decadent dessert, serve warm Butterfinger cookie bars with a scoop of vanilla ice cream and an extra drizzle of caramel or chocolate sauce.
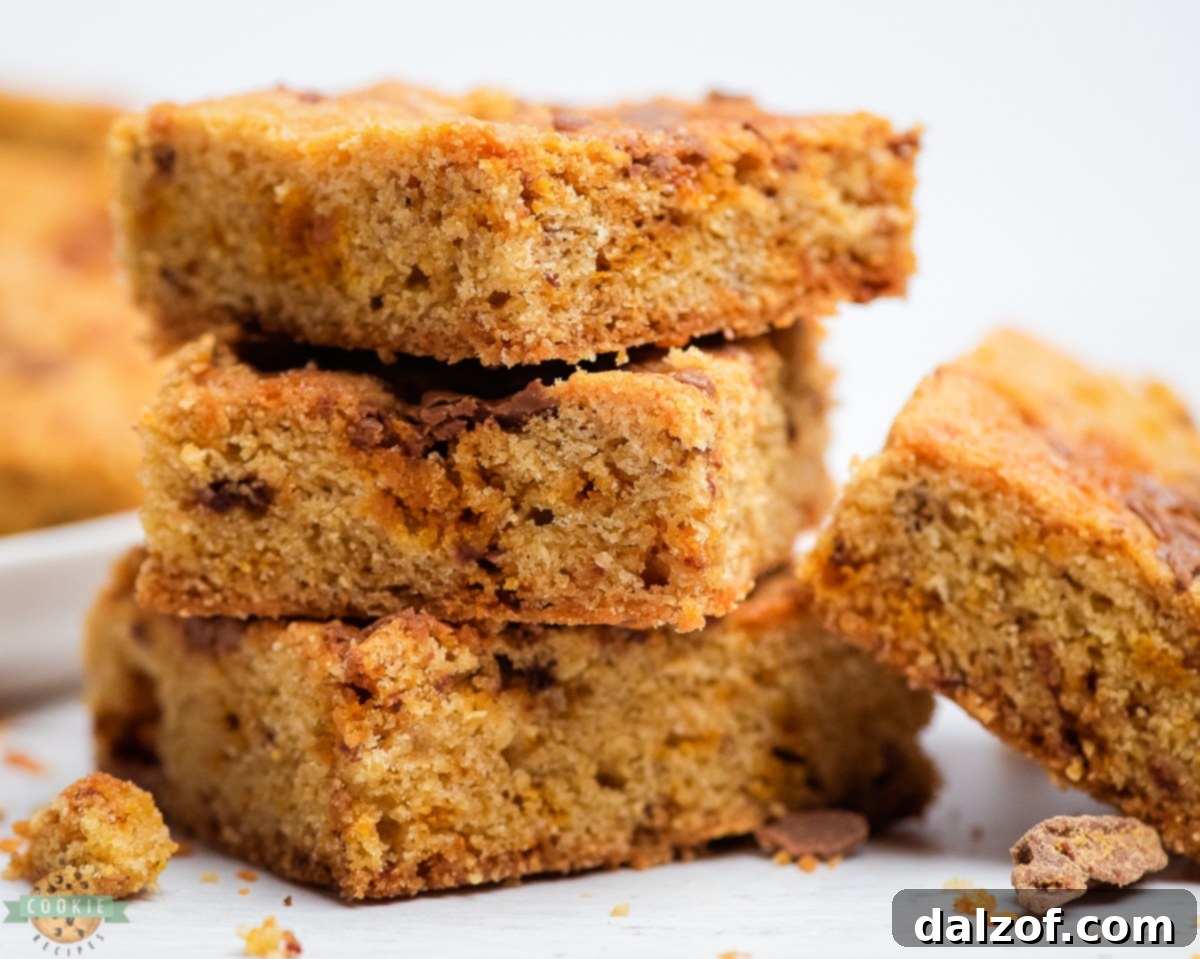
Essential Ingredients for Irresistible Butterfinger Cookie Bars
Creating the perfect Butterfinger cookie bars starts with quality ingredients and understanding their role in the baking process. Here’s a detailed look at what you’ll need:
- Butter: You’ll need 1 cup (which is equivalent to 2 sticks) of softened unsalted butter. Using softened butter is crucial as it creams beautifully with the sugars, creating a light, airy base for your dough. Unsalted butter allows you to control the salt content in the recipe, ensuring a rich taste and moist, tender cookie bars that stay fresh for days.
- Sugars: This recipe calls for a ½ cup each of granulated sugar and brown sugar. The combination of these two sugars is key to achieving the ideal texture. Granulated sugar provides sweetness and helps the cookies spread slightly, while brown sugar adds a deeper, molasses-rich flavor and contributes significantly to the chewiness and moisture of the bars.
- Eggs: Two large eggs are essential binders for the cookie dough. They help emulsify the ingredients, providing structure and contributing to the perfect consistency and richness of the bars. Ensure your eggs are at room temperature for better incorporation into the creamed butter and sugar mixture.
- Vanilla Extract: Adding 1 teaspoon of good quality vanilla extract is vital. Vanilla is a flavor enhancer that brings out the best in all the other ingredients, adding warmth and depth to the overall taste of these delightful cookies.
- Flour: Use 2 cups of all-purpose flour. This forms the primary structural base of your cookie dough. It’s important to measure flour correctly (by spooning it into the measuring cup and leveling off) to avoid dry, crumbly bars. Avoid over-mixing the flour once it’s added, as this can develop the gluten too much, resulting in tough cookie bars.
- Leavening Agents: You will need 1 teaspoon of baking powder and ¼ teaspoon of baking soda. These are crucial for the texture of your cookie bars. Baking powder helps the cookie bars rise and become light and airy, while baking soda reacts with the brown sugar (an acid) to contribute to spread and a tender crumb, ensuring they puff up nicely during the baking process.
- Salt: A mere ¼ teaspoon of salt is added to balance all the rich, sweet flavors in these yummy cookie bars. Salt enhances the perception of sweetness and prevents the bars from tasting overly sugary, making all the other flavors more pronounced and delicious.
- Butterfinger Chips: For the ultimate Butterfinger flavor, you will want an entire 8-ounce package of Butterfinger chips. These chips are specifically designed for baking and distribute evenly throughout the dough, ensuring every bite has that great flavor and crunch. If Butterfinger chips are unavailable, you can easily substitute them with 4-5 regular-sized Butterfinger candy bars (or about 2 cups), crushed into small, manageable pieces. See our tip below on how to easily crush candy bars.
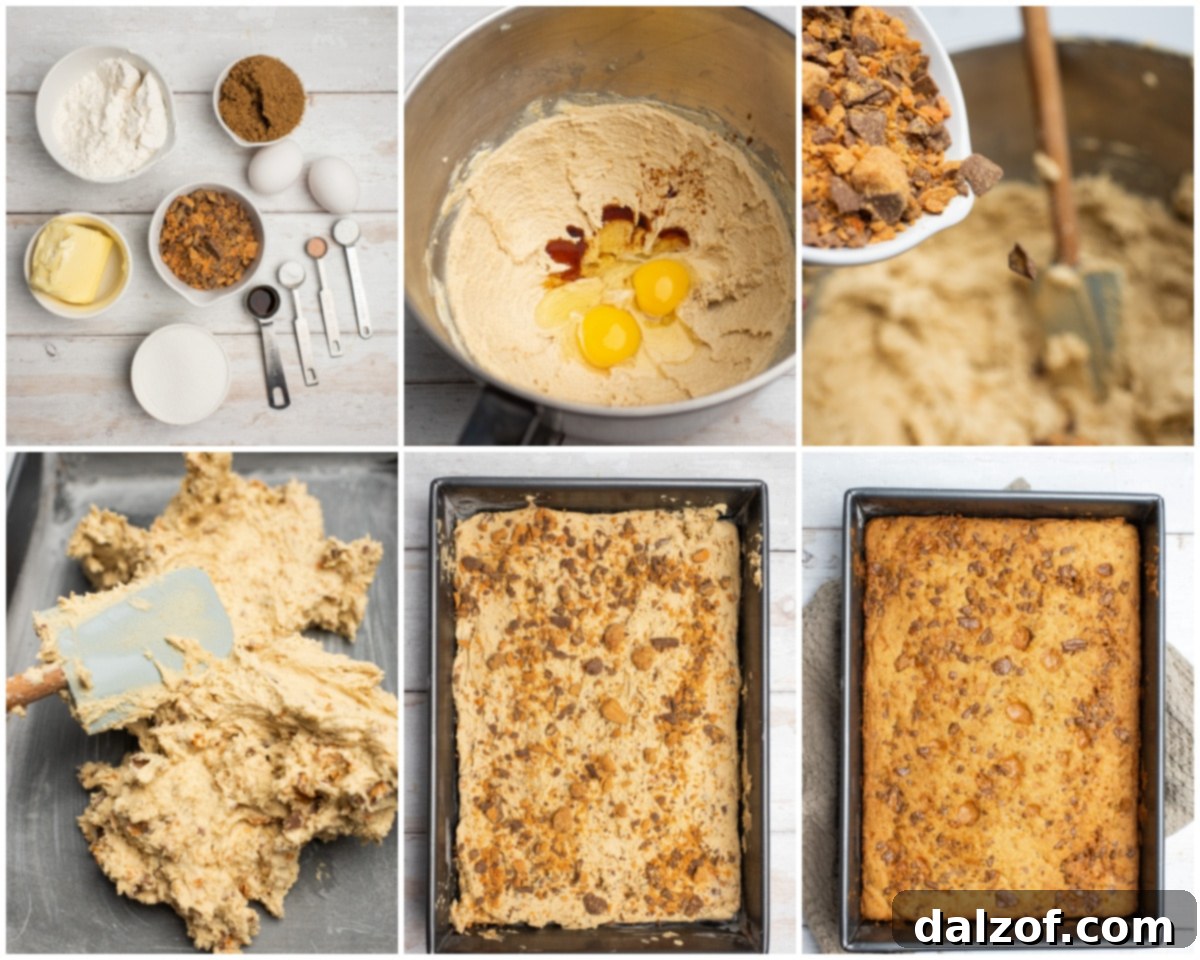
Step-by-Step Guide: Crafting Your Perfect Butterfinger Cookie Bars
Follow these easy steps to create a batch of homemade Butterfinger cookie bars that will impress everyone!
Prep Work
- Start by preheating your oven to 350 degrees Fahrenheit (175°C). This ensures the oven is at the correct temperature when your dough is ready.
- Next, prepare a 9×13 inch baking pan. Lightly grease the inside with butter or cooking spray, or line it with parchment paper, leaving an overhang on the sides for easy lifting after baking. Set the prepared pan aside.
Crafting the Cookie Dough
- In a small mixing bowl, combine and whisk together the all-purpose flour, baking soda, baking powder, and salt. Whisking ensures these dry ingredients are thoroughly combined and evenly distributed, which is important for the cookie’s rise and texture. Set this bowl aside for later.
- In a separate, medium-sized bowl, use an electric handheld mixer to cream together the softened unsalted butter with both the granulated sugar and brown sugar. Beat until the mixture is light, fluffy, and pale in color, typically for 2-3 minutes. This step incorporates air, making the cookies tender.
- To the creamed butter and sugar mixture, add the two eggs one at a time, mixing well after each addition until fully incorporated. Then, stir in the vanilla extract, mixing until everything is smoothly combined.
- Now, slowly add the reserved dry flour mixture to the wet egg and butter mixture. Mix on low speed, or stir with a spatula, until just combined. Be careful not to overmix; stop as soon as there are no visible streaks of white flour left in the dough. Overmixing can lead to tough cookie bars.
- Lastly, gently fold in ¾ cup of the Butterfinger chips (or crushed candy bar pieces). Stir just enough to evenly distribute them throughout the dough.
Bake to Golden Perfection
- Proceed to spread the cookie dough evenly into the prepared 9×13 inch baking pan. You can use the back of a spoon or your hands (lightly floured if sticky) to press the dough into an even layer.
- Then, sprinkle the remaining ¼ cup of Butterfinger chips (or crushed candy pieces) on top of the cookie dough. This creates a beautiful, crunchy topping.
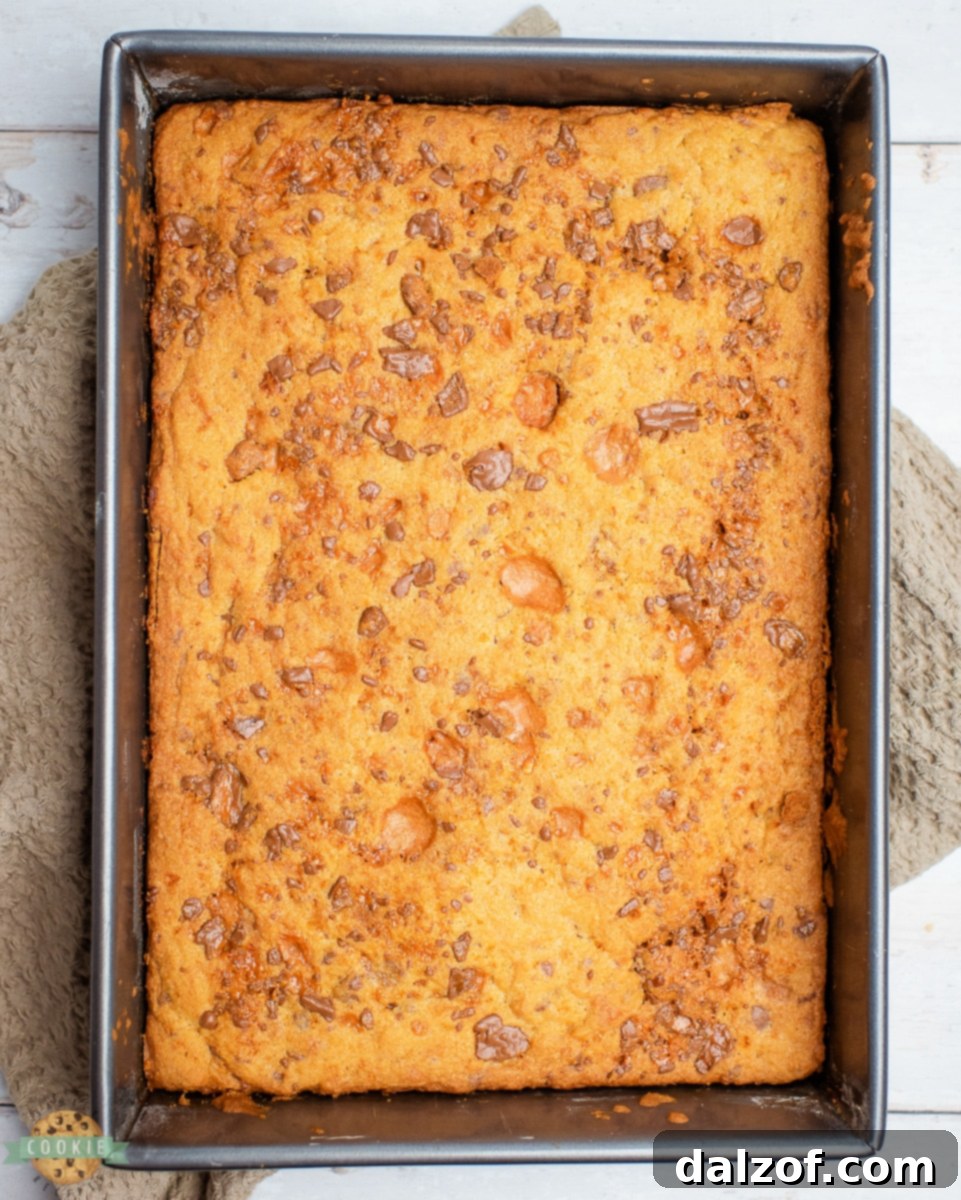
- Place the pan in the preheated oven and bake for 20-25 minutes. The bars are done when the edges are lightly browned and the center is set and looks slightly golden. An inserted toothpick might come out with moist crumbs, but not wet batter.
Serve and Enjoy
- Once baked, remove the pan from the oven and let the cookie bars cool completely in the pan on a wire rack before cutting them into squares. Cooling is crucial for the bars to set properly, making them easier to cut and ensuring they hold their shape.
- Once cooled, cut into desired square sizes and serve. Enjoy these soft, chewy, and irresistibly crunchy homemade Butterfinger cookie bars!
Butterfinger Cookie Bars Recipe
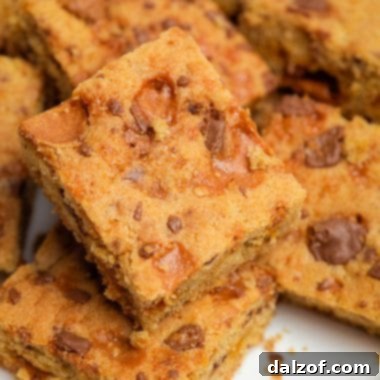
These Butterfinger Cookie Bars are a truly delightful treat that combines the classic, comforting flavor of a sugar cookie with the iconic, crunchy texture of Butterfinger candy bars. These homemade Butterfinger cookies are simple to prepare and perfect for any occasion, from casual family dinners to festive gatherings with friends.
Recipe Details
- Course: Cookie Bars, Cookies, Dessert
- Cuisine: American
- Keyword: Butterfinger Cookie Bars, Butterfinger Cookies, Cookie Bars
- Prep Time: 10 minutes
- Cook Time: 25 minutes
- Total Time: 35 minutes
- Servings: 24 cookies
- Calories: 188 kcal per serving
- Author: Jessica & Nellie
Ingredients
- 1 cup unsalted butter, softened
- ½ cup granulated sugar
- ½ cup brown sugar
- 2 large eggs
- 1 teaspoon vanilla extract
- 2 cups all-purpose flour
- 1 teaspoon baking powder
- ¼ teaspoon baking soda
- ¼ teaspoon salt
- 8 oz Butterfinger chips (or 4-5 Butterfinger candy bars crushed into small pieces)
Instructions
- Prep: Preheat oven to 350 degrees F (175°C). Grease a 9×13 inch baking pan and set aside.
- Cookie dough: In a small bowl, combine the flour, baking soda, baking powder, and salt. Whisk well and set aside.
- In another medium-sized bowl, use an electric handheld mixer to cream together the softened butter and both white and brown sugars until light and fluffy. Add in the eggs one at a time, mixing well after each, then stir in the vanilla extract until fully combined.
- Slowly add the flour mixture to the wet ingredients. Mix until just combined and no white flour streaks remain. Do not overmix. Gently stir in ¾ cup of the Butterfinger chips.
- Bake: Spread the dough out evenly into the prepared baking sheet. Sprinkle the remaining Butterfinger chips on top of the cookie dough.
- Place in the preheated oven and bake for 20-25 minutes, or until the edges are lightly browned and the center is set.
- Serve: Let the cookies cool completely in the pan on a wire rack before cutting into squares and serving. Enjoy!
Notes
For longer storage, Butterfinger cookie bars can be frozen for up to 3 months. Wrap the cooled bars tightly in plastic wrap, then place them in an airtight container or freezer bag. When you’re ready to enjoy them, simply let them thaw at room temperature for a few hours before serving.
Nutrition Information (per serving)
Calories: 188kcal | Carbohydrates: 24g | Protein: 2g | Fat: 10g | Saturated Fat: 6g | Polyunsaturated Fat: 1g | Monounsaturated Fat: 3g | Trans Fat: 0.3g | Cholesterol: 34mg | Sodium: 65mg | Potassium: 63mg | Fiber: 0.5g | Sugar: 13g | Vitamin A: 256IU | Calcium: 20mg | Iron: 1mg
Storing Your Butterfinger Cookie Bars: Keeping Them Fresh
Proper storage is key to ensuring your homemade Butterfinger cookie bars remain fresh, chewy, and delicious for as long as possible. Here are some comprehensive tips:
- Room Temperature: For immediate enjoyment, store your Butterfinger cookie bars at room temperature. Place them in an airtight container or a heavy-duty ziplock bag. This prevents them from drying out and maintains their soft, chewy texture. Stored this way, they should remain fresh and tasty for up to 5 days. A clever trick to keep them extra soft for a few days longer is to place a piece of fresh bread (such as white sandwich bread) in the container with the cookies. The cookies will absorb moisture from the bread, keeping them wonderfully tender.
- Refrigerator: If you need to extend their freshness beyond a few days, storing your cookie bars in the refrigerator is an excellent option. Again, ensure they are placed in an airtight container or a tightly sealed ziplock bag to prevent them from absorbing odors or drying out. In the refrigerator, your Butterfinger cookie bars can last for up to a week. Remember to let them come to room temperature or gently warm them before serving for the best flavor and texture.
- Freezer: For long-term storage, freezing is your best bet. This is perfect for making a big batch ahead of time or preserving leftovers.
- Preparation for Freezing: Once the cookie bars have completely cooled, cut them into individual squares.
- First Layer: Wrap each individual bar (or small stacks of 2-3 bars) tightly in plastic wrap. This initial layer of wrapping protects against freezer burn.
- Second Layer: Place the wrapped bars into an airtight freezer-safe container or a heavy-duty freezer bag. Squeeze out as much air as possible from the bag before sealing.
- Duration: Stored correctly, Butterfinger cookie bars can last beautifully in the freezer for up to three months.
- Thawing: When you’re ready to enjoy your frozen treats, simply remove the desired number of bars from the freezer. Let them thaw at room temperature for a few hours. For a warm, gooey experience, you can also gently microwave them for a few seconds until heated through.
By diligently following these storage tips, you can ensure that your Butterfinger cookie bars remain as fresh, flavorful, and wonderfully textured as they were on baking day, ready to be enjoyed whenever a craving strikes.
Frequently Asked Questions About Butterfinger Cookie Bars
How do I use Butterfinger candy bars instead of chips?
If you can’t find Butterfinger baking chips, using whole Butterfinger candy bars is a perfectly viable and delicious alternative! The process is quite simple: first, unwrap the candy bars. Then, place them inside a sturdy ziplock bag. Use a rolling pin to crush the candy bars into small, manageable pieces. Alternatively, for a quicker method, you can pulse them briefly in a food processor until they reach your desired consistency. For this recipe, you will need approximately 2 cups of crushed Butterfinger candy bars, which typically translates to about 4-5 king-sized bars or 6-8 regular-sized bars, depending on how finely you crush them. Aim for pieces that are small enough to mix into the dough but still large enough to provide that signature Butterfinger crunch.
Can I make the cookie dough ahead of time?
Absolutely! Preparing the cookie dough in advance is a great time-saver. You can make the dough, press it into the prepared 9×13 inch pan (without adding the top layer of Butterfinger chips), cover it tightly with plastic wrap, and refrigerate it for up to 2-3 days. When you’re ready to bake, remove the pan from the refrigerator about 30 minutes before baking to allow it to come slightly closer to room temperature. Then, sprinkle with the remaining Butterfinger chips and bake as directed.
How can I ensure the Butterfinger pieces remain crispy?
The crispy texture of Butterfinger is one of its most appealing qualities. To help maintain this during baking, ensure your oven temperature is accurate and avoid overbaking. Overbaking can cause the candy to melt excessively and lose some of its crispness. Cooling the bars completely before cutting also helps the candy pieces firm up again. If using crushed candy bars instead of chips, try to keep the pieces a bit larger to better withstand the heat.
Can I half or double this recipe?
Yes, this recipe is quite flexible! You can easily half the ingredients and bake in an 8×8 inch square pan for a smaller batch. Adjust the baking time, as smaller batches may bake faster, usually around 18-22 minutes. If you wish to double the recipe for a large crowd, you would use a larger sheet pan (like a 13×18 inch half-sheet pan) or two 9×13 inch pans. Again, keep an eye on the baking time as larger quantities might require a few extra minutes.

Sometimes, getting the perfect family photo can be a challenge, especially with kids who might not be in the mood! This last photo shoot, for instance, was far from stellar. But you know what? We went with the flow, embraced the silliness, and ended up with some genuinely funny poses and a few keepers! Those candid moments bring us all a good laugh, and that, to me, is truly priceless!

For More Delicious Cookie Bars, Check Out These Sweet Recipes:
- CHERRY ALMOND COOKIE BARS
- PEPPERMINT COOKIE BARS
- FUDGY OATMEAL COOKIE BARS
- TAGALONG COOKIE BARS
- STRAWBERRY CHEESECAKE COOKIE BARS
- CHRISTMAS SUGAR COOKIE BARS
- SUGAR COOKIE BARS
- SNICKERDOODLE COOKIE BARS
- PUMPKIN SNICKERDOODLE COOKIE BARS
- CHOCOLATE CHIP COOKIE BARS
In conclusion, these Butterfinger cookie bars effortlessly transform your favorite iconic candy bar into a truly impressive and incredibly satisfying dessert that’s perfect for sharing with family and friends. These Butterfinger cookies are everything you could want in a treat: soft, wonderfully chewy, and packed with an amazing, irresistibly crunchy texture from the Butterfinger pieces. They’re quick to prepare, easy to serve, and universally loved. Don’t just make dessert; create an experience with these fantastic cookie bars that are truly hard to resist!