

Valentine’s Thumbprint Cookies are not just a treat; they are an edible expression of love, perfectly crafted for the romantic holiday. Imagine a tender, buttery shortbread-like cookie dough, generously adorned with vibrant Valentine’s sprinkles, baked to a golden perfection, and then lovingly filled with rich, melt-in-your-mouth pink and red chocolate. These charming cookies offer a delightful combination of classic comfort and festive flair, making them an irresistible addition to any Valentine’s celebration. Whether you’re baking for a loved one, a special gathering, or simply to brighten your own day, these thumbprint cookies promise a delicious experience that’s as beautiful as it is tasty.

Discovering the Charm of Valentine’s Thumbprint Cookies
The humble thumbprint cookie boasts a history as rich and comforting as its flavor. While their exact origins remain a delightful mystery, many culinary historians trace these beloved treats back to Sweden in the early 1900s, where they were often known as “hallongrotta” or “raspberry cave” cookies. These charming confections quickly made their way across the Atlantic, gaining immense popularity in the United States during the 1940s and 1950s, becoming a staple in many American households. Their enduring appeal lies in their simplicity, versatility, and the joy of creating a small, edible pocket for delicious fillings.
Over the years, thumbprint cookies have evolved, embracing a myriad of flavors and fillings beyond traditional fruit preserves. This Valentine’s edition reimagines the classic with a festive twist, featuring a wonderfully soft, buttery cookie base. The characteristic indent in each cookie is thoughtfully filled with a smooth, vibrant red or pink chocolate, creating a striking contrast and an explosion of flavor. A delicate drizzle of complementary chocolate on top just before serving adds an elegant finish, making these cookies not only a treat for the palate but also a feast for the eyes. They embody the spirit of Valentine’s Day – sweet, colorful, and made with love.
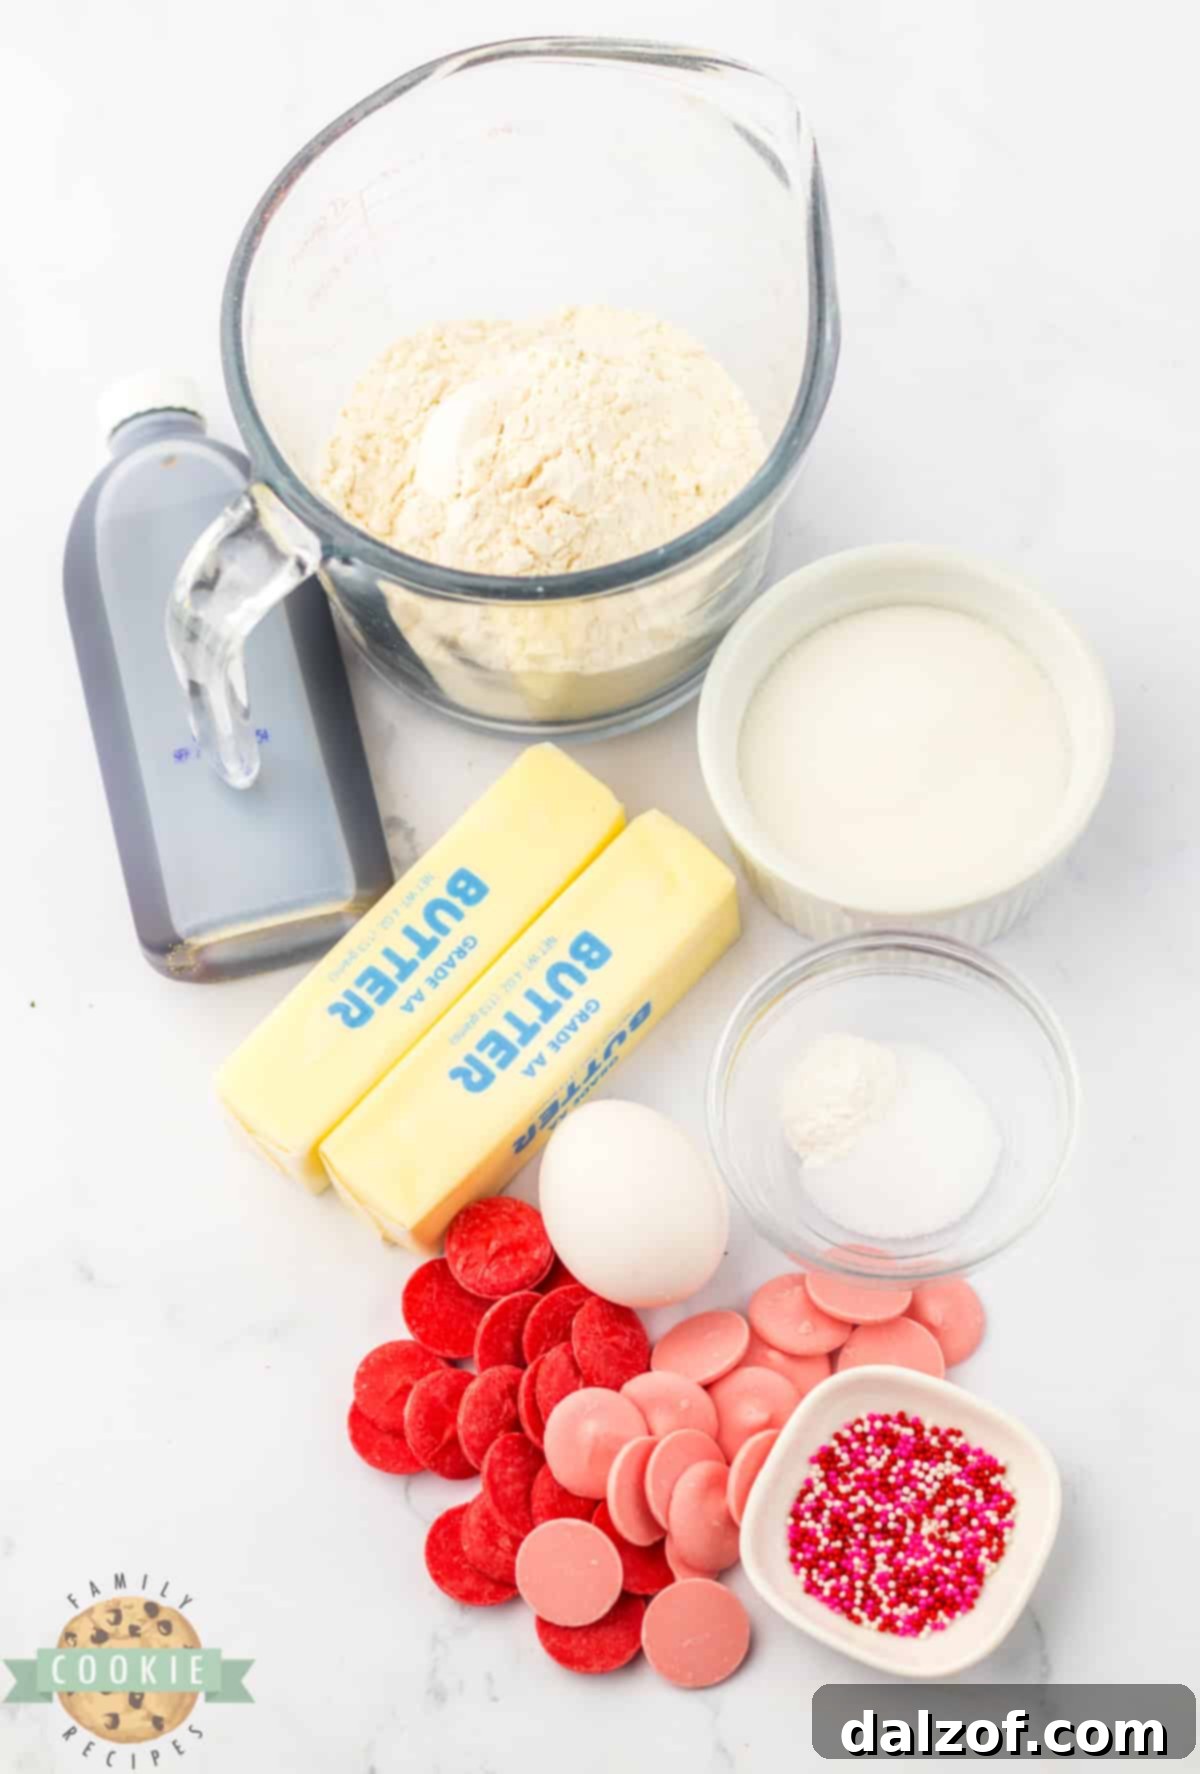
Essential Ingredients for Perfect Valentine’s Thumbprint Cookies
Creating these delightful Valentine’s Thumbprint Cookies begins with a selection of fresh, high-quality ingredients. Each component plays a crucial role in achieving the desired texture, flavor, and festive appearance. Here’s a closer look at what you’ll need:
Butter (¾ cup, softened): The foundation of any great cookie, butter provides richness and contributes significantly to the cookie’s tender texture. Ensure your butter is softened to room temperature before use. This allows it to cream properly with sugar, incorporating air and creating a light, fluffy dough. Opt for real unsalted butter for the best flavor and control over the salt content.
Granulated Sugar (½ cup): Beyond sweetness, sugar plays a vital role in cookie texture. It caramelizes during baking, contributing to the golden-brown edges, and helps the butter to aerate, resulting in a lighter cookie. Measuring accurately is key to balancing sweetness and texture.
Large Egg (1): The egg acts as a binding agent, holding all the ingredients together and adding moisture. It also contributes to the richness and a slightly chewy texture of the cookie. Ensure it’s at room temperature for better emulsion with other ingredients.
Vanilla Extract (1 teaspoon): Vanilla is the heart of many sweet treats, offering a warm, aromatic depth that complements the buttery dough. Using a good quality vanilla extract can significantly elevate the overall flavor profile of your cookies.
All-Purpose Flour (1 ¾ cups): The structural backbone of your cookies. All-purpose flour is versatile and works perfectly for this recipe, providing the right balance of tenderness and chewiness. For best results, measure flour by spooning it into a measuring cup and leveling it off, rather than scooping directly from the bag, which can lead to over-measurement.
Baking Powder (½ teaspoon): This leavening agent helps the cookies rise slightly, contributing to a soft, delicate crumb. Always check the expiration date on your baking powder; old powder can lead to flat, dense cookies.
Salt (¼ teaspoon, optional but recommended): While not explicitly listed in the original, a pinch of salt (¼ teaspoon) beautifully balances the sweetness and enhances all the other flavors in the cookie dough. If using salted butter, you may omit this or reduce the amount.
Valentine Sprinkles (1 teaspoon for dough, more for garnish): These festive sprinkles are not just for topping; incorporating a teaspoon into the dough itself adds a delightful pop of color throughout the cookie, making them extra special for Valentine’s Day. Have extra on hand for a final flourish!
Red Candy Melts (6 ounces): Candy melts are ideal for their vibrant color and smooth melting consistency, making them perfect for filling. They harden quickly, giving your cookies a professional finish.
Pink Candy Melts (6 ounces): Complementing the red, pink candy melts add another layer of festive color. If colored candy melts are unavailable, you can use high-quality white chocolate chips or white melting wafers and add gel food coloring. Gel food coloring provides a more intense and true color without altering the chocolate’s consistency as liquid food coloring might.

Step-by-Step Guide: How to Make Valentine’s Thumbprint Cookies
Creating these beautiful and delicious Valentine’s Thumbprint Cookies is a straightforward process, perfect for bakers of all skill levels. Follow these detailed steps to ensure a successful and delightful batch:
Preparation:
Preheat your oven to 350°F (175°C). This ensures the oven is at the correct temperature when your cookies are ready to bake, leading to even cooking. Line a baking sheet with parchment paper. This prevents the cookies from sticking and makes cleanup a breeze. If you don’t have parchment paper, a silicone baking mat works just as well.
MAKE THE COOKIE DOUGH
In a large mixing bowl, combine the softened butter and granulated sugar. Using an electric mixer, beat them together on medium speed until the mixture becomes light, fluffy, and pale in color. This creaming process, which usually takes about 2-3 minutes, incorporates air into the butter, resulting in tender cookies. Scrape down the sides of the bowl occasionally to ensure everything is well combined.
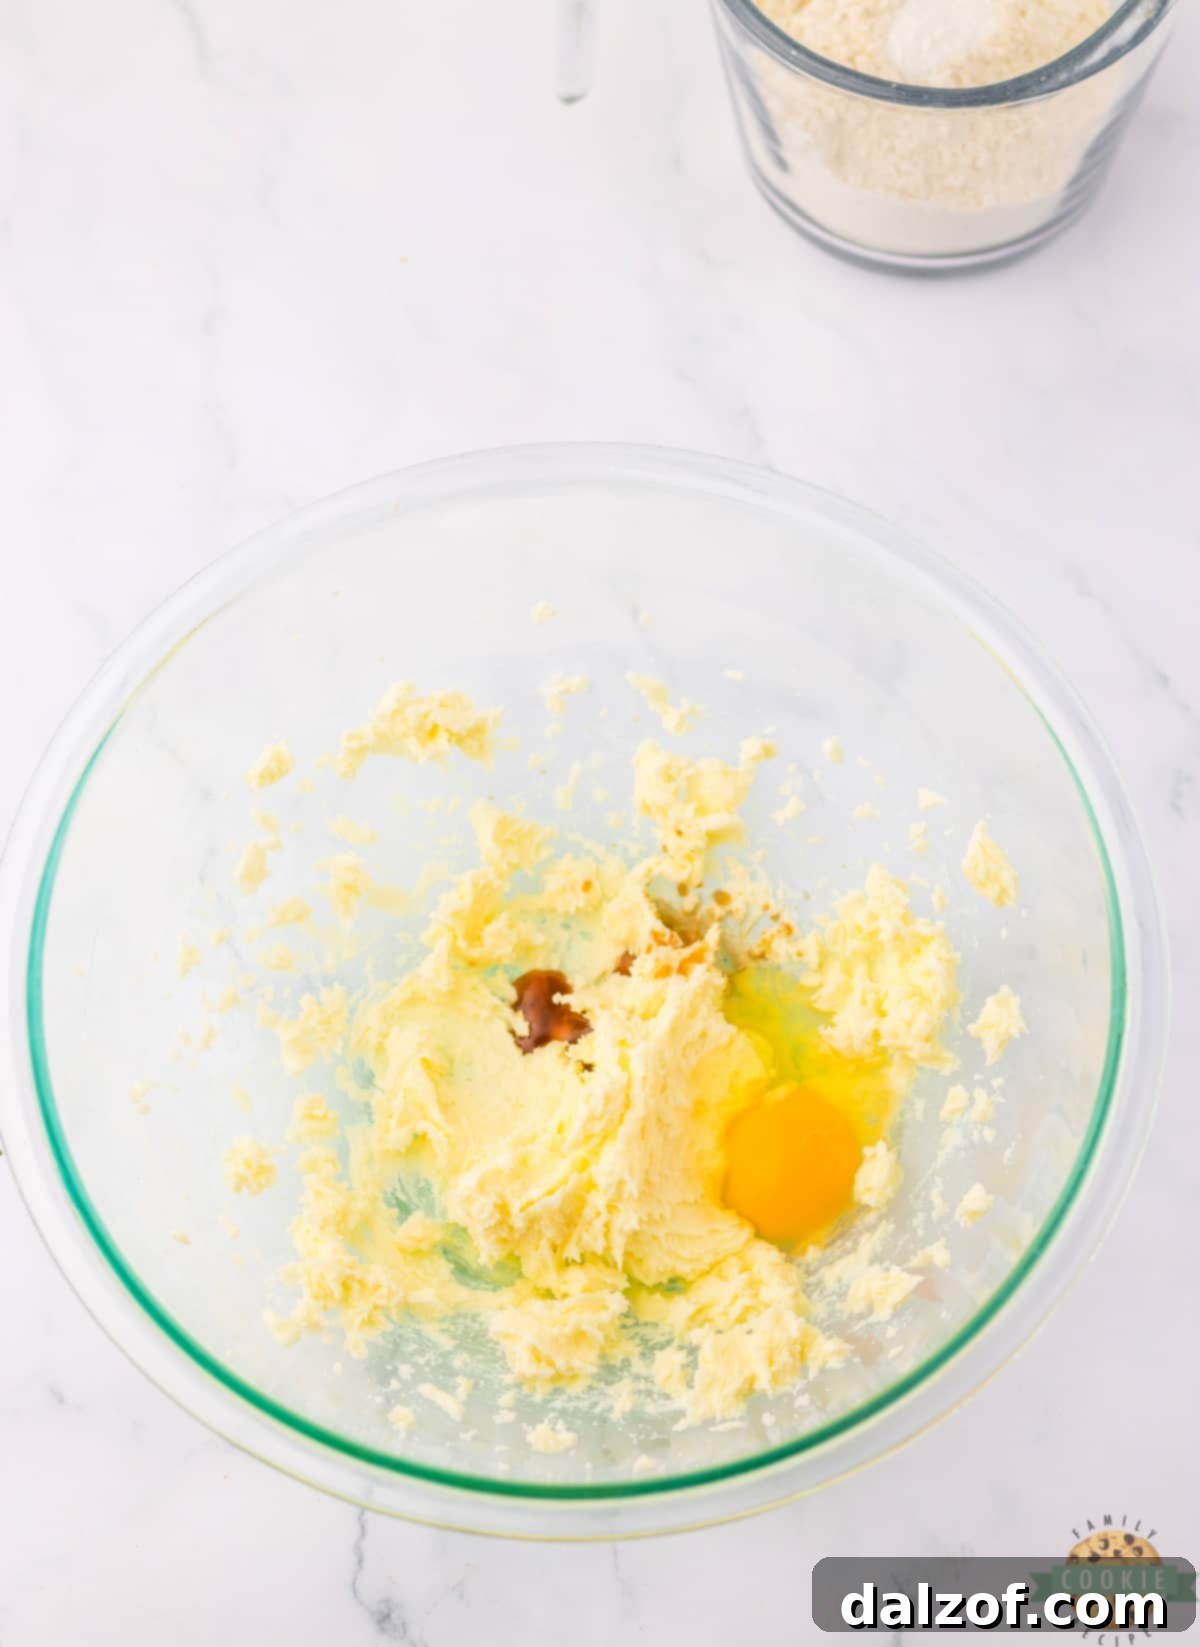
Add the large egg and vanilla extract to the butter and sugar mixture. Continue to beat with the electric mixer until these ingredients are fully incorporated. The mixture might look slightly curdled at first, but keep mixing until it’s smooth and homogenous.
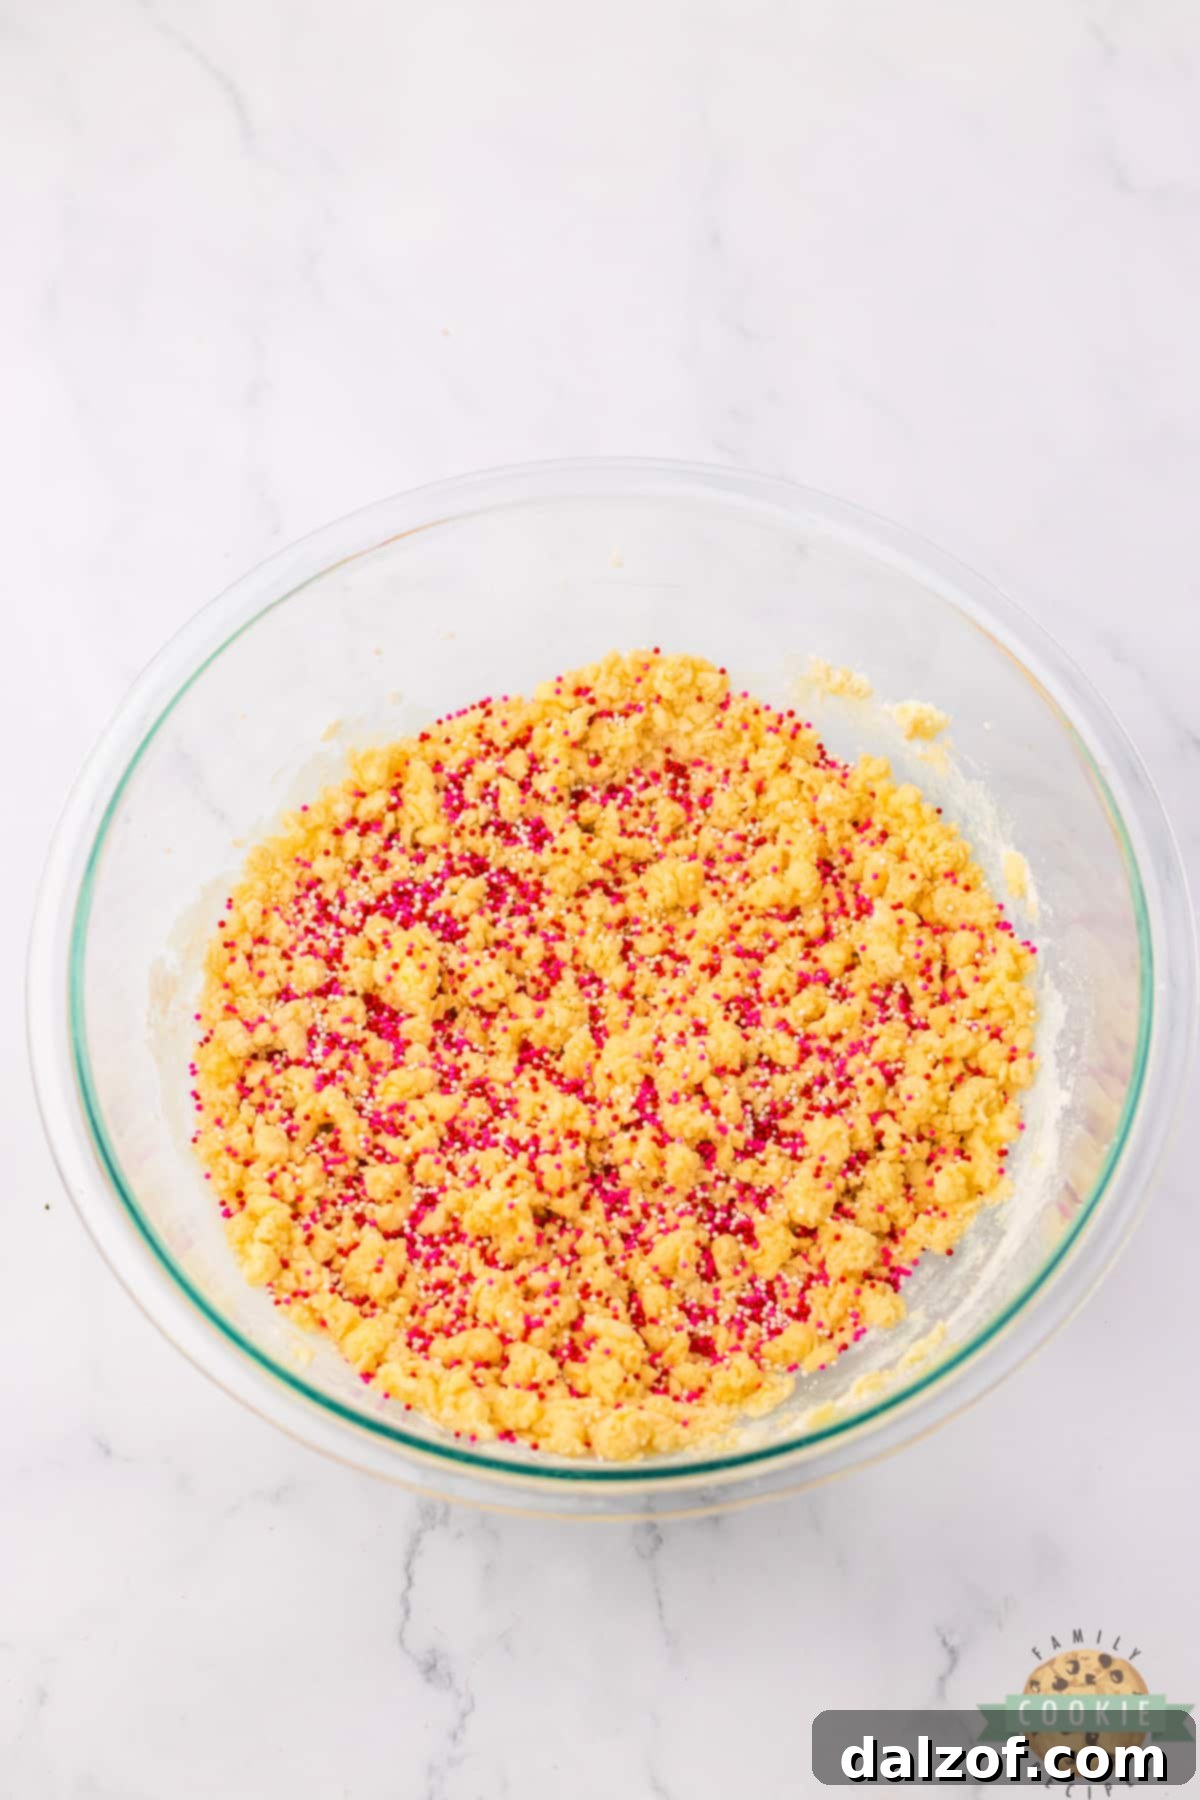
In a separate bowl, whisk together the all-purpose flour, baking powder, and an optional ¼ teaspoon of salt (if using). Gradually add this dry mixture to the wet ingredients, mixing on low speed with the electric mixer until just combined. Be careful not to overmix, as this can develop the gluten in the flour, leading to tough cookies. Finally, gently stir in 1 teaspoon of Valentine sprinkles by hand until evenly distributed. This adds a lovely visual element to the cookie dough itself.
SHAPE AND BAKE THE COOKIES
Using a 1- to 1½-inch cookie scoop, portion out the dough. Roll each portion into a smooth ball between your palms. This ensures uniform size and even baking. Place the dough balls onto your prepared baking sheet, leaving about 2 inches between each to allow for slight spreading.

Once all the dough balls are on the baking sheet, use your thumb (or the back of a lightly floured teaspoon for a more uniform indent) to gently press an indent into the center of each cookie. Be careful not to press all the way through the dough.
Bake for 12-15 minutes, or until the edges of the cookies are just lightly golden brown. The centers should still appear soft. Baking time can vary based on your oven, so keep a close eye on them.
Immediately after removing the cookies from the oven, while they are still warm and pliable, use the back of a teaspoon or a small measuring spoon to reshape and deepen the indents if they have puffed up during baking. This creates the perfect pocket for your chocolate filling. Allow the cookies to cool completely on the baking sheet for a few minutes before transferring them to a wire rack to cool further. This helps them set and prevents breakage.
MELT THE CHOCOLATE FILLING
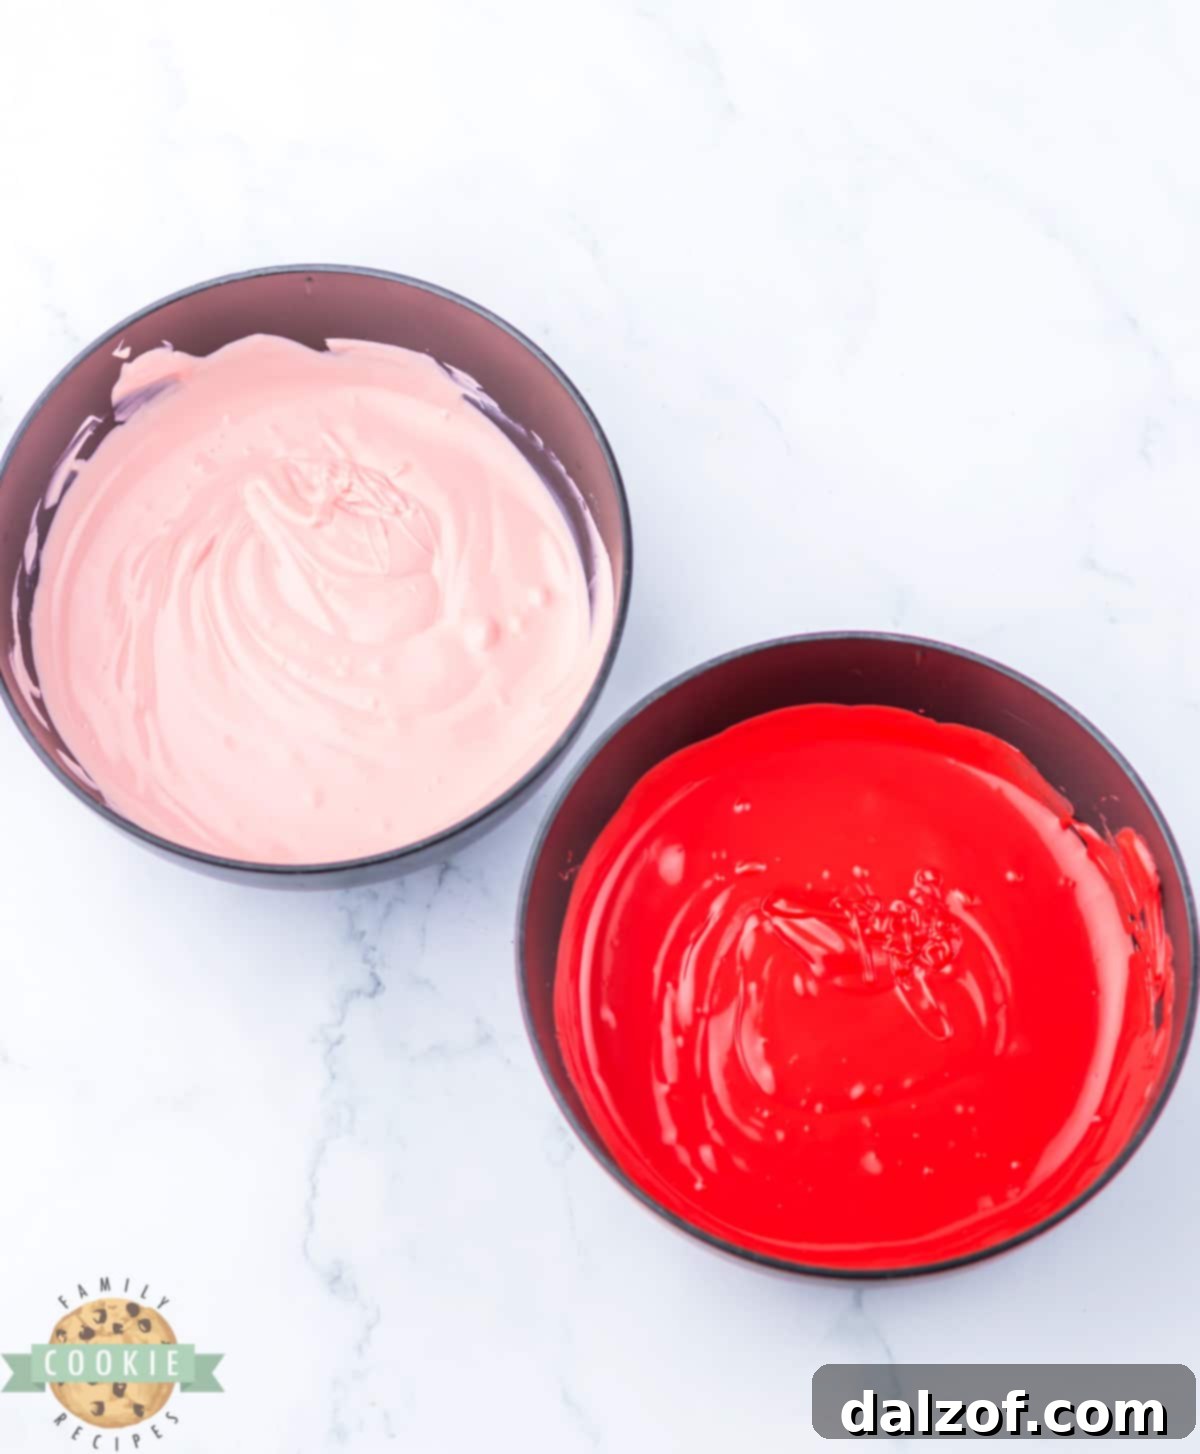
Prepare two separate microwave-safe bowls. Place the red candy melts in one bowl and the pink candy melts in the other. Microwave each bowl in 30-second intervals, stirring thoroughly between each interval, until the candy melts are completely smooth and free of lumps. Be careful not to overheat the chocolate, as this can cause it to seize. Alternatively, you can use a double boiler method for a more controlled melting process.

Using a small spoon or a piping bag, carefully spoon the melted red chocolate into the indents of half of your cooled cookies. Then, fill the indents of the remaining half of the cookies with the melted pink chocolate. Fill them generously, but avoid overfilling to prevent spillage.
To help the chocolate filling set quickly, place the filled cookies in the refrigerator for about 5 minutes. This will firm up the chocolate, preventing it from running when you add the drizzle and ensuring a clean finish.
ADD THE DRIZZLE AND SPRINKLES
Take any remaining melted red and pink chocolate. If it has started to firm up, microwave it for another 10-15 seconds until smooth again. Spoon each color of chocolate into a separate small Ziploc bag. Snip off a tiny corner from each bag to create a fine piping hole. This allows for precise and decorative drizzling.
With the red chocolate bag, drizzle a beautiful pattern onto the cookies with pink centers. Then, use the pink chocolate bag to drizzle onto the cookies with red centers. This contrasting drizzle adds a professional look and extra festive appeal.

Immediately after drizzling, while the chocolate is still wet, liberally sprinkle more Valentine sprinkles over all the cookies. The wet chocolate will act as an adhesive, securing the sprinkles in place. Set the cookies aside at room temperature or back in the fridge for a few more minutes to allow all the chocolate to fully cool and set before serving or storing. These visually stunning and deliciously sweet cookies are now ready to be enjoyed!


VALENTINE’S THUMBPRINT COOKIES
Valentine’s Thumbprint Cookies are so pretty and perfect for the holiday! Buttery cookie dough is topped with sprinkles and baked before being filled with pink and red chocolate.
Pin Recipe Rate Recipe
Ingredients
COOKIE DOUGH
- ¾ cups butter softened
- ½ cup sugar
- 1 large egg
- 1 teaspoon vanilla extract
- 1 ¾ cups flour
- ½ teaspoon baking powder
- 1 teaspoon Valentine sprinkles
- ¼ teaspoon salt (optional)
CHOCOLATE FILLING
- 6 ounces red candy melts
- 6 ounces pink candy melts
- Valentines sprinkles for garnish
Instructions
-
Preheat oven to 350°F (175°C). Line a baking sheet with parchment paper.
-
MAKE THE COOKIE DOUGH: In a large mixing bowl, use an electric mixer to combine the softened butter and granulated sugar until light and fluffy (about 2-3 minutes).
-
Beat in the egg and vanilla extract until well combined.
-
In a separate bowl, whisk together the flour, baking powder, and optional salt. Gradually add the dry ingredients to the wet mixture, mixing just until combined. Gently stir in 1 teaspoon of Valentine sprinkles.
-
SHAPE AND BAKE THE COOKIES: Use a cookie scoop to portion out 1-1½ inch balls of dough. Roll them into smooth balls and place them on the prepared baking sheet, leaving adequate space between each.
-
Gently press your thumb (or the back of a small spoon) into the center of each cookie to create an indent.
-
Bake for 12-15 minutes, or until the edges are lightly golden brown.
-
While the cookies are still warm, use the back of a teaspoon to reshape and deepen the indents if they have risen during baking. Let cool completely on a wire rack.
-
MELT THE CHOCOLATE FILLING: In two separate microwave-safe bowls, melt the red candy melts in one and the pink candy melts in the other. Microwave in 30-second intervals, stirring between each, until completely melted and smooth.
-
Spoon the melted red chocolate into the indents of half the cookies, and the melted pink chocolate into the indents of the remaining half.
-
Place the cookies in the fridge for 5 minutes to allow the chocolate centers to set.
-
ADD THE DRIZZLE AND SPRINKLES: Transfer any remaining melted red and pink chocolate into two small Ziploc bags. Snip off a tiny corner from each bag to create a piping hole.
-
Drizzle red chocolate over the pink-centered cookies and pink chocolate over the red-centered cookies.
-
Immediately sprinkle with more Valentine sprinkles while the drizzle is still wet. Set aside to cool completely until the chocolate is fully set.
Nutrition

Creative Variations for Your Thumbprint Cookies
Thumbprint cookies are incredibly versatile, offering endless possibilities for customization beyond the classic Valentine’s theme. Their simple dough base acts as a perfect canvas for a myriad of flavors and textures. Here are some popular variations to inspire your next batch:
Filling Variations
The filling is undoubtedly the star of the thumbprint cookie, offering the most room for creative expression. Experiment with these ideas:
- Classic Fruit Preserves: Embrace tradition with luscious fruit preserves. Raspberry, strawberry, and apricot are timeless favorites that offer a bright, fruity contrast to the buttery cookie. You can also explore more exotic options like cherry, blackberry, or even a spiced apple butter for different seasons. Using high-quality preserves will significantly impact the final flavor.
- Decadent Chocolate: For serious chocolate lovers, melted chocolate or a rich chocolate ganache makes an exquisite filling. Dark chocolate adds a sophisticated bitterness, milk chocolate offers creamy sweetness, and white chocolate can be tinted and flavored for endless possibilities. Consider adding a hint of peppermint or orange extract to your melted chocolate for an extra burst of flavor.
- Rich Caramel: A gooey, buttery caramel filling provides a luxurious depth of flavor. Whether homemade or store-bought, a good caramel makes these cookies irresistibly indulgent. You can sprinkle a touch of sea salt on top of the caramel for a popular salted caramel thumbprint cookie.
- Nut Butter Delights: Fill the indent with your favorite nut butter, such as peanut butter, almond butter, or cashew butter. These can be left plain or topped with a small dollop of jelly for a twist on a classic PB&J.
- Cream Cheese Frosting: A dollop of softened cream cheese frosting (flavored with vanilla or a touch of citrus) creates a soft, tangy, and delightful contrast.
Topping Variations
The topping adds the final flourish, enhancing both the visual appeal and texture of your thumbprint cookies:
- Crunchy Chopped Nuts: For an added layer of texture and nutty flavor, sprinkle finely chopped nuts (like pecans, walnuts, almonds, or pistachios) over the filling while it’s still soft. This is especially good with caramel or chocolate fillings.
- Simple Powdered Sugar: A delicate dusting of powdered sugar (confectioners’ sugar) over the cooled cookies offers a sweet, elegant, and understated finish. This works beautifully with fruit preserve fillings.
- Shiny Glaze: A simple glaze made from powdered sugar and a touch of milk (or lemon juice for a zesty kick) can be drizzled over the cookies for a sweet, shiny coating. You can color the glaze with food coloring to match the holiday or theme.
- Coconut Flakes: Toasted coconut flakes can add a tropical crunch and unique flavor, particularly good with citrus or chocolate fillings.
- Holiday Spices: A light dusting of cinnamon, nutmeg, or pumpkin spice can transform the flavor profile, making them suitable for autumn or winter holidays.
- Mini Chocolate Chips: For an extra chocolate boost, sprinkle mini chocolate chips over a freshly filled cookie.
Don’t be afraid to mix and match these ideas to create your signature thumbprint cookie! The possibilities are truly endless.
Storage and Freezing Tips for Thumbprint Cookies
To keep your Valentine’s Thumbprint Cookies fresh and delicious for as long as possible, proper storage is key. Once completely cooled and the chocolate filling has set, store the cookies in a single-layer airtight container at room temperature. They will retain their best quality for up to 1 week. If you need to stack them, place a piece of parchment paper or wax paper between layers to prevent the bottoms of the upper cookies from sticking to or disturbing the delicate chocolate filling of the cookies below. For optimal flavor and texture, it’s highly recommended to enjoy these cookies within about 3 or 4 days of baking.
If you wish to extend their shelf life, these cookies freeze beautifully. You can freeze baked and decorated cookies for up to 3 months. To freeze, arrange the fully cooled cookies in a single layer on a baking sheet and flash freeze them for about an hour, or until solid. This prevents them from sticking together. Once frozen, transfer them to a freezer-safe airtight container or a heavy-duty freezer bag, layering with parchment paper if stacking. Thaw frozen cookies at room temperature before serving.

Troubleshooting: Why Did My Cookies Spread Too Much?
One common baking challenge with thumbprint cookies is excessive spreading during baking, which can result in flat, less attractive cookies with ill-defined indents. If your Valentine’s Thumbprint Cookies spread more than desired, it was most likely a direct result of the cookie dough being too warm. Here’s why this happens and how to prevent it:
Warm Dough: Butter-based cookie doughs are highly sensitive to temperature. If the butter is overly soft or if the kitchen environment is warm, the butter in the dough can melt too quickly in the oven before the flour has a chance to set the cookie’s structure. This rapid melting causes the cookies to spread outwards rather than holding their shape.
Solutions:
- Chill the Dough: This is the most effective remedy. If your dough feels too soft or sticky after mixing, or if your kitchen is warm, pop the entire bowl of dough (covered) into the refrigerator for at least 30 minutes, or even up to an hour. The cooler butter will firm up, helping the cookies maintain their shape during baking.
- Chill Shaped Dough Balls: For an even better result, after rolling the dough into balls and making the initial indents, place the entire baking sheet with the shaped cookies into the refrigerator for 15-20 minutes before baking. This gives the individual cookies an extra chill.
- Ensure Butter is Softened, Not Melted: When the recipe calls for “softened butter,” it means butter that yields slightly when pressed, not melted or greasy. If your butter is too soft to begin with, the dough will be warm from the start.
- Avoid Overmixing: Overmixing develops gluten, which can make cookies tough, but also generates heat, warming the dough. Mix just until ingredients are combined.
By keeping your dough cool, you ensure that your Valentine’s Thumbprint Cookies bake up with that perfect, tender crumb and maintain their charming shape, ready for their delightful chocolate filling.
Can I Prepare the Cookie Dough in Advance?
Absolutely! Preparing the cookie dough in advance is a fantastic time-saver, especially when planning for parties, holidays, or simply when you want fresh-baked cookies without the full-day commitment. You can certainly make the dough for these Valentine’s Thumbprint Cookies ahead of time.
After you’ve mixed the dough according to the recipe, form it into a disk, wrap it tightly in plastic wrap, and place it in a well-covered bowl in the refrigerator. The dough can be stored this way for up to 1-2 days in advance. This means you can mix your dough one day and then simply pull it out, roll, indent, and bake the next. This flexibility is perfect for busy schedules, allowing you to spread out your baking tasks and enjoy freshly baked cookies with minimal fuss on the day you plan to serve them.
When you’re ready to bake, remove the dough from the refrigerator and let it sit at room temperature for about 15-20 minutes to soften slightly, making it easier to roll and shape. If the dough is too cold, it may crack when you try to form the balls. This make-ahead option ensures you can enjoy the warmth and aroma of freshly baked cookies without feeling rushed, making your Valentine’s Day baking even more enjoyable.

Explore More Delicious Thumbprint Cookie Recipes
If you’ve fallen in love with the charm and versatility of thumbprint cookies, there’s a whole world of flavors waiting for you to discover. From seasonal delights to classic combinations, these indented treats offer endless possibilities for your baking adventures. Here are more delightful thumbprint cookie recipes to inspire your next batch:
- CHEESECAKE COOKIES: A rich, creamy filling nestled in a tender cookie shell.
- SWEETHEART VALENTINE THUMBPRINT COOKIES: Another festive option, perfect for sharing the love.
- GRINCH THUMBPRINT COOKIES: A fun, whimsical choice for the holiday season.
- EASY, SOFT JAM THUMBPRINT COOKIES: The quintessential classic, simple and satisfying.
- RASPBERRY JAM THUMBPRINT COOKIES: A bright, fruity favorite that never disappoints.
- SALTED PUMPKIN CARAMEL THUMBPRINT COOKIES: A perfect autumnal treat with a balance of sweet and salty.
- DOUBLE THUMBPRINT HEART COOKIES: Two hearts are better than one in these adorable cookies.
- CHOCOLATE STRAWBERRY THUMBPRINT COOKIES: A harmonious blend of rich chocolate and sweet strawberry.
- STRAWBERRY THUMBPRINT COOKIES: Pure strawberry bliss in every bite.
- LEMON THUMBPRINT COOKIES: Zesty and refreshing, a bright twist on the classic.
- CARAMEL THUMBPRINT COOKIES: Indulgent and chewy, with a luscious caramel center.
- CHOCOLATE RASPBERRY THUMBPRINT COOKIES: A sophisticated pairing of tart raspberry and deep chocolate.

These Valentine’s Thumbprint Cookies are more than just a dessert; they are a delightful gesture, a beautiful treat that encapsulates the joy and sweetness of the holiday. With their buttery dough, festive sprinkles, and luscious pink and red chocolate filling, they are truly perfect for celebrating love.