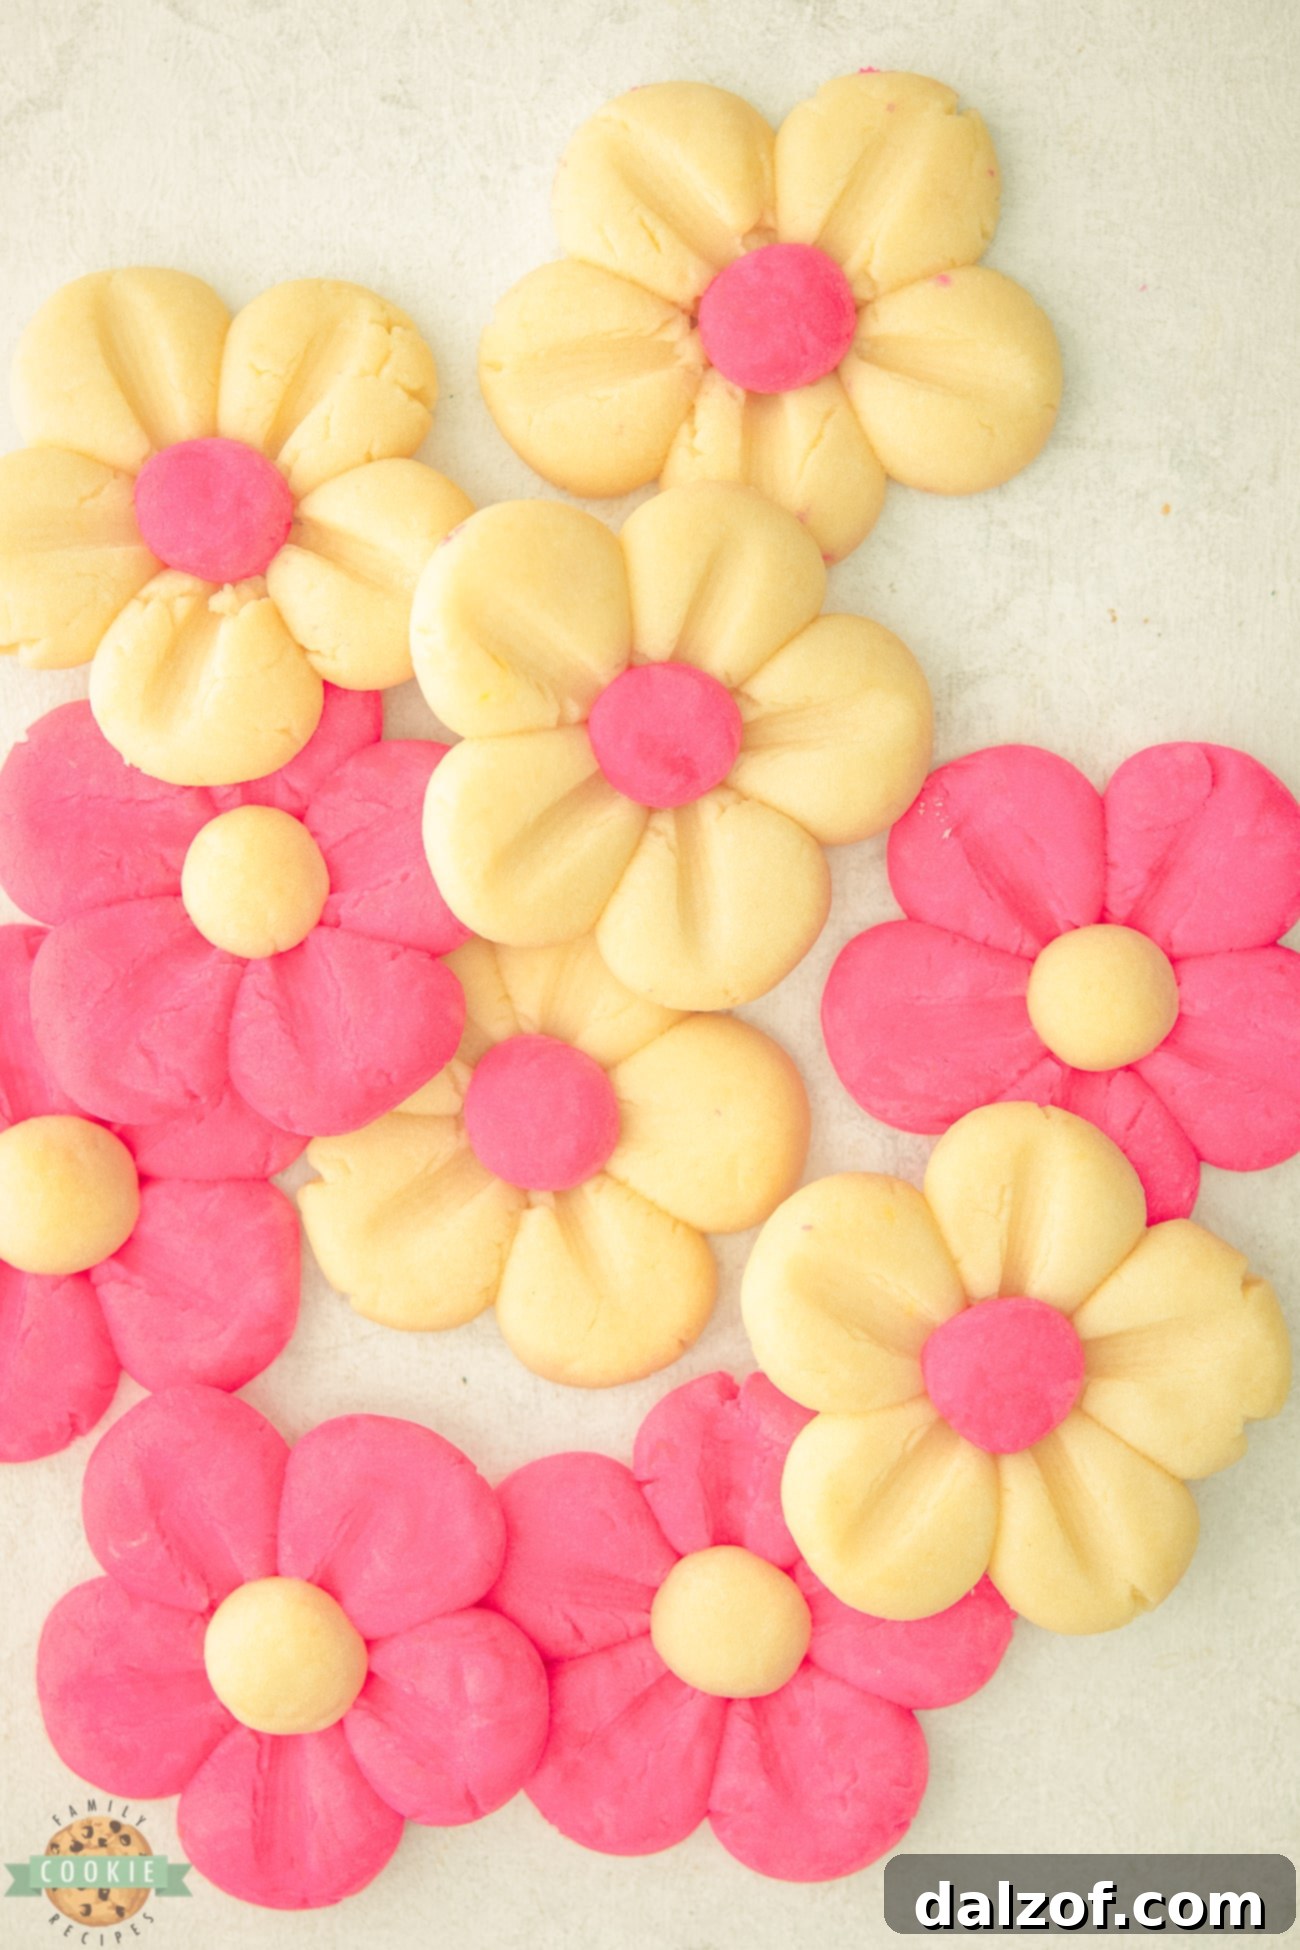
Welcome to the enchanting world of baking, where simple ingredients transform into edible works of art. Today, we’re diving into the delightful creation of Pink Daisy Cookies – exquisite butter cookies that are as charming to look at as they are delicious to eat. These unique flower cookies are crafted from a rich, buttery vanilla dough, expertly shaped to resemble delicate blooming flower petals, making them an ideal treat for any occasion. Imagine a cookie that not only melts in your mouth with every bite but also brings a splash of joyful color and intricate beauty to your dessert table. That’s precisely what these charming vanilla cookies offer.
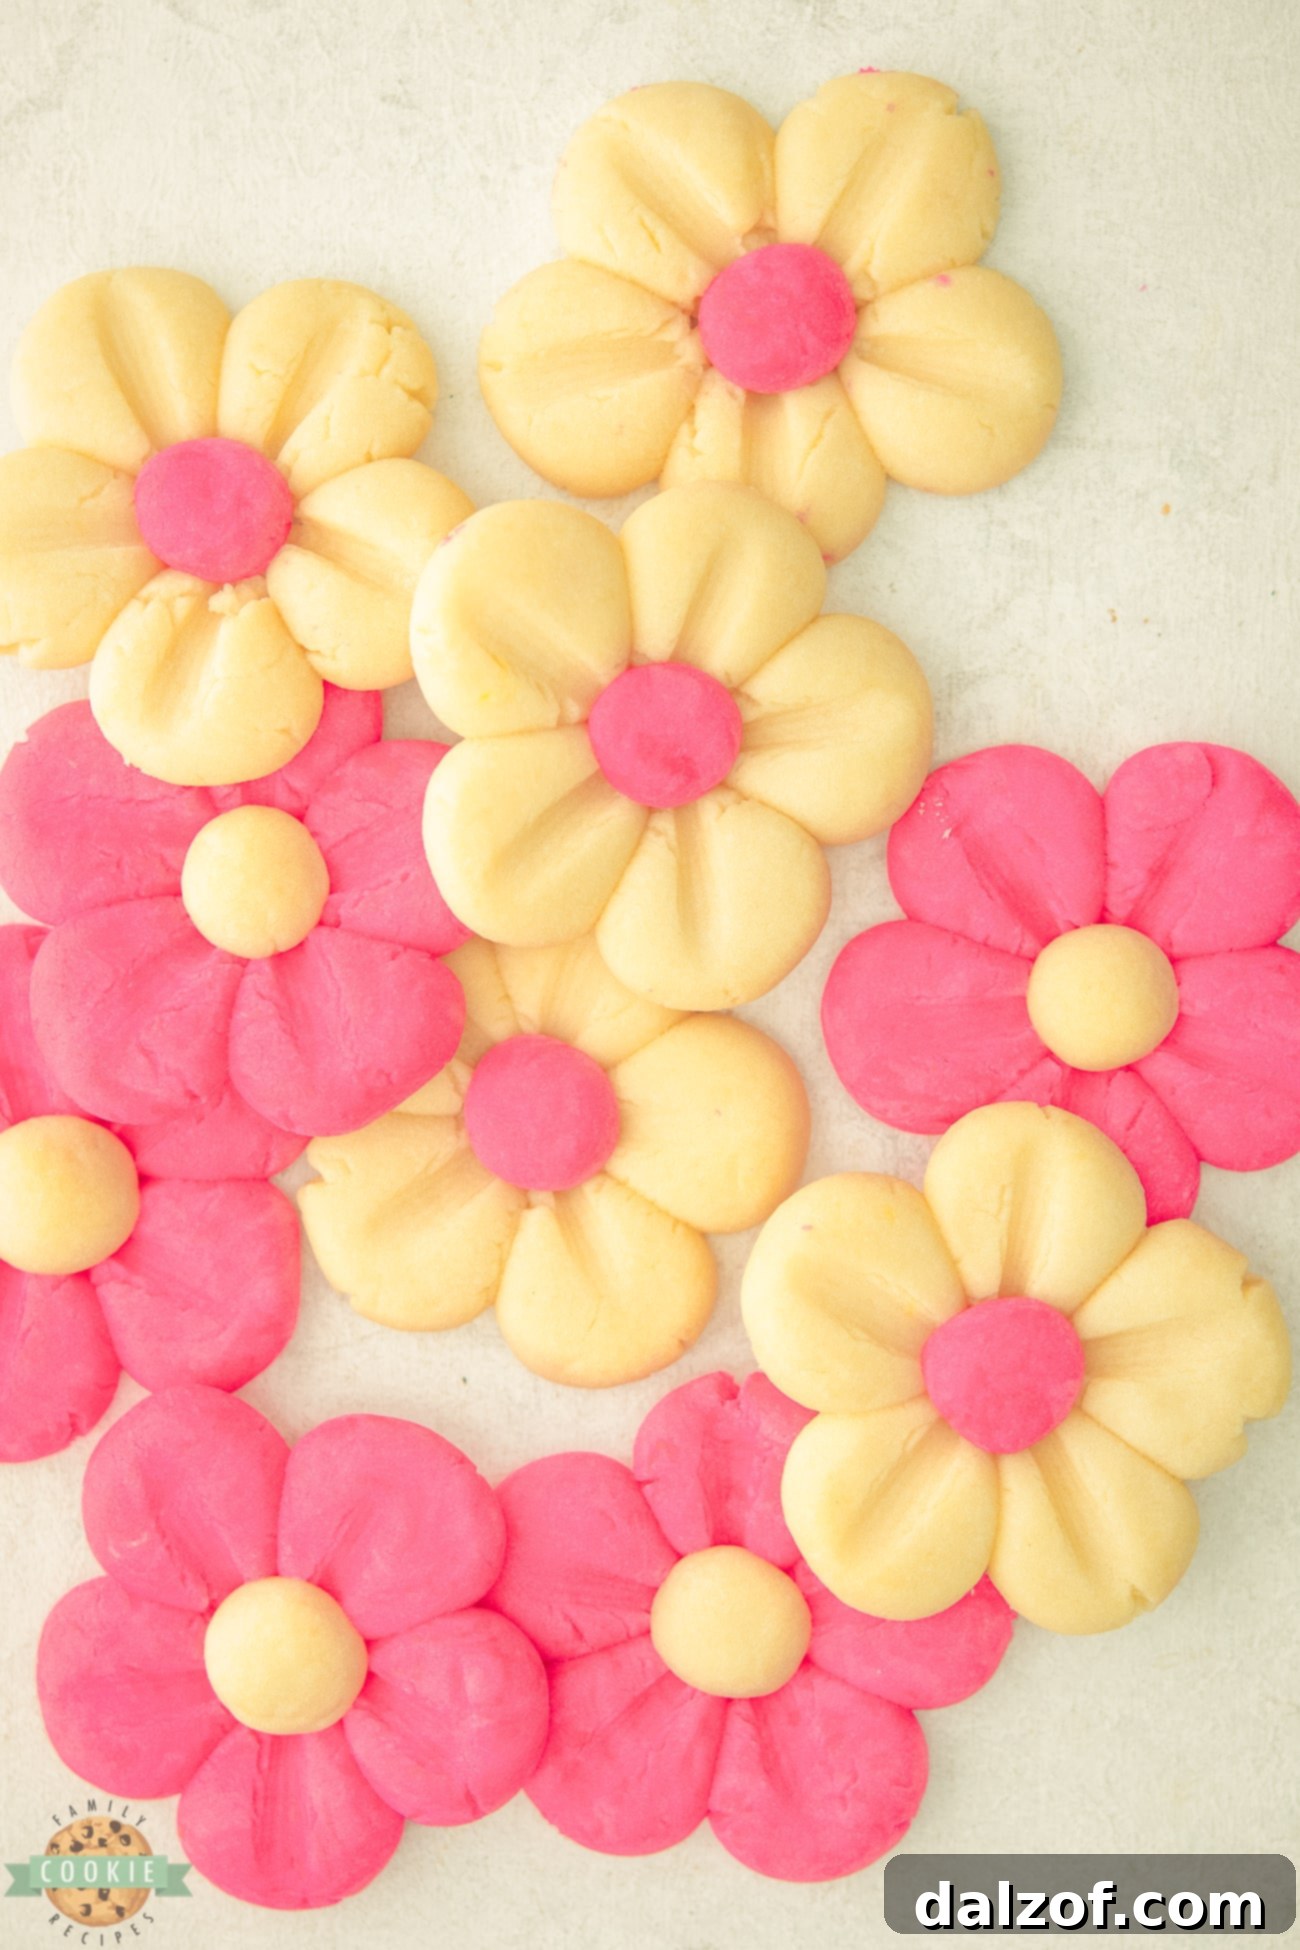
Each homemade flower cookie is a testament to the joy of baking. The process involves carefully arranging small, perfectly portioned dough balls in a circular pattern to form the intricate petal shapes, creating a visually stunning effect. Whether you’re planning a whimsical tea party, celebrating a birthday or anniversary, or simply seeking a comforting baking project for self-care, these blooming pink daisy sugar cookies are the perfect companions. Their irresistible flavor and charming appearance make them suitable for gifting, party favors, or a sweet indulgence to brighten your day. Get ready to impress your guests and delight your taste buds with these extraordinary floral delights.
Unveiling the Magic of Pink Daisy Sugar Cookies
Step into a realm of pure baking enchantment with our Pink Daisy Cookies. These captivating treats are more than just cookies; they are a celebration of springtime, sweetness, and culinary artistry, designed to bring a burst of joy with every bite. Picture soft, delicate petals, swirling hues of pink, and the comforting, sweet aroma of freshly baked vanilla. These whimsical creations are destined to make your taste buds dance and your eyes sparkle with delight. From their tender texture to their vibrant presentation, these colorful flower sugar cookies are truly a feast for the senses.
The secret to their exceptional flavor lies in the meticulously crafted buttery dough, generously infused with the pure essence of vanilla. This heavenly combination creates a flavor profile that is both rich and comforting, dissolving beautifully on your tongue. We achieve the perfect balance of sweetness using high-quality powdered sugar and a subtle hint of condensed milk. This thoughtful blend results in a divine, tender texture and a moist crumb that will leave you yearning for more. These aren’t just any vanilla butter cookies; they are a culinary experience designed to captivate and charm.
Why These Pink Daisy Cookies Will Be Your New Favorite
What sets our Pink Daisy Cookies apart from other recipes? It’s a combination of their unique aesthetic appeal, their melt-in-your-mouth texture, and their versatile charm. These cookies aren’t merely baked goods; they are edible decorations that elevate any event. Here’s why they’re destined to become a staple in your baking repertoire:
- Irresistible Texture: The combination of butter, powdered sugar, and cornstarch creates an incredibly soft and tender cookie that truly melts in your mouth, unlike a standard crisp sugar cookie.
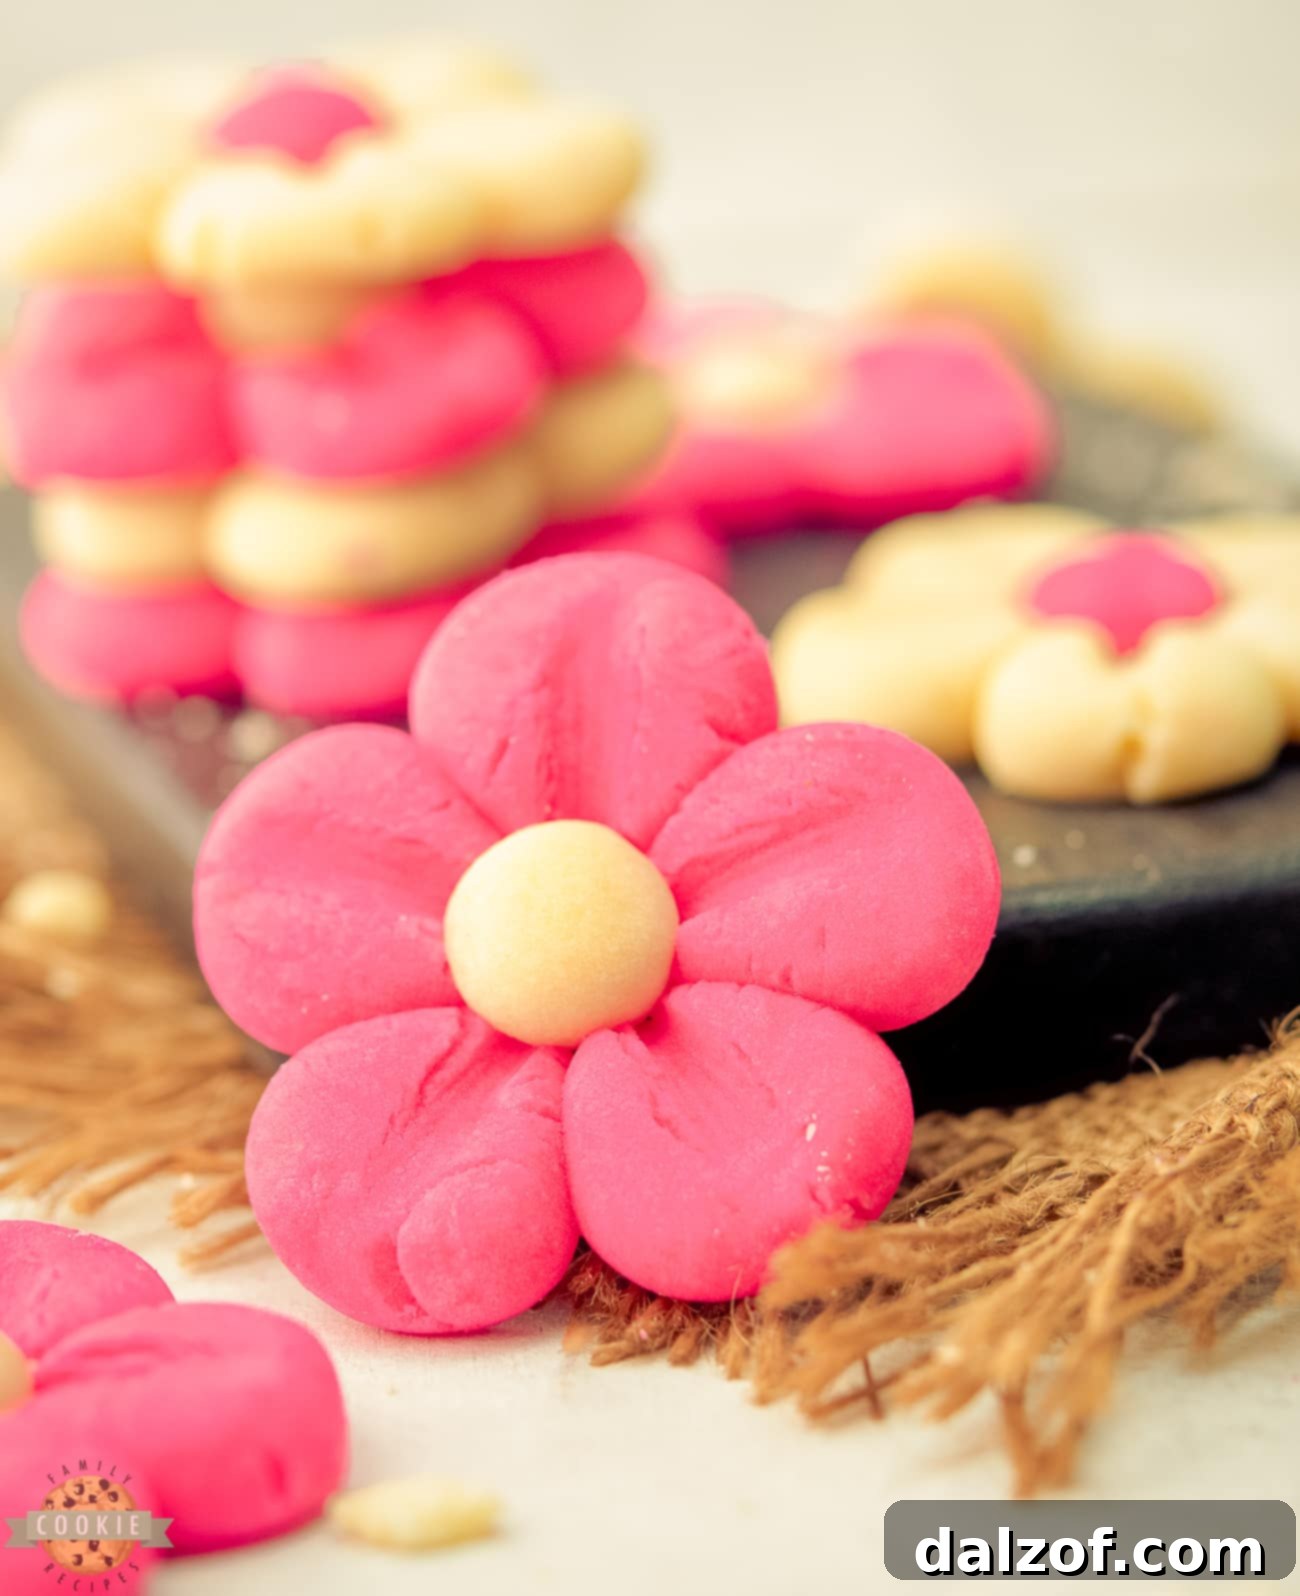
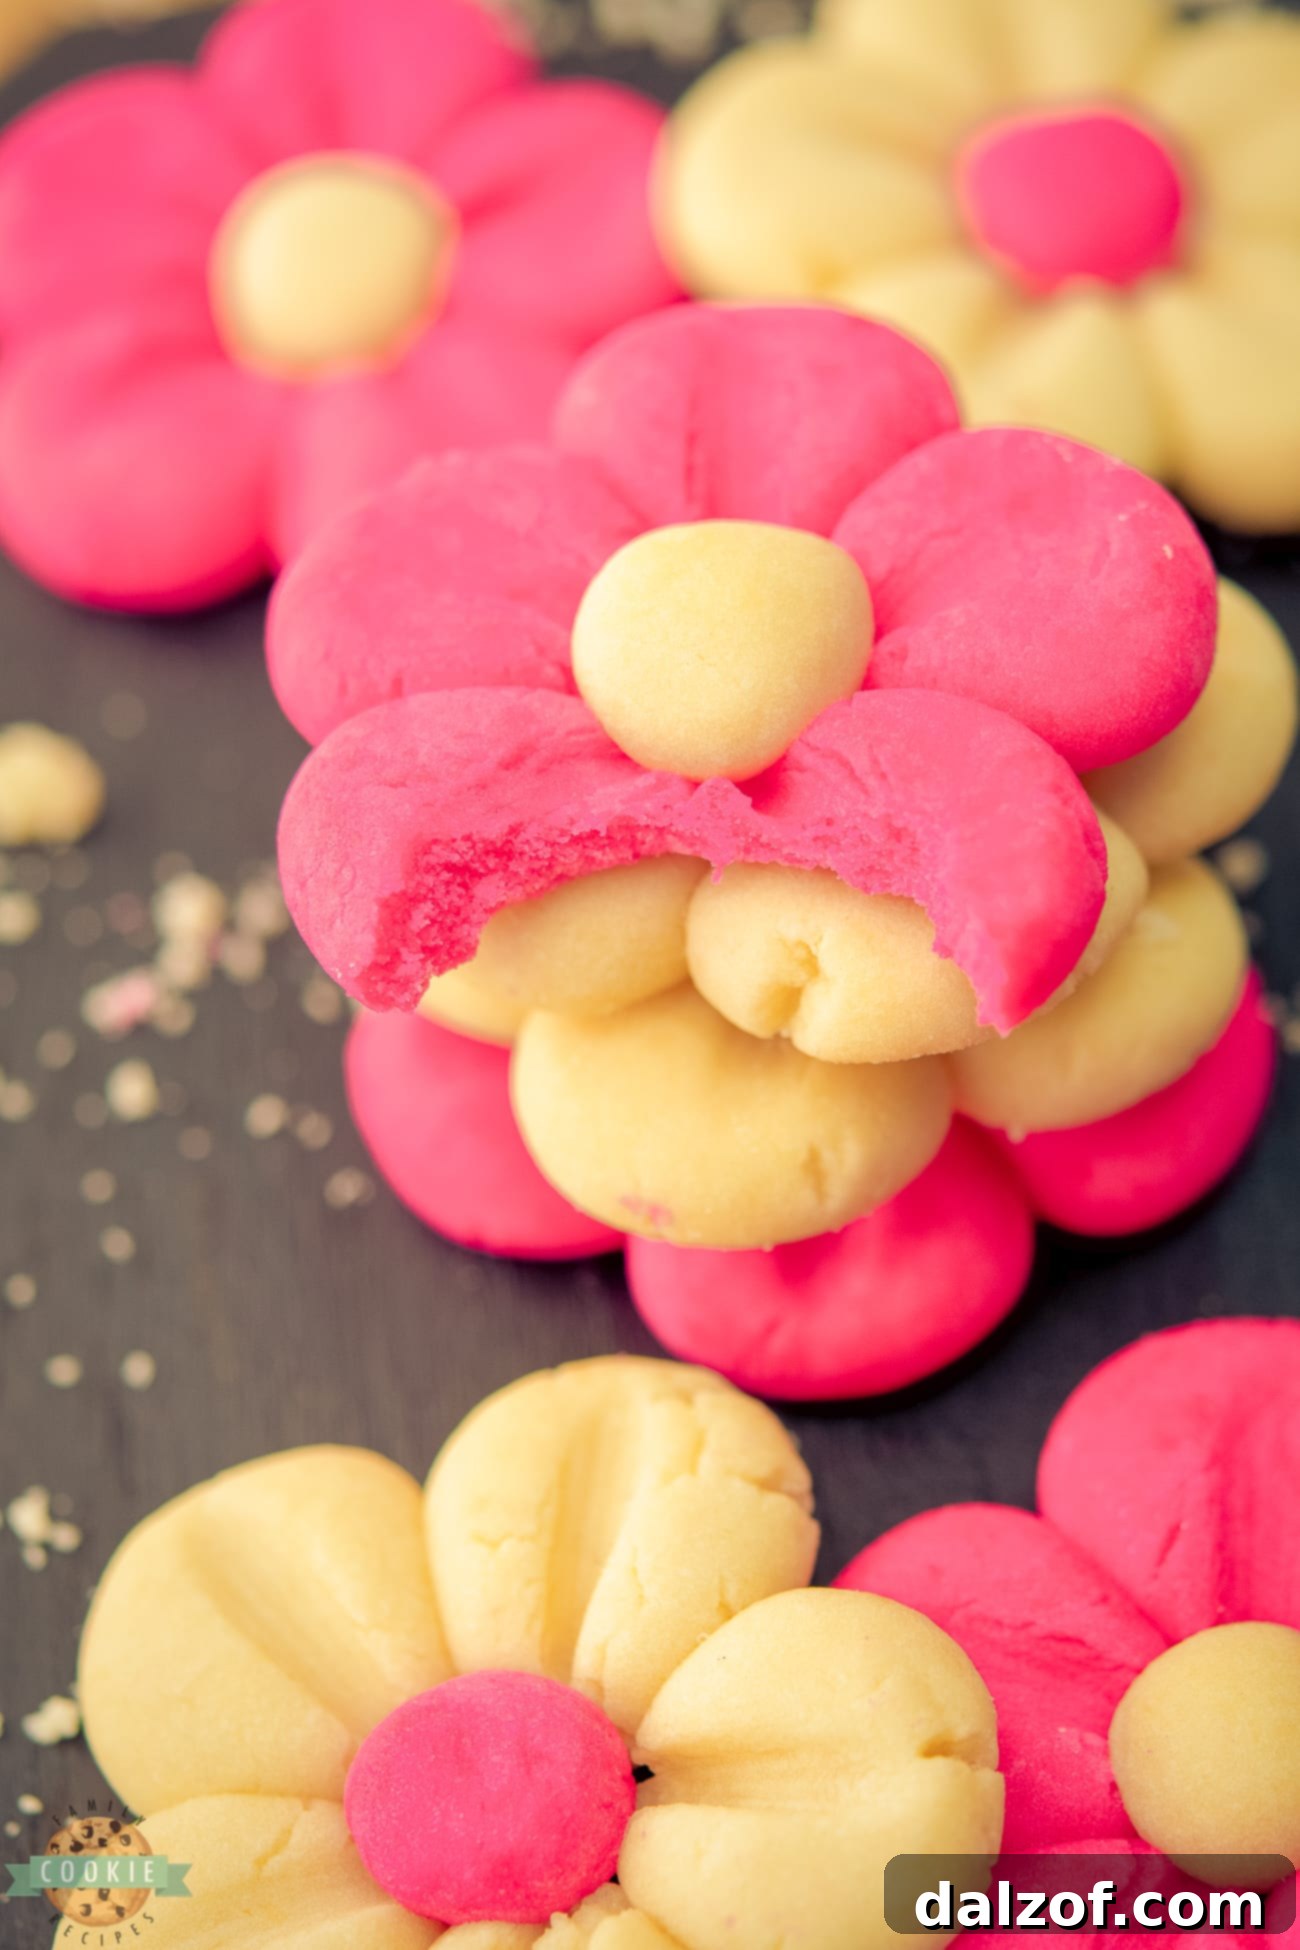
- Elegant Appearance: The careful arrangement of dough balls into petals, coupled with a contrasting center and delicate impressions, transforms these into stunning, bakery-quality treats.
- Versatile for Any Occasion: Perfect for birthdays, baby showers, bridal brunches, garden parties, or even as thoughtful homemade gifts. Their floral design fits perfectly with celebrations of all kinds.
- Simple Yet Impressive: While they look elaborate, the shaping technique is surprisingly straightforward, making them accessible for bakers of all skill levels.
- Flavorful Foundation: A rich vanilla butter base, enhanced by condensed milk, ensures every cookie is packed with delicious, comforting flavor.
These cookies offer an opportunity to infuse creativity and love into your baking, resulting in a treat that’s both deeply satisfying and visually enchanting.
Expert Tips & Tricks for Crafting Delightful Flower Cookies
Achieving a batch of consistently beautiful and delicious flower cookies is entirely possible by adhering to a few fundamental baking principles. These tips are designed to guide you through the process, ensuring perfect results every time.
- Avoid Overmixing the Dough: When incorporating the cornstarch and flour into your wet ingredients, it’s crucial to mix them just until they are combined. Overmixing gluten-containing flour develops the gluten too much, which can lead to tough, chewy cookies instead of the desired tender, melt-in-your-mouth texture that makes these butter cookies so special. Stop mixing as soon as no dry streaks of flour remain.
- Utilize High-Quality Gel Food Coloring: For the most vibrant and consistent color results, opt for gel food coloring over liquid varieties. Gel colors are more concentrated, requiring fewer drops to achieve intense hues without significantly altering the dough’s consistency. Start with a couple of drops and gradually add more, mixing thoroughly after each addition until you reach your desired pink intensity.
- Ensure Uniform Dough Ball Sizes: Precision is key when forming the small dough balls that will become your flower petals. Strive to make each ball as equal in size as possible. This uniformity is vital for even baking, preventing some cookies from burning while others remain undercooked. It also ensures a consistent and symmetrical shape for your finished pink daisy cookies.
- Always Use Parchment Paper: Lining your baking sheets with parchment paper is non-negotiable for this recipe. It prevents the delicate cookie dough from sticking to the tray, making transfer much easier. More importantly, it helps maintain the intricate petal shapes during baking and ensures a more even heat distribution for perfectly baked cookies.
- Employ the Right Tools for Impressions: To create those beautifully defined impressions on your flower petals, a simple wooden skewer or the back of a small spoon works wonders. Gently press down into the flattened dough balls to create the petal lines. Be mindful not to press too hard, as excessive pressure can flatten the cookies too much, affecting their delicate texture and appearance.
- Strategic Dough Chilling is Essential: Refrigerating the dough at two distinct stages—first after coloring and then again after forming the cookies—is paramount for success. Chilling solidifies the butter within the dough, which significantly helps in maintaining the cookie’s shape and preventing excessive spreading during baking. This step ensures your flower cookies hold their beautiful daisy form.
- Monitor Bake Time Closely: Oven temperatures can vary, so the suggested bake time of 12-15 minutes is a guideline. Keep a vigilant eye on your cookies; they should be baked just until their edges begin to turn a very light golden and the centers are set. Overbaking can lead to dry, crumbly, or cracked cookies, while underbaking can result in soft, underdeveloped ones that fall apart.
Essential Ingredients for Perfect Daisy Sugar Cookies
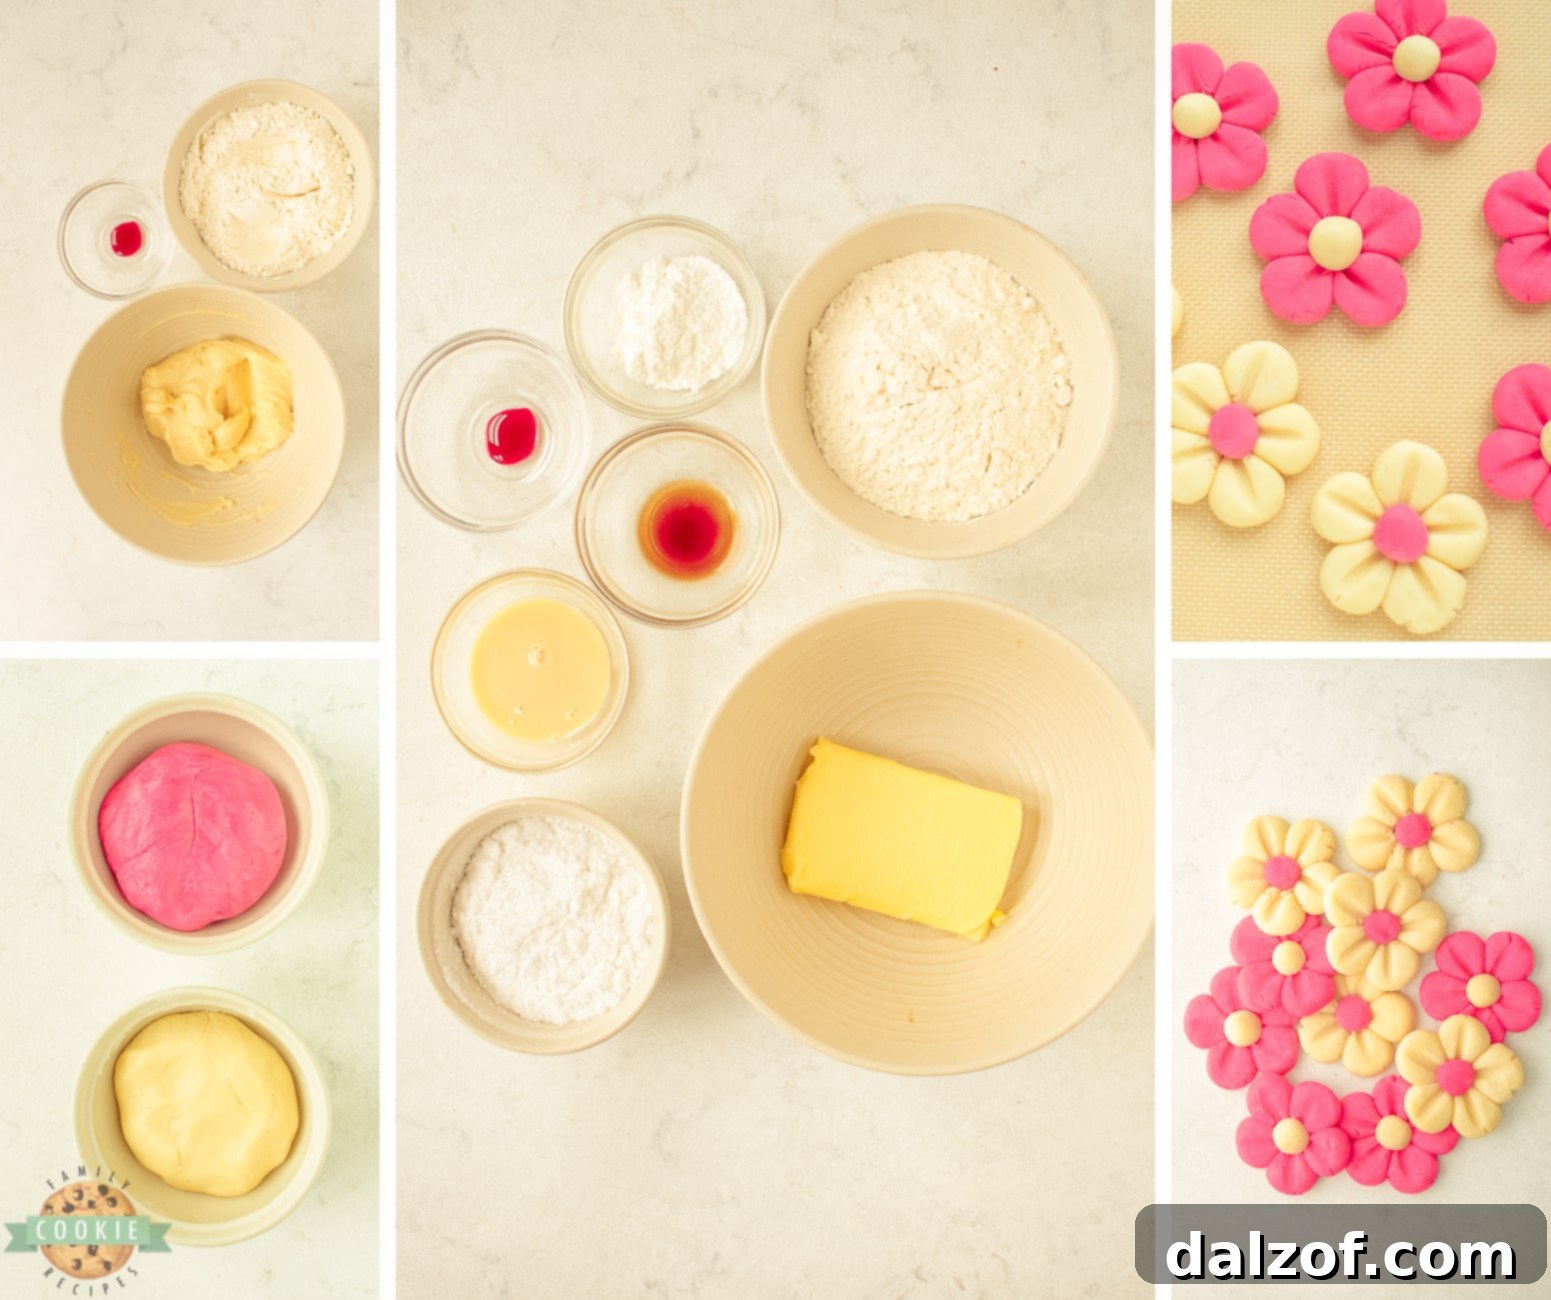
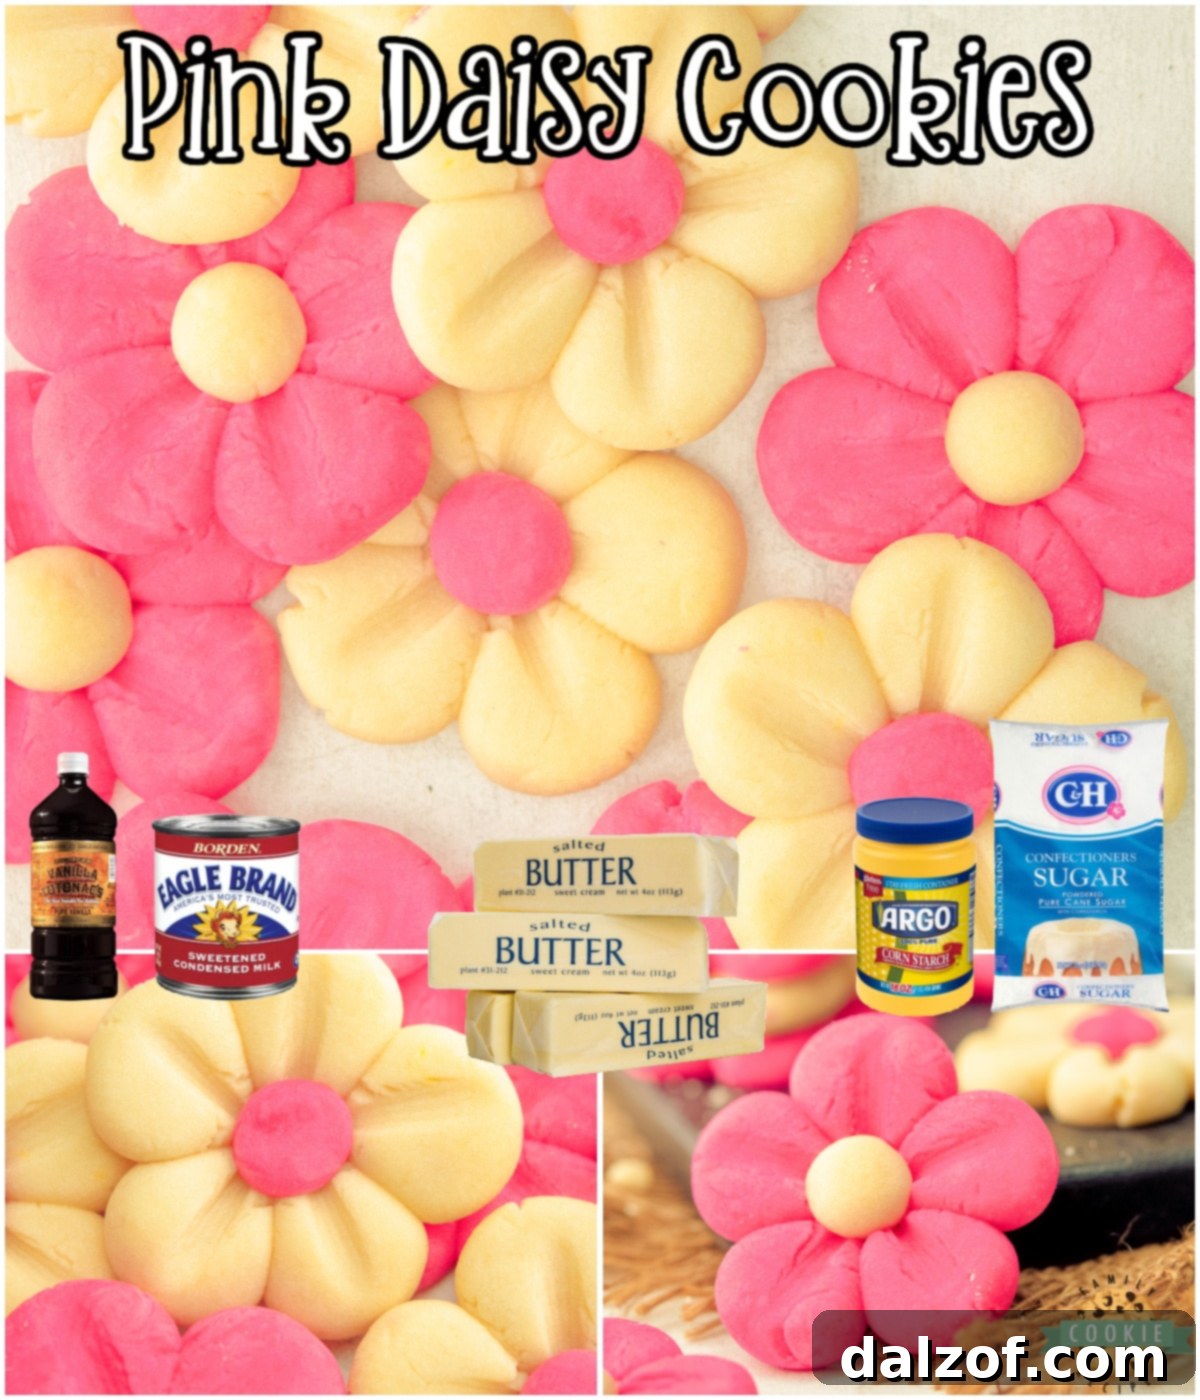
Creating these delightful pink daisy cookies starts with a selection of high-quality ingredients, each playing a crucial role in achieving the perfect flavor and texture. Here’s a breakdown of what you’ll need:
- Butter: You will need 6 ½ tablespoons (approximately 90 grams) of unsalted butter, softened to room temperature. Butter is the star of these butter cookies, providing a rich, creamy flavor and contributing significantly to their tender, melt-in-your-mouth texture.
- Powdered Sugar: ½ cup (about 60 grams) of powdered sugar is used to sweeten these cookies. Unlike granulated sugar, powdered sugar dissolves more readily, contributing to the incredibly soft and delicate crumb without any grainy texture.
- Vanilla Extract: 1 teaspoon of pure vanilla extract is essential for flavoring the cookie dough. Its warm, aromatic notes complement the buttery base beautifully, giving these vanilla cookies their signature comforting taste.
- Condensed Milk: 2 tablespoons of condensed milk add a subtle depth of sweetness and an extra layer of richness to the dough. It also helps achieve a wonderfully moist and slightly chewy texture, making the cookies even more irresistible.
- All-Purpose Flour: The structural base of this cookie dough is 1 ¼ cups (about 150 grams) of all-purpose flour. It provides the necessary framework for the cookies, ensuring they hold their shape while remaining delicate.
- Cornstarch: 1 tablespoon of cornstarch is a secret ingredient for achieving an exceptionally tender and delicate texture in these daisy cookies. It works by inhibiting gluten development, resulting in a softer bite.
- Pink Gel Food Coloring: To give these flower cookies their vibrant and stunning appearance, 2-3 drops of pink gel food coloring are added. Gel colors provide intense hues without watering down the dough, ensuring a beautiful, consistent pink.
How to Make Enchanting Pink Daisy Cookies: A Step-by-Step Guide
Follow these detailed instructions to create your own batch of beautiful and delicious pink daisy cookies. Precision and patience will lead to perfect results!
Preparation Phase
Begin by preparing your baking environment. Line two standard baking trays with sheets of parchment paper. This step is crucial for preventing the cookies from sticking and ensuring they bake evenly. Set these lined trays aside, ready for when your beautiful flower shapes are formed.
Crafting the Buttery Cookie Dough
In the bowl of a stand mixer fitted with the paddle attachment (a hand mixer can also be used, though a stand mixer offers more ease), combine the softened butter, powdered sugar, and vanilla extract. Beat these ingredients together at a medium-high speed. Continue mixing until the butter mixture becomes light, fluffy, and creamy, which typically takes about 2-3 minutes. This aeration process is key for a tender cookie texture.
Next, pour in the condensed milk and beat again until it is fully incorporated into the butter mixture, ensuring a smooth and homogenous consistency. After that, add the cornstarch to the bowl. Mix gently on low speed, just until the cornstarch is well incorporated. Be careful not to overmix at this stage.
Now, gradually add the all-purpose flour in small batches, mixing on low speed until the mixture starts to come together to form a smooth dough. You might find it necessary to finish kneading the dough briefly by hand on a lightly floured surface to achieve a perfectly smooth and pliable consistency. The dough should be soft but not sticky.
Proceed to divide the prepared dough into two equal portions. To one half of the dough, add a few drops of pink gel food coloring. Knead this portion thoroughly until the pink color is evenly distributed throughout the dough, creating a vibrant hue for your daisy petals.
The Essential Chilling Stage
Once your dough is ready and colored, wrap each large piece of dough tightly in plastic wrap. Place both portions of the wrapped dough into the refrigerator for a minimum of 30 minutes. This chilling period is vital as it allows the butter in the dough to firm up, which will prevent the cookies from spreading too much during baking and helps them maintain their delicate flower shape.
Shaping Your Beautiful Daisy Cookies
Remove the chilled dough from the refrigerator. Take small portions of the dough and roll them into uniform balls, each weighing approximately 4 grams (this is roughly equivalent to 1 teaspoon). Consistency in size is important for even baking and a beautiful final appearance.
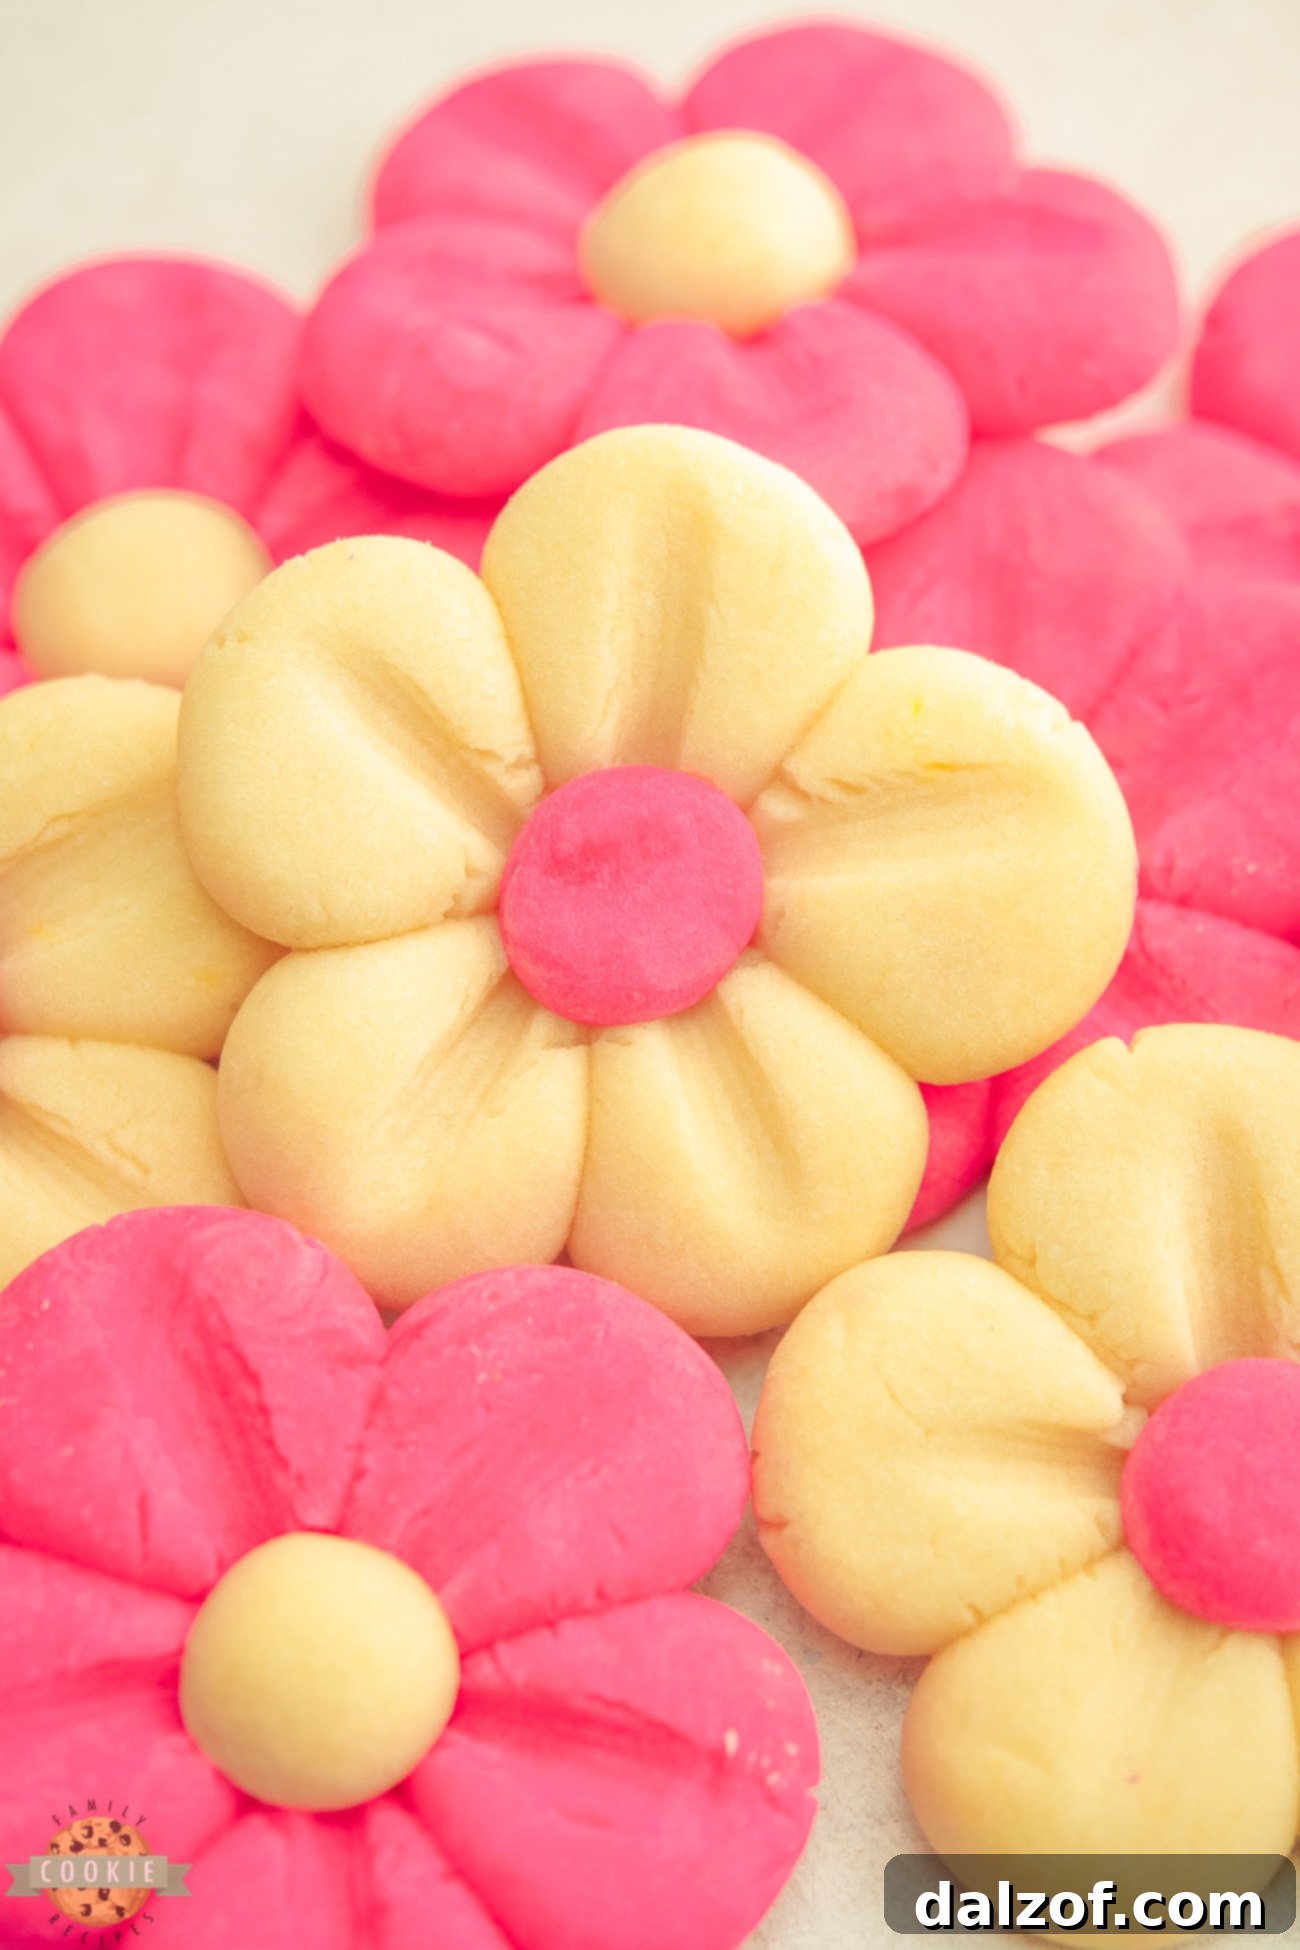
To form the flower petals, arrange five small pink dough balls in a circle on your parchment-lined baking sheet. Then, place another sheet of parchment paper lightly on top of the dough circle. Gently press down on the dough balls with the bottom of a flat glass or a spatula to slightly flatten them and meld them together, forming the distinct petal shape of a daisy. Once flattened, use a wooden skewer or the back of a small spoon to carefully make delicate impressions on each petal, adding to the realistic flower design.
For an eye-catching center, roll a small ball of the uncolored dough and place it precisely in the middle of each formed pink flower. Arrange these completed flower forms onto your prepared baking sheets, ensuring adequate space between each cookie for slight expansion.
After shaping all the cookies, refrigerate the formed cookies once more for at least 30 minutes. This second chill is critical for maintaining their intricate shape during the baking process, ensuring they emerge from the oven looking like perfect daisies.
Baking to Golden Perfection
Approximately 20 minutes before you plan to bake, preheat your oven to 325°F (160°C). This gives the oven sufficient time to reach and stabilize at the correct temperature.
Once the oven is preheated, remove the chilled cookies from the fridge and carefully place the baking sheets into the oven. Bake for 12-15 minutes, or until the edges of the cookies just begin to turn a very light, delicate golden color. The centers should appear set. Be careful not to overbake, as this can make the cookies dry and lose their tender texture.
Once baked, allow the pink daisy cookies to cool on the baking tray for about 5 minutes. They are quite delicate when hot. After this initial cooling period, carefully transfer them to a wire rack to cool completely. This prevents them from becoming soggy on the bottom and allows them to firm up properly. Serve and enjoy these exquisite floral treats!
Pink Daisy Cookies
Ingredients
- 6 ½ TBSP Unsalted Butter room temperature (90 grams)
- ½ cup Powdered Sugar (60 grams)
- 1 tsp Vanilla Extract
- 2 TBSP Condensed Milk
- 1 ¼ cup All-Purpose Flour (150 grams)
- 1 TBSP Cornstarch
- 2-3 drops Pink Gel Food Coloring
Instructions
-
Prepare Baking Trays: Line two baking trays with parchment paper and set them aside.
-
Cream Wet Ingredients: In a stand mixer bowl (or using a hand mixer), combine softened butter, powdered sugar, and vanilla extract. Beat at medium-high speed until the mixture is light, creamy, and well-combined.
-
Add Condensed Milk & Cornstarch: Stir in the condensed milk and beat again until fully incorporated. Then, gently mix in the cornstarch until just combined.
-
Incorporate Flour: Gradually add the all-purpose flour in batches, mixing until a smooth dough forms. You might need to gently knead it by hand to ensure a consistent, smooth texture.
-
Color the Dough: Divide the dough into two equal parts. Add a few drops of pink gel food coloring to one half and mix thoroughly until the color is evenly distributed.
-
First Chill: Wrap each dough portion in plastic wrap and refrigerate for at least 30 minutes to chill.
-
Form Dough Balls: Remove the chilled dough from the fridge. Roll small balls, each weighing approximately 4 grams (about 1 teaspoon).
-
Shape Petals: Arrange 5 small pink dough balls in a circle on a parchment-lined baking sheet to form a flower. Place another piece of parchment paper on top and gently press the balls with a glass or spatula to flatten them slightly. Use a wooden skewer to make petal impressions.
-
Add Flower Center: Take a small ball of the uncolored dough and place it in the center of each flower for a contrasting, eye-catching look.
-
Second Chill: Refrigerate the formed cookies again for at least 30 minutes.
-
Bake: Preheat oven to 325°F (160°C). Remove cookies from the fridge and bake for 12-15 minutes, or until edges are slightly golden.
-
Cool & Serve: Let cookies cool on the baking tray for 5 minutes before transferring them to a wire rack to cool completely. Serve and enjoy your beautiful pink daisy cookies!
Notes
For longer storage, you can easily freeze these cookies. Place them in an airtight container or a heavy-duty freezer bag, separating layers with parchment paper to prevent sticking. They will keep well in the freezer for up to 3 months. To serve, simply thaw them at room temperature for a few hours.
Nutrition Information (per cookie)
Optimal Storage for Your Blooming Sugar Cookies
Ensuring your delightful blooming flower cookies remain fresh and delicious for as long as possible is simple with the right storage techniques. Here are some comprehensive tips to extend the life of your homemade treats:
- Room Temperature Storage: If you intend to enjoy your cookies within a few days of baking, storing them at room temperature is perfectly acceptable. The key is to place them in an airtight container immediately after they have completely cooled. This prevents them from being exposed to air, which can quickly make them stale, dry out their delicate texture, or cause them to absorb unwanted odors. A cookie jar with a tight-fitting lid or a sealed plastic container works best.
- Freezer for Extended Freshness: For long-term storage, freezing is your best friend. Properly frozen, these butter cookies can maintain their quality for up to 3 months. To freeze them effectively, first ensure the cookies are completely cool. Then, arrange them in a single layer on a baking sheet and freeze until solid. Once firm, transfer the frozen cookies to an airtight container or a heavy-duty freezer bag, layering them with parchment paper to prevent sticking and freezer burn. When you’re ready to indulge, simply remove the desired number of cookies and let them thaw at room temperature for a few hours.
- Guard Against Moisture: Moisture is the primary enemy of crispy and tender cookies. Always store your cookies in a dry environment, away from any potential sources of humidity or condensation. This means keeping them away from fruits or vegetables, which naturally release moisture, and avoiding humid areas of your kitchen. Excess moisture can turn your perfectly tender cookies into soft, soggy disappointments.
Baking FAQs: Common Questions for Perfect Cookies
Here are answers to some frequently asked questions about baking, particularly concerning butter and cookie dough chilling, crucial elements for achieving outstanding homemade cookies.
What is the Best Way to Soften Butter?
Softened butter is critical for many cookie recipes, as it creams properly with sugar to create air pockets, leading to a light and fluffy texture. Here are a few reliable methods:
- The Microwave Method: A quick and easy way to soften butter is to warm a tall drinking glass in the microwave for 45-60 seconds. Once the glass is warm, place the wrapped stick of butter inside, turn the glass over onto your counter, and leave it for a few minutes. The trapped warmth will gently soften the butter without melting it. This method requires careful monitoring to prevent melting.
- The Natural Method: The simplest and most recommended method is to plan ahead. Pull the butter out of the refrigerator approximately 1 hour (or up to 2 hours in a cooler kitchen) before you intend to start baking. Allowing it to come to room temperature naturally ensures it softens evenly throughout without any risk of melting, which is crucial for the dough’s consistency.
- The Cutting Method: If you’re short on time, cut the cold butter into small cubes (about ½-inch pieces). Spread them out on a plate, and they will come to room temperature much faster, usually within 15-30 minutes.
Remember, softened butter should yield slightly when pressed but not be greasy or shiny, which indicates it’s too warm or melted.
Do I Have to Chill the Cookie Dough?
When a cookie recipe, especially for delicate shapes like our Pink Daisy Cookies, specifies chilling the dough, it’s almost always for very good reasons, impacting both flavor and texture:
- Flavor Development: Chilling allows the flour to fully hydrate, which leads to a more tender and cohesive dough. More importantly, it gives the flavors in the dough—especially the vanilla and butter—time to meld and deepen, resulting in a richer, more nuanced taste profile.
- Preventing Spread: The biggest reason for chilling cookie dough is to solidify the butter or fats within the dough. When cold dough enters a hot oven, the butter melts more slowly, allowing the cookies to set and maintain their shape (like our intricate daisy petals) before spreading too much. Without chilling, especially on warmer days or if your butter was overly softened, your cookies can spread into thin, flat discs, losing their intended shape and delicate texture. This is particularly crucial for cutout cookies or shaped cookies like these flower cookies.
- Improved Texture: Chilling helps create a more uniform crumb and a delightful chewiness or tenderness, depending on the cookie type. It makes the dough easier to handle, roll, and shape without becoming sticky or losing definition.
So, while it adds a bit of waiting time, chilling the cookie dough is a vital step for ensuring your homemade butter cookies turn out perfectly, both in appearance and taste.
Creative Variations & Serving Suggestions for Your Flower Cookies
While our Pink Daisy Cookies are perfect as is, you can easily customize them to suit various themes or personal preferences. Experiment with different gel food colorings to create a bouquet of colorful flower cookies—think vibrant yellow daisies, serene blueforget-me-nots, or even multi-colored petals for a truly unique look. A hint of lemon zest in the dough can add a refreshing twist to the classic vanilla flavor, making them ideal for summer gatherings. For an extra touch of elegance, a light dusting of edible glitter or a delicate drizzle of royal icing can transform these already beautiful cookies into show-stopping masterpieces. Serve them alongside a warm cup of tea, as a charming dessert for a brunch, or packaged beautifully as a heartfelt homemade gift.
Troubleshooting Common Cookie Baking Problems
Even experienced bakers encounter challenges. Here’s a quick guide to common cookie problems and how to avoid them:
- Cookies Spreading Too Much: This is often due to butter being too warm or insufficient chilling. Ensure butter is merely softened, not melted, and always chill the dough for the recommended time (or even longer if your kitchen is warm). Overmixing the dough can also contribute to spreading.
- Tough Cookies: Overmixing the flour is the usual culprit. Mix only until the flour is just combined. Also, ensure your butter isn’t too cold, as this can lead to uneven mixing and subsequently a tougher texture.
- Dry or Crumbly Cookies: This can result from using too much flour or overbaking. Measure your flour accurately (preferably by weight), and keep a close eye on the oven, baking only until the edges are lightly golden.
By understanding these common issues, you’ll be well-equipped to bake perfect butter cookies every time.
Explore More Amazing Spring & Summer Cookie Recipes Here:
If you’ve enjoyed making these delightful Pink Daisy Cookies, you’ll love exploring other seasonal cookie recipes that are perfect for warmer weather and festive occasions. Expand your baking repertoire with these fantastic ideas:
- Watermelon Sugar Cookies
- Under the Sea Cookies
- Easy 4th of July Cookies
- Frosted Strawberry Cookies
- Strawberry Cool Whip Cookies
- Cheesecake Stuffed Funfetti Cookies
- Jello Sugar Cookies
- Frosted Rose Sugar Cookies
- Easter Egg Sugar Cookies
- Frosted Lemon Sugar Cookies
- Lemon Sugar Cookie Bars
- Sour Cream Sugar Cookies
- Soft Sugar Cookies
- Blueberry Sugar Cookies
- Marshmallow Flower Cookies
These recipes offer a fantastic variety of flavors and designs, perfect for any spring or summer gathering. Happy baking!
In conclusion, these delightful Pink Daisy Cookies are remarkably easy to create, starting with a soft and rich vanilla dough that’s artfully shaped into charming flowers. These delicious butter cookies are renowned for their incredible texture that truly melts in your mouth, leaving a lasting impression of sweetness and sophistication. Whether for a special occasion or a simple moment of joy, these flower cookies are a perfect choice.