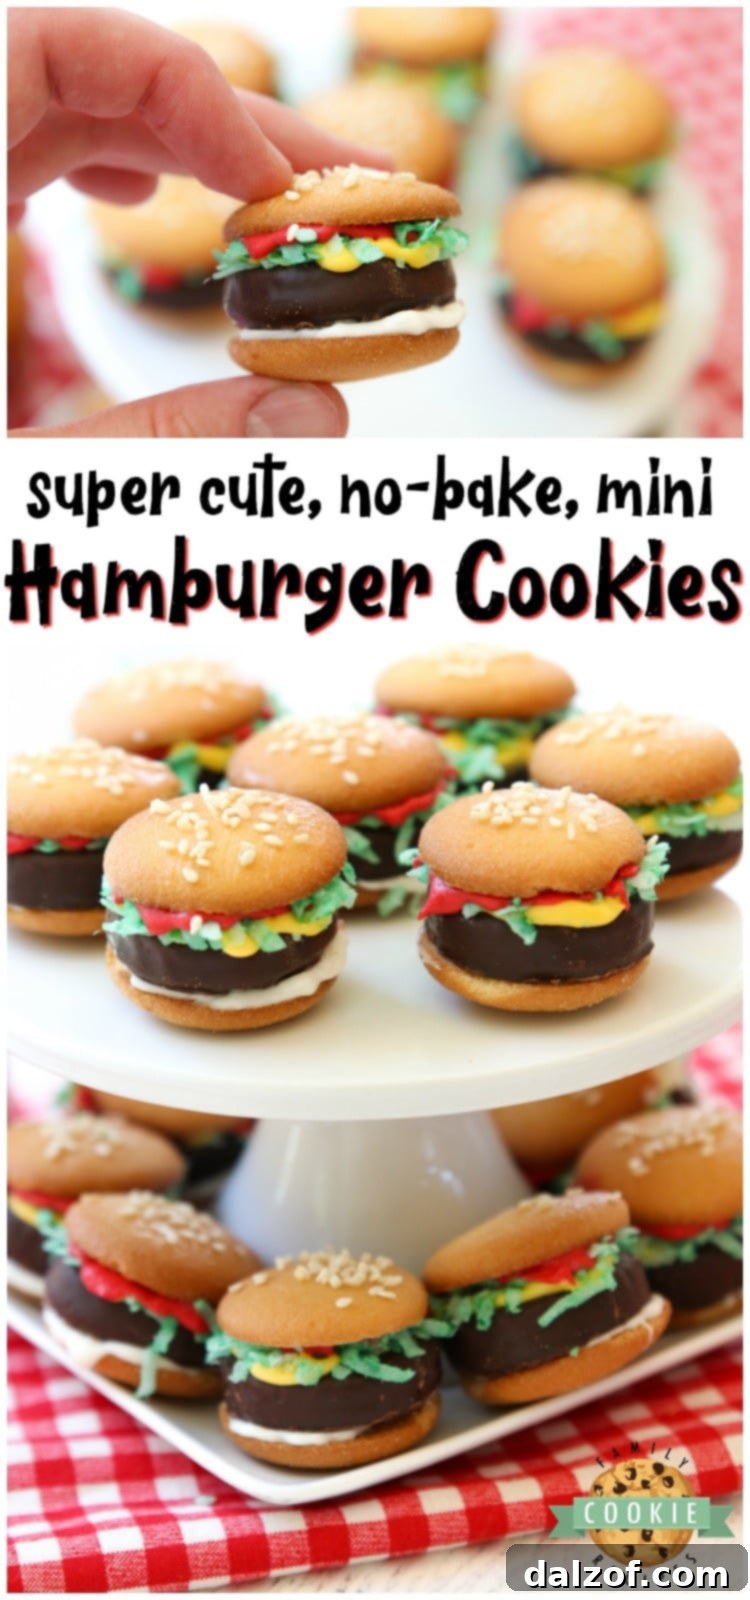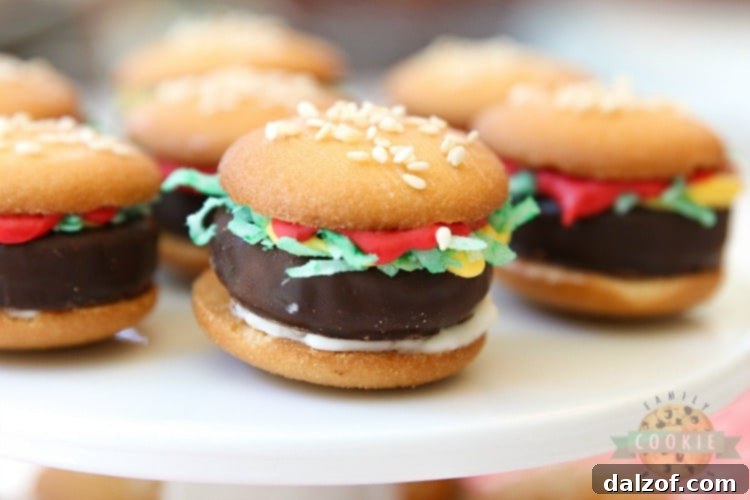
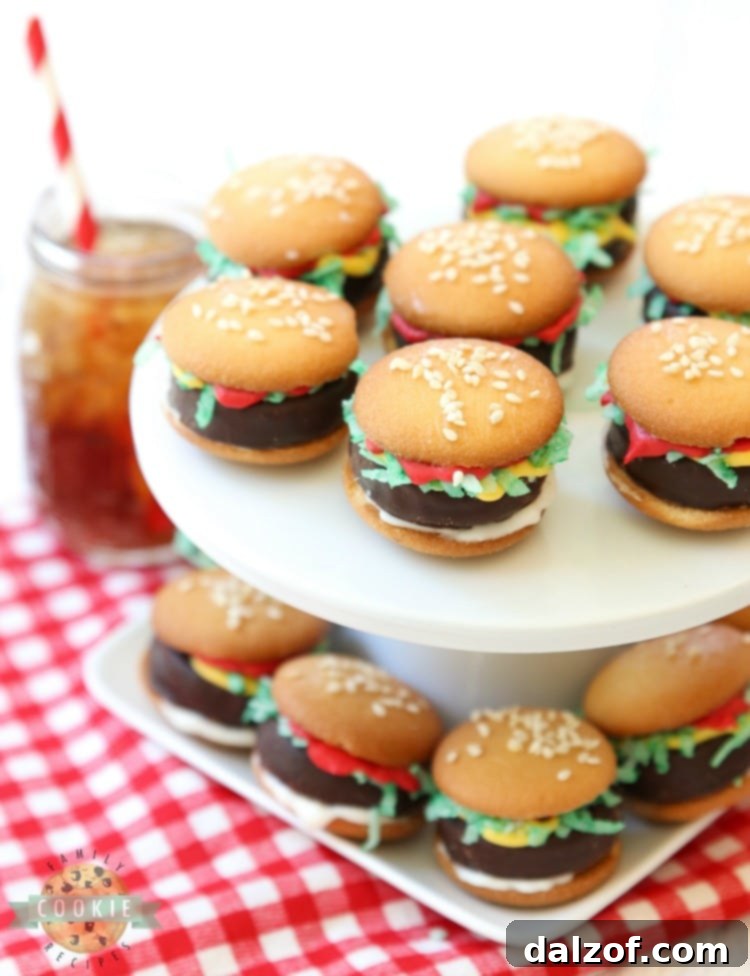
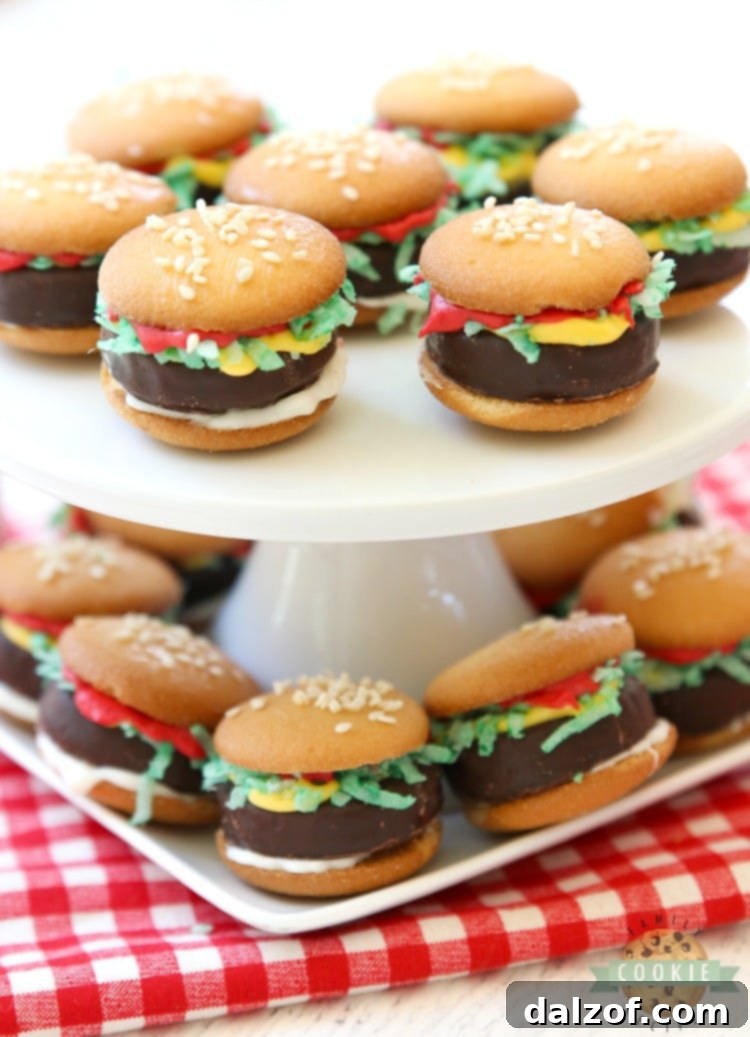
Welcome to the world of adorable and incredibly easy no-bake desserts! Get ready to delight everyone with these charming Mini Hamburger Cookies. Crafted from simple ingredients like classic Nilla Wafers, refreshing Peppermint Patties, luscious melted chocolate, and vibrant coconut, these treats aren’t just delicious – they’re a visual sensation. Imagine bite-sized burgers, meticulously assembled, bringing a smile to every face. This recipe promises a fun, fuss-free experience, perfect for any occasion where you want to impress without the stress of baking. Prepare for an explosion of joy as these mini masterpieces take center stage!
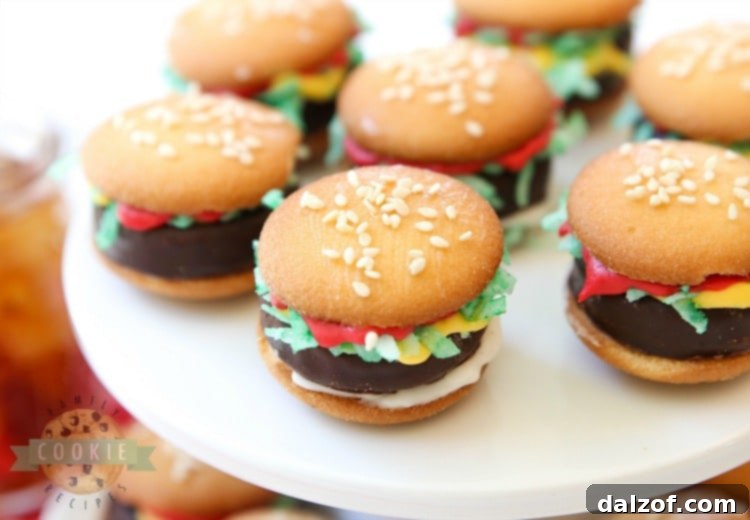
Transform your next backyard barbecue or summer gathering into an unforgettable event with these festive cookie burgers. They offer a playful and delicious twist on traditional desserts, guaranteed to be a huge hit with family and friends of all ages. When the summer heat makes the thought of turning on your oven unbearable, this no-bake cookie recipe becomes your culinary superhero. Enjoy a delightful, homemade treat without adding an ounce of extra warmth to your kitchen. It’s the perfect solution for satisfying sweet cravings while keeping cool and collected.
A Bite-Sized Celebration: Cookies That Look Like Hamburgers!
The inspiration for these absolutely darling Hamburger Cookies came from an unexpected source: an old Betty Crocker cookbook. My daughter, captivated by their whimsical appearance, insisted we bring them to life. The process was not only super easy but required no baking whatsoever, making them the ultimate summer treat. We had so much fun creating plates of these adorable cookies and sharing them with our neighbors. The pure delight and smiling faces we encountered made every moment worthwhile. These charming cookies are truly perfect for any summer BBQ, especially if you’re grilling up actual hamburgers for dinner. They add a touch of novelty and fun that complements the theme beautifully, making your spread even more memorable.
Why These No-Bake Mini Hamburger Cookies Are a Must-Try
If you’re still on the fence about trying this fantastic recipe, let us give you a few more compelling reasons to jump right in and experience the magic of these no-bake mini hamburger cookies:
- Unbelievably Fun and Creative: Seriously, just look at them! They are an absolute showstopper, meticulously designed to resemble miniature burgers. This visual appeal alone makes them a fantastic conversation starter and a hit at any party. They spark joy and curiosity, making dessert time an interactive and memorable experience.
- Effortlessly No-Bake: Forget about preheating ovens, hot kitchens, and endless waiting. This recipe requires absolutely no baking, making it ideal for scorching summer days, busy schedules, or when you just want a quick, impressive treat.
- Lightning-Fast Assembly: You’ll be amazed at how quickly these come together. I could easily whip up a batch of several cookies in about 10 minutes on my own. When the kids joined in, the assembly line moved even faster, turning it into a fun, collaborative kitchen project. This speedy preparation means you can have a fresh batch ready in no time, even for last-minute gatherings.
- Kid-Friendly Project: These cookies are not just for eating; they’re for making! Their simple, hands-on assembly makes them a perfect activity for children of all ages. Kids love being involved in the kitchen, and the creative process of building these mini burgers is incredibly engaging, fostering their culinary interest and fine motor skills.
- Perfect for Parties & Celebrations: From Fourth of July gatherings and Memorial Day picnics to birthday parties and casual backyard BBQs, these hamburger cookies fit right into any festive occasion. Their novelty factor makes them stand out on any dessert table, inviting guests to marvel at their cuteness before indulging in their sweet flavors.
- Deliciously Irresistible Flavor Profile: Beyond their adorable appearance, these cookies offer a delightful combination of flavors and textures. The crisp Nilla Wafers, the cool burst of peppermint, the smooth melted chocolate, and the hint of coconut create a harmonious treat that appeals to a wide range of palates.
- Customizable Fun: While the recipe provides a classic “burger” look, you can easily get creative with your “condiments” and “toppings.” Experiment with different colored candy melts for cheese or pickles, or various sprinkles for sesame seeds to personalize each batch.
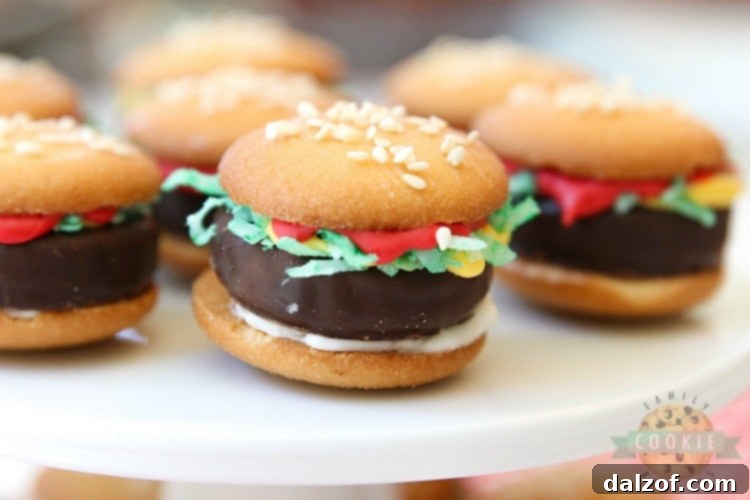
Gather Your Ingredients for Adorable Mini Hamburger Cookies
Creating these delightful mini hamburger cookies requires a few key ingredients, each playing a crucial role in mimicking the look and taste of a real burger. Here’s what you’ll need for approximately 20 assembled cookies:
- Nilla Wafers: You will need 40 Nilla Wafer cookies. These classic vanilla wafers serve as the perfect “buns” for our miniature burgers, providing a light, crisp base for assembly.
- York Peppermint Patty: For the “meat” patty, gather 20 mini York Peppermint Patty candies. Their dark chocolate coating and refreshing peppermint interior create a wonderful contrast and a unique flavor twist.
- Sweetened Shredded Coconut: To mimic the “lettuce” on your burger, you’ll need ¼ cup of sweetened shredded coconut. Its texture and slight sweetness are ideal for this decorative touch.
- Green Food Coloring: A few drops of green food coloring are essential to dye the shredded coconut, giving it the realistic vibrant green hue of lettuce. Start with a small amount and add more to achieve your desired shade.
- Yellow Candy Melts: For the “mustard,” prepare ⅓ cup of yellow candy melts. When melted, these provide a smooth, brightly colored drizzle that adds a pop of color and a sweet coating.
- Red Candy Melts: Using ⅓ cup of red candy melts will create the classic “ketchup” effect. These add another essential burger condiment detail and a contrasting color.
- White Candy Melts: No burger is complete without “mayonnaise”! You’ll need ⅓ cup of white candy melts to create this creamy-looking condiment on your cookie burgers.
Pro Tip on Candy Melts: Candy melts are fantastic for their vibrant colors and smooth melting properties. You can typically find a wide variety of colors at craft stores, often in the baking aisle, as well as in larger grocery stores. While smaller grocery stores might carry a few basic colors, a craft store will offer the best selection to ensure you get the exact shades you need for your “ketchup,” “mustard,” and “mayo.” If you have trouble finding specific yellow or red candy melts, don’t fret! You can easily dye white chocolate melts using oil-based food coloring, ensuring you achieve those perfect burger hues.
- Butter: You’ll need 1 tablespoon of butter, melted, to lightly brush the top “bun” (the Nilla Wafer) before adding the final garnish. This helps the sesame seeds adhere beautifully.
- Sesame Seeds: A final touch of 1 teaspoon of sesame seeds is crucial for that authentic burger bun look. These tiny seeds elevate the illusion and add a delicate texture.
Step-by-Step Guide: How to Make No-Bake Hamburger Cookies
Creating these adorable no-bake hamburger cookies is a straightforward and enjoyable process. Follow these detailed steps to bring your mini burger cookies to life:
1. Preparing Your Candy Melts (Mustard, Mayo, and Ketchup)
The key to smooth assembly is perfectly melted chocolate. You’ll prepare your yellow, white, and red candy melts separately:
- Melt Each Color Individually: Place the required amount of each color of candy melts (yellow, white, and red) into separate small zip-top bags or piping bags. Ensure the bags are securely closed to prevent any leaks.
- Microwave with Care: Lay each bag flat in your microwave. Heat each bag separately for exactly 1 minute and 30 seconds. This initial heating is crucial for starting the melting process evenly.
- Allow to Rest: After microwaving, carefully remove each bag and let it sit on your countertop, covered with a towel, for 2 minutes. The residual heat will continue to melt the candy melts gently, preventing scorching and ensuring a smoother consistency.
- Massage and Finish Melting: After the 2-minute rest, gently massage each bag to encourage any remaining unmelted pieces to dissolve. If any lumps persist, return the bag to the microwave for additional 15-second increments, massaging after each interval, until the candy melts are completely warm and smooth.
- Prepare for Piping: Once all three colors are perfectly melted and smooth, snip a very small corner off each bag. This small opening will allow for precise drizzling of your “condiments.”
2. Assembling Your Delicious Mini Burger Cookies
Now comes the fun part – assembling your miniature culinary creations!
- Prepare the “Lettuce”: Measure out your ¼ cup of sweetened shredded coconut. In the measuring cup or a small bowl, add 2 drops of green food coloring. Stir thoroughly to distribute the color evenly. Assess the shade; you’re aiming for a light, natural lettuce green. Add another drop or two if a deeper color is desired, but remember, a subtle shade often looks more realistic.
- Set Up Your Workspace: Lay a piece of parchment paper on a baking sheet. This non-stick surface will make the assembly cleaner and prevent the cookies from sticking as the chocolate sets.
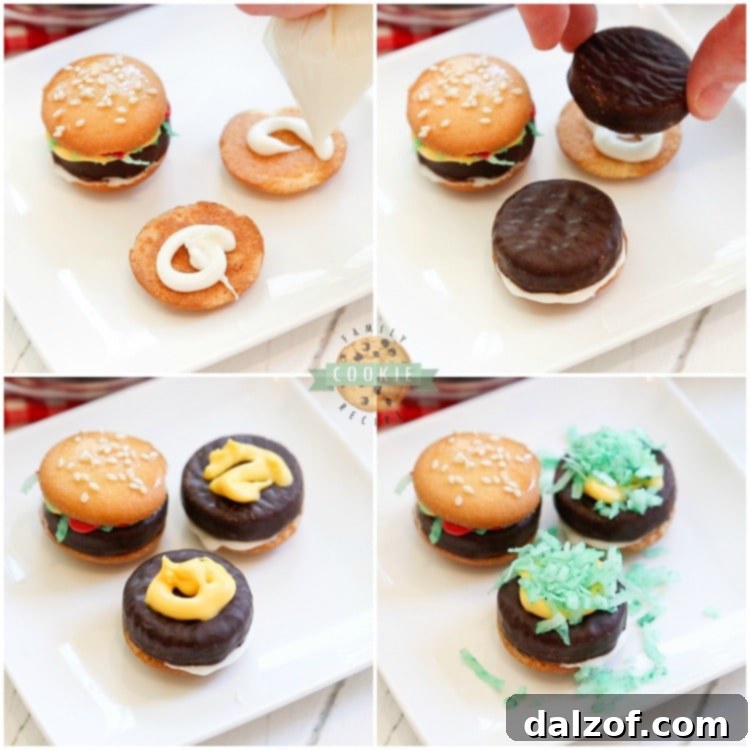
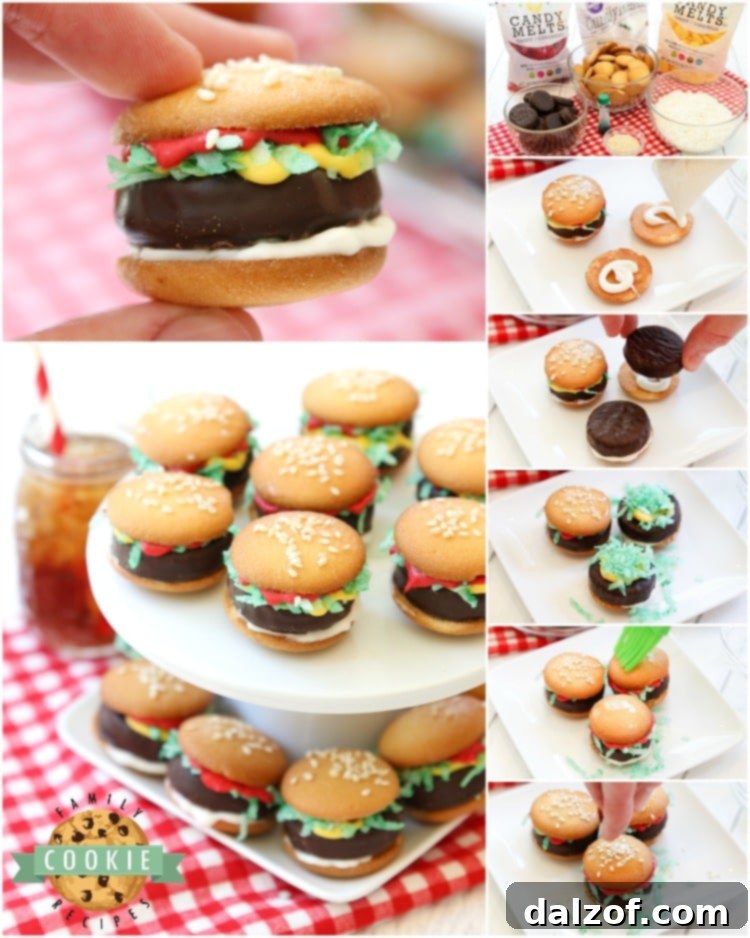
- Bottom Bun and Mayo: Arrange 20 Nilla Wafer cookies on the parchment paper, flat side facing up. These will be your bottom buns. Take your white melted chocolate (mayo) bag and swirl a generous amount onto the flat side of each Nilla Wafer.
- Add the “Meat” Patty: Immediately after applying the white chocolate, gently press one mini York Peppermint Patty candy onto the center of each Nilla Wafer. Press just enough so that a little bit of the white chocolate “mayo” peeks out around the edges of the peppermint patty, mimicking real burger condiments.
- Mustard and Lettuce: Next, grab your yellow melted chocolate (mustard) bag. Swirl a thin layer of yellow chocolate on top of each peppermint patty. While the chocolate is still wet, take a small pinch of your green-dyed coconut (“lettuce”) and delicately place it on top of the yellow chocolate.
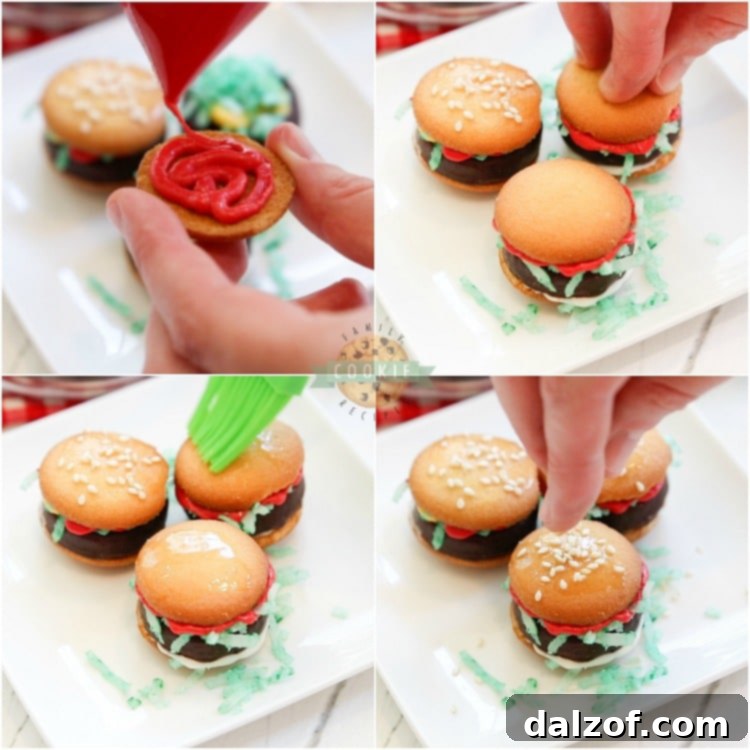
- Top Bun and Ketchup: Take the remaining 20 Nilla Wafer cookies. These will be your top buns. On the flat side of each of these wafers, swirl a layer of red melted chocolate (“ketchup”).
- Complete the Burger: Carefully place each “ketchup”-drizzled Nilla Wafer (ketchup-side down) on top of the green coconut. Gently squeeze the entire cookie hamburger together just enough so that all the layers adhere and the cookie holds its shape.
- Sesame Seed Finish: In a small, microwave-safe bowl, melt 1 tablespoon of butter for about 30 seconds until completely liquid. Using a small pastry brush, lightly brush a tiny amount of melted butter onto the top of each assembled hamburger cookie. Immediately sprinkle about ¼ teaspoon of sesame seeds onto the buttered top bun. The butter helps the sesame seeds stick beautifully, adding that essential final detail.
That’s it! Repeat the process with the remaining cookie burgers. The sesame seeds truly add that special, authentic touch, so don’t skip them for the best visual effect. Once all your mini hamburger cookies are assembled, you can serve them immediately or let the chocolate set completely for a firmer cookie. Enjoy your deliciously fun creations!
Storage Tips for Freshness
To ensure your delightful hamburger cookies stay fresh and flavorful, proper storage is key. I recommend storing these cookies in an airtight container at room temperature. While they can last for up to 5 days when stored appropriately, for the absolute best taste and texture, try to enjoy them within 1-3 days. The sooner you eat them, the fresher and more delicious they will be!
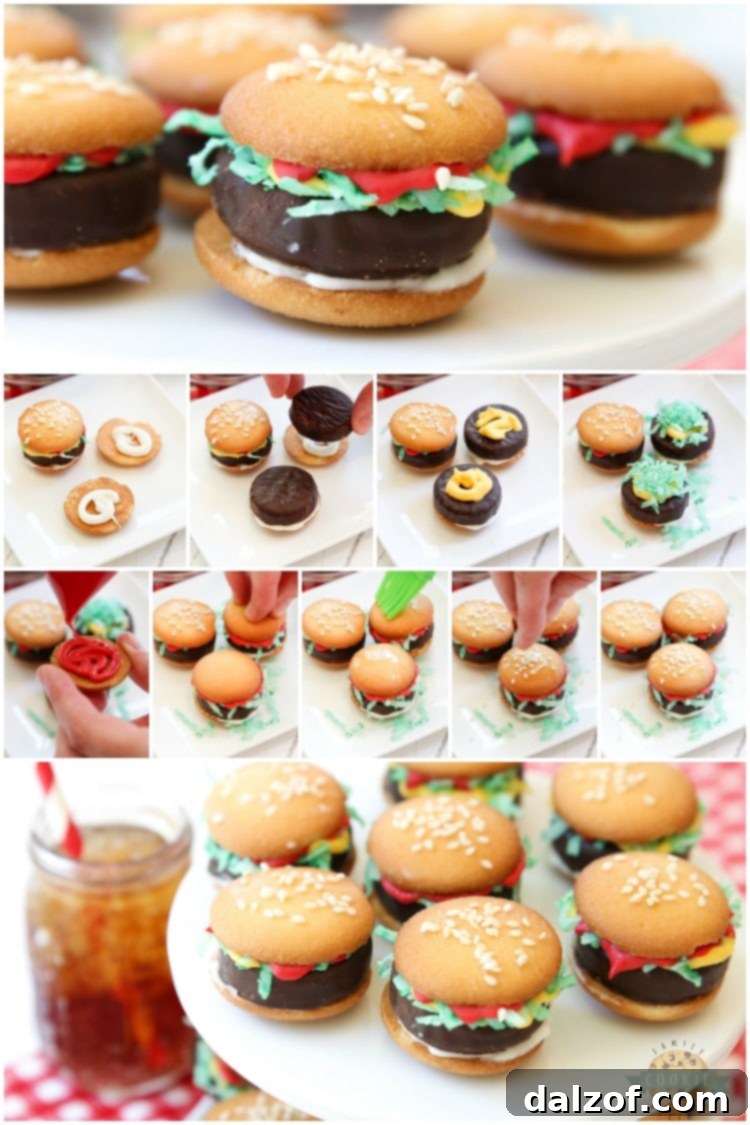
Hamburger Cookies
Hamburger Cookies are made from Nilla Wafers, York Peppermint Patties, and melted chocolate! This easy no-bake cookies recipe is super cute and one that kids will go crazy over. Perfect for parties, barbecues, or just a fun afternoon treat!
Course: Cookies, Dessert, No-Bake Dessert, Treat
Cuisine: American
Keyword: hamburger cookies, mini burger cookies, no-bake, kid-friendly
Prep Time: 10 minutes
Assembly Time: 10 minutes
Total Time: 20 minutes
Servings: 20 cookies
Calories: 257 kcal per serving
Author: Jessica & Nellie
Ingredients
- 40 Nilla Wafers (for 20 assembled hamburgers)
- 20 mini York Peppermint Patties
- ¼ cup Sweetened shredded coconut
- 2-3 drops Green food coloring
- ⅓ cup Yellow candy melts
- ⅓ cup Red candy melts
- ⅓ cup White candy melts
- 1 tbsp Butter, melted
- 1 tsp Sesame seeds
Instructions
- Prepare Candy Melts: Place each color of candy melts (yellow, red, white) into separate small zip-top bags or piping bags. Securely close each bag. Heat each bag separately in the microwave for 1 minute 30 seconds. Remove and let sit on the counter under a towel for 2 minutes to continue melting.
- After 2 minutes, gently massage each bag. If not fully melted, return to the microwave for 15-second increments, massaging between each, until completely smooth. Snip a very small corner off each bag when ready for assembly.
- Color Coconut: Measure out shredded coconut. In a small bowl, add 2 drops of green food coloring and stir until the coconut resembles light green lettuce. Add more drops if a deeper shade is desired.
- Assemble Bottom Buns: Lay out a piece of parchment paper on a baking sheet. Place 20 Nilla Wafer cookies, flat side up (these are the bottom buns). Swirl white melted chocolate onto each cookie.
- Add Patties: Gently press one York Peppermint Patty on top of the white chocolate on each cookie, allowing some white chocolate to peek around the edges.
- Apply Mustard and Lettuce: Swirl yellow melted chocolate on top of each peppermint patty. Immediately place a pinch of green coconut “lettuce” on top of the yellow chocolate.
- Add Top Buns with Ketchup: Take the remaining 20 Nilla Wafer cookies. Swirl red melted chocolate onto the flat side of each. Place these cookies (ketchup side down) on top of the green coconut. Gently squeeze the hamburger together so the cookie layers adhere.
- Sesame Seed Finish: In a small bowl, melt 1 tablespoon of butter in the microwave for 30 seconds. Lightly brush a small amount of melted butter onto the top of each hamburger cookie. Sprinkle with sesame seeds.
- Serve and enjoy your adorable mini hamburger cookies!
Notes
These Mini Hamburger Cookies, crafted from packaged Nilla Wafer cookies, refreshing York Peppermint Patties, and colorful melted chocolate candy melts, represent an effortlessly easy no-bake cookies recipe. The result is a collection of the most charming and festive hamburger-shaped cookies, guaranteed to bring smiles and delight to your family and friends.
Nutrition
Calories: 257kcal | Carbohydrates: 47g | Protein: 1g | Fat: 8g | Saturated Fat: 5g | Polyunsaturated Fat: 1g | Monounsaturated Fat: 1g | Trans Fat: 0.1g | Cholesterol: 2mg | Sodium: 73mg | Potassium: 62mg | Fiber: 1g | Sugar: 35g | Vitamin A: 21IU | Vitamin C: 0.01mg | Calcium: 6mg | Iron: 0.4mg
Frequently Asked Questions About Hamburger Cookies
How Long Do Hamburger Cookies Stay Fresh?
For the best flavor and texture, I highly recommend enjoying these delightful cookies within 1 to 3 days of making them. While they can certainly be stored for a bit longer, their peak freshness is within this window. To maximize their shelf life, always keep them in an airtight container at room temperature. This prevents them from going stale and helps maintain their deliciousness.
Can I Use Different Cookies Instead of Nilla Wafers?
Absolutely! While Nilla Wafers provide that classic “bun” look and a complementary vanilla flavor, you can experiment with other round, flat cookies. Vanilla shortbread cookies or even plain digestive biscuits could work, though they might alter the aesthetic and taste slightly. Just ensure they are not too crumbly or too soft to hold the layers.
Are There Any Substitutions for York Peppermint Patties?
If peppermint isn’t your preference, or if you’re looking for an alternative, mini dark chocolate covered caramels or even thin slices of a larger chocolate bar could serve as the “meat” patty. The key is to find something flat and round that fits between the wafers and offers a contrasting flavor. For a truly chocolatey experience, consider using a thin chocolate-covered oreo or a similar chocolate biscuit.
What if I Can’t Find Specific Colored Candy Melts?
No problem at all! As mentioned in the ingredient notes, if yellow or red candy melts are hard to come by, you can easily use white candy melts and dye them. Make sure to use oil-based food coloring (specifically designed for chocolate) to achieve vibrant colors without seizing the chocolate. A few drops are usually enough to get that perfect “ketchup” or “mustard” shade.
Can I Make These Gluten-Free or Dairy-Free?
Making these truly gluten-free or dairy-free would require finding suitable substitutes for several key ingredients. You would need gluten-free vanilla wafers, dairy-free chocolate candy melts, and dairy-free peppermint patties. While challenging, with enough specialized ingredients, it could be possible to adapt this recipe to dietary restrictions.
Kids Love Fun Cookies! Check out more Kid Favorite Cookies here:
- Glazed Donut Cookies
- Jello Sugar Cookies
- Under-the-Sea Cookies
- Watermelon Sugar Cookies
- Flower Pot Cookies
- Hot Chocolate Cookie Cups
These Mini Hamburger Cookies are truly a testament to how creative and fun baking (or in this case, no-baking!) can be. Crafted from the delightful combination of packaged Nilla Wafer cookies, the refreshing zest of York Peppermint Patties candy, and vibrant melted chocolate candy melts, this easy no-bake cookies recipe stands out. It’s not just cute and festive; it’s a treat that consistently garners enthusiasm from kids and adults alike, making it a perfect addition to any celebration or a simple afternoon pick-me-up.


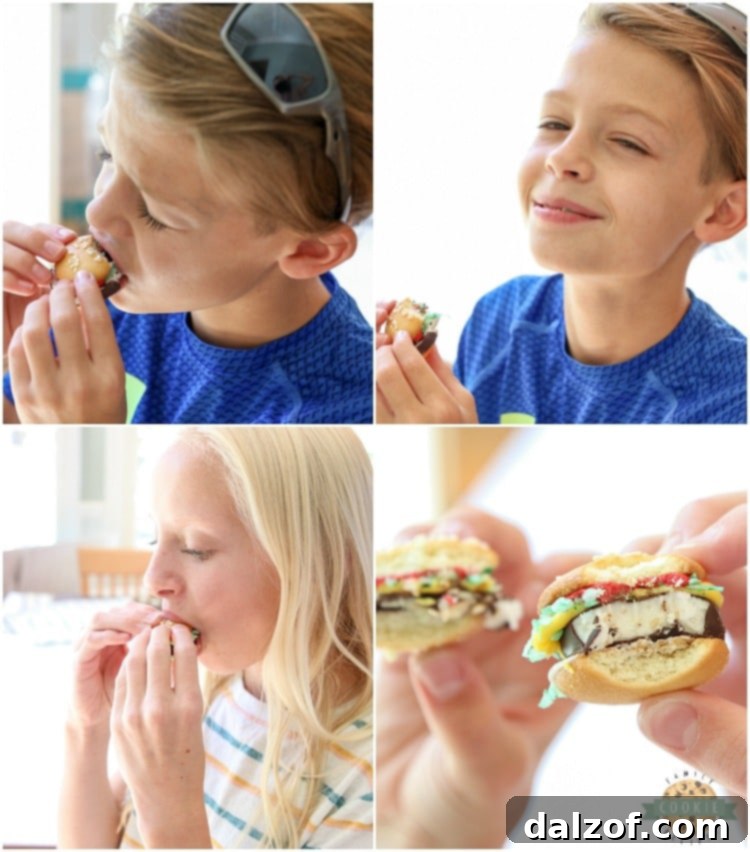
It fills my heart with so much joy to share these pictures of my wonderful kiddos enjoying their delicious creations! Aren’t they absolutely adorable? Both the cookies and, of course, my incredible children. It’s hard to believe how quickly they’re growing up; when did that happen?! But what truly warms my soul is knowing that they’re never too old to find delight and fun in the kitchen, making treats like these with Mom. These moments, filled with laughter and sticky fingers, are the ones we’ll cherish forever.