
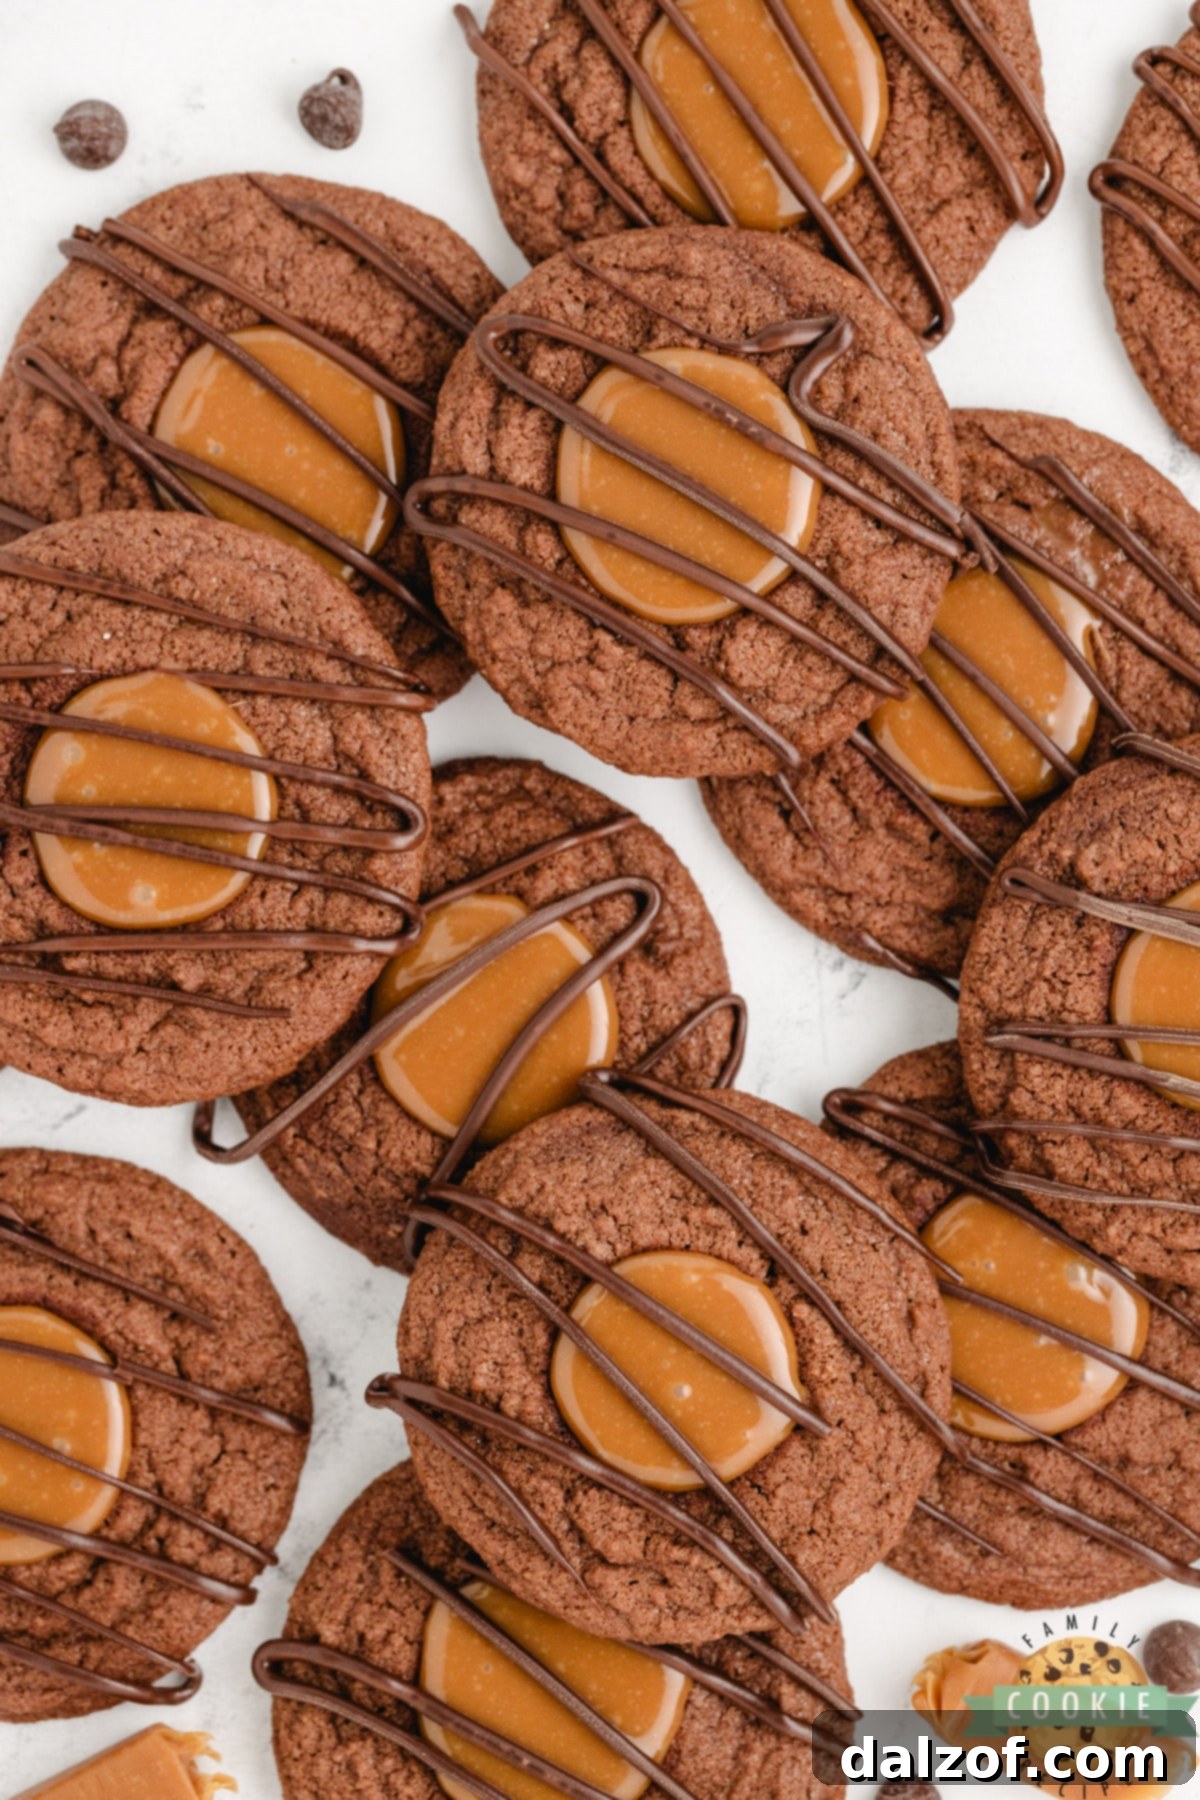
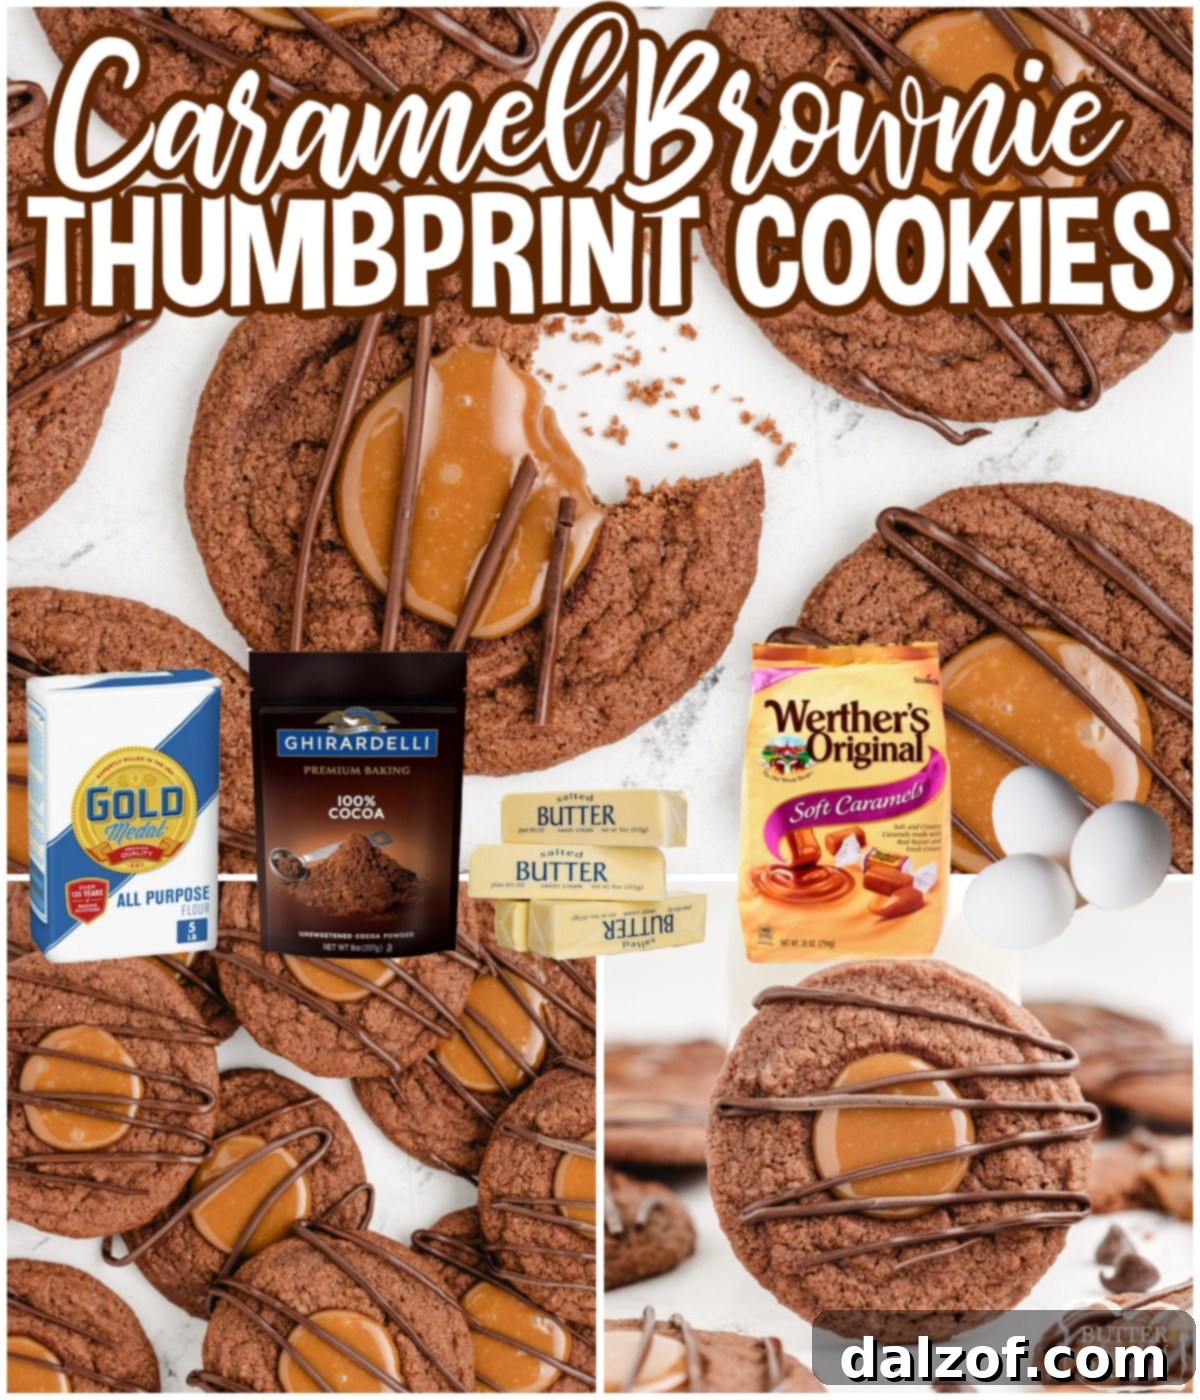
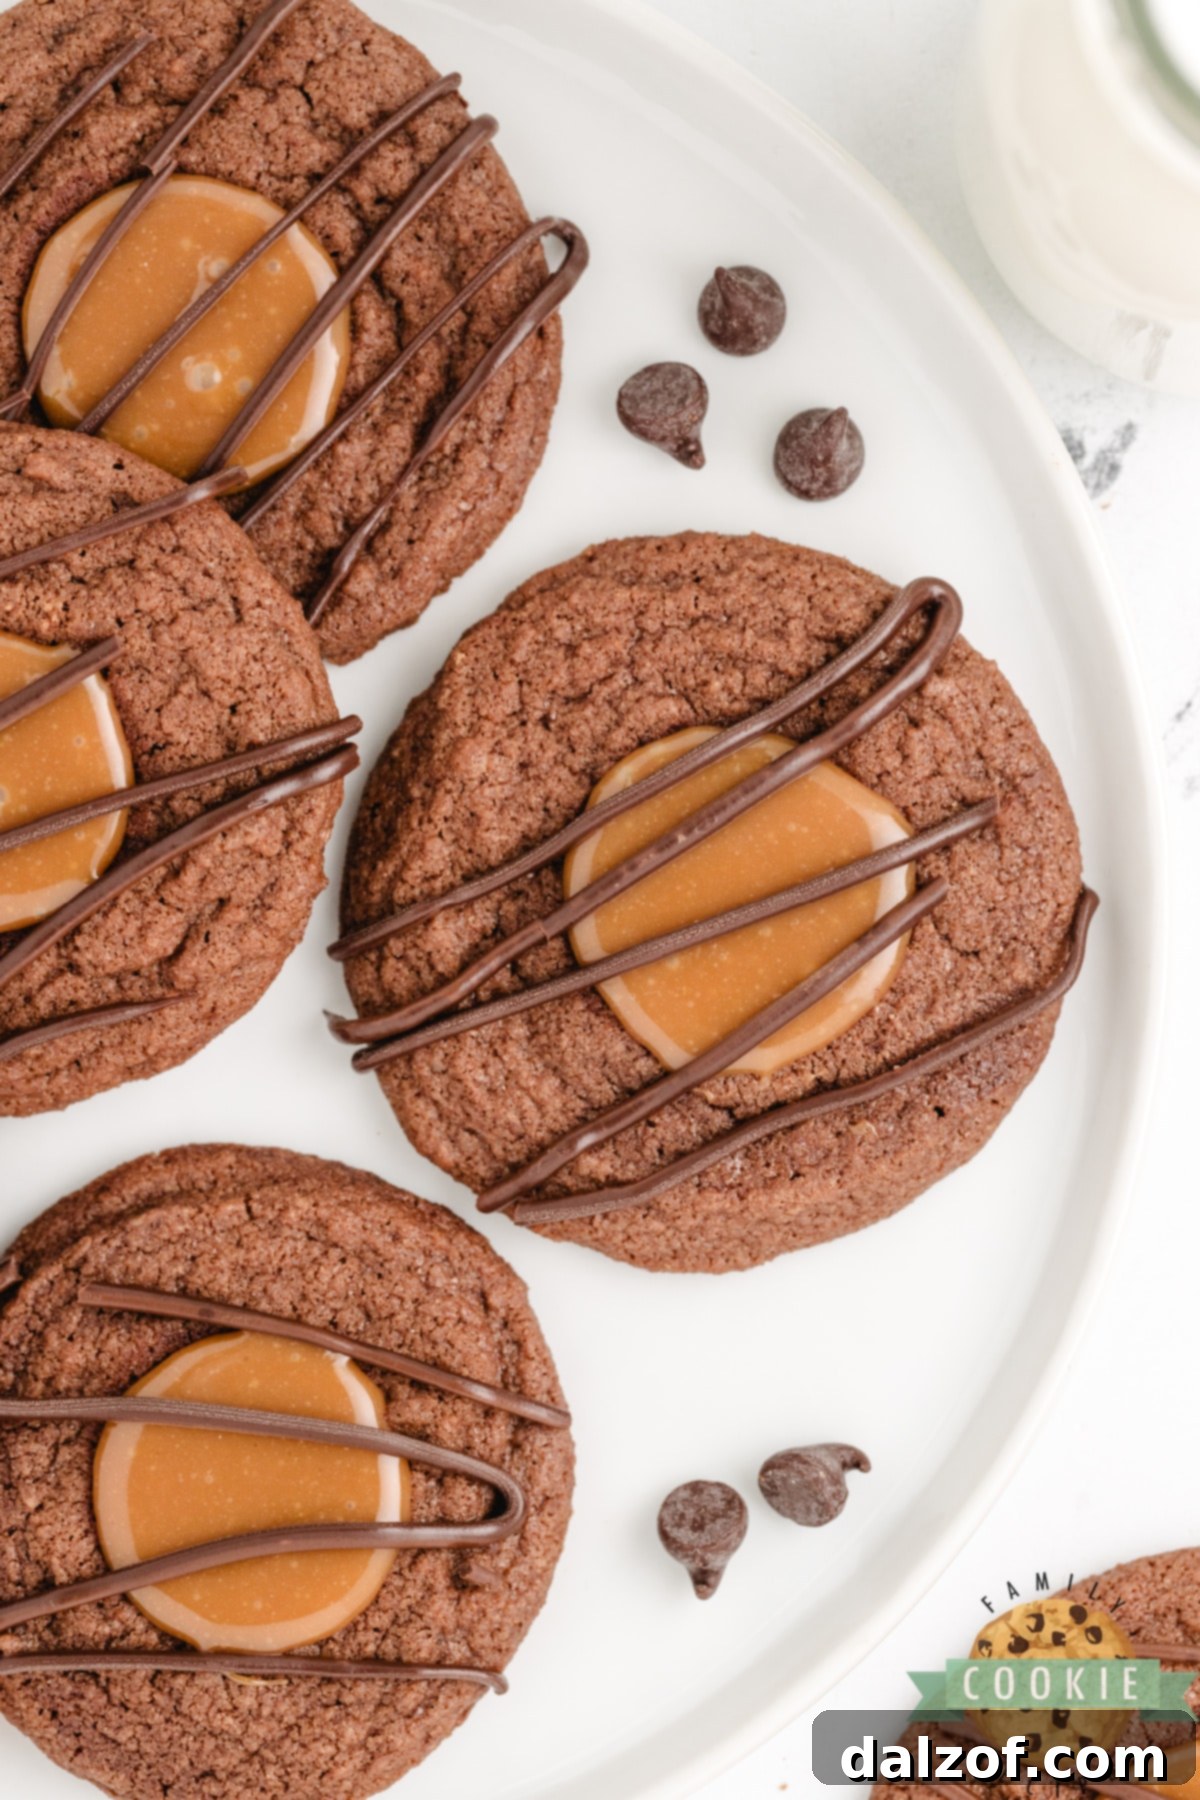
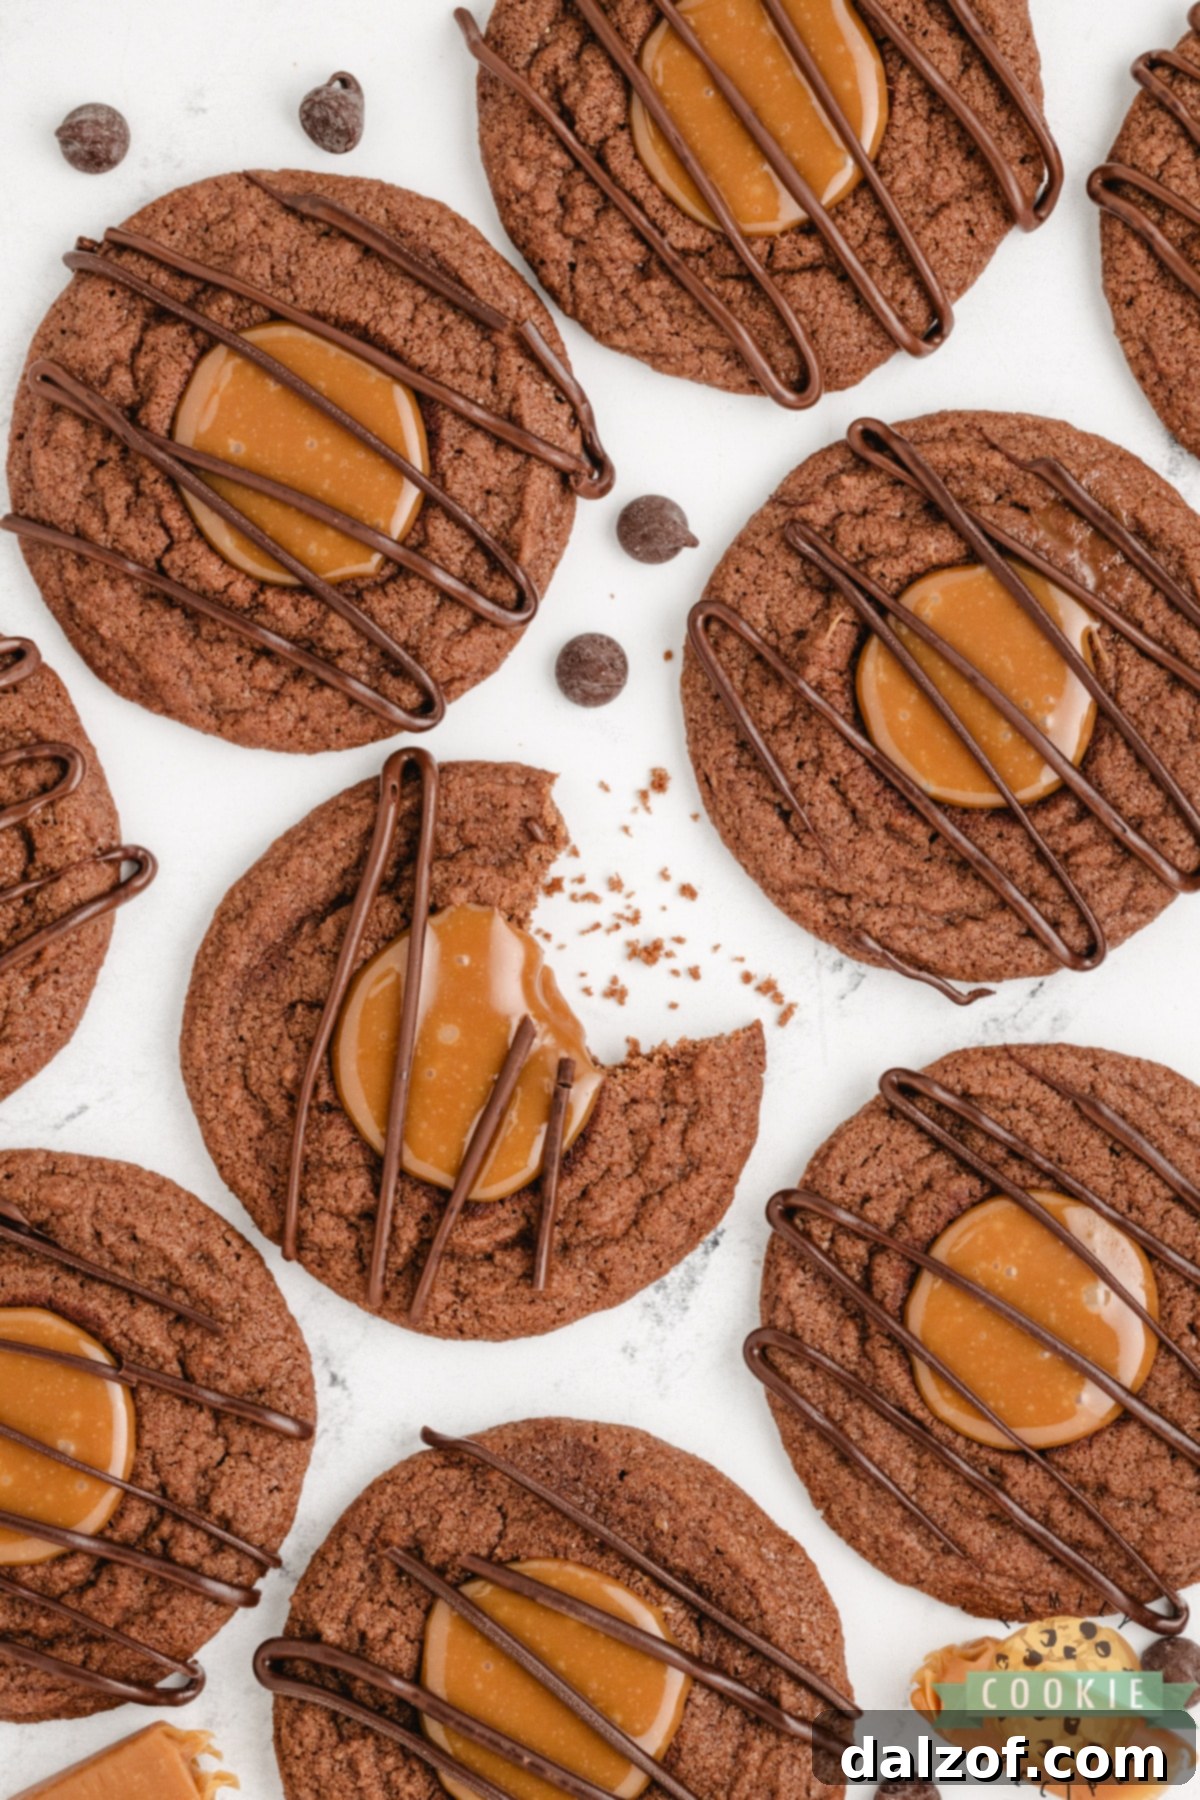
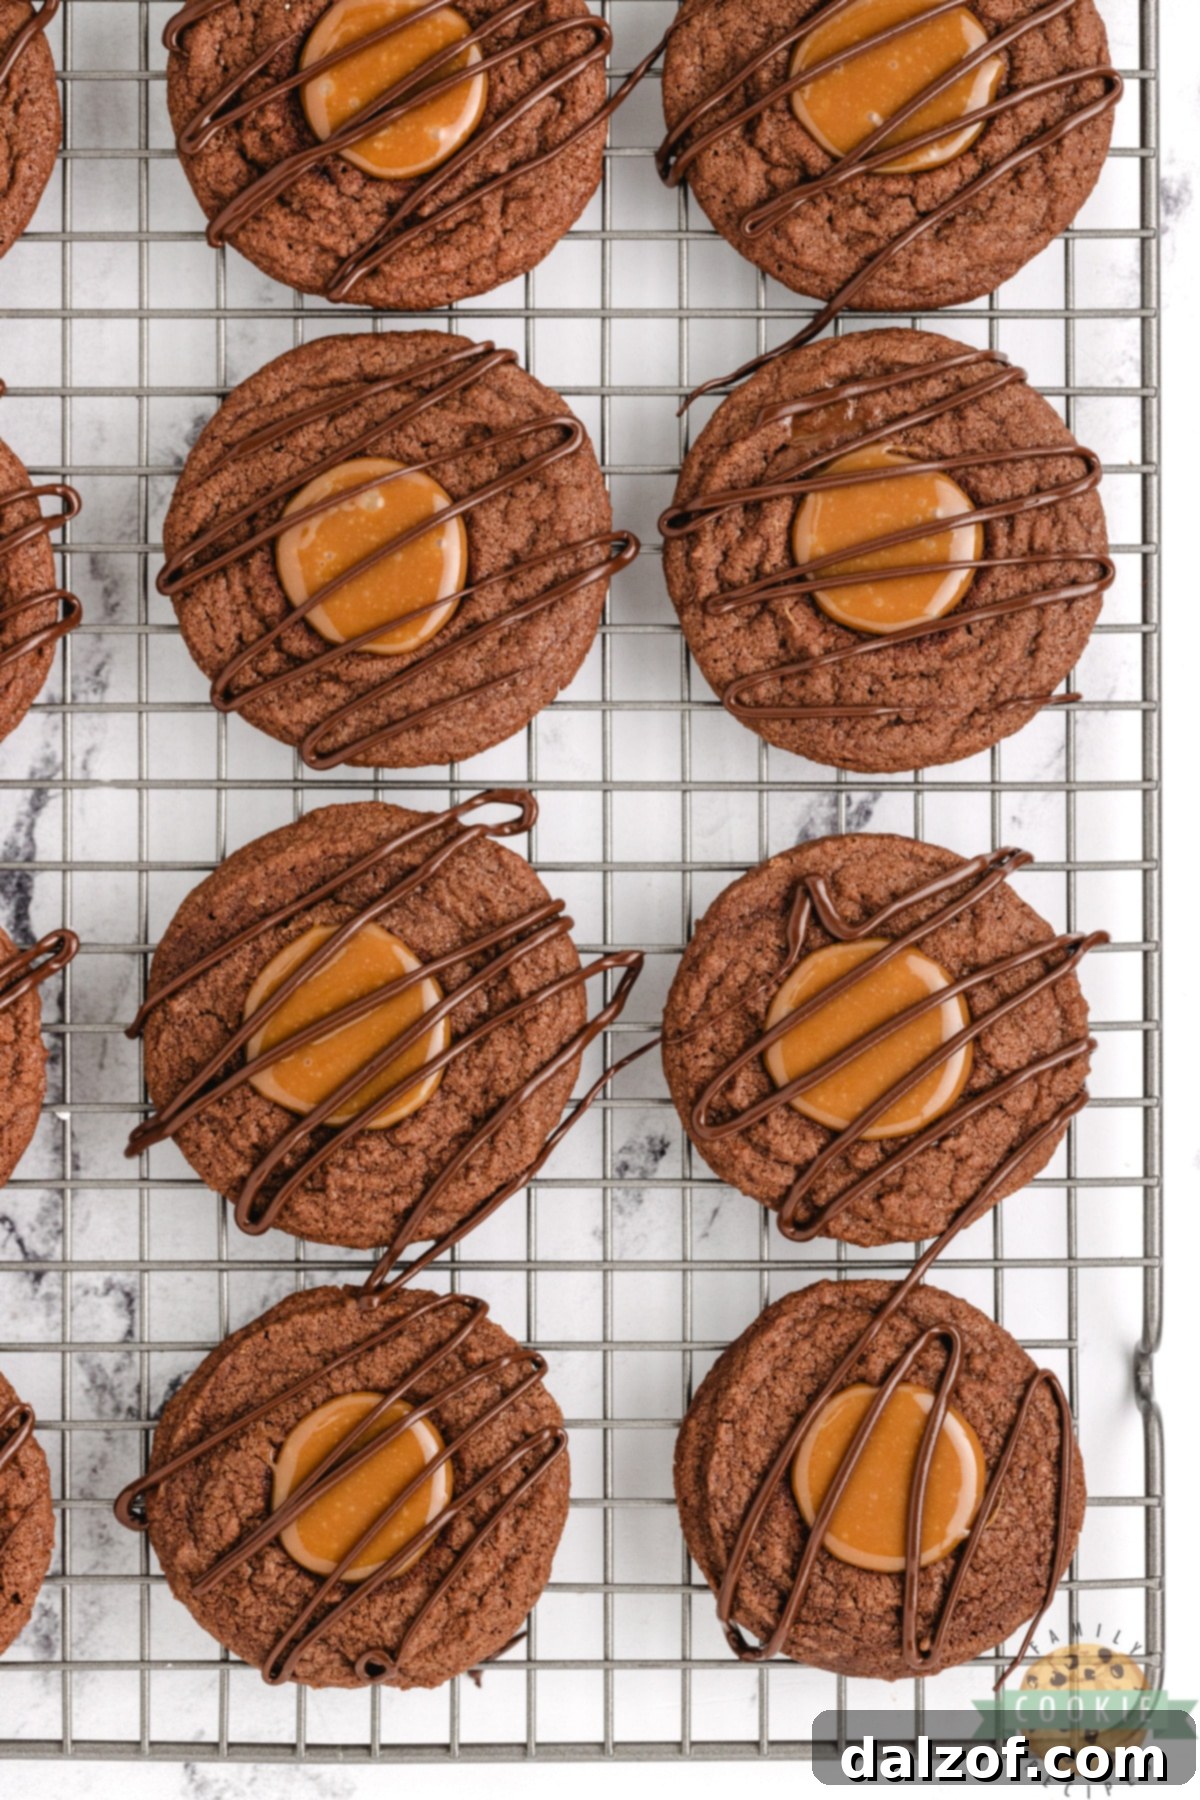
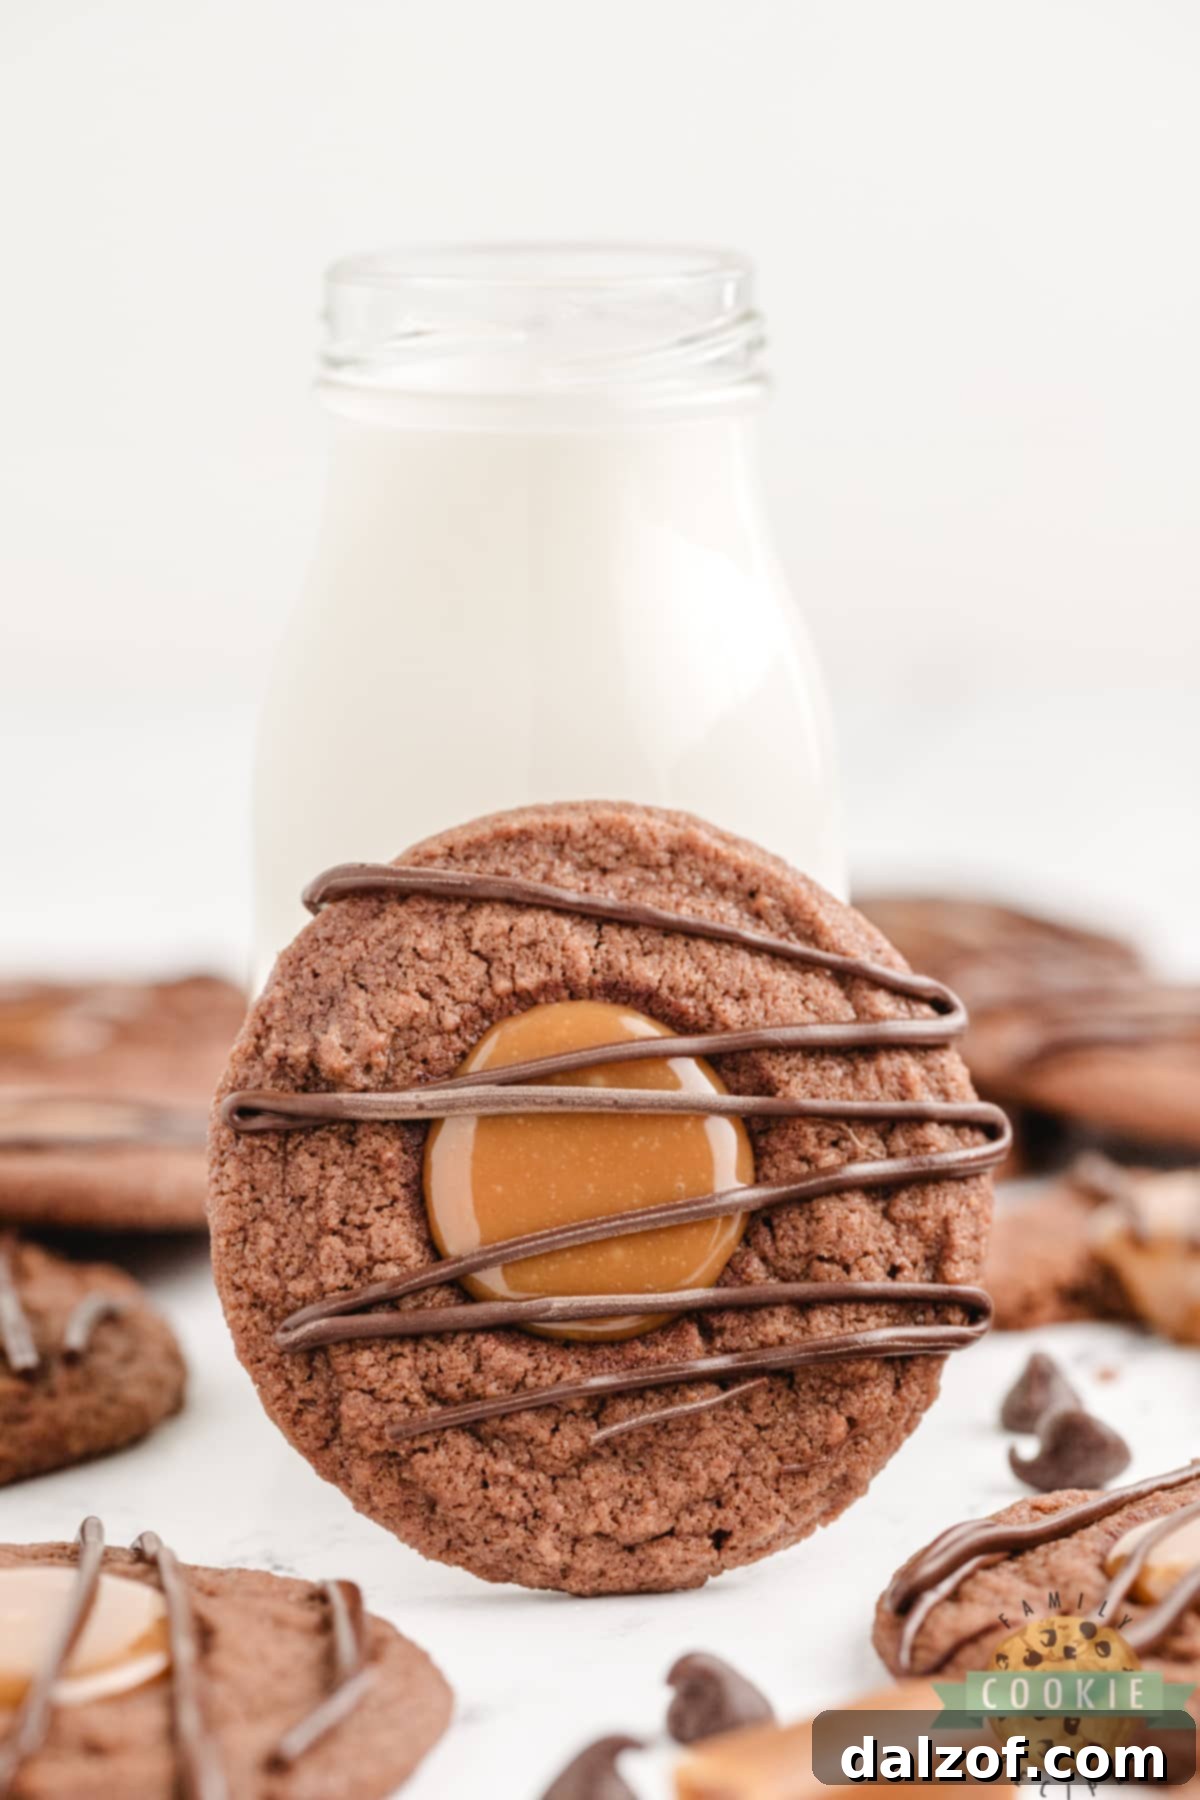
Caramel Brownie Thumbprint Cookies are an exquisite blend of rich, fudgy chocolate cookie and a silky, sweet caramel filling, all elegantly finished with a delicate chocolate drizzle. This delightful cookie recipe captures the essence of a classic brownie topped with decadent caramel, making it an irresistible treat for any occasion. Perfect for gifting, holiday platters, or simply indulging your sweet tooth, these thumbprint cookies promise a burst of flavor and a wonderfully chewy texture in every bite. They are a testament to how simple ingredients can come together to create something truly extraordinary, embodying homemade comfort with a gourmet touch.
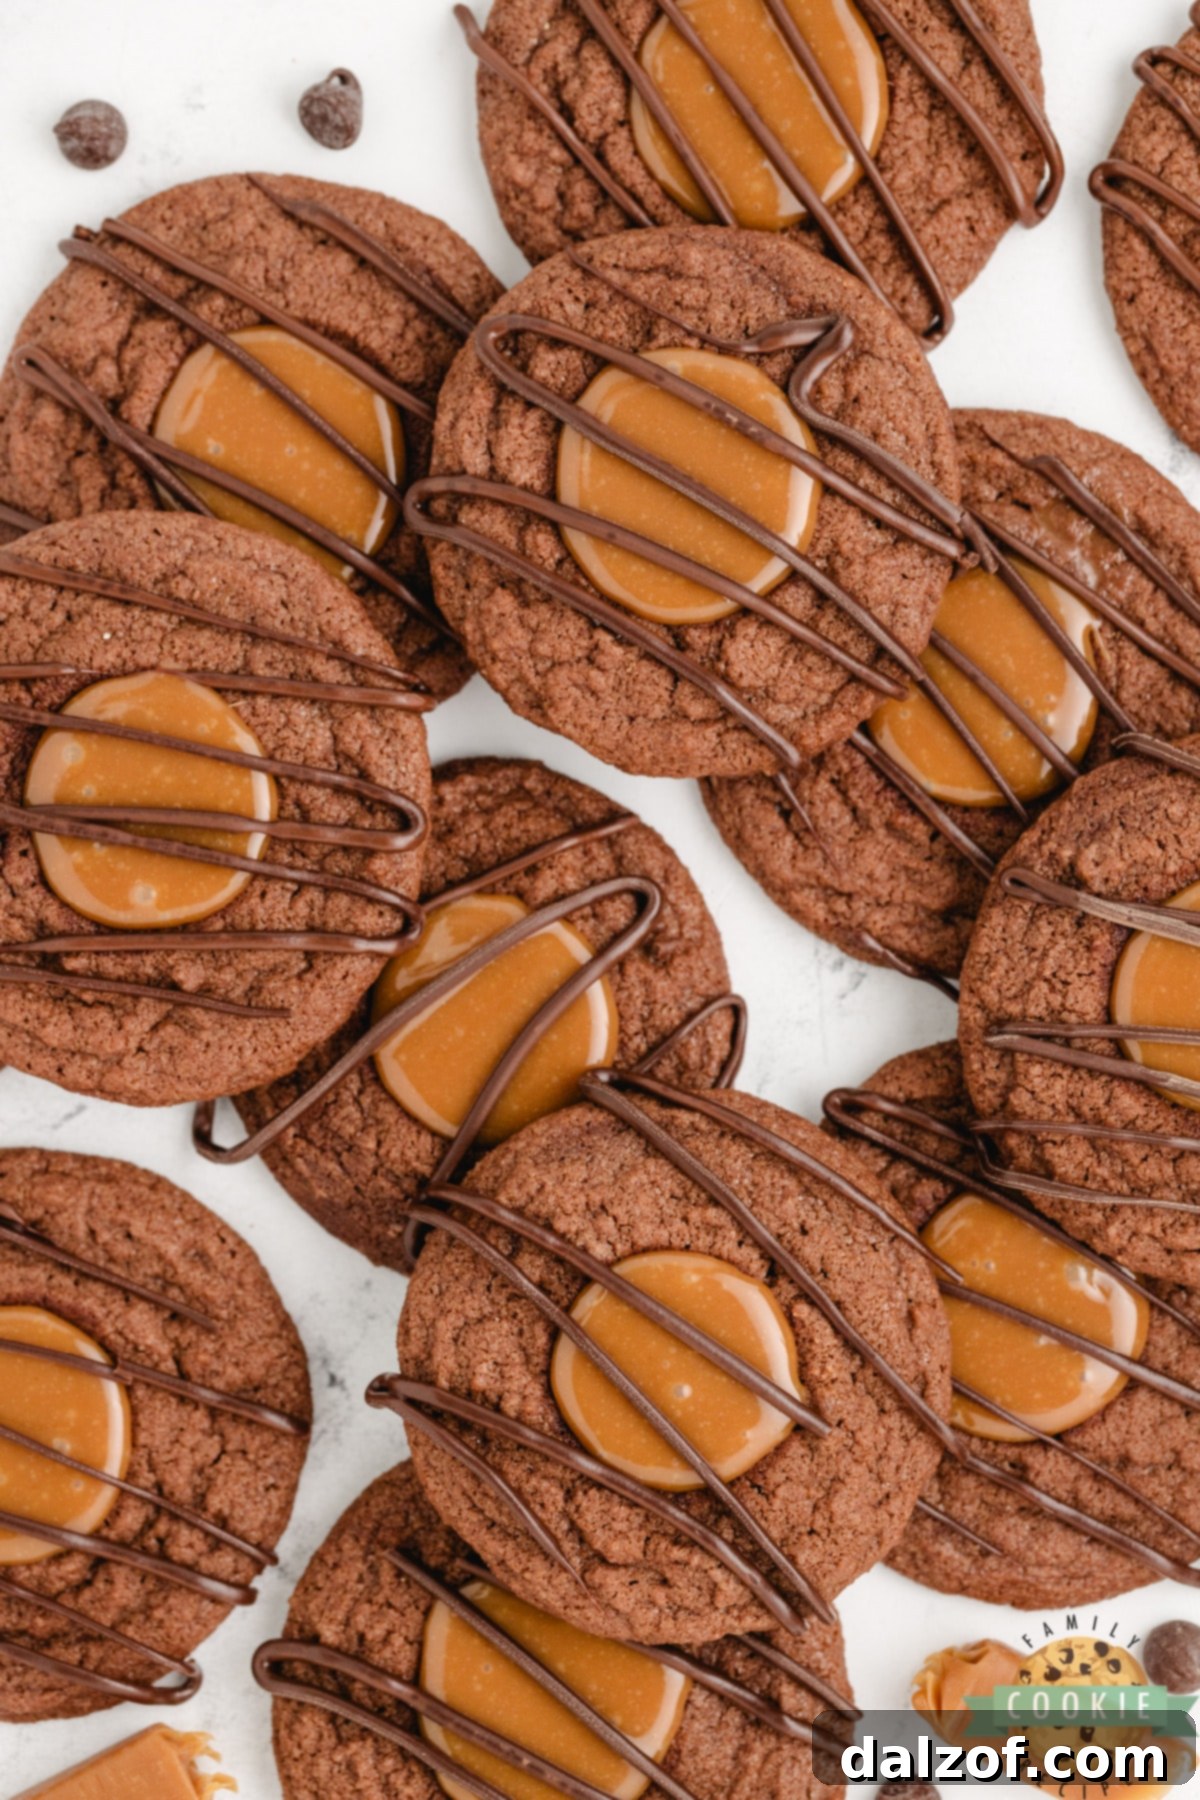
Caramel Brownie Thumbprint Cookies: A Decadent Delight
Thumbprint cookies, with their signature indentation holding a delightful filling, have been a beloved classic for generations. While their exact origin remains a bit of a sweet mystery, it’s widely believed that these charming cookies first emerged from Sweden in the early 1900s, where they were known as “Hallongrotta” (raspberry cave). They quickly crossed oceans, gaining immense popularity in the United States during the 1940s and 1950s, especially cherished for their versatility and charming appearance. Our Caramel Brownie Thumbprint Cookies take this timeless concept to a new level of indulgence, transforming a simple butter cookie base into a rich, chocolatey brownie-like experience, perfectly complemented by a luscious caramel center and a touch of chocolate drizzle. This recipe isn’t just about baking; it’s about crafting edible masterpieces that evoke warmth, joy, and pure satisfaction.
What sets these particular thumbprint cookies apart is their deep, intense chocolate flavor and remarkably chewy texture, reminiscent of a freshly baked brownie. The secret lies in the careful balance of cocoa, brown sugar, and a single egg yolk, which collectively contribute to their signature brownie-like chewiness. Each cookie is then lovingly filled with a smooth, buttery caramel—either homemade for a truly artisanal feel or high-quality store-bought for convenience—creating a harmonious contrast with the rich chocolate. A final flourish of melted chocolate drizzled over the top not only adds an extra layer of chocolatey goodness but also elevates their visual appeal, making them perfect for any festive table or an afternoon pick-me-up. This recipe is designed to be straightforward, ensuring that even novice bakers can achieve impressive results, while seasoned bakers will appreciate the subtle nuances that make these cookies truly exceptional.
Essential Ingredients for Perfect Caramel Brownie Thumbprint Cookies
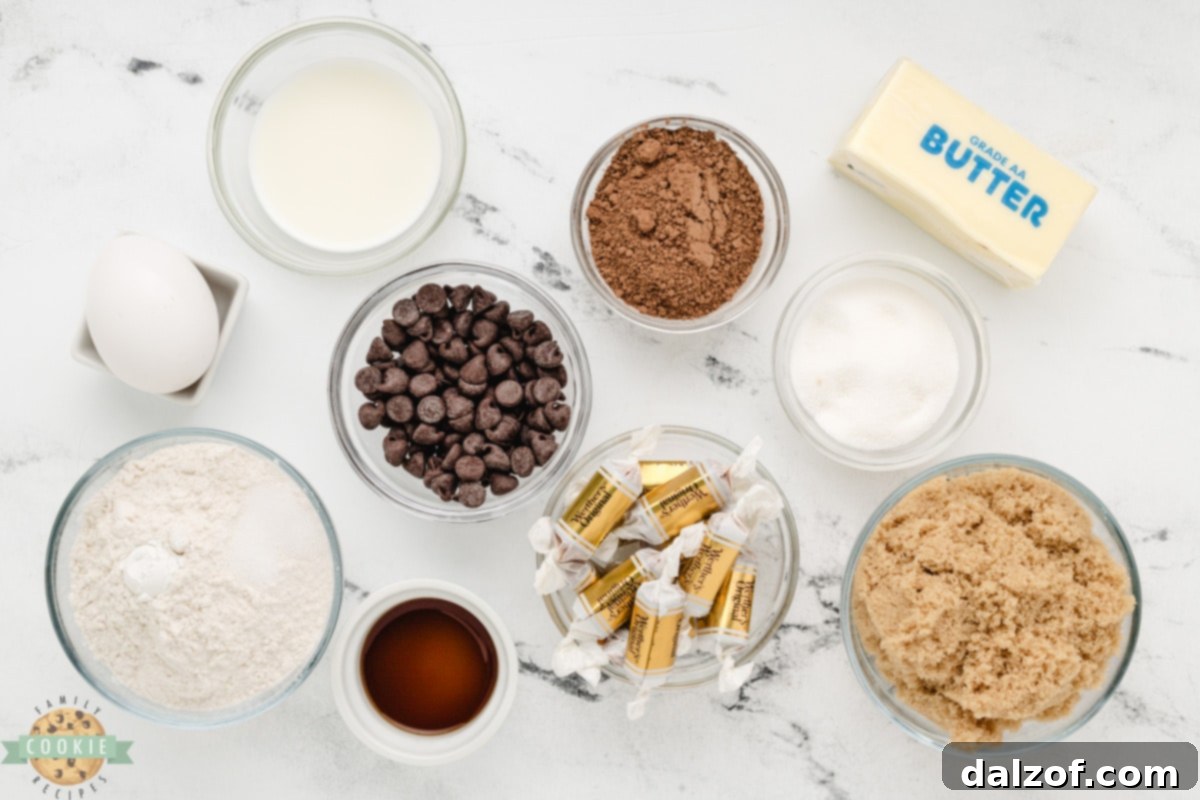
Crafting the perfect Caramel Brownie Thumbprint Cookies begins with selecting high-quality ingredients. Each component plays a crucial role in achieving the desired flavor, texture, and overall deliciousness. Here’s a closer look at what you’ll need and why:
For the Rich Chocolate Cookies:
- All-Purpose Flour: The foundational structure of our cookies. Standard all-purpose flour provides the right balance of gluten to give the cookies a tender yet substantial crumb. For best results, measure by weight or spoon and level to avoid overly dense cookies.
- Cocoa Powder: This is where the “brownie” in “Caramel Brownie Thumbprint Cookies” comes from. Opt for unsweetened natural cocoa powder for a deep, authentic chocolate flavor. If you prefer a less intense chocolate taste, you can slightly reduce the amount or use Dutch-processed cocoa for a smoother, milder flavor and darker color. For a non-chocolate version, simply omit it and enjoy a classic shortbread base.
- Salt: A pinch of salt is vital in any sweet recipe. It doesn’t just add its own flavor but acts as a flavor enhancer, intensifying the chocolate and caramel notes and balancing the sweetness. Don’t skip it!
- Baking Powder: Our primary leavening agent. Baking powder helps the cookies rise slightly, contributing to their soft, chewy texture. Always check the expiration date to ensure it’s fresh and active; old baking powder can lead to flat, dense cookies.
- Unsalted Butter: The fat component that provides richness, flavor, and tenderness. Ensure your butter is softened to room temperature—this is critical for creaming properly with the sugars, creating a light and fluffy base. Real butter, not margarine, is recommended for superior taste and texture.
- Light Brown Sugar: This provides moisture and contributes significantly to the chewy texture we desire, characteristic of brownies. The molasses in brown sugar also adds a subtle caramel note, complementing the filling. Make sure it’s soft and well-packed when measuring.
- Granulated Sugar: A small amount of white sugar provides additional sweetness and helps with the cookie’s structure and slight crispness around the edges.
- Egg Yolk: The secret to that wonderfully chewy, brownie-like texture. Using only the yolk (and not the white) adds richness and fat without excess moisture, resulting in a dense, fudgy crumb. Allow it to come to room temperature for better emulsification with the other wet ingredients.
- Vanilla Extract: High-quality vanilla extract is a must. It enhances all the other flavors, especially the chocolate, adding depth and aromatic complexity. Pure vanilla extract offers a much better flavor profile than artificial versions.
For the Creamy Caramel Filling:
- Soft Caramels: Convenience meets decadence! Using pre-made soft caramels, such as Werther’s soft caramels, makes the filling incredibly easy. Ensure they are unwrapped before melting. You can also make homemade caramel if you prefer, but this shortcut saves significant time.
- Milk: A small amount of milk helps to thin the melted caramels, creating a smooth, pourable, and creamy filling. For an even richer, more luxurious caramel, consider using half-and-half or heavy cream.
- Salt: Just a tiny dash of salt in the caramel filling is transformative. It cuts through the sweetness and truly makes the caramel flavor pop, creating a delightful salted caramel effect.
For the Elegant Chocolate Drizzle:
- Semi-Sweet Chocolate Chips: These melt down beautifully to create a smooth, glossy chocolate drizzle that adds a final touch of sophistication and flavor. You can experiment with dark chocolate for a bolder contrast, milk chocolate for extra sweetness, or even white chocolate for a striking visual. High-quality chocolate chips melt more smoothly.
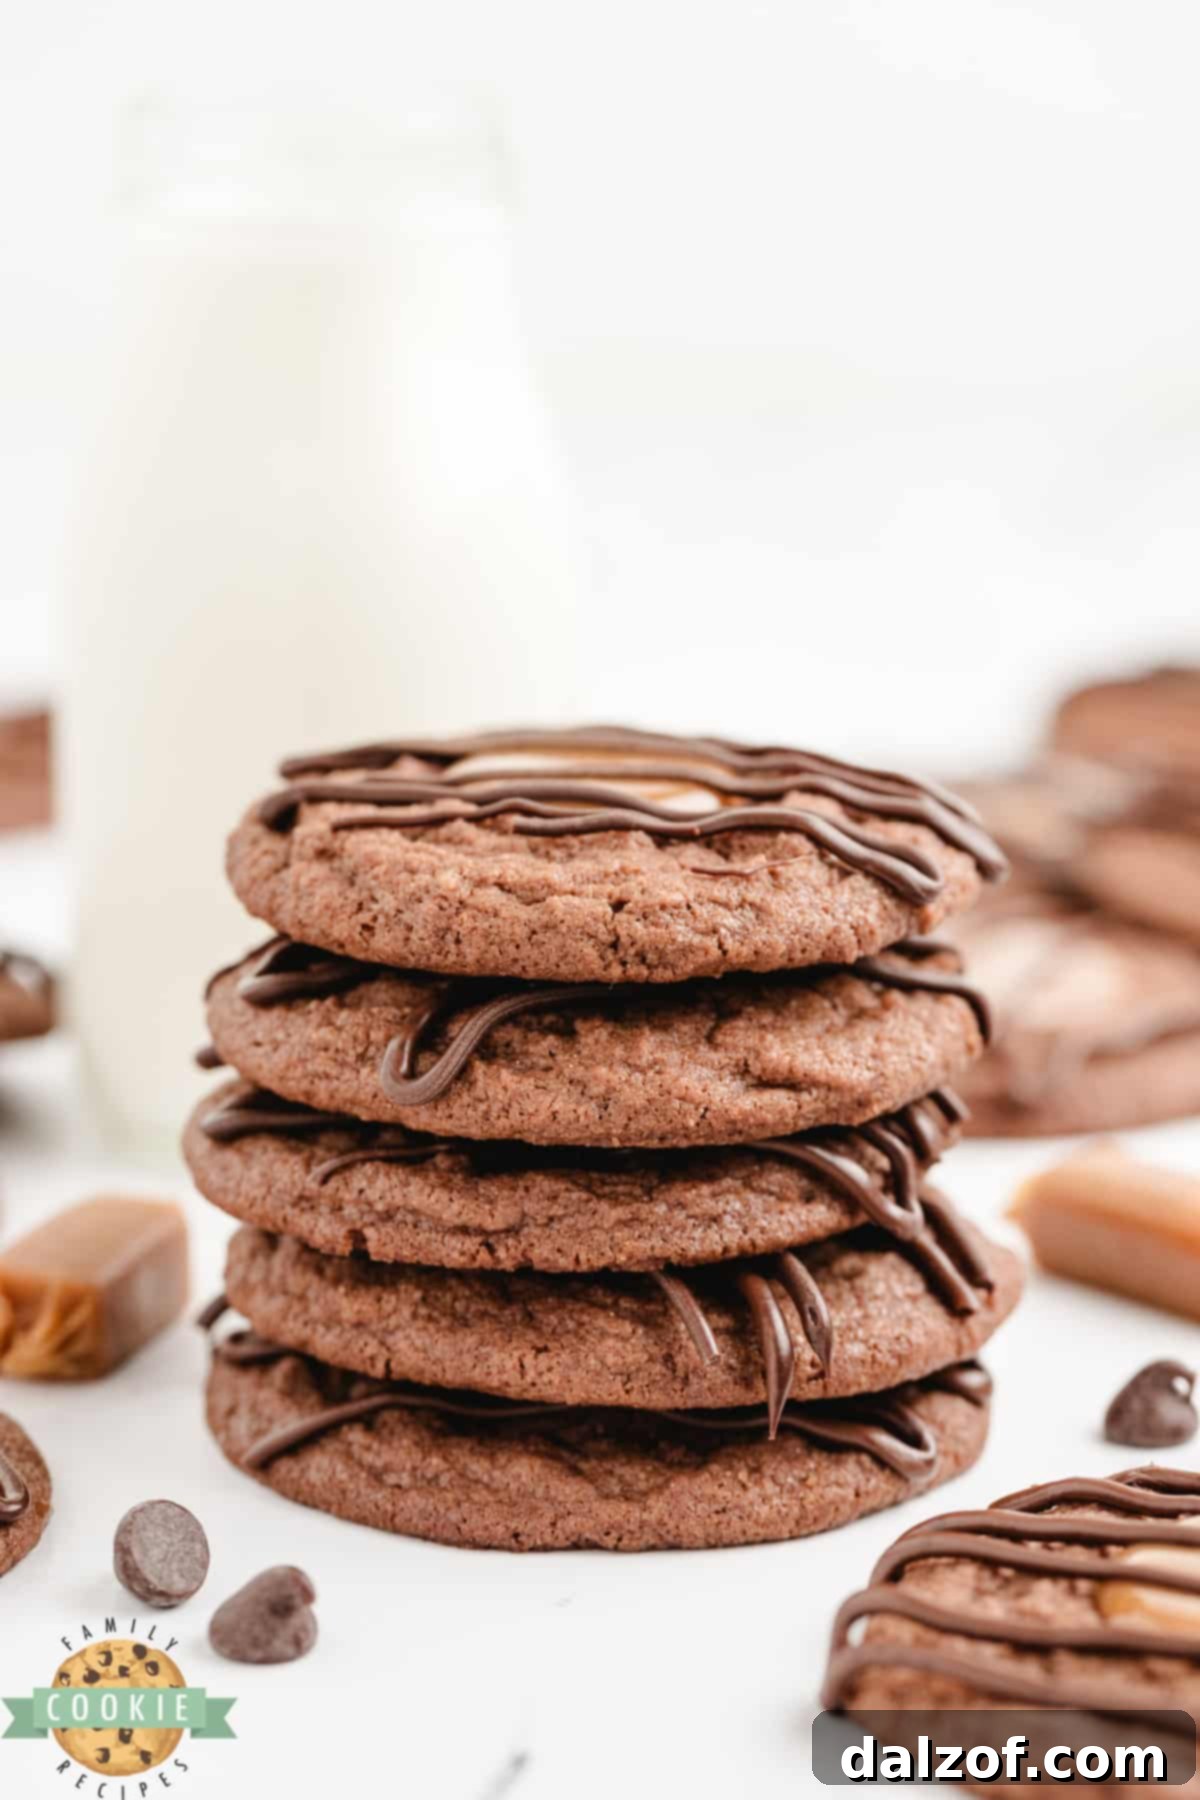
Crafting Your Caramel Brownie Thumbprint Cookies: Step-by-Step Guide
Creating these delightful Caramel Brownie Thumbprint Cookies is a rewarding process. Follow these detailed instructions to ensure a perfect batch every time.
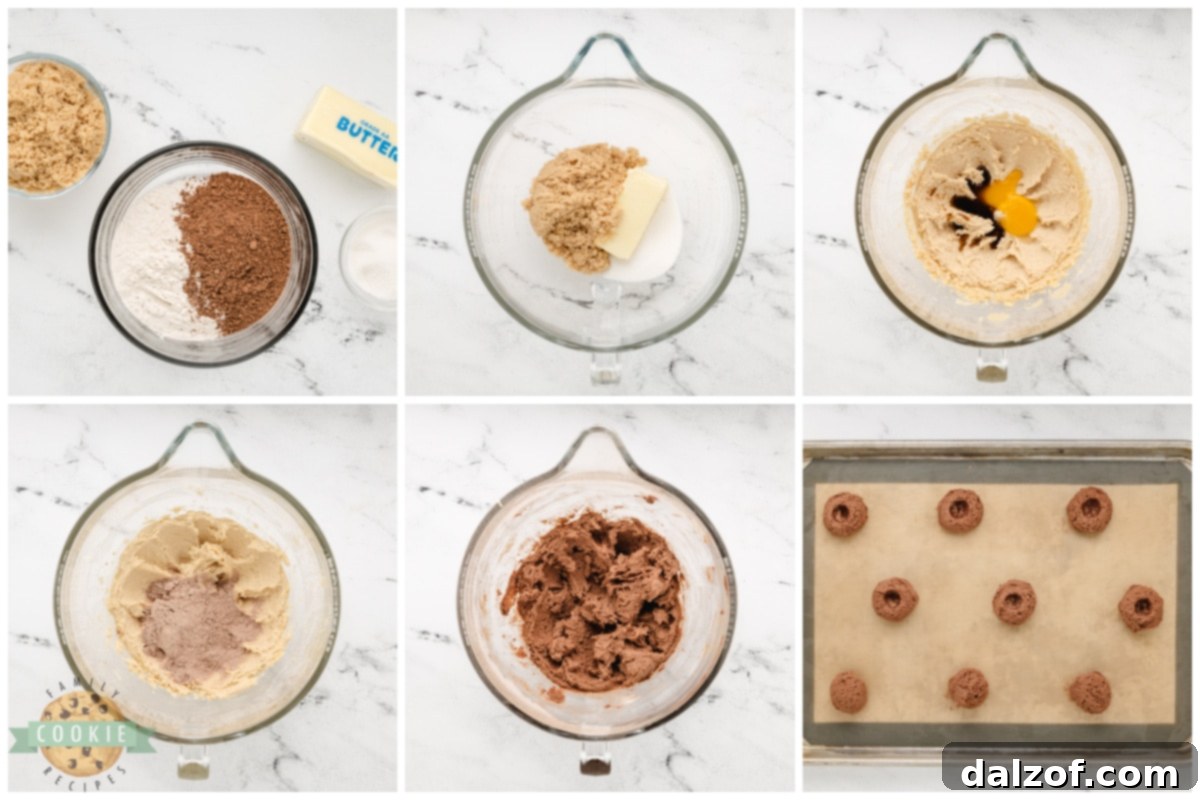
Making the Decadent Chocolate Cookies:
- Prepare Baking Sheets: Begin by lining two large baking sheets with parchment paper or silicone baking mats. This prevents sticking and makes for easy cleanup. Set them aside.
- Combine Dry Ingredients: In a medium-sized bowl, whisk together the all-purpose flour, cocoa powder, salt, and baking powder. Whisking ensures these ingredients are evenly distributed, which is crucial for uniform cookies. Set this bowl aside.
- Cream Butter and Sugars: In a separate large mixing bowl, using an electric mixer, cream together the softened unsalted butter, light brown sugar, and granulated sugar on medium-high speed. Beat for 2-3 minutes until the mixture is light, fluffy, and pale in color. This step incorporates air, making the cookies tender.
- Add Wet Ingredients: Introduce the room temperature egg yolk and vanilla extract to the creamed mixture. Continue beating for another 2-3 minutes, scraping down the sides of the bowl as needed to ensure all ingredients are well combined. The mixture should appear smooth and well emulsified.
- Incorporate Dry Ingredients: Reduce the mixer speed to low. Gradually add the whisked dry ingredients to the wet mixture, mixing just until combined. Be careful not to overmix, as this can lead to tough cookies. Stop mixing as soon as no streaks of flour are visible.
- Portion Dough: Using a small cookie scoop (about 1.5 tablespoons), drop uniform mounds of cookie dough onto the prepared baking sheets, leaving about 2 inches between each cookie to allow for slight spreading.
- Create Thumbprints: Gently press down on the center of each dough ball with a ¼ or ½ teaspoon measuring spoon to create an indentation. This “thumbprint” will hold the caramel filling later. If the spoon starts to stick, lightly dip it in cocoa powder or a bit of flour.
- Chill the Dough: This step is critical! Transfer the baking sheets with the indented cookie dough to the refrigerator and chill for at least 1 hour. Chilling helps solidify the butter, preventing the cookies from spreading too much in the oven and ensuring they maintain their shape and chewy texture.
- Preheat Oven & Bake: Preheat your oven to 350°F (175°C). Bake the chilled cookies for 9 to 11 minutes, or until the edges are lightly set and the centers still look slightly soft. Avoid overbaking to keep them chewy.
- Reshape Wells (Optional but Recommended): Immediately upon removing the cookies from the oven, gently press down on the indentations again with the measuring spoon. This re-shapes any wells that may have puffed up during baking, creating perfect pockets for your caramel. Be careful not to press too hard or flatten the entire cookie.
- Cool Completely: Allow the cookies to cool on the baking sheets for at least 5 minutes before carefully transferring them to a wire rack to cool completely. The cookies need to be fully cool before adding the caramel to prevent it from melting or running.
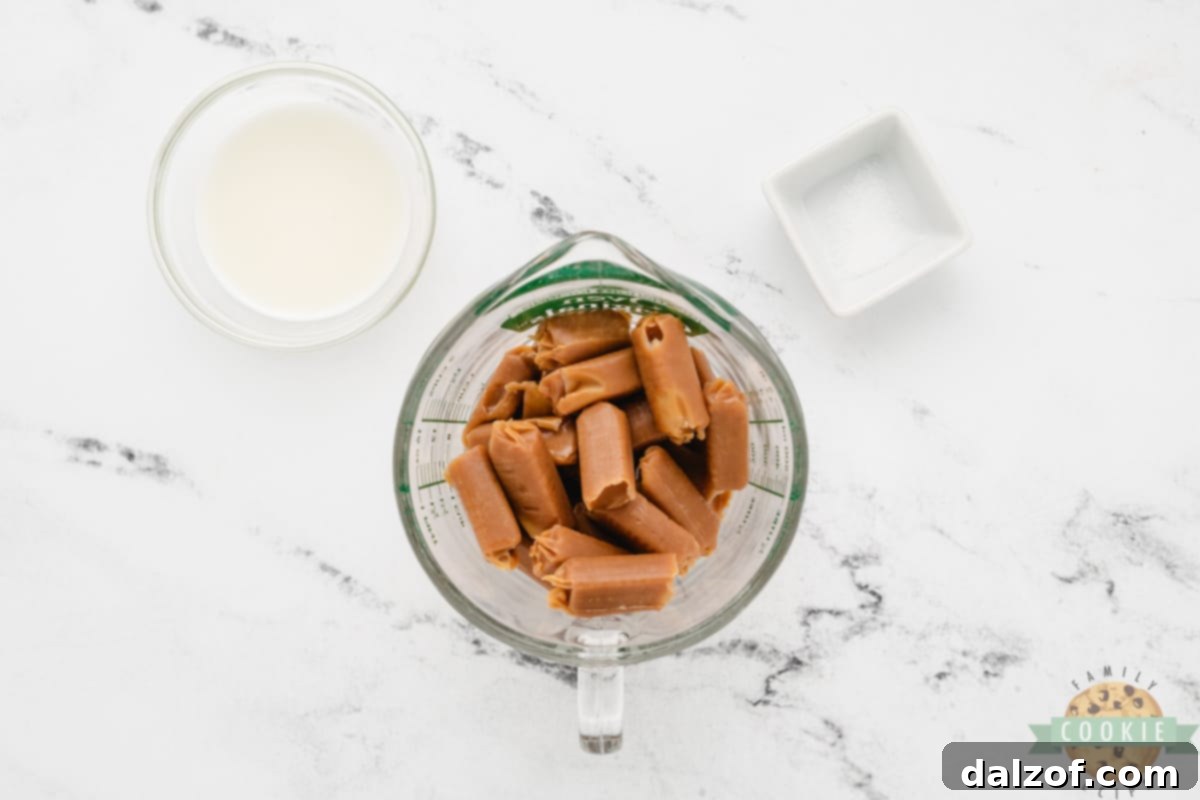
Preparing the Irresistible Caramel Filling:
- Combine Caramel Ingredients: In a small, microwave-safe bowl with a spout (a glass measuring cup works perfectly for easy pouring), combine the unwrapped soft caramels, 2 teaspoons of milk, and the ¼ teaspoon of salt.
- Melt Caramel: Microwave the mixture on high for 30 seconds. Stir well. Continue microwaving in 15-second intervals, stirring thoroughly after each, until the caramels are completely melted and you have a smooth, pourable mixture.
- Adjust Consistency: If the caramel appears too thick, add an additional ½ teaspoon of milk at a time, stirring until you reach your desired pourable consistency. Be careful not to add too much milk, or the caramel may become too runny.
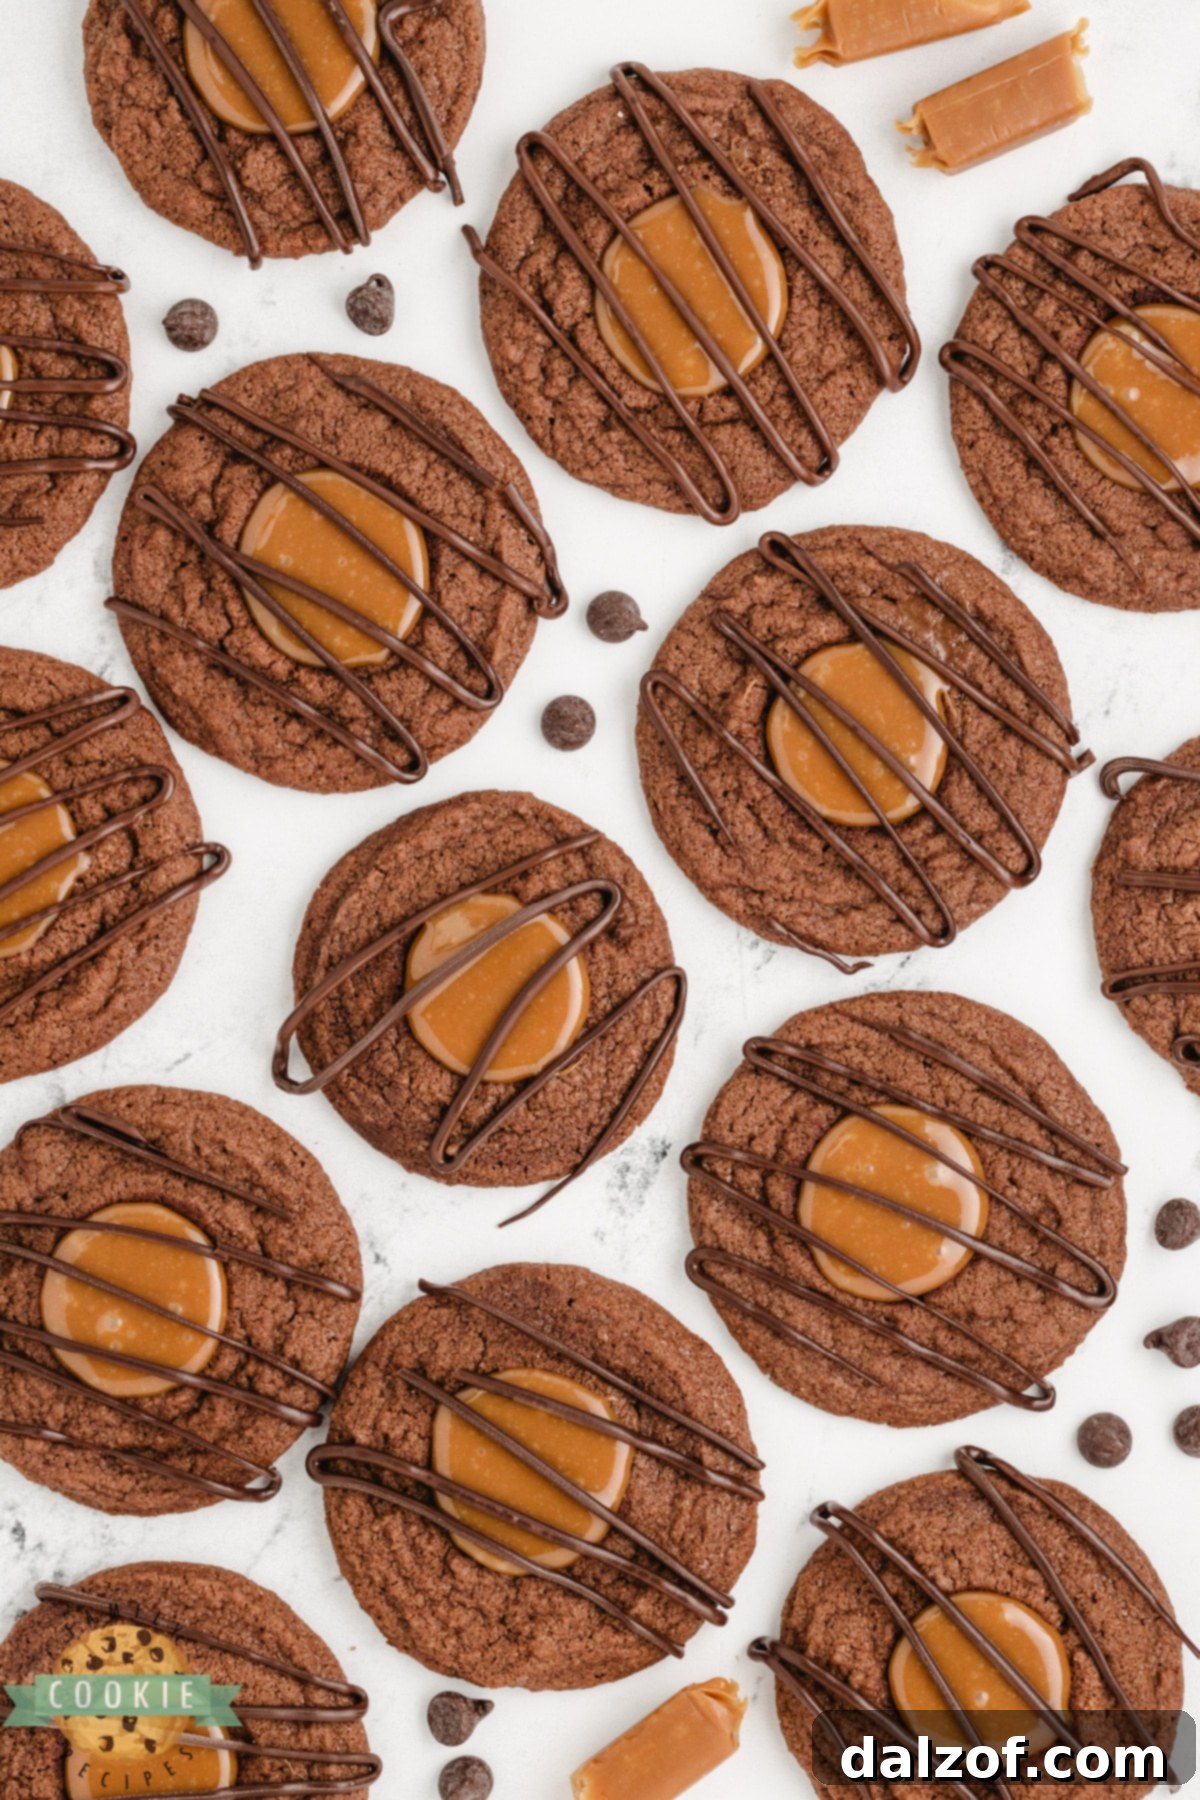
Filling the Thumbprint Cookies:
- Fill Cookies with Warm Caramel: While the caramel filling is still warm and pourable, carefully and slowly fill each cooled chocolate cookie’s well. Use the spout of your measuring cup or a small spoon. Take care not to overfill the wells, as the caramel will spread slightly to the edges as it settles.
- Allow Caramel to Set: Let the filled cookies sit at room temperature for at least 30 minutes to an hour, or until the caramel has completely set and is firm to the touch. This prevents the chocolate drizzle from sinking into the caramel.
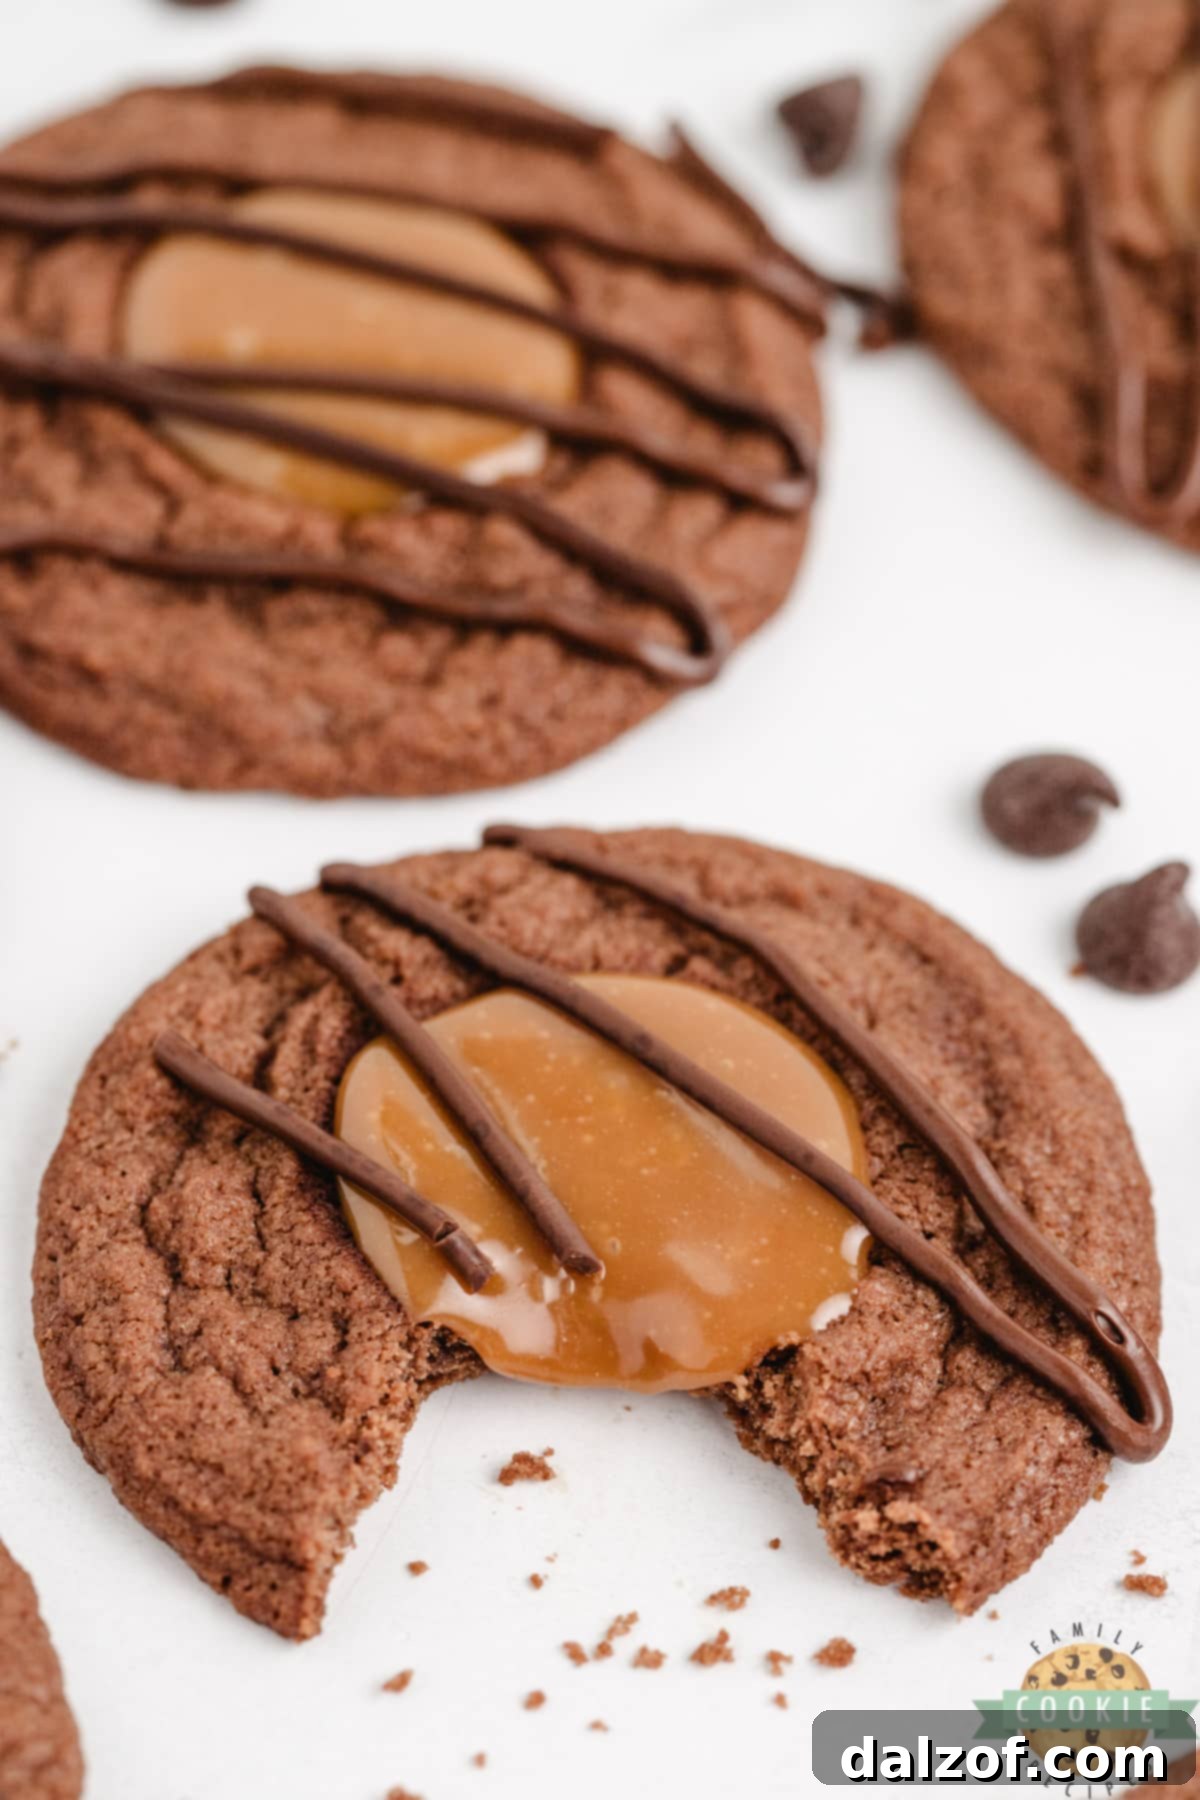
Finishing with a Chocolate Drizzle:
- Melt Chocolate for Drizzle: Place the semi-sweet chocolate chips in a small microwave-safe bowl. Microwave on high for about 20 seconds. Stir thoroughly. Continue microwaving in 10-second intervals, stirring well after each, until the chocolate is completely melted and smooth. Be careful not to overheat the chocolate, as it can seize.
- Drizzle and Serve: Once the chocolate is smooth, use a spoon or a piping bag with a very small tip to elegantly drizzle the melted chocolate over the set caramel in each cookie. Allow the chocolate drizzle to set for a few minutes before serving or storing. These Caramel Brownie Thumbprint Cookies are now ready to be enjoyed!
CARAMEL BROWNIE THUMBPRINT COOKIES
Caramel Brownie Thumbprint Cookies are rich, chocolatey cookies that are filled with a smooth and creamy caramel filling and topped with a simple chocolate drizzle. Delicious cookie recipe that tastes just like a brownie with caramel on top.
Pin Recipe
Cuisine: American
Keyword: Caramel Brownie Thumbprint Cookies
Cook Time: 10 minutes
Chill Time: 1 hour
Calories: 184kcal
Author: Jessica & Nellie
Ingredients
Chocolate Cookie:
- ¾ cup all-purpose flour
- ¼ cup cocoa powder
- ¼ tsp salt
- ¼ tsp baking powder
- 6 tbsp unsalted butter, softened to room temperature
- ¾ cup firmly packed light brown sugar
- 2 tbsp granulated sugar
- 1 egg yolk, room temperature
- 1 tsp vanilla extract
Caramel Filling:
- 1 bag (10.8 ounce) soft caramels (e.g., Werther’s)
- 2 to 3 tsp milk
- ¼ tsp salt
Chocolate Drizzle:
- 2 oz. semi-sweet chocolate chips
Instructions
- MAKE THE CHOCOLATE COOKIES: Line two large baking sheets with parchment paper or silicone baking mats and set aside.
- Whisk together the flour, cocoa powder, salt, and baking powder in a medium-sized bowl. Set aside.
- Cream together the butter and both sugars on medium-high speed until light and fluffy, about 2-3 minutes.
- Add the egg yolk and the vanilla then beat again for about 2-3 minutes. Scrape down the sides of the bowl as necessary.
- Turn the mixer speed to low, then slowly add the dry ingredients, mixing until just combined.
- Using a small cookie scoop, drop mounds of cookie dough onto the prepared baking sheets until you have used up all of the dough.
- Using a 1/4 or 1/2 teaspoon measuring spoon, gently press down on the tops of the dough balls to create an indent.
- If the spoon is sticking to the dough, dip it in a little bit of cocoa powder.
- Once all of the cookie dough balls have been indented, chill in the refrigerator for at least 1 hour.
- Preheat the oven to 350ºF (175°C) and then bake the cookies for 9 to 11 minutes until the edges are set.
- Remove the cookies from the oven, then press down gently again with the measuring spoon to re-shape the wells while the cookies are still hot. Make sure not to press too hard!
- Allow the cookies to cool for at least 5 minutes on the baking sheet before transferring to a cooling rack to cool completely before filling with caramel.
- MAKE THE CARAMEL FILLING: In a small bowl with a spout (preferably a glass measuring cup with a spout), combine the unwrapped caramels, 2 teaspoons of milk, and salt.
- Melt in the microwave on high for 30 seconds, stir, then continue to microwave in 15-second intervals, stirring after each, until you have a smooth, pourable mixture.
- Add an additional ½ teaspoon of milk if you need to thin it out more.
- FILL THE COOKIES: While the caramel is still very warm, slowly and carefully fill each chocolate cookie, taking care not to overfill the wells.
- The caramel will spread to the edges, so only fill it about halfway before adding more to fill to the brim.
- DRIZZLE WITH CHOCOLATE: Allow the caramel to set before drizzling with chocolate. Place the chocolate in a small microwaveable bowl and microwave for about 20 seconds. Stir and then microwave in 10-second intervals, stirring after each until the chocolate is completely melted and smooth. Drizzle over the set caramel.
Nutrition Information
Calories: 184kcal | Carbohydrates: 30g | Protein: 2g | Fat: 7g | Saturated Fat: 4g | Polyunsaturated Fat: 1g | Monounsaturated Fat: 2g | Trans Fat: 0.2g | Cholesterol: 22mg | Sodium: 112mg | Potassium: 100mg | Fiber: 1g | Sugar: 23g | Vitamin A: 141IU | Vitamin C: 0.1mg | Calcium: 41mg | Iron: 1mg
Tried this recipe? Mention @familycookierecipes or tag #familycookierecipes!
Creative Variations for Your Thumbprint Cookies
While our Caramel Brownie Thumbprint Cookies are undeniably delicious, thumbprint cookies are renowned for their adaptability. They offer a fantastic canvas for culinary creativity, allowing you to explore a multitude of flavors and textures. Don’t hesitate to customize them to suit your preferences or the occasion!
Filling Variations to Inspire You:
- Classic Fruit Preserves: The traditional choice for thumbprint cookies. Raspberry, strawberry, and apricot preserves are timeless favorites that offer a bright, fruity contrast to the rich cookie base. Experiment with other flavors like blackberry, cherry, or even fig jam for unique twists.
- Decadent Chocolate: For the ultimate chocolate lover, fill the thumbprint with melted chocolate ganache, Nutella, or a rich chocolate fudge. A sprinkle of sea salt on top can enhance the chocolate flavor beautifully.
- Peanut Butter Perfection: A dollop of creamy peanut butter (or almond butter) in the center, perhaps topped with a mini chocolate chip, creates a delightful flavor combination.
- Lemon Curd Zest: For a bright and tangy contrast, a spoonful of homemade or store-bought lemon curd offers a refreshing citrusy zing that pairs wonderfully with a buttery cookie base.
- Cream Cheese Delight: A small amount of sweetened cream cheese filling can create a cheesecake-like thumbprint, especially delicious with a fruit preserve swirl.
Elevating Your Thumbprint Cookies with Topping Variations:
- Crunchy Chopped Nuts: Before or after baking, sprinkle finely chopped nuts like pecans, walnuts, or almonds over the filling for added texture and nutty flavor. Toasted nuts add an extra layer of aroma.
- Simple Powdered Sugar: For an elegant and understated finish, a light dusting of powdered sugar over the cooled cookies is always a classic choice. It adds a touch of sweetness and a soft, wintry aesthetic.
- Sweet Glaze Drizzle: Create a simple glaze by whisking powdered sugar with a tiny bit of milk or lemon juice. Drizzle it over the set filling for a shiny, sweet coating. Food coloring can be added for festive occasions.
- Sprinkles and Candies: For a fun and festive touch, especially for birthdays or holidays, add colorful sprinkles, miniature chocolate candies, or even finely crushed candy canes to the wet filling before it sets.
- Coconut Flakes: Toasted coconut flakes add a tropical flavor and wonderful chewiness, especially good with a chocolate or caramel filling.
Storage and Shelf Life: Keeping Your Thumbprint Cookies Fresh
Proper storage is key to maintaining the deliciousness and texture of your Caramel Brownie Thumbprint Cookies. While they are always best enjoyed fresh, they can be stored for several days if handled correctly.
Once completely cooled and the caramel and chocolate drizzle have set, store these cookies in a single-layer, airtight container at room temperature. They will remain fresh and delightful for up to 1 week. To prevent the bottoms of cookies from sticking to the caramel of other cookies when stacking, place a piece of parchment paper or wax paper between each layer. For optimal flavor and texture, we recommend savoring them within 3 to 4 days of baking.
Freezing Options:
Freezing Baked Cookies: If you wish to extend their shelf life, baked and cooled thumbprint cookies can be frozen. Place them in a single layer on a baking sheet until solid, then transfer them to an airtight freezer-safe container or bag, separating layers with parchment paper. They can be frozen for up to 2-3 months. Thaw at room temperature before serving.
Freezing Cookie Dough: You can also prepare the cookie dough in advance and freeze it. Roll the dough into balls, create the thumbprints, and then freeze them on a baking sheet. Once solid, transfer the frozen dough balls to a freezer-safe bag. They can be stored for up to 3 months. When ready to bake, place frozen dough balls on a lined baking sheet and bake directly from frozen, adding a few extra minutes to the baking time. This is a fantastic way to have fresh, warm cookies on demand!
Troubleshooting Common Cookie Baking Issues: Why Did My Cookies Spread?
Baking can sometimes present unexpected challenges, and one of the most common frustrations is when cookies spread too much during baking, losing their intended shape. For thumbprint cookies, this can lead to flattened wells and a messier appearance. Here’s a breakdown of why this might happen and how to prevent it:
The primary culprit behind excessive cookie spreading is often dough that is too warm. If your kitchen is warm, or if your butter was overly soft when you started, the dough can quickly become soft and pliable. When this warm dough hits the heat of the oven, the butter melts too rapidly before the flour and egg have a chance to set the cookie’s structure, causing the cookies to flatten out significantly.
Solutions for Excessive Spreading:
- Chill Your Dough Thoroughly: As emphasized in the recipe, chilling the cookie dough is absolutely crucial. This allows the butter and other fats in the dough to solidify. When chilled dough enters the oven, the butter melts more slowly, giving the cookie structure time to set before fully spreading. If you notice your dough is warm or soft, pop it into the refrigerator for at least 30 minutes, or even the freezer for 15-20 minutes, before baking.
- Measure Ingredients Precisely: Too much butter or not enough flour can also lead to spreading. Ensure you’re accurately measuring your ingredients, preferably using a kitchen scale for flour.
- Oven Temperature: An oven that isn’t hot enough can also cause spreading, as the cookies take longer to bake, giving the butter more time to melt. Use an oven thermometer to verify your oven’s accuracy.
- Avoid Greased Baking Sheets: Parchment paper or silicone mats are preferable. Greasing a baking sheet can add extra fat, encouraging cookies to spread.
Other Common Cookie Issues:
- Tough Cookies: This usually happens due to overmixing the dough. Once you add the dry ingredients, mix only until just combined to avoid developing too much gluten.
- Dry or Crumbly Cookies: Often a result of too much flour or insufficient moisture. Ensure accurate measurement of flour and that your butter and egg yolk are at room temperature.
- Burnt Edges: An oven that’s too hot or baking for too long can cause burnt edges. Again, verify oven temperature and keep a close eye on baking times.
Prepping Ahead: Can I Make the Cookie Dough in Advance?
Absolutely! Preparing cookie dough in advance is a fantastic time-saver, especially when you’re planning for parties, holidays, or simply want to enjoy freshly baked cookies without the full prep work on the day of. Our Caramel Brownie Thumbprint Cookie dough is excellent for make-ahead convenience.
You can prepare the cookie dough as directed, form the balls, and create the thumbprints. Then, place the formed dough balls in a well-covered, airtight bowl or container in the refrigerator for up to a day in advance. This means you can do all the mixing and shaping one day, and then simply pop them into the oven to bake the next. This method not only saves time but can also enhance the flavor of the cookies, as the ingredients have more time to meld and develop deeper notes. It’s perfect for entertaining or when you crave warm, fresh cookies with minimal effort on a busy day.
The Importance of Chilling Cookie Dough: A Baking Essential
Many cookie recipes, including this one, specifically instruct you to chill the cookie dough. While it might seem like an extra step, chilling is a fundamental technique for achieving superior cookies, both in flavor and texture. It’s not just a suggestion; it’s often a requirement for optimal results.
There are two main reasons why chilling your cookie dough is so important:
- Flavor Development: Allowing the dough to chill gives the ingredients, particularly the sugars and flours, more time to hydrate and meld together. This process deepens the flavors, resulting in a more complex and “incredible” taste. The flavors become more concentrated and pronounced, creating a more satisfying cookie experience.
- Texture and Spread Control: This is arguably the most critical reason for chilling. Cookie dough contains butter or other fats. When the dough is warm, these fats are soft. If you bake warm dough, the butter melts rapidly in the oven before the other ingredients (like flour and egg) have a chance to set the cookie’s structure. This causes the cookies to spread out excessively, leading to thin, flat, and often greasy cookies that lose their shape (especially important for thumbprint cookies). By chilling the dough, you allow the fats to solidify. When these chilled dough balls enter the hot oven, the solid fat melts more slowly, giving the cookie structure time to firm up before the fat fully liquefies. This results in cookies that hold their shape better, have a chewier, thicker texture, and beautiful golden edges. This effect is particularly crucial on warmer days or if your butter was initially too soft or warm.
So, resist the temptation to skip the chilling step! It’s a small investment of time that yields significantly better Caramel Brownie Thumbprint Cookies.
Explore More Delicious Thumbprint Cookie Recipes:
If you loved making these Caramel Brownie Thumbprint Cookies, you’re in for a treat! The world of thumbprint cookies is vast and incredibly versatile. Here are some other delightful thumbprint cookie recipes to inspire your next baking adventure:
- CHEESECAKE THUMBPRINT COOKIES
- SWEETHEART VALENTINE THUMBPRINT COOKIES
- GRINCH THUMBPRINT COOKIES
- EASY, SOFT JAM THUMBPRINT COOKIES
- RASPBERRY JAM THUMBPRINT COOKIES
- SALTED PUMPKIN CARAMEL THUMBPRINT COOKIES
- DOUBLE THUMBPRINT HEART COOKIES
- CHOCOLATE STRAWBERRY THUMBPRINT COOKIES
- STRAWBERRY THUMBPRINT COOKIES
- LEMON THUMBPRINT COOKIES
- CLASSIC CARAMEL THUMBPRINT COOKIES
- CHOCOLATE RASPBERRY THUMBPRINT COOKIES
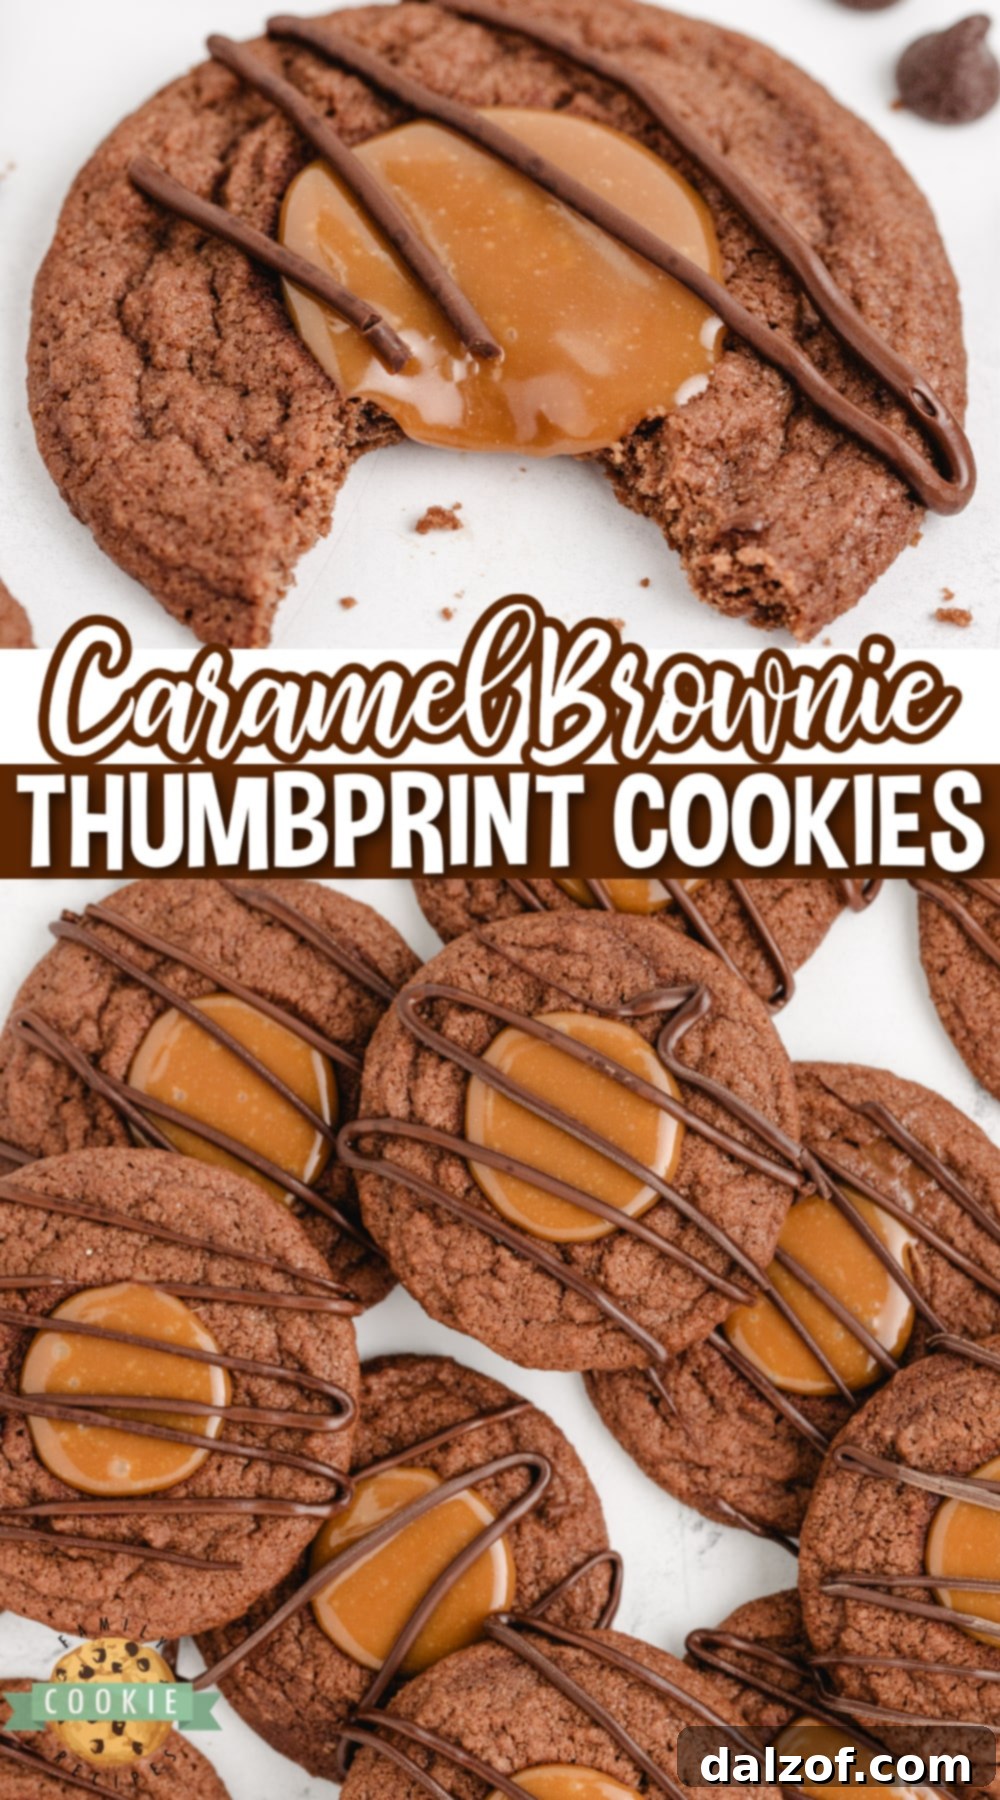
These Caramel Brownie Thumbprint Cookies are more than just a dessert; they are a delightful experience, combining the fudgy goodness of a brownie with the sweet, gooey pleasure of caramel, all wrapped up in a charming cookie package. Whether you’re a seasoned baker or just starting your culinary journey, this recipe offers a straightforward path to creating truly unforgettable treats. Enjoy the process, savor the aroma, and delight in every single bite of these homemade masterpieces!