
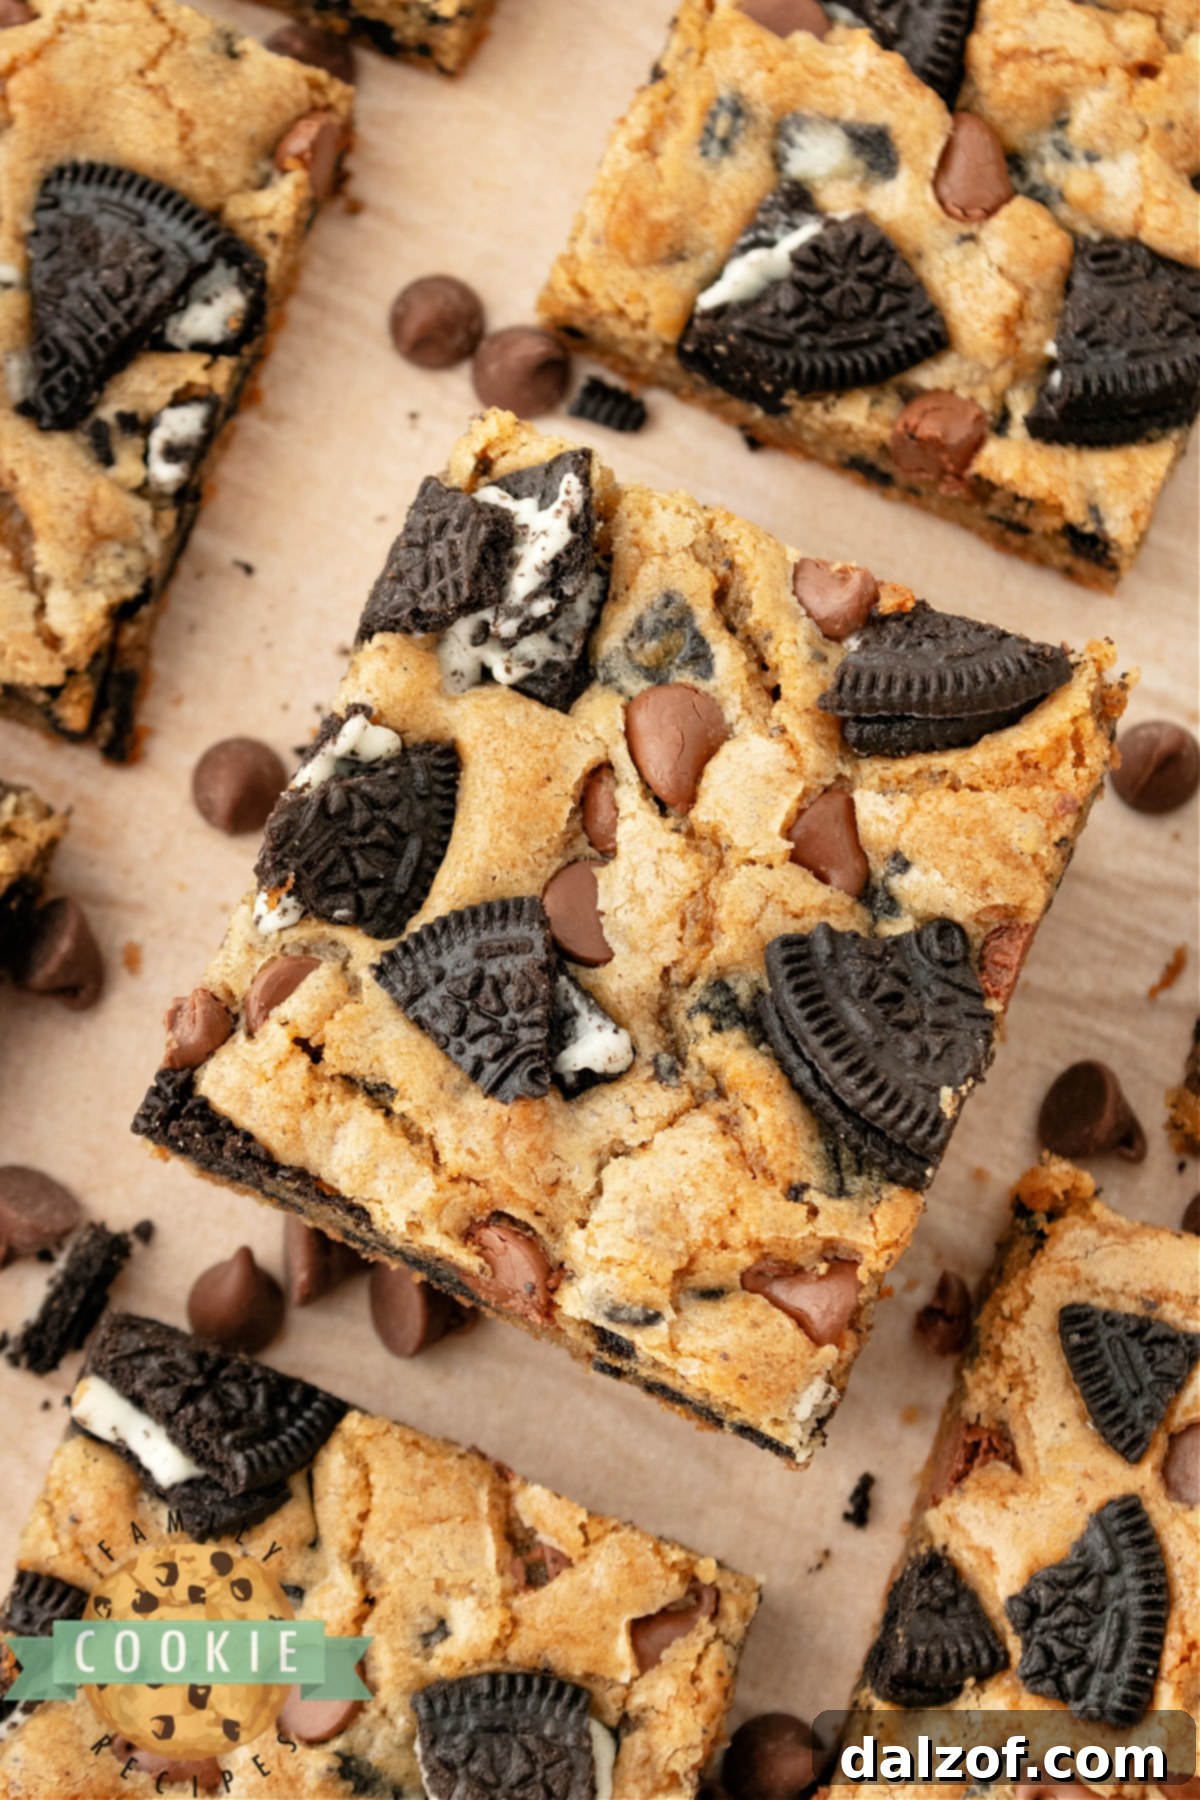
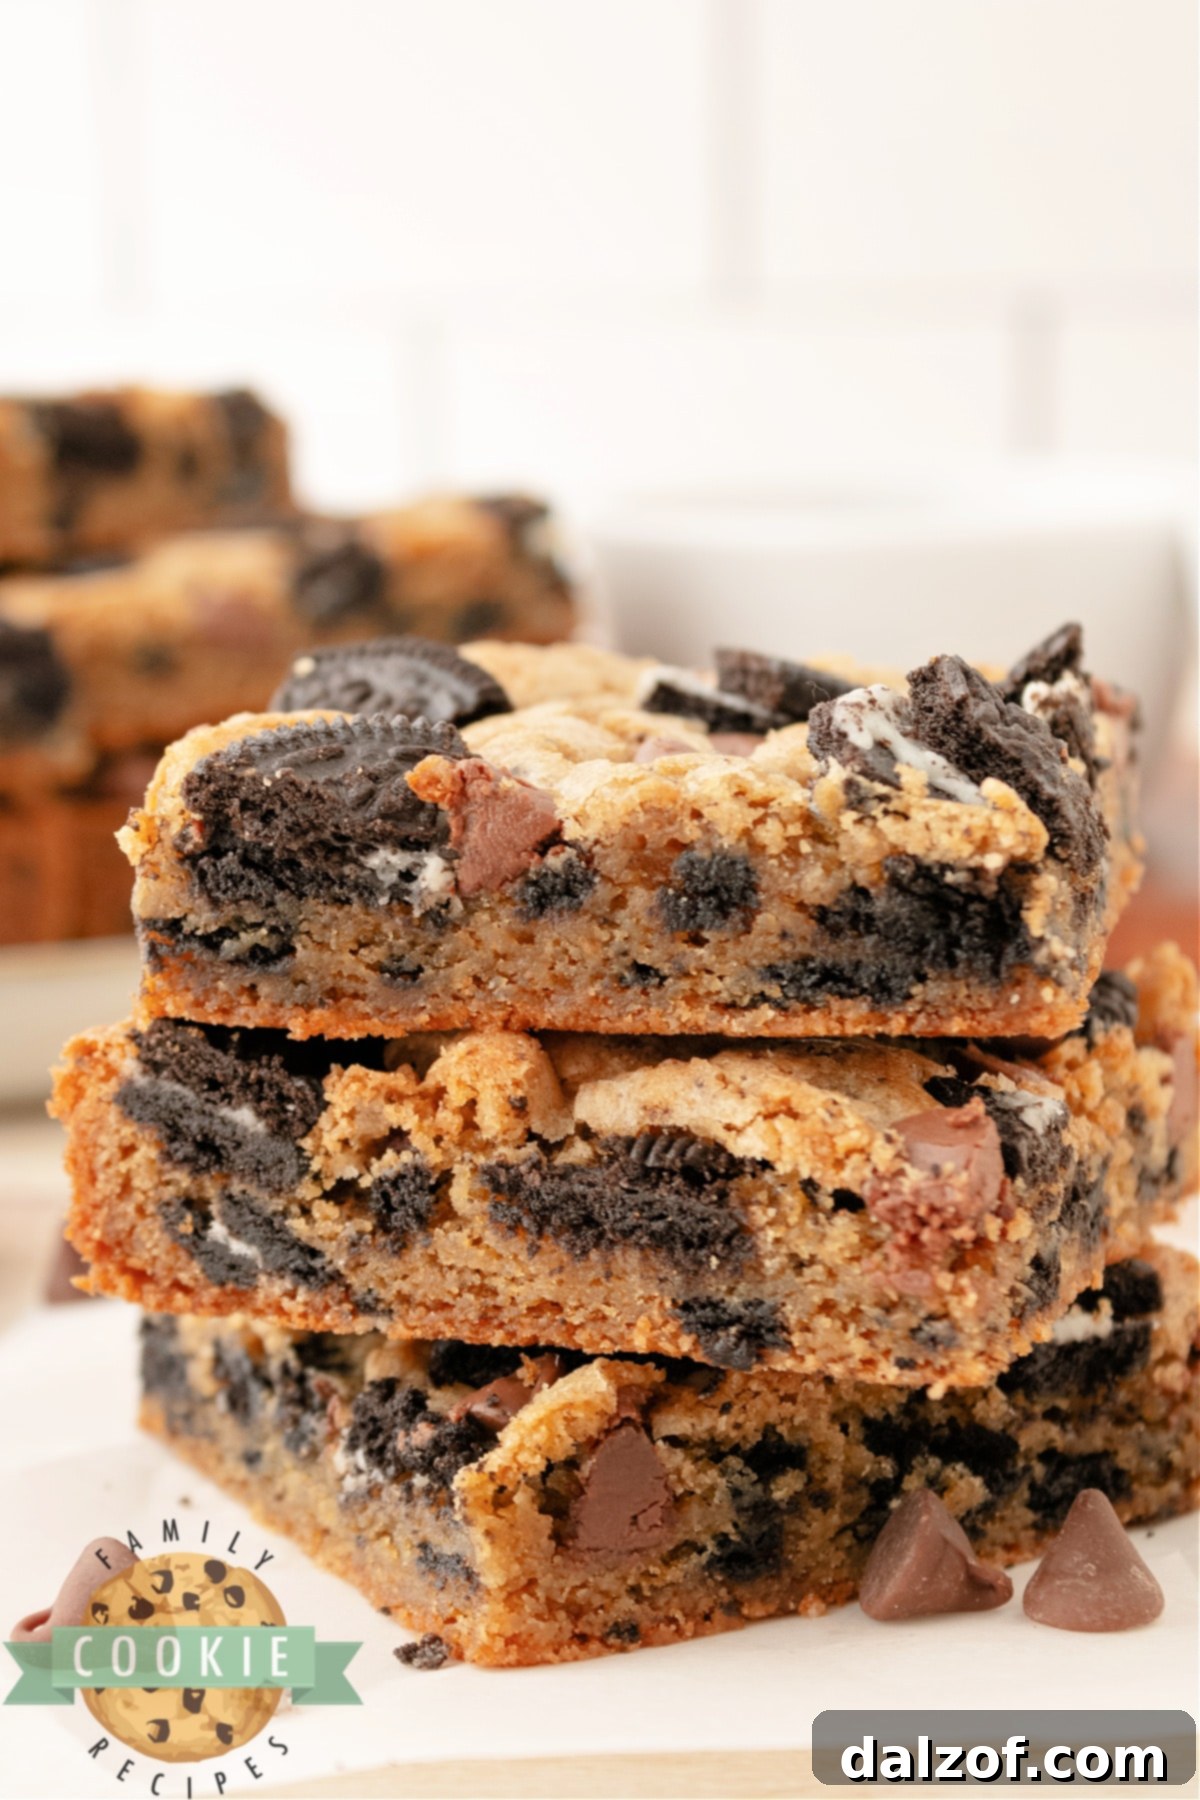
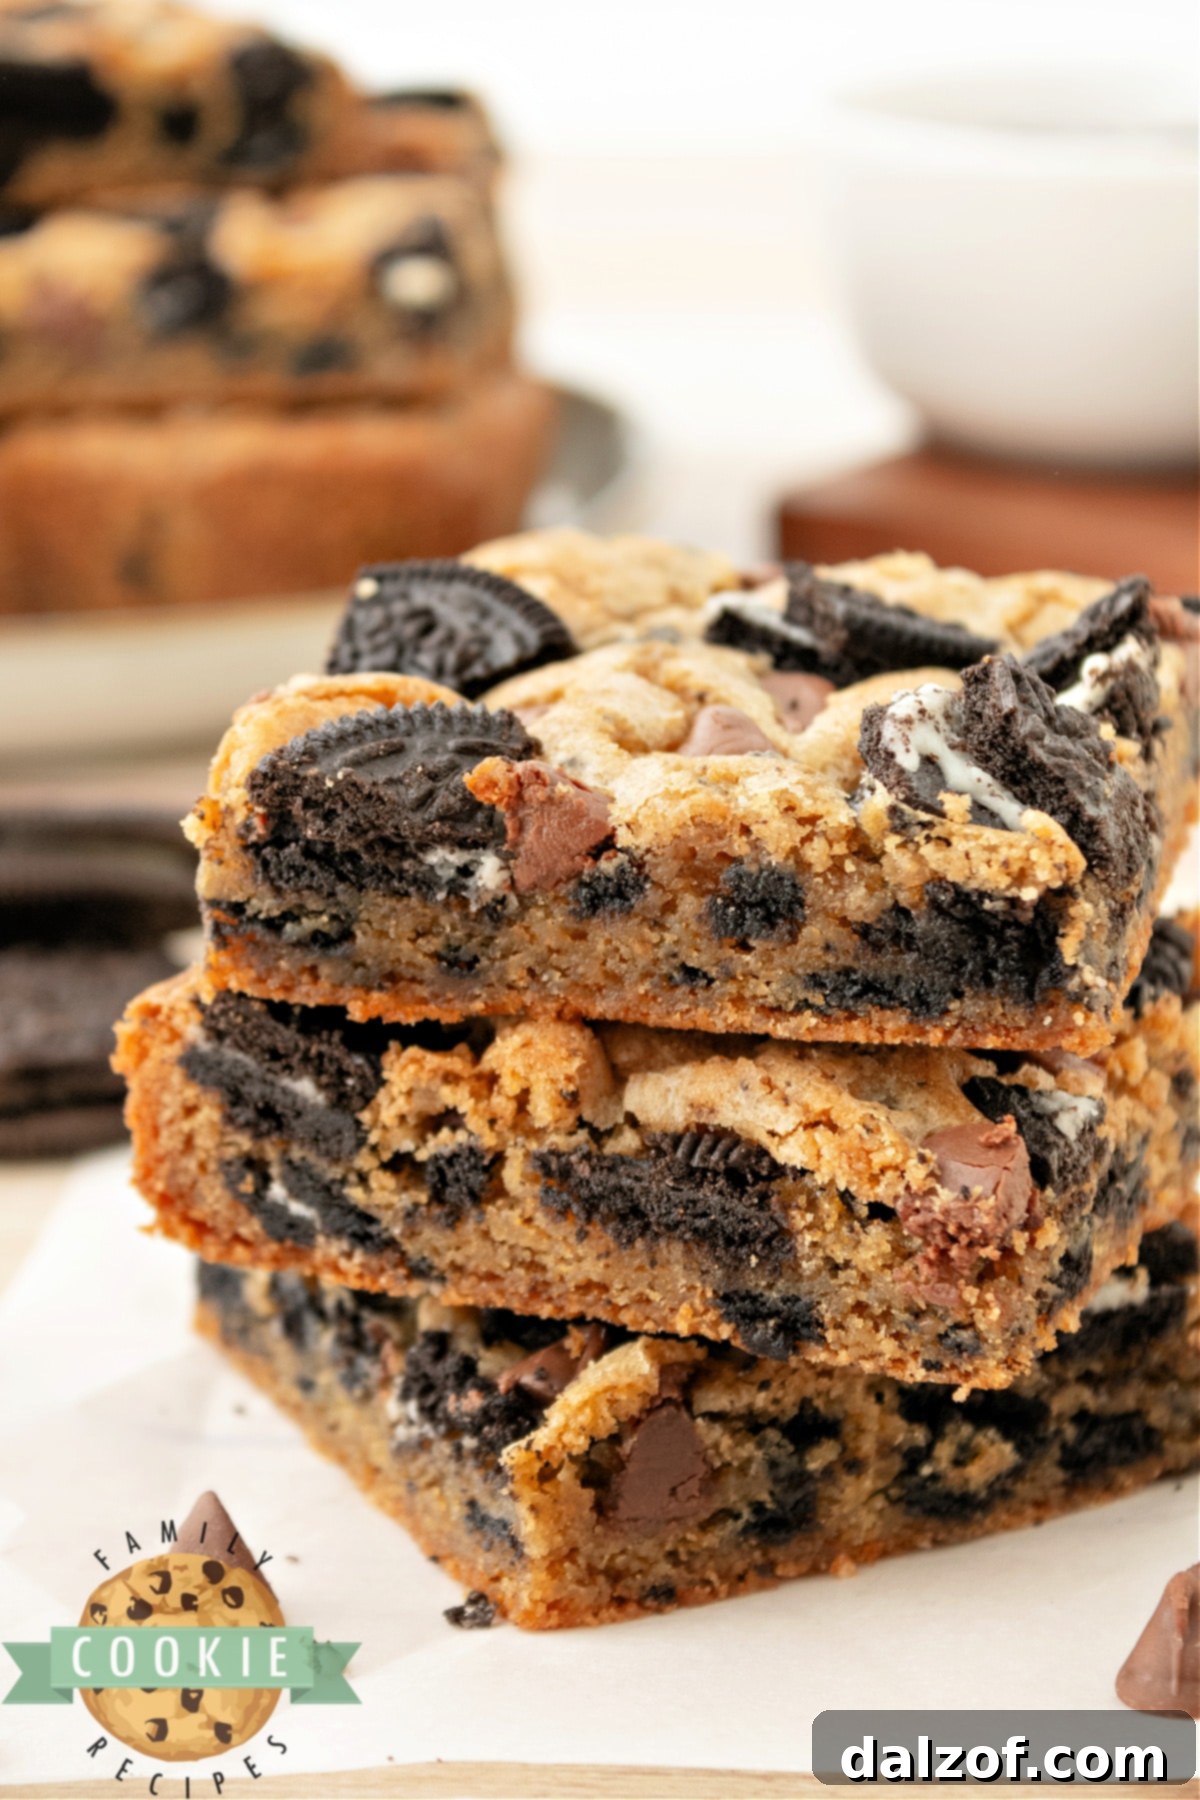
Welcome to the ultimate guide for creating the most irresistibly soft, chewy, and gloriously gooey Oreo Cookie Bars! Often hailed as Cookies & Cream Bars, these delightful treats are a dream come true for any Oreo enthusiast. Forget the hassle of individual cookie baking; these bars deliver all the iconic flavor and texture of your favorite sandwich cookie in a convenient, shareable format. Perfect for parties, potlucks, or simply satisfying that intense sweet craving, our recipe ensures a batch of pure amazingness every single time.
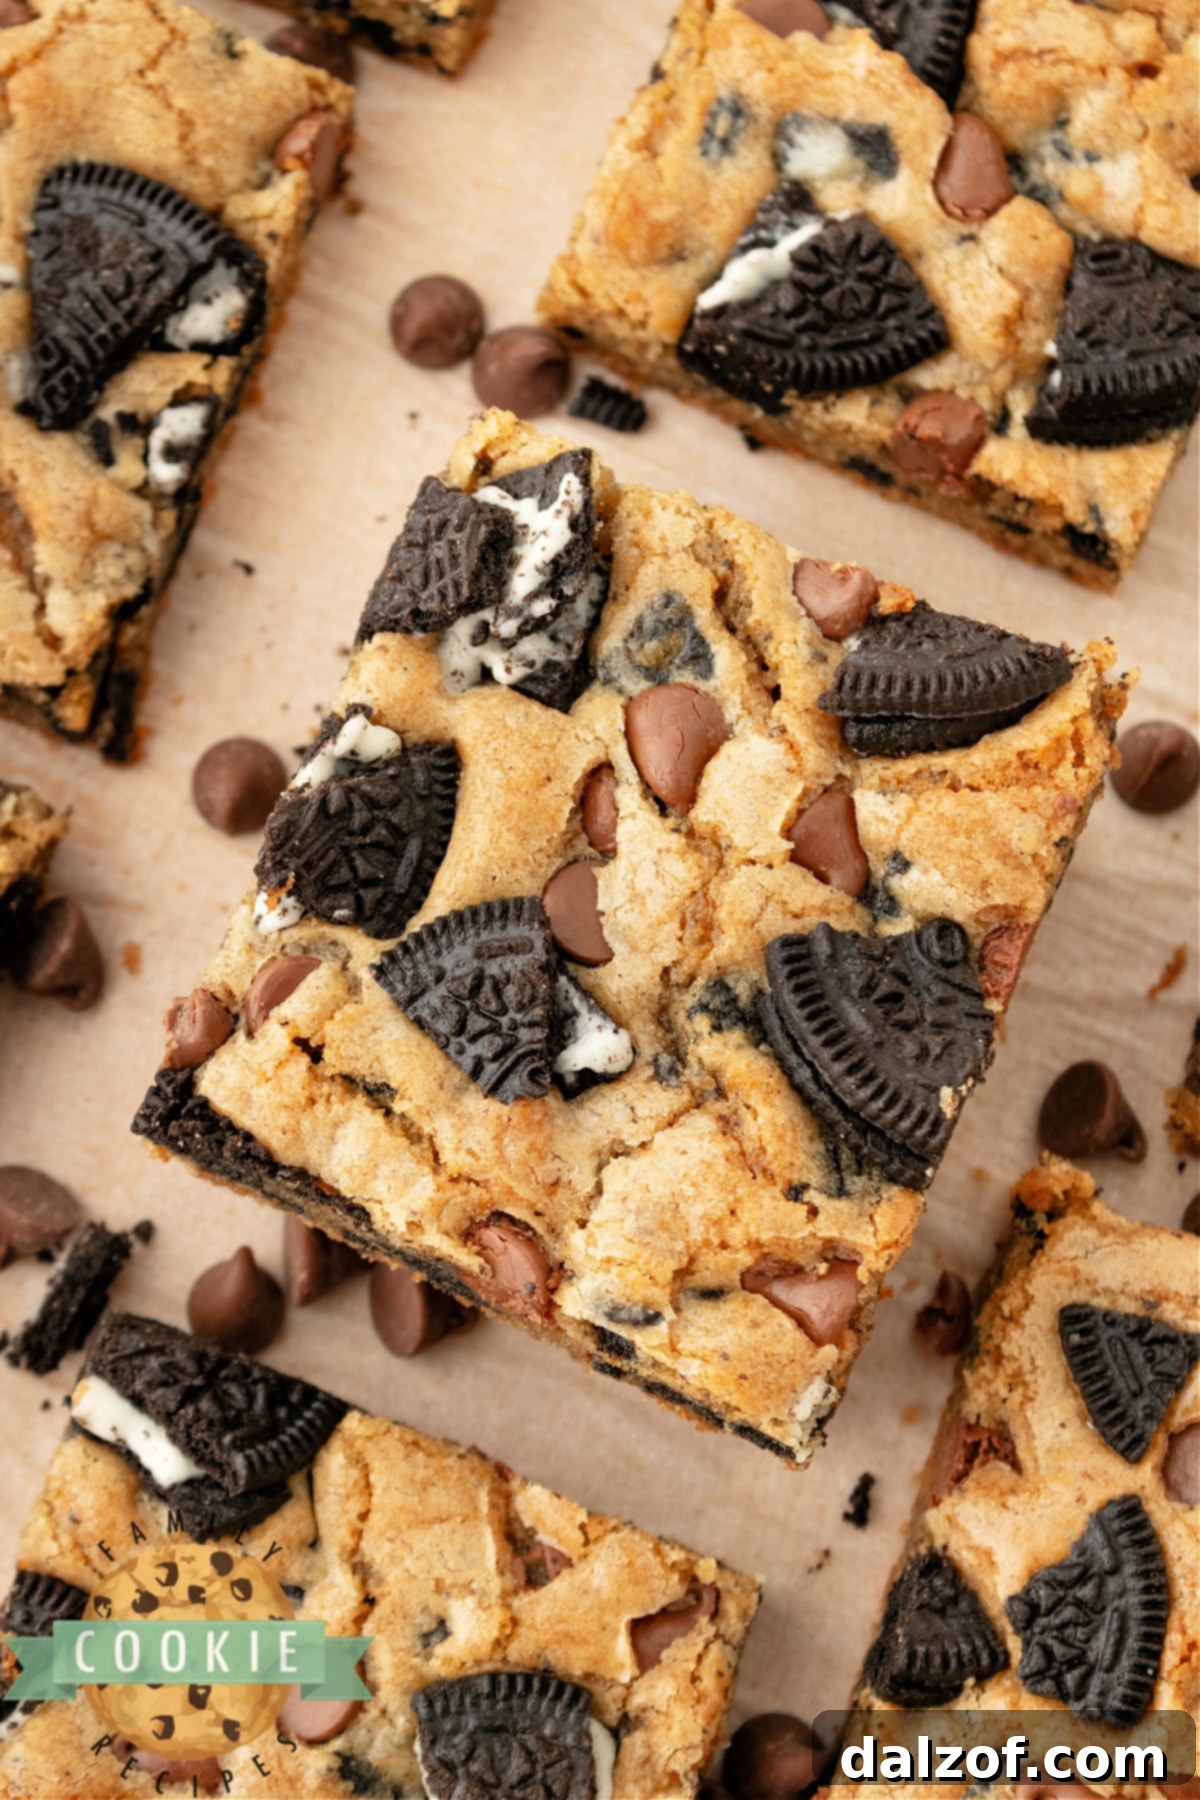
Why Choose Cookie Bars Over Traditional Cookies?
While we adore classic cookies, there are moments when time is of the essence, or you simply crave a less labor-intensive baking experience. This is where cookie bars truly shine! Instead of scooping and baking dozens of individual cookies, often in multiple batches, you can effortlessly spread a single batch of dough into a 9×13 inch pan and bake it all at once. This method not only saves considerable time but also guarantees consistently thick, chewy, and moist results across the entire batch. Imagine fewer dishes, less waiting, and more deliciousness—that’s the magic of Oreo Cookie Bars!
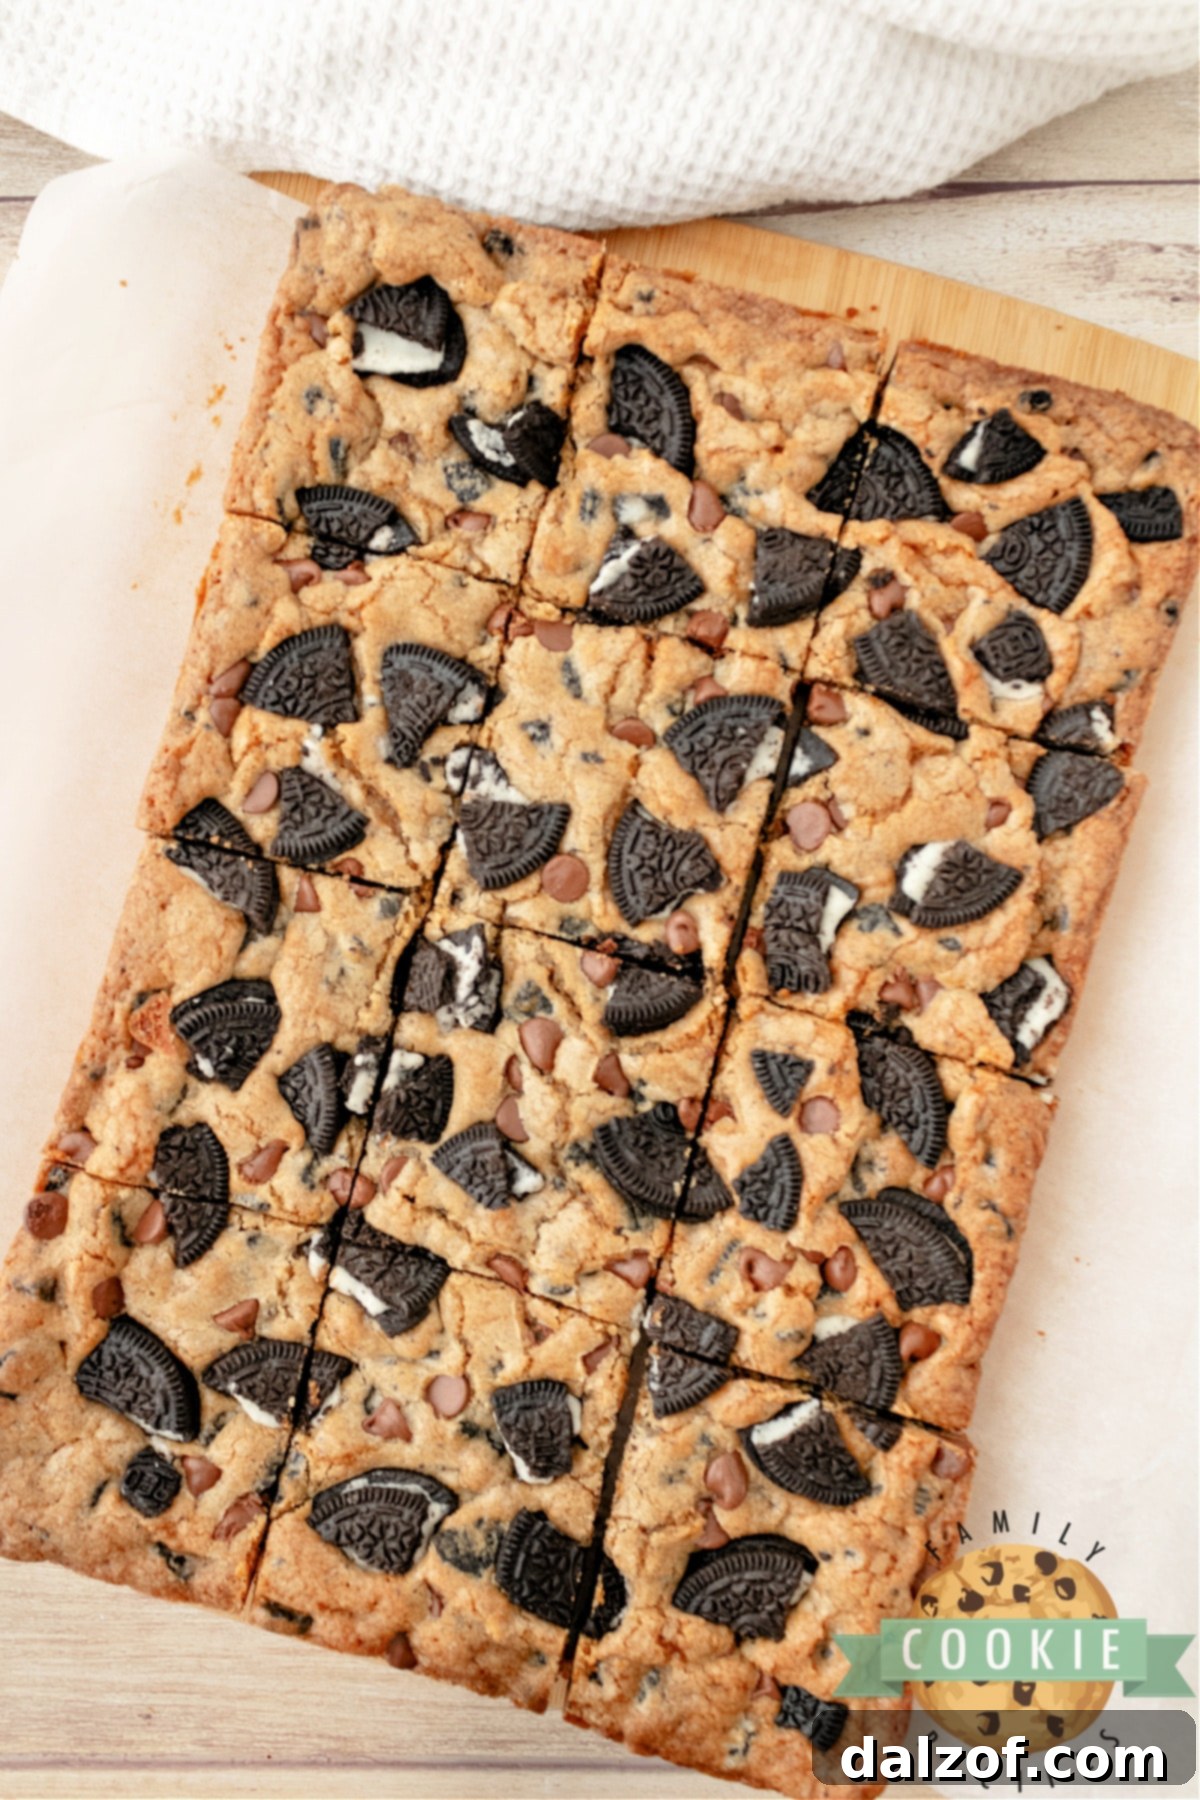
Secrets to Cutting Perfect Cookie Bars
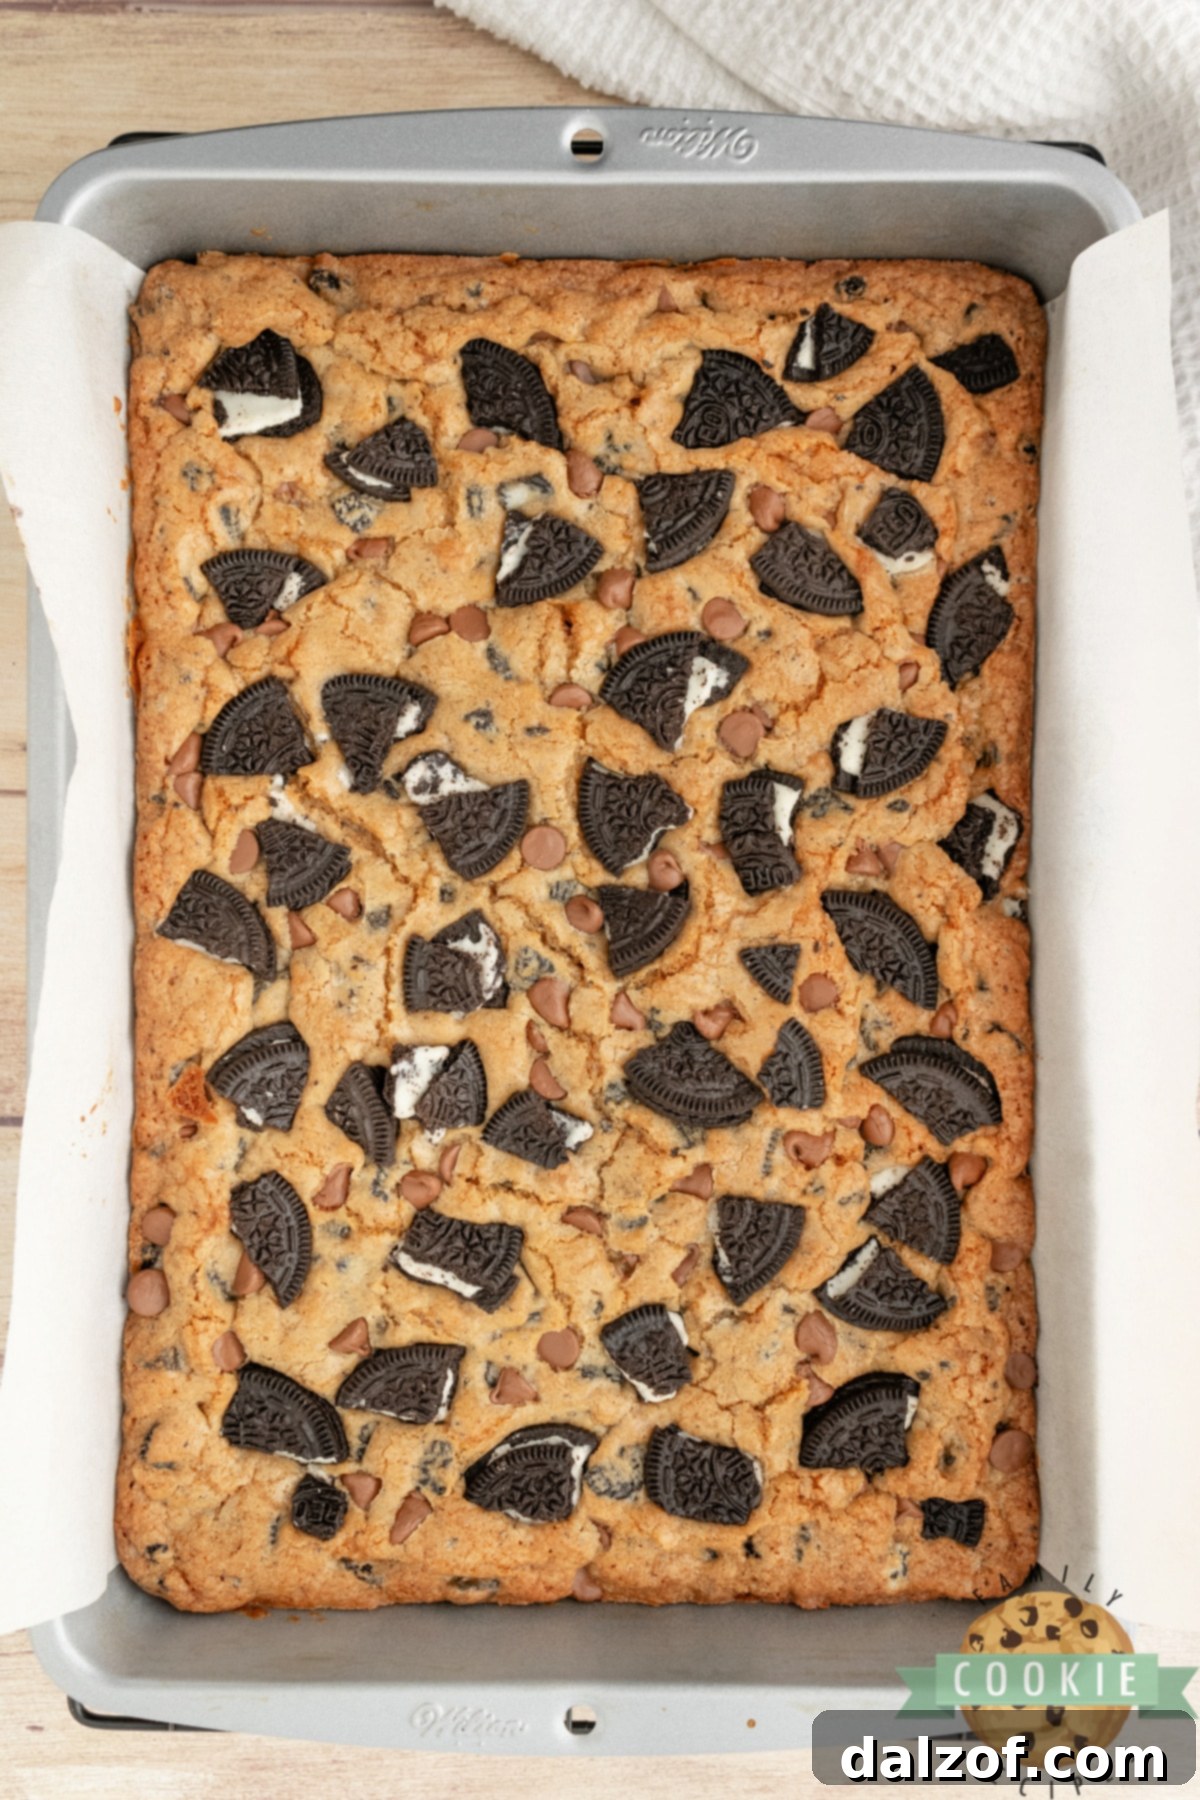
Achieving impeccably cut cookie bars that maintain their shape and beautiful appearance might seem challenging, but there’s a simple trick that guarantees success: parchment paper! Lining your 9×13 inch baking pan with parchment paper, leaving an overhang on the sides, allows you to lift the entire cooled slab of cookie bars out of the pan with ease. This eliminates the struggle of trying to pry out the first row, which often leads to broken pieces and a messy presentation. Once lifted, you can place the slab on a cutting board and slice it into neat, uniform squares with minimal effort. If parchment paper isn’t available, greasing your pan as usual will work, but be prepared for the first few pieces to be a bit less pristine. Rest assured, this Oreo cookie bar recipe yields a resilient and stable treat, making it one of the easiest desserts to slice beautifully.
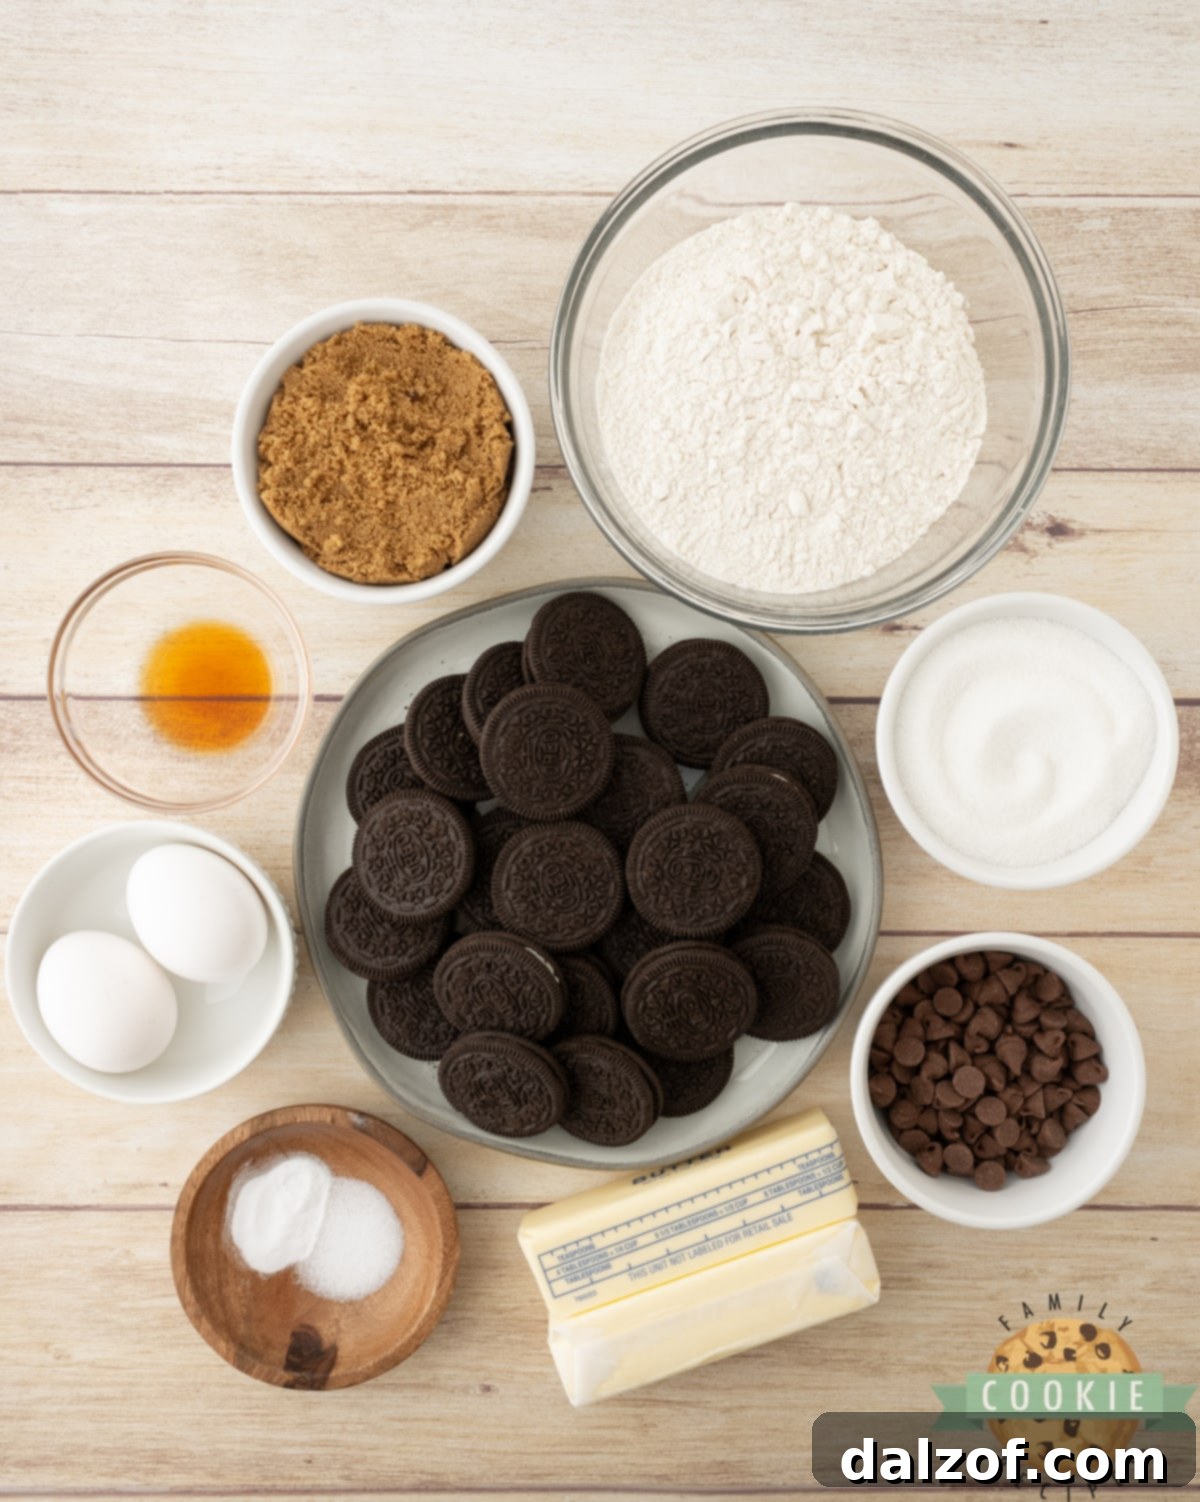
Essential Ingredients for Irresistible Oreo Cookie Bars
Crafting the perfect batch of Oreo Cookie Bars begins with high-quality ingredients. Here’s what you’ll need and why each component is crucial:
- Oreos: The star of the show! You’ll need a total of 22 standard Oreo cookies. Divide them: 14 will be coarsely chopped and folded into the cookie dough, creating delightful pockets of crunchy chocolate cookie and creamy filling. The remaining 8 Oreos should be chopped into slightly larger pieces to press onto the top of the bars before baking, adding an appealing visual and textual element. No need to remove the white filling—it’s part of the charm!
- All-Purpose Flour: This forms the foundational structure of your cookie bars. All-purpose flour is generally recommended for its balanced protein content, resulting in a tender yet firm crumb. If you’re exploring gluten-free options, a good quality 1:1 gluten-free baking blend can often be used as a substitute, though results may vary slightly in texture.
- Baking Soda: This leavening agent is critical for giving your cookie bars a soft, slightly risen texture. Ensure your baking soda is fresh (not expired) for optimal activation; old baking soda can lead to dense, flat bars.
- Salt: A small but mighty ingredient! Salt is essential for balancing the sweetness of the sugars and Oreos, enhancing all the other flavors in the bar. Don’t skip it, as it brightens the overall taste profile.
- Unsalted Butter: For the richest flavor and best texture, real unsalted butter is key. It’s crucial that your butter is softened to room temperature before mixing. Softened butter creams beautifully with sugar, incorporating air and creating a light, fluffy base for your dough. Avoid melted butter, as it will drastically change the texture of the bars, making them dense and greasy.
- Granulated Sugar & Brown Sugar: A harmonious blend of both sugars contributes to the perfect chewiness and flavor. Granulated sugar adds crispness and sweetness, while brown sugar—with its molasses content—lends moisture, a subtle caramel note, and that desirable soft, chewy texture. Make sure your brown sugar is soft and fresh for the best results.
- Large Eggs: Eggs act as a binder, holding all the ingredients together and providing moisture and structure. Using large eggs is standard for most baking recipes. Ensure they are at room temperature, just like the butter, for better emulsification with the other ingredients.
- Vanilla Extract: High-quality pure vanilla extract elevates the flavor of these bars, adding warmth and depth that complements the chocolate and cream notes of the Oreos. Invest in a good vanilla for a noticeable difference.
- Semi-Sweet Chocolate Chips (Optional): For an extra layer of indulgence, a sprinkle of semi-sweet chocolate chips on top of the bars before baking is always a welcome addition. This is entirely optional but highly recommended for chocolate lovers!
Step-by-Step Guide: How to Make Oreo Cookie Bars
Follow these simple instructions to create your own batch of delightful Oreo Cookie Bars:
- Preheat your oven to 350°F (175°C). Prepare a 9×13 inch baking dish by lining it with parchment paper, allowing an overhang on the longer sides for easy removal later.
- Prepare your Oreos: Take 14 of the Oreo cookies and use a sharp knife to chop them into small, bite-sized pieces. For the remaining 8 Oreos, chop or break them into slightly larger, more prominent chunks. Set both portions aside.
- In a small mixing bowl, whisk together the dry ingredients: all-purpose flour, baking soda, and salt. Ensure they are well combined, then set this bowl aside.
- In a large mixing bowl, combine the softened butter, brown sugar, and granulated sugar. Using a hand mixer or stand mixer, cream these ingredients together for 2-3 minutes until the mixture is light, fluffy, and pale in color. This step is crucial for achieving a tender texture.
- Add the large eggs and vanilla extract to the creamed butter and sugar mixture. Continue to mix for another 2-3 minutes until everything is thoroughly incorporated and smooth.
- Gradually add the whisked dry ingredients to the wet mixture. Mix on low speed until just combined. Be careful not to overmix the dough, as this can lead to tough cookie bars.
- Using a spatula, gently fold in the 14 finely chopped Oreos that you prepared earlier. Mix until the Oreo pieces are evenly distributed throughout the dough.
- Press the cookie dough evenly into the prepared 9×13 inch baking dish. Use your hands or the back of the spatula to ensure it’s spread from edge to edge.
- Gently press the 8 larger chopped Oreo pieces into the top surface of the dough. If you’re using chocolate chips, sprinkle them over the top as well.
- Bake for 25-30 minutes, or until the edges are lightly golden brown and a toothpick inserted into the center comes out clean or with moist crumbs, but no raw batter. Avoid overbaking to keep the bars soft and chewy.
- Once baked, remove the pan from the oven and allow the bars to cool completely in the pan on a wire rack before attempting to cut them.
- Once fully cooled, use the parchment paper overhang to lift the entire slab of Oreo Cookie Bars out of the pan. Place it on a cutting board and slice into 12-15 squares or rectangles. Enjoy!
OREO COOKIE BARS
Oreo Cookie Bars are a decadent treat packed with crushed Oreos. Call them Cookies & Cream Bars for their rich flavor profile, but no matter the name, they promise a soft, chewy, gooey, and absolutely amazing experience!
Pin Recipe
Rate This Recipe
Course: Cookie Bars
Cuisine: American
Keyword: Oreo Cookie Bars, Cookies and Cream Bars
Prep Time: 10 minutes
Cook Time: 25 minutes
Servings: 15 servings
Calories: 355 kcal
Author: Jessica & Nellie
Ingredients
- 22 Oreos (divided)
- 2 cups all-purpose flour
- ½ teaspoon baking soda
- ½ teaspoon salt
- 1 cup butter (softened)
- ¾ cup brown sugar
- ¾ cup granulated sugar
- 2 large eggs
- 1 teaspoon vanilla extract
- ¼ cup chocolate chips (optional)
Instructions
- Preheat oven to 350°F. Line a 9×13 baking dish with parchment paper.
- Using a sharp knife, chop 14 Oreos into small pieces. Chop or break 8 Oreos into slightly larger pieces. Set aside.
- In a small mixing bowl, whisk together flour, baking soda, and salt. Set aside.
- In a large mixing bowl, mix softened butter, brown sugar, and granulated sugar for about 2-3 minutes until light and fluffy with a hand mixer or stand mixer.
- Add eggs and vanilla and mix for another 2-3 minutes until well combined.
- Slowly add the dry ingredients to the wet and mix until just combined. Do not overmix.
- Using a spatula, gently fold in the 14 chopped Oreos a little at a time until evenly distributed. Spread the batter evenly into the prepared baking dish.
- Gently press the 8 larger chopped Oreos into the top and sprinkle on chocolate chips (if using).
- Bake for 25-30 minutes until a toothpick inserted into the center comes out without any raw batter. The edges should be lightly golden.
- Cool completely on a wire rack, then cut into 12-15 bars.
Nutrition
Calories: 355kcal | Carbohydrates: 48g | Protein: 4g | Fat: 17g | Saturated Fat: 9g | Polyunsaturated Fat: 1g | Monounsaturated Fat: 5g | Trans Fat: 1g | Cholesterol: 55mg | Sodium: 293mg | Potassium: 86mg | Fiber: 1g | Sugar: 30g | Vitamin A: 417IU | Vitamin C: 0.02mg | Calcium: 26mg | Iron: 3mg
Mention @familycookierecipes or tag #familycookierecipes!
Top Tips for Baking the Best Oreo Cookie Bars
Achieving perfectly soft, chewy, and flavorful Oreo Cookie Bars is easy with a few key techniques. Keep these expert tips in mind for consistently amazing results:
- Ensure Butter is Softened, Not Melted: This is a critical distinction! Softened butter (at room temperature) creams with sugars to incorporate air, which is essential for a light and tender texture. Melted butter will create a dense, greasy bar that lacks the desired chewiness.
- Cream Butter and Sugars Thoroughly: Don’t rush this step! Take the full 2-3 minutes to beat the softened butter with both brown and granulated sugars until the mixture is light, fluffy, and noticeably paler. This creaming process aerates the mixture, contributing significantly to the final texture of your bars.
- Always Preheat Your Oven: A properly preheated oven ensures that your cookie bars start baking at the correct temperature immediately, which is vital for even cooking and proper leavening. Placing dough into a cold oven can lead to uneven baking and a less desirable texture.
- Utilize Parchment Paper for Easy Removal: As mentioned, parchment paper is your best friend for bar recipes. It prevents sticking and allows you to lift the entire slab of cooled bars out of the pan, making clean, effortless cutting possible.
- Avoid Overmixing the Dough: Once you add the dry ingredients to the wet, mix only until they are just combined. Overmixing develops the gluten in the flour, which can result in tough, dry cookie bars. A few streaks of flour are fine; they will disappear during baking.
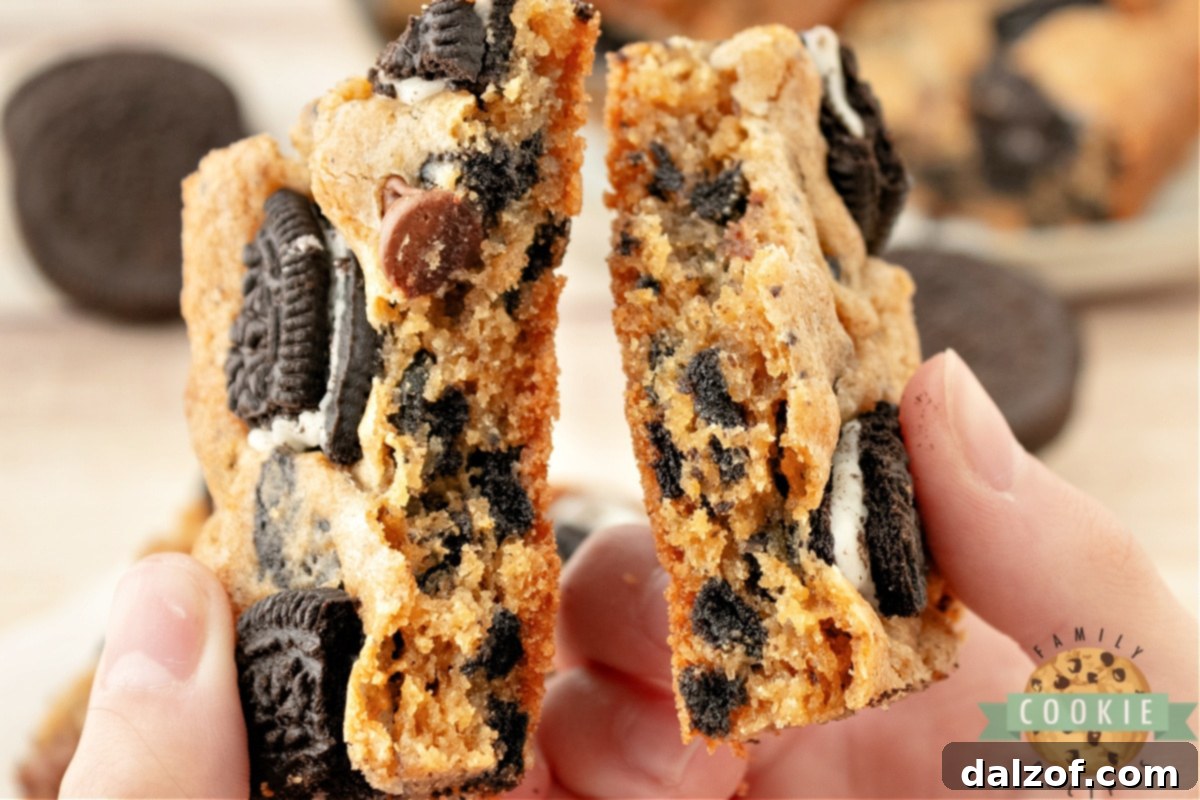
- Do Not Overbake Your Cookie Bars: This is perhaps the most important tip for soft, chewy bars. Cookie bars continue to cook slightly even after they are removed from the oven. As soon as the edges begin to turn a very light golden brown and a toothpick inserted into the center comes out clean (or with just a few moist crumbs), take them out. It’s better to slightly underbake than overbake; overbaked bars will be hard and crumbly.
- Allow for Complete Cooling: Resist the urge to cut into your warm Oreo Cookie Bars! They need to cool completely in the pan to set properly. Cutting them warm can lead to crumbling and a sticky mess. Patience is key for perfectly structured bars.
Quick Guide: How to Soften Butter to Perfection
Softening butter correctly is fundamental for many baking recipes, including these Oreo Cookie Bars. Here’s a reliable method:
The ideal “softened” butter should be pliable enough to leave an indent when pressed with your finger but not greasy or melted. If you’re short on time, your microwave’s defrost function can be a lifesaver. For a full 1/2 cup (one stick) of butter, you can leave it in its paper wrapper. For smaller amounts, place the butter in a glass or porcelain bowl. Use the lowest defrost setting on your microwave and run it for 10-15 seconds. Check the butter by pressing it; if it doesn’t indent easily, return it for another 5-10 seconds. Watch it very closely, as butter softens quickly and can turn from perfectly soft to melted in a matter of seconds. It’s always better to soften in short bursts to avoid melting.
Storing Your Delicious Oreo Cookie Bars
To keep your Oreo Cookie Bars fresh and delicious, store them in an airtight container at room temperature for up to one week. If you’ve baked a large batch or want to enjoy them later, these bars freeze exceptionally well. For best results when freezing, cut the cooled bars into individual servings. Wrap each bar tightly in plastic wrap, then place them in a freezer-safe bag or container. They can be frozen for up to 3 months. Thaw at room temperature or warm slightly in the microwave for a few seconds before serving.
Exciting Variations for Your Cookies & Cream Cookie Bars
One of the best aspects of cookie bars is their incredible versatility! While classic Oreo Cookie Bars are phenomenal on their own, don’t hesitate to get creative with these delicious variations:
- Double Chocolate Oreo Bars: Fold in a mix of milk chocolate and white chocolate chips along with the crushed Oreos for an extra chocolatey punch.
- Mint Oreo Dream Bars: Use mint-flavored Oreos instead of regular ones for a refreshing twist, and perhaps add a swirl of melted mint chocolate on top after baking.
- Peanut Butter Oreo Bliss: Incorporate ½ cup of peanut butter into your butter and sugar mixture, or drizzle melted peanut butter over the cooled bars. Add chopped peanut butter cups for ultimate indulgence.
- Caramel Swirl Oreo Bars: Before baking, drizzle a generous amount of caramel sauce over the top of the dough. You can swirl it gently with a knife for a marbled effect.
- Cream Cheese Layer: For a truly decadent treat, spread a simple cream cheese mixture (8 oz softened cream cheese, ¼ cup sugar, 1 egg, 1 tsp vanilla) over the cookie dough before adding the top layer of Oreos and baking. This creates a rich, tangy counterpoint to the sweet cookie base.
- Holiday-Themed Oreos: Depending on the season, use limited-edition holiday Oreos (e.g., Peppermint Oreos for winter, Lemon Oreos for spring) to give your bars a festive touch.
- Toasted Coconut: Sprinkle some toasted coconut flakes on top along with the extra Oreos for a nutty, tropical crunch.
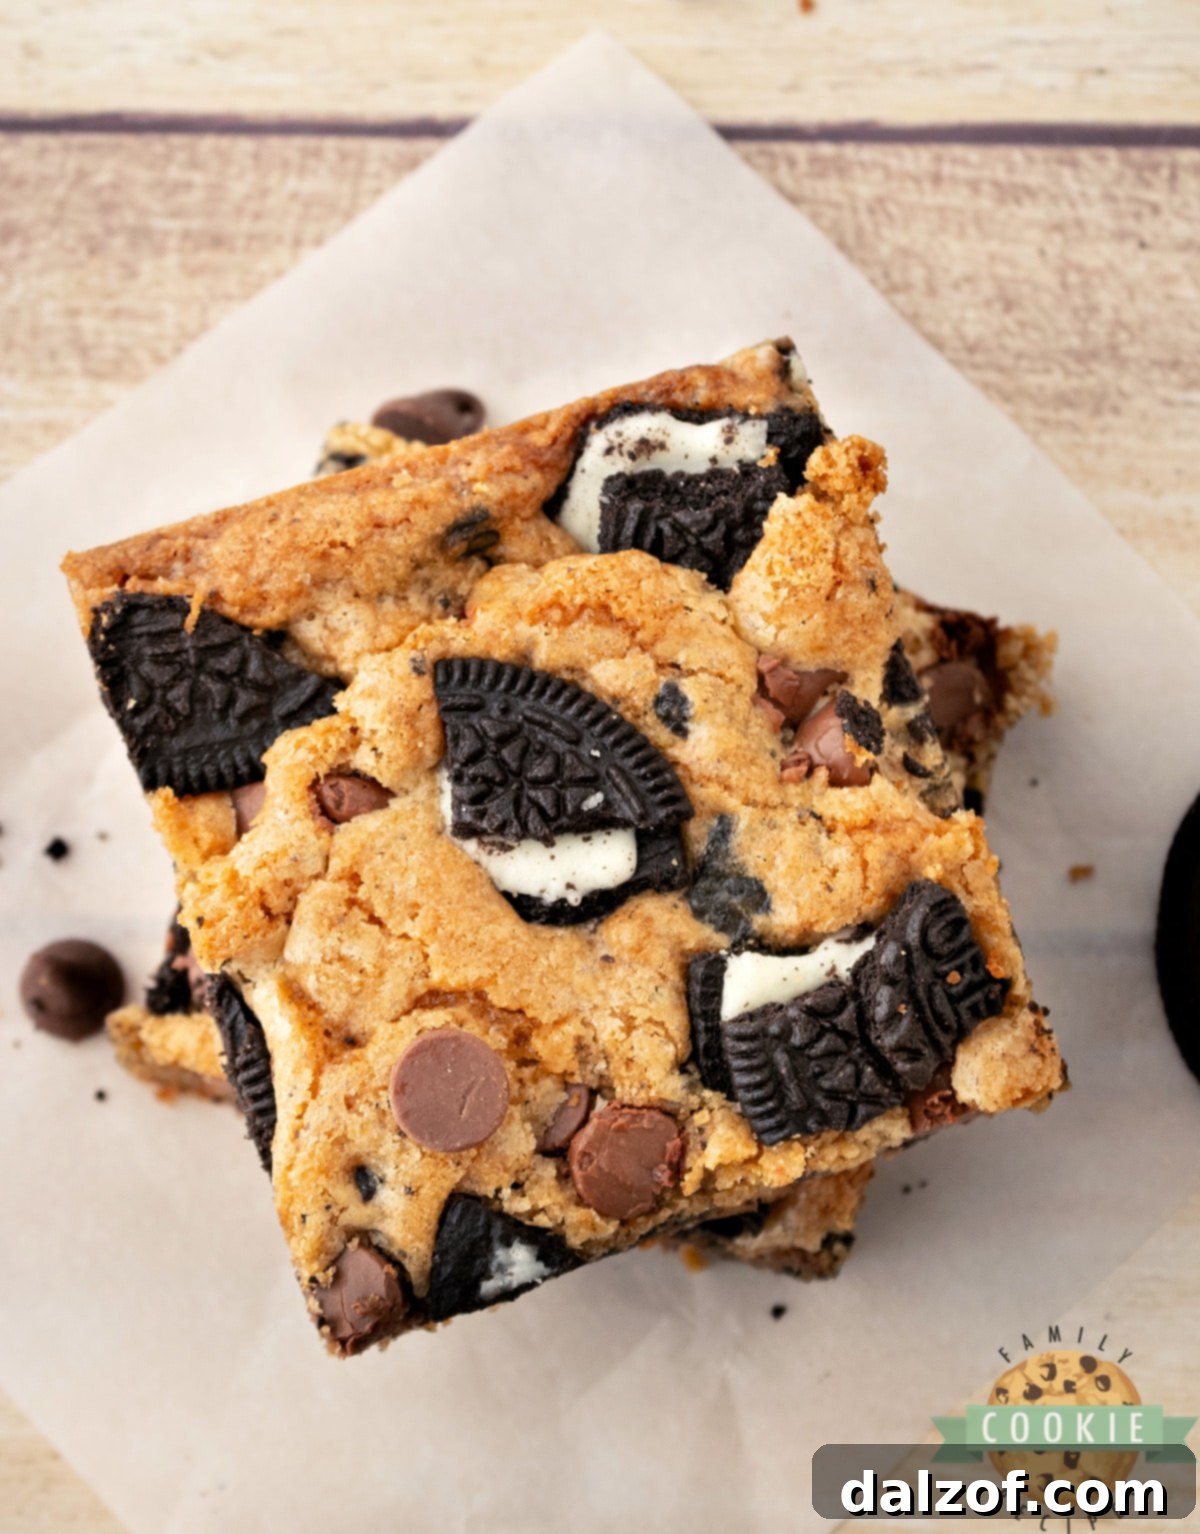
Serving Suggestions for Your Oreo Cookie Bars
These versatile bars are perfect for almost any occasion. Serve them warm with a scoop of vanilla bean ice cream for an extra-indulgent dessert, or alongside a cold glass of milk for a classic pairing. They make an excellent addition to dessert platters at gatherings, potlucks, or holiday parties. For a delightful afternoon treat, enjoy them with a cup of coffee or tea. Their robust flavor and satisfying texture also make them a fantastic grab-and-go snack for busy days.
Frequently Asked Questions About Oreo Cookie Bars
Here are some common questions you might have when making these delicious Oreo Cookie Bars:
- Can I use different types of Oreos? Absolutely! While classic Oreos are fantastic, feel free to experiment with Double Stuffed, Thins, or even flavored Oreos like mint, peanut butter, or golden Oreos for unique twists.
- What if I don’t have a 9×13 inch pan? A slightly smaller pan (e.g., 8×12 inches) will result in thicker bars that might require a few extra minutes of baking time. A larger pan (e.g., a half sheet pan) will yield thinner bars, which will bake faster. Adjust baking time accordingly and watch for the golden edges.
- My cookie bars came out crumbly, what happened? Crumbliness often indicates overbaking or possibly too much flour. Ensure you measure flour correctly (using a spoon-and-level method, not scooping directly from the bag), and always remove the bars from the oven as soon as the edges are lightly golden.
- Can I make the dough ahead of time? Yes, you can prepare the dough and store it in an airtight container in the refrigerator for up to 2-3 days. When ready to bake, let it come to room temperature for about 30 minutes, then press into the pan and bake as directed.
- How do I get super gooey bars? For maximum gooeyness, slightly underbake them (pull them from the oven when the center still looks a bit soft, but the edges are set) and ensure your butter is perfectly softened, not melted. High-quality brown sugar also helps retain moisture.
Craving More Cookie Bar Delights? Explore Our Favorite Bar Cookie Recipes!
If you’ve fallen in love with the convenience and deliciousness of bar cookies, you’re in luck! We have a treasure trove of recipes to satisfy every palate. From fruity to fudgy, classic to creative, there’s a bar cookie for every occasion. Check out some of our other highly-rated bar cookie recipes:
- Strawberry Cheesecake Cookie Bars
- Snickerdoodle Cookie Bars
- Sugar Cookie Bars
- Chocolate Chip Cookie Bars
- No Bake Cookie Bars
- Oatmeal Chocolate Chip Cookie Bars
- Lemon Sugar Cookie Bars
- Swirled Patriotic Cookie Bars
- Fudgy Oatmeal Cookie Bars
- Twix Cookie Bars
- Easy Peanut Caramel Cookie Bars
- Gingerbread Cookie Bars
- Butterscotch Pretzel Cookie Bars
- Reese’s Cookie Bars
- S’mores Cookie Bars

In conclusion, these Oreo Cookie Bars are more than just a dessert; they’re a celebration of classic flavors in a convenient, crowd-pleasing form. Whether you call them Cookies & Cream Bars or simply the best Oreo dessert you’ve ever had, their soft, chewy, and gooey texture, packed with delightful Oreo chunks, makes them an unforgettable treat. Gather your ingredients, follow our simple steps, and prepare to indulge in a batch of pure, homemade bliss!