
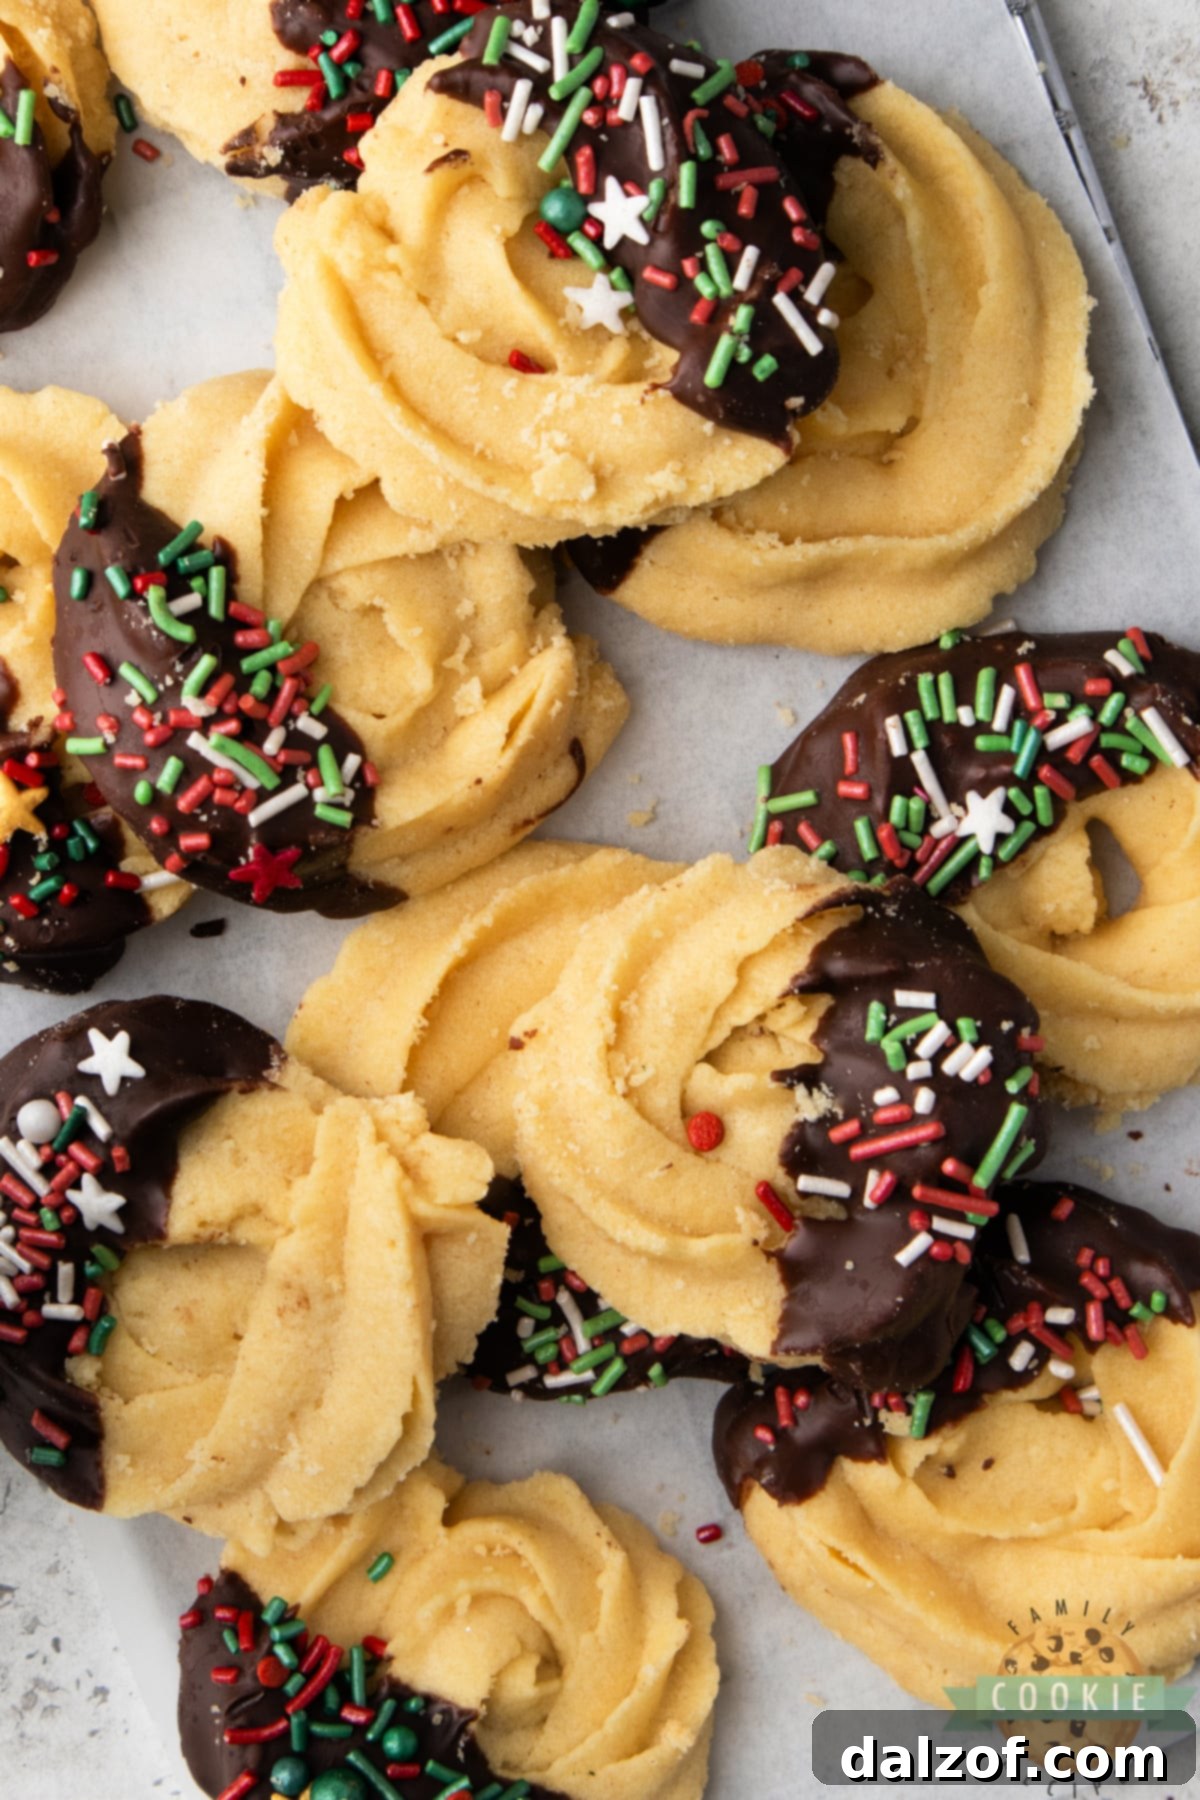
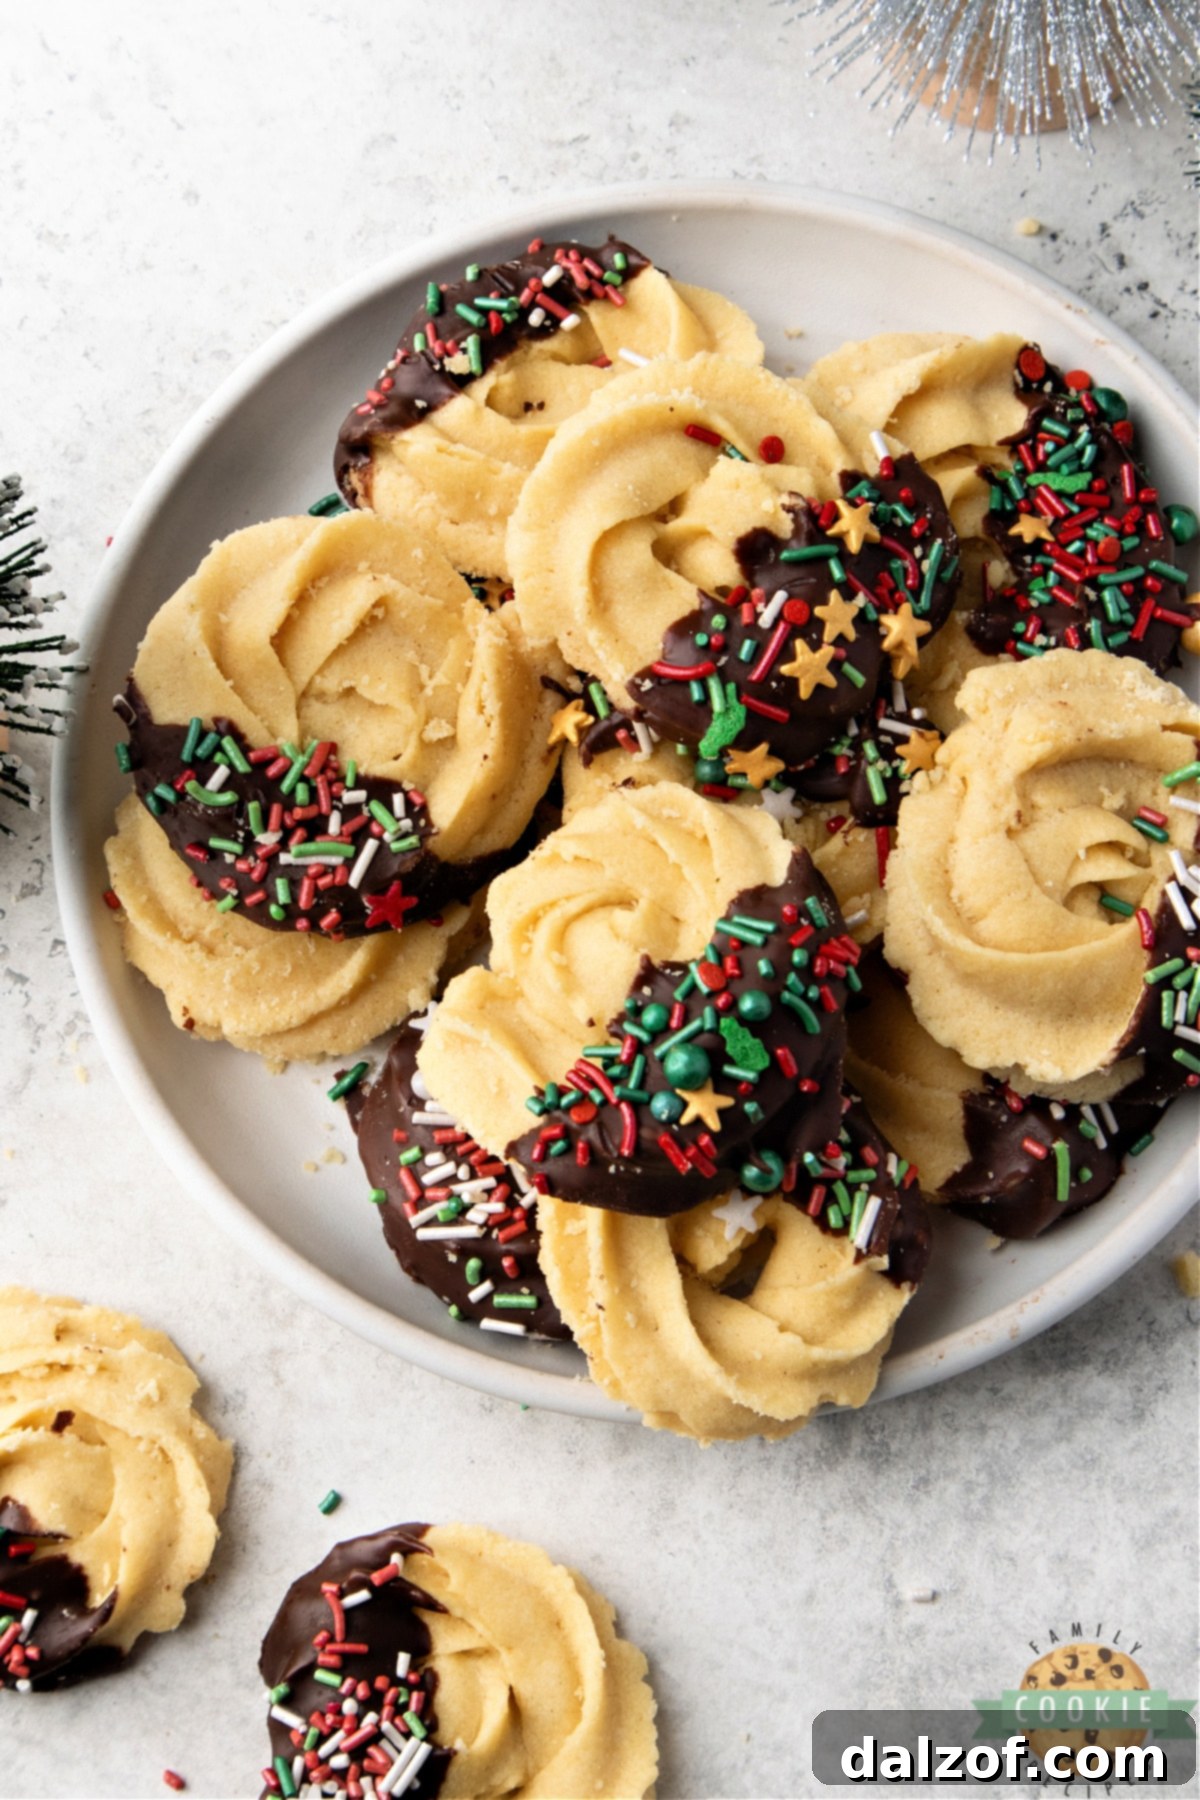
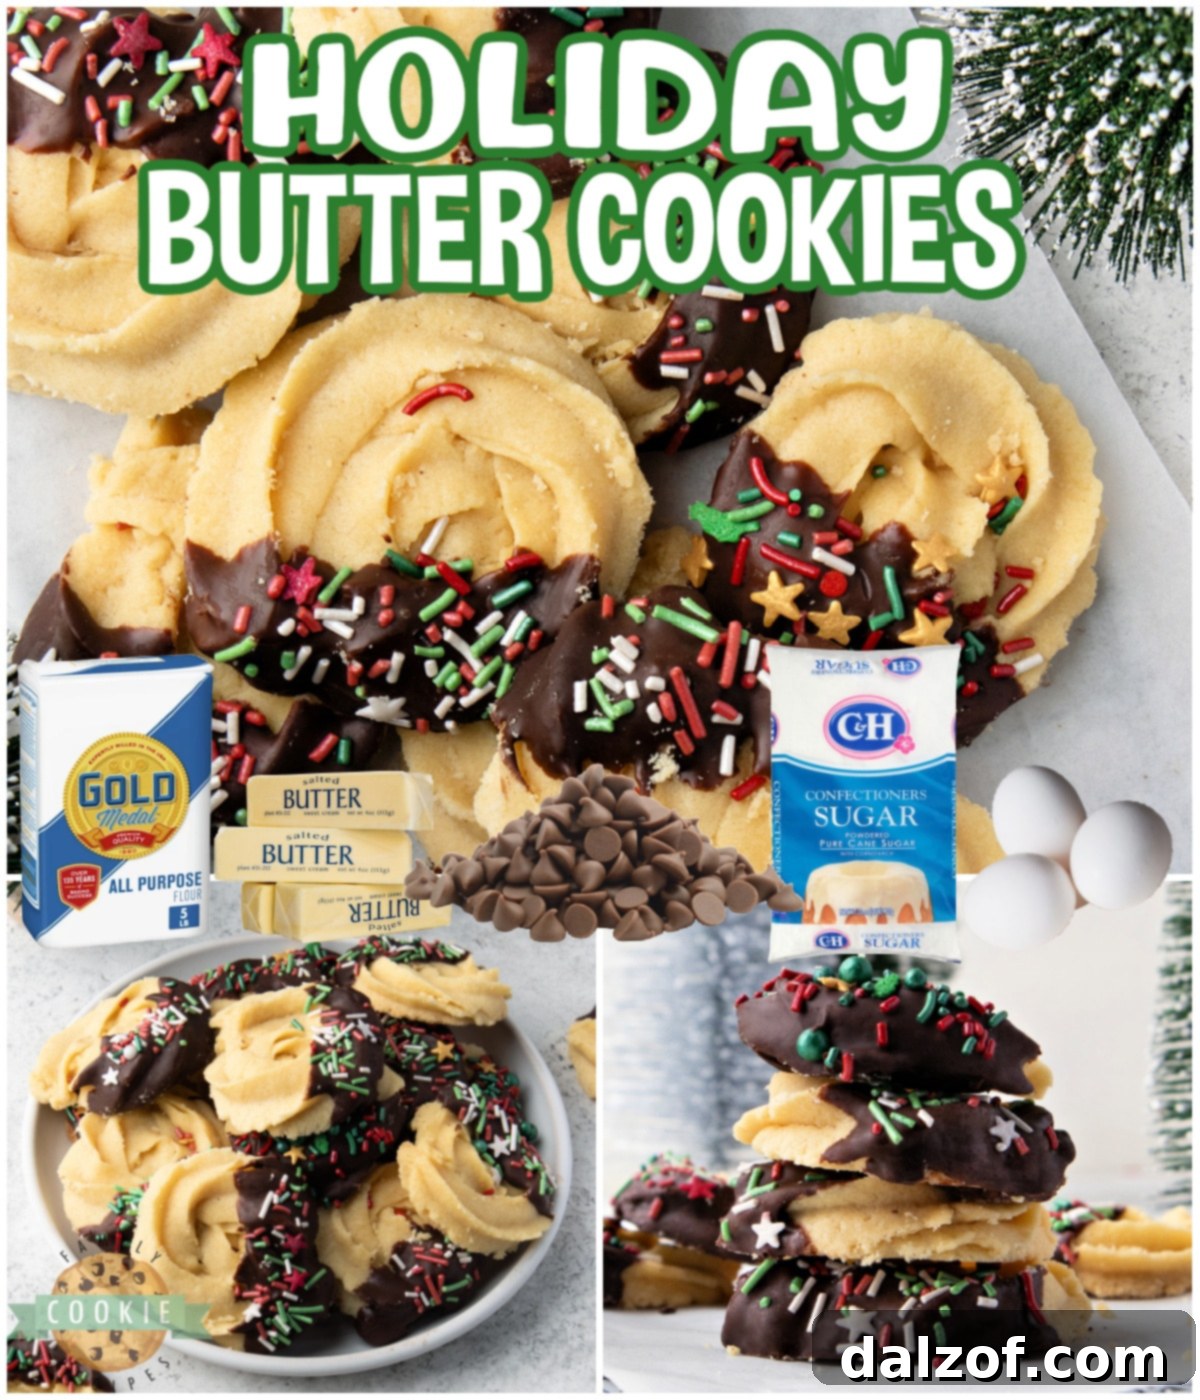
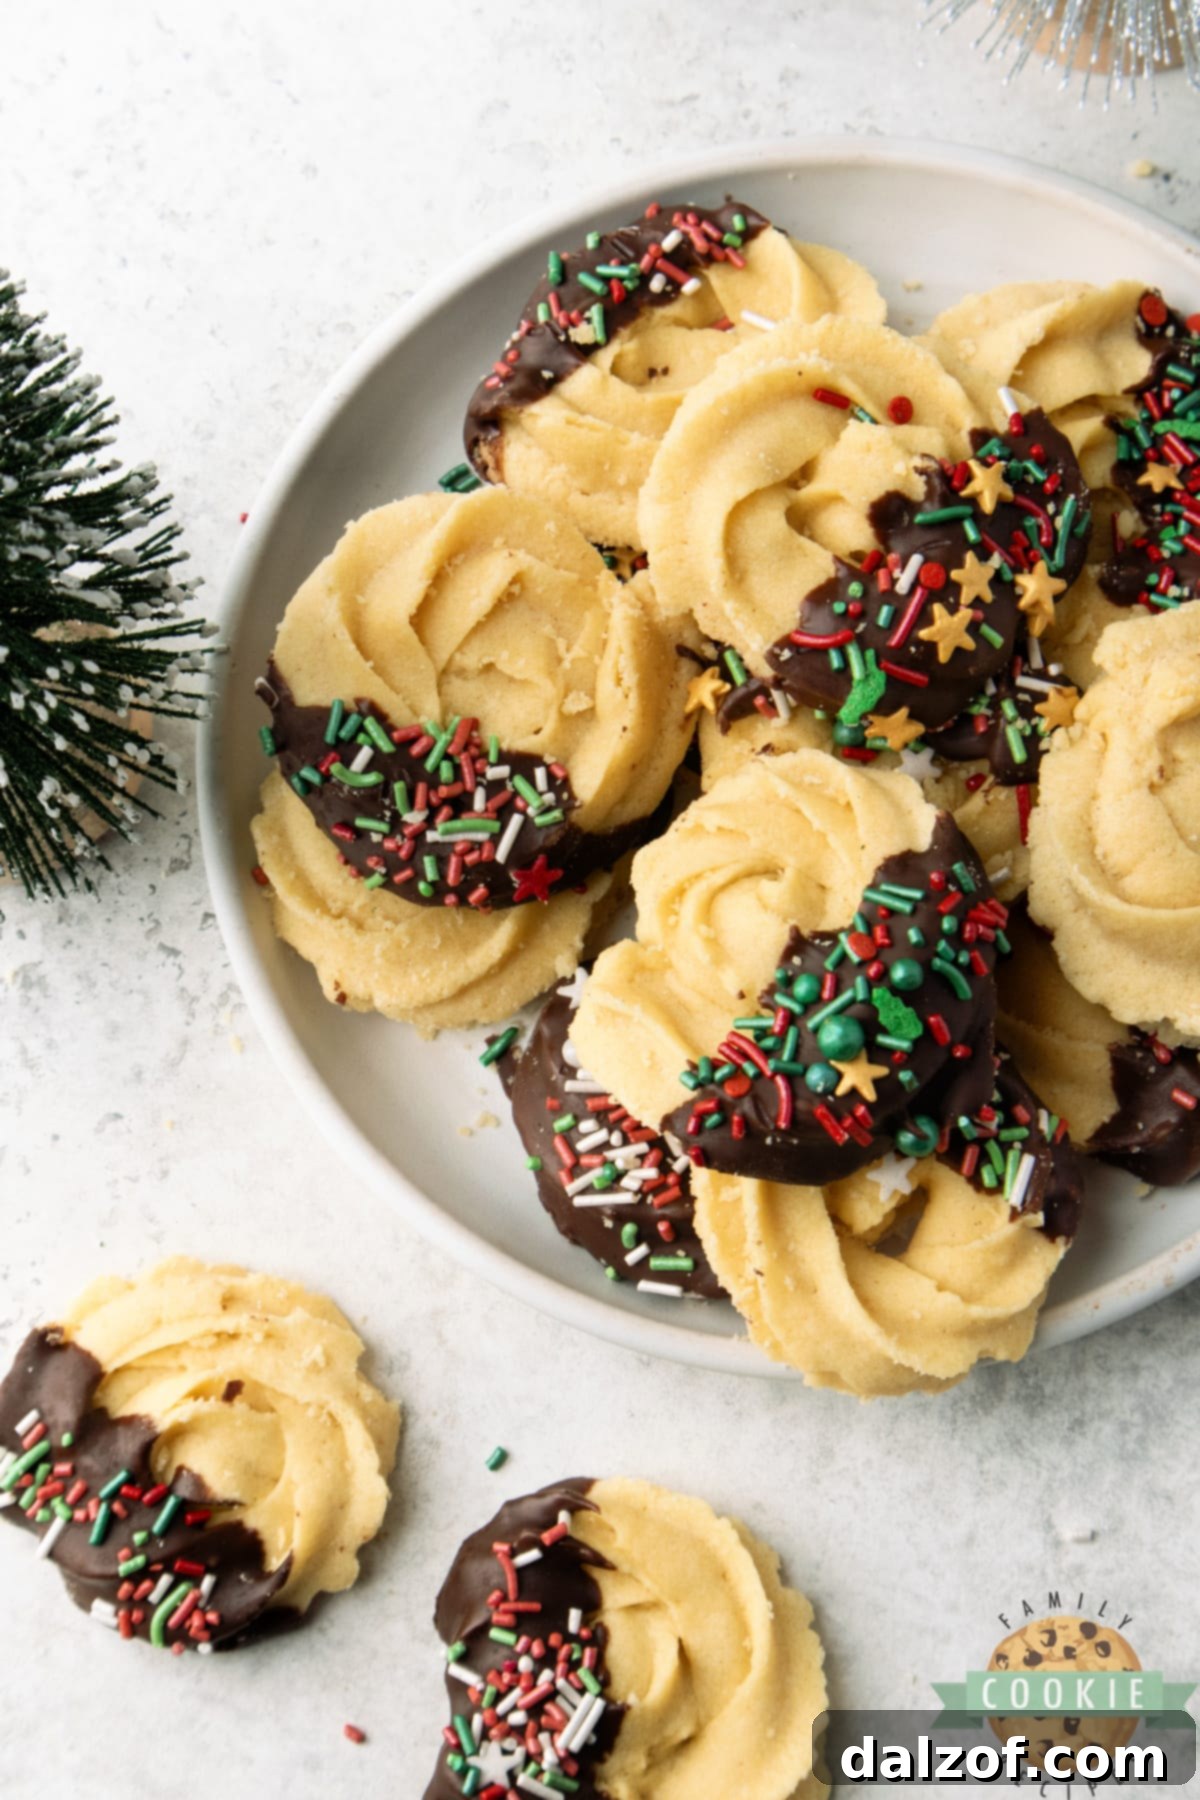
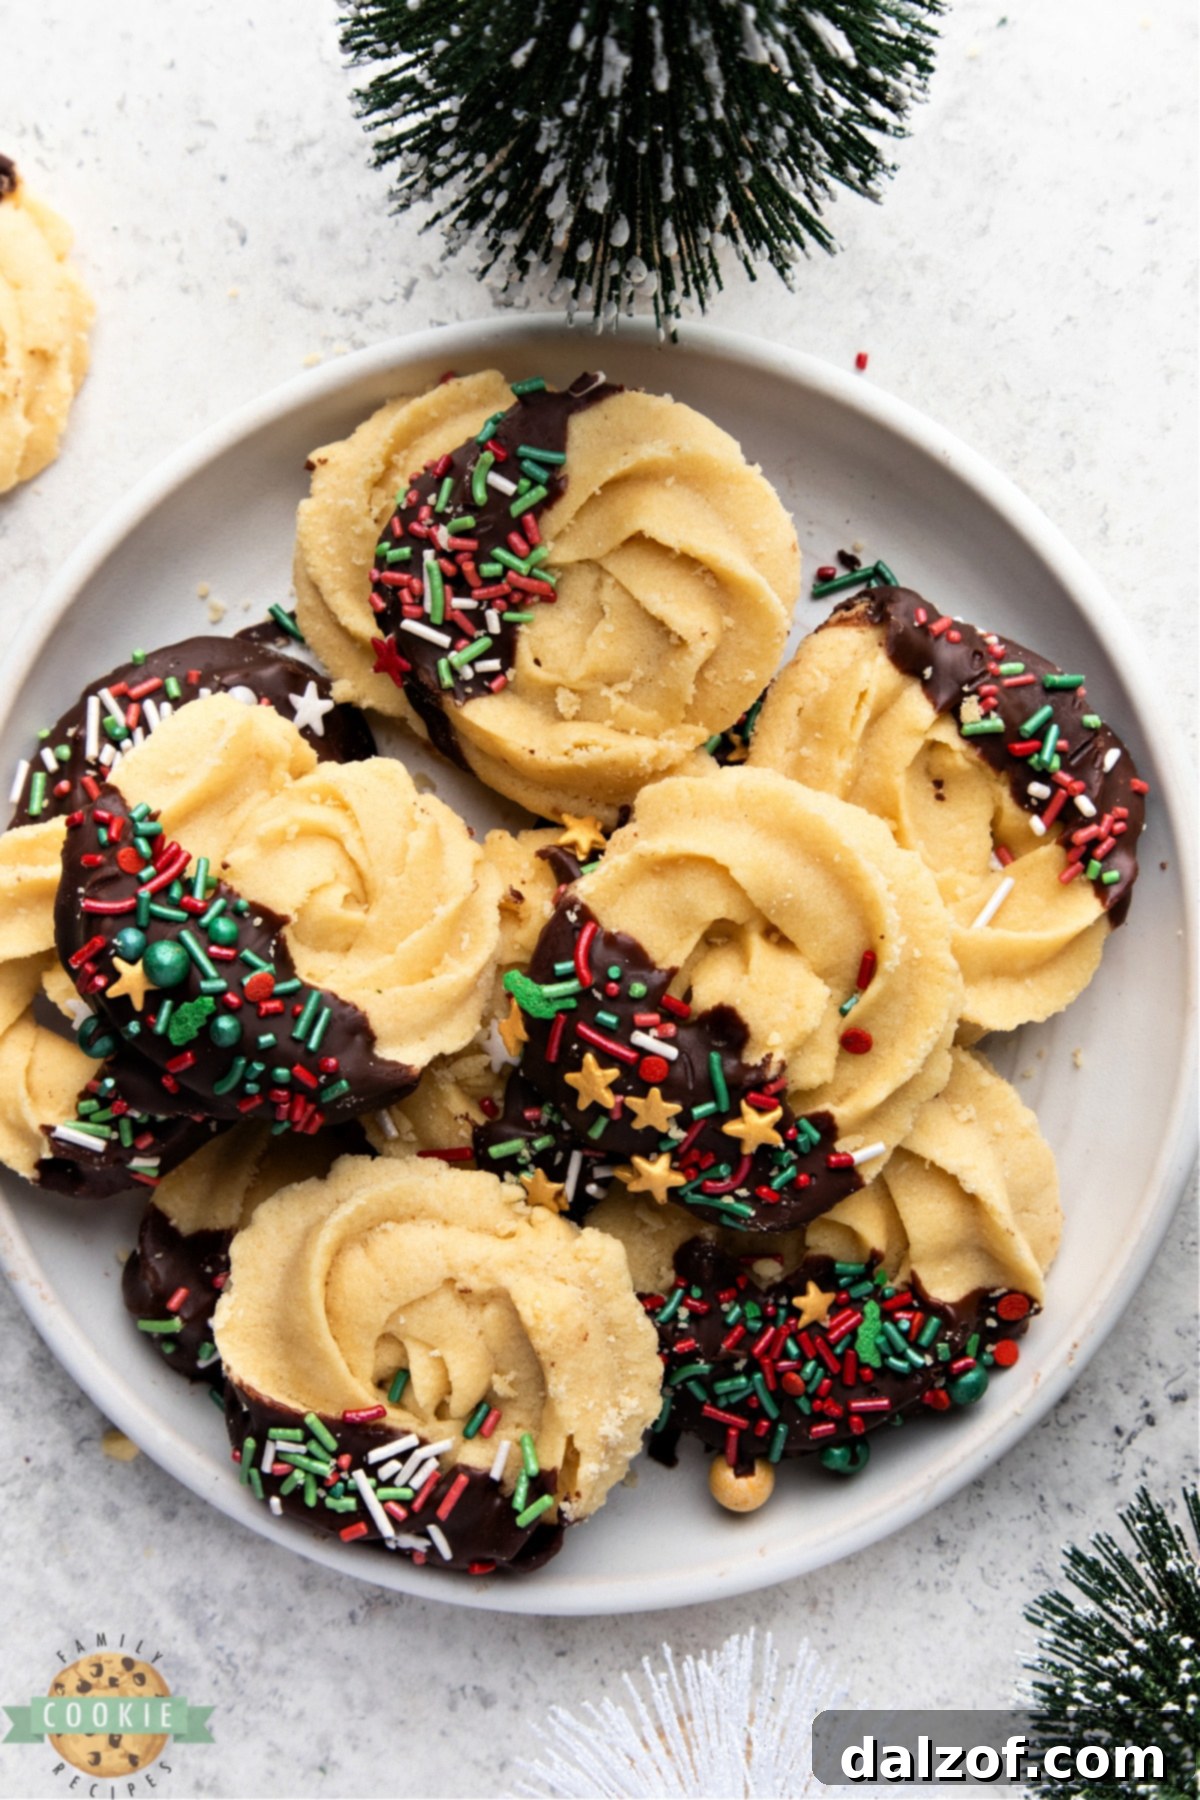
Indulge in the pure joy of homemade holiday baking with these exquisite Holiday Butter Cookies. Crafted from a rich, buttery dough, these delicate shortbread-style cookies boast a melt-in-your-mouth texture and a flavor that evokes cherished memories. Each cookie is lovingly dipped in decadent chocolate and adorned with vibrant sprinkles, making them a feast for both the eyes and the palate. Perfect for gifting, holiday parties, or simply enjoying with a warm cup of cocoa, this recipe promises to become a festive favorite in your home.
Why These Christmas Butter Cookies Will Be Your New Favorite
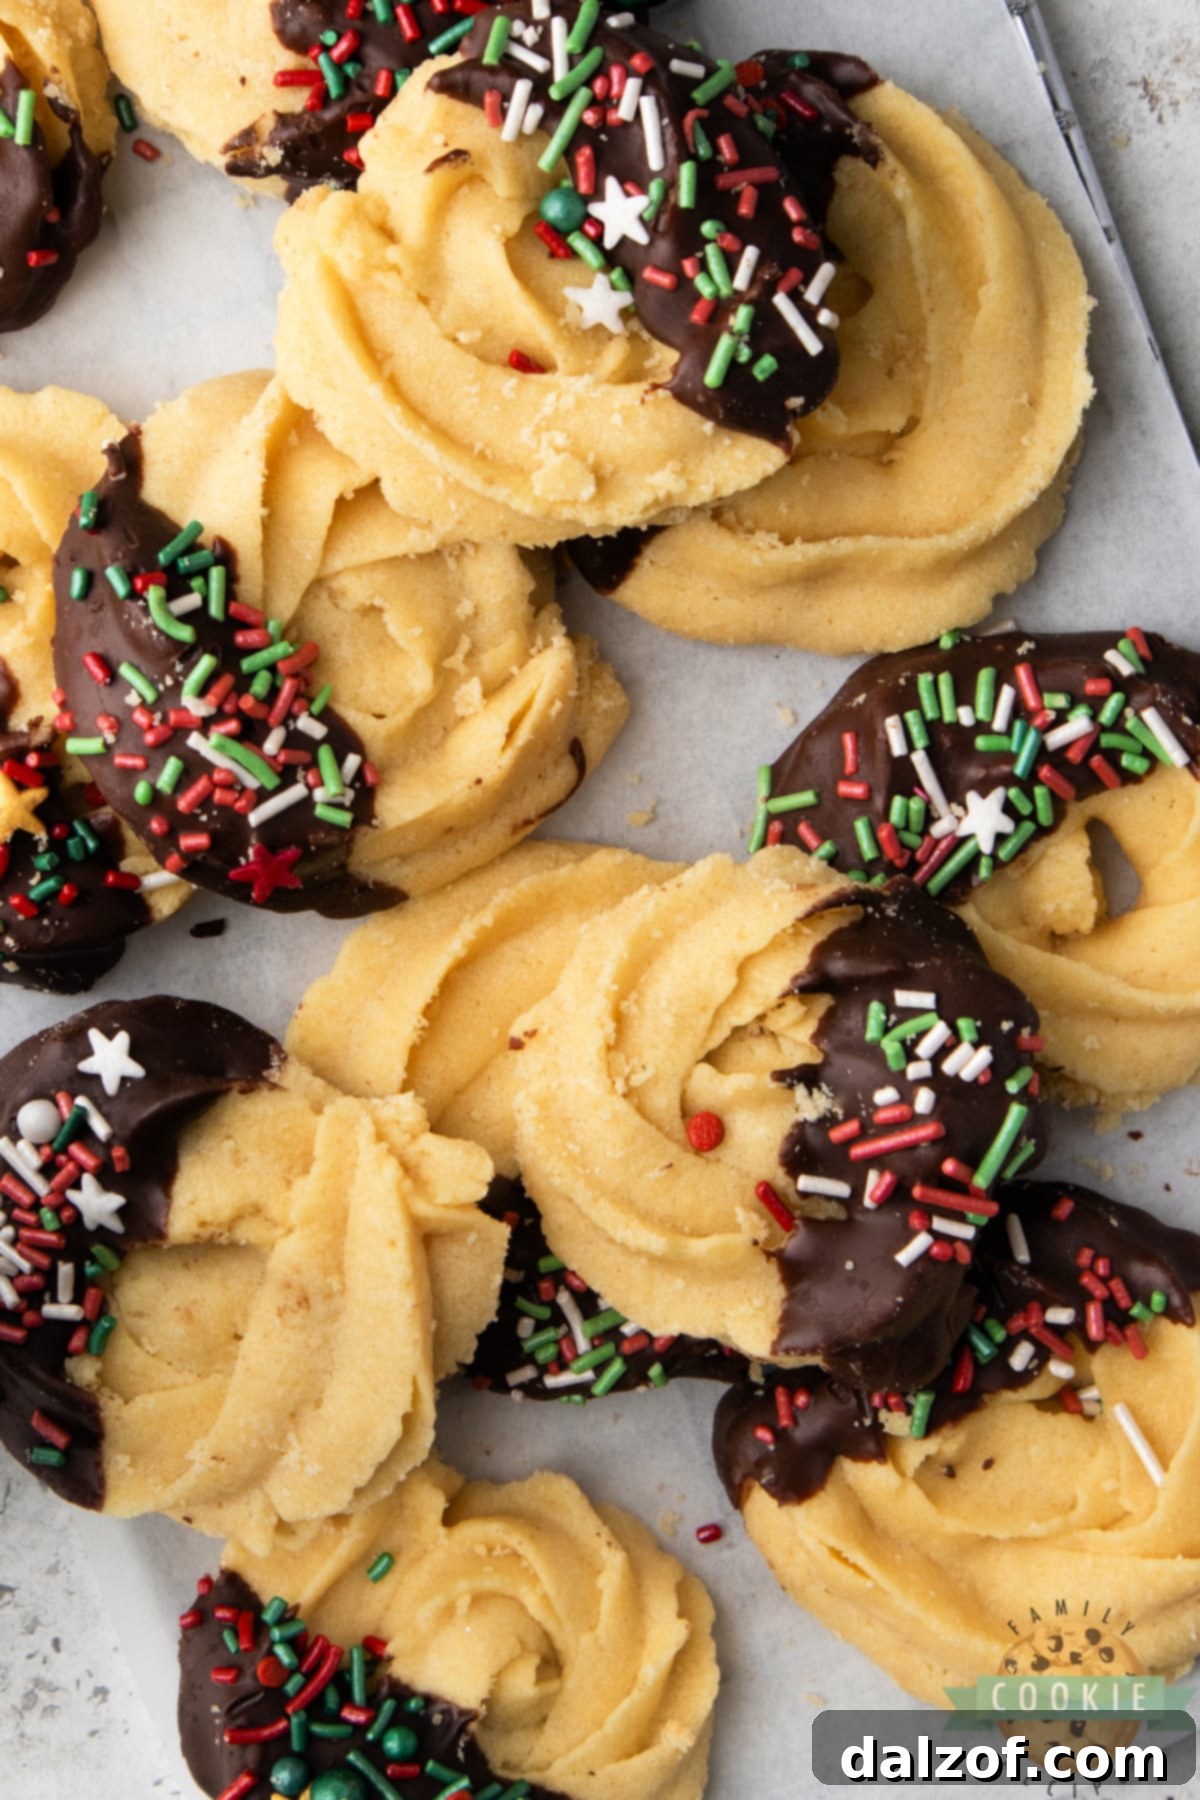
There’s something uniquely special about homemade Christmas cookies, and this Christmas butter cookies recipe is no exception. It’s designed to be straightforward yet incredibly rewarding, yielding a batch of cookies that are bursting with flavor and visually stunning. The secret lies in the simple, high-quality ingredients and the careful technique that creates a wonderfully tender cookie. Dipping these beauties in smooth, melted chocolate not only adds an extra layer of richness but also provides the perfect canvas for festive red and green sprinkles, instantly transforming them into holiday masterpieces. Whether you’re a seasoned baker or just starting your culinary journey, you’ll find this recipe surprisingly easy to master, guaranteeing impressive results that will delight everyone.
Unveiling the Magic of Classic Butter Cookies
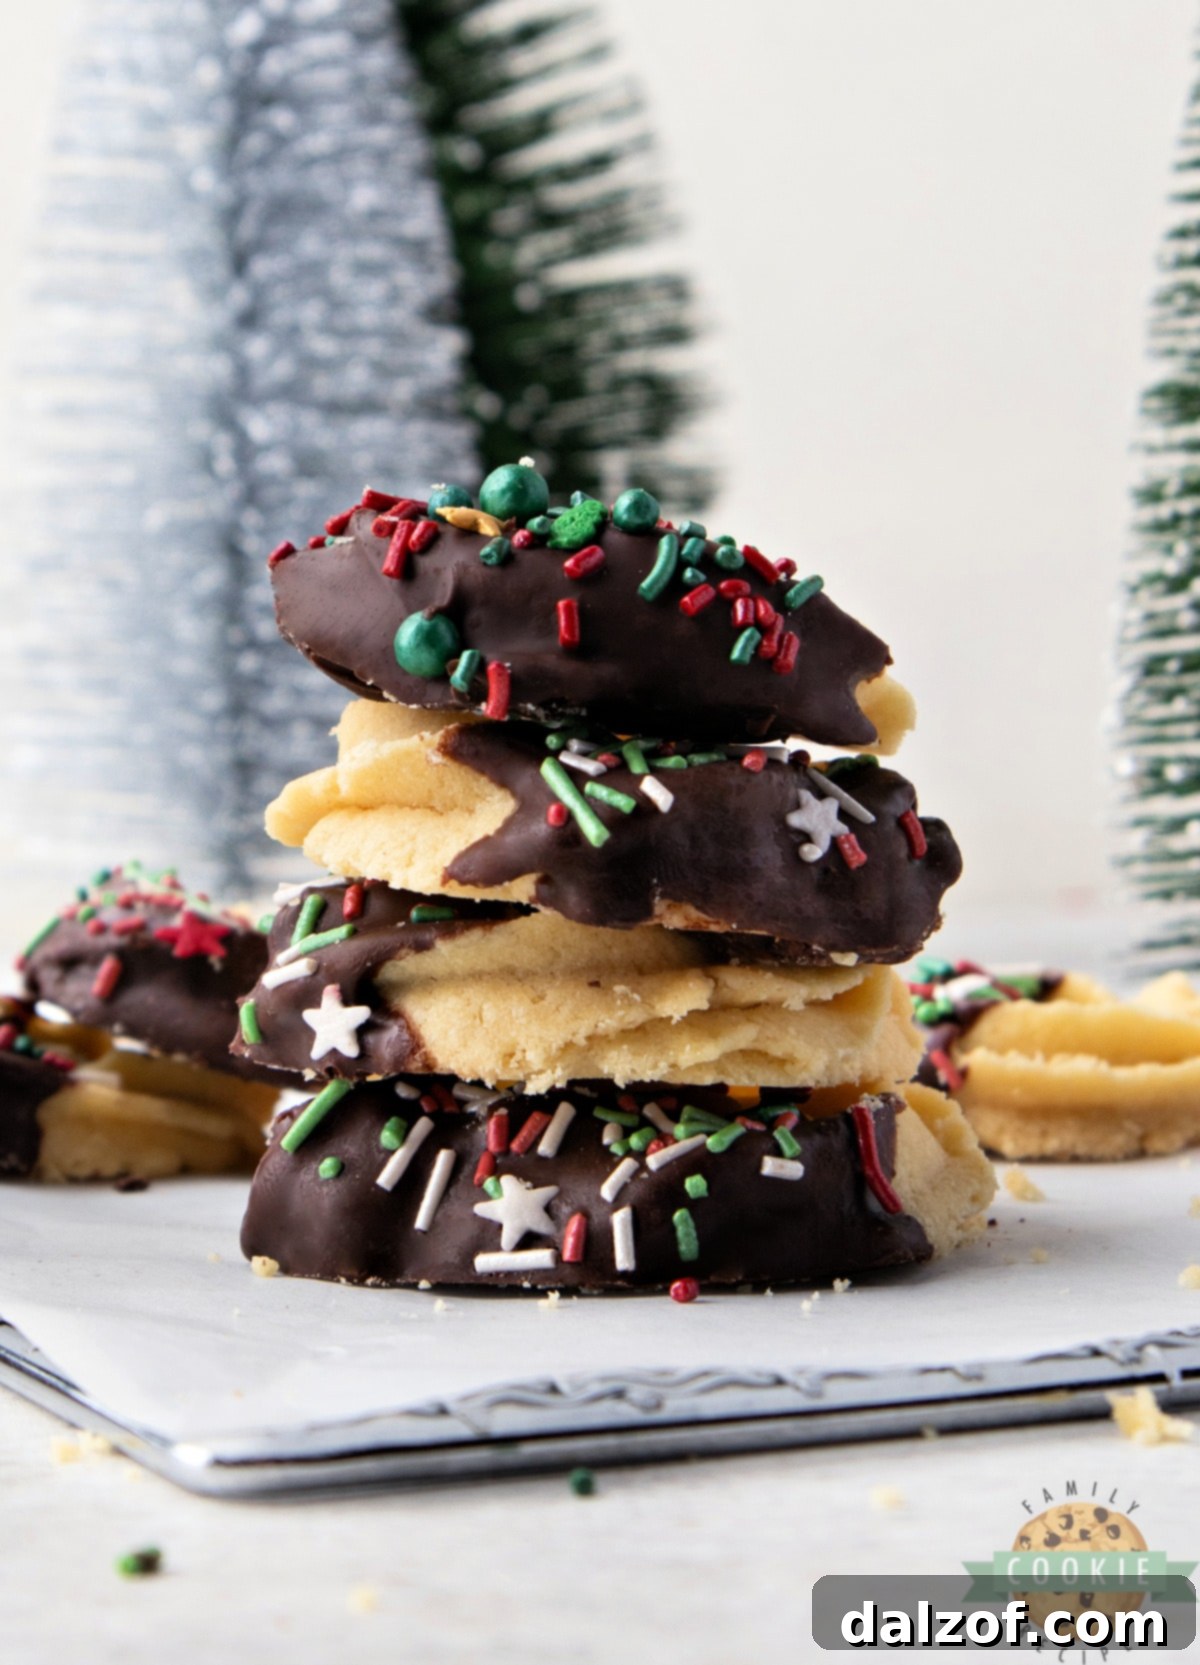
So, what exactly are butter cookies, and what makes them so universally beloved, especially during the festive season? At their heart, butter cookies are a delightful cross between a rich sugar cookie and a tender shortbread. Unlike traditional sugar cookies that often require rolling and cutting, or shortbread that can be pressed into a pan, our classic butter cookies utilize a piping bag to achieve their distinctive, intricate shapes. This method not only adds an elegant touch but also eliminates the need for chilling the dough before shaping, making the process smoother and more enjoyable. The dough is firm enough to hold its piped form but soft enough to flow beautifully, resulting in cookies that look almost too charming to eat. Our holiday butter cookies with sprinkles are a fantastic variation of this timeless treat, bringing cheer and deliciousness to any Christmas celebration.
Originating from countries with rich baking traditions, particularly Denmark, butter cookies are renowned for their high butter content, which contributes to their luxurious flavor and signature melt-in-your-mouth texture. This recipe honors that tradition while introducing a fun, modern twist with chocolate and sprinkles, ensuring each bite is a perfect blend of classic comfort and festive delight. They are less sweet than many American sugar cookies, allowing the pure, creamy butter flavor to truly shine, making them a sophisticated yet approachable treat for all ages.
Essential Ingredients for Perfect Holiday Butter Cookies
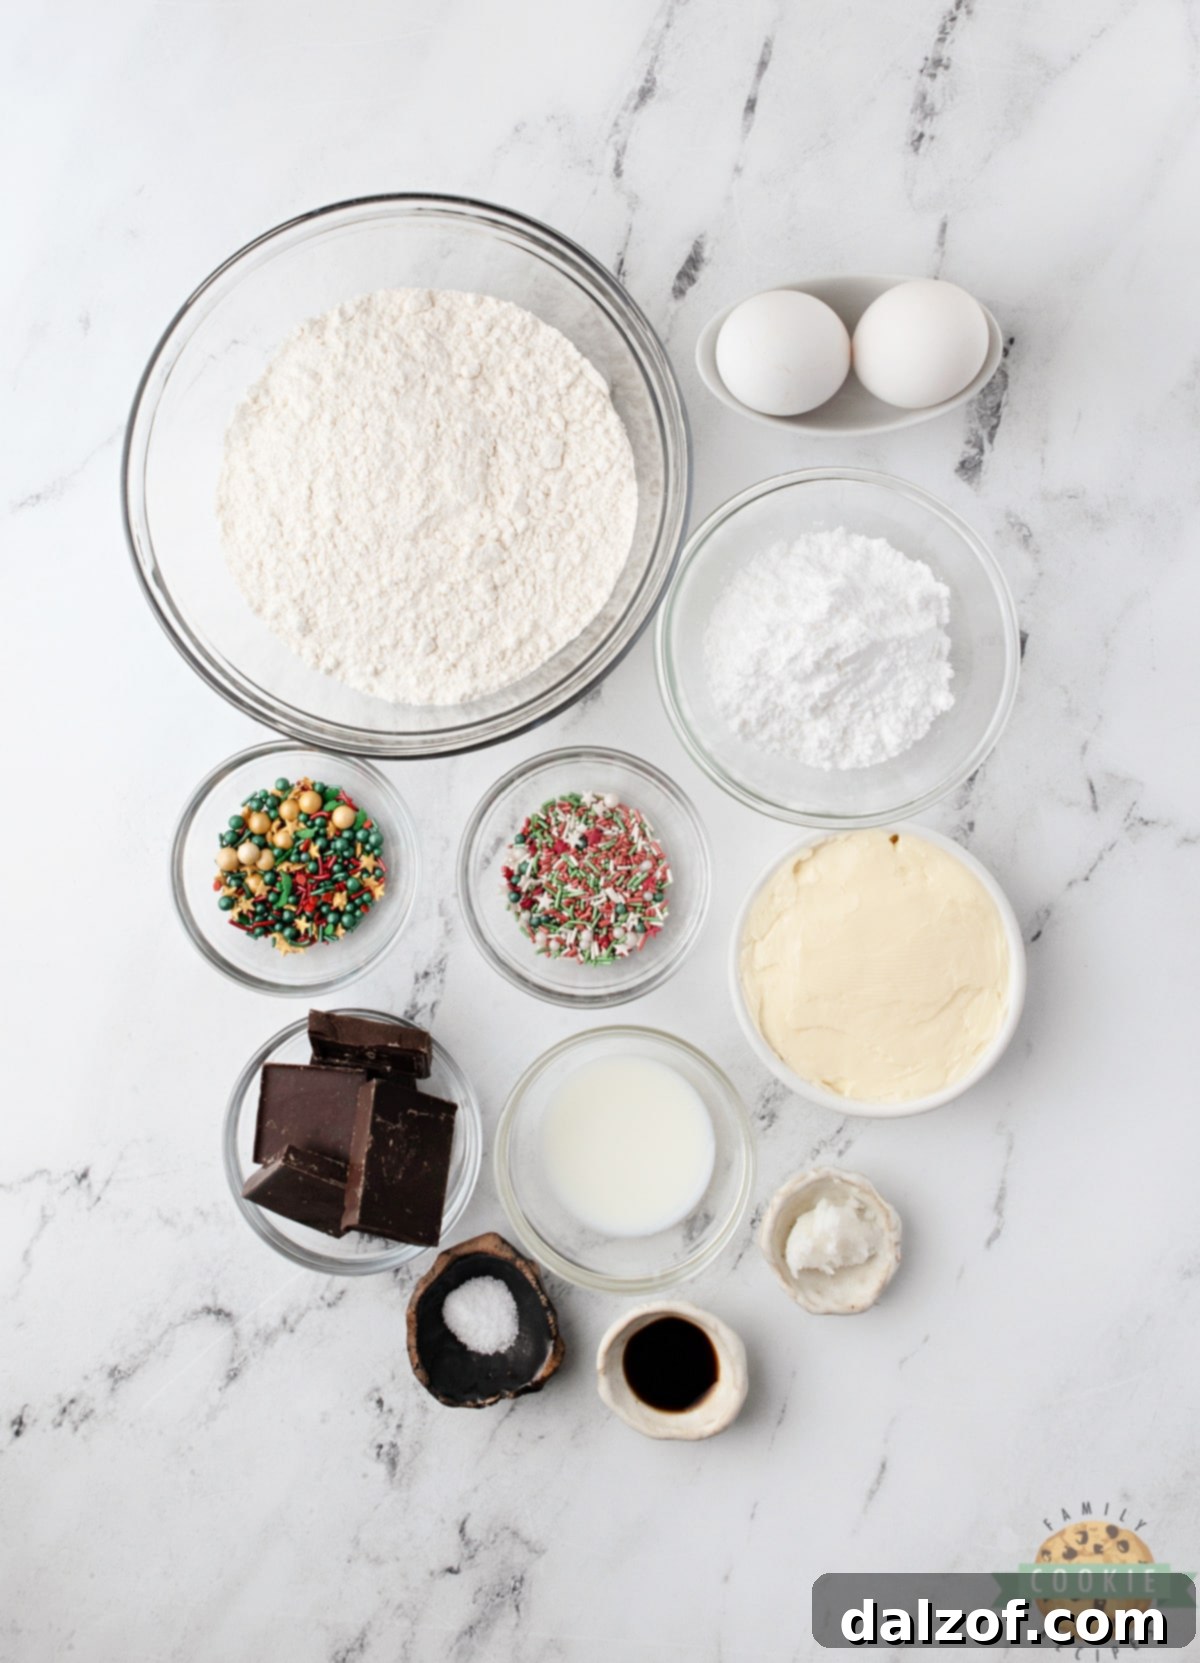
Crafting the perfect batch of homemade butter cookies starts with selecting quality ingredients and preparing them correctly. Here’s a detailed look at what you’ll need and why each component is vital for that incredible flavor and delicate texture:
Main Cookie Dough Ingredients
- Unsalted Butter (1 cup / 2 sticks): The star of the show! Always use real unsalted butter for the best flavor. It’s crucial that your butter is softened to room temperature. This allows it to cream properly with the sugar, incorporating air for a light, fluffy dough.
- Powdered Sugar (½ cup): Also known as confectioners’ sugar. Using powdered sugar instead of granulated sugar ensures a smoother, more refined cookie texture that truly melts in your mouth, without any grittiness.
- Large Egg Yolks (2, room temperature): Egg yolks add richness, a beautiful golden hue, and help bind the dough, contributing to the cookie’s tender crumb. Using them at room temperature helps them emulsify better with the butter and sugar mixture.
- Vanilla Extract (1 teaspoon): A staple in most cookie recipes, vanilla extract provides a warm, inviting aroma and enhances all the other flavors. Opt for a high-quality pure vanilla extract for the most impactful taste.
- All-Purpose Flour (2 cups + 3 tablespoons): The structural backbone of your cookies. All-purpose flour provides the right balance of protein to create a tender yet stable cookie that holds its shape after piping and baking.
- Salt (⅛ teaspoon): Just a pinch of salt is essential to balance the sweetness and bring out the depth of the butter and vanilla flavors. Don’t skip it!
- Milk (2-2 ½ tablespoons): A small amount of milk is added to achieve the perfect consistency for piping. It helps thin the dough just enough to pass smoothly through a piping bag without being too runny. Start with 2 tablespoons and add more if needed, a little at a time, until the desired consistency is reached.
Chocolate Coating & Festive Decorations
- Semi-Sweet Chocolate (8 oz): This will form the delicious coating for your cookies. You have creative freedom here! Semi-sweet chocolate chips or melting wafers (like almond bark) work beautifully. Feel free to experiment with dark chocolate for a more intense flavor, or white chocolate for a contrasting aesthetic.
- Coconut Oil (½ teaspoon): A tiny amount of coconut oil is added to the melted chocolate to achieve a smoother, more fluid consistency, making it easier to dip the cookies and ensuring a thin, even coating that sets nicely.
- Sprinkles: The festive finishing touch! Use red and green sprinkles for a classic Christmas look, or choose any colors and shapes to match a different holiday or special occasion. Nonpareils, jimmies, or even edible glitter can elevate the appearance of your cookies.
Essential Kitchen Tools
To ensure a smooth baking process, gather these essential kitchen tools before you begin:
- Large mixing bowls
- Hand mixer or stand mixer with paddle attachment
- Rubber spatula
- Piping bag
- Piping tip (Wilton 1M or similar open star tip recommended)
- Baking sheets
- Parchment paper
- Cooling racks
- Microwave-safe bowl (for melting chocolate)
Step-by-Step Guide: Crafting Your Holiday Butter Cookies
Get ready to create beautiful and delicious butter cookies with this easy-to-follow guide. Precision and patience are your best friends in baking, especially when it comes to achieving those perfect piped shapes!
Preparation is Key
Before you even begin mixing, prepare your workspace. Line several baking sheets with parchment paper. This prevents sticking, promotes even baking, and makes for easy cleanup. Set them aside within easy reach.
Creating the Silky Cookie Dough
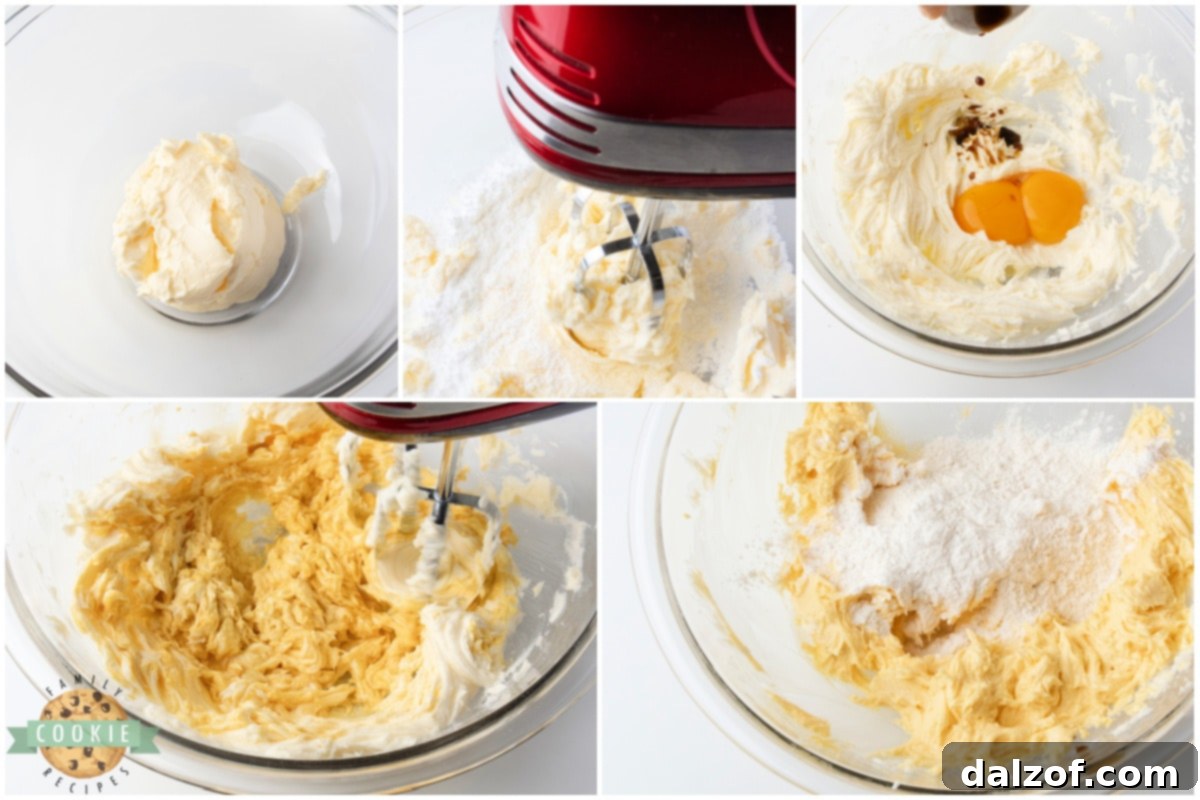
- Cream Butter and Sugar: In a medium-sized mixing bowl, combine the softened butter and powdered sugar. Using a hand mixer (or stand mixer with a paddle attachment) on medium speed, cream the mixture together. Beat for about 3-4 minutes until the mixture is visibly light in color and wonderfully fluffy. This step is crucial as it incorporates air, which contributes to the cookies’ delicate texture.
- Incorporate Egg Yolks and Vanilla: Add the two room-temperature egg yolks and the vanilla extract to the creamed mixture. Continue mixing with your hand mixer for another 2-3 minutes. Scrape down the sides of the bowl as needed to ensure everything is thoroughly combined and smooth.
- Add Dry Ingredients and Milk: Gradually add the flour, salt, and milk to the wet ingredients. Mix on low speed until the dough is just combined. Be careful not to overmix; overworking the gluten in the flour can lead to tough cookies. Once mostly combined, switch to a rubber spatula and finish mixing by hand, gently folding until no streaks of flour remain and the dough is uniform. The dough should be soft but hold its shape. If it feels too stiff to pipe, add milk a tiny bit at a time (half a teaspoon) until it reaches a pipeable consistency.
The Art of Piping Beautiful Shapes
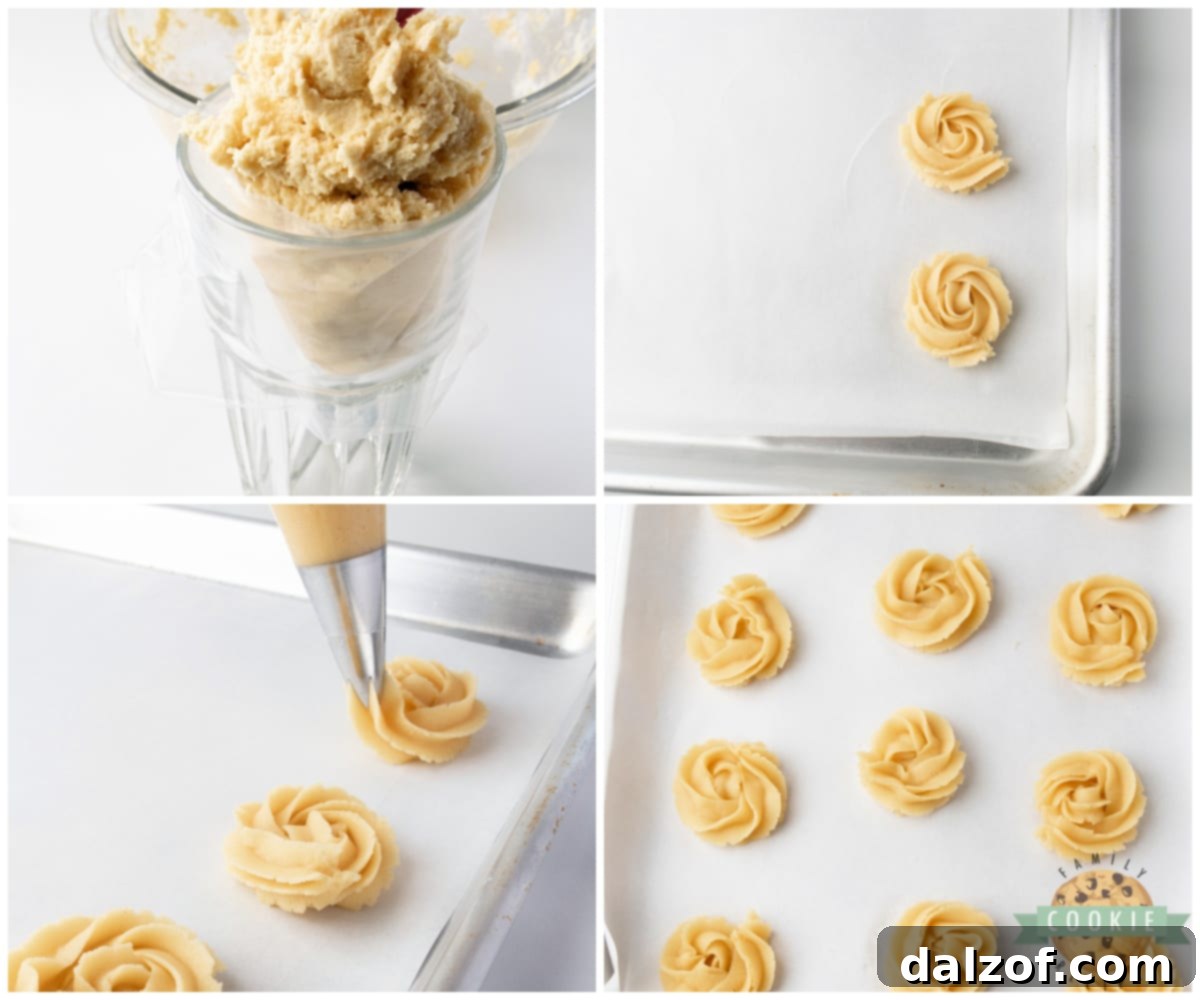
- Prepare for Piping: Fit a large piping bag with your chosen piping tip. A Wilton 1M tip is highly recommended for its versatility, creating beautiful star or swirl shapes. Fill the piping bag with your prepared cookie dough.
- Pipe the Cookies: Carefully pipe your desired shapes onto the parchment-lined baking sheets. Remember to leave about 2 inches of space between each cookie to allow for slight spreading during baking. If you use a larger, more open tip, the cookies may spread a little more, so adjust your spacing accordingly.
- Crucial Chilling Step: Once all your cookies are piped, place the baking sheets into the refrigerator to chill for approximately 45 minutes. This chilling period is vital. It firms up the butter in the dough, which prevents the cookies from spreading excessively in the oven, ensuring they maintain their intricate piped shapes.
Baking to Golden Perfection
- Preheat Oven: While the cookies are chilling, preheat your oven to 350°F (175°C). Ensure your oven is fully preheated to the correct temperature for even baking.
- Bake the Chilled Cookies: Transfer the chilled cookie sheets to the preheated oven. Bake for 15-17 minutes, or until the edges are lightly golden brown. The centers should still be soft but set. As mentioned, if adequately chilled, they should not spread much, retaining their elegant forms.
- Cooling Down: Once baked, remove the cookie sheets from the oven. Allow the cookies to cool on the baking sheets for about 15 minutes. This helps them firm up slightly before you attempt to move them. Then, carefully transfer the cookies to a wire cooling rack to cool completely before decorating.
Dipping and Decorating for Festive Flair
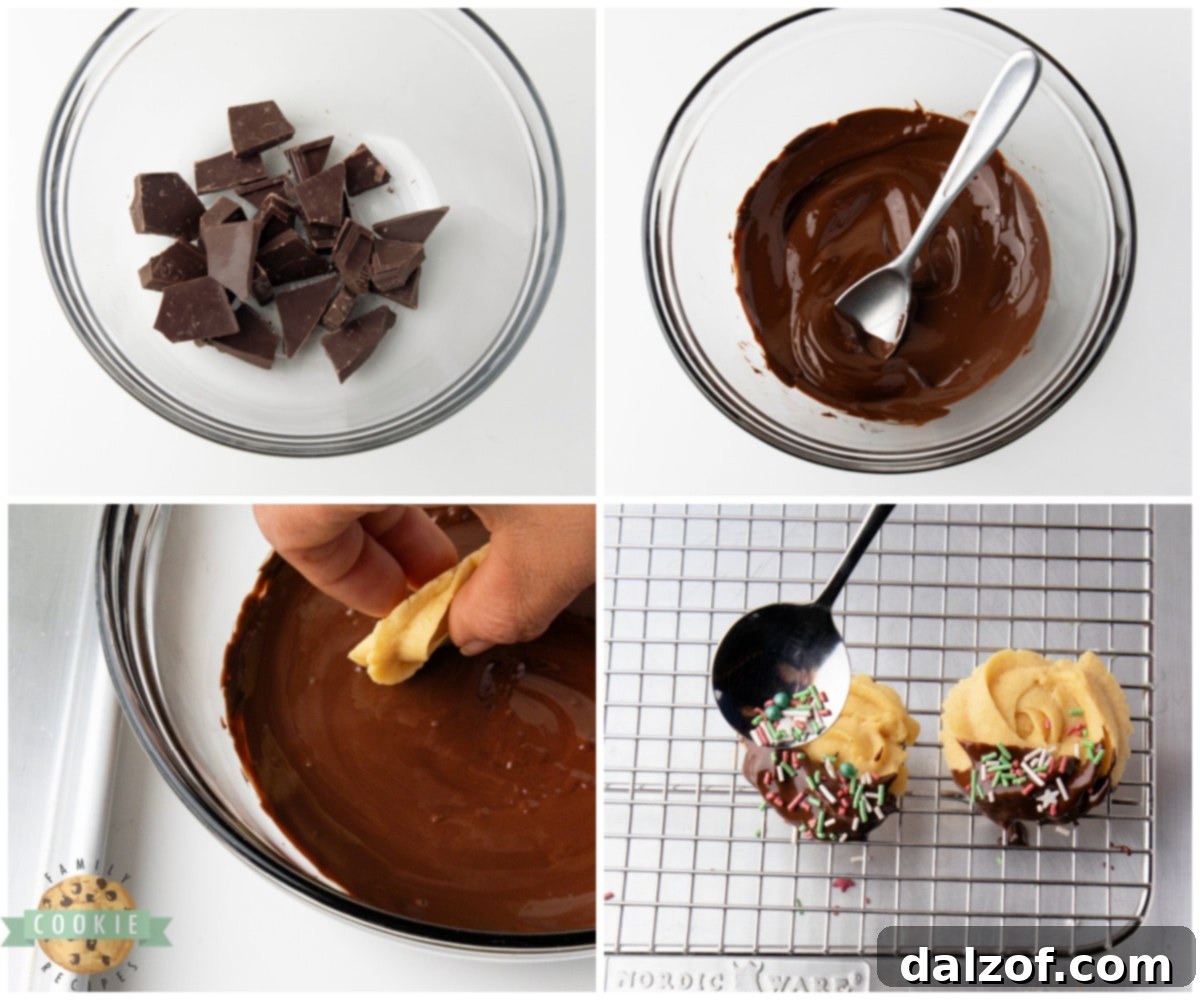
- Melt the Chocolate: In a microwave-safe bowl, melt your chosen chocolate. Heat it in 20-second intervals, stirring thoroughly after each interval, until the chocolate is completely melted and smooth. Be careful not to overheat, as this can cause the chocolate to seize.
- Add Coconut Oil: Stir in the ½ teaspoon of coconut oil until it is fully melted and incorporated into the chocolate. This will create a silky-smooth consistency perfect for dipping.
- Dip and Decorate: Take your completely cooled butter cookies and dip about half of each cookie into the melted chocolate. Allow any excess chocolate to drip off. Immediately, while the chocolate is still wet, top with your favorite Christmas sprinkles.
- Set the Chocolate: Place the decorated cookies on cooling racks or baking trays lined with parchment paper. To speed up the setting process and achieve a firm, glossy finish, place the cookies in the refrigerator for 10-15 minutes, or until the chocolate is fully set.
Once the chocolate has set, your beautiful chocolate-dipped butter cookies are ready to be served, shared, or enjoyed!
Holiday Butter Cookies Recipe
Classic holiday butter cookies made with buttery cookie dough and covered in chocolate & sprinkles. Incredible shortbread cookie with a delicate texture and fantastic flavor!
Course: Cookies | Cuisine: American | Keyword: Holiday Butter Cookies
Prep Time: 15 minutes | Cook Time: 15 minutes | Servings: 28 cookies
Author: Jessica & Nellie
Ingredients
For the Cookies:
- 1 cup butter, softened to room temperature
- ½ cup powdered sugar
- 2 large egg yolks, room temperature
- 1 teaspoon vanilla extract
- 2 cups all-purpose flour + 3 tablespoons
- ⅛ tsp salt
- 2-2 ½ tablespoons milk
For the Chocolate Coating:
- 8 oz semi-sweet chocolate
- ½ teaspoon coconut oil
- Sprinkles (red & green for holidays)
Instructions
- Line baking sheets with parchment paper and set aside.
- MAKE THE COOKIE DOUGH: In a medium bowl, cream the butter and sugar together with a hand mixer on medium speed. Mix until light in color and fluffy, about 3-4 minutes.
- Add the egg yolks and vanilla, and mix for another 2-3 minutes.
- Add the flour, salt and milk. Mix until the dough is just combined, then finish mixing with a rubber spatula to ensure no dry spots remain.
- PIPE THE COOKIES: Pipe the cookies onto the prepared baking sheet. A Wilton 1M tip works well for classic shapes. If using a large, open tip, note that cookies may spread slightly more.
- Place the cookies about 2 inches apart on the baking sheets. Once all cookies are piped, place them in the refrigerator to chill for about 45 minutes. This prevents spreading during baking.
- BAKE THE COOKIES: Meanwhile, preheat the oven to 350°F (175°C).
- Bake the chilled cookies for 15-17 minutes or until lightly browned on the sides. They should maintain their piped shapes well, especially if adequately chilled.
- Once finished baking, let them cool on the baking sheets for about 15 minutes, then transfer to a cooling rack to cool completely.
- DIP THE COOKIES IN CHOCOLATE: Melt your chocolate in a microwave-safe bowl in 20-second intervals, stirring thoroughly between each interval, until completely melted and smooth. Add in the coconut oil and mix until melted and fully incorporated.
- Dip the cooled cookies halfway into the melted chocolate. Immediately sprinkle with your favorite Christmas sprinkles. Place on cooling racks or baking trays lined with parchment paper, then refrigerate until the chocolate sets, about 10-15 minutes.
Nutrition Information
Calories: 152kcal | Carbohydrates: 13g | Protein: 2g | Fat: 10g | Saturated Fat: 6g | Polyunsaturated Fat: 0.4g | Monounsaturated Fat: 3g | Trans Fat: 0.3g | Cholesterol: 32mg | Sodium: 65mg | Potassium: 61mg | Fiber: 1g | Sugar: 5g | Vitamin A: 227IU | Calcium: 12mg | Iron: 1mg
Frequently Asked Questions About Holiday Butter Cookies
How to Achieve Perfectly Softened Butter
Softened butter is crucial for the success of these cookies. It needs to be pliable but not melted. My preferred method is using the defrost function on the microwave. If you need a full stick (½ cup) of butter, you can leave it in its wrapper. For smaller amounts, place it in a glass or porcelain bowl. Set your microwave to its lowest defrost setting and run it for 20-second intervals. After the first interval, gently press the butter with a rubber spatula. If it’s still firm, give it another 5-10 seconds, but watch it very closely! Butter softens rapidly, and you want to avoid any melting. Alternatively, you can simply leave butter out at room temperature for 1-2 hours, depending on your kitchen’s temperature, until it’s soft enough to indent easily with a finger.
Optimal Storage for Maximum Freshness
To keep your delicious homemade butter cookies fresh, proper storage is key. If stored in an airtight container at room temperature, these cookies will remain fresh and delightful for up to 2 days. For extended freshness, especially with the chocolate coating, it’s best to store them in an airtight container in the refrigerator, where they can last for up to a week. Always ensure the container is truly airtight to prevent them from drying out or absorbing other odors from the fridge.
Can Butter Cookies Be Frozen?
Yes, butter cookies freeze beautifully, allowing you to prepare ahead for the holidays! You can freeze the baked, undecorated cookies in an airtight container or a heavy-duty zip-top bag for up to 3 months. When you’re ready to enjoy them, simply let them thaw completely at room temperature. For the best results, I do not recommend freezing the cookies once they have been dipped in chocolate, as the chocolate can “sweat” or become discolored and develop an unappealing texture as it thaws. Instead, bake and freeze the plain cookies, then dip and decorate them once they’ve thawed for the freshest look and taste.
Troubleshooting Common Butter Cookie Issues
- Why did my cookies spread too much? The most common reasons are using butter that was too warm/melted, not chilling the piped dough long enough (or at all), or using a piping tip that was too open. Ensure your butter is just softened, not greasy, and don’t skimp on the chilling time!
- Why is my dough too stiff to pipe? This could be due to slightly too much flour or not enough milk. Add milk sparingly, half a teaspoon at a time, mixing well between additions until the dough is pliable enough to pipe smoothly.
- Why are my cookies too crumbly? Over-baking can lead to a very dry, crumbly cookie. Watch for just a hint of golden on the edges. Also, ensure your butter and egg yolks are at room temperature for better emulsion, which contributes to a tender crumb.
Creative Variations to Explore
While these chocolate-dipped delights are wonderful, don’t hesitate to get creative! Consider adding a touch of citrus zest (lemon or orange) to the dough for a bright flavor. You could also experiment with different extracts like almond extract for a marzipan-like twist, or peppermint extract for a festive minty flavor. For dipping, instead of chocolate, a simple glaze made from powdered sugar and milk can be used, tinted with food coloring to match any theme. The possibilities are endless for customizing your festive cookies!
Explore More Festive Cookie Recipes
If you love holiday baking, you’ll adore these other delightful recipes perfect for your festive spread:
- Stacked Christmas Tree Cookies
- Holiday Spiced Snickerdoodles
- Christmas Cut Out Cookies
- Holiday Star Cookies
- Spiced Christmas Shortbread Cookies
- Christmas Sugar Cookie Bars
- Christmas Sugar Cookie Recipe
- Mint Christmas Cookies
- Mini Sugar Cookie Bites
- Christmas Brownie Cookies
- No Bake Gingerbread Cookies

These classic holiday butter cookies are more than just a sweet treat; they’re a tradition in the making. With their buttery rich flavor, delicate shortbread texture, and festive chocolate and sprinkle coating, they embody the spirit of the holidays in every bite. Whether you’re baking for family, friends, or a seasonal gathering, this easy butter cookie recipe is sure to bring smiles and sweet memories. Happy baking, and may your holidays be filled with joy and delicious cookies!