
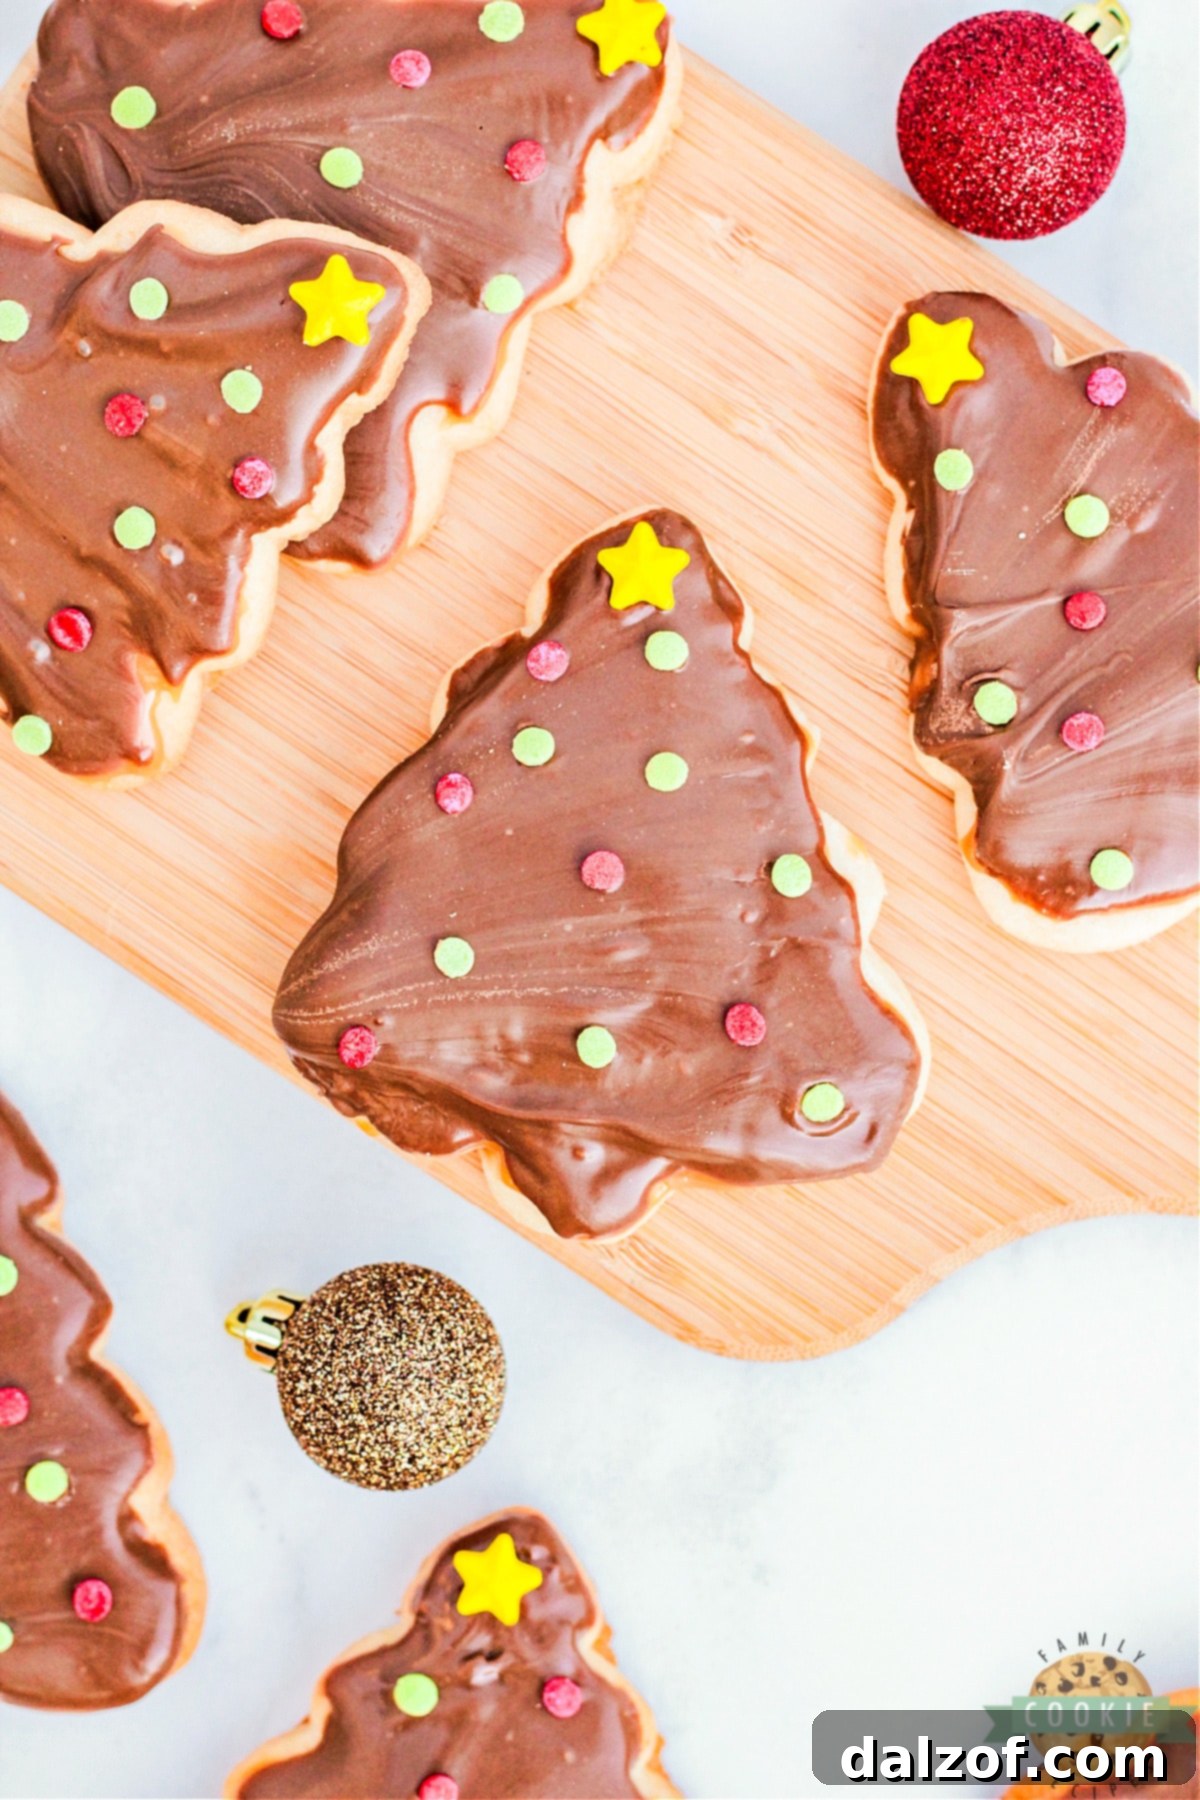
Christmas Tree Twix Cookies are the ultimate festive treat, combining the beloved flavors of a classic Twix bar with the joy of holiday baking. Imagine a tender, buttery sugar cookie base, perfectly shaped like a Christmas tree, generously blanketed with a rich, chewy caramel layer. This delightful creation is then enrobed in smooth, decadent chocolate and adorned with cheerful, festive sprinkles, making each bite an explosion of holiday cheer. These irresistible holiday cookies are more than just a dessert; they’re a celebration, tasting exactly like your favorite candy bar but with a delightful homemade touch, perfect for gifting, sharing, or indulging yourself during the most wonderful time of the year.
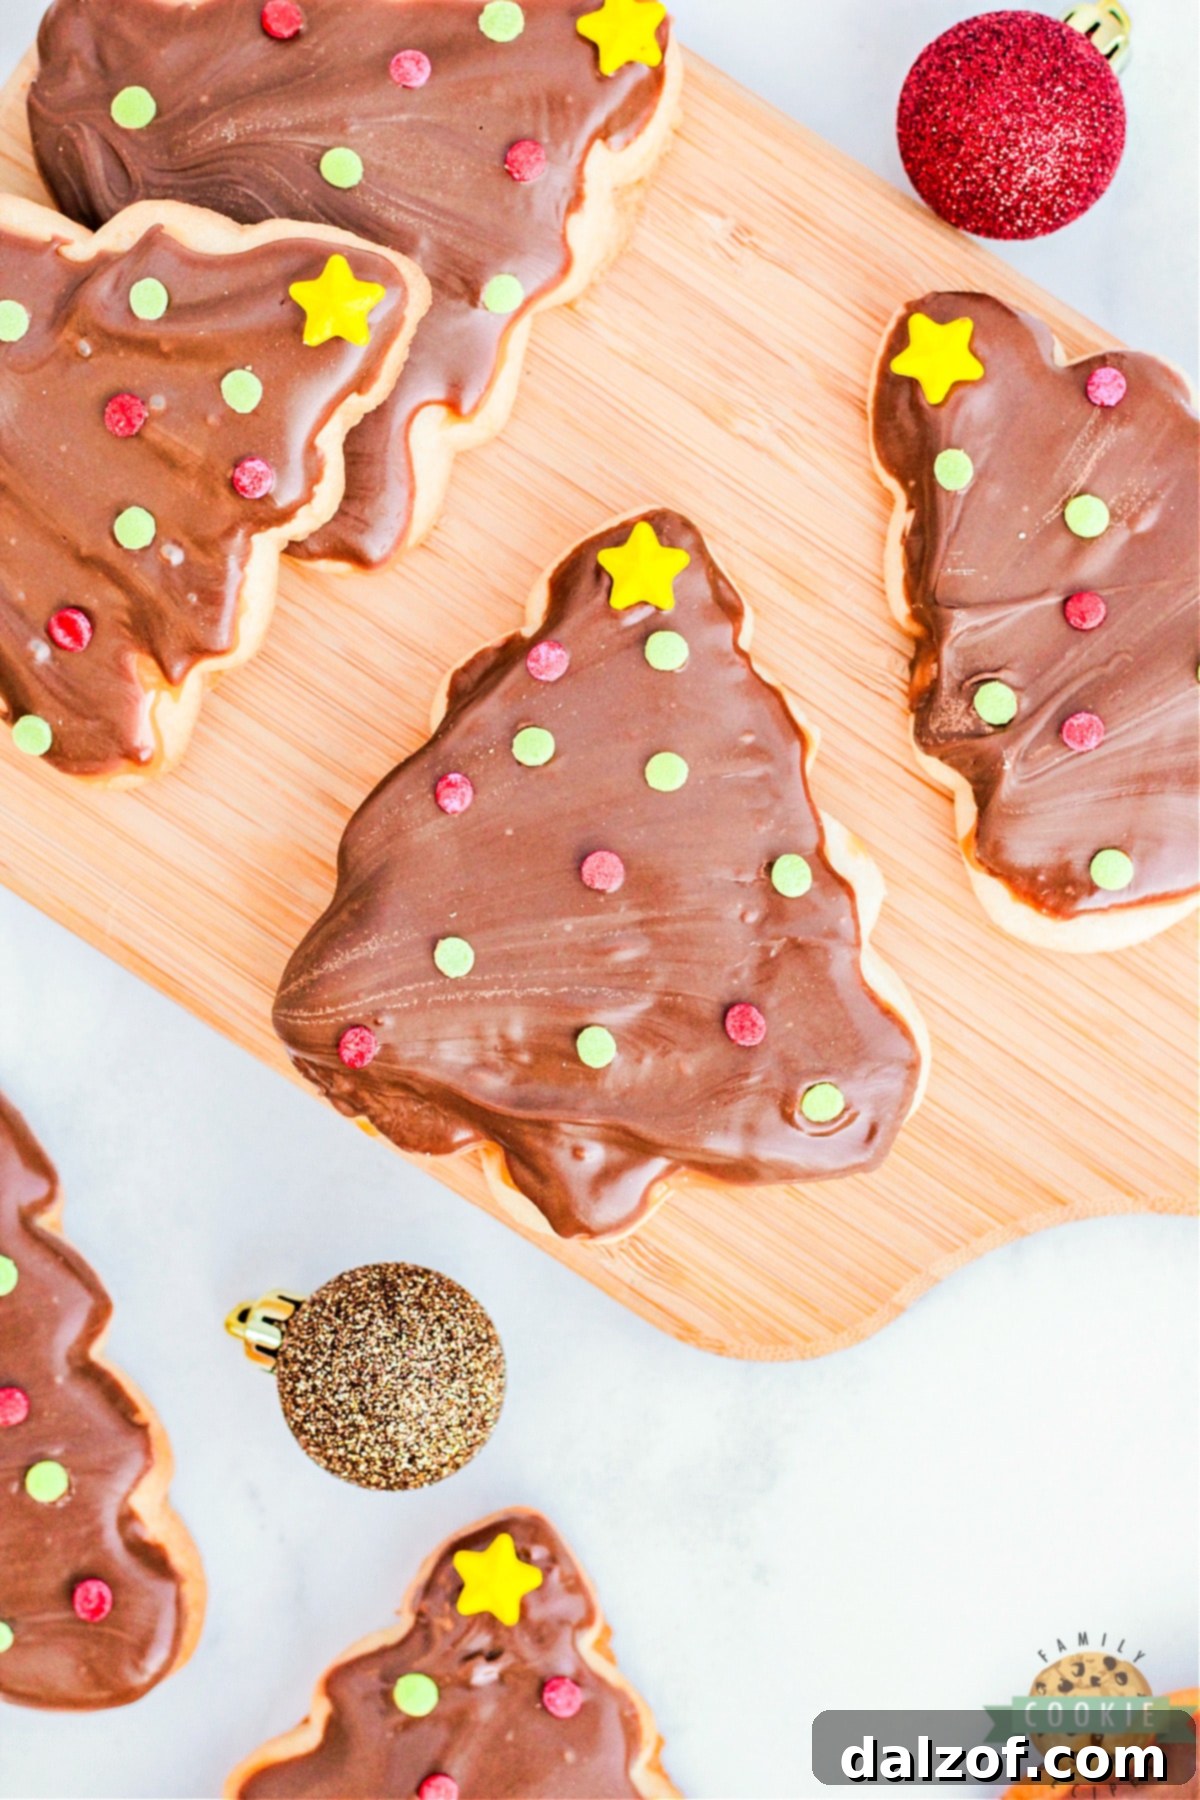
There’s nothing quite like the aroma of freshly baked cookies filling your home during the holiday season. While classic sugar cookies are always a hit, these Christmas Tree Twix Cookies elevate the experience to an entirely new level. Inspired by the iconic candy bar, this recipe brings together the perfect trifecta of shortbread-like cookie, gooey caramel, and rich chocolate in a whimsical Christmas tree shape. Whether you’re planning a holiday cookie exchange, looking for a special treat for Santa, or simply want to add some magic to your family’s dessert table, these cookies are guaranteed to be a showstopper. And the best part? While designed for festive occasions, you can easily adapt the shape to circles or squares to enjoy these delightful treats all year round, proving that candy bar-inspired indulgence isn’t just for December.

Crafting the Perfect Christmas Tree Twix Cookies
Creating these delightful Christmas Tree Twix Cookies is a straightforward and rewarding process. It all begins with a foundational, buttery sugar cookie dough that provides the ideal base for the decadent toppings. Once the dough has had a brief but crucial chill in the refrigerator, it’s rolled out and transformed into charming Christmas tree shapes using your favorite cookie cutters. After baking to golden perfection and cooling completely, each cookie receives its signature layers: a generous spread of melted, luscious caramel, followed by a dip in smooth, glossy melted chocolate. A final flourish of festive sprinkles adds that essential holiday sparkle. These cookies are not just incredibly delicious; they’re also a joy to make, making them an ideal project for holiday baking with family and friends.
Essential Ingredients for Your Twix Cookie Masterpiece
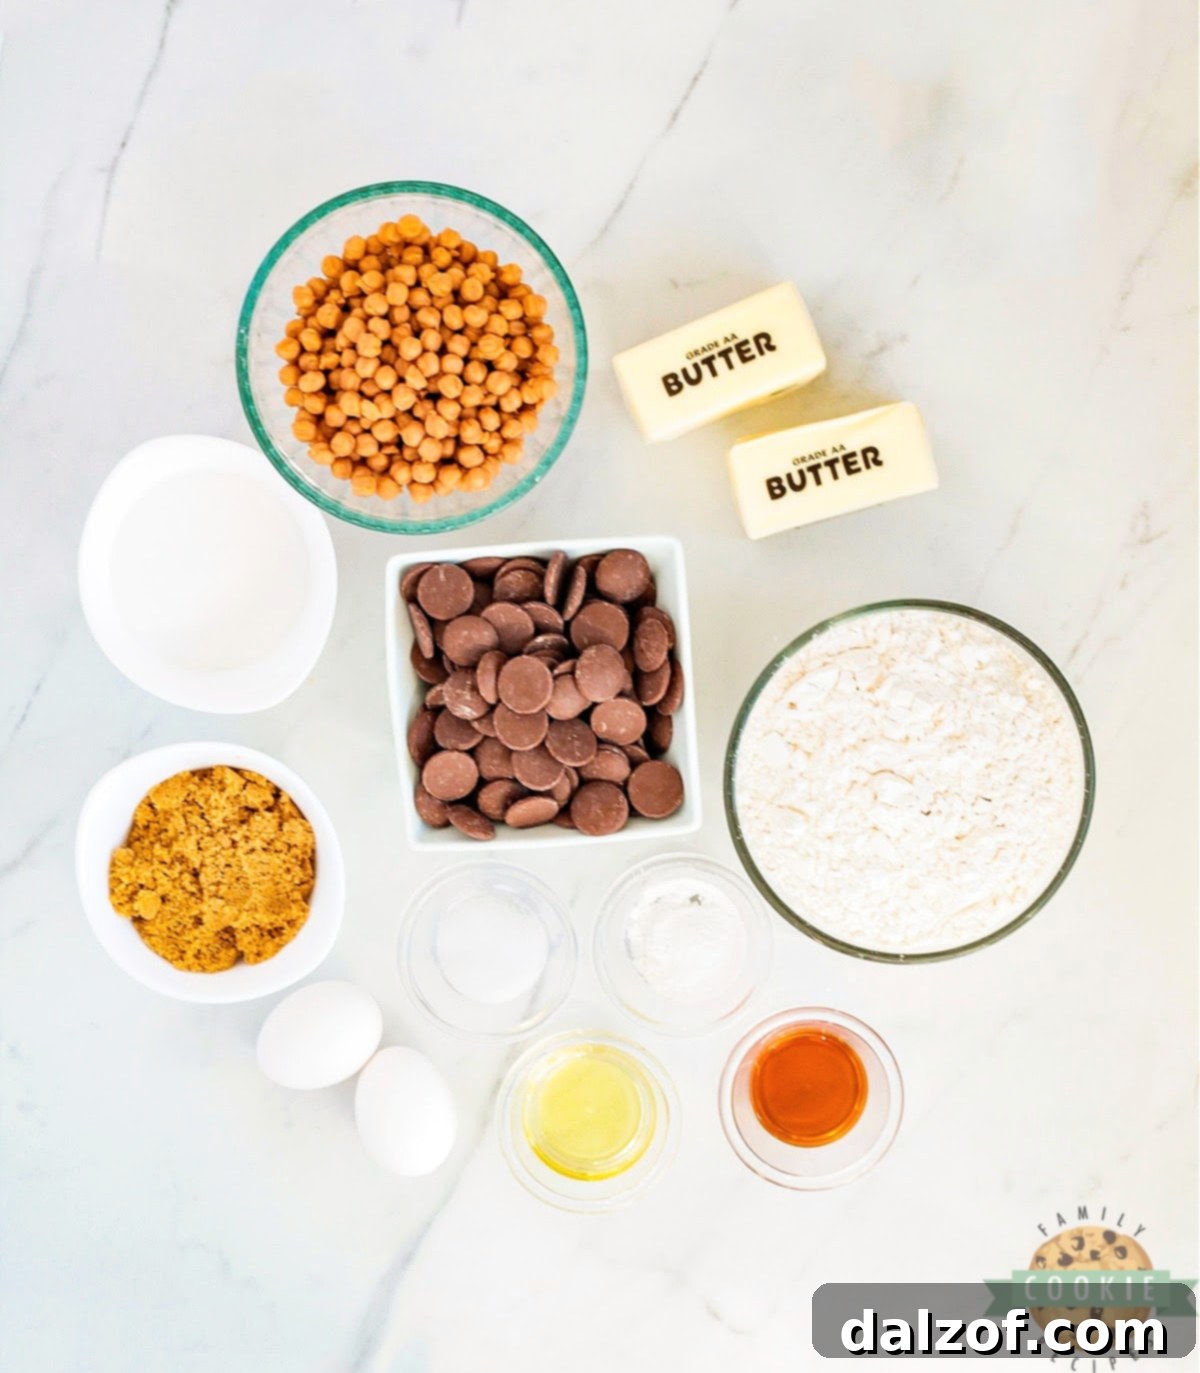
The magic of these Twix-inspired cookies lies in a combination of high-quality ingredients, each playing a vital role in achieving that perfect taste and texture. Understanding the purpose of each component will help you create truly exceptional holiday treats.
For the Irresistible Cookie Dough:
- Butter: For the best results, use softened, unsalted butter. While salted butter can work, unsalted allows you to control the exact salt content in your recipe. Ensure your butter is at room temperature (softened but not melted) for optimal creaming with the sugars, which is crucial for the cookie’s texture. Margarine is not recommended as it affects flavor and texture.
- Sugars: This recipe uses a delightful blend of granulated sugar and brown sugar. Granulated sugar contributes to the cookie’s crisp edges, while brown sugar adds moisture, depth of flavor, and a wonderful chewiness to the center. Always ensure your brown sugar is fresh and soft for easy mixing and superior results.
- Eggs: Two large eggs act as a crucial binding agent, holding the dough together and providing structure. They also contribute to the richness and moistness of the cookies, preventing them from becoming dry and crumbly during baking.
- Vanilla Extract: A good quality vanilla extract is paramount here. It elevates all the other flavors, adding a warm, aromatic note that is essential for a truly delicious sugar cookie. For an even more intense flavor, consider using vanilla bean paste. High-quality vanilla extract or vanilla bean paste can make a noticeable difference.
- Flour: All-purpose flour is the standard choice and works wonderfully. If you want a slightly softer cookie, pastry flour can be used. For a chewier texture, bread flour is an option, but stick to all-purpose for a balanced result.
- Baking Powder: As the primary leavening agent, baking powder ensures your cookies rise beautifully and achieve a soft, delicate crumb. Always check its expiry date; old baking powder will lead to flat, dense cookies.
- Salt: Just a half teaspoon of salt is enough to enhance all the other sweet flavors, balancing the richness of the caramel and chocolate and preventing the cookies from tasting overly saccharine.
For the Decadent Topping Layers:
- Chocolate: A 10-ounce bag of Ghirardelli milk chocolate melting wafers is recommended for their smooth melting consistency and rich flavor. However, feel free to use your favorite brand of milk chocolate chips or chopped chocolate bars. The key is a chocolate that melts smoothly for easy dipping and a glossy finish.
- Caramel: Caramel bits are a convenient choice as they eliminate the need for unwrapping individual caramels. If using traditional caramels, simply unwrap them before melting. The caramel layer provides the signature chewy texture and buttery sweetness characteristic of a Twix bar.
- Sprinkles: Completely optional but highly recommended for a festive touch! Choose red, green, and white sprinkles, or any color combination that suits your holiday theme, to add visual appeal and a fun texture.
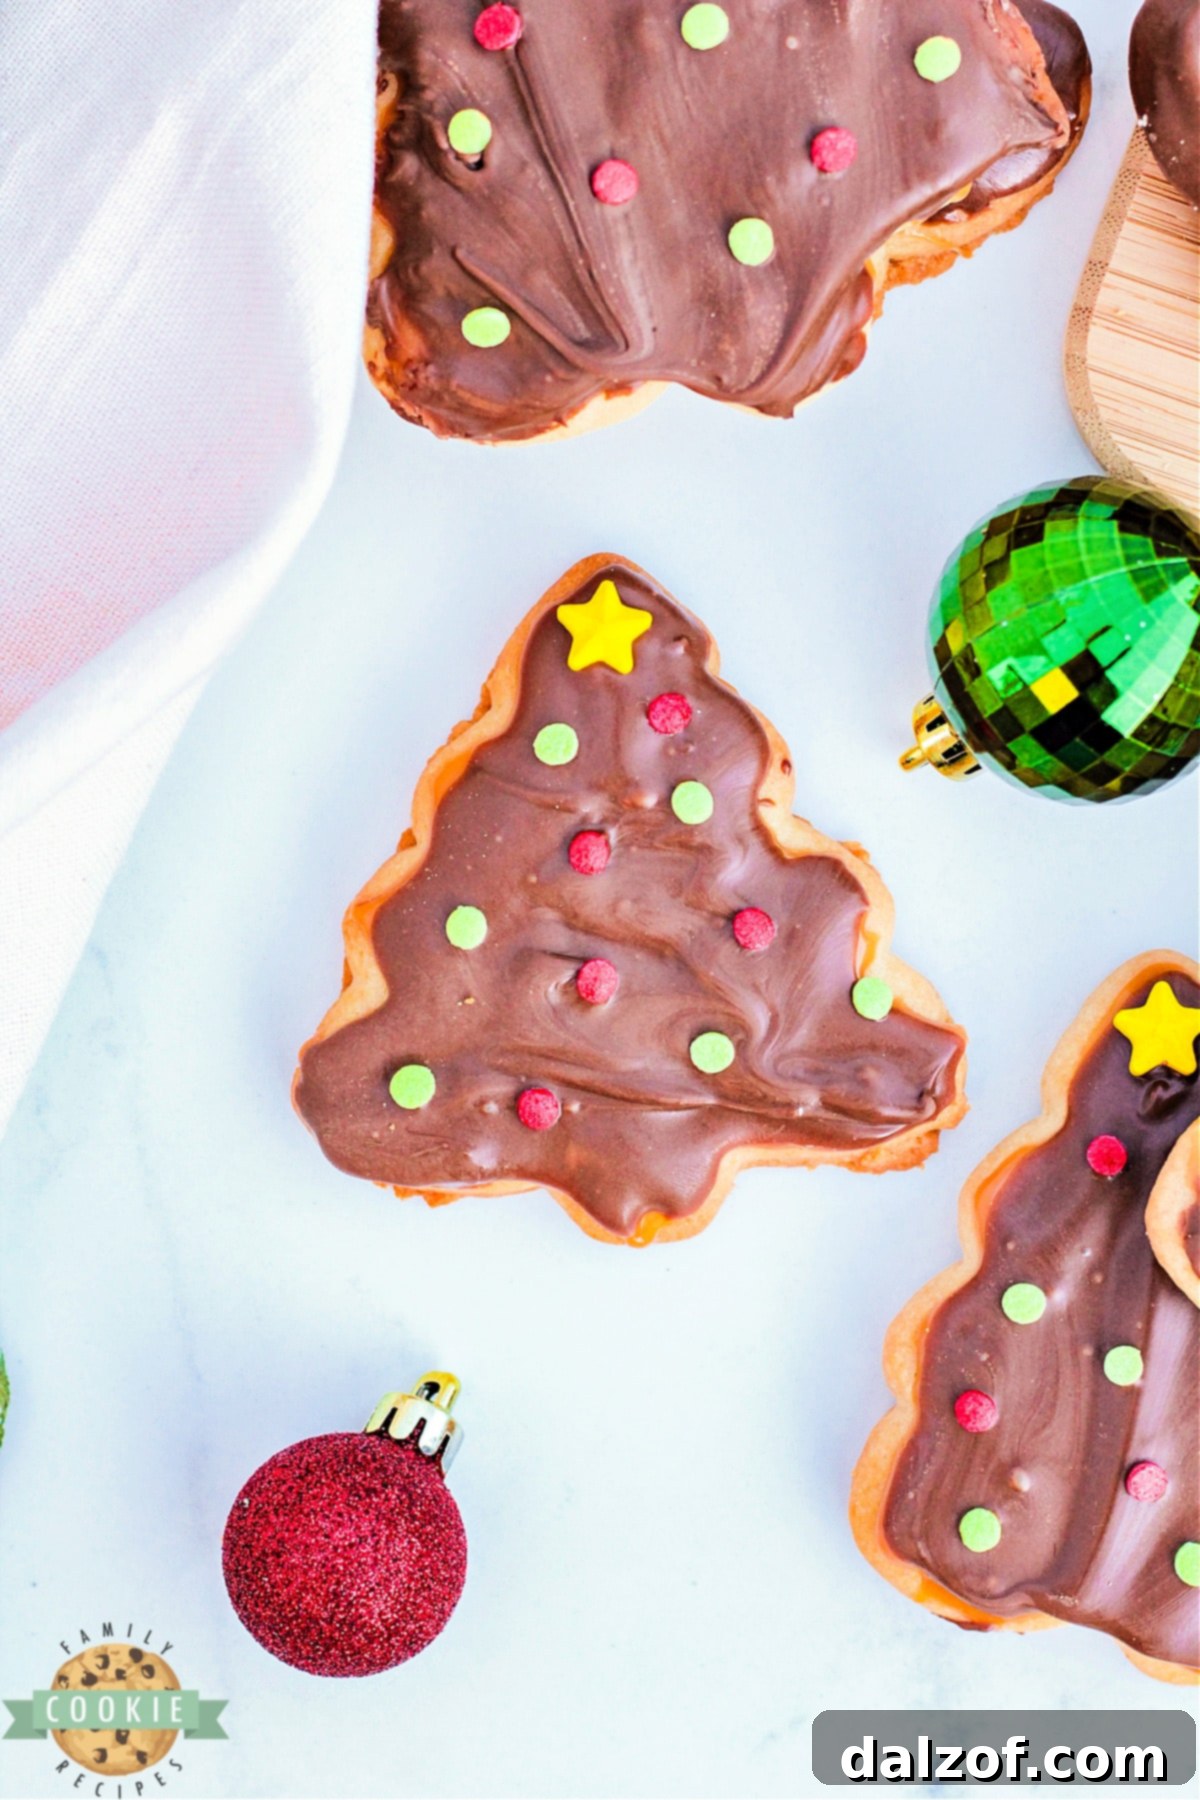
Step-by-Step Guide: How to Make Christmas Tree Twix Cookies
Follow these detailed instructions to create your own batch of stunning and delicious Christmas Tree Twix Cookies. Precision in each step will ensure the best possible outcome.
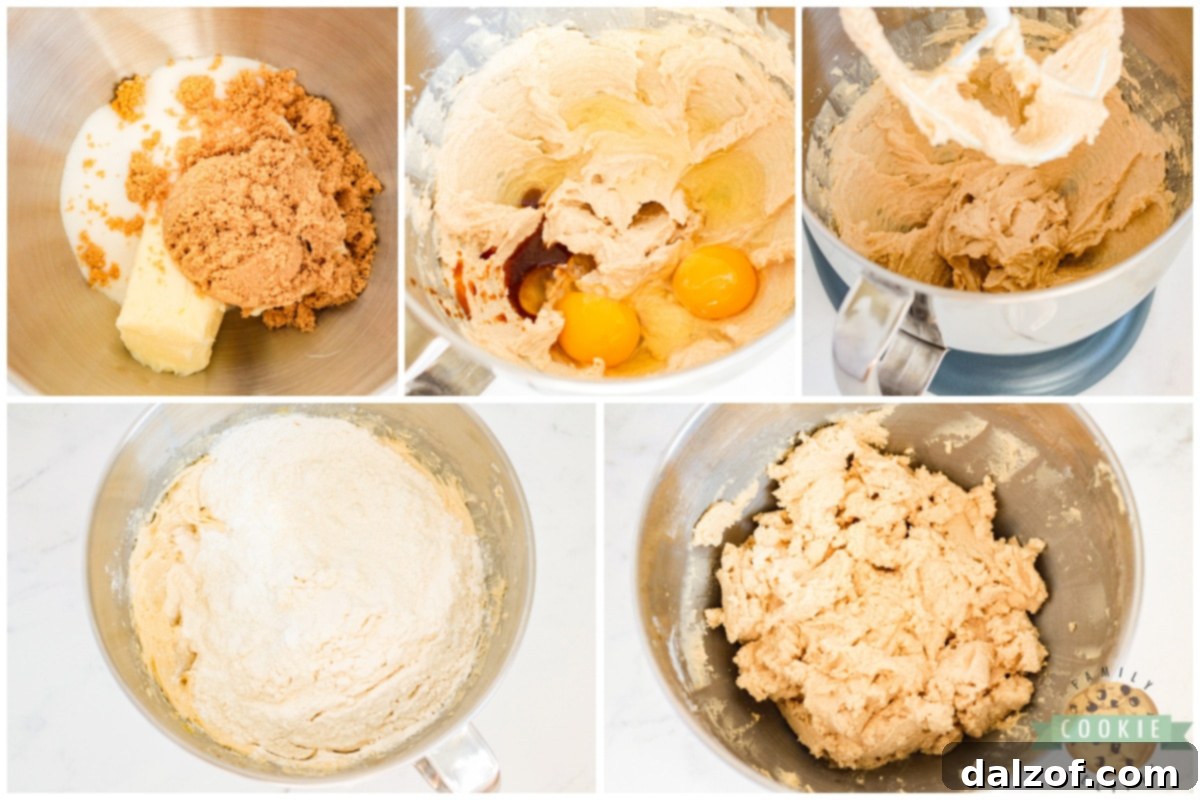
1. Prepare the Cookie Dough
- In the bowl of a stand mixer fitted with the paddle attachment (or using a hand-held mixer), combine the softened butter, granulated sugar, brown sugar, eggs, and vanilla extract. Beat these ingredients together on medium speed for about 2-3 minutes, or until the mixture becomes light, fluffy, and well-creamed. This step incorporates air, contributing to a tender cookie.
- Gradually add the all-purpose flour, baking powder, and salt to the wet ingredients. Mix on low speed until a cohesive dough forms. It’s crucial not to overmix at this stage; mix just until the ingredients are combined. If the dough appears slightly wet or sticky, resist the urge to add more flour. Chilling the dough will firm it up perfectly for rolling and cutting.
- Cover the cookie dough tightly with plastic wrap and transfer it to the refrigerator. Allow it to chill for at least 30 minutes. This chilling period is essential for preventing the cookies from spreading too much during baking and makes the dough much easier to handle.
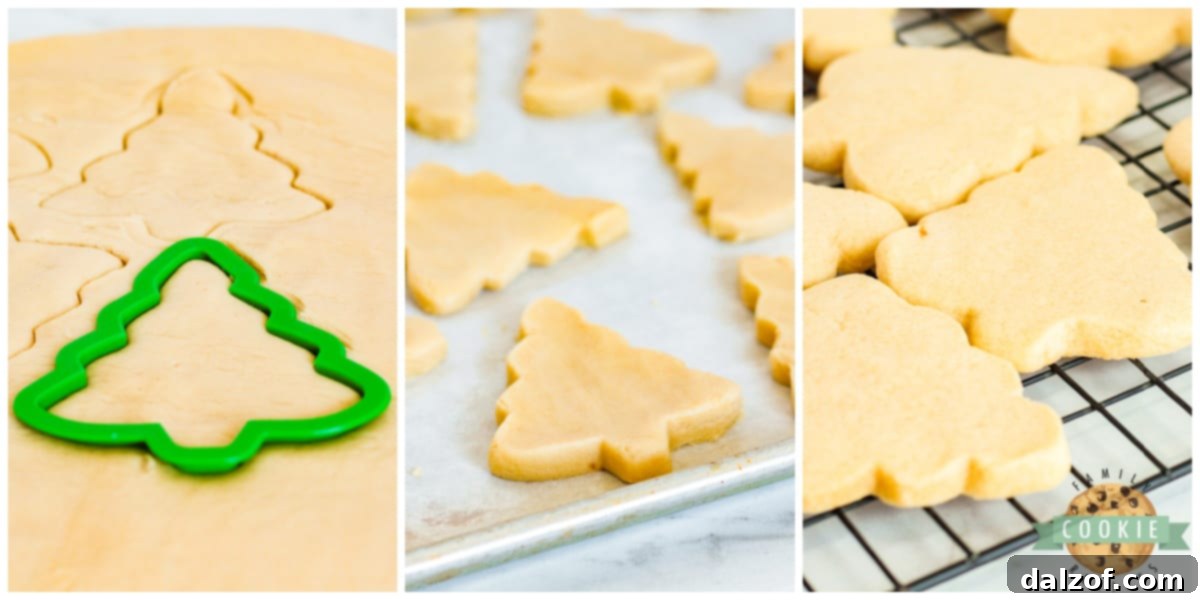
2. Cut and Bake the Cookies
- Preheat your oven to 350°F (175°C). Line two large baking sheets with parchment paper for easy removal and consistent baking.
- Remove the chilled dough from the refrigerator. Divide the dough into manageable portions. On one of the parchment-lined baking sheets (or a lightly floured surface if preferred, then transfer to parchment), roll out the dough to an even thickness of approximately 1/4 inch. Use a Christmas tree cookie cutter to cut out shapes, arranging them evenly spaced on the prepared pans. Carefully remove any excess dough from around the cutouts and gently gather it, re-rolling as needed until all dough is used.
- Place the baking sheets into the preheated oven and bake for 11 minutes. The cookies should be set and lightly golden at the edges, even if the centers still appear slightly soft. Baking time can vary, so watch them closely. Allow the cookies to cool completely on the baking sheets before handling, as they will firm up as they cool. Repeat the cutting and baking process with the remaining dough.
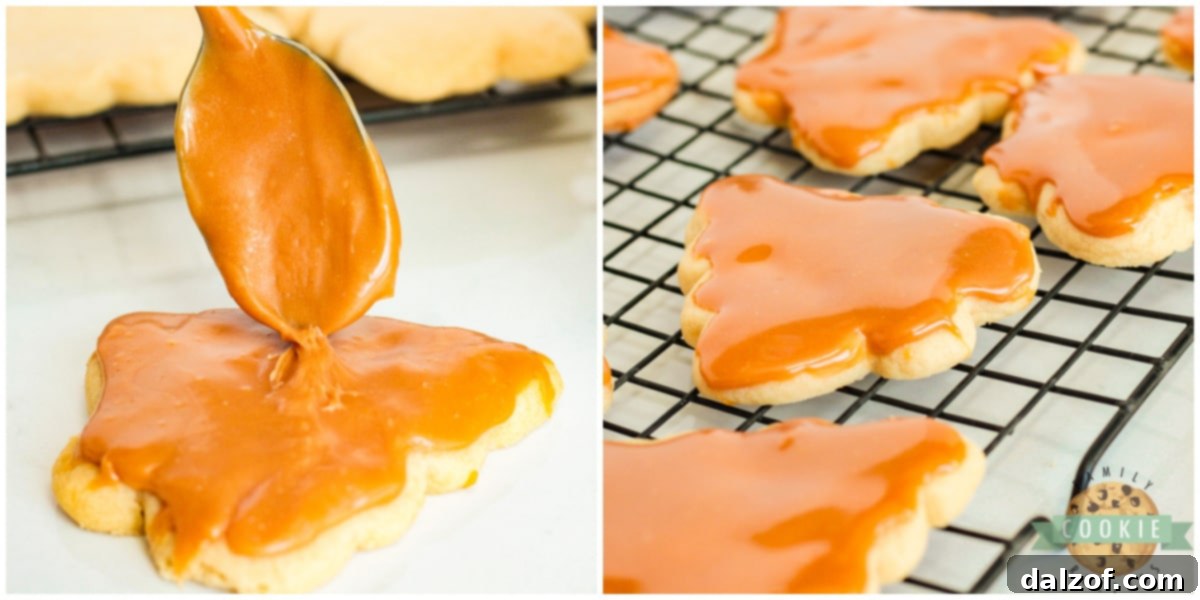
3. Apply the Caramel Layer
- While the baked cookies are cooling, prepare your caramel layer. Place the caramel bits (or unwrapped caramels) into a microwave-safe bowl. Melt them in the microwave in 30-second intervals, stirring thoroughly between each interval until the caramel is completely smooth and melted. Alternatively, use a double boiler method by placing a heatproof bowl over a saucepan of simmering water, stirring until smooth. If the melted caramel appears too thick to spread easily, add a splash or two of milk (or cream) and stir until it reaches a more spreadable consistency.
- Using a small offset spatula, knife, or the back of a spoon, carefully spread an even layer of melted caramel over the top of each cooled Christmas tree cookie. Allow the caramel to set slightly before moving on to the chocolate layer; this prevents the layers from mixing.
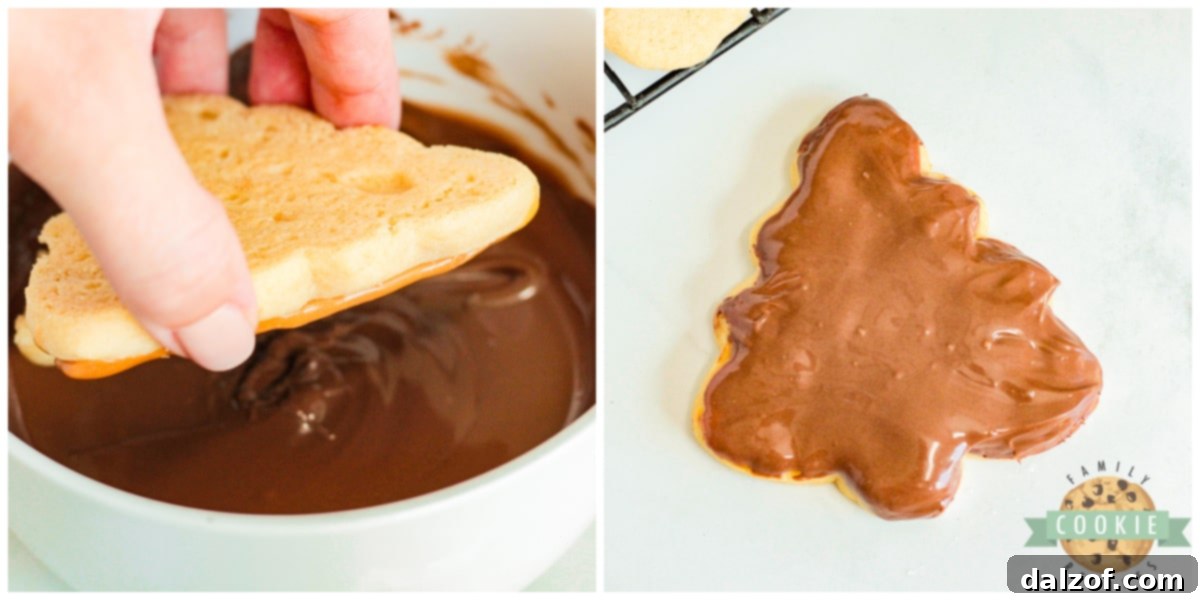
4. Add the Chocolate and Decorate
- Once the caramel has set, prepare the chocolate layer. Place the chocolate melting wafers into a separate microwave-safe bowl. Melt them in the microwave in 30-second bursts, stirring diligently after each interval until the chocolate is smooth and entirely melted. Be careful not to overheat the chocolate, as it can seize.
- Gently dip each caramel-topped cookie into the melted chocolate, ensuring it just barely covers the caramel layer. You can use a fork to help dip and then tap off any excess chocolate. Place the dipped cookies back onto the parchment-lined baking sheets.
- Immediately after dipping (while the chocolate is still wet), decorate the cookies with your chosen festive sprinkles. This ensures the sprinkles adhere properly before the chocolate begins to set.
- Allow the chocolate to fully set at room temperature or by placing the baking sheets in the refrigerator for a quicker set, typically 15-30 minutes. Once firm, your Christmas Tree Twix Cookies are ready to be enjoyed!
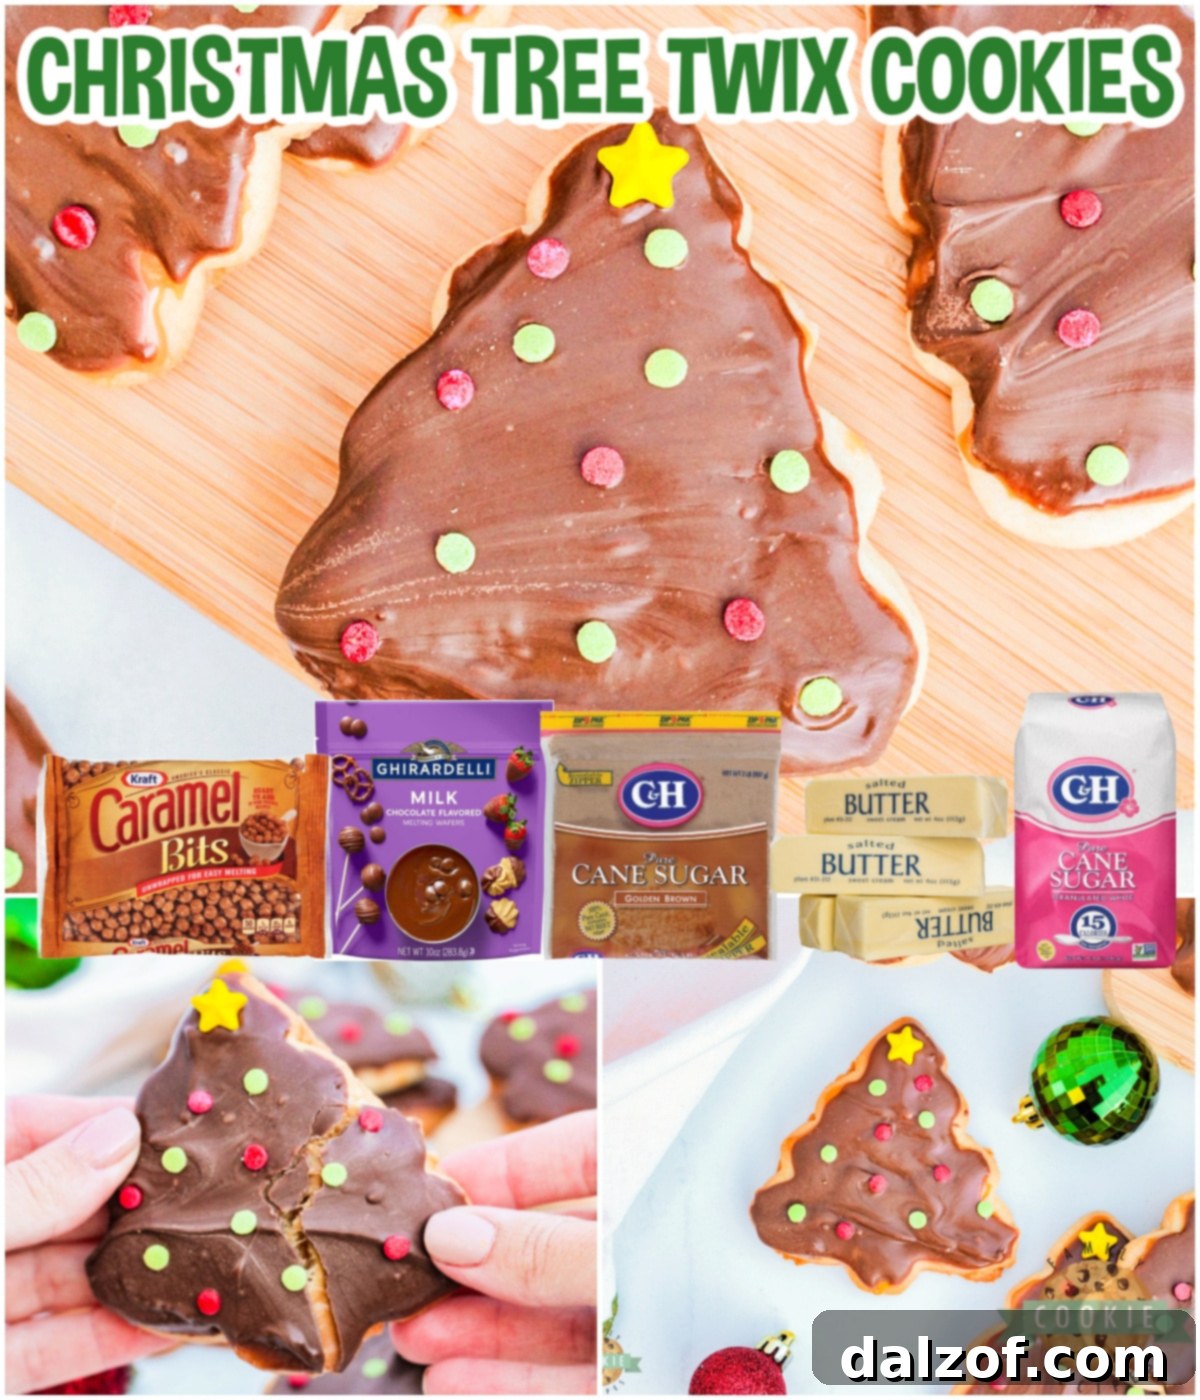
Recipe Summary: Christmas Tree Twix Cookies
These Christmas Tree Twix Cookies offer a delightful fusion of a classic sugar cookie, rich caramel, and smooth chocolate, all adorned with festive sprinkles. A true holiday sensation that mimics your favorite candy bar!
Yields: Approximately 24 cookies
Prep Time: 20 minutes
Cook Time: 11 minutes
Chill Time: 30 minutes
Course: Cookies
Cuisine: American
Keyword: Christmas Tree Twix Cookies, Holiday Cookies, Caramel Chocolate Cookies
Author: Jessica & Nellie
Ingredients
Cookie Dough:
- 1 cup butter, softened
- ½ cup granulated sugar
- ½ cup brown sugar
- 2 large eggs
- 1 teaspoon vanilla extract
- 3 cups all-purpose flour
- 2 teaspoons baking powder
- ½ teaspoon salt
Topping Ingredients:
- 1 bag (10 oz) Ghirardelli milk chocolate melting wafers
- 1 bag (11 oz) caramel bits
- Festive sprinkles (optional)
Instructions
- Make the Cookie Dough: In a stand mixer, cream butter, sugars, eggs, and vanilla for 2-3 minutes until fluffy.
- Add flour, baking powder, and salt; mix until dough forms. Do not add extra flour if wet; chilling will firm it.
- Cover and chill dough in the fridge for 30 minutes.
- Cut Out and Bake the Cookies: Preheat oven to 350°F (175°C). Line two baking sheets with parchment paper.
- Roll out dough to ¼ inch thickness. Cut out Christmas tree shapes. Remove excess dough for re-rolling.
- Bake for 11 minutes. Cool completely on sheets. Repeat with remaining dough.
- Caramel Layer: Melt caramel bits in microwave (30-sec intervals, stirring) or double boiler until smooth. Add a splash of milk if too thick.
- Spread caramel over each cooled cookie.
- Chocolate Layer: Melt chocolate wafers in microwave (30-sec intervals, stirring) until smooth.
- Dip each caramel-topped cookie into melted chocolate, covering just the caramel layer.
- Immediately decorate with sprinkles before chocolate sets.
- Allow chocolate to fully set before enjoying.
Nutrition Information (per serving, approx.)
- Calories: 281 kcal
- Carbohydrates: 39g
- Protein: 3g
- Fat: 13g
- Saturated Fat: 9g
- Polyunsaturated Fat: 1g
- Monounsaturated Fat: 2g
- Trans Fat: 0.3g
- Cholesterol: 35mg
- Sodium: 152mg
- Potassium: 92mg
- Fiber: 0.4g
- Sugar: 26g
- Vitamin A: 262 IU
- Vitamin C: 0.1 mg
- Calcium: 43mg
- Iron: 1mg
Unlock the Secret to Perfect Christmas Tree Twix Cookies: Expert Tips
- Embrace the Chill: Sugar cookie dough can be sticky, but chilling it for the recommended 30 minutes is crucial. This firms up the butter, making the dough much easier to roll and cut without distorting the shapes. Resist the urge to add extra flour to a wet dough, as this can throw off the wet-to-dry ingredient ratio, leading to dry, crumbly cookies. Patience during chilling pays off!
- Butter at the Right Temperature: Never use melted butter for this recipe. Softened, room-temperature butter is essential for proper creaming with the sugars. Melted butter will result in a greasy dough and a completely different (and less desirable) cookie texture.
- Creaming is Key: Don’t rush the creaming process. Taking 2-3 minutes to thoroughly cream the butter and sugars together incorporates air into the mixture, resulting in lighter, fluffier cookies with a superior consistency.
- Preheat Your Oven Properly: Always preheat your oven fully before placing cookies inside. A consistently heated oven ensures even baking, preventing cookies from over-spreading and helping them achieve the perfect texture every time.
- The Power of Parchment or Silicone: For effortless removal and minimal cleanup, always line your baking sheets with parchment paper or a silicone baking mat. This prevents sticking and allows your perfectly shaped cookies to slide right off the pan without damage.
- Mind the Dough Thickness: When rolling out the dough, aim for an even thickness of about 1/4 inch. If the dough is too thin, your cookies might become overly crispy, hard, and prone to breaking. Conversely, if the dough is too thick, the cookies may not bake through evenly, leaving a raw center.
- Avoid Over-Baking: Keep a close eye on your cookies as they bake. They may not look completely “done” on top, but the moment the edges or bottoms begin to turn a light golden brown, it’s time to take them out. They will continue to firm up as they cool on the baking sheet, ensuring a perfectly soft and chewy interior.
- Cool Completely Before Decorating: Patience is a virtue, especially when decorating. Ensure your cookies are completely cool before applying the caramel and chocolate layers. Warm cookies will cause the caramel and chocolate to melt and run, leading to a messy finish.
- Even Spreading of Caramel: For a smooth caramel layer, if it feels too thick after melting, add a tiny bit of milk or cream (about ½-1 teaspoon at a time) to thin it out to a spreadable consistency. This helps create that iconic Twix-like layer.
- Quick Sprinkle Application: Once you dip a cookie in chocolate, add your sprinkles immediately. The chocolate sets quickly, especially if the cookies are cool, so apply those festive decorations before it hardens to ensure they stick.
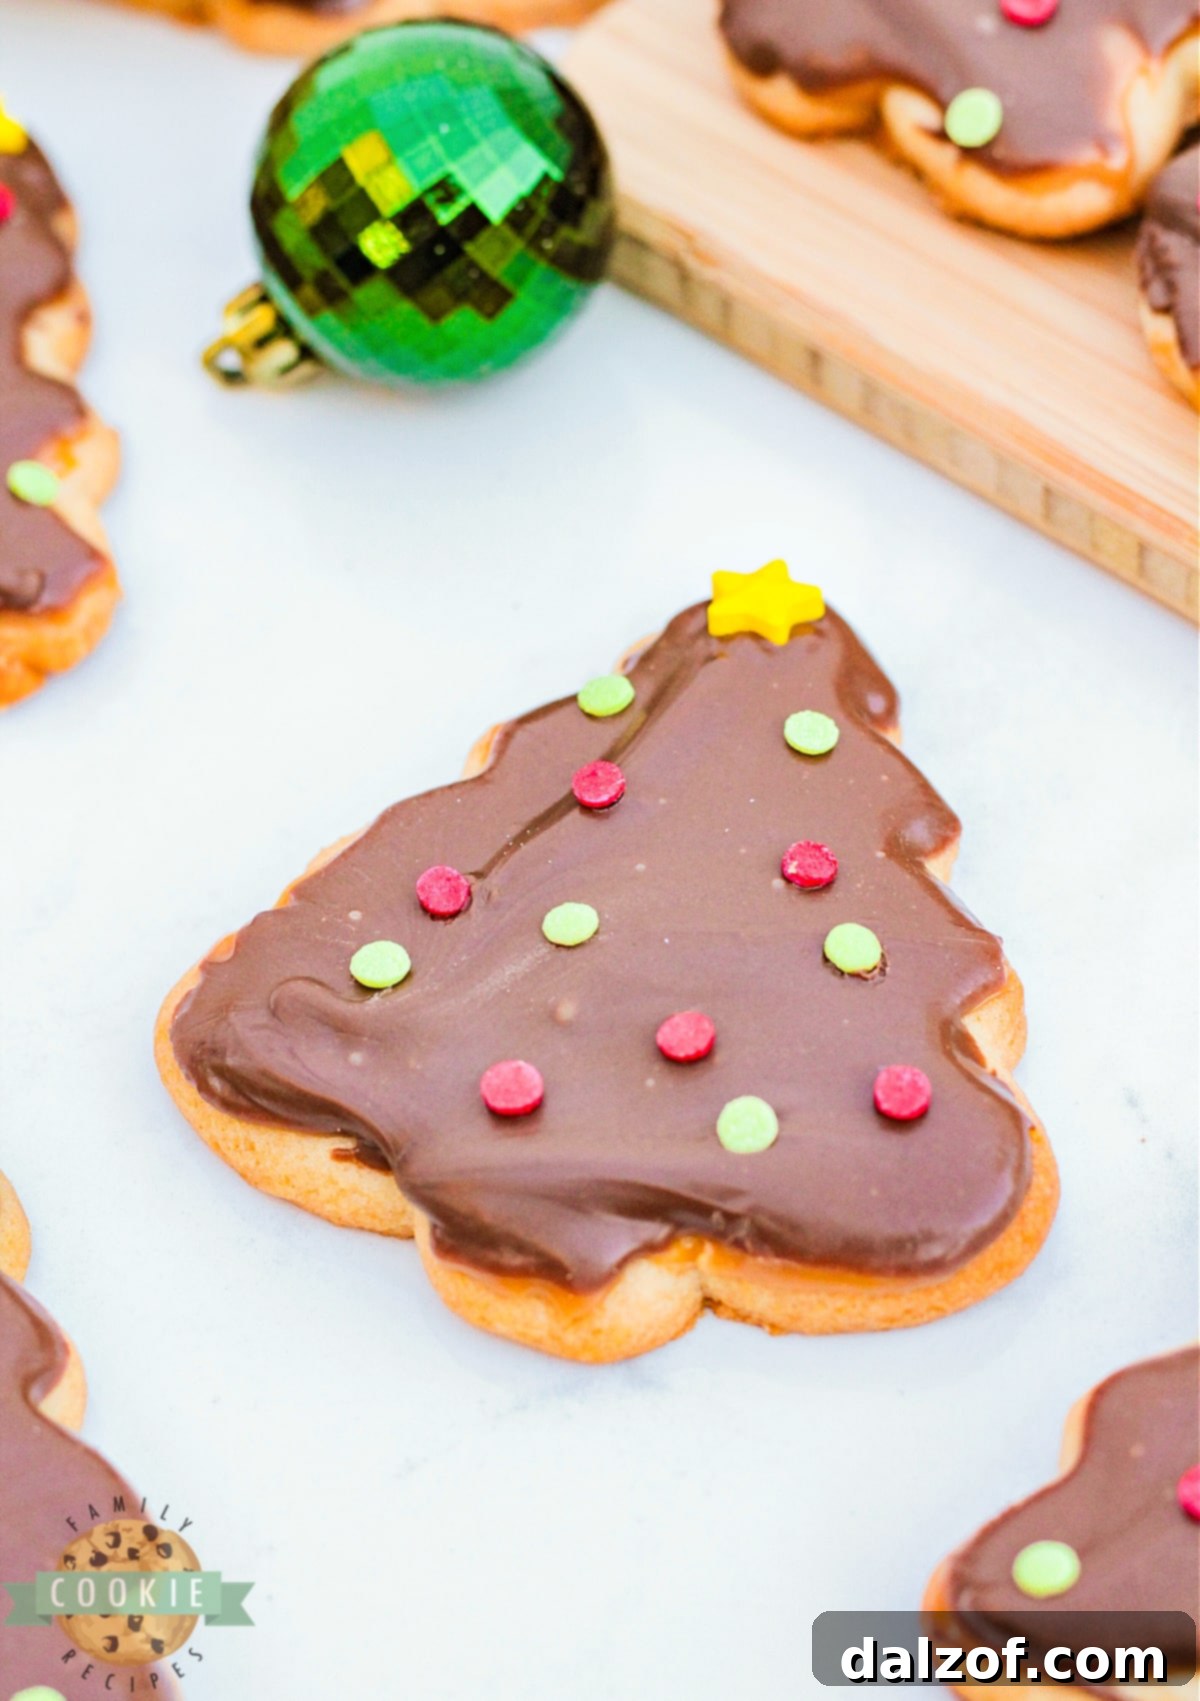
Keeping Your Twix Cookies Perfectly Soft and Fresh
To ensure your Christmas Tree Twix Cookies remain delightfully soft and fresh for as long as possible, proper storage is key. Once the chocolate layer has fully set, transfer the cooled cookies to an airtight container. Layer them with parchment paper between each row to prevent sticking and preserve their delicate decoration. Store the container at room temperature, away from direct sunlight or heat. Additionally, making sure your cookie dough is rolled to the correct 1/4-inch thickness helps maintain a tender crumb, preventing them from becoming brittle during baking and storage.
How Long Will These Festive Twix Cookies Last?
When stored correctly in an airtight container at room temperature, your homemade Christmas Tree Twix Cookies will stay fresh and delicious for up to one week. If you need to store them for longer, they can also be frozen. Place the completely set cookies in a single layer on a baking sheet to freeze, then transfer them to an airtight freezer-safe container or bag for up to 2-3 months. Thaw at room temperature before serving for a delightful treat any time!
Explore More Chocolate Caramel Cookie Delights
If you’re as enamored with the classic combination of chocolate and caramel as we are, you’ll love exploring these other irresistible recipes:
- For a bite-sized indulgence, try our Twix Cookie Cups, featuring tender shortbread cups generously filled with molten caramel and rich chocolate.
- Need something quick and incredibly easy? These Twix Cookie Bites are a fantastic option, requiring just three simple ingredients for maximum flavor with minimal effort!
- If you’re a fan of fudgy brownies, our Caramel Brownie Cookies are a dream come true. Starting with a convenient cake mix, these cookies are delightfully stuffed with soft, chewy caramels.
- For another twist on a classic, these Stuffed Rolo Cookies feature a tender sugar cookie embracing the iconic chocolate-caramel Rolo candy within. And if you prefer a chocolatey cookie base, check out this chocolate version made effortlessly with a chocolate cake mix!
- Don’t miss our Twix Cookie Bars, which build upon a buttery baked shortbread layer, topped with a luscious caramel filling, and finished with a smooth chocolate topping. Prepare for that incredible gooey caramel pull!

We hope you enjoy baking and sharing these exquisite Christmas Tree Twix Cookies as much as we do. They are truly a delightful addition to any holiday celebration, bringing smiles and sweet memories with every delicious bite. Happy baking!