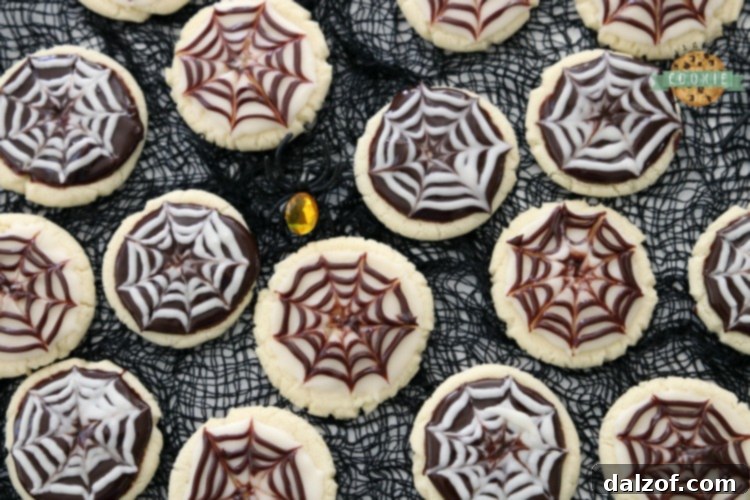
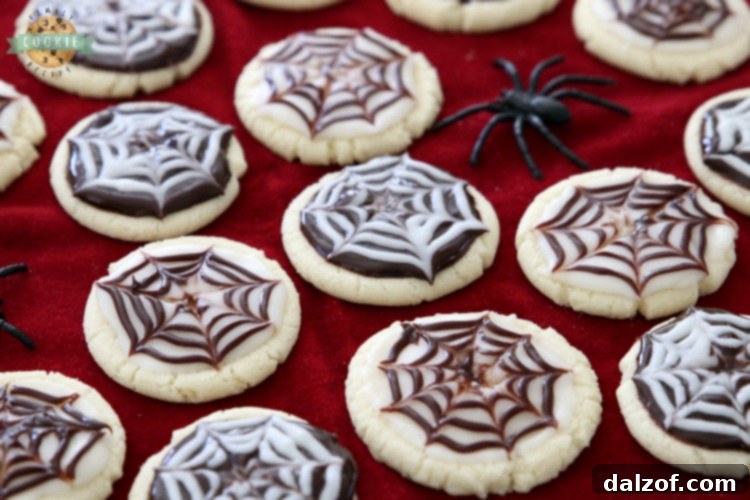
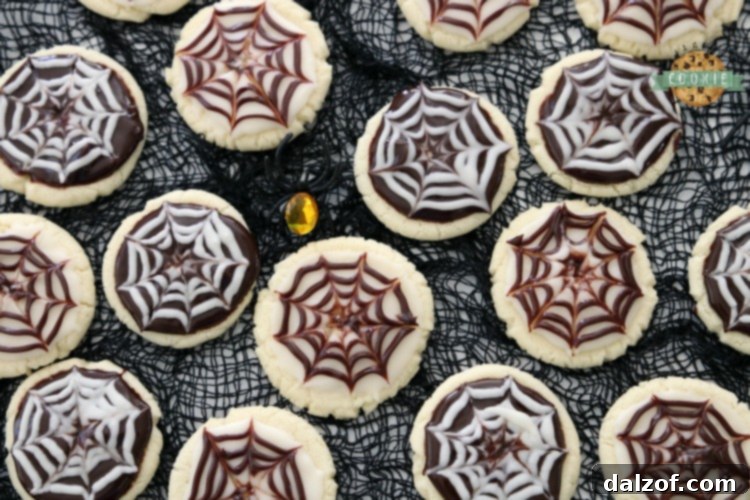
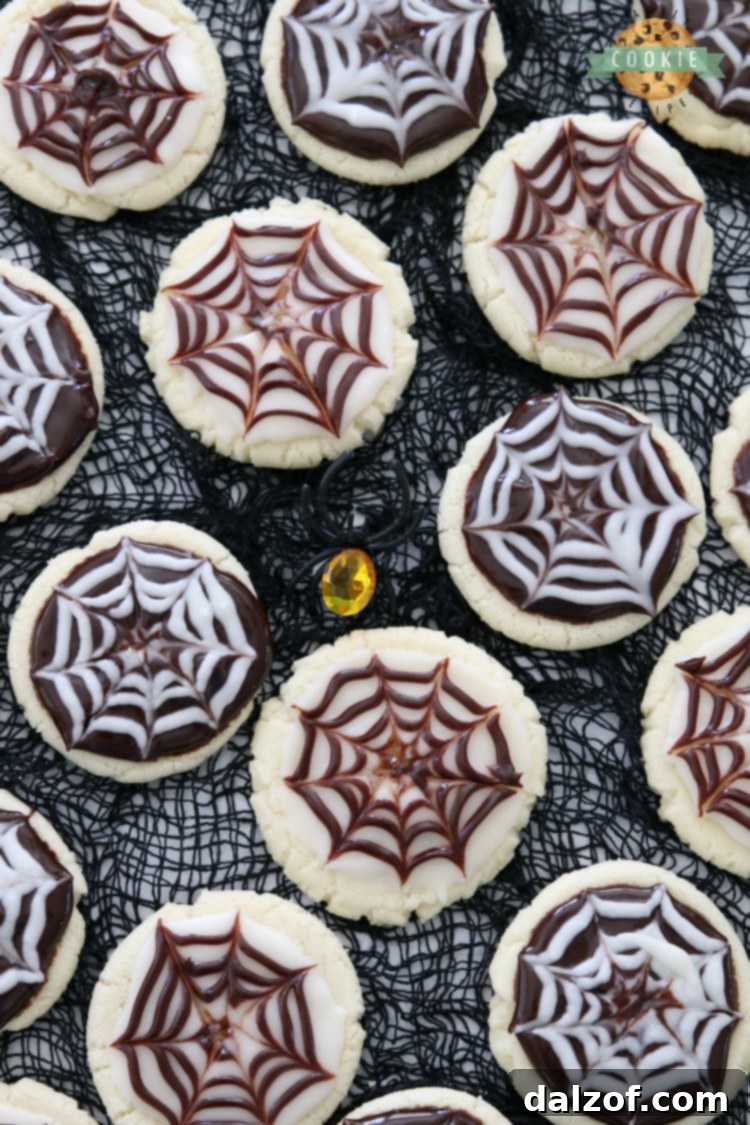
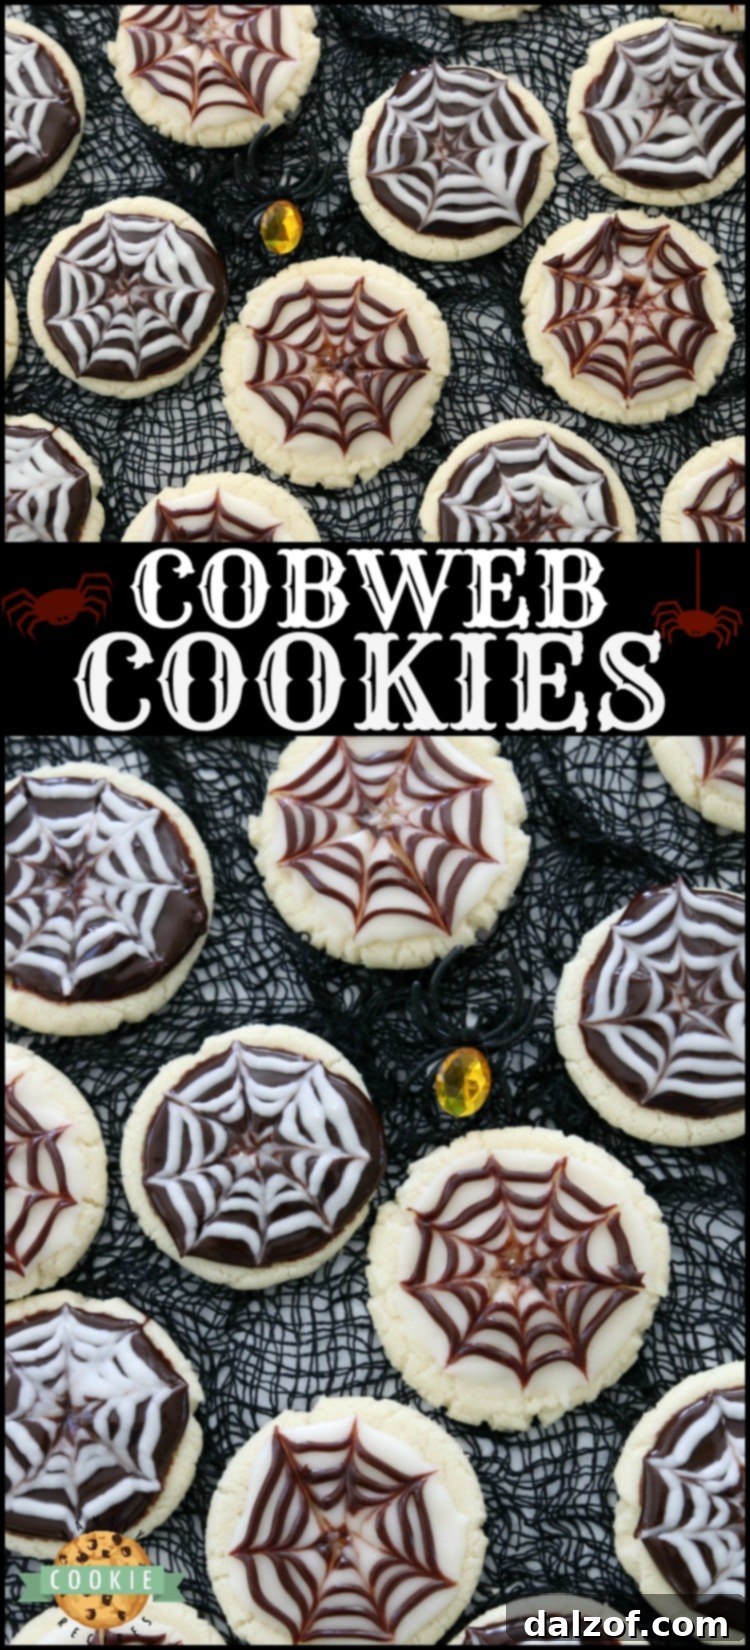
Welcome to the ultimate guide for crafting irresistibly spooky and utterly delicious **Halloween Cobweb Cookies**! These festive sugar cookies, elegantly topped with rich chocolate and smooth vanilla icing, offer a fantastic way to celebrate Halloween without the need for artificial food coloring. With a quick and easy spider web design that comes together in mere seconds, these treats are perfect for any Halloween gathering, school party, or simply for a fun family baking session.
There’s something truly special about these “cobweb” cookies that makes them a family favorite year after year. As someone who prefers not to encounter actual spiders, the idea of delightful cobweb patterns on my cookies is far more appealing! What makes this recipe particularly wonderful is its reliance on natural chocolate and vanilla for the stunning two-tone effect. You won’t find any artificial dyes here, ensuring a pure, delicious taste that everyone can enjoy.
Crafting the Perfect Sugar Cookie Base: Tips & Essential Tools
Achieving perfectly baked sugar cookies is the first step towards these spectacular Halloween treats. While the recipe itself is straightforward, a few key kitchen items can significantly streamline the process and elevate your baking results, making you feel like a seasoned pro. These tools aren’t just for this recipe; they’re incredibly versatile and will become staples in your kitchen for countless other baking adventures.
The Foundation of Flawless Baking: Parchment Paper
My number one secret for effortless cookie baking is parchment paper. I swear by it for almost every cookie recipe I make. These pre-cut sheets, designed to fit standard 12×16 inch baking trays, eliminate the dreaded task of scraping cookies off the pan. Not only does parchment paper prevent sticking, ensuring your beautifully shaped cookies retain their form, but it also promotes even baking by insulating the cookie bottoms. Plus, cleanup is a breeze! No need to grease your pans, which means less mess and more time to enjoy the delightful aroma of freshly baked cookies.
Elevating Your Dough: The Power of a Stand Mixer
A KitchenAid mixer is another invaluable tool that transforms the cookie-making experience from a chore into a joy. While I also own a Bosch, my KitchenAid is my go-to for cookies, especially with its dedicated cookie paddle attachment. This attachment effortlessly cream together butter, shortening, and sugar, ensuring a smooth, uniform dough without overworking it. For the glazes in this recipe, the metal whisk attachment is a game-changer, whipping up light and airy frosting in record time. Investing in a quality stand mixer is a decision you won’t regret; it’s a true workhorse that simplifies countless baking tasks.
Achieving Uniformity: The Secret of a Cookie Scoop
Gone are the days of using two spoons to haphazardly dollop cookie dough onto baking sheets, resulting in an assortment of irregular shapes and sizes. The secret to perfectly uniform, professional-looking cookies is a cookie scoop! These handy gadgets come in various sizes – typically 1/2 tablespoon, 1.5 tablespoon, and 3 tablespoon. For these Cobweb Halloween Cookies, and most other standard cookies, the 1.5 tablespoon size is ideal. Using a scoop guarantees consistent portioning, which leads to even baking and a beautiful presentation. If you’re baking for a large crowd or creating a dessert platter with multiple options, a smaller scoop can be excellent for bite-sized delights. It’s a simple tool that makes a huge difference in the final aesthetic of your baked goods.
Beyond these essential tools, remember a few general tips for perfect sugar cookies: always use room temperature butter and shortening for optimal creaming, avoid overmixing the dough once flour is added to prevent tough cookies, and don’t be afraid to chill your dough briefly if it becomes too soft to handle. These small steps contribute significantly to a tender, delicious cookie every time.
Halloween Cobweb Cookies Recipe: Ingredients and Step-by-Step Guide
Now that you’re equipped with the knowledge for perfect sugar cookies, let’s dive into the enchanting world of decorating them with a mesmerizing cobweb design. This recipe will guide you through making tender sugar cookies from scratch, followed by two simple, flavorful glazes – one rich chocolate and one classic vanilla – that come together to create that iconic spooky pattern. The best part? No special artistic skills are required for this impressive effect!
Ingredients for the Perfect Sugar Cookies
- 1/2 cup butter, softened
- 1/2 cup shortening
- 3/4 cup granulated sugar
- 1 egg
- 1 tsp vanilla extract
- 2 1/2 cups all-purpose flour
- 1 tsp baking powder
- 1/2 tsp salt
Rich Chocolate Glaze Ingredients
- 2 cups chocolate chips (semi-sweet or milk chocolate work well)
- 1 cup heavy whipping cream
- 1/2 cup unsalted butter
Smooth Vanilla Glaze Ingredients
- 2 TBSP unsalted butter, melted
- 1 tsp vanilla extract
- 2 cups powdered sugar
- 4-5 TBSP milk (adjust as needed for consistency)
Step-by-Step Instructions: How to Bake and Decorate Your Cobweb Cookies
- Preheat your oven to 350 degrees F (175 C). Line a baking sheet with parchment paper for non-stick baking and easy cleanup.
- In the bowl of your stand mixer (using the paddle attachment), cream together the softened butter, shortening, and granulated sugar until the mixture is light, fluffy, and smooth. This typically takes 2-3 minutes. Scrape down the sides of the bowl as needed. Add in the egg and vanilla extract, and mix again until fully incorporated.
- In a separate medium bowl, whisk together the dry ingredients: all-purpose flour, baking powder, and salt. Gradually add the dry ingredient mixture to the wet butter mixture in the stand mixer, mixing on low speed until just combined. Be careful not to overmix, as this can result in tough cookies.
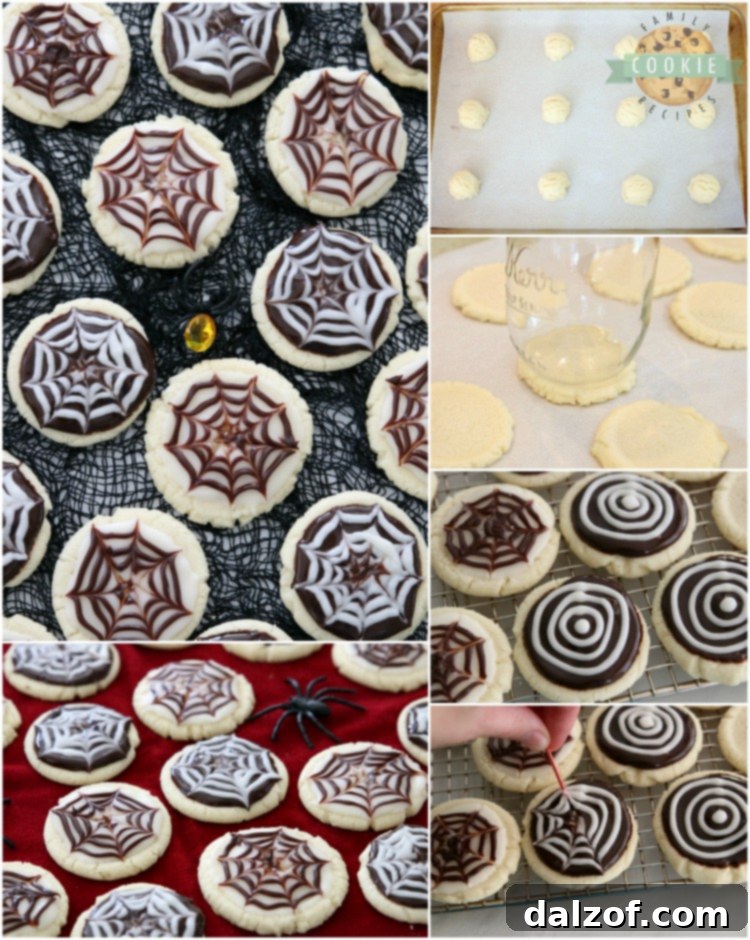
- Using your 1.5 tablespoon cookie scoop, scoop out uniform balls of dough and place them onto the parchment-lined baking sheet, leaving about 2 inches between each cookie. Lightly spray the bottom of a flat glass with non-stick spray, then gently flatten each cookie dough ball until it is approximately 1/4 inch thick. This ensures even baking and a consistent cookie base for decorating.
- Bake the cookies for 10-12 minutes, or until the edges are lightly golden and the centers are set. Baking times can vary, so keep an eye on them. Once baked, let the cookies cool on the baking sheet for a few minutes before carefully transferring them to a wire rack to cool completely. Cooling thoroughly is crucial before glazing to prevent the icing from melting or running.
- **To make the chocolate glaze:** In a microwave-safe glass bowl, combine the butter and heavy whipping cream. Heat in the microwave for 1 minute and 30 seconds, or until the mixture is hot and steaming but not boiling. Add the chocolate chips to the hot cream mixture, then cover the bowl with a small plate or plastic wrap. Let it sit undisturbed for 5 minutes. After 5 minutes, uncover and whisk the mixture vigorously until the chocolate chips are fully melted and combined, creating a smooth, glossy, and shiny chocolate glaze. Transfer about 3-4 tablespoons of this chocolate glaze into a small sandwich baggie. When ready to decorate, snip a tiny corner off the baggie to create a piping tool.
- **To make the vanilla glaze:** In a small bowl, melt the 2 tablespoons of butter. Stir in the vanilla extract and powdered sugar. Gradually add 4-5 tablespoons of milk, one tablespoon at a time, mixing until you achieve a smooth, pourable, yet spreadable glaze. The consistency should be thick enough to coat a spoon but thin enough to spread easily. Transfer about 3-4 tablespoons of this vanilla glaze into a separate small sandwich baggie and snip a tiny corner for piping.
- **To create the cobweb design:** Begin by spooning approximately 1 tablespoon of one color of glaze (e.g., vanilla) onto the center of a cooled cookie. Use the back of the spoon to gently spread the glaze evenly across the cookie surface, almost to the edges. While this glaze is still wet, immediately take the sandwich baggie with the opposite glaze (e.g., chocolate) and pipe concentric circles onto the wet base glaze. Start with a small dot in the middle, then pipe 2-3 larger circles, ensuring not to touch the lines of each circle initially. Working quickly, take a toothpick and start from the center dot, dragging it outwards through all the piped circles to create radiating lines, mimicking a spiderweb. Repeat this motion several times around the cookie to form a complete web pattern. It’s important to work on only 2 or 3 cookies at a time, as the icing sets quickly, and the design is easiest to create when both glazes are still wet. Alternate between a chocolate base with vanilla circles and a vanilla base with chocolate circles for a visually dynamic batch. Continue this process until all cookies are beautifully glazed.
- Store your finished Halloween Cobweb Cookies in an airtight container at room temperature for up to 3-4 days. These cookies are fantastic for making ahead of time, and once the icing is completely set (which takes a few hours), they can even be carefully stacked without smudging the delicate cobweb design.
Cobweb Halloween Cookies Recipe
Print
Pin
Rate
Ingredients
- 1/2 cup butter softened
- 1/2 cup shortening
- 3/4 cup granulated sugar
- 1 egg
- 1 tsp vanilla
- 2 1/2 cups all-purpose flour
- 1 tsp baking powder
- 1/2 tsp salt
Chocolate Glaze
- 2 cups chocolate chips
- 1 cup heavy whipping cream
- 1/2 cup butter
Vanilla Glaze
- 2 TBSP melted butter
- 1 tsp vanilla
- 2 cups powdered sugar
- 4-5 TBSP milk
Instructions
-
Preheat oven to 350 degrees F. Line a baking sheet with parchment paper.
-
Cream butter, shortening and sugar until smooth. Add in egg and vanilla and mix again. Combine dry ingredients in a separate bowl; whisk to incorporate.
-
Add dry ingredients to butter mixture and mix to combine. Scoop out 1.5 TBSP balls. Place on parchment lined baking sheet. Using the bottom of a glass that’s been sprayed with non-stick spray, gently flatten each cookie dough ball until each is about 1/4″ thick.
-
Bake cookies 10-12 minutes. Let cool for a few minutes on the baking sheet before transferring over to a cooling rack.
-
To make the chocolate glaze: Heat butter and whipping cream in a glass bowl in the microwave for 1 minute 30 seconds. Add in chocolate chips and cover bowl with a small plate. Let sit 5 minutes, then whisk mixture until the ingredients combine and the chocolate is smooth & shiny. Transfer 3-4 TBSP chocolate glaze into a small sandwich baggie. Cut the corner when ready to pipe.
-
To make the vanilla glaze: Melt butter. Add in vanilla, powdered sugar and enough milk to make the glaze smooth and spreadable. Transfer 3-4 TBSP vanilla glaze into a small sandwich baggie. Cut the corner when ready to pipe.
-
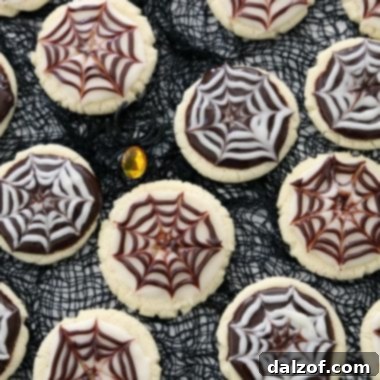
To make cobweb design: Spoon about 1 TBSP glaze onto a cookie. Pipe the opposite glaze onto the top, making circles in varying sizes. Begin in the middle, making a small circle, then make 2-3 more circles, increasing in size but taking care to not touch the lines of each circle. Take a toothpick and begin in the middle, dragging the toothpick through the lines of each circle. Make several identical lines all around the cookie. Icing will cool and set within minutes. Spiderweb design is easy to do when the icing is NOT SET, so don’t try to do several cookies at the same time. I found you can really do 2 or 3 at once, max. I spooned vanilla icing on 3, then piped on the chocolate icing in circles and made the toothpick lines on each. Then I moved on to the next cookies, this time spooning on chocolate icing and piping vanilla lines. Continue until all cookies are glazed.
-
Store in an airtight container. Cookies can be made ahead of time! Cookies can also be stacked once icing is fully set.
More Spooktacular Halloween & Fall Cookie Ideas
If you’ve fallen in love with these delightful Cobweb Halloween Cookies and are eager to explore more seasonal baking, you’re in luck! The autumn season, leading up to Halloween and beyond, is brimming with opportunities for cozy and creative cookie projects. Here are some other cherished Fall cookie recipes that are sure to bring warmth and joy to your kitchen:
- Maple Donut Cookies: Indulge in the sweet, comforting flavors of maple and cinnamon, reminiscent of your favorite fall donuts, but in cookie form!
- Caramel Apple Cake Mix Cookies: For a wonderfully quick and easy treat that tastes like autumn, these cake mix cookies infused with caramel and apple notes are a must-try.
- Monster Cookies: Packed with oats, peanut butter, chocolate chips, and M&M’s, these colorful and hearty cookies are a monstrously good delight for any occasion.
- Toffee Oatmeal Cookies: A classic oatmeal cookie elevated with the delightful crunch and buttery sweetness of toffee bits, offering a truly comforting bite.
- Butter Pecan Chocolate Chip Cookies: A sophisticated twist on the beloved chocolate chip cookie, featuring toasted pecans and a rich, buttery flavor that’s perfect for a cooler evening.


Baking these Halloween Cobweb Cookies isn’t just about creating delicious treats; it’s about making memories. Just like cherished family trips, where every moment, even trying to wrangle a large group for a quick photo before a thrilling ride, becomes a story to tell. Those shared experiences, whether in an amusement park or in the kitchen, are what truly enrich our lives. We hope you and your family have as much fun baking and devouring these spooky cookies as we do, creating your own sweet traditions this Halloween season.