
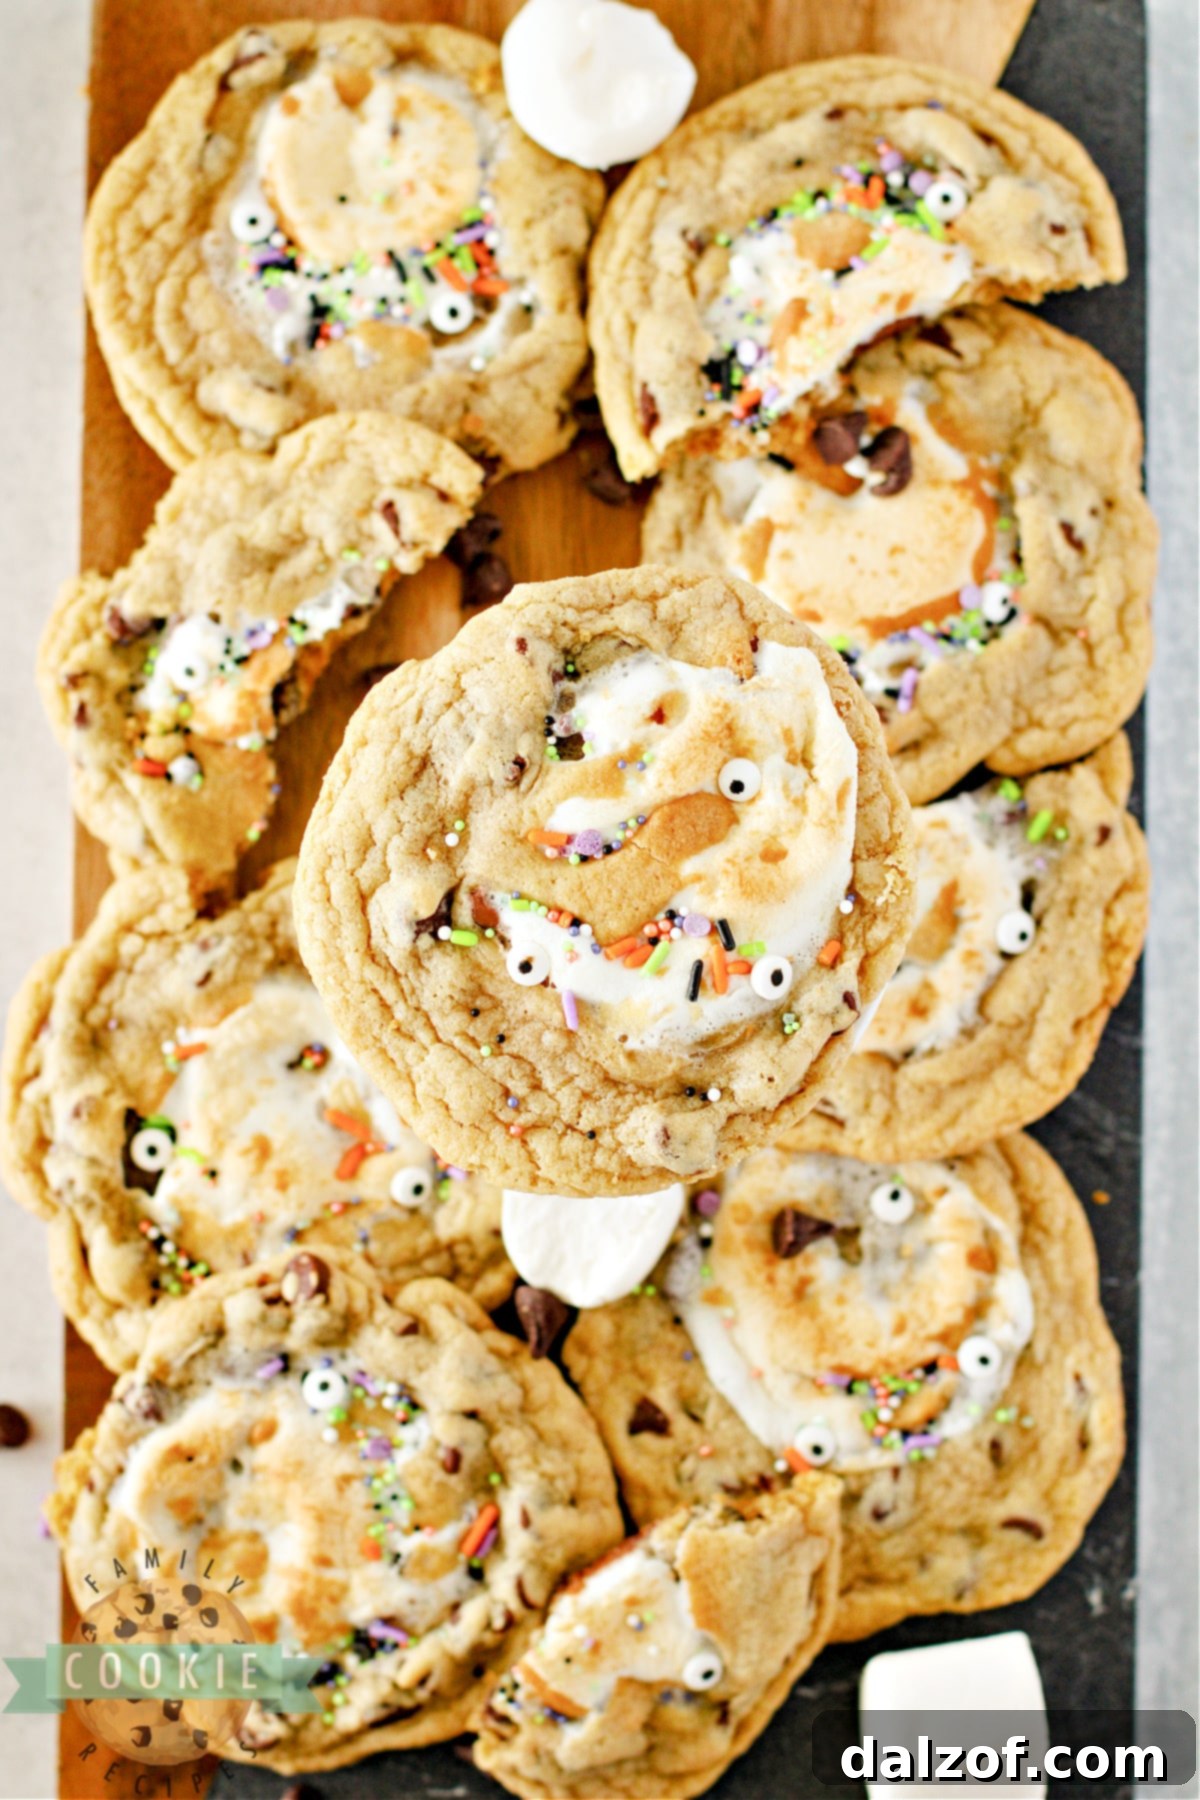
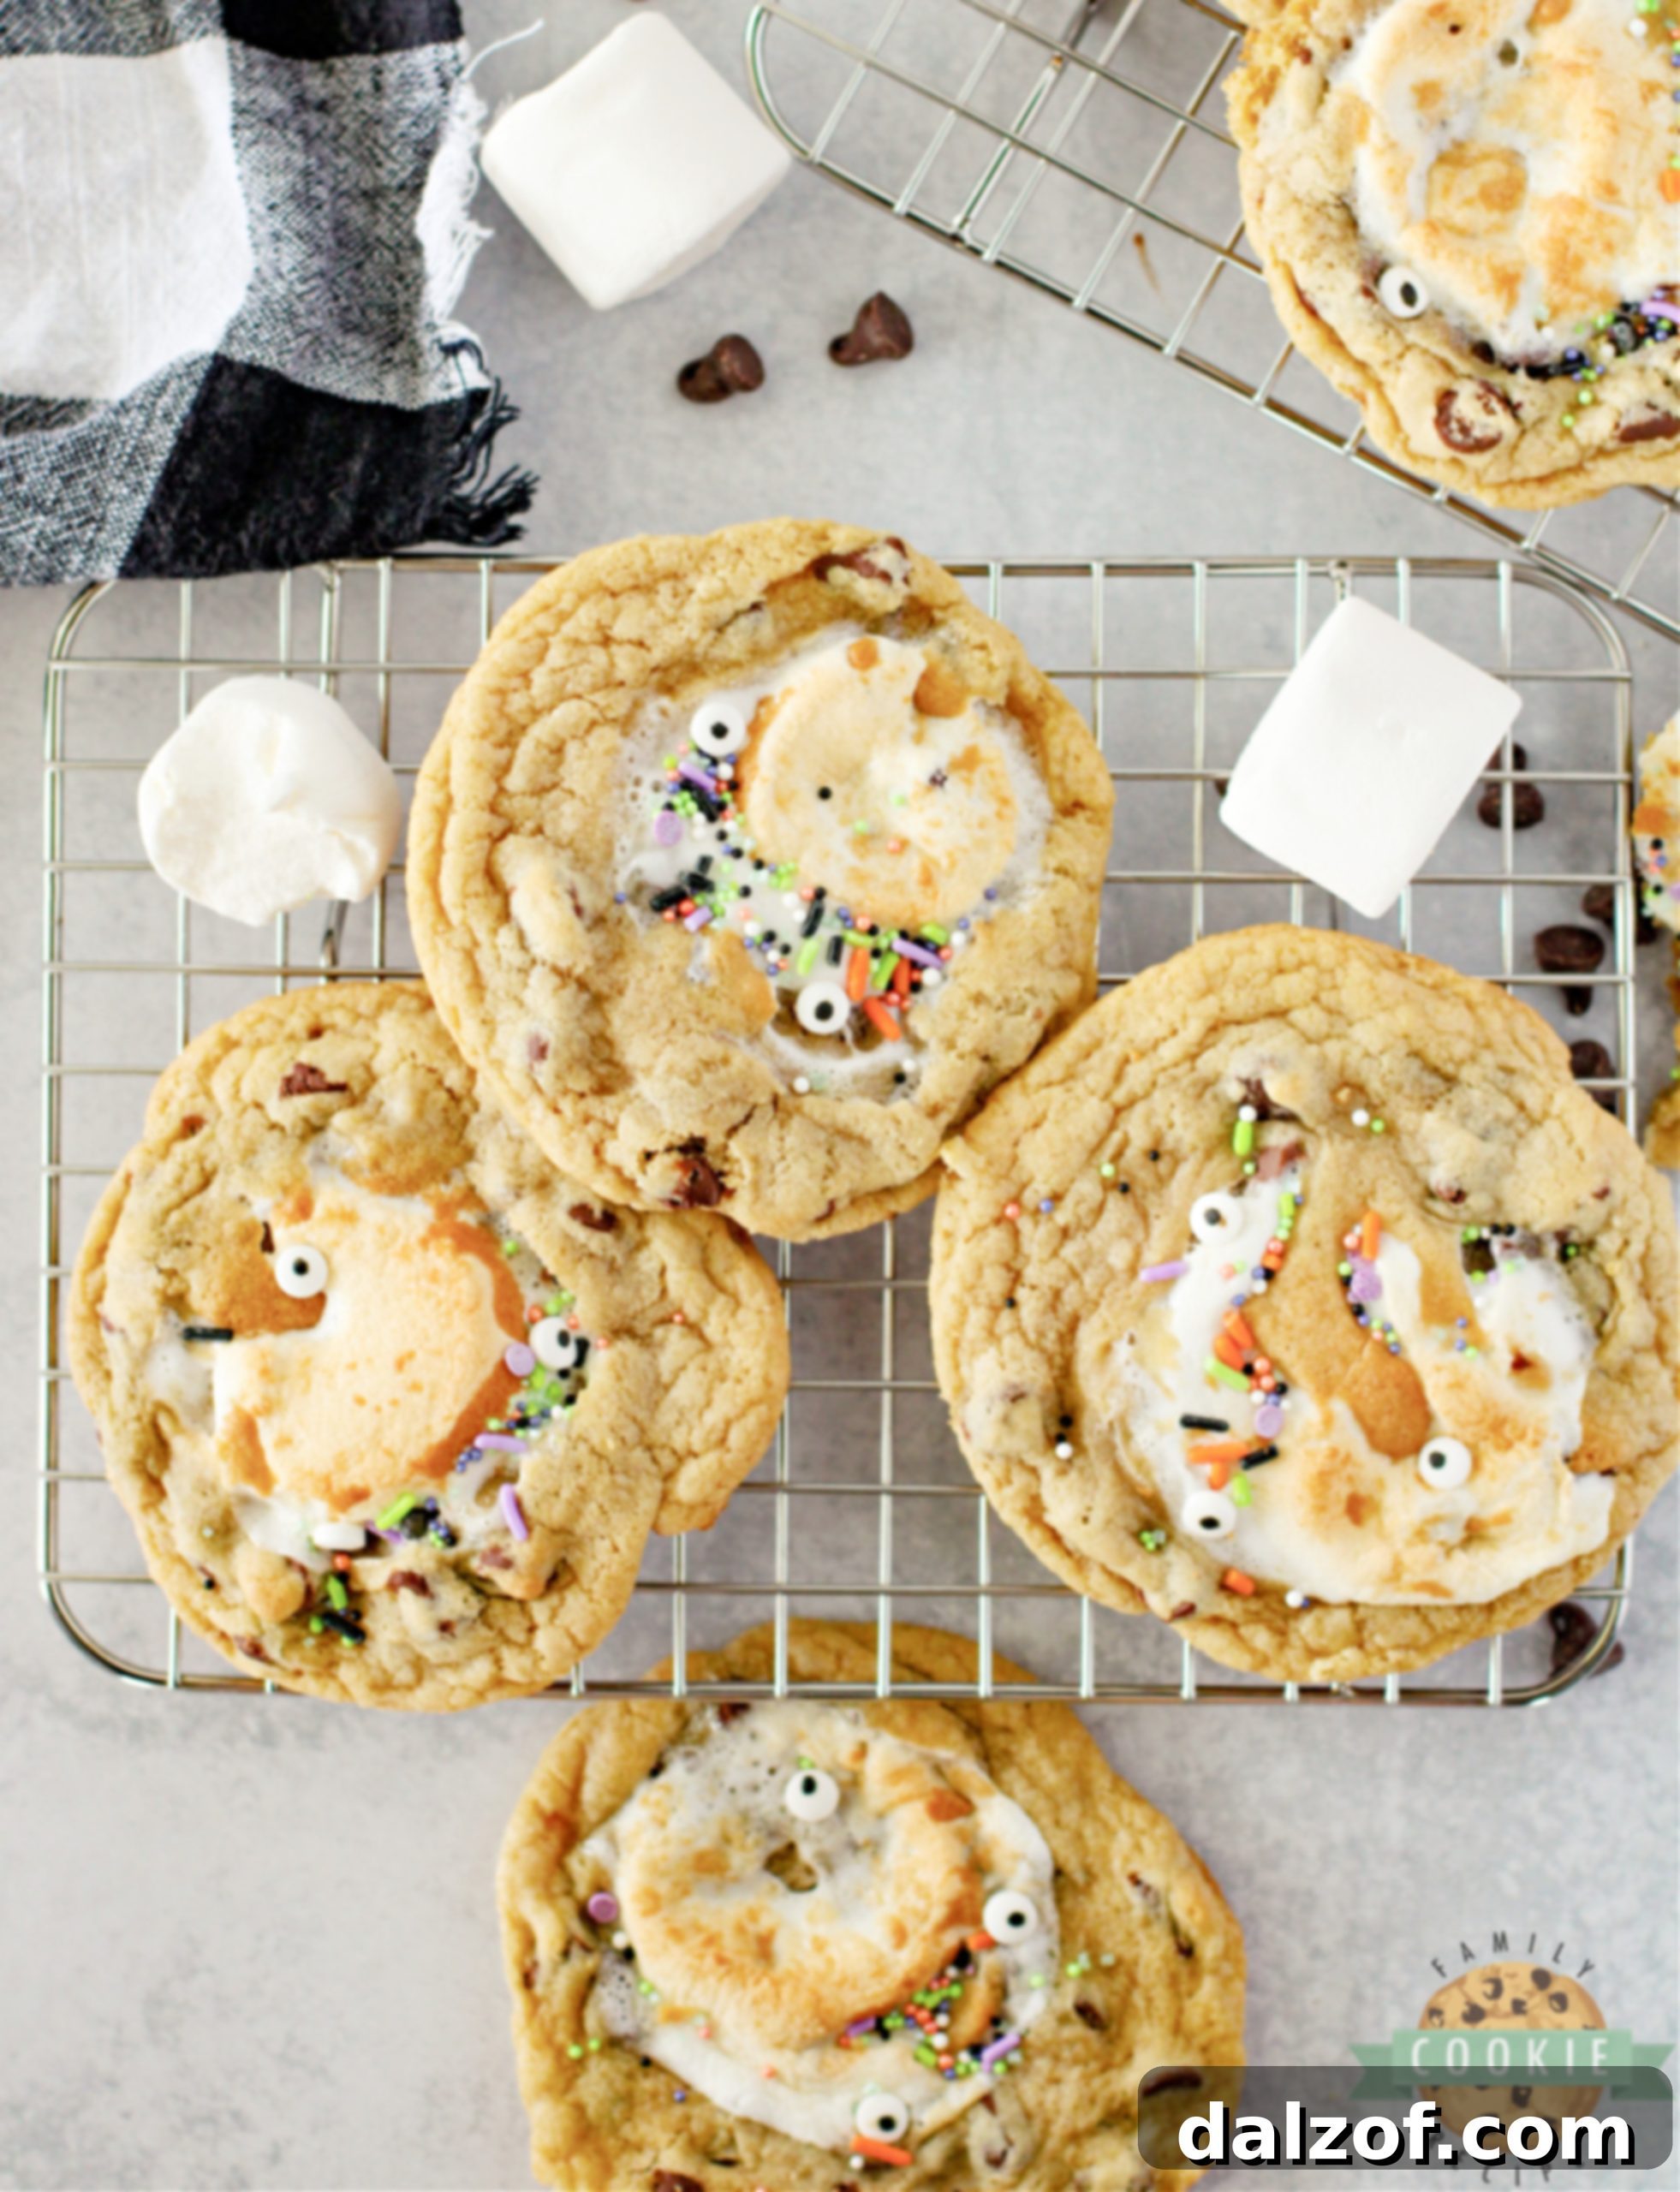
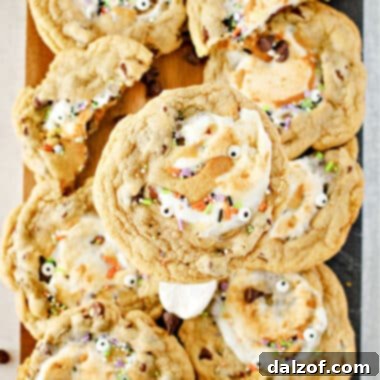
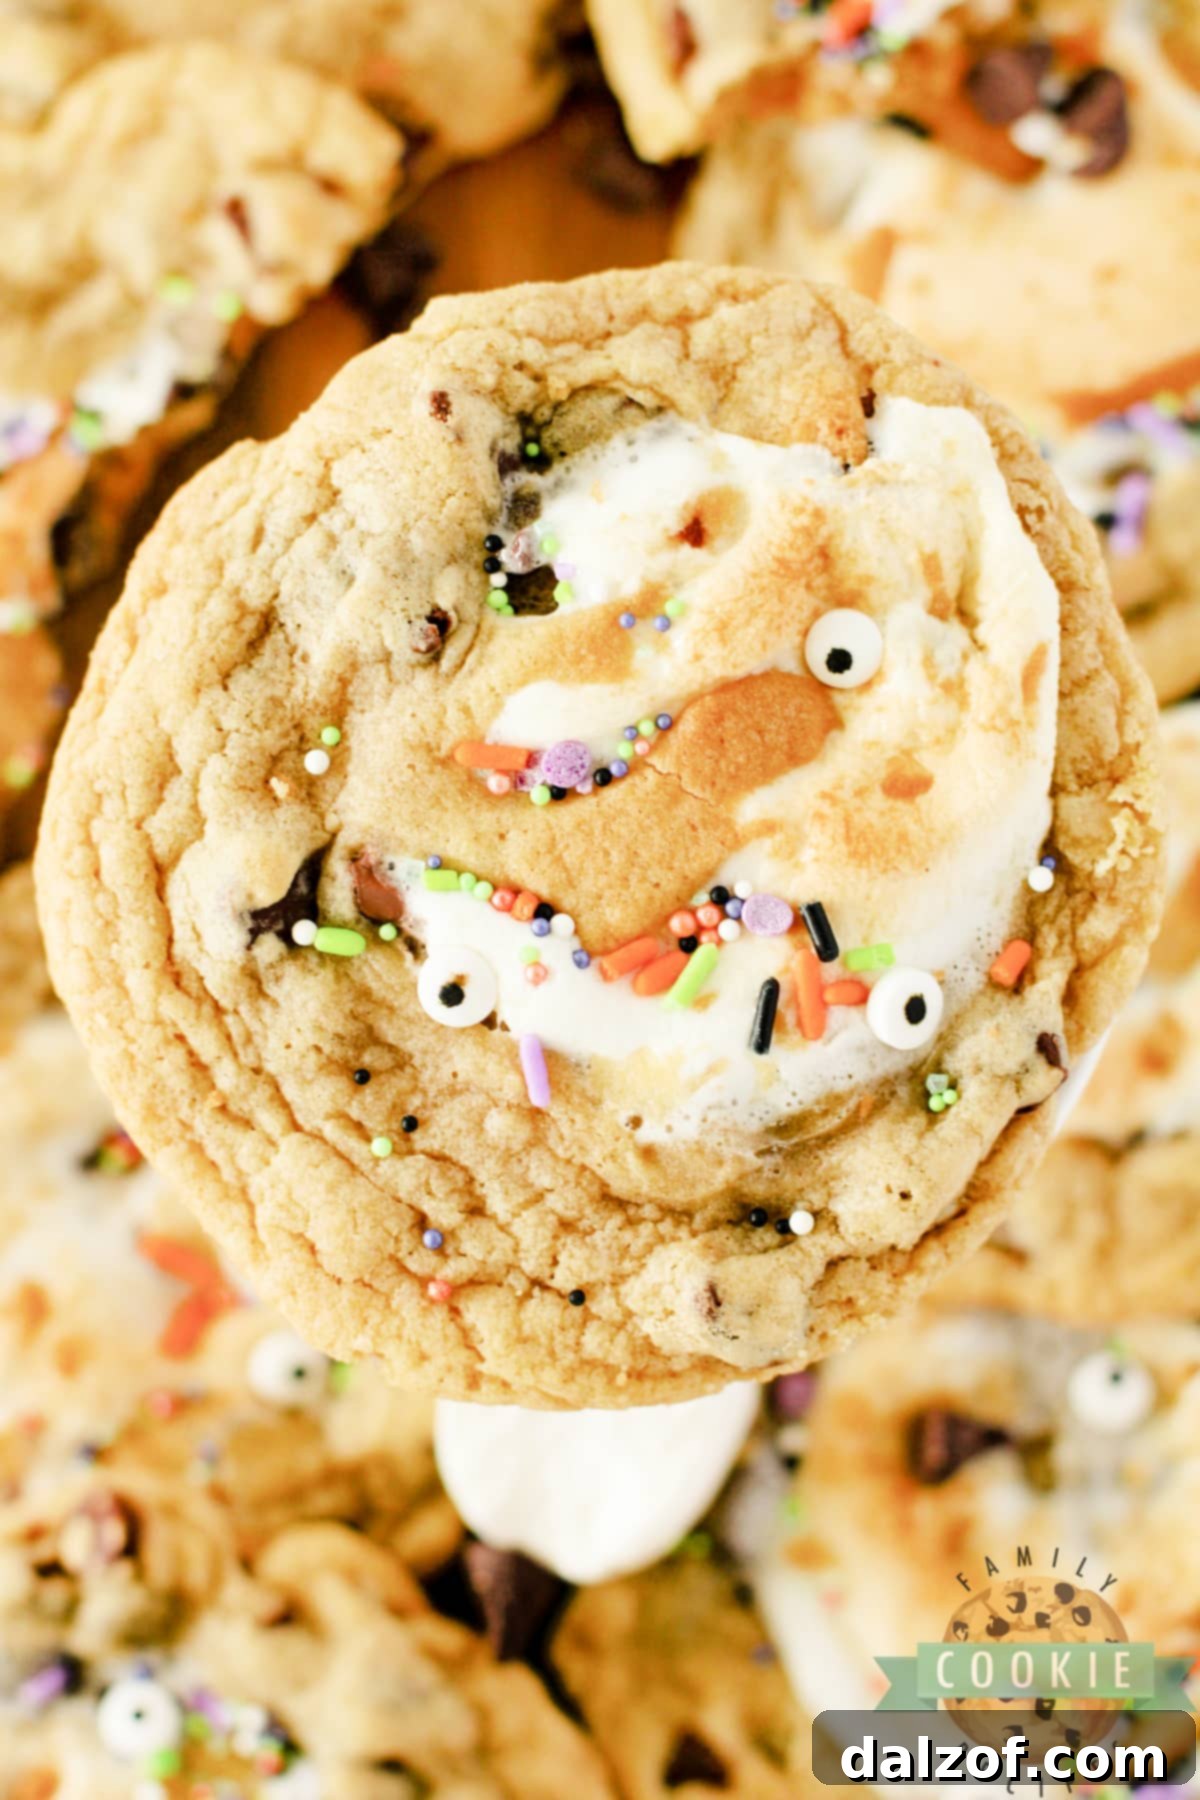
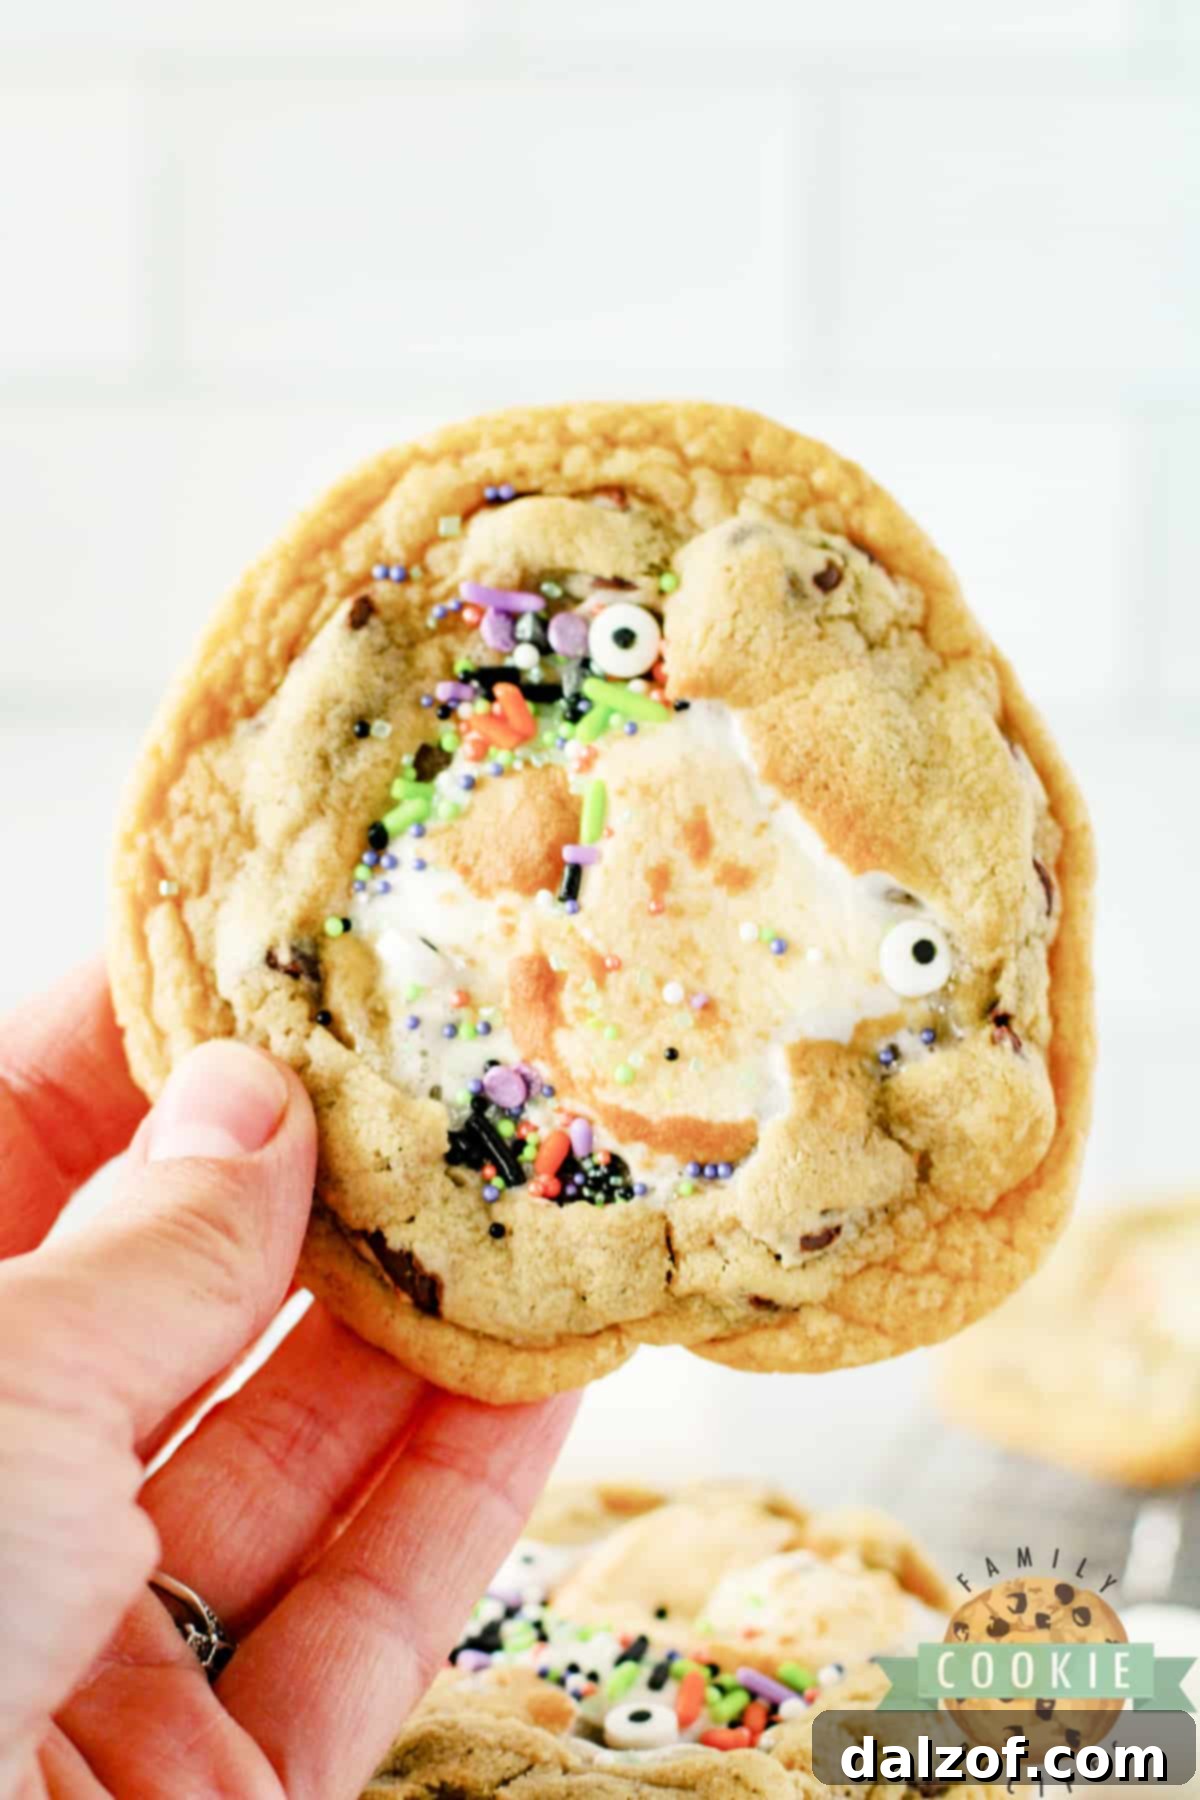
Monster Stuffed S’mores Cookies are the ultimate chocolate chip cookies, elevated to a ghoulishly delightful level! Imagine classic, chewy chocolate chip cookies, generously stuffed with gooey Hershey’s chocolate and fluffy marshmallows. Then, transform them into adorable monsters with edible candy eyeballs and vibrant Halloween sprinkles. These aren’t just cookies; they’re an experience – a perfect blend of nostalgic s’mores flavors and festive Halloween fun.
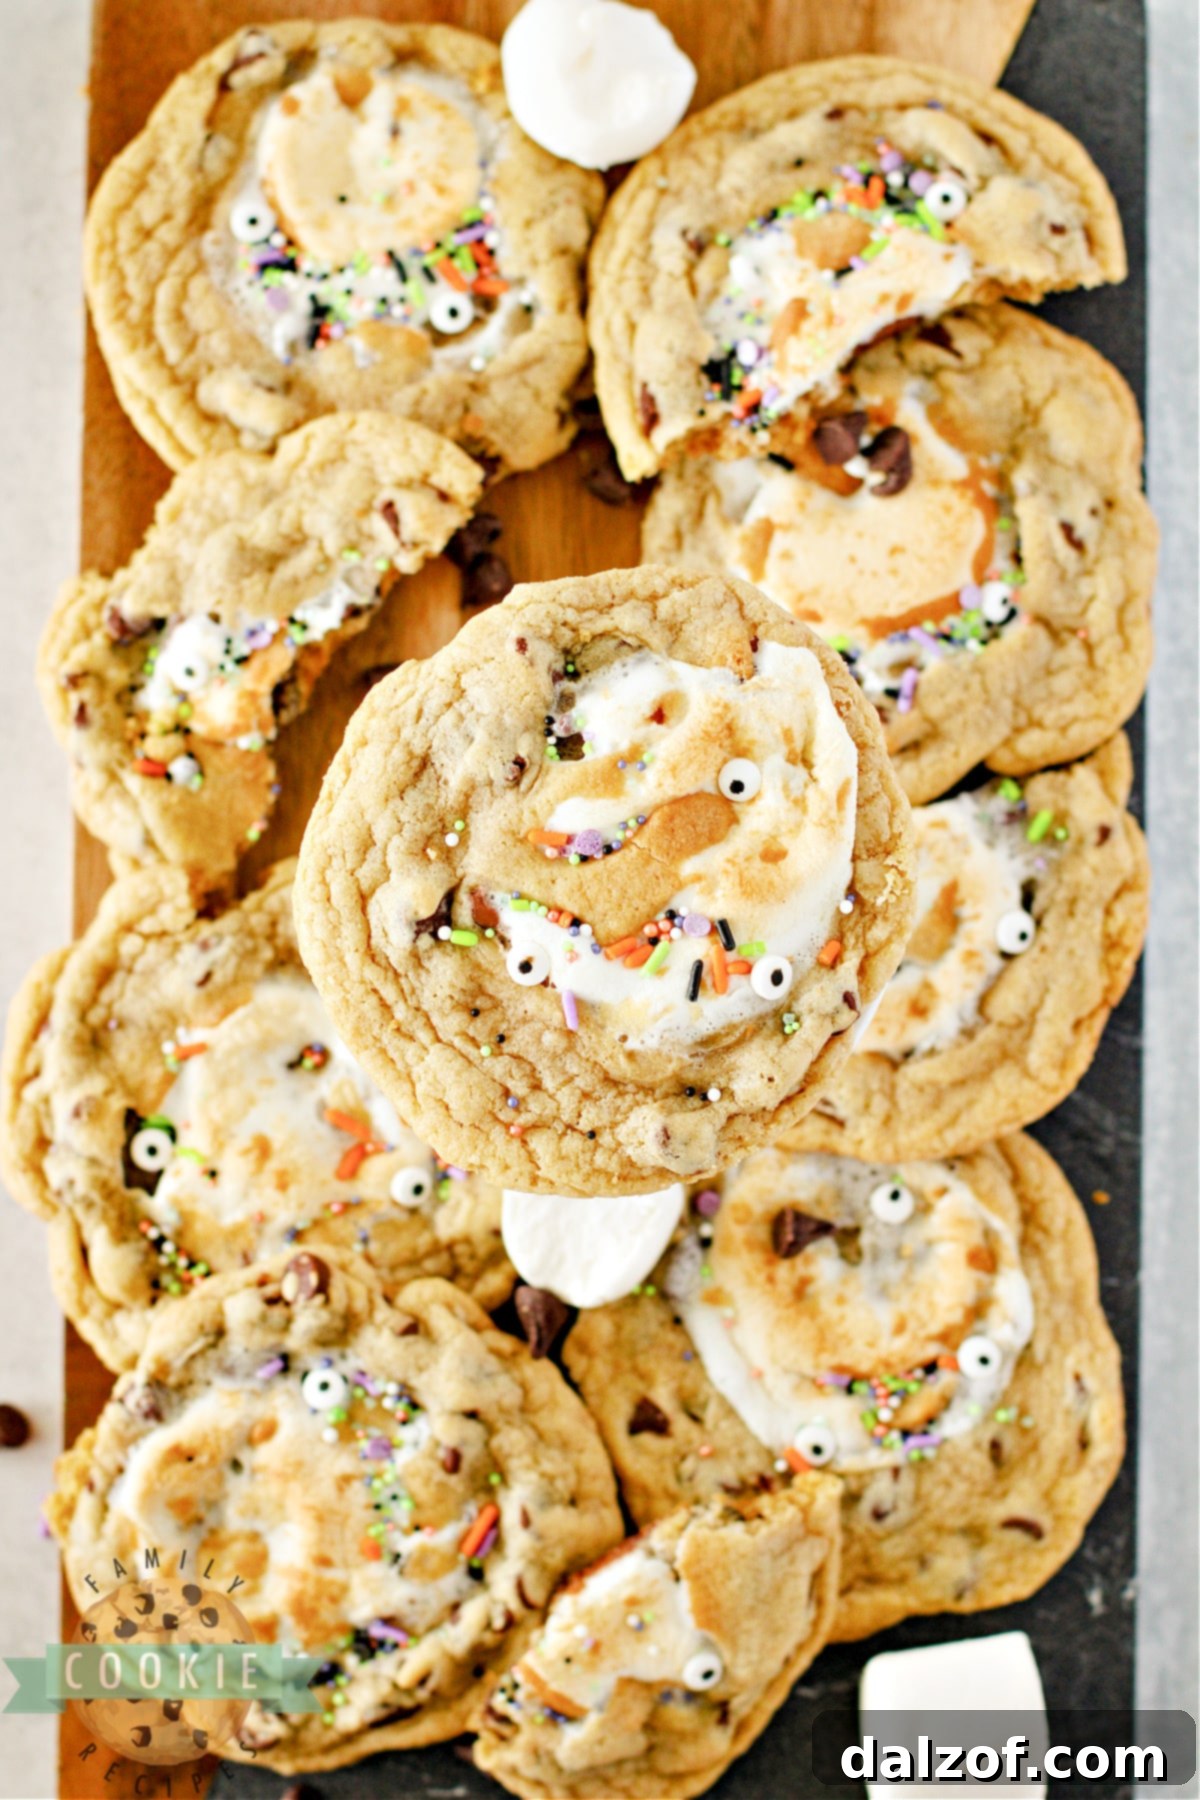
Halloween provides the perfect excuse to indulge in playful and delicious baking. With just a few simple additions, like edible candy eyeballs, almost any sweet treat can be magically transformed into a spooky, silly, or cute monster, making them ideal for Halloween parties, school events, or a cozy night of trick-or-treating. But don’t limit these delightful stuffed cookies to just one season! By simply omitting the festive sprinkles and candy eyeballs, these s’mores-inspired chocolate chip cookies become a year-round favorite, perfect for any occasion when you crave a truly special dessert.
There’s something uniquely satisfying about a cookie that delivers a surprise in every bite. Our Monster Stuffed S’mores Cookies take the classic chocolate chip recipe and infuse it with the beloved campfire flavors of s’mores, all while embracing the playful spirit of Halloween. The combination of warm, melting chocolate, toasted marshmallow, and a soft, chewy cookie base is simply irresistible. Whether you’re a seasoned baker or just starting out, this recipe is designed to be straightforward and rewarding, promising a batch of cookies that will disappear faster than ghosts on Halloween night!
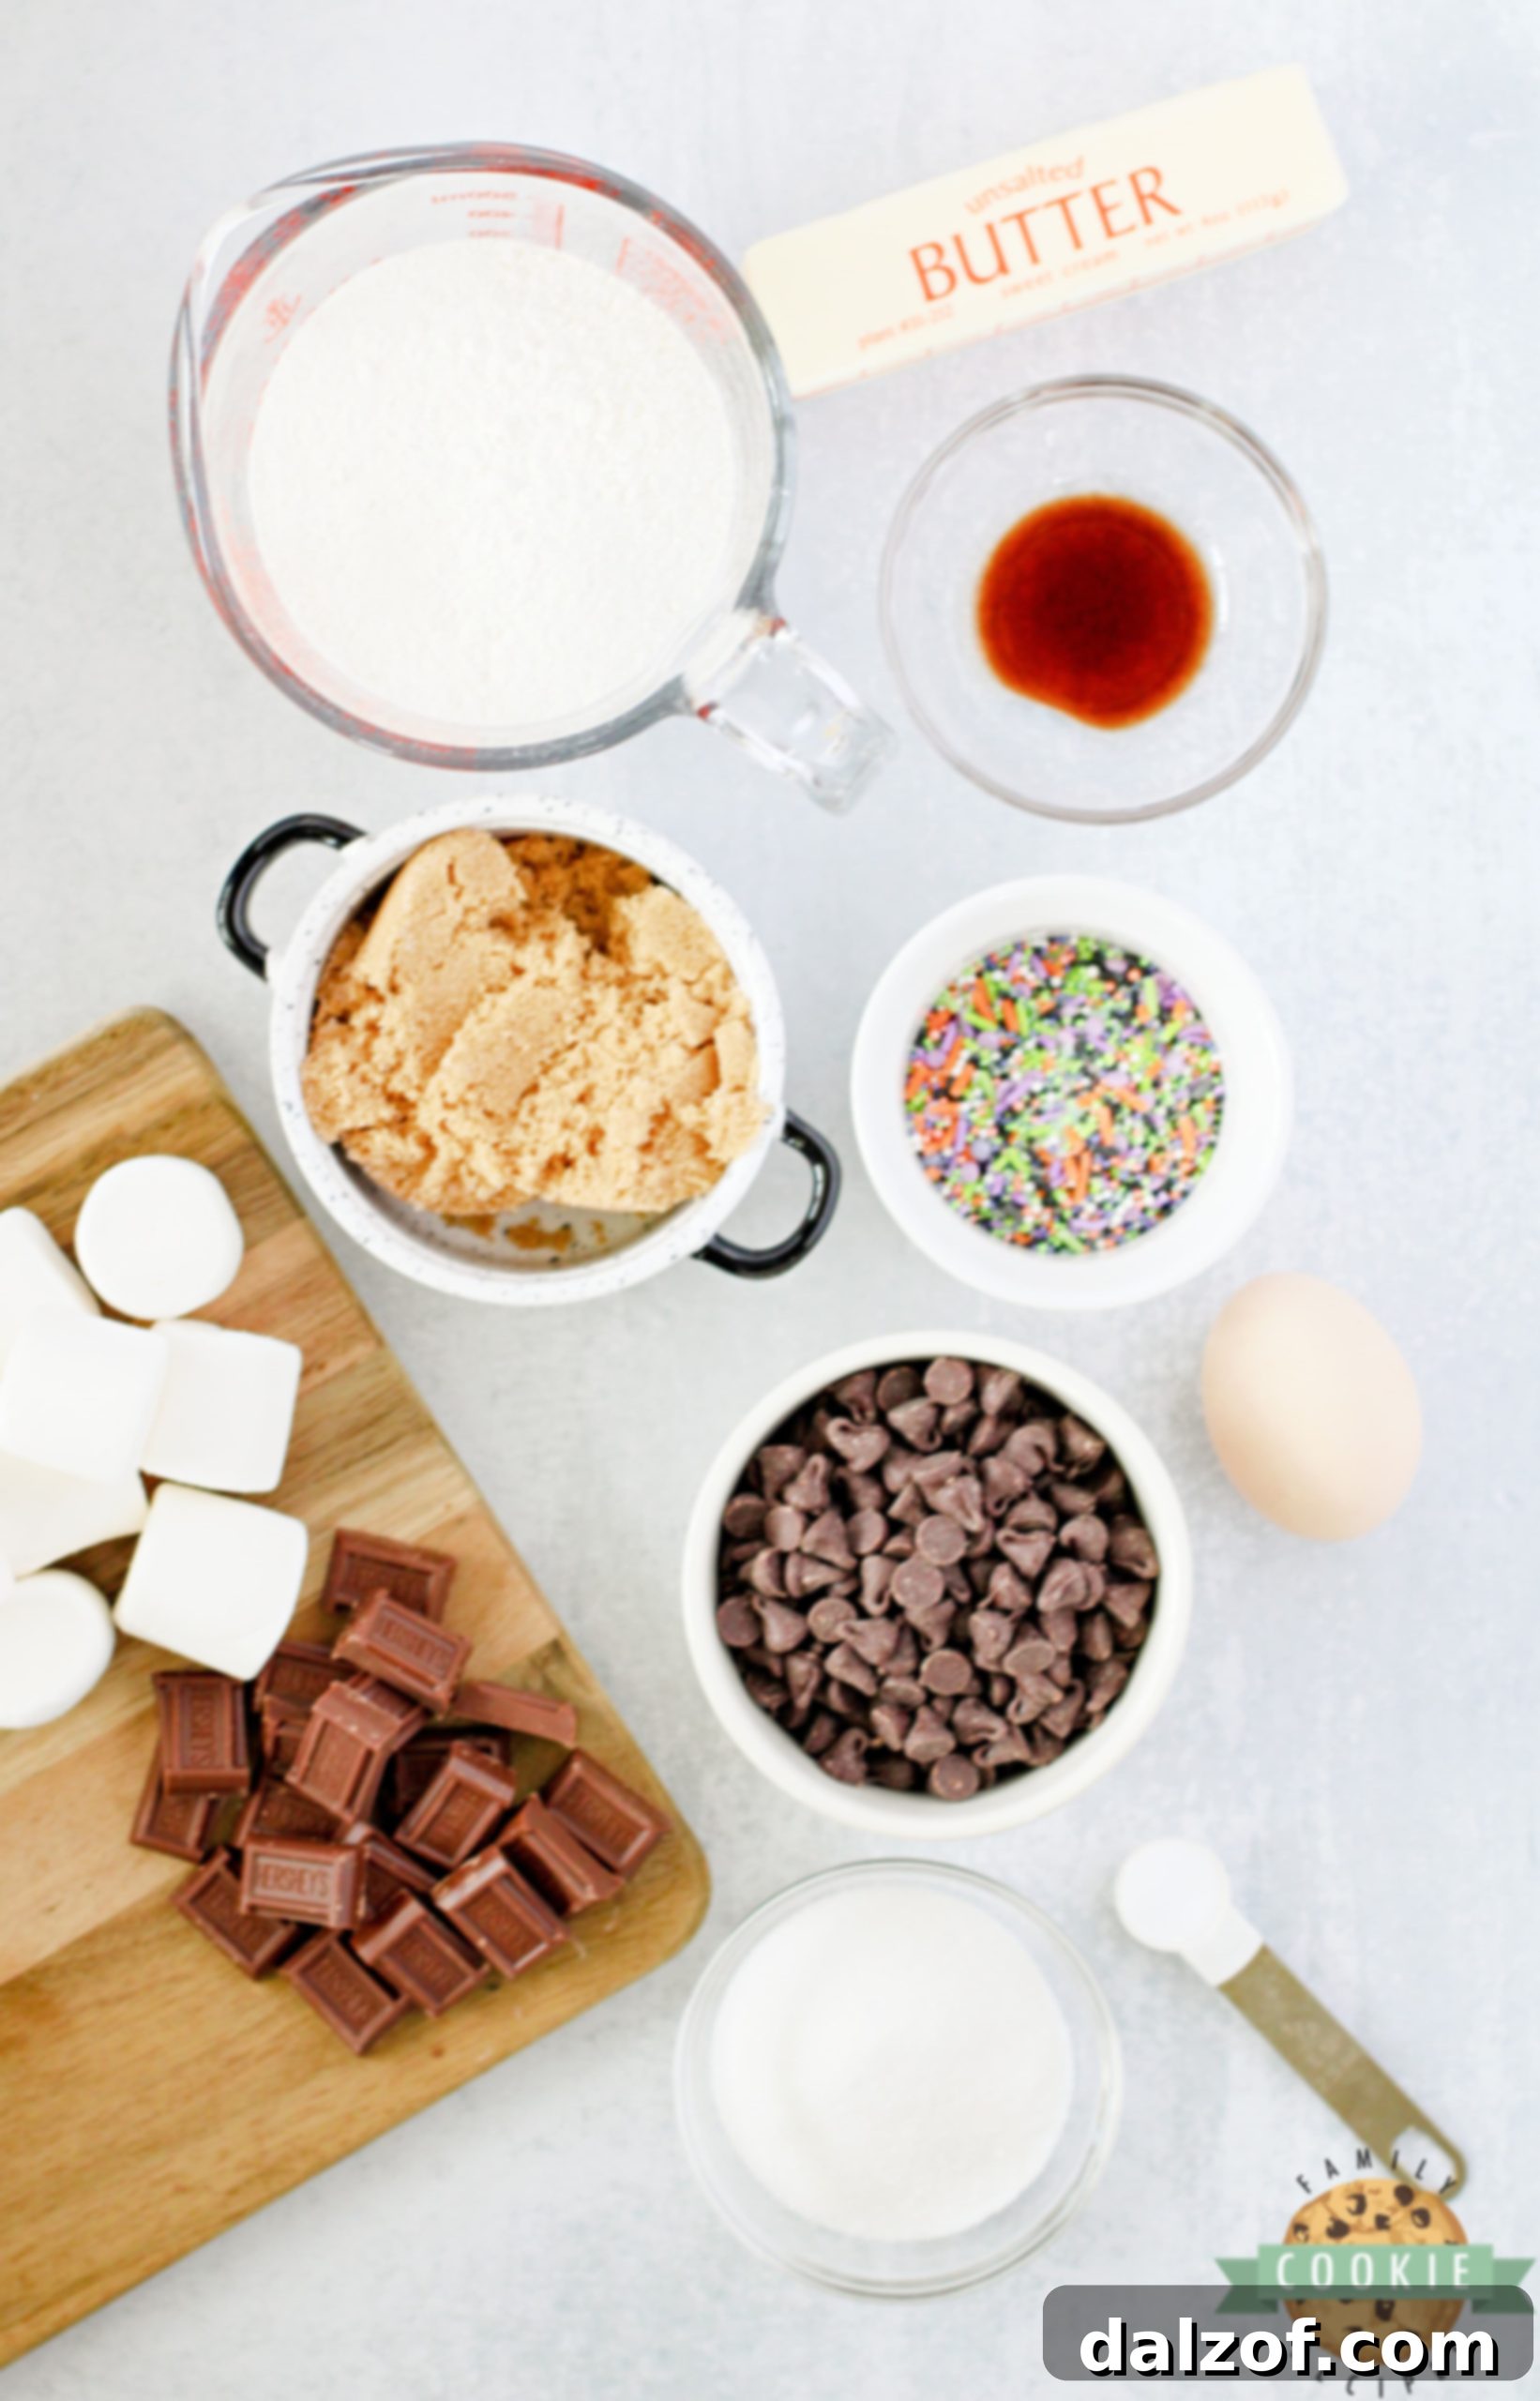
Essential Ingredients for Monster Stuffed S’mores Cookies
Creating truly outstanding cookies starts with quality ingredients. Here’s a closer look at what you’ll need and why each component is crucial for achieving the perfect Monster Stuffed S’mores Cookie:
- Butter: Opt for real, unsalted butter for the best flavor and texture. It’s absolutely vital that your butter is softened to room temperature. This isn’t just a suggestion; it’s a golden rule for cookie success! Softened butter creams beautifully with sugar, incorporating air and creating a tender, uniform dough that leads to wonderfully chewy cookies.
- Egg: A single large egg acts as a binding agent, bringing all the ingredients together and adding moisture. Make sure your egg is also at room temperature, as this helps it emulsify better with the butter and sugar, creating a smoother dough.
- Vanilla Extract: Don’t underestimate the power of good vanilla! One teaspoon of high-quality vanilla extract significantly enhances the overall flavor profile of these cookies, complementing the chocolate and marshmallow beautifully. Pure vanilla extract offers a much richer and more complex flavor than artificial varieties.
- Sugars: This recipe calls for both white granulated sugar and light brown sugar. White sugar contributes to crispiness and sweetness, while light brown sugar adds moisture, chewiness, and a subtle caramel note. For the best results, ensure your brown sugar is soft and fresh; if it’s hard, you can easily re-soften it by placing it in an airtight container with a slice of bread or an apple wedge overnight.
- All-Purpose Flour: Standard all-purpose flour provides the necessary structure for these cookies. When measuring, spoon the flour into your measuring cup and then level it off with a straight edge to avoid overpacking, which can lead to dry, dense cookies. If you need a gluten-free option, a 1:1 gluten-free baking blend can often be substituted successfully.
- Baking Soda: This is the primary leavening agent, helping the cookies spread slightly and achieve a soft, tender crumb. Always check the expiration date on your baking soda; old baking soda loses its effectiveness, resulting in flat, dense cookies.
- Semi-Sweet Chocolate Chips: Chocolate chips are a cookie’s best friend! Semi-sweet chips offer a balanced sweetness that pairs well with the s’mores elements. Feel free to use milk chocolate chips if you prefer a sweeter cookie, or even dark chocolate chips for a more intense chocolate experience. You can also mix in some chopped chocolate bars for varied texture.
- Large Marshmallows: The star of the “s’mores” stuffing! You’ll need one large marshmallow per cookie, positioned right in the center. As the cookies bake, the marshmallow will melt into a wonderfully gooey, irresistible core, creating that signature s’mores experience.
- Hershey Bar Squares: A s’mores cookie wouldn’t be complete without a classic Hershey’s chocolate bar. Break a standard Hershey bar into individual squares. Placing one or two of these sections inside each cookie alongside the marshmallow ensures a rich, creamy chocolate melt that perfectly emulates a traditional s’more.
- Halloween Sprinkles and Candy Eyeballs: These are your secret weapons for transforming delicious cookies into festive monsters! Add sprinkles immediately after the cookies come out of the oven while the melted marshmallow is still warm and sticky. The candy eyeballs can also be placed on the melted marshmallow for them to adhere securely, giving your monsters their charmingly spooky expressions.
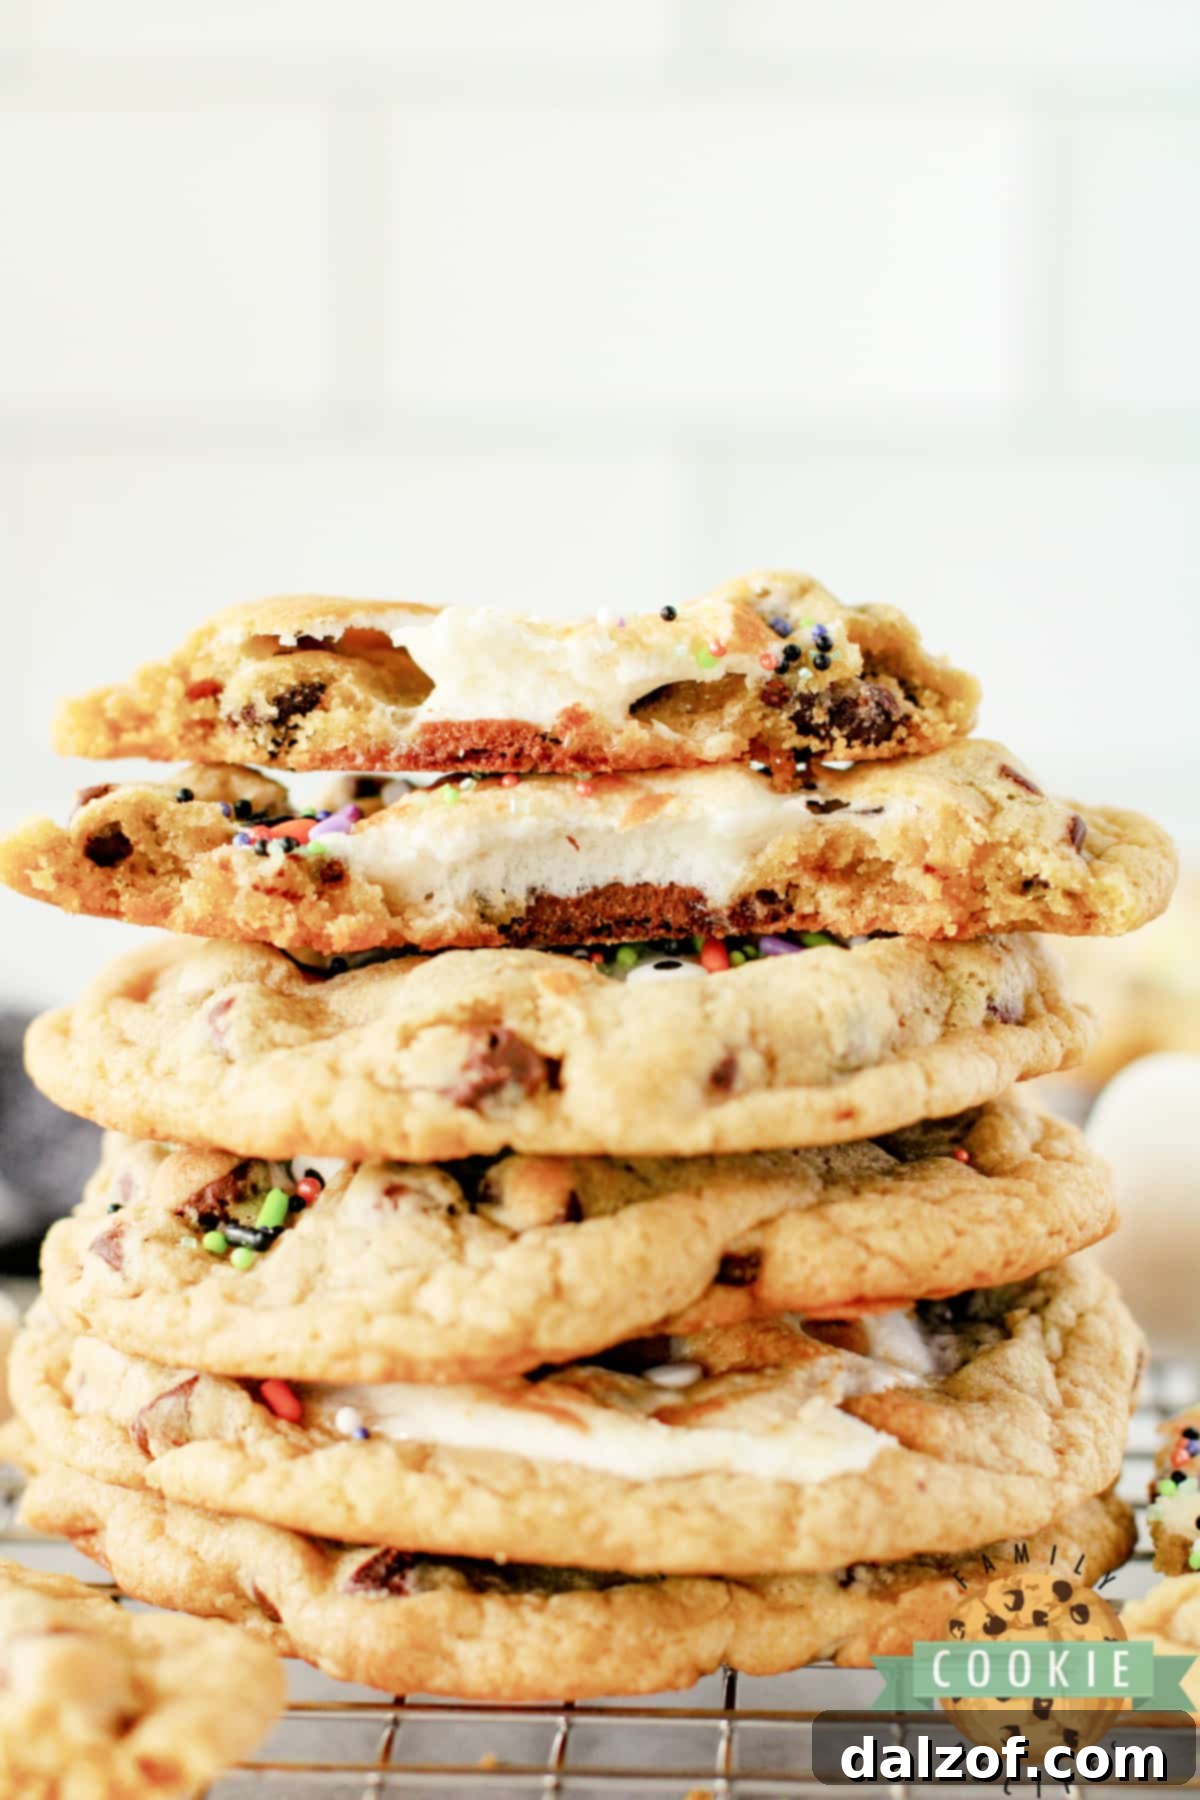
How to Make Monster Stuffed S’mores Cookies: A Step-by-Step Guide
Crafting these Monster Stuffed S’mores Cookies is a fun and rewarding process. Follow these detailed instructions to ensure your cookies turn out perfectly:
Preparation
Preheat your oven to 350°F (175°C). This ensures the oven is at the correct temperature for even baking from the moment your cookies go in. Line a baking sheet with parchment paper or a silicone baking mat. This crucial step prevents sticking and makes for easy cleanup and cookie removal.
Make the Cookie Dough
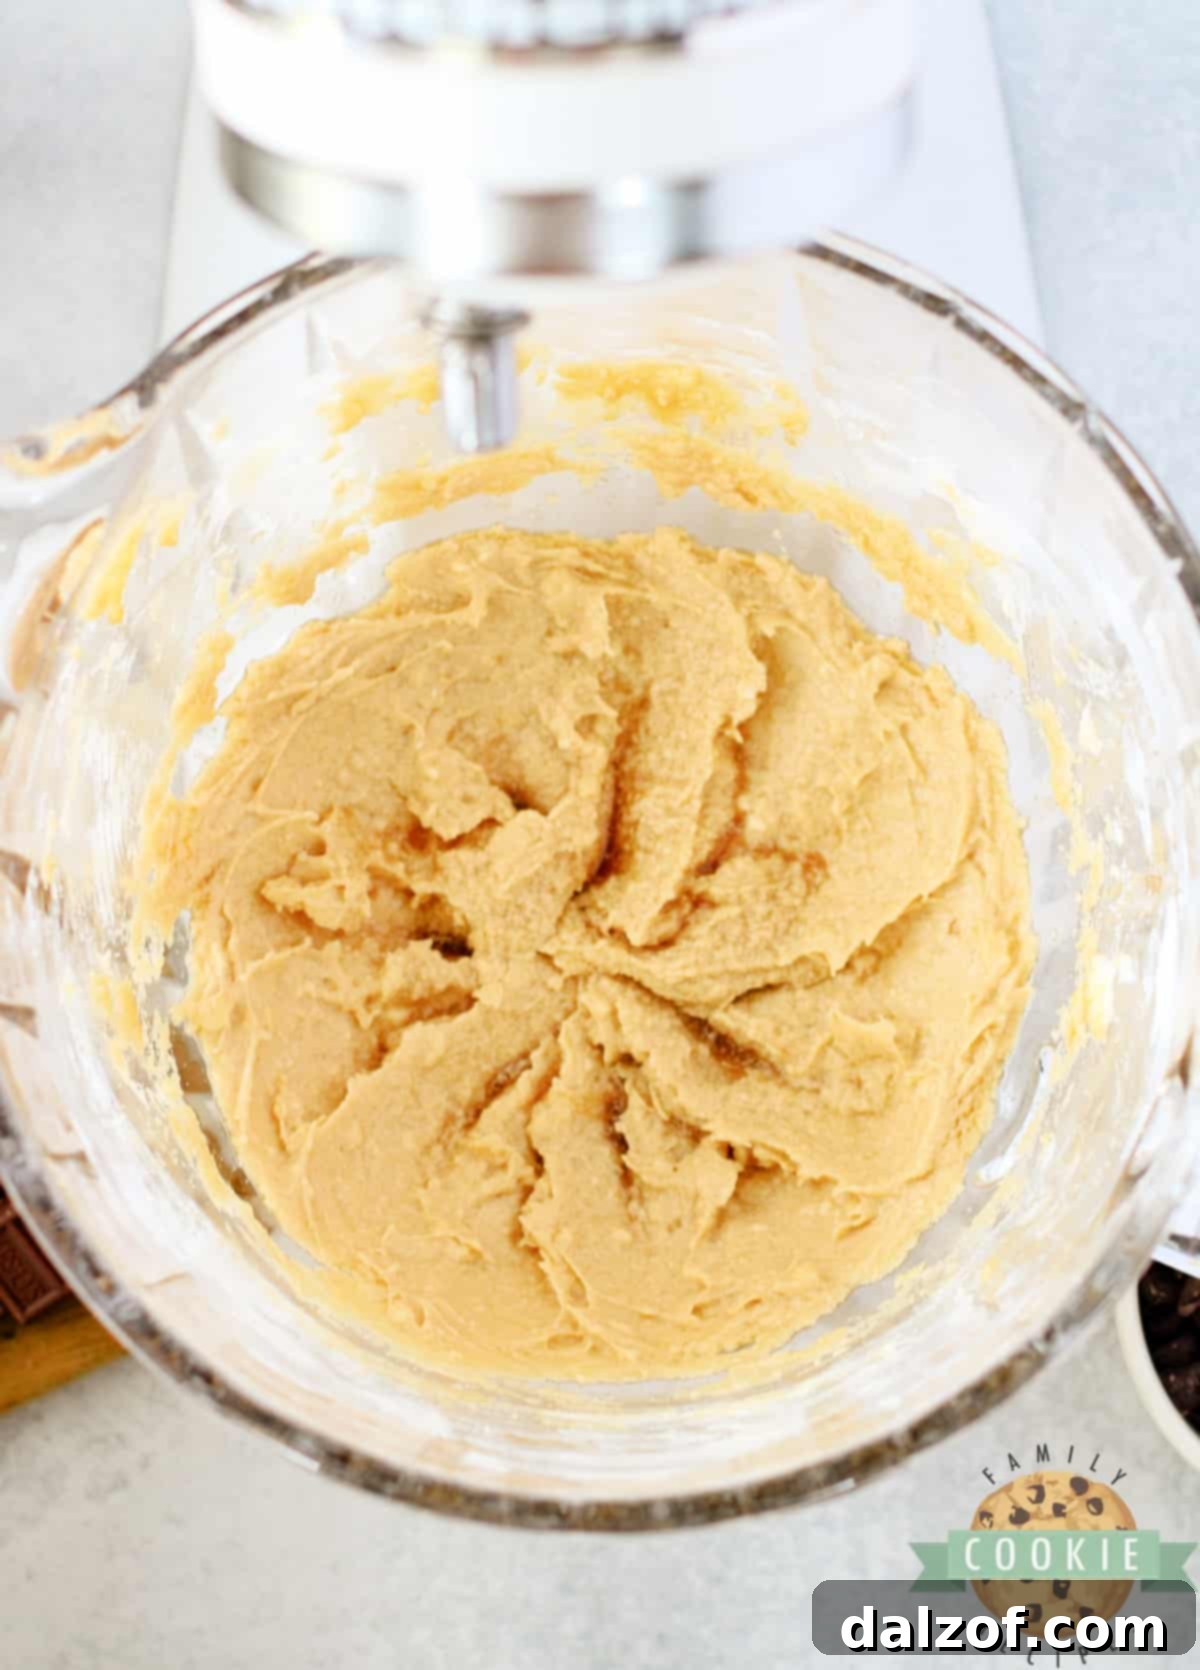
- In a large mixing bowl, combine the softened butter, large egg, vanilla extract, granulated white sugar, and light brown sugar.
- Using an electric mixer, beat these ingredients together for 2-3 minutes until the mixture is light, fluffy, and very well combined. This creaming process incorporates air, contributing to the cookies’ texture.
- Gradually add the all-purpose flour and baking soda to the wet ingredients. Mix on low speed until the flour is just incorporated and a soft, cohesive dough forms. Be careful not to overmix, as this can lead to tough cookies.
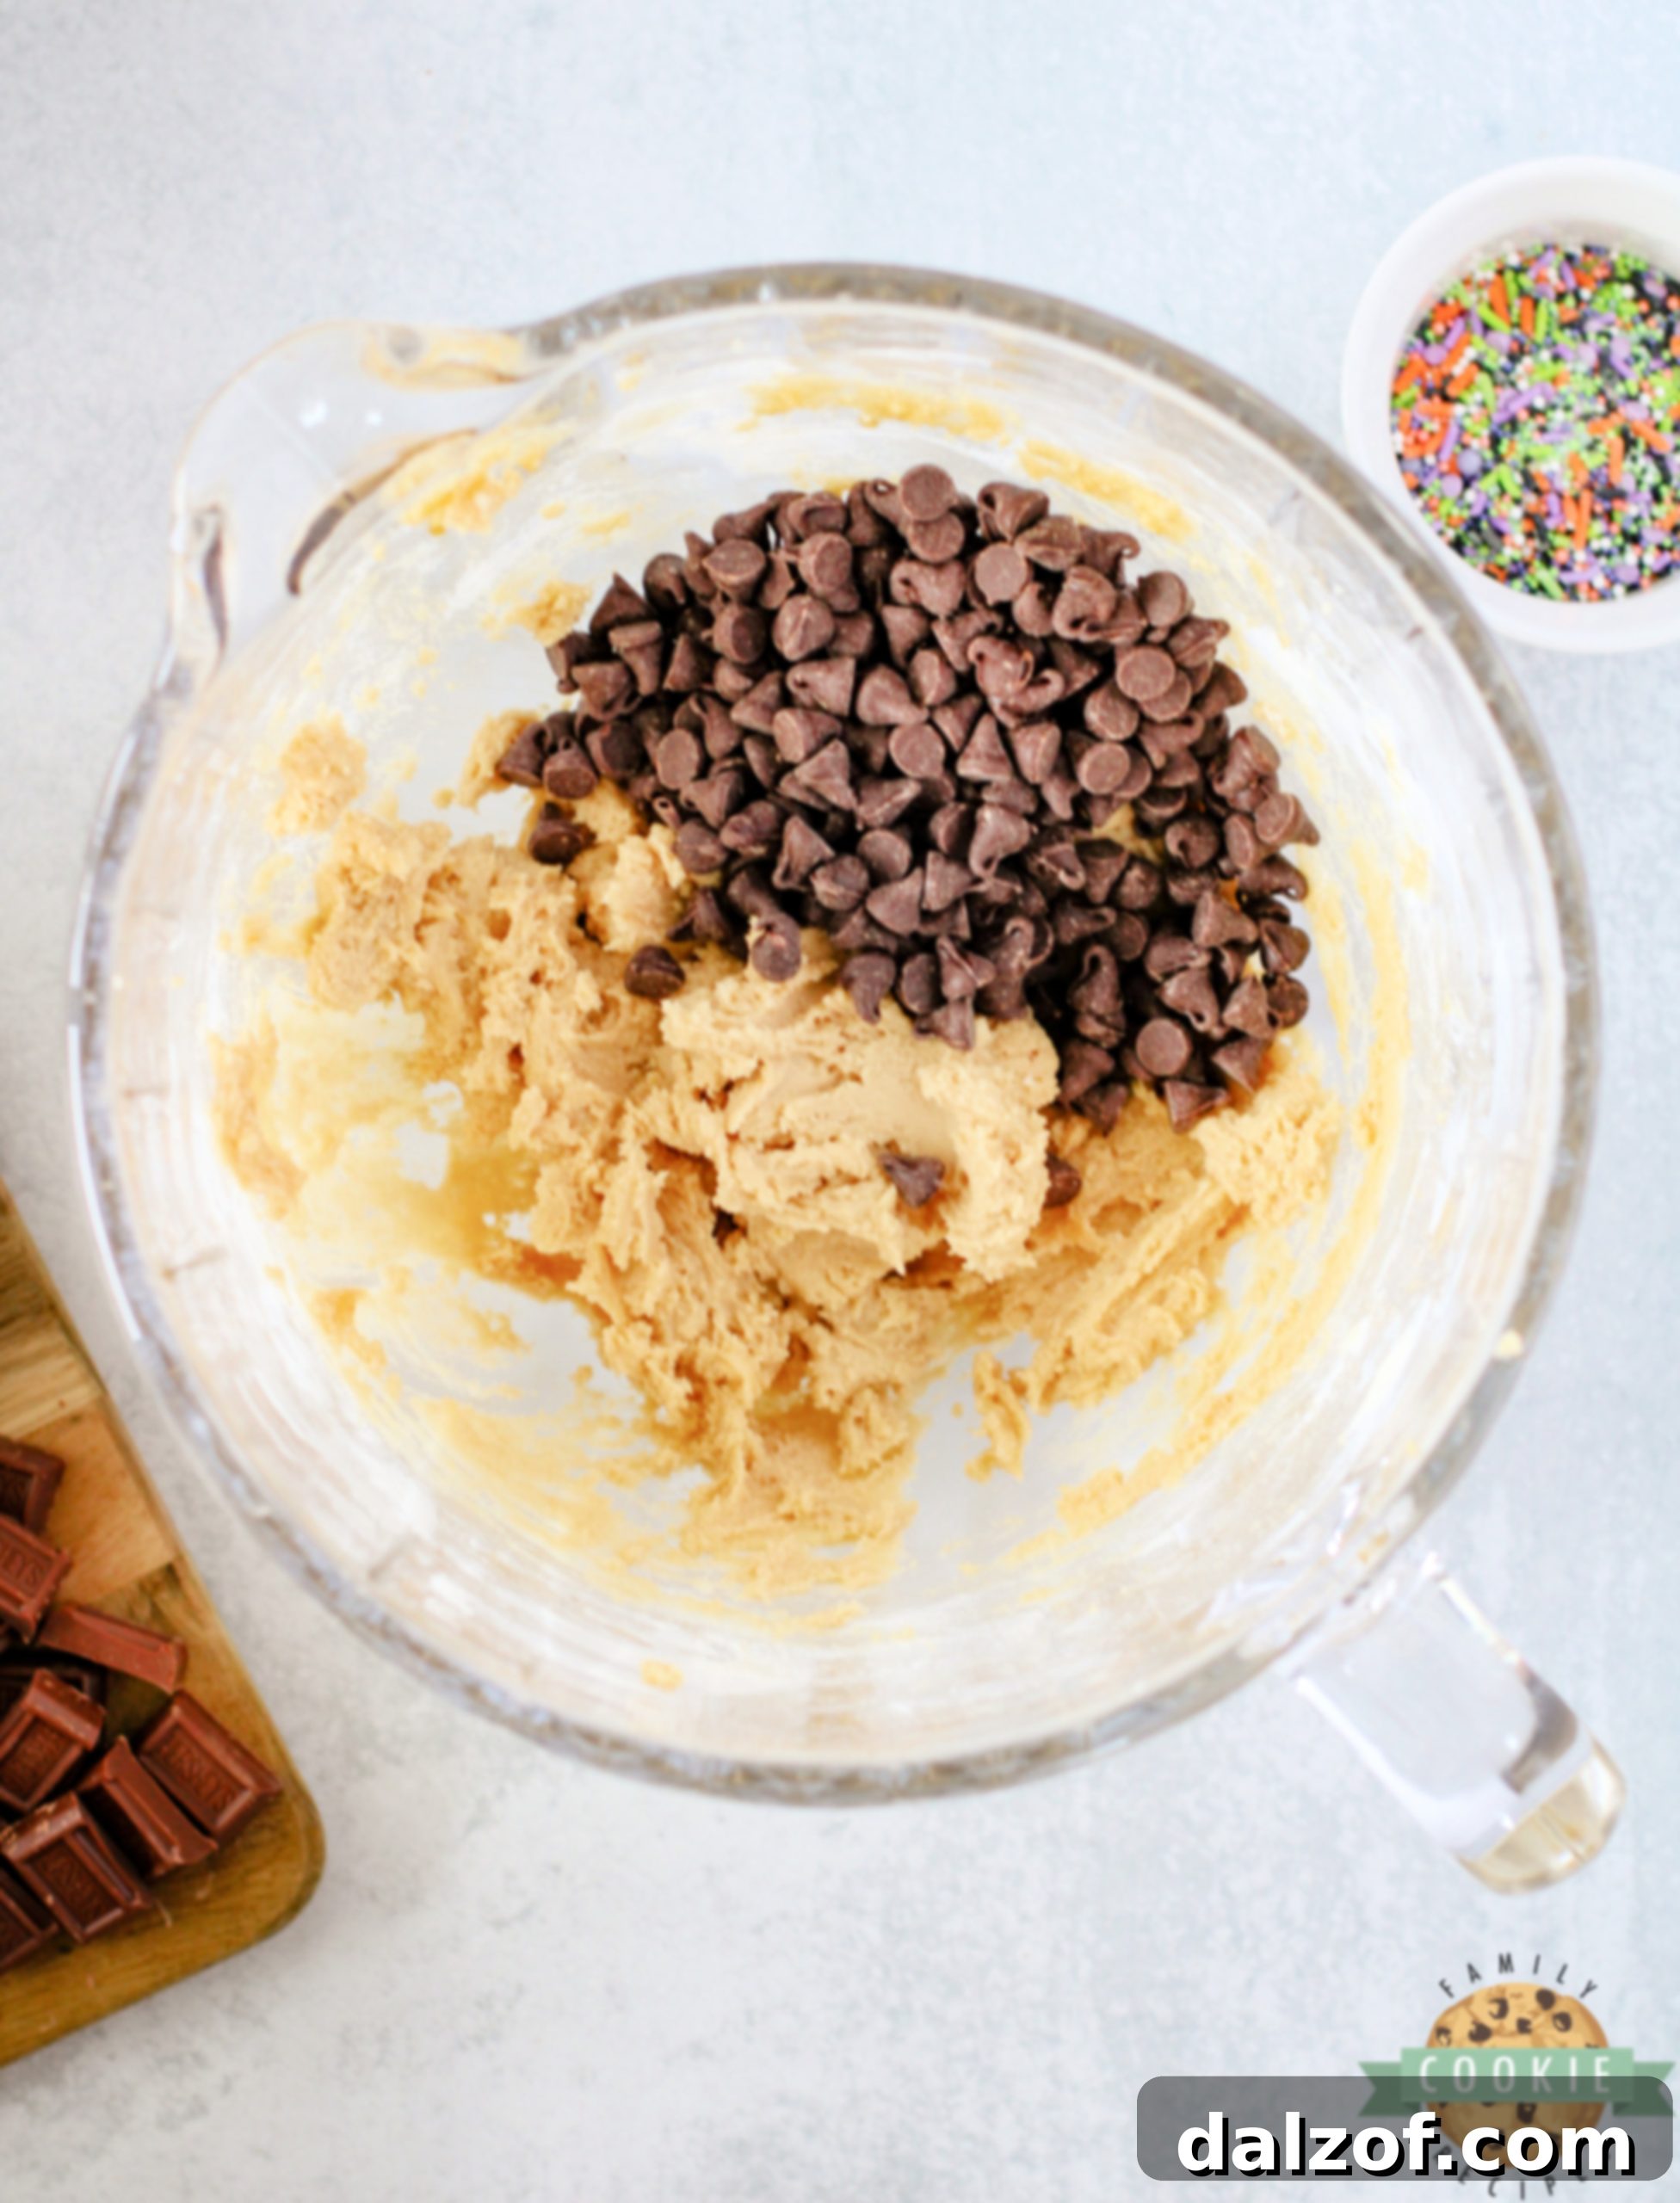
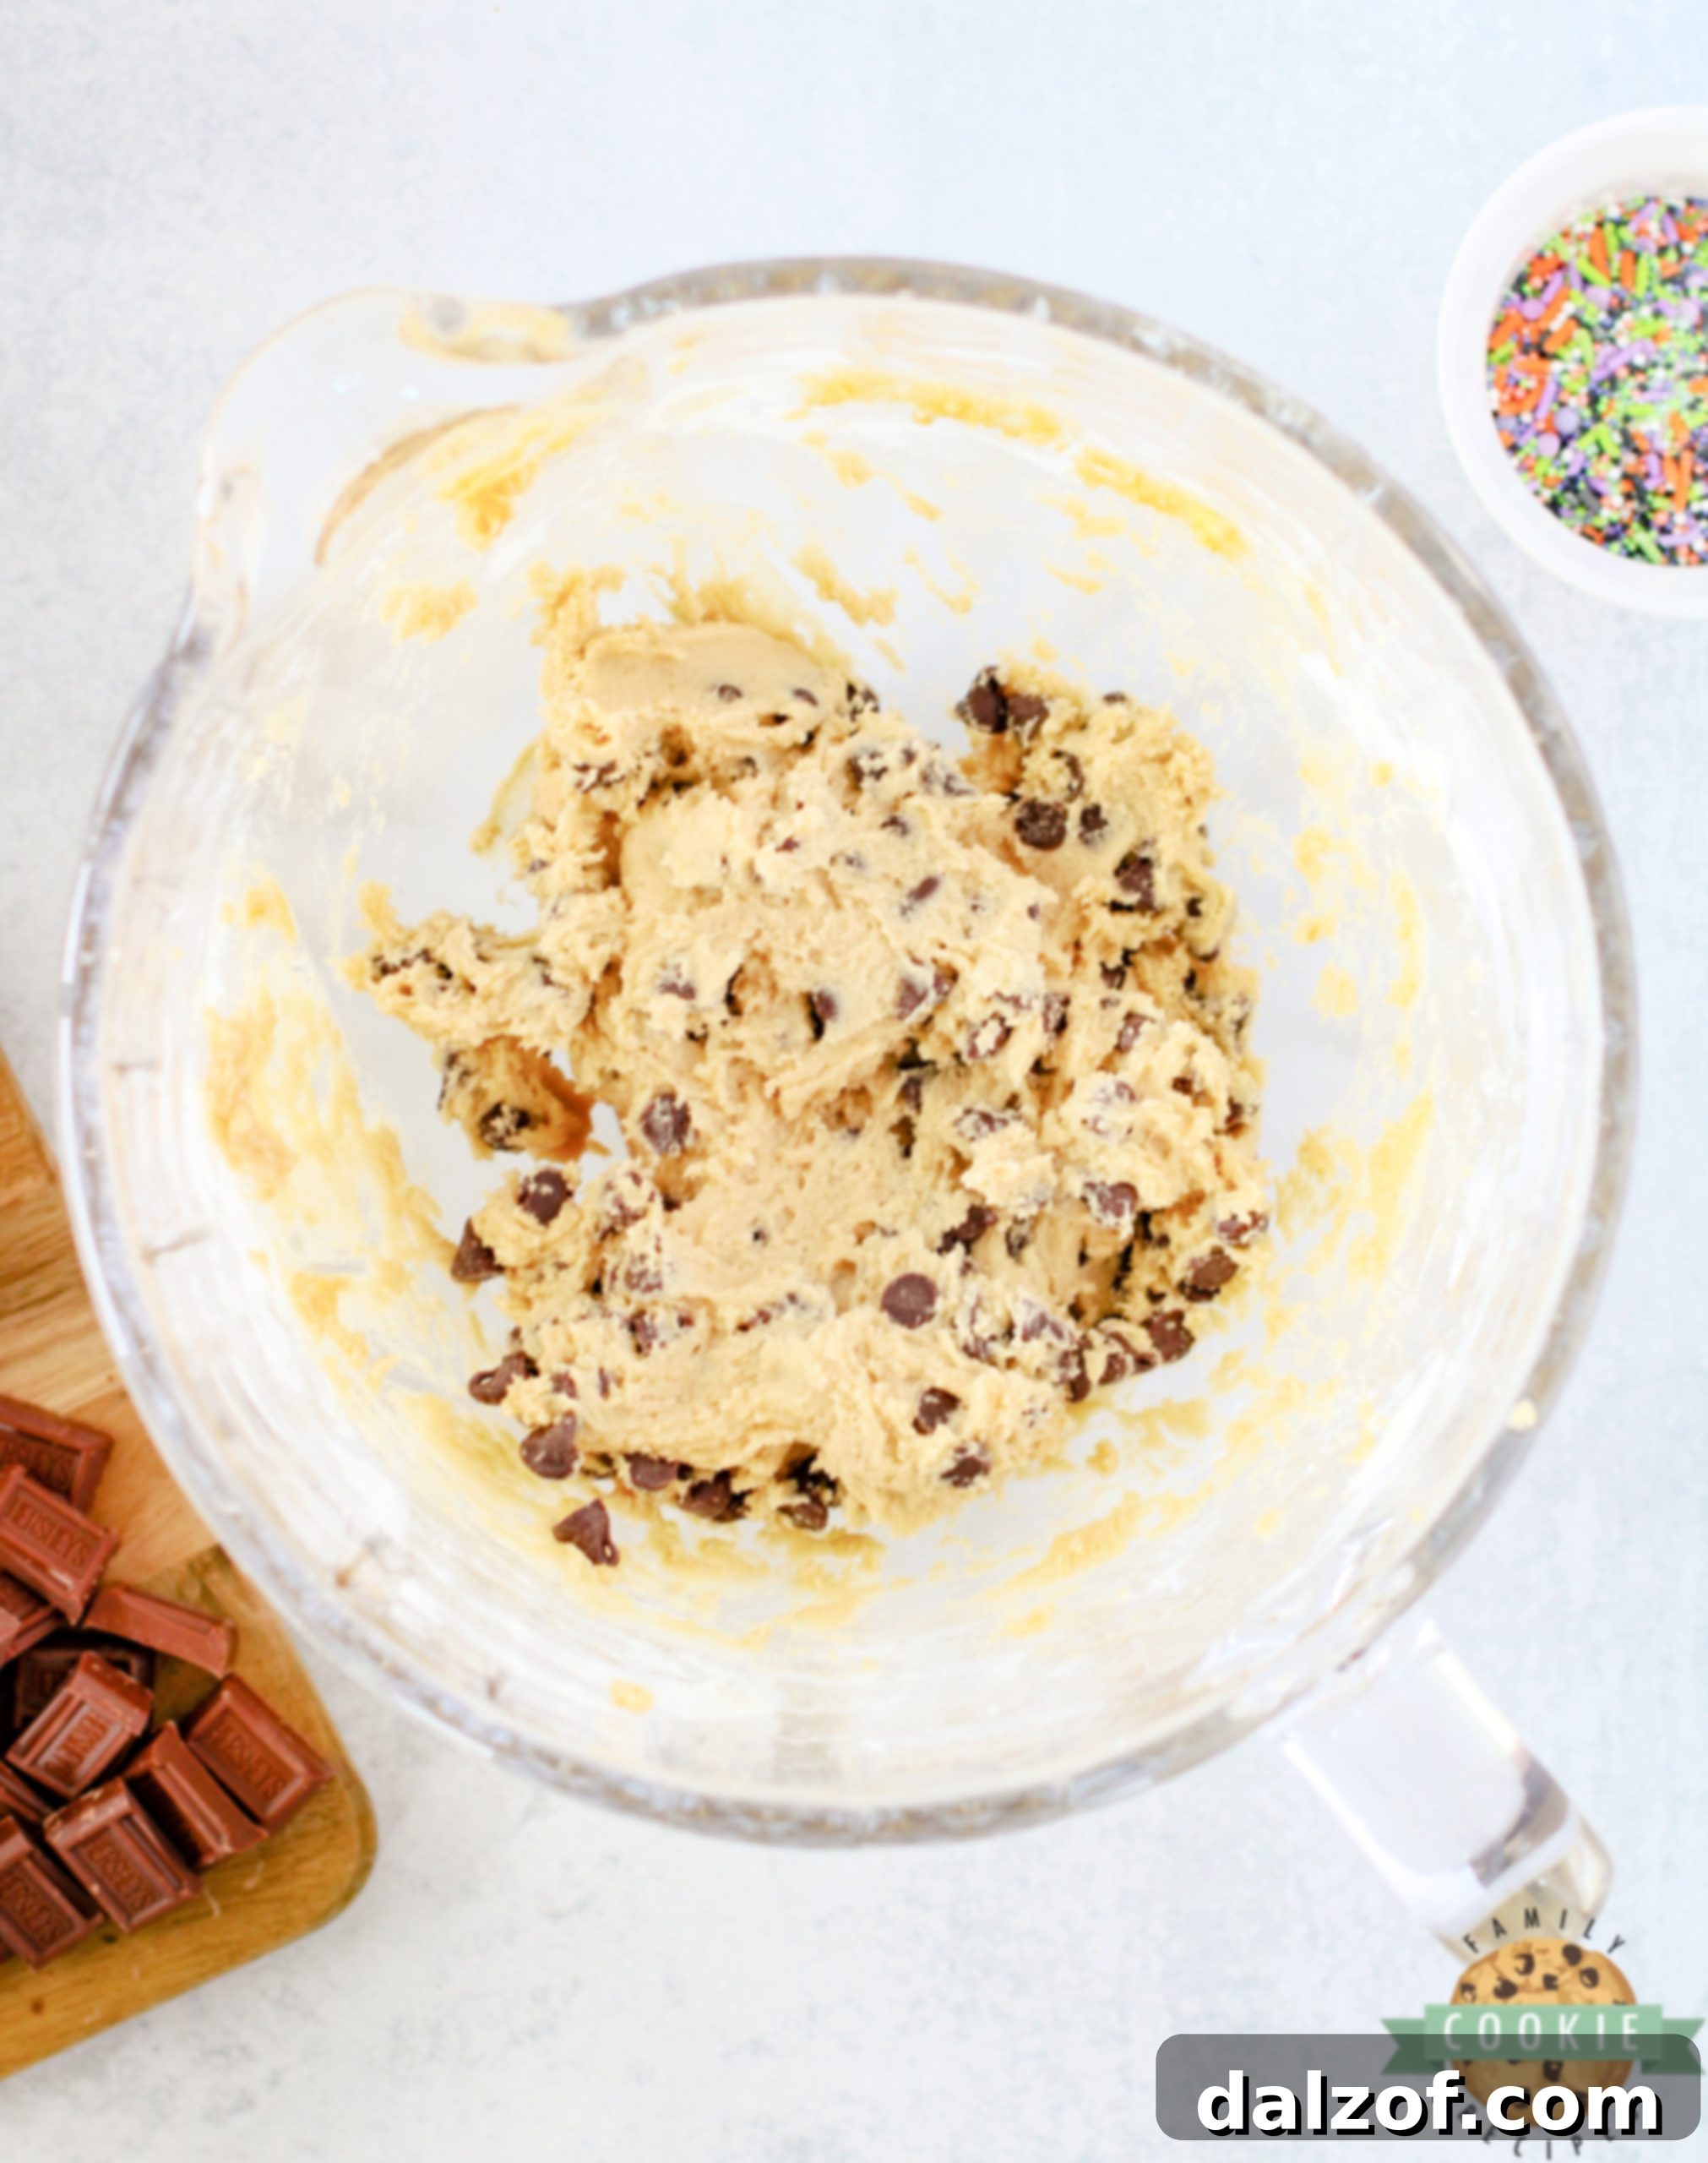
- Gently fold in the semi-sweet chocolate chips using a wooden spoon or rubber spatula. Mix just until they are evenly distributed throughout the dough.
- Cover the dough and place it in the refrigerator to chill for at least one hour. Chilling the dough is essential; it helps prevent the cookies from spreading too much during baking and allows the flavors to meld.
Assemble the Cookies
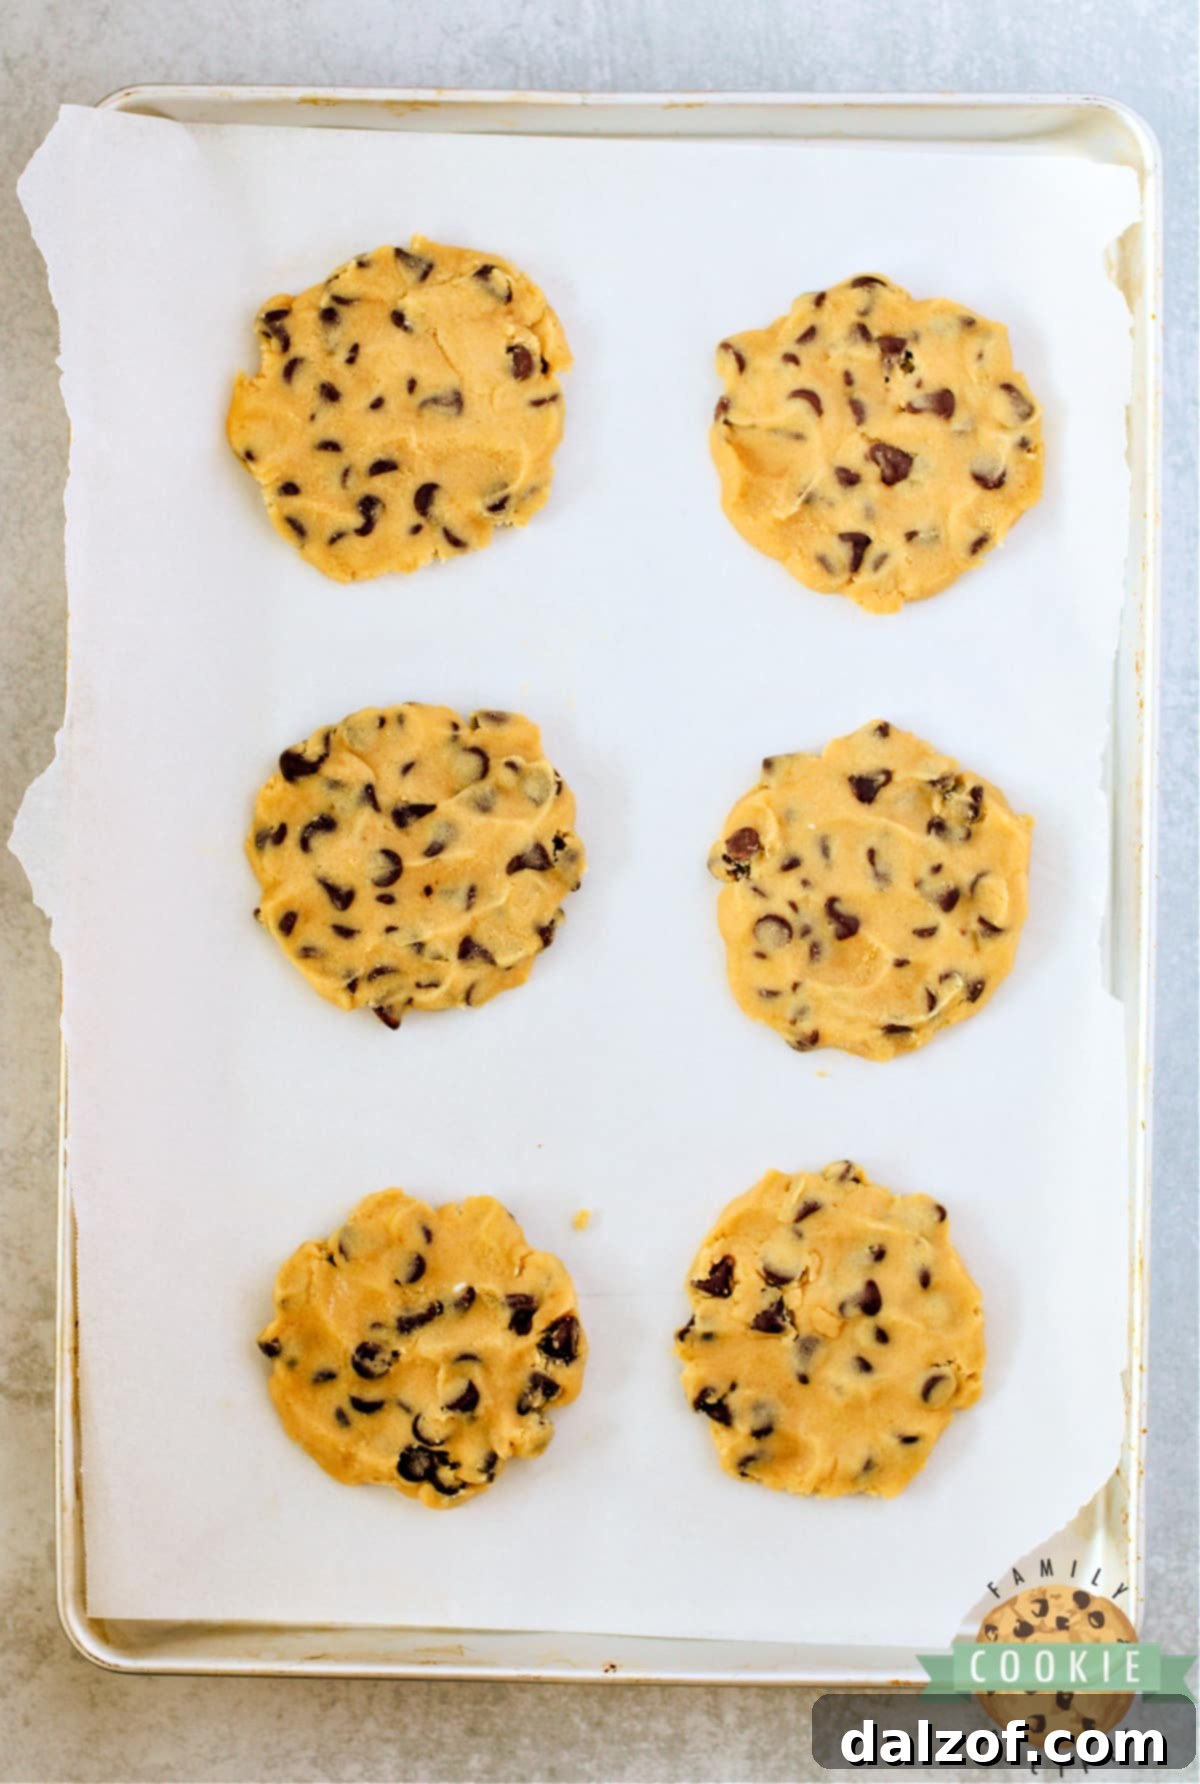
- Once the dough is adequately chilled, remove it from the refrigerator. Using a large cookie scoop (approximately ¼ cup in size), portion out balls of dough. Place them evenly spaced on your prepared baking sheet. Typically, six cookies fit comfortably on a standard-sized baking sheet, allowing ample space for them to spread.
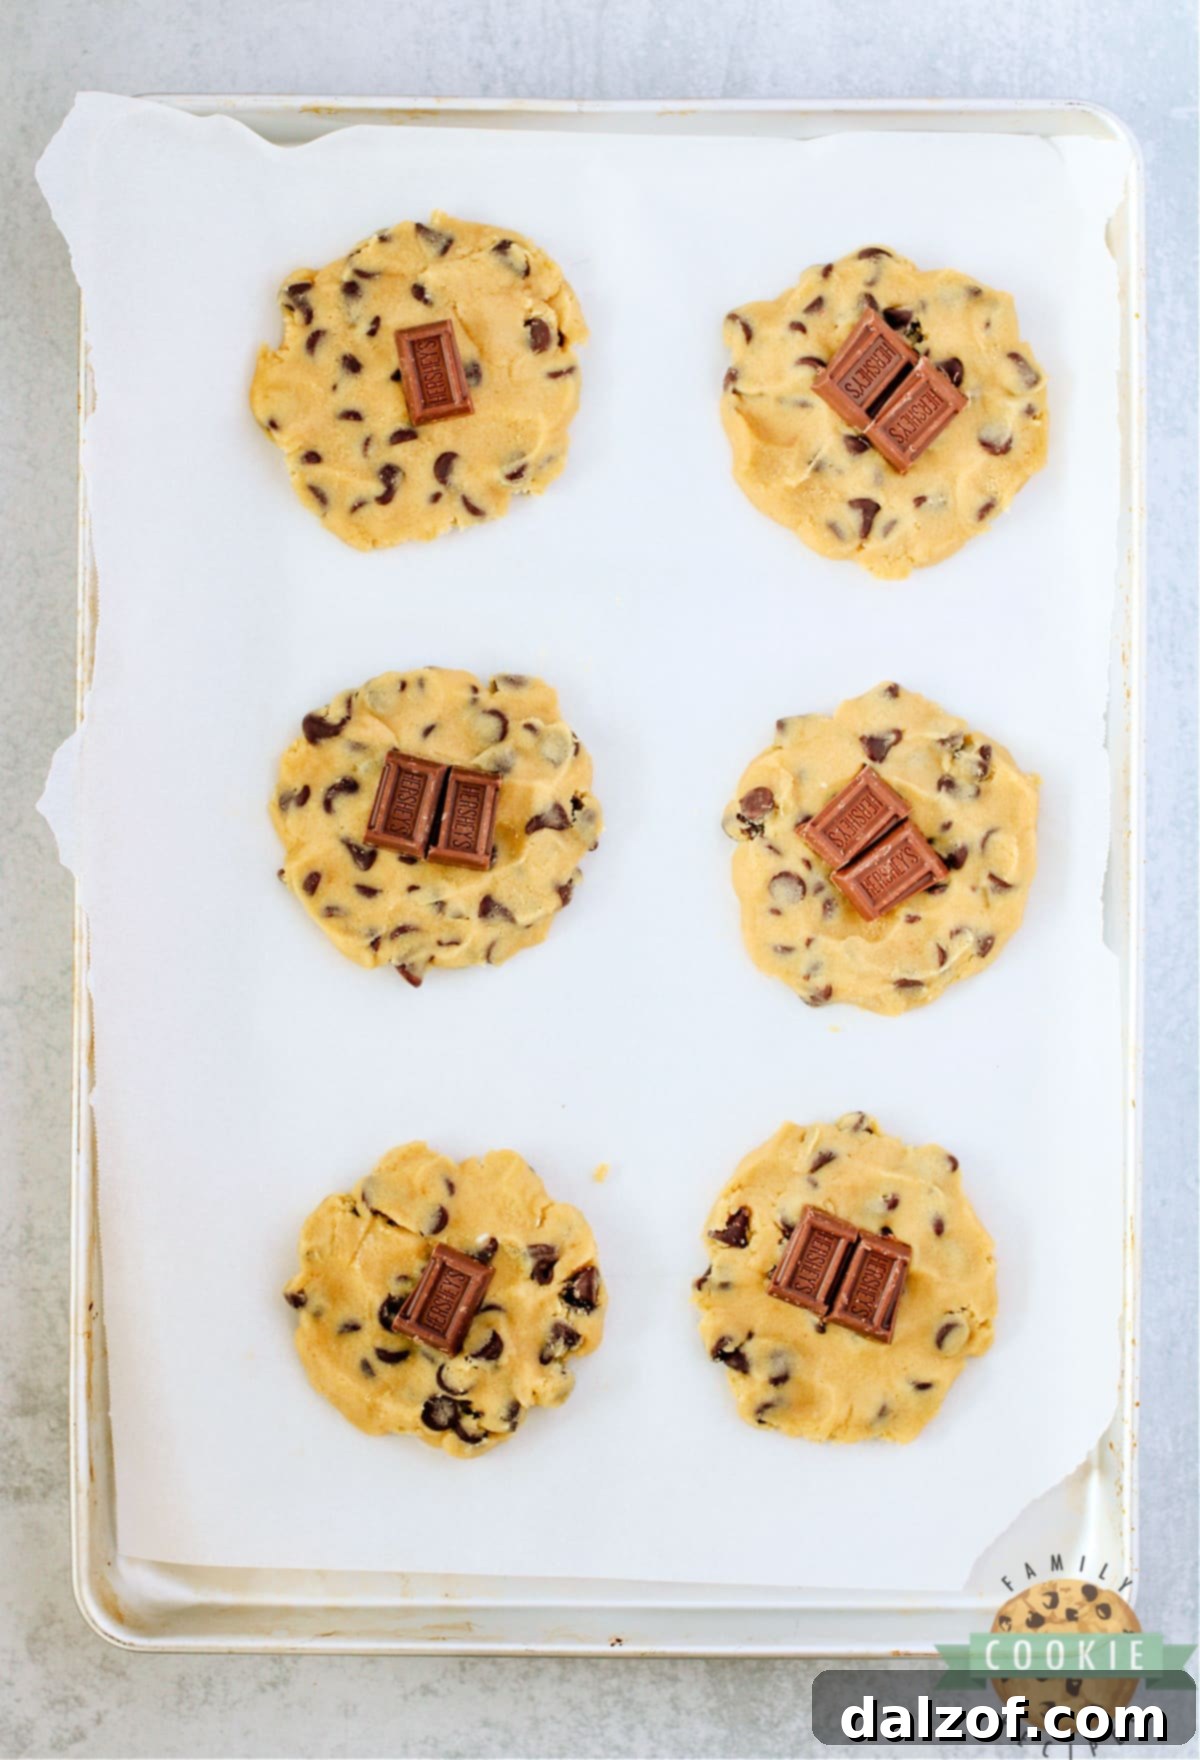
- With clean hands, gently flatten each dough ball into a large, flat circle. These circles will serve as the base for stuffing.
- Place one or two small Hershey bar squares directly in the center of each flattened cookie dough circle.
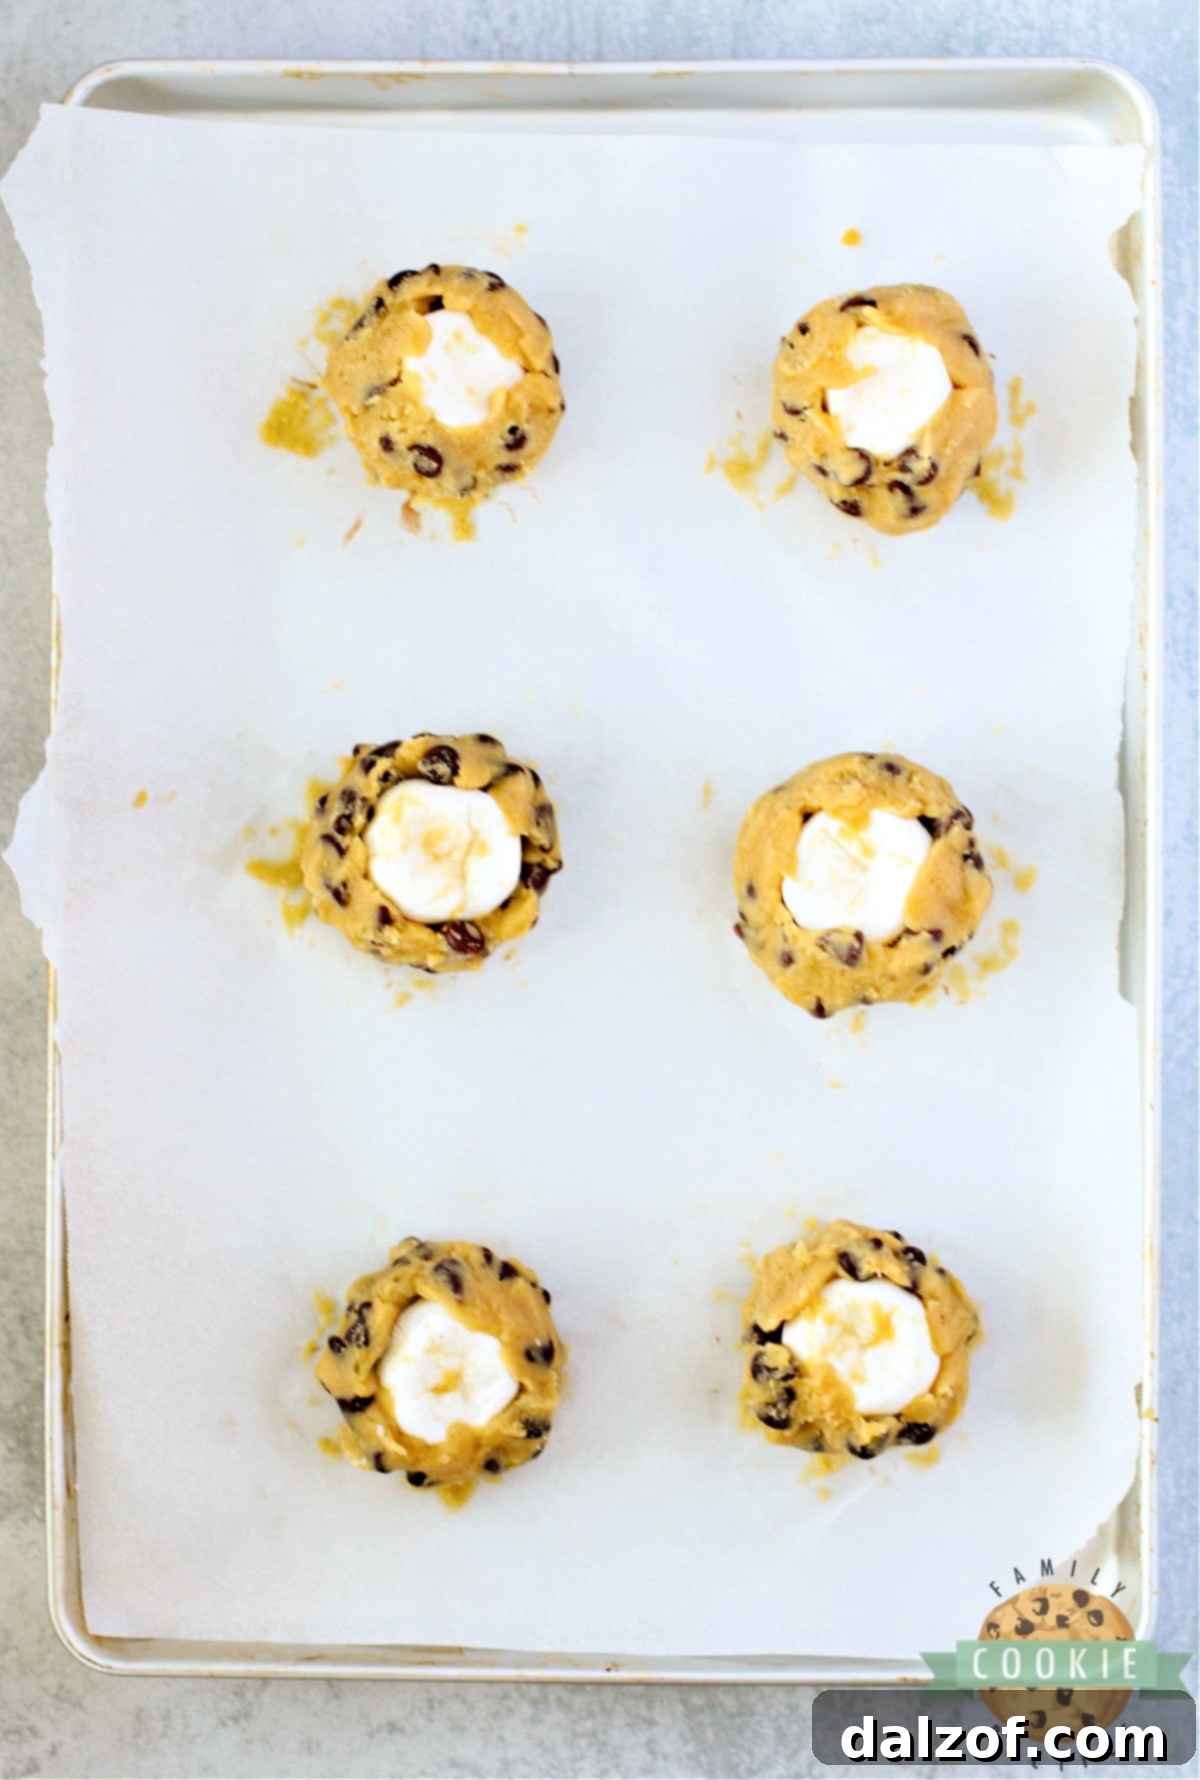
- Top the chocolate squares with one large marshmallow. Carefully bring the edges of the cookie dough up around the marshmallow, gently pressing and sealing them to enclose the chocolate and marshmallow, while leaving the very top of the marshmallow slightly exposed. This ensures a beautiful, gooey center.
Bake and Decorate the Cookies
- Bake the cookies for approximately 10 minutes, or until the edges and bottoms begin to turn a light golden brown, and the marshmallows have softened, flattened, and become deliciously gooey. It’s crucial not to overbake; excessive baking will cause the marshmallows to fully melt and absorb into the cookie, rather than maintaining their distinct gooey center.
- Once baked, remove the cookies from the oven and allow them to rest on the hot baking sheet for 5-10 minutes. This “carryover baking” helps them set and prevents them from falling apart.
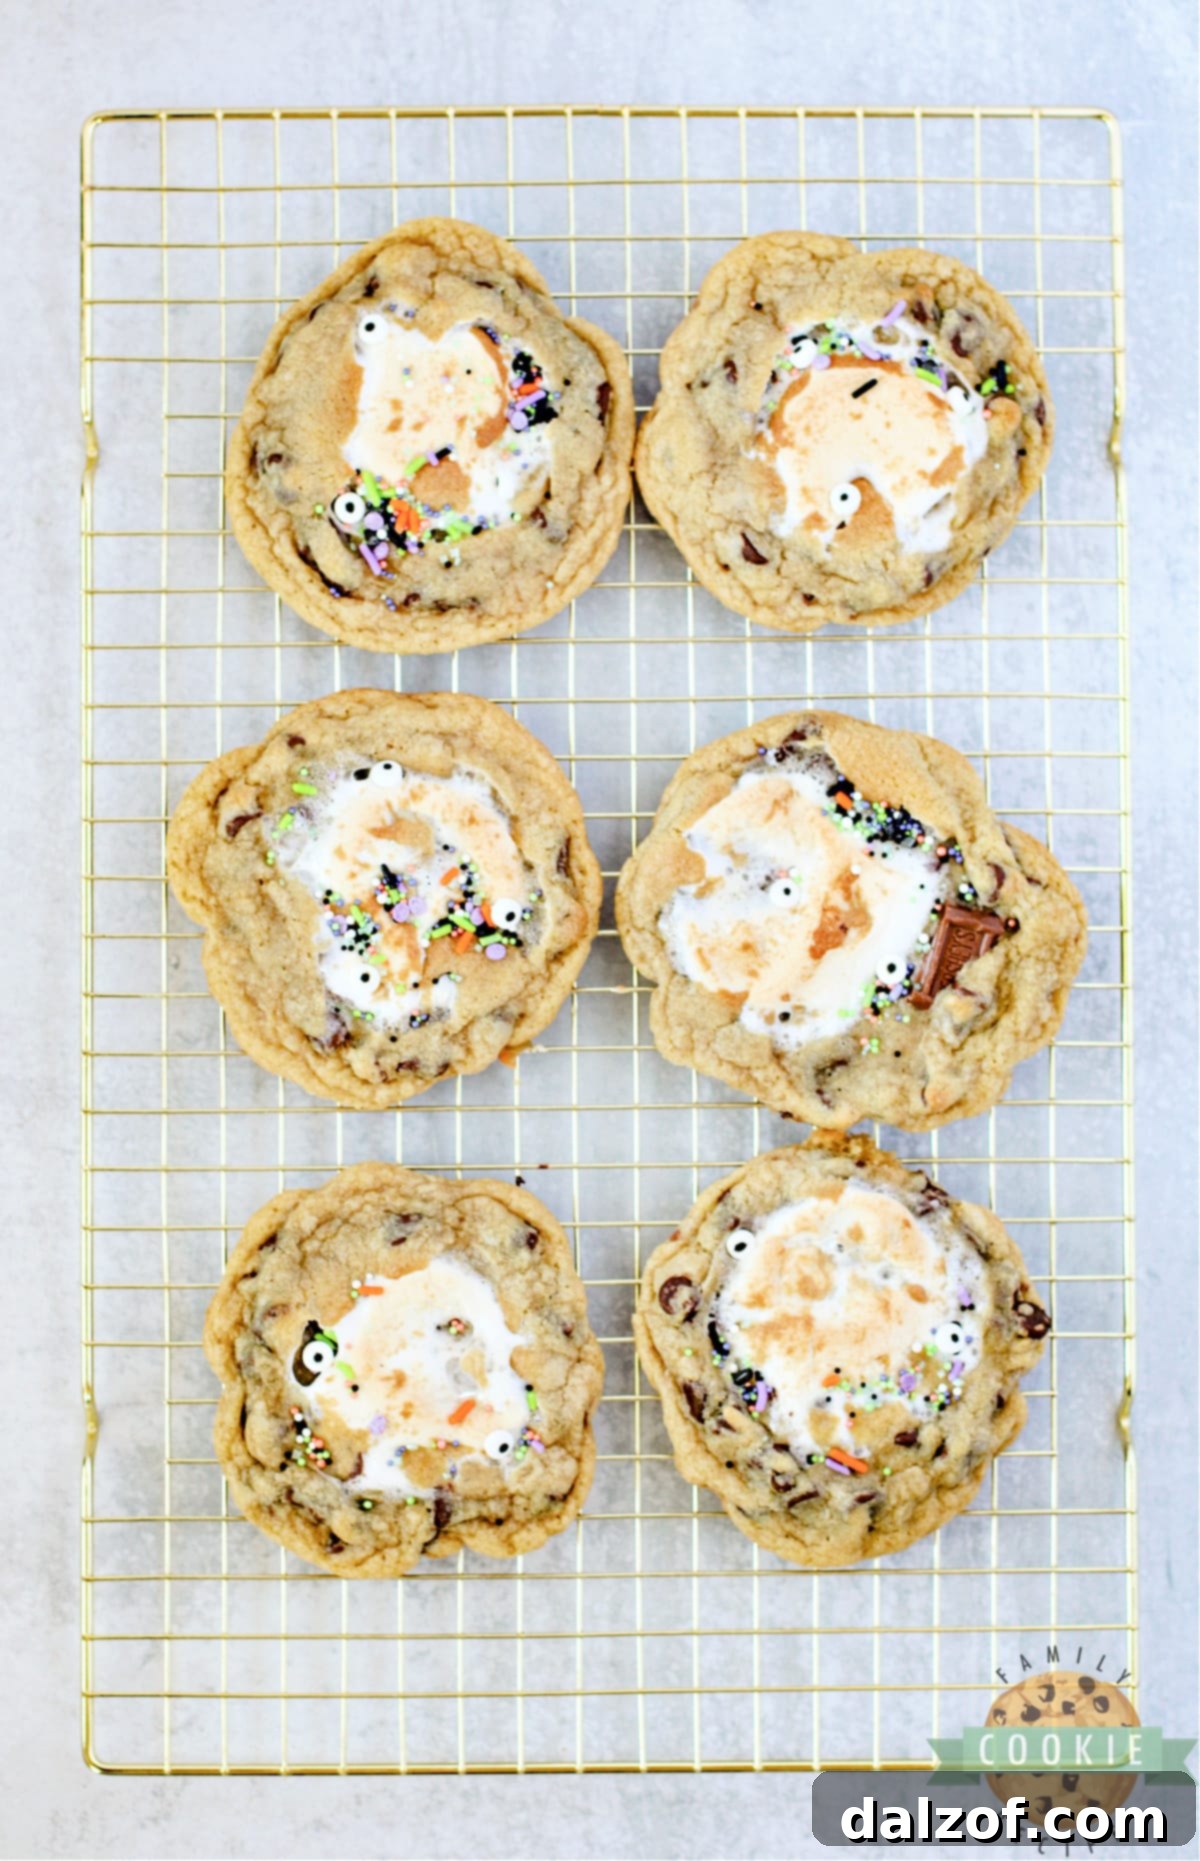
- While the marshmallows are still warm and sticky, add a few festive Halloween sprinkles and candy eyeballs on top of each cookie. The melted marshmallow acts as a natural “glue,” ensuring your monster decorations stay in place.
- Finally, gently transfer the decorated cookies to a wire cooling rack to cool completely. Enjoy your monstrously delicious creations!
Monster Stuffed S’mores Cookies
Print Recipe | Pin Recipe | Rate This Recipe
- Course:
- Cookies
- Cuisine:
- American
- Keyword:
- Monster Stuffed S’mores Cookies
- Prep Time:
- 20 minutes
- Cook Time:
- 10 minutes
- Chill Time:
- 1 hour
- Servings:
- 12 cookies
- Calories:
- 375 kcal
- Author:
- Jessica & Nellie
Ingredients
- ½ cup butter, softened to room temperature
- 1 large egg
- 1 teaspoon vanilla extract
- ¼ cup granulated white sugar
- ½ cup light brown sugar, packed
- 1 ¼ plus ⅛ cup all-purpose flour
- ½ teaspoon baking soda
- 1 cup semi-sweet chocolate chips
- 12 large marshmallows
- 20 small Hershey bar squares
- Halloween sprinkles and candy eyeballs
Instructions
- Preheat the oven to 350°F (175°C).
- Line a baking sheet with parchment paper or a silicone baking mat. Set aside.
MAKE THE COOKIE DOUGH
- Place the butter, egg, vanilla extract, white sugar, and brown sugar into a large mixing bowl and beat with an electric mixer for 2-3 minutes until well combined.
- Add the flour and baking soda to the mixing bowl and mix until fully incorporated and a soft dough is formed.
- Fold the chocolate chips into the cookie dough using a wooden spoon or rubber spatula until incorporated.
- Place the dough in the refrigerator and allow it to chill for one hour.
ASSEMBLE THE COOKIES
- Remove the chilled dough from the refrigerator. Use a ¼ cup cookie scoop to form balls of dough and place them, evenly spaced, on the prepared baking sheet. (You should be able to fit six cookies on a standard-size baking sheet).
- Use your hands to flatten the dough balls to form large, flat circles.
- Place one or two small Hershey bar squares in the center of each cookie.
- Place a marshmallow on top of the chocolate squares and press the sides of the cookies up around the marshmallows, leaving the tops of the marshmallows exposed.
BAKE AND DECORATE THE COOKIES
- Bake for 10 minutes, or until the bottoms of the cookies begin to turn golden brown and the marshmallows flatten out and become gooey. Be careful not to overcook, or the marshmallows will melt and absorb into the cookies.
- Remove the cookies from the oven and allow them to rest on the baking sheet for 5-10 minutes before gently transferring them to a wire cooling rack to cool completely.
- While the marshmallows are still warm and sticky, add a few sprinkles and candy eyeballs on top of the melted marshmallows.
Nutrition
Achieving Cookie Perfection: Tips for the BEST Chocolate Chip Cookies
Over years of baking countless batches of chocolate chip cookies, I’ve gathered invaluable insights that can elevate your cookie game from good to extraordinary. These aren’t just steps; they’re secrets to consistently baking irresistible chocolate chip cookies every time:
- Ensure Proper Flour Measurement and Consistency: The amount of flour in your dough is critical. If your dough feels excessively sticky, it’s a clear sign you might need a tiny bit more flour. Add it gradually, a tablespoon at a time, until the dough is soft but manageable, not overly tacky. Too little flour leads to flat, spread-out cookies, while too much results in dry, crumbly ones.
- Master the Art of Creaming Butter and Sugars: This step is foundational for incredible cookie texture. Don’t rush it! Creaming the softened butter with both white and brown sugars for a full 2-3 minutes (or even slightly longer) is essential. This process whips air into the mixture, creating a light, fluffy base that contributes to a wonderfully tender and chewy cookie. It also ensures the sugars are fully dissolved, preventing a grainy texture.
- Always Preheat Your Oven Thoroughly: Patience is a virtue when it comes to oven temperature. Preheating your oven completely is non-negotiable for consistent baking. A properly preheated oven ensures that your cookies begin to bake immediately and evenly, preventing them from spreading too rapidly and helping them maintain their shape and desired texture.
- Invest in a Quality Cookie Scoop: For perfectly uniform cookies, a cookie scoop is an absolute game-changer. It guarantees that each cookie is the same size, which means they will bake evenly and finish at the same time. This simple tool also makes the dough portioning process much faster and cleaner.
- Utilize Parchment Paper or Silicone Baking Mats: Say goodbye to scraping cookies off the pan! Lining your baking sheets with parchment paper or a silicone baking mat is a non-stick miracle. Not only does it make transferring baked cookies a breeze – they’ll simply slide right off – but it also promotes more even baking and makes cleanup incredibly easy.
- Avoid Overbaking at All Costs: This is arguably the most crucial tip for soft, chewy cookies. When you remove your cookies from the oven, they should still look slightly under-baked in the center. The residual heat from the baking sheet will continue to cook them for a few more minutes, a process known as “carryover baking.” Waiting until they’re golden brown all over will result in hard, crispy cookies once cooled. Trust the process – slight underbaking is key!
Chocolate Chip Cookie Troubleshooting: Common Problems and Solutions
Every baker, regardless of experience, has faced a cookie mishap or two. Over the years, I’ve learned a lot from both my successes and my “failures.” Even with a favorite recipe, sometimes cookies don’t turn out quite right. Here are some common chocolate chip cookie problems and straightforward solutions to help you achieve consistent perfection:
Why are my chocolate chip cookies flat and spread out too much?
Flat cookies are a common frustration, often indicating a problem with the dough’s consistency or temperature. Here’s why it might be happening and how to fix it:
- Too Little Flour: The most common culprit! If your dough is too wet, it will spread excessively. Start by adding just a few tablespoons of all-purpose flour to your batter and gently mix it in. Bake a test cookie to see if the shape improves. Repeat if necessary, but avoid adding too much, which can make cookies tough.
- Melted Butter: Unless a recipe specifically calls for melted butter, using butter that’s too warm or partially melted is a primary cause of flat cookies. Melted butter doesn’t incorporate air the same way softened butter does, leading to less structure. Always ensure your butter is softened to room temperature, not melted.
- Warm Dough: If your cookie dough is too warm before baking, the fat in the butter will melt too quickly in the oven, causing the cookies to spread out before they have a chance to set. Chilling the dough for at least an hour, or even longer, is crucial. Cold dough spreads slower, resulting in thicker, chewier cookies.
- Too Much Leavening: While baking soda helps cookies spread, too much can cause them to deflate. Ensure you’re measuring accurately and your baking soda isn’t expired.
How do you soften butter to room temperature effectively?
Achieving perfectly softened butter is a key step that many overlook or rush. While the ideal method is to simply leave it out on the counter for a few hours, life often demands quicker solutions. Here are reliable ways to get your butter just right:
- The Microwave Method (with caution): This is the fastest, but also the trickiest, method. Place a whole stick of butter (unwrapped, no foil!) in the microwave. Microwave it for 6-7 seconds. Check the butter – it should yield slightly when pressed but not be melted. If it’s still very cold, microwave for another 5-7 seconds. You might need a few short intervals, reducing the time to just 2-3 seconds for the final interval as it softens. The goal is pliable, not liquid.
- Defrost Setting: Many microwaves have a defrost setting that works wonders for butter. This mode uses lower power, gently warming the butter without melting it. It might take around 30 seconds to a minute, but it’s often more forgiving than the regular microwave setting.
- The Warm Water Bath: Fill a glass with warm (not hot) water. Let it sit for a minute, then pour the water out. Place the empty warm glass over your stick of butter for a few minutes. The residual heat will gently soften the butter.
- Cutting into Smaller Pieces: If you have 15-20 minutes, cutting the cold butter into smaller cubes will expose more surface area to room temperature air, speeding up the softening process significantly.
Why are my chocolate chip cookies crispy and hard?
If you’re dreaming of soft, chewy cookies but consistently end up with hard, crunchy ones, overbaking is almost certainly the issue. Here’s why and what to do:
- Overbaking: This is the primary reason for hard cookies. Cookies continue to bake for a couple of minutes on the hot baking sheet even after they’ve been removed from the oven. If you wait until they’re golden brown or firm in the oven, they will be overbaked once cooled. Pull them out when the edges are just set and lightly golden, but the centers still look slightly soft and underdone. They will firm up as they cool.
- Oven Temperature: An oven that runs too hot can also contribute to crispiness by baking cookies too quickly. Consider using an oven thermometer to verify your oven’s accuracy.
- Storage: Improper storage can dry out cookies quickly. Once cooled, store cookies in an airtight container at room temperature. If they start to harden, place a slice of bread in the container with them overnight; the cookies will absorb moisture from the bread.
Why do my chocolate chip cookies burn on the bottom but aren’t done in the middle?
This frustrating problem typically points to issues with your baking equipment or how you’re preparing your pans:
- Dark Baking Sheets: Dark-colored baking sheets absorb and conduct heat more intensely than lighter ones. This often leads to the bottoms of baked goods browning (or burning) too quickly before the centers have a chance to cook through. Switching to light-colored, reflective baking sheets can make a huge difference.
- Excessive Cooking Spray: Using too much cooking spray can create a greasy layer that burns easily, leading to dark, crisp bottoms. If you must use spray, use a very light coating. However, I’ve found that using silicone baking mats or parchment paper eliminates the need for any spray, providing a consistently non-stick surface that promotes even baking and easy release. They are a game-changer for cookie baking!
- Oven Hot Spots: Uneven oven temperatures can also contribute. Rotating your baking sheet halfway through the baking time can help ensure more even cooking.
Monster Stuffed S’mores Cookies: Variations and Storage Tips
While these Monster Stuffed S’mores Cookies are perfect as is, you can easily customize them to suit your taste or occasion. Here are some ideas to inspire your creativity:
Cookie Variations:
- Chocolate Type: Experiment with different chocolate chips – milk chocolate, dark chocolate, white chocolate, or even a blend! For the stuffing, instead of Hershey’s, try Ghirardelli squares or your favorite chocolate bar.
- Added Flavor: A pinch of cinnamon or a dash of almond extract can add an interesting depth of flavor to the cookie dough.
- Mini S’mores: For smaller treats, use mini chocolate chips, mini marshmallows, and break the Hershey bar into even smaller pieces. Adjust baking time accordingly.
- Nutty Crunch: Add chopped pecans or walnuts to the cookie dough for an extra layer of texture and flavor.
- Seasonal Themes: Beyond Halloween, simply change the sprinkles! Use red and green for Christmas, pastels for Easter, or patriotic colors for summer holidays. Skip the eyeballs for everyday s’mores cookies.
Storage Instructions:
To keep your Monster Stuffed S’mores Cookies fresh and delicious, proper storage is key:
- Room Temperature: Once completely cooled, store the cookies in an airtight container at room temperature for up to 3-4 days. This prevents them from drying out.
- Freezing Dough: You can prepare the cookie dough balls, stuff them, and then freeze them before baking. Place the stuffed dough balls on a baking sheet and freeze until solid (about 1-2 hours). Then transfer them to a freezer-safe bag for up to 3 months. When ready to bake, place frozen dough balls directly on a prepared baking sheet and add 2-3 minutes to the baking time.
- Freezing Baked Cookies: Fully baked and cooled cookies can also be frozen. Place them in a single layer on a baking sheet and freeze until solid, then transfer to an airtight, freezer-safe container or bag for up to 2-3 months. Thaw at room temperature or gently warm in the microwave for a few seconds before serving.
These Monster Stuffed S’mores Cookies are more than just a recipe; they’re an invitation to create delightful memories, especially during the festive Halloween season. With their chewy chocolate chip base, molten chocolate, and gooey marshmallow center, topped with playful monster eyes and sprinkles, they are sure to be a showstopper. Don’t hesitate to personalize them with your favorite chocolate or sprinkle combinations. Happy baking, and happy Halloween!
More Delicious Halloween Treat Recipes to Try:
- HALLOWEEN SUGAR COOKIE BARS
- HALLOWEEN BROWNIE COOKIES
- HALLOWEEN NO- BAKE CHEWY CARAMEL COOKIES
- HALLOWEEN SKELETON COOKIES
- HALLOWEEN CAT COOKIES
- HALLOWEEN CHOCOLATE TRUFFLES
- HALLOWEEN SPRINKLE COOKIES
- HALLOWEEN PEANUT BUTTER COOKIE PIZZA
- HALLOWEEN COBWEB COOKIES
- M&M HALLOWEEN COOKIES
- BAKED MONSTER HALLOWEEN DONUTS
- EASY GHOST HALLOWEEN COOKIES

Monster Stuffed S’mores Cookies are an absolute must-try for any Halloween celebration or whenever you desire a uniquely decadent dessert. This delicious chocolate chip cookie recipe is elevated by being generously stuffed with classic Hershey bars and fluffy marshmallows, then transformed with playful monster eyes and festive sprinkles. They are truly the perfect homemade Halloween treat!