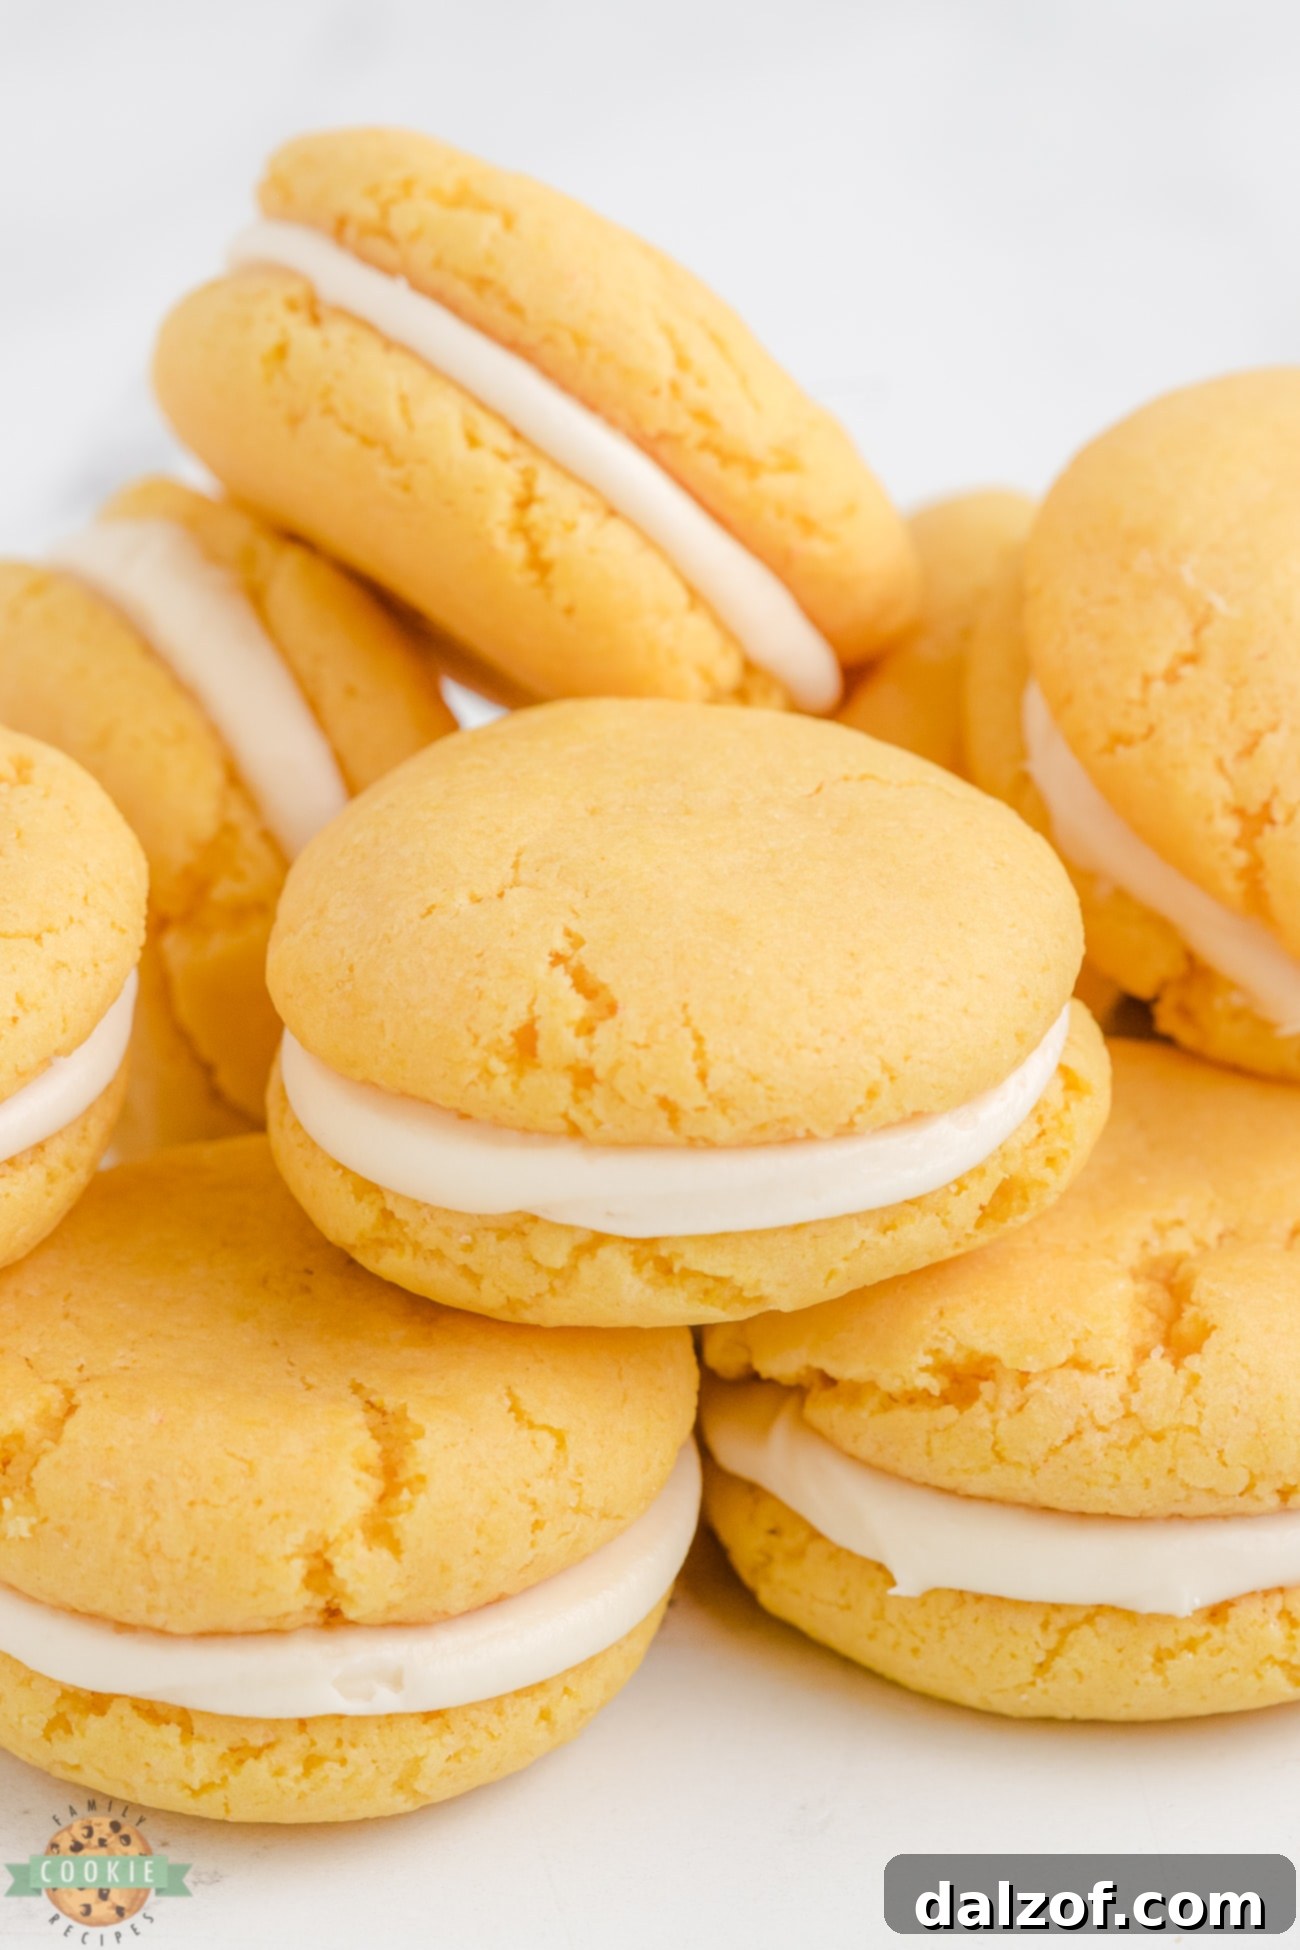
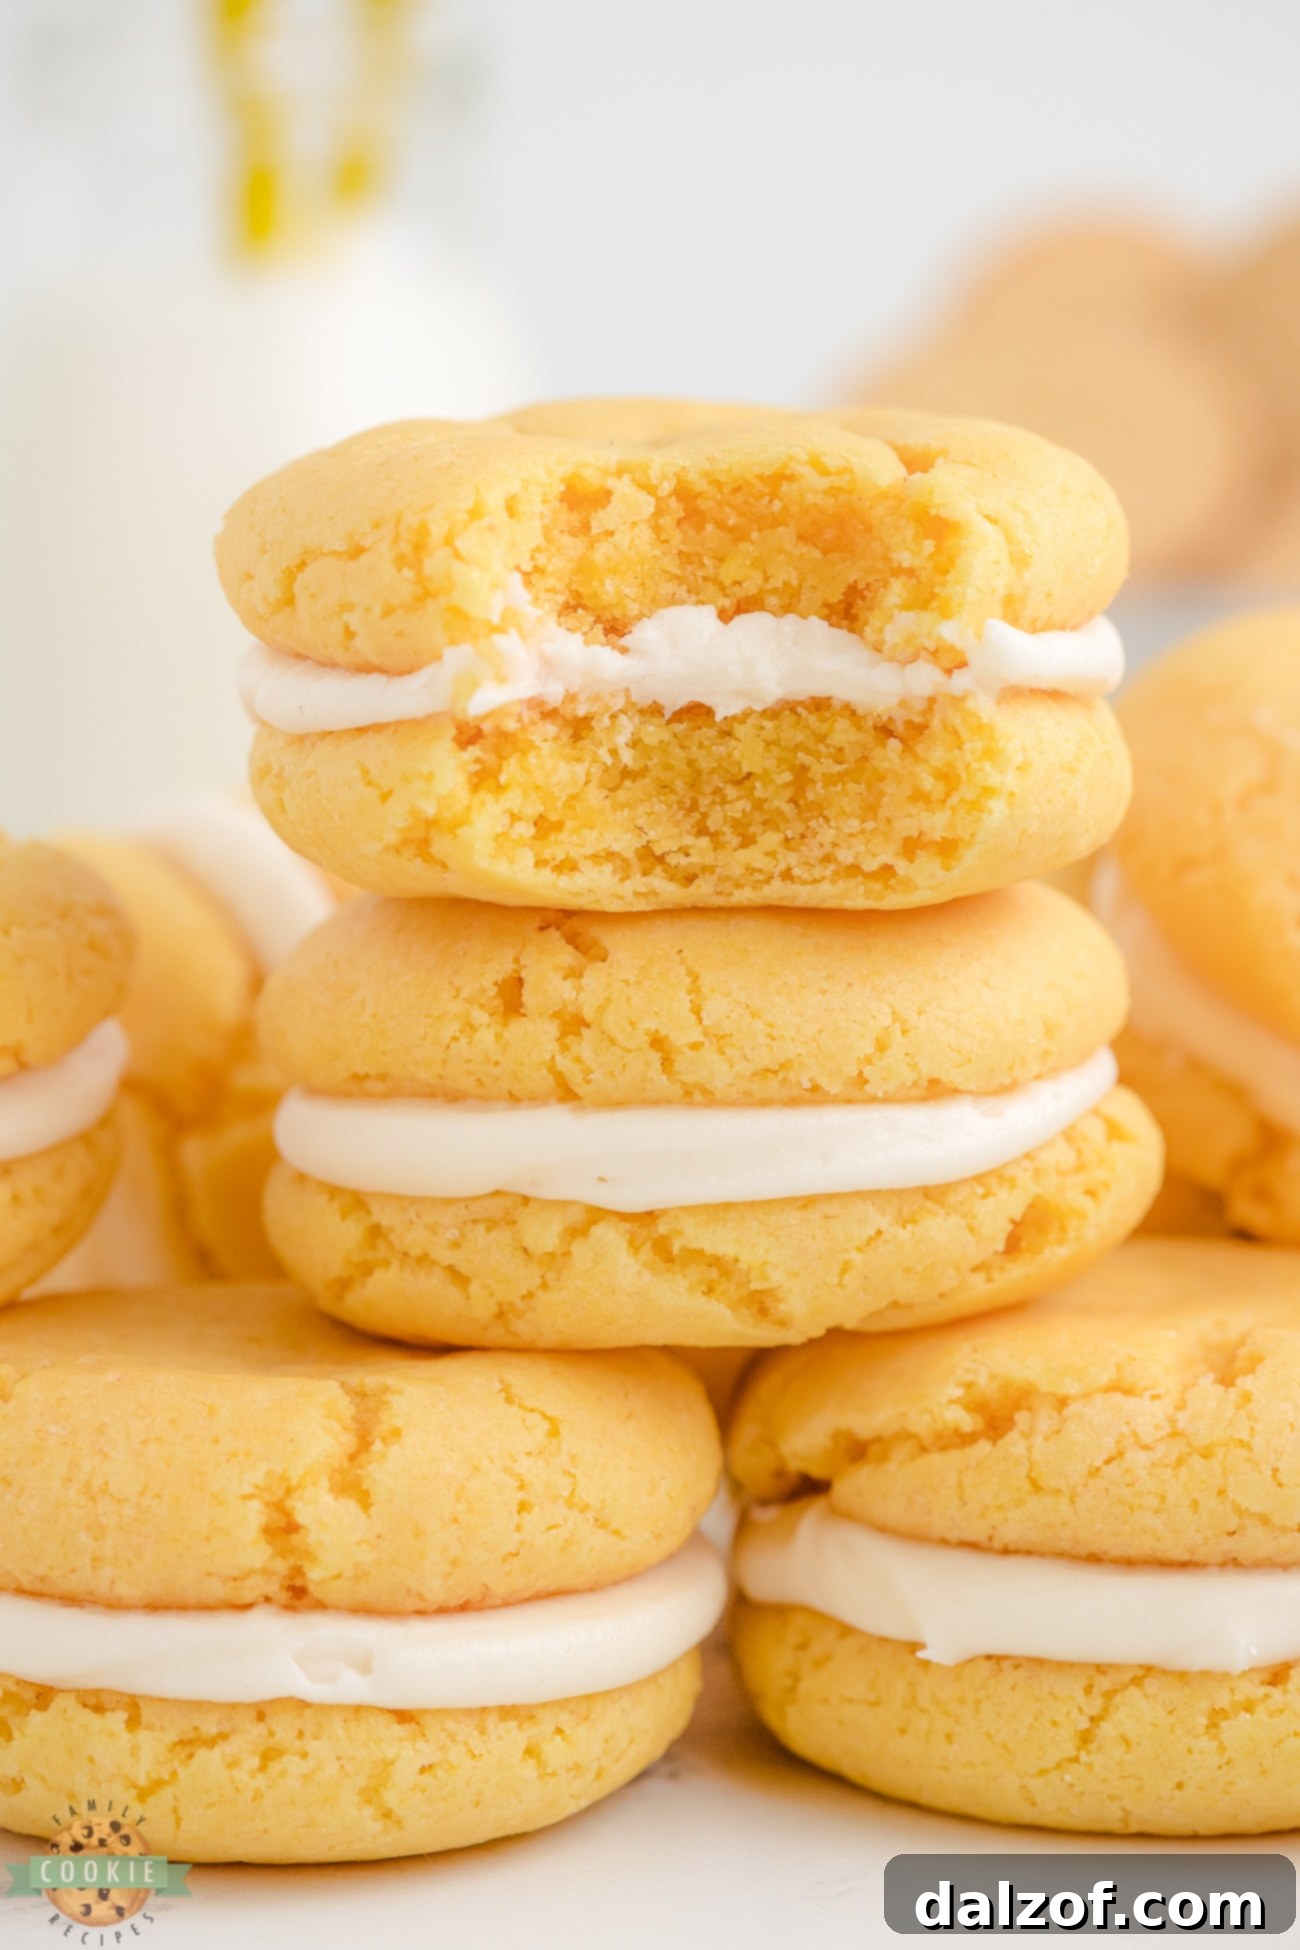
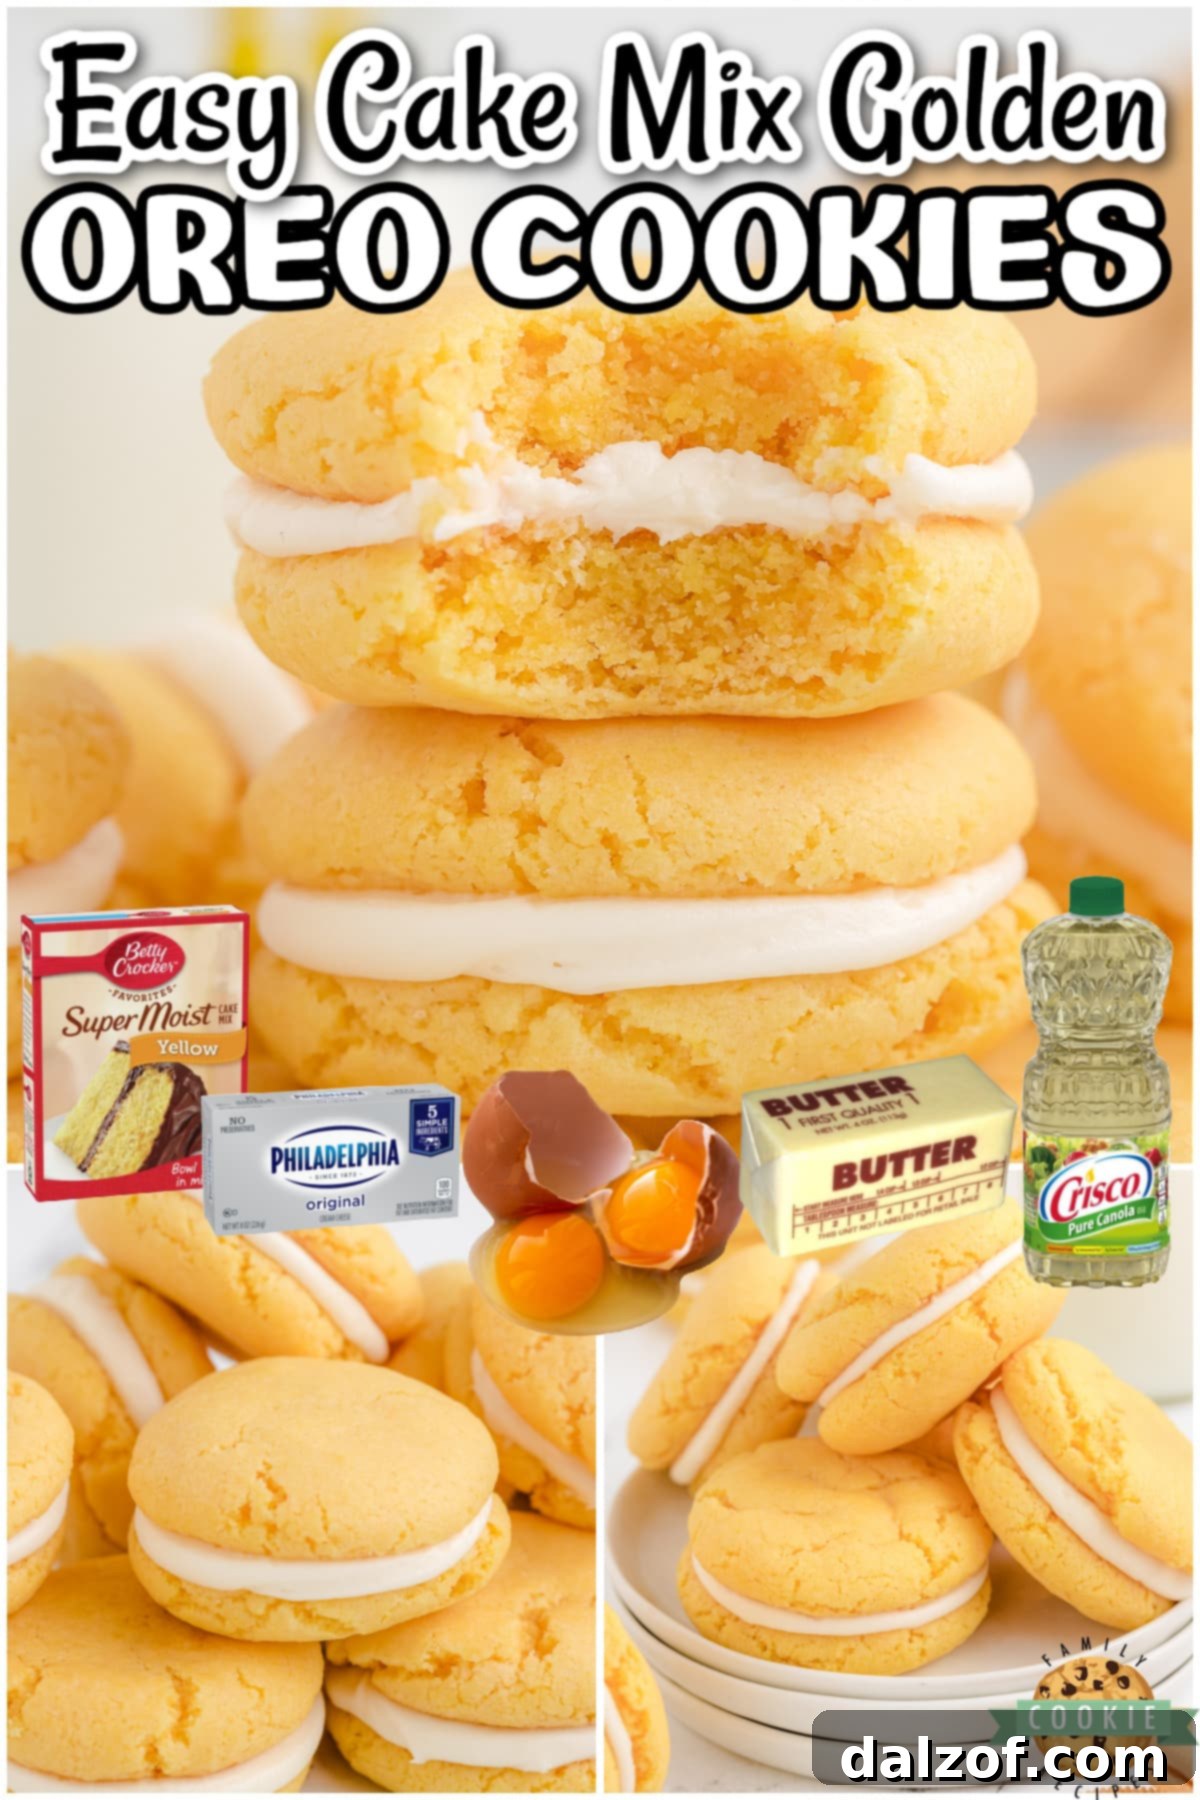
Unlock the secret to irresistible treats with our incredibly simple recipe for Homemade Golden Oreo Cookies! Crafted effortlessly using a yellow cake mix, these soft, perfectly sweet sandwich cookies are guaranteed to become an instant family favorite. Imagine biting into that tender, golden cookie shell, giving way to a rich, creamy filling—a delightful experience that will have everyone reaching for more!
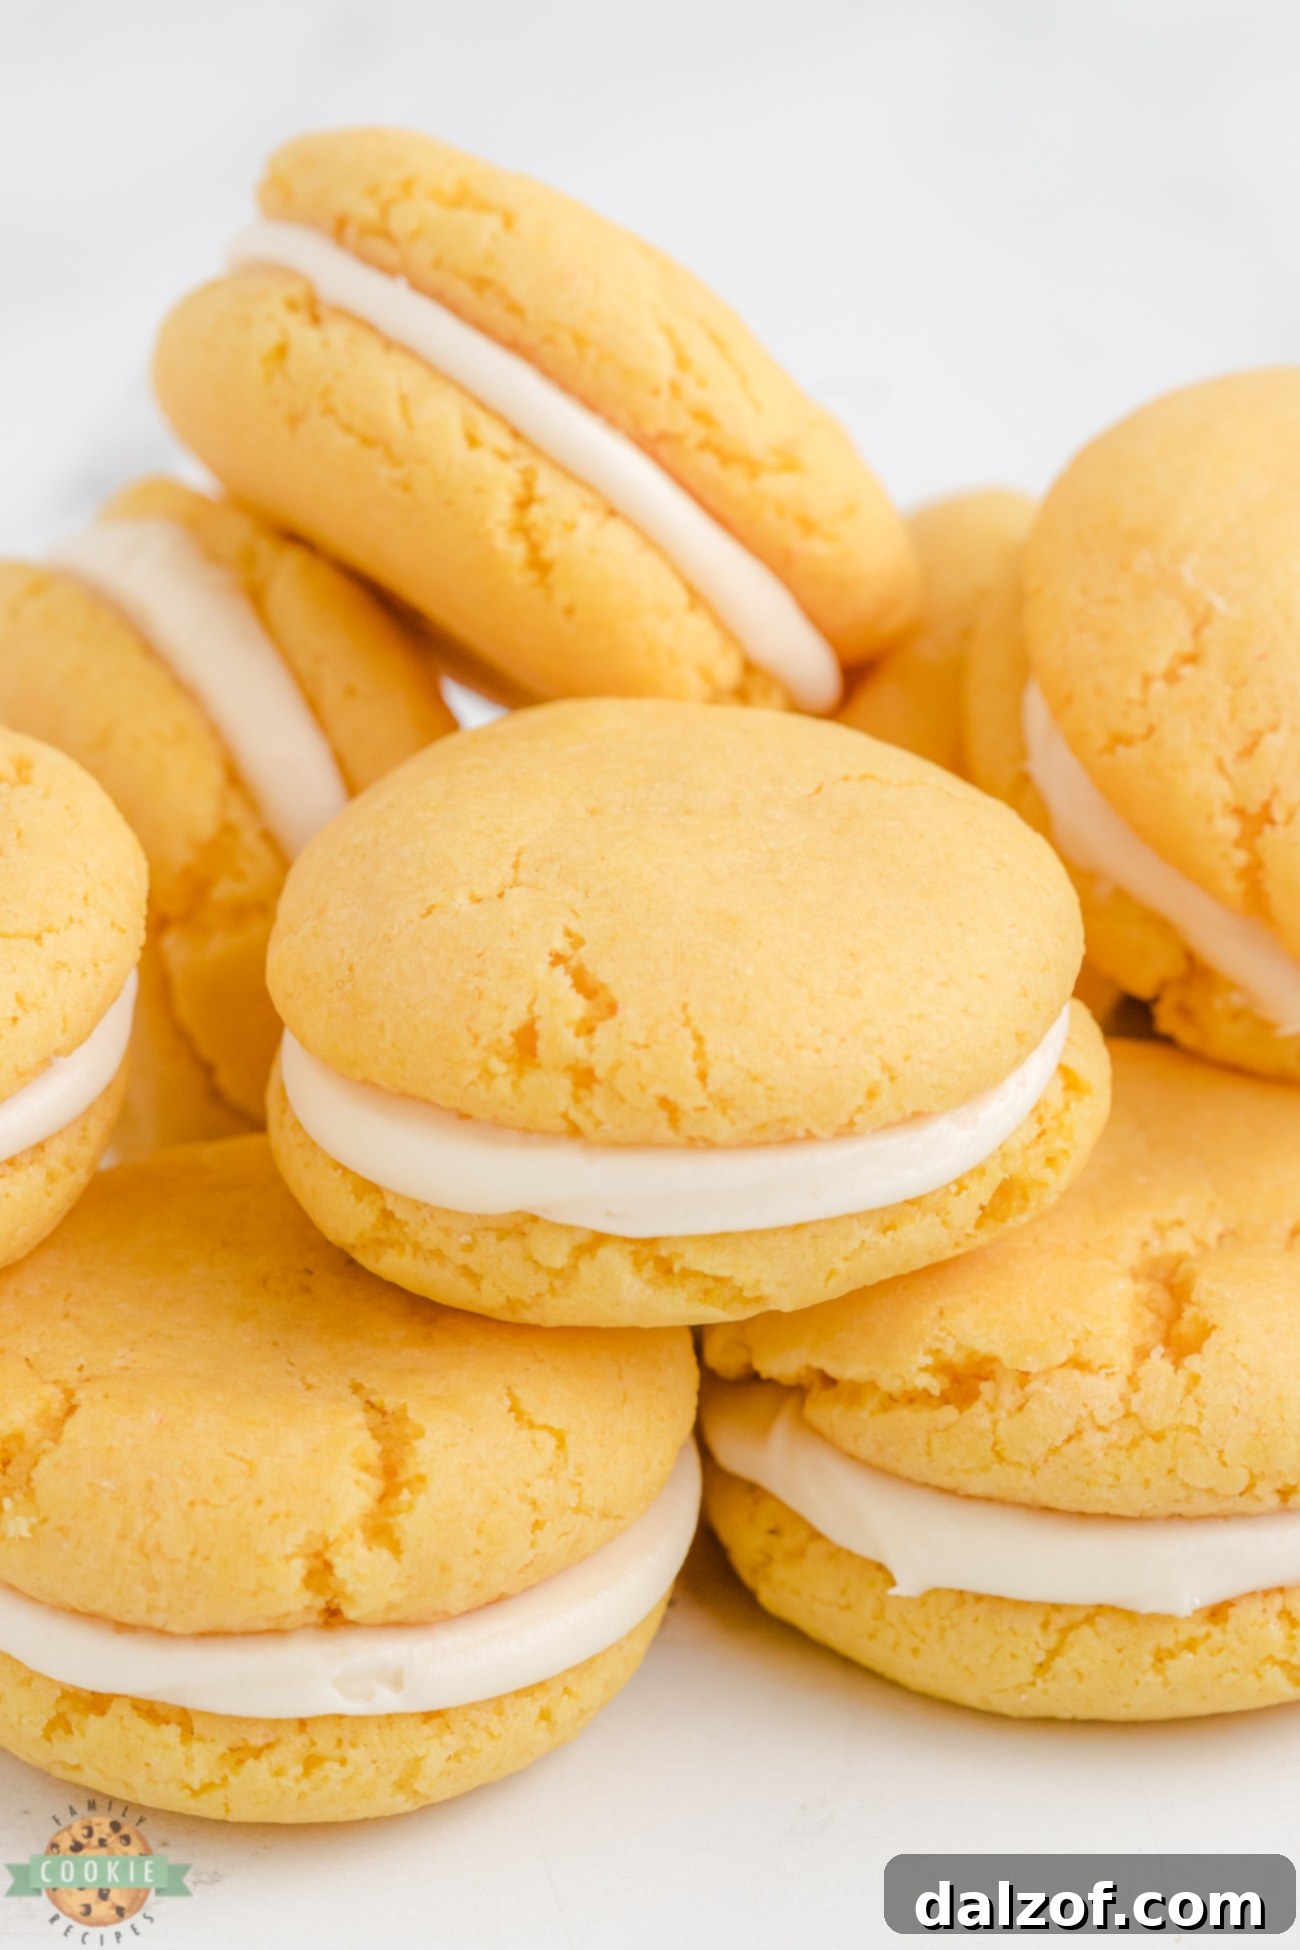
This Golden Oreo cookie recipe stands out for its sheer simplicity and fantastic flavor, all thanks to the clever use of a boxed cake mix for the cookie base and a dreamy, easy-to-make cream cheese frosting. Say goodbye to complicated baking processes and hello to homemade bliss! You can enjoy these Oreos homemade any day of the week, as they come together remarkably quickly, perfect for a spontaneous baking session or a last-minute dessert.
Why Make Golden Oreos at Home? The Ultimate Treat, Made Easy!
For my family and me, Oreo cookies are more than just a snack; they’re a beloved tradition. You’ll always find a stash in our pantry (or freezer – seriously, try frozen Oreos if you haven’t!). My fondness for these iconic sandwich cookies was definitely inherited from my grandpa, who cherished them as his favorite after-dinner delight. I have countless fond memories of visiting him and my grandma, where a plate of Oreos would inevitably make its way around after every meal, creating moments of shared joy and sweetness.
As an enthusiastic baker and a connoisseur of all things sweet, it became my personal mission to recreate the magic of Oreos in my own kitchen. But not just any recipe—it had to be one that was incredibly simple, recognizing how easily these delightful cookies disappear once they hit the plate. The key to simplifying this process, and achieving that perfect Golden Oreo taste and texture, lies in using a boxed yellow cake mix for the cookie dough. This brilliant shortcut not only streamlines the baking but also ensures a consistently soft, golden cookie that perfectly complements the rich cream cheese filling.
Making homemade Golden Oreos allows you to control the quality of ingredients, customize the frosting sweetness, and, most importantly, experience the unique satisfaction that comes with baking something truly special from scratch. These aren’t just cookies; they’re a labor of love, a nod to cherished memories, and a new tradition waiting to be born in your home. Give them a try today and discover just how delicious and utterly satisfying these easy cake mix Golden Oreos can be! You’ll be amazed at how a simple box of cake mix transforms into such an extraordinary treat.
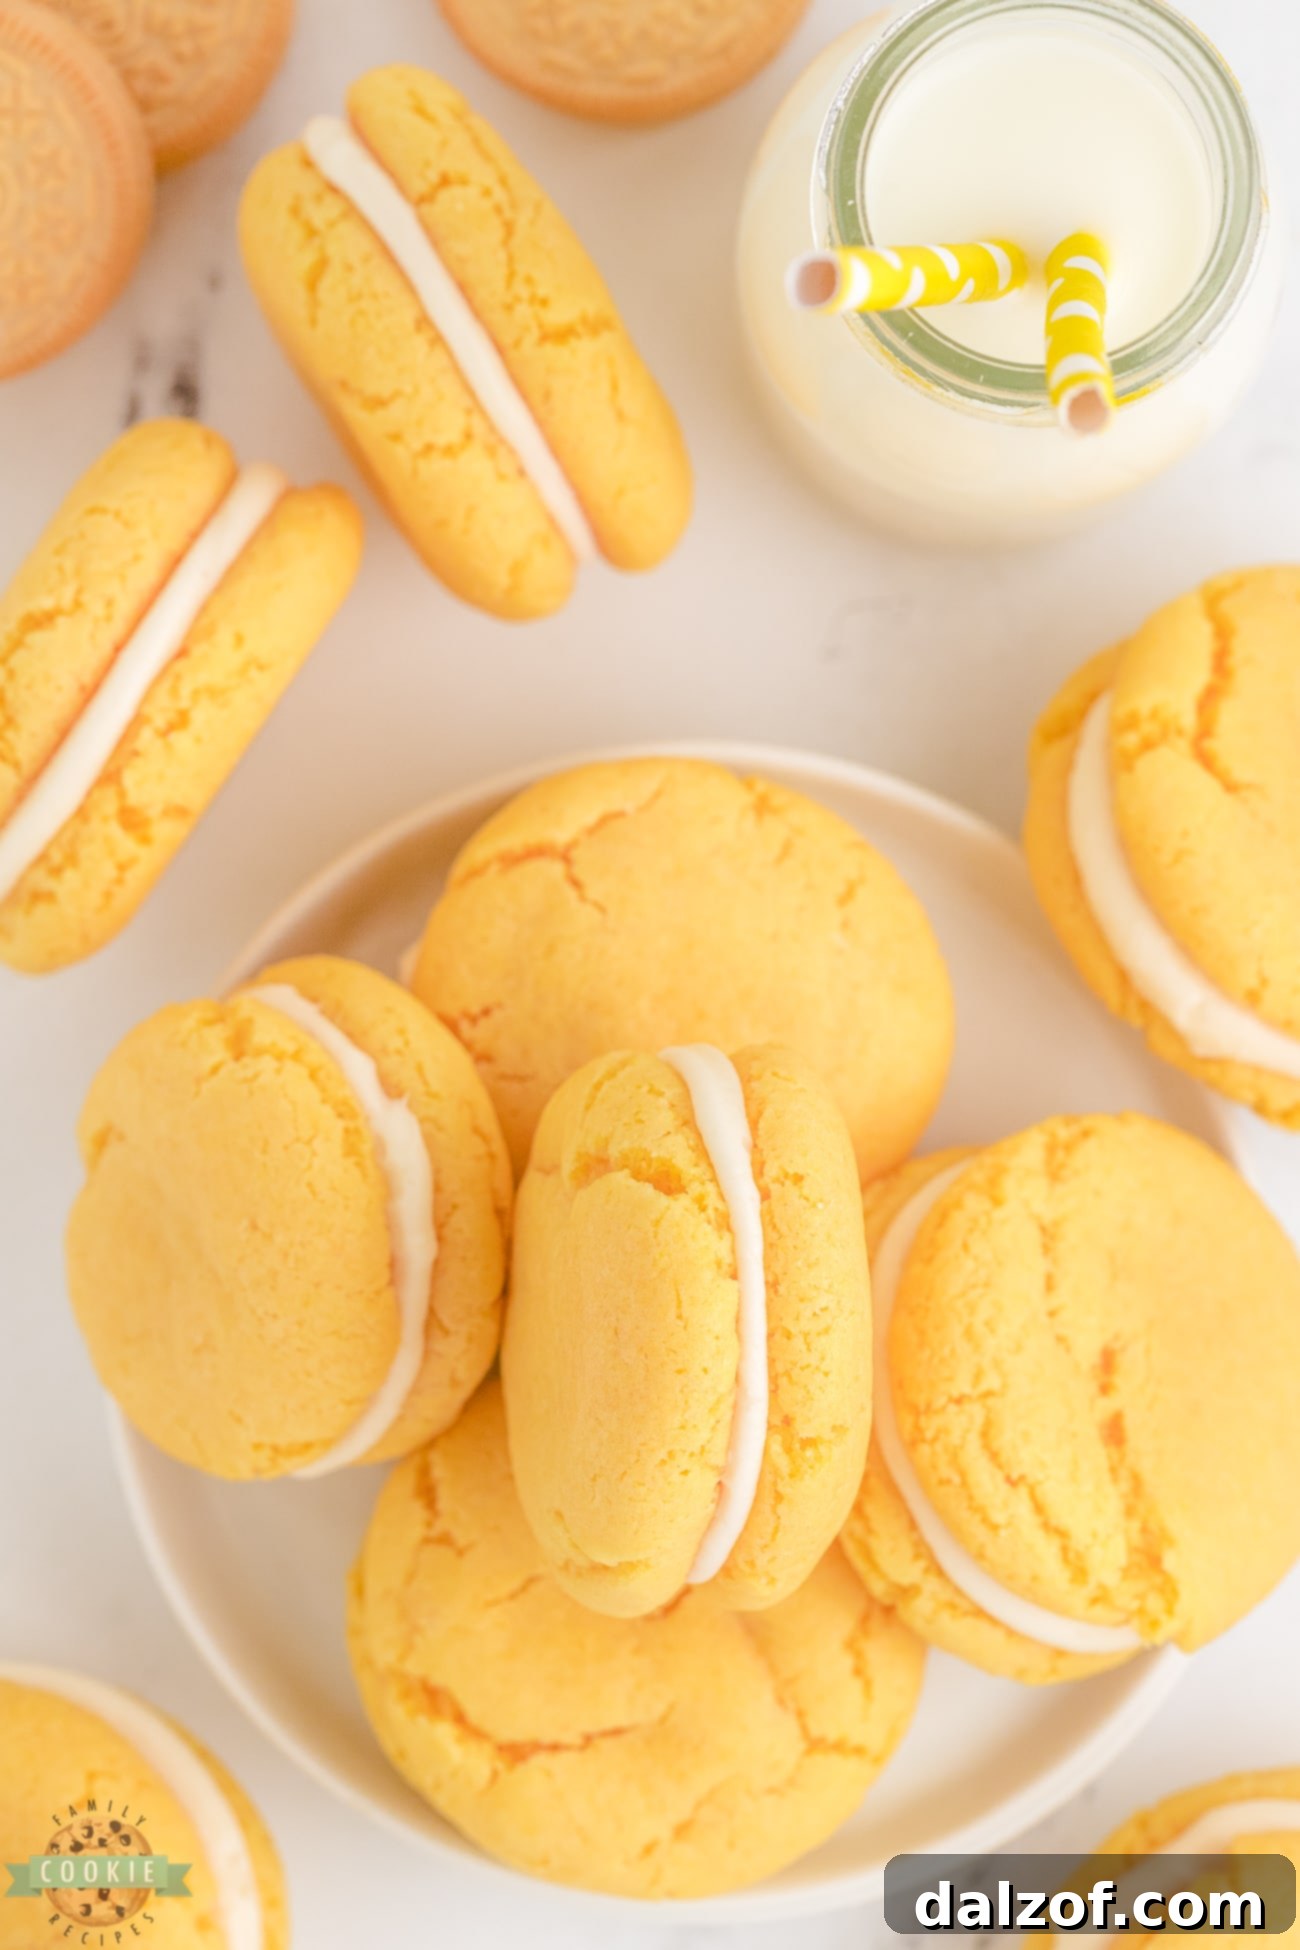
Expert Tips for Baking Perfectly Sweet Golden Oreo Cookies Every Time!
Achieving bakery-quality cookies at home is easier than you think, especially with these tried-and-true tips. These simple adjustments will elevate your homemade Golden Oreo cookies from good to absolutely phenomenal!
- Utilize an Electric Mixer for Consistent Dough. While manual mixing is possible, an electric mixer (either a handheld or stand mixer) is invaluable for achieving a truly uniform dough. It ensures all ingredients are perfectly incorporated, leading to a consistent texture in every cookie. If you have a stand mixer, it’s ideal for hands-free convenience, but a quality handheld mixer works just as well.
- Cream Butter and Sugars for Enhanced Texture. Don’t rush the creaming process! Dedicate an extra 2-3 minutes to thoroughly cream your butter and sugars together until the mixture is light, fluffy, and pale in color. This crucial step incorporates air, which contributes significantly to the soft, tender, and melt-in-your-mouth consistency of your finished cookies. It’s a small investment of time for a big payoff in texture.
- Always Preheat Your Oven. Baking at a consistent temperature from the moment your cookies enter the oven is key to even baking. Preheating ensures that your cookies start baking immediately at the correct temperature, preventing them from spreading too much or baking unevenly. A properly preheated oven is your best friend for achieving perfectly baked cookies every single time.
- Employ a Cookie Scoop for Uniformity. For professional-looking cookies that are all the same size and shape, a cookie scoop is an absolute game-changer. It not only speeds up the portioning process but also guarantees that each cookie bakes consistently. No more guessing on measurements—just perfectly round, evenly sized cookies ready for their creamy filling.
- Prevent Sticking with Parchment Paper or Silicone Mats. Nothing is more frustrating than cookies sticking to the pan! To ensure easy removal and maintain the perfect shape of your Golden Oreo cookies, always line your baking sheets with parchment paper or a silicone baking mat. These liners create a non-stick surface, allowing your cookies to slide off effortlessly once cooled, without any scraping or breakage.
- Watch for Doneness and Avoid Overbaking. This might be the most important tip! Cookies can go from perfectly baked to overdone in a matter of seconds. Keep a close eye on them; they may not look fully cooked on top, but if the edges begin to turn a light golden brown, they are likely ready. Remove them from the oven, and the residual heat on the baking sheet will continue to cook them slightly, resulting in that ideal soft and chewy center. Trust your instincts and the bottom edges!
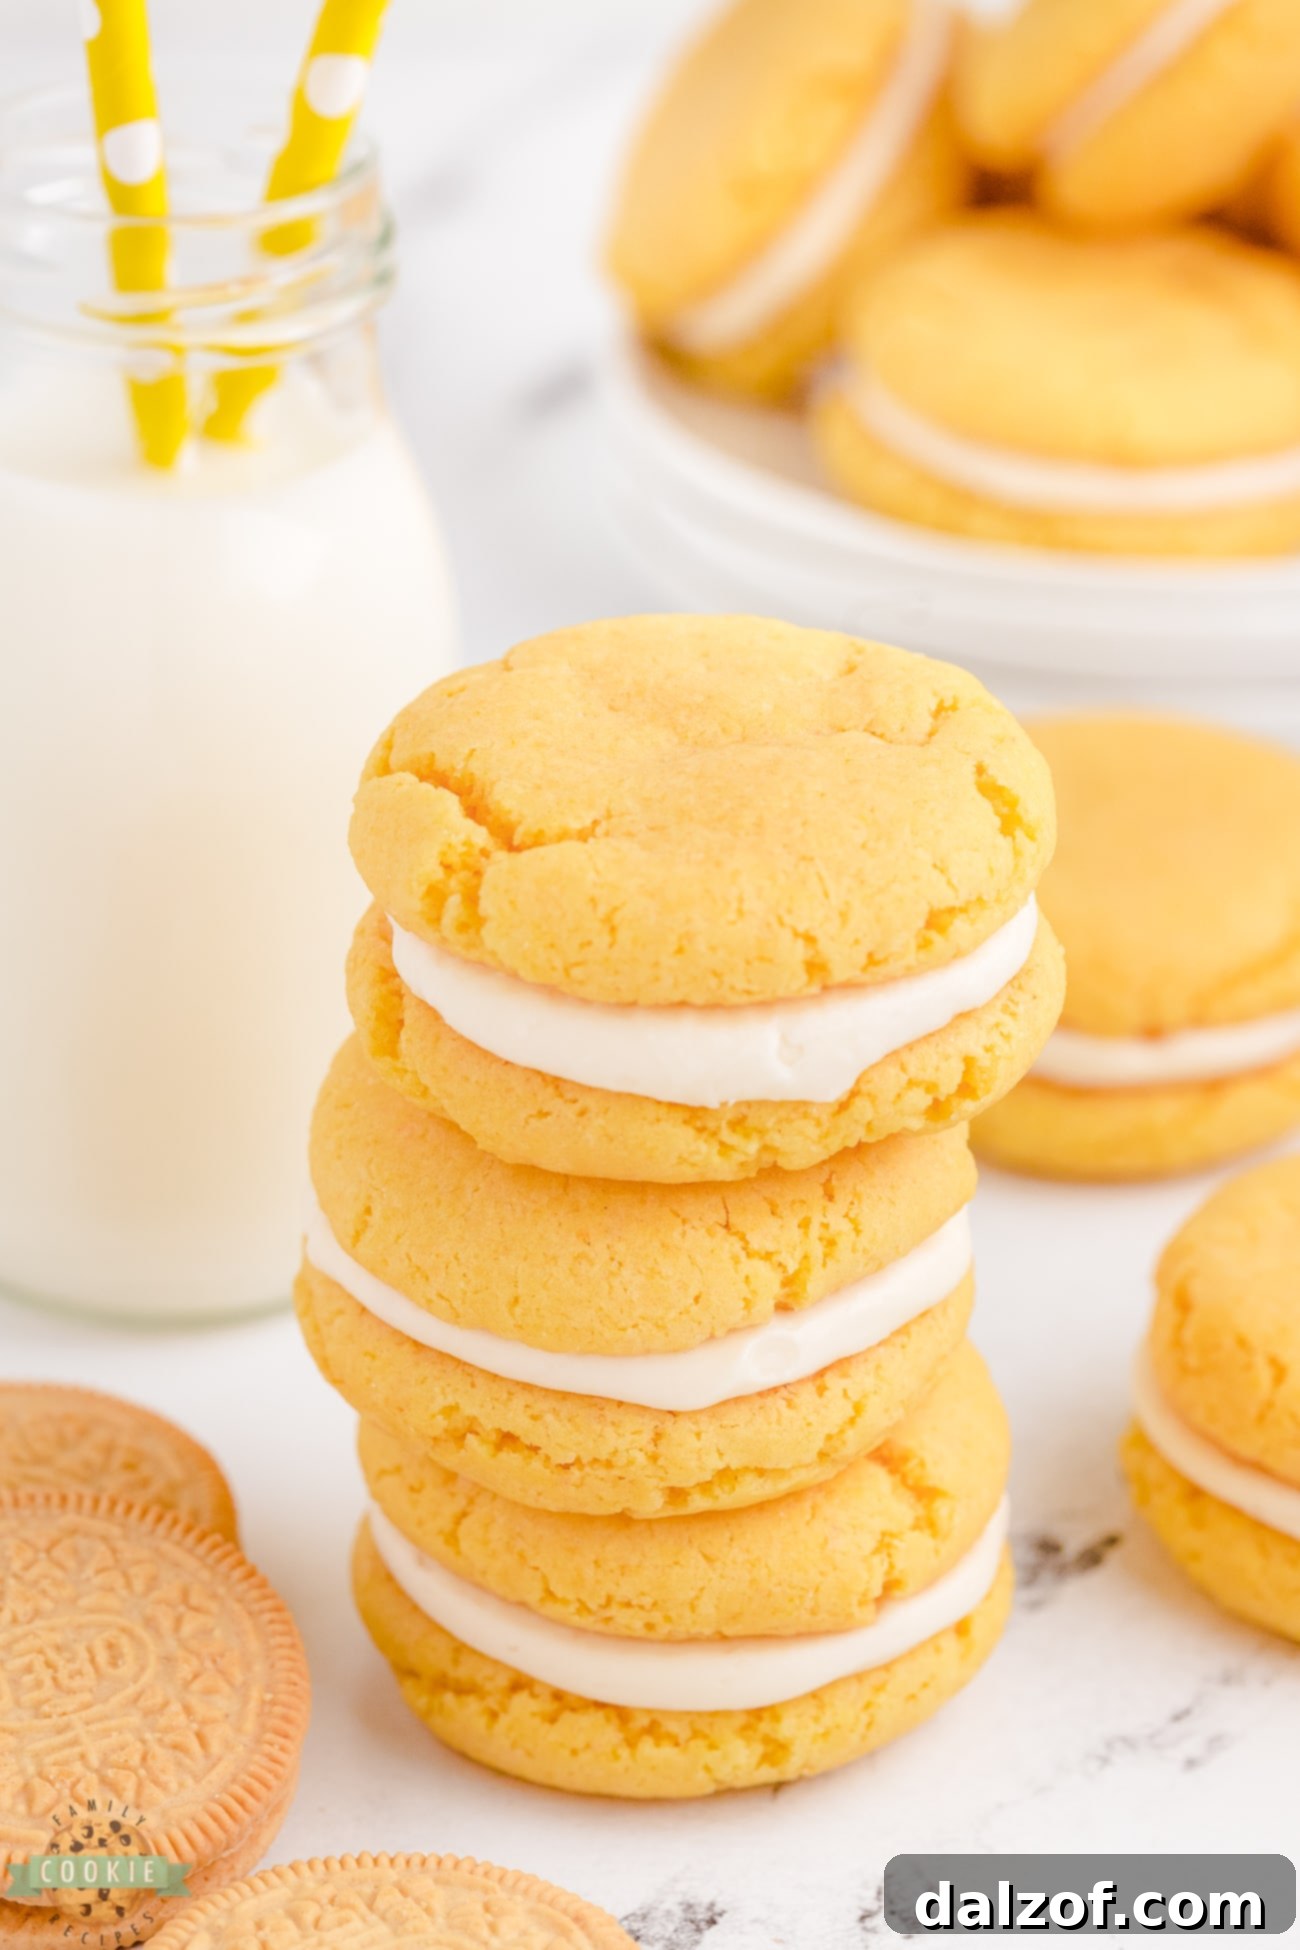
Essential Ingredients for Your Homemade Golden Oreo Cookies
Creating these delightful cake mix Golden Oreos requires just a few key ingredients, each playing a vital role in achieving that perfect texture and flavor. Here’s what you’ll need:
For the Golden Cookie Base:
- Yellow Cake Mix: The star of our shortcut! You’ll need one 15.25-ounce box of butter yellow cake mix. Any reputable brand will yield excellent results and contribute to the distinct golden hue and tender crumb of the cookies. This is what makes our easy sandwich cookies so effortless.
- Large Eggs: Two large eggs, brought to room temperature, are essential for binding the cookie dough. Room temperature eggs emulsify better with other ingredients, ensuring a smoother, more cohesive dough.
- Vegetable Oil: Half a cup of vegetable oil provides the necessary moisture and richness, giving the cookie dough a wonderfully soft, almost cake-like texture that makes these Oreo-style cookies so appealing.
For the Creamy Dream Cheese Frosting Filling:
- Unsalted Butter: You’ll need ¼ cup of unsalted butter, softened to room temperature. Softened butter is crucial for achieving a smooth, lump-free frosting with a rich, buttery flavor that balances the cream cheese beautifully.
- Cream Cheese: Four ounces of cream cheese, also softened to room temperature, is the magic ingredient for that signature tangy, creamy filling. Ensure it’s full-fat cream cheese for the best flavor and consistency.
- Vanilla Extract: One teaspoon of pure vanilla extract enhances all the sweet and tangy flavors in the frosting, adding a warm, aromatic depth that makes the filling truly irresistible.
- Powdered Sugar: Two cups of powdered sugar are needed to sweeten and thicken the frosting to the perfect spreadable consistency. Sifting it beforehand can help prevent lumps, ensuring a silky-smooth filling.
Step-by-Step Guide: How to Make Golden Oreos with a Cake Mix
Get ready to bake a batch of these glorious homemade Golden Oreos! Follow these straightforward steps for a delicious outcome.
1. Crafting the Perfect Cookie Dough
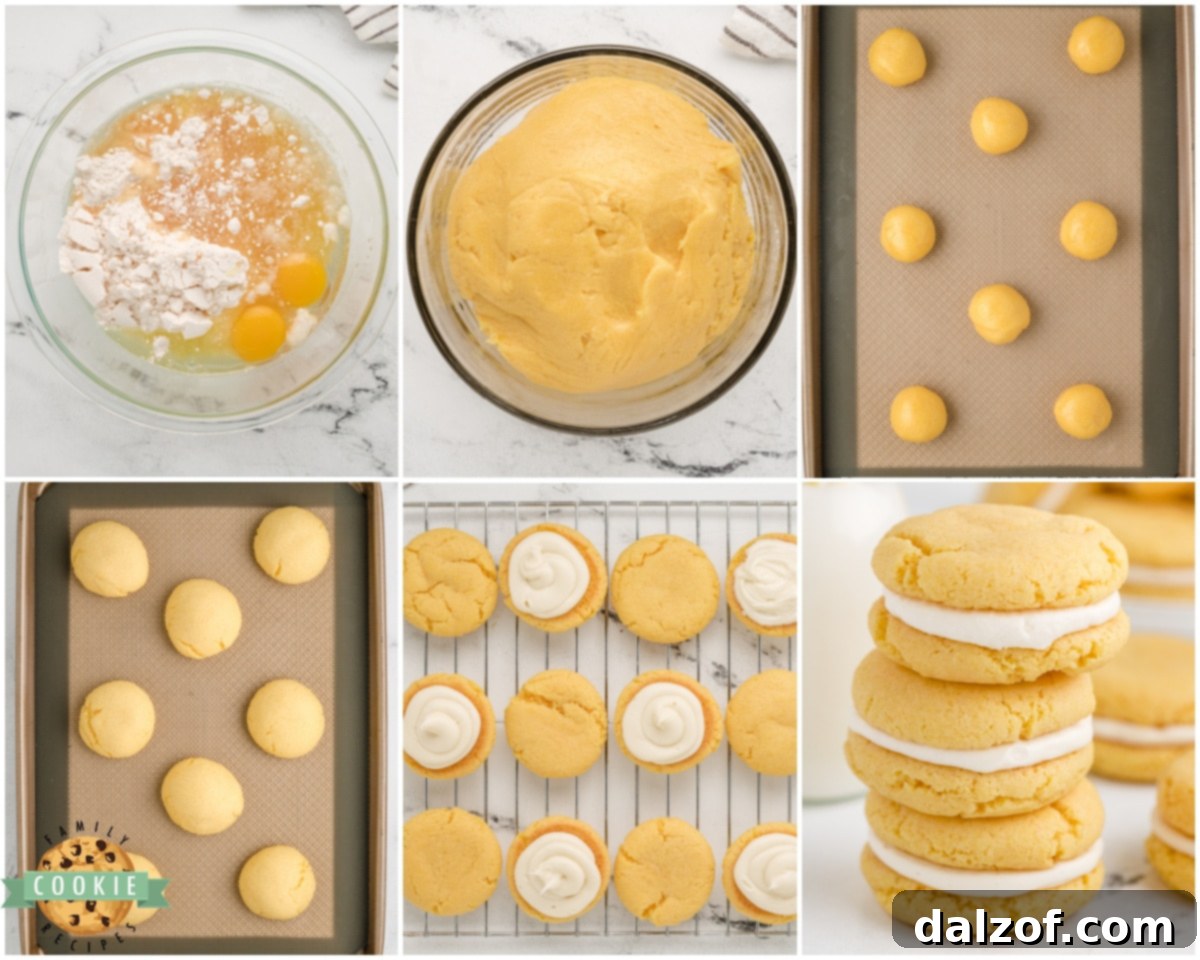
To begin your baking adventure, preheat your oven to 350°F (175°C). While the oven heats, prepare two baking sheets by lining them with parchment paper or silicone baking mats. This crucial step ensures your cookies won’t stick and will lift off cleanly once baked. Set these prepared sheets aside. In a generously sized mixing bowl, combine the entire box of yellow cake mix, the ½ cup of vegetable oil, and the two room-temperature eggs. Mix these ingredients thoroughly until a cohesive dough forms. This should take just a few minutes with an electric mixer. Once mixed, cover the bowl and place the dough in the refrigerator to chill for about 30 minutes. This chilling period is an optional but highly recommended step, as it helps prevent the cookies from spreading too much during baking, resulting in a perfectly shaped cookie.
2. Baking Your Golden Perfection
After the dough has sufficiently chilled, retrieve it from the refrigerator. Using a small cookie scoop or a regular tablespoon, measure out uniform balls of dough, each about 1 tablespoon in size. Carefully drop these dough balls onto your prepared baking sheets, ensuring they are spaced a few inches apart. This spacing is vital to allow ample room for the cookies to expand slightly as they bake without merging into one another. Place the baking sheets into your preheated oven and bake for 8-9 minutes. Remember our tip: watch for lightly browned edges rather than a fully golden top. Once baked, allow the cookies to cool on the baking sheet for approximately 5 minutes before carefully transferring them to a wire cooling rack. This allows them to firm up slightly, preventing breakage, and ensures they cool completely before frosting.
3. Whipping Up the Cream Cheese Frosting Filling
While your golden cookie shells are cooling, you can turn your attention to preparing the delectable cream cheese frosting. In a medium-sized mixing bowl, using a hand mixer, beat together the softened butter and softened cream cheese. Continue beating until the mixture is beautifully smooth, creamy, and free of any lumps. Next, incorporate the vanilla extract, mixing until it is thoroughly combined and fragrant. Finally, gradually add the powdered sugar, a little at a time, continuing to mix after each addition. This slow introduction helps prevent a cloud of sugar from erupting and ensures a perfectly smooth, luscious frosting. Beat until all the sugar is incorporated and the frosting reaches a thick, spreadable consistency.
4. Assembling Your Cookie Sandwiches
With your cookies completely cooled and your cream cheese frosting ready, it’s time for the fun part: assembly! You can choose to use a piping bag for a neat, professional look, or simply an icing spatula for a more rustic charm. Take one cooled cookie and apply a generous dollop or swirl of frosting onto its flat bottom side. Then, gently take another cooled cookie and carefully place it on top, pressing down just enough to create a delightful cookie sandwich, allowing the filling to peek out slightly. Repeat this process with the remaining cookies and frosting until all your beautiful homemade Golden Oreo cookies are assembled. Serve these fresh, sweet treats immediately and savor every bite!

Homemade Golden Oreo Cookies
Rating: 2 from 1 vote
Print Recipe |
Pin Recipe |
Rate This Recipe
Course: Cookies, Dessert
Cuisine: American
Keyword: Homemade Golden Oreo Cookies, Cake Mix Cookies
Prep Time: 15 minutes
Cook Time: 8 minutes
Total Time: 23 minutes
Servings: 10 cookies
Calories: 446 kcal
Author: Jessica & Nellie
Ingredients
Cookie Dough
- 15.25 oz Butter Yellow cake mix
- 2 large eggs, room temperature
- ½ cup vegetable oil
Cream Cheese Frosting
- ¼ cup unsalted butter, softened to room temperature
- 4 oz cream cheese, softened to room temperature
- 1 tsp vanilla extract
- 2 cups powdered sugar
Instructions
- Prepare Cookie Dough: Preheat oven to 350℉ (175°C). Line two baking sheets with parchment paper or silicone mats and set aside. In a large mixing bowl, thoroughly combine the cake mix, oil, and eggs. Mix until a uniform dough forms. Cover and chill the dough in the fridge for 30 minutes; this helps prevent excessive spreading during baking.
- Bake Cookies: Once chilled, use a small cookie scoop or a spoon to drop 1-tablespoon sized balls onto the prepared baking sheets, spacing them a few inches apart. Bake for 8-9 minutes. Allow cookies to cool on the baking sheet for about 5 minutes before transferring them to a wire cooling rack to cool completely.
- Make Cream Cheese Filling: While the cookies bake and cool, prepare the frosting. In a medium mixing bowl, using a hand mixer, beat the softened butter and cream cheese until smooth and creamy. Add the vanilla extract and mix until well combined. Gradually add the powdered sugar, a little at a time, mixing until all sugar is incorporated and the frosting is smooth and thick.
- Assemble Cookies: Once the cookies have fully cooled, use a piping bag or an icing spatula to apply a generous amount of frosting onto the flat bottom of one cookie. Take another cooled cookie and gently place it on top, pressing lightly to create a sandwich. Repeat with the remaining cookies and frosting.
- Serve & Enjoy: Serve your delicious Homemade Golden Oreo Cookies immediately!
Notes
These Homemade Golden Oreo Cookies are incredibly simple to make with the help of a yellow cake mix! Whip up a batch of these soft, sweet sandwich cookies to share with family and friends; everyone is sure to go crazy over them!
Nutrition
Calories: 446 kcal | Carbohydrates: 60g | Protein: 3g | Fat: 22g | Saturated Fat: 7g | Polyunsaturated Fat: 4g | Monounsaturated Fat: 10g | Trans Fat: 0.3g | Cholesterol: 56mg | Sodium: 400mg | Potassium: 50mg | Fiber: 1g | Sugar: 43g | Vitamin A: 342IU | Calcium: 109mg | Iron: 1mg
Tried this recipe?
Mention @familycookierecipes or tag #familycookierecipes!
How Long Do Homemade Golden Oreo Cookies Stay Fresh?
The good news is these delightful homemade Golden Oreo cookies maintain their amazing taste and soft texture for a decent amount of time if stored correctly. Typically, they will remain fresh and delicious for 3 to 5 days. To ensure your treats stay as fresh and chewy as possible, it’s paramount to store them in an airtight container or a heavy-duty ziplocked bag. This prevents air from drying out the cookies and keeps the cream cheese filling moist.
Here’s an insider tip that I’ve found incredibly effective for keeping cookies extra fresh and delightfully soft: place a slice of plain bread (any kind will do!) in the airtight container along with your cookies. The cookies will absorb moisture from the bread, and you’ll be amazed at how much longer they remain soft and chewy—often for an additional couple of days! Just remember to replace the bread slice every day or two to maintain maximum freshness. This simple trick works wonders and will extend the life of your precious cake mix sandwich cookies.
Mastering Softened Butter: Your Key to Creamy Frosting
Many recipes, especially those for delicious frostings and baked goods like these Golden Oreos homemade, call for softened butter. Achieving the perfect consistency for softened butter is crucial—it should be soft enough to indent easily with your finger but not melted or greasy. Over-softened butter can lead to a runny frosting or a greasy cookie texture.
My go-to method for softening butter quickly and effectively is using the defrost function on my microwave. If your recipe requires a full ½ cup (one stick) of butter, you can often leave it in its original paper wrapper. However, if you need a specific smaller amount, I recommend placing the required butter portion in a glass or porcelain bowl. Set your microwave to its lowest defrost setting and start with a short burst, typically around 20 seconds. After the initial defrost, gently press the butter with a rubber scraper or your finger to gauge its softness. It should yield easily to pressure but still hold its shape. If it’s still too firm and doesn’t indent, return it to the microwave for additional 5-10 second intervals. The key is to watch it very closely, as butter can transition from perfectly softened to melted quite rapidly. A little patience here will ensure your cream cheese frosting comes out flawlessly smooth and creamy.

Just a little glimpse into my life! My daughter and I captured in one of our absolute favorite places—a breathtaking canyon here in Utah. We’re often up at about 8,000-9,000 feet elevation, enjoying a ski chair lift ride in the heart of summer! It’s an incredibly peaceful and gorgeous experience. And yes, sometimes it can be a bit chilly, with snow still clinging to the ground year-round in some parts of these mountains!

Explore More Amazing Cookie Recipes from Our Kitchen!
If you’ve loved making these Homemade Golden Oreo Cookies, you’re in for a treat! Our collection of cookie recipes is brimming with easy-to-follow instructions for every craving. Whether you prefer classic drop cookies or convenient cookie bars, we have something to delight every palate. Expand your baking repertoire and try some of these other fantastic recipes:
- Fudgy Oatmeal Cookie Bars
- Sugar Cookie Bars
- No Bake Cookie Bars
- Swiss Miss Chocolate Chip Cookie Bars
- Best Chocolate Chip Cookies
- Raspberry Chocolate Chip Cookies
- S’mores Cookie Bars
- Peanut Butter Cookie Bars
- Butterfinger Cookie Bars
- Pumpkin Snickerdoodle Cookie Bars
- Tagalong Cookie Bars
- Snickerdoodle Cookie Bars
- Cherry Almond Cookie Bars
- Chocolate Cake Mix Cookies
- Butter Pecan Chocolate Chip Cookies
- Mint Chocolate Chip Cookies
- Cherry Chocolate Chip Cookies
This incredibly simple recipe for Homemade Golden Oreo Cookies, made effortlessly with a boxed yellow cake mix, results in tender, sweet sandwich cookies that are sure to be a phenomenal hit with everyone! They are a fantastic treat for any occasion, proving that homemade doesn’t have to be complicated. Happy baking!