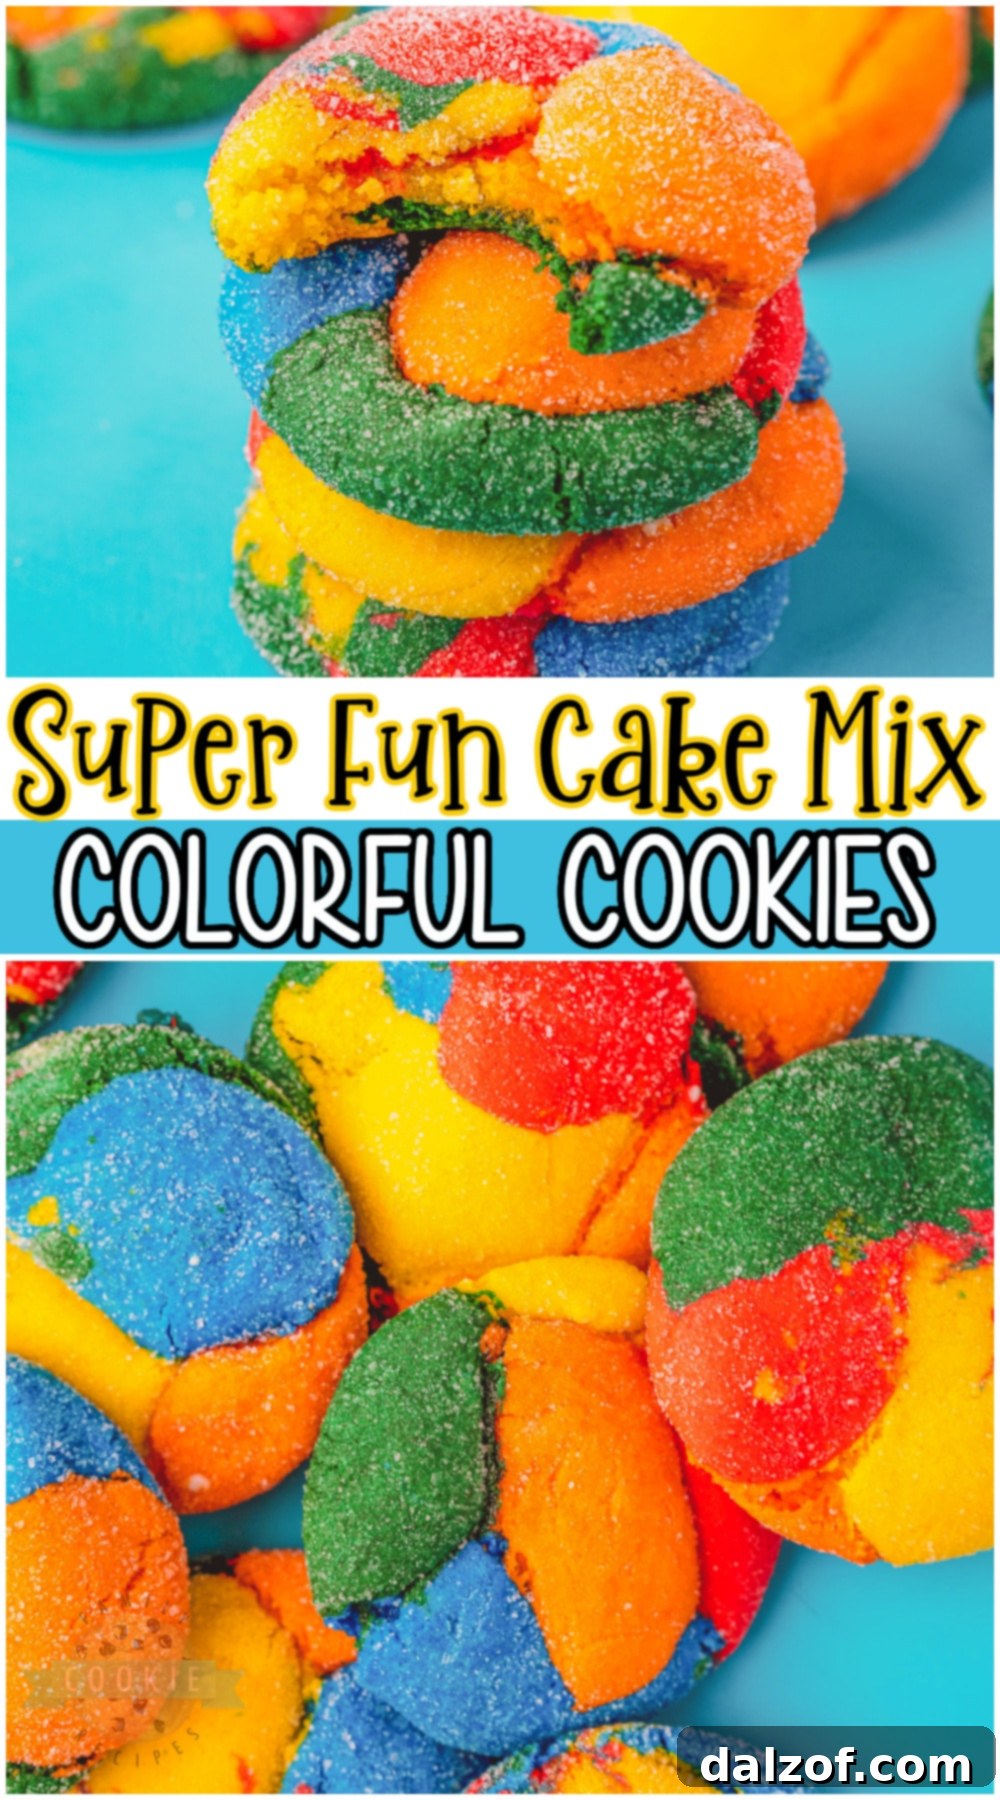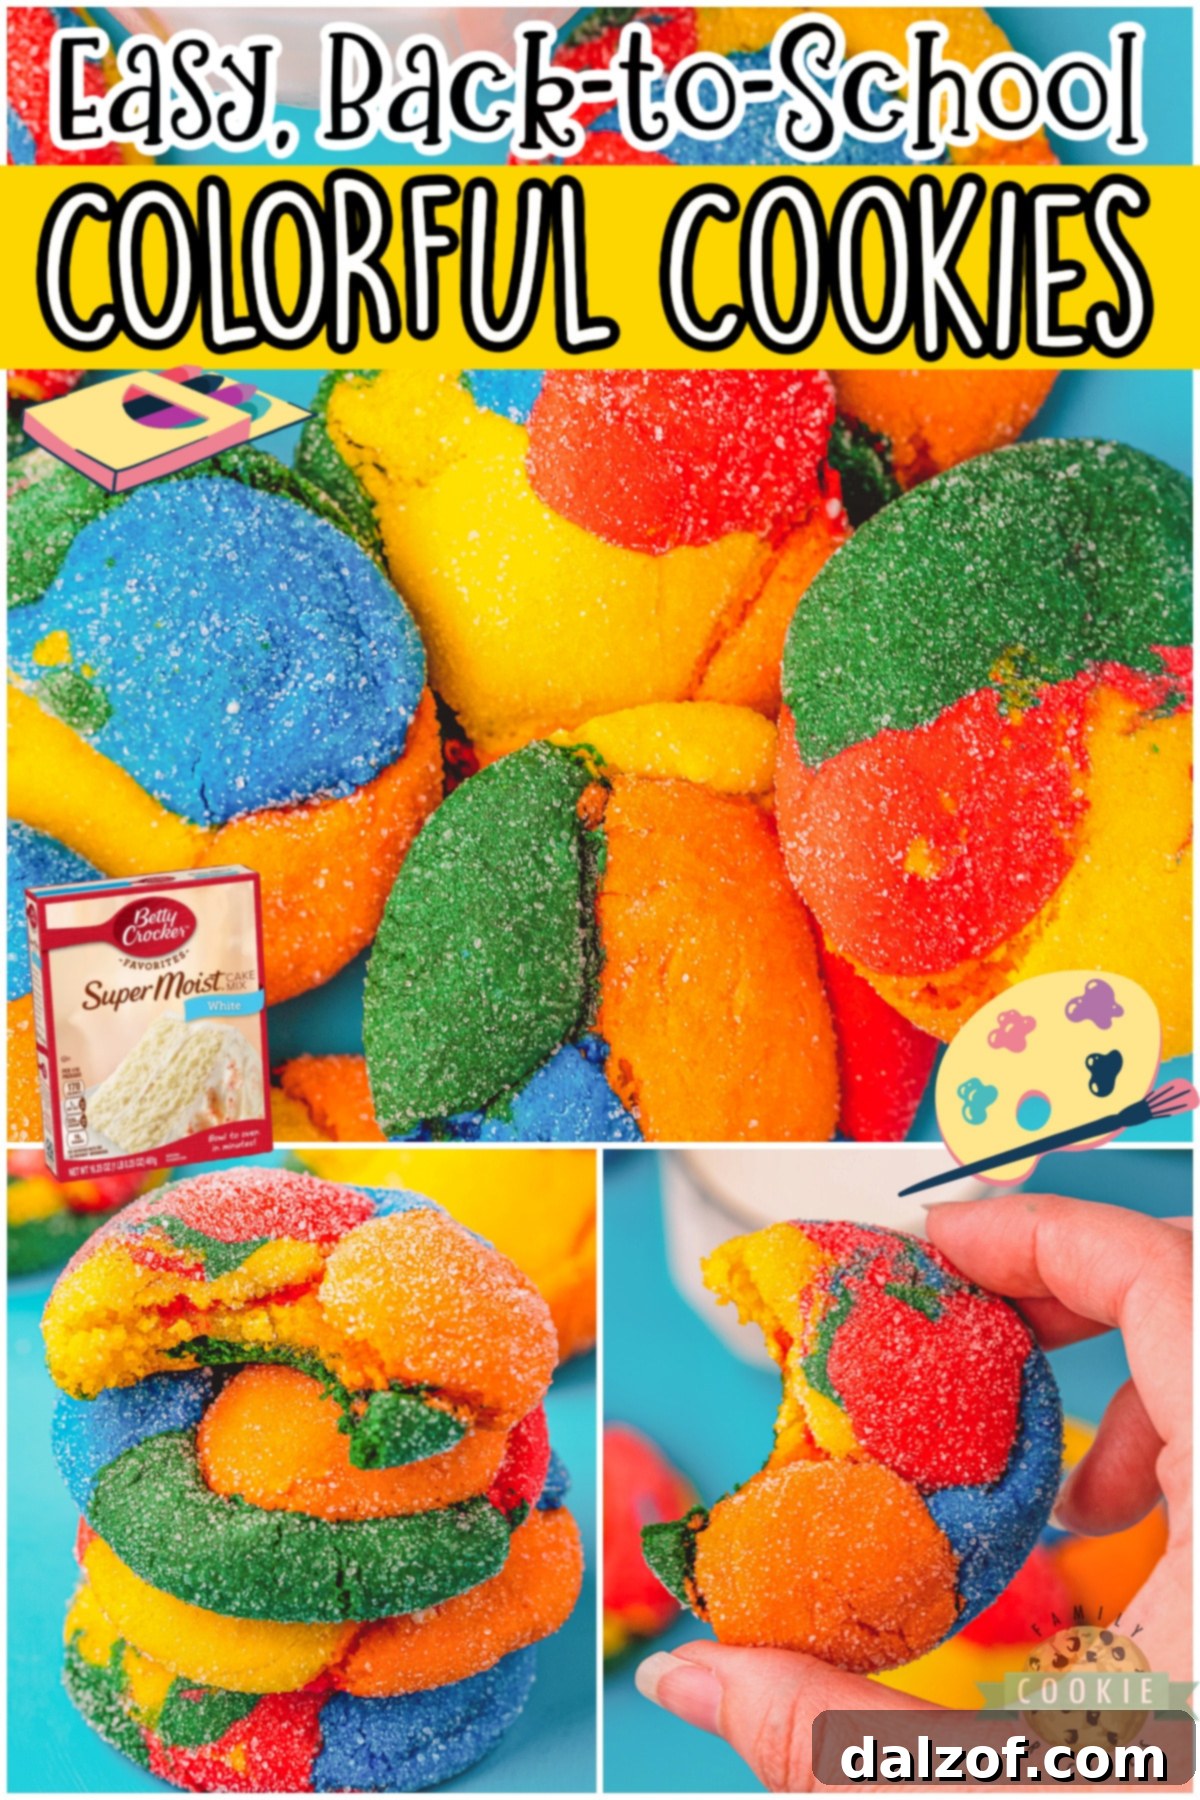
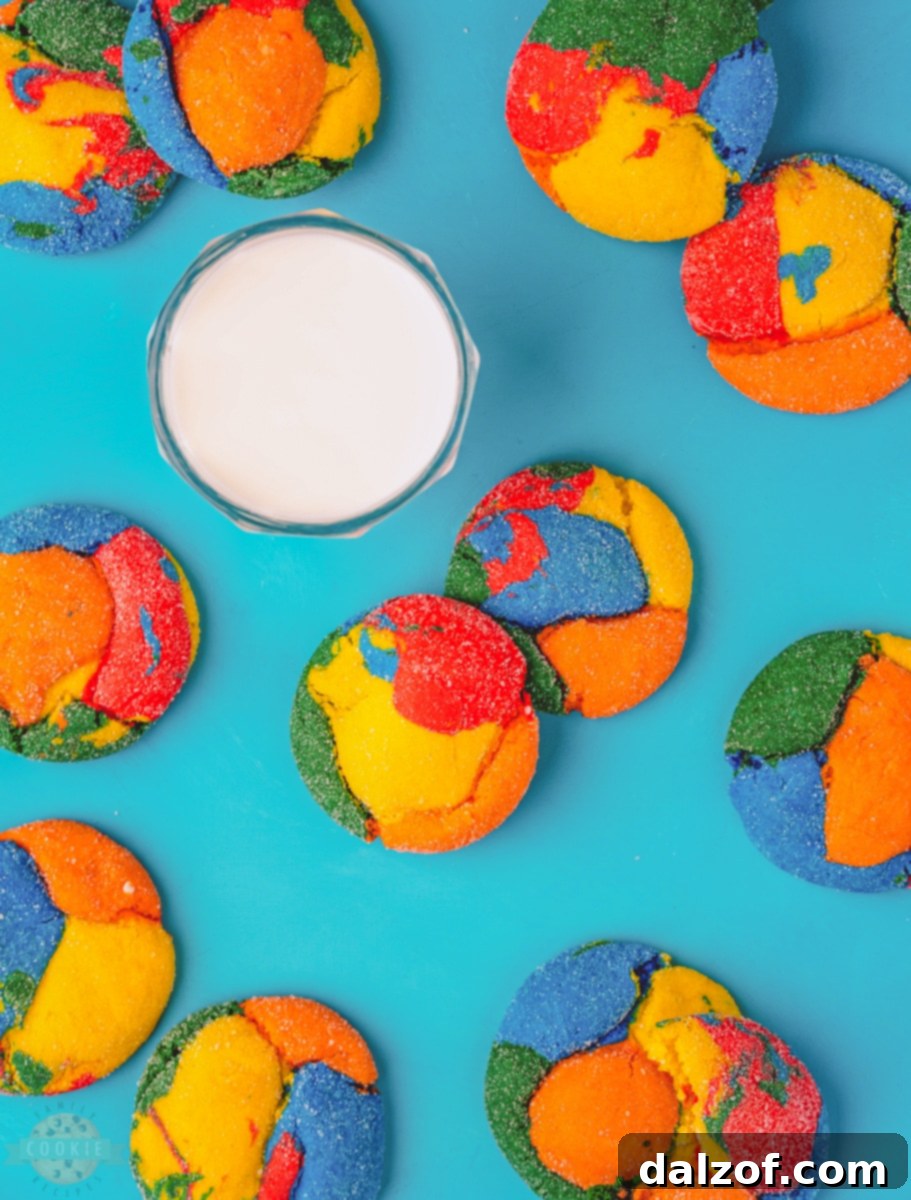
Get ready to unleash a burst of color and flavor with these incredibly fun and easy-to-make Colorful Cookies! Imagine soft, chewy cookies in a vibrant rainbow of hues, perfect for brightening any day. Whether you’re preparing for back-to-school treats, a festive party, or simply craving something delightful, these cake mix cookies are an absolute game-changer. Forget complicated baking; your humble boxed cake mix is about to transform into an extraordinary, eye-catching dessert that will have everyone reaching for more.
These joyful cookies are more than just a sweet treat; they’re an experience. Kids will adore picking their favorite colors, and adults will appreciate the simplicity of a recipe that delivers impressive results. With minimal prep and quick baking time, you’ll have a batch of these beauties ready in no time. So, grab a glass of milk and get ready to enjoy some of the most charming cookies you’ve ever baked!
Why Cake Mix Cookies Are Your New Favorite Baking Hack
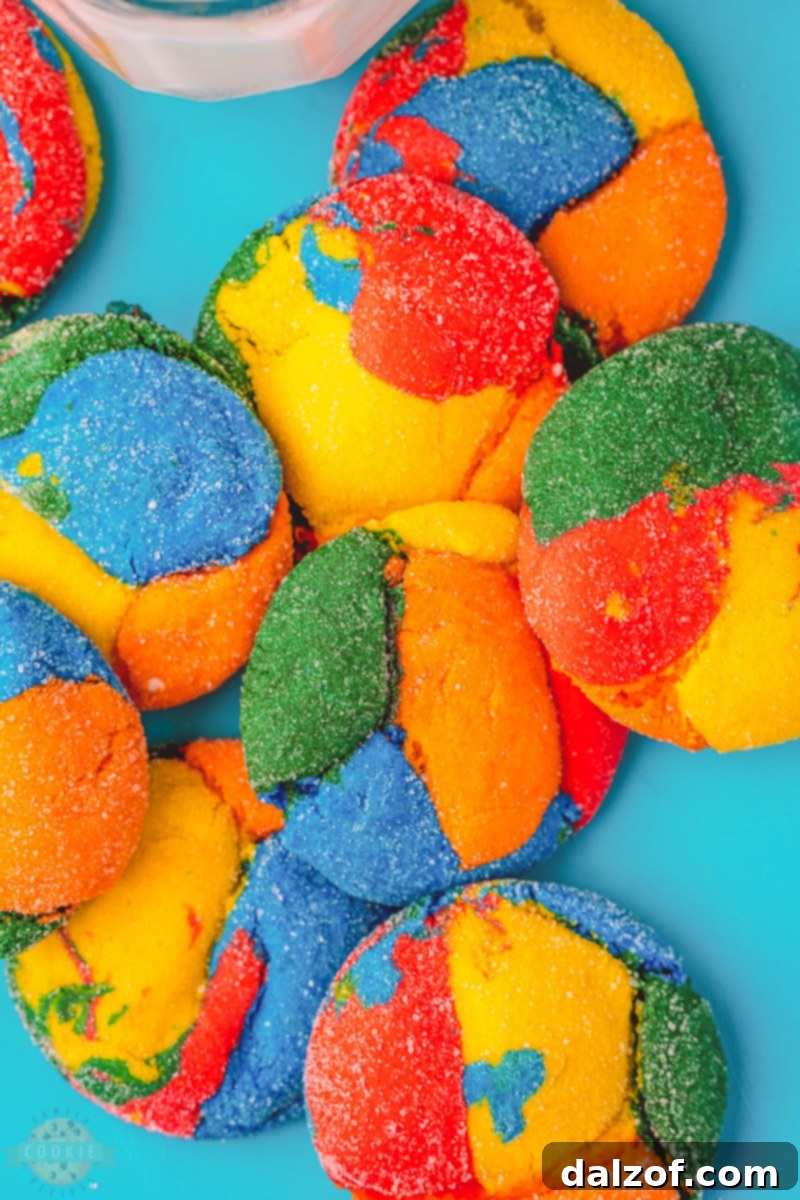
If you’re new to the world of cake mix cookies, prepare to be amazed. This ingenious baking shortcut simplifies the cookie-making process dramatically, requiring fewer ingredients and less effort than traditional recipes, yet yielding perfectly soft, chewy, and consistently delicious results every time. They’re a baker’s secret weapon for whipping up impressive desserts with minimal fuss. Each batch typically makes around two dozen cookies, ensuring there’s plenty to share with family, friends, or to pack into lunchboxes. These colorful rainbow cake mix cookies are particularly fantastic for themed parties, holiday celebrations, or just as a fun way to add a pop of color to your dessert table.
The beauty of using a boxed cake mix lies in its pre-measured ingredients and reliable formulation. This means you skip the hassle of measuring flour, sugar, baking powder, and salt, reducing the chances of errors and guaranteeing a consistent texture. The result is a cookie that boasts a tender, almost cake-like interior with a delightfully crisp edge – a texture often sought after but rarely achieved with such ease in traditional cookie recipes. Plus, the versatility of cake mixes means you can experiment with endless flavor combinations, making these cookies a truly adaptable treat. They’re an ideal choice when you need a quick dessert that looks and tastes like it took hours to prepare.
Essential Ingredients for Vibrant Rainbow Cake Mix Cookies
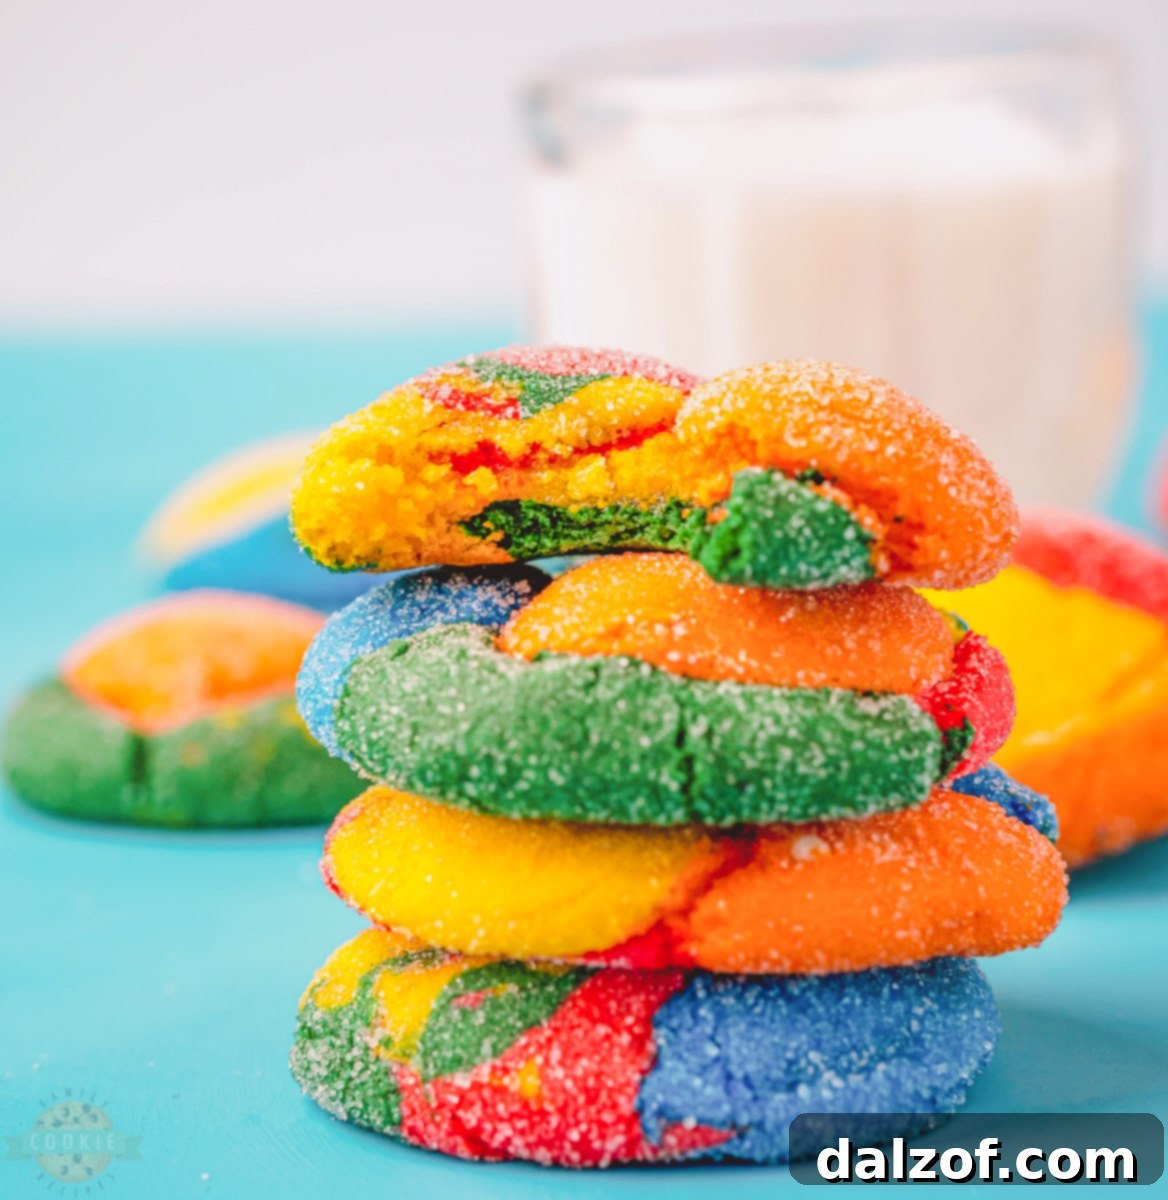
Creating these stunning colorful cookies requires just a handful of simple ingredients, most of which you likely already have in your pantry. The magic truly begins with a quality cake mix and a splash of color!
- White Cake Mix: The foundation of our colorful cookies. Opt for a standard-size (15.25-ounce) box of dry white cake mix. White cake mix is crucial here because it provides a neutral base, allowing your food coloring to shine brilliantly without any underlying yellow hues that might dull or alter your chosen shades. While yellow cake mix can be used, be aware that it will slightly change the final outcome of your colors, making them warmer.
- Vegetable Oil: Just ⅓ cup of vegetable oil is all it takes to achieve that wonderfully moist and tender crumb that makes these cookies so irresistible. The oil contributes significantly to their soft texture, ensuring every bite is a delight. It helps keep the cookies from drying out and promotes even baking.
- Large Eggs: Two large eggs act as the primary binding agent, bringing all the ingredients together to form a cohesive, pliable cookie dough. They also add richness, contribute to the cookies’ structure, and help create that desirable chewy texture.
- Food Coloring: This is where the fun truly begins! You can use any vibrant food coloring you have on hand. Gel food coloring is often recommended for its concentrated pigments, which produce more vivid and intense colors with less product. This means you can achieve bright hues without adding too much liquid to the dough. However, liquid food coloring will also work perfectly fine; just be prepared to use a little more to achieve your desired shade. Consider a variety of colors to create a true rainbow effect, making them extra special for any celebration!
- Granulated Sugar: About ½ cup of granulated sugar is used for rolling the cookie dough balls. This coating adds a delightful sweetness and a subtle crunch to the exterior of the cookies, complementing their soft interior. It also contributes to a chewier texture, making each cookie even more satisfying and visually appealing with a sparkling finish.
These simple ingredients combine to create a cookie dough that is not only easy to work with but also incredibly forgiving, making it perfect for bakers of all skill levels, from beginners to seasoned pros looking for a quick, impressive treat.
Step-by-Step Guide: How to Make Dazzling Colorful Cookies
Making these vibrant cake mix cookies is a straightforward process, promising delicious results with minimal effort. Follow these steps to create your own batch of edible masterpieces:
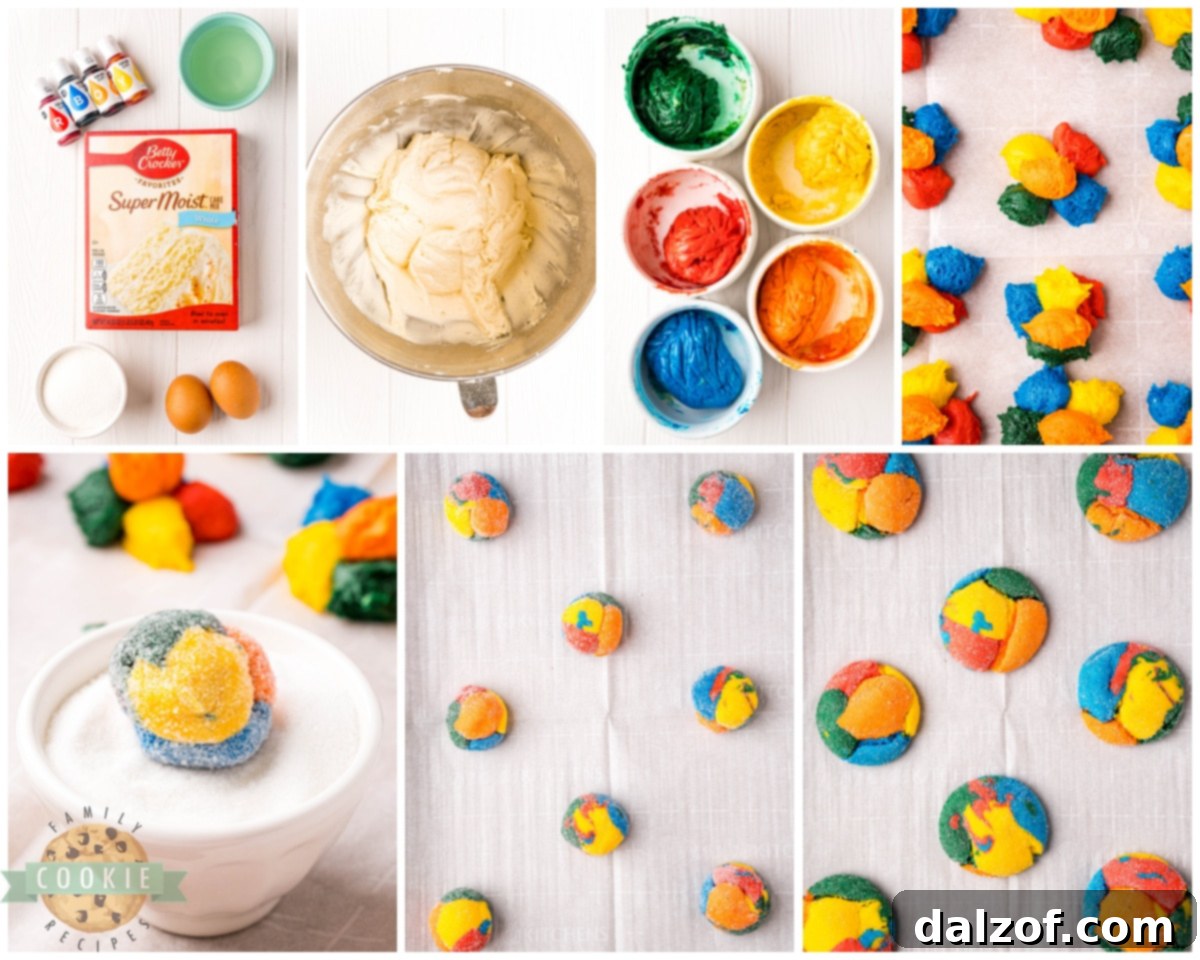
- Combine Wet and Dry Ingredients: In a spacious large bowl, or within the bowl of a stand mixer equipped with a paddle attachment, combine the dry cake mix, vegetable oil, and eggs. Mix these ingredients thoroughly on a low speed until they are just combined and a soft, uniform dough forms. Be careful not to overmix, as this can develop the gluten in the flour and lead to tougher cookies. Stop as soon as no dry streaks remain.
- Divide the Dough: Carefully divide the prepared dough into as many separate portions as you desire different colors. For a classic rainbow effect, dividing it into 5 or 6 equal portions works beautifully. Place each portion into its own small, clean bowl to prepare for coloring.
- Add Food Coloring: To each separate portion of dough, add a few drops (or a small amount of gel) of your chosen food coloring. Start with a small amount and add more gradually until you achieve your desired intensity. Remember, gel food coloring is highly concentrated, so a little goes a long way for vibrant results. For best practice, use a different spoon or mixer beater for each color to prevent cross-contamination of colors.
- Blend the Colors: Mix the food coloring into each dough portion until the color is completely and evenly blended. A single hand mixer beater can be very effective here for achieving uniform color without overworking the dough, or simply use a sturdy spoon or spatula. Ensure no white streaks remain.
- Chill the Dough: This step is crucial for the texture and workability of your cookies. Chill the colored dough portions for a minimum of 45 minutes. Avoid chilling for longer than 1 hour, as the dough can become too hard and crumbly to work with, affecting the final texture of your cookies. Proper chilling prevents excessive spreading during baking.
- Prepare for Baking: While the dough is chilling, preheat your oven to 350 degrees F (175 degrees C). Line a baking sheet with parchment paper to prevent sticking and ensure easy cleanup. This also helps with even baking.
- Form the Cookies: Using two teaspoons, scoop small dollops of each colored dough. For each cookie, drop one dollop of each color onto the parchment paper, arranging them close enough that they can be scooped together. The dough will be quite sticky after chilling, so working with two spoons helps. Next, use a medium-sized cookie scoop to gently scoop these colorful dollops together, forming a single multi-colored ball. Roll the ball gently in your hands for a moment to smooth it out, being mindful not to blend the colors too much, preserving the distinct hues.
- Coat in Sugar: Roll each multi-colored cookie dough ball in the granulated sugar, ensuring it’s evenly coated. This sugar coating adds a delightful sparkle and a pleasant crispness to the exterior of the baked cookies, creating a wonderful textural contrast.
- Arrange on Baking Sheet: Place the coated dough balls onto your prepared baking sheet, making sure to leave at least 2 inches of space between each cookie to allow for proper spreading during baking. Overcrowding the baking sheet can lead to uneven baking.
- Bake to Perfection: Bake the cookies in your preheated oven for 8 to 9 minutes. It’s vital not to overbake these cookies! They may appear slightly puffy and a little underdone when you first take them out of the oven. This is normal; they will continue to set and finish baking on the hot baking sheet. Overbaking will result in a harder, crunchier cookie instead of the desired soft and chewy texture.
- Cool and Enjoy: Allow the cookies to cool on the baking sheet for about 5 minutes. This brief cooling period helps them firm up without becoming too hard, making them easier to handle. After 5 minutes, carefully transfer them to a wire rack to cool completely.
Enjoy your beautiful, soft, and chewy colorful cookies!
The Science Behind Chilling Cookie Dough: Why It Matters
You might wonder why chilling the dough for these colorful cookies is emphasized so much. It’s not just an optional step; it’s a critical component for achieving the perfect texture and preventing your vibrant cookies from spreading too much and losing their distinct shapes. When you chill cookie dough, several important processes occur:
- Firms the Fat: The butter or oil in the dough solidifies when chilled. This firmness helps the cookies maintain their shape during the initial stages of baking, allowing them to bake evenly before spreading. Without chilling, the fat melts too quickly in the oven, leading to flat, overly spread-out cookies that might lose their colorful definition.
- Hydrates the Flour: Chilling allows the flour to fully hydrate. This process creates a more cohesive dough, resulting in a chewier, more tender cookie. Properly hydrated flour also helps absorb excess moisture, preventing a cakey or crumbly texture and contributing to that desirable soft center.
- Concentrates Flavors: While less critical for cake mix cookies with pre-formulated flavors, chilling allows the flavors to meld and deepen. This can lead to a more nuanced and satisfying taste experience, enhancing the overall deliciousness.
For these specific colorful cake mix cookies, chilling for at least 45 minutes and no longer than 1 hour is paramount. If the dough is too soft, it will be impossible to shape and roll the multi-colored portions effectively, and they will likely spread excessively in the oven. Conversely, chilling the dough for more than one hour can cause it to become overly hard and difficult to work with, leading to a final cookie that is more crunchy than the desired soft and chewy. Sticking to the recommended chilling time ensures your cookies achieve that ideal puffy, soft, and delightful texture with distinct, vibrant colors.
Colorful Cake Mix Cookies: A Recipe for Joy!
Colorful Cake Mix Cookies
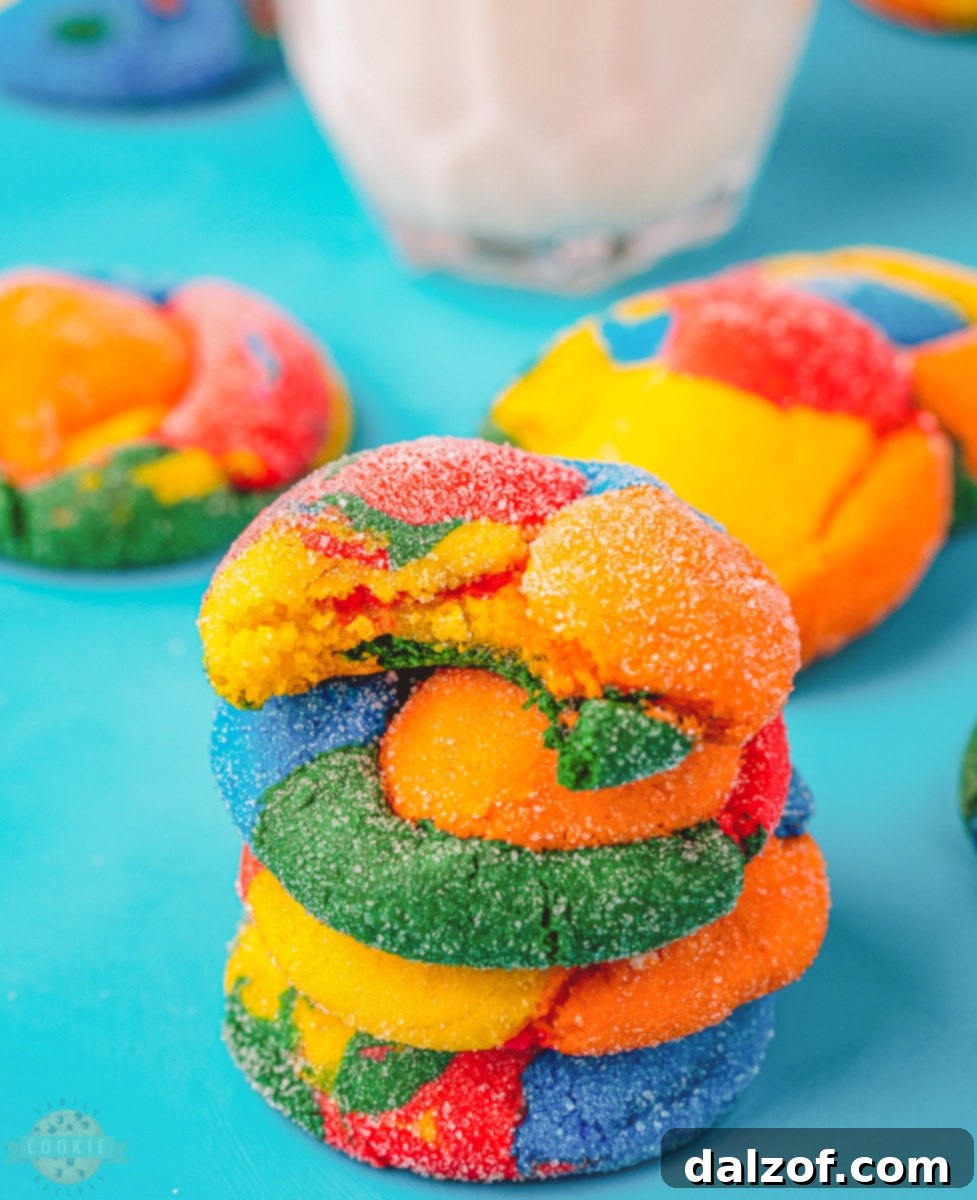
Bright & fun Colorful Cookies made with a cake mix! This simple recipe yields soft, festive cookies perfect for Back To School, parties, or any occasion. Your boxed cake mix is about to get an inventive and creative new upgrade!
Rated 5 out of 5 stars by 2 happy bakers!
Course: Cookies, Dessert
Cuisine: American
Keyword: Colorful Cookies, Cake Mix Cookies, Easy Cookies, Rainbow Cookies, Back to School Treats, Fun Cookies
Prep Time: 20 minutes
Cook Time: 9 minutes
Chill Time: 1 hour
Total Time: 1 hour 29 minutes
Servings: 24 cookies
Calories: 114 kcal per cookie
Author: Jessica & Nellie
Ingredients
- 15.25 oz white cake mix (standard box, dry mix only)
- ⅓ cup vegetable oil
- 2 large eggs
- Food coloring of your choice (gel coloring recommended for vibrant results)
- ½ cup granulated sugar (for rolling)
Instructions
- In a large bowl or the bowl of a stand mixer fitted with a paddle attachment, combine the dry cake mix, vegetable oil, and eggs. Beat until just combined and a uniform dough forms. Avoid overmixing.
- Divide the dough into however many different colors you desire (e.g., 5-6 portions for a rainbow). Place each portion into a separate small bowl.
- Add a few drops of your chosen food coloring to each dough portion. Mix thoroughly until the color is evenly distributed throughout the dough. Using a single hand mixer beater for each portion can help achieve even color without blending the dough too much between colors.
- Chill the dough for a minimum of 45 minutes, and no longer than 1 hour. This is essential for the cookies’ texture and to prevent excessive spreading.
- Preheat your oven to 350°F (175°C) and line a baking sheet with parchment paper.
- Using two teaspoons, portion out small dollops of each colored dough. Drop one dollop of each color side-by-side on the parchment paper for each cookie. Since the dough will be sticky, working it between two spoons helps.
- With a medium-sized cookie scoop, gently scoop the combined dollops together. Carefully roll them into a single, multi-colored ball in your hands, trying to avoid mixing the colors too much.
- Roll each cookie dough ball in the granulated sugar to create an even coating.
- Place the coated dough balls on the prepared baking sheet, ensuring they are at least 2 inches apart to allow for proper spreading.
- Bake for 8 to 9 minutes. Do not overbake! The cookies will appear puffy and slightly underdone when you remove them from the oven, but they will continue to set on the hot baking sheet.
- Allow the cookies to cool on the baking sheet for approximately 5 minutes before transferring them to a wire rack to cool completely.
Notes
Store these delightful colorful cookies in an airtight container at room temperature for up to one week to maintain their freshness and soft texture. They also make fantastic gifts or additions to any dessert platter!
Nutrition Facts (per cookie)
- Calories: 114 kcal
- Carbohydrates: 19g
- Protein: 1g
- Fat: 4g
- Saturated Fat: 3g
- Polyunsaturated Fat: 1g
- Monounsaturated Fat: 1g
- Trans Fat: 1g
- Cholesterol: 14mg
- Sodium: 130mg
- Potassium: 16mg
- Fiber: 1g
- Sugar: 12g
- Vitamin A: 20 IU
- Calcium: 42mg
- Iron: 1mg
Print Recipe |
Pin Recipe |
Rate this Recipe
Tried this recipe? Mention @familycookierecipes or tag #familycookierecipes!
Storage Solutions: Can I Freeze Colorful Cake Mix Cookies?
Absolutely! These delightful colorful cookies are perfect for making ahead and freezing, offering convenience for future cravings or unexpected guests. Once fully cooled, you can store them in an airtight container or a freezer-safe bag for up to 3 months. When you’re ready to enjoy them, simply take them out of the freezer and let them thaw on your kitchen counter at room temperature. This process usually only takes a few minutes, making them a fantastic grab-and-go treat. Freezing them can be a great way to always have a batch of happiness ready, whether for school lunches, impromptu gatherings, or just a sweet moment for yourself.
For best results when freezing, consider flash-freezing the individual cookies on a baking sheet for about an hour until solid. Then, transfer them to a freezer bag or container, removing as much air as possible to prevent freezer burn. This prevents them from sticking together and allows you to grab just one or two at a time without thawing the entire batch. Just remember to label your container with the date so you know when they were stored!
Choosing the Best Food Coloring for Maximum Impact
The key to truly stunning colorful cookies lies in your choice of food coloring. While most types will work, understanding their differences can help you achieve the most vibrant and appealing results:
- Gel Food Coloring: This is my top recommendation for these cookies. Gel food coloring is highly concentrated, meaning you need only a small amount to achieve vivid, intense colors. The consistency is thick, which prevents it from thinning out your dough, and the colors are less likely to “bleed” into each other during mixing or baking, especially important when creating multi-colored designs. Brands like Wilton Color Performance Dye (as mentioned in the original text) or AmeriColor are excellent choices for their quality and vibrancy. They are often found in specialty baking stores or online.
- Liquid Food Coloring: Standard liquid food coloring is widely available and will certainly work. However, because it’s less concentrated, you’ll need to use more drops to get bright colors. Adding too much liquid can slightly alter the dough’s consistency, potentially making it a little stickier or requiring a touch more chilling time. The colors might also be slightly less intense than with gel, resulting in more pastel shades. This type is best for lighter, softer colors.
Regardless of the type you choose, remember to add food coloring gradually, mixing well after each addition until you reach your desired shade. This careful approach helps you control the color intensity and ensures your cookies turn out beautifully bright and fun. Consider using a variety of colors from the rainbow spectrum to create a truly festive and eye-catching assortment that will delight everyone who sees and tastes them.
More Delicious Cake Mix Cookie Recipes to Explore
Once you’ve mastered these colorful cookies, you’ll discover the endless possibilities of baking with cake mix! It’s a versatile base for countless cookie variations. If you enjoyed the simplicity and deliciousness of this recipe, be sure to check out some of our other fantastic cake mix cookie creations:
- CAKE MIX PEANUT BUTTER BLOSSOMS
- COOKIE MONSTER COOKIES
- CARAMEL SPICE CAKE MIX COOKIES
- CHOCOLATE PEANUT BUTTER CAKE MIX COOKIES
- CARAMEL APPLE CAKE MIX COOKIES
- CHOCOLATE CAKE MIX COOKIES
- CHOCOLATE CARAMEL CAKE MIX COOKIES
- MINT CHOCOLATE CAKE MIX COOKIES
- STRAWBERRY CAKE MIX COOKIES
- VALENTINES CAKE MIX COOKIES
From Summer Fun to Back-to-School Delights
As the long, lazy days of summer begin to gently wind down, there’s a distinct shift in the air. While we cherish every last drop of sunshine and outdoor adventure, a new kind of excitement starts to bubble up – the anticipation of fall and the return to school. It’s a season of fresh starts, new routines, and opportunities to create special moments, even in the everyday. I’ve always found a certain joy in these transitions; welcoming summer’s warmth, but equally embracing the cozy, structured rhythm that autumn and school bring.
For now, we’re still savoring the last bits of summer, perhaps enjoying some delicious fresh garden vegetables (the ones the deer generously decide to share!). But soon, our focus will shift towards school preparations, and what better way to ease into the new academic year than with a batch of homemade, cheerfully colorful cookies? These simple yet spectacular treats are not just for kids; they’re a little ray of sunshine for anyone needing a pick-me-up. They are the ultimate hassle-free, delightful snack for lunchboxes, after-school energy boosts, or even as a surprise treat for teachers, making every day a little brighter.
You are absolutely going to adore these easy colorful cookies. They exemplify how a humble boxed cake mix can be transformed into something truly special and memorable. Simple to make, incredibly soft, and bursting with festive appeal, they are the perfect companion for the back-to-school season, holiday celebrations, or any occasion that calls for a little extra cheer. So go ahead, bake a batch, share the joy, and make every moment a little brighter with these irresistible homemade treats that promise smiles and deliciousness in every bite!