
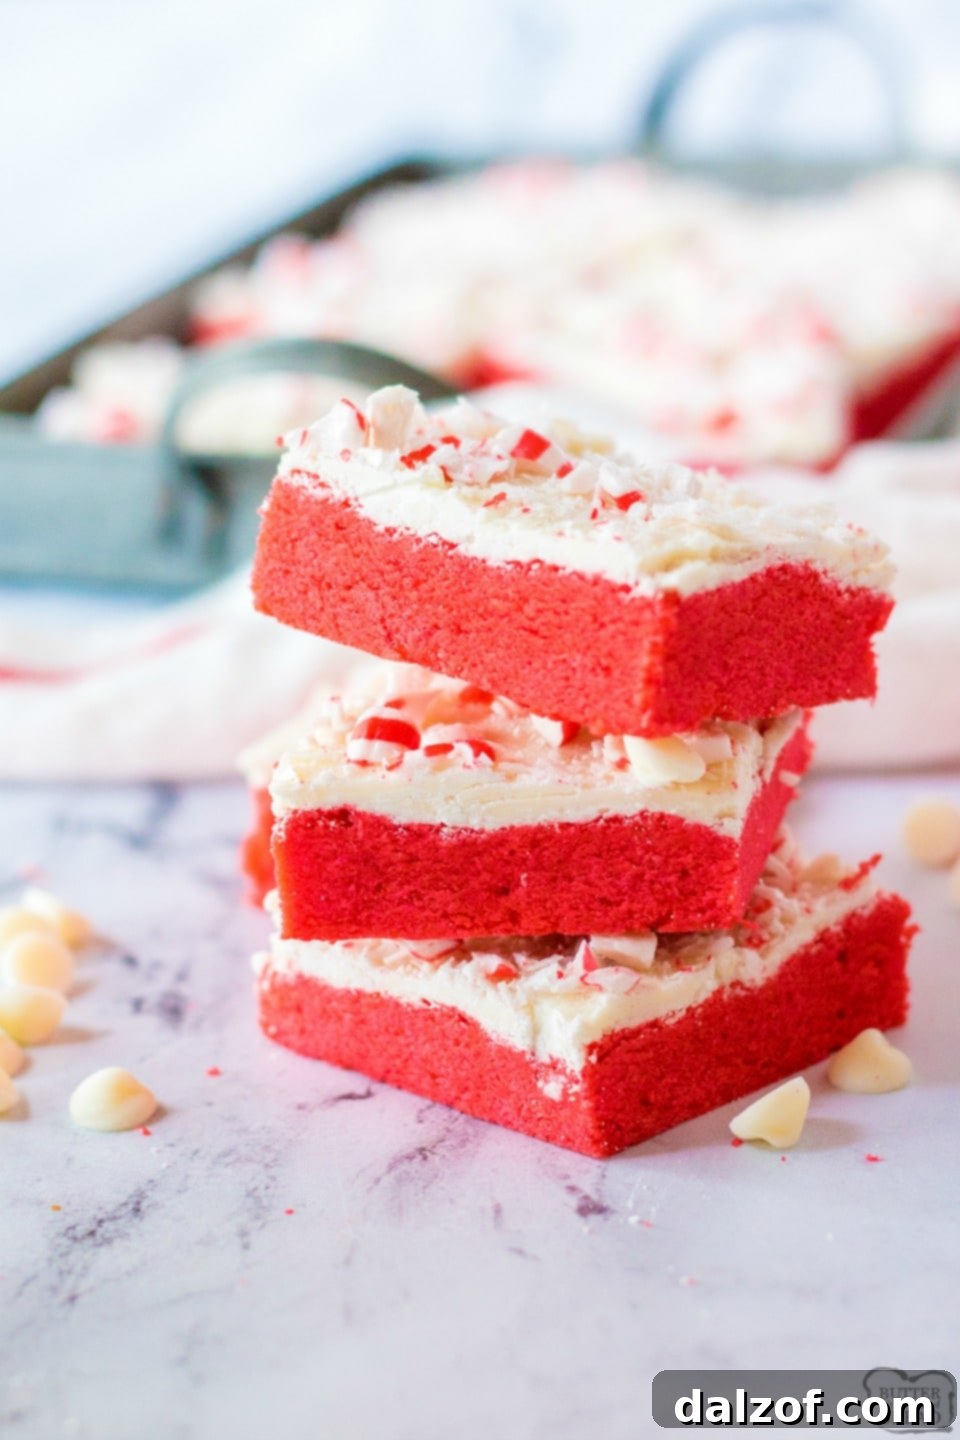
Frosted Peppermint Cookie Bars: A Delightful Holiday Treat
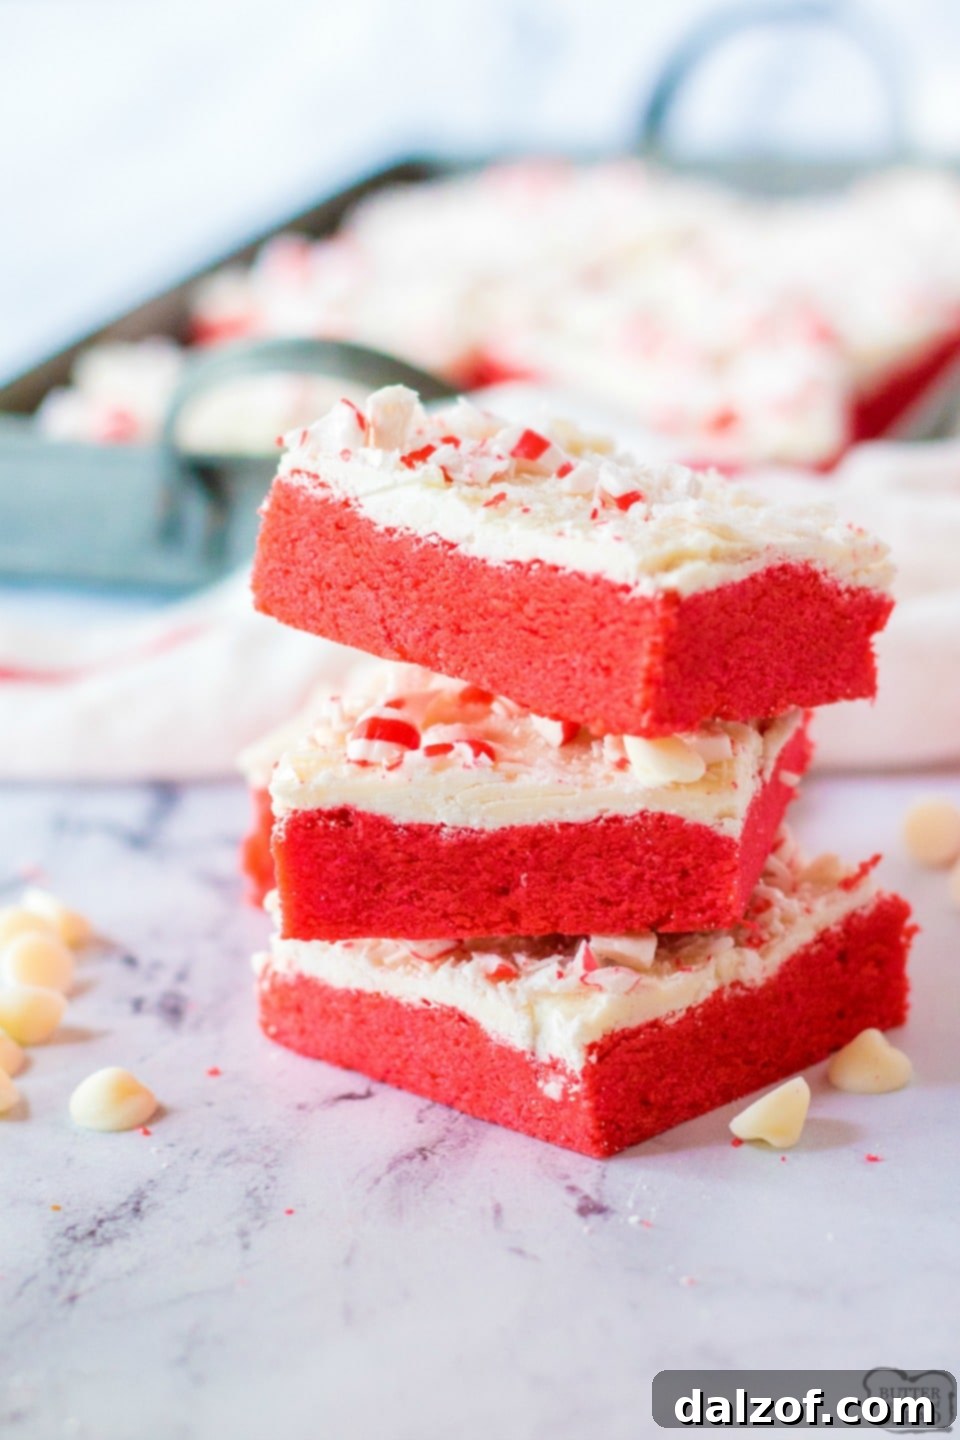
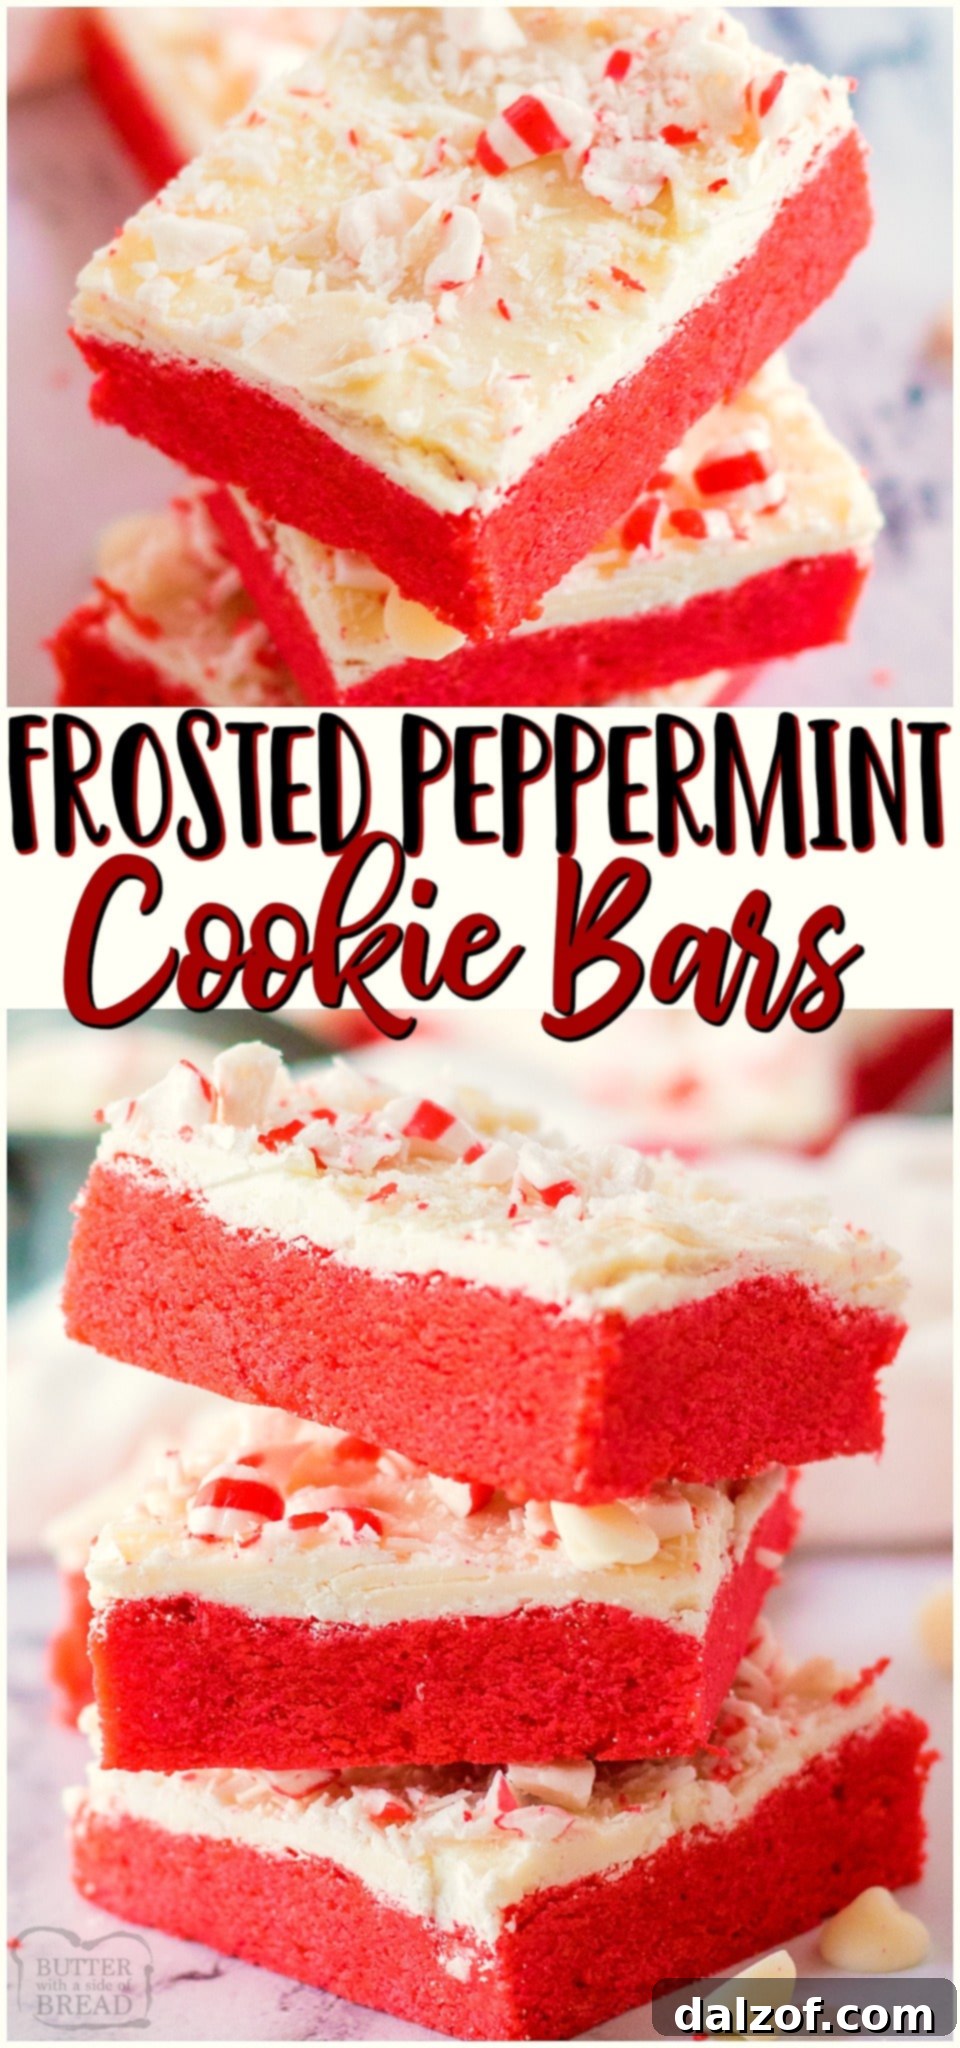
Embrace the festive spirit with these absolutely delightful Frosted Peppermint Cookie Bars! These vibrant red sugar cookies, baked into convenient bars and generously topped with sweet white chocolate and crunchy crushed peppermints, are the epitome of holiday cheer. This easy peppermint cookie bar recipe offers a luscious peppermint flavor that makes them truly perfect for your Christmas baking traditions, bringing joy and a burst of minty freshness to every bite.
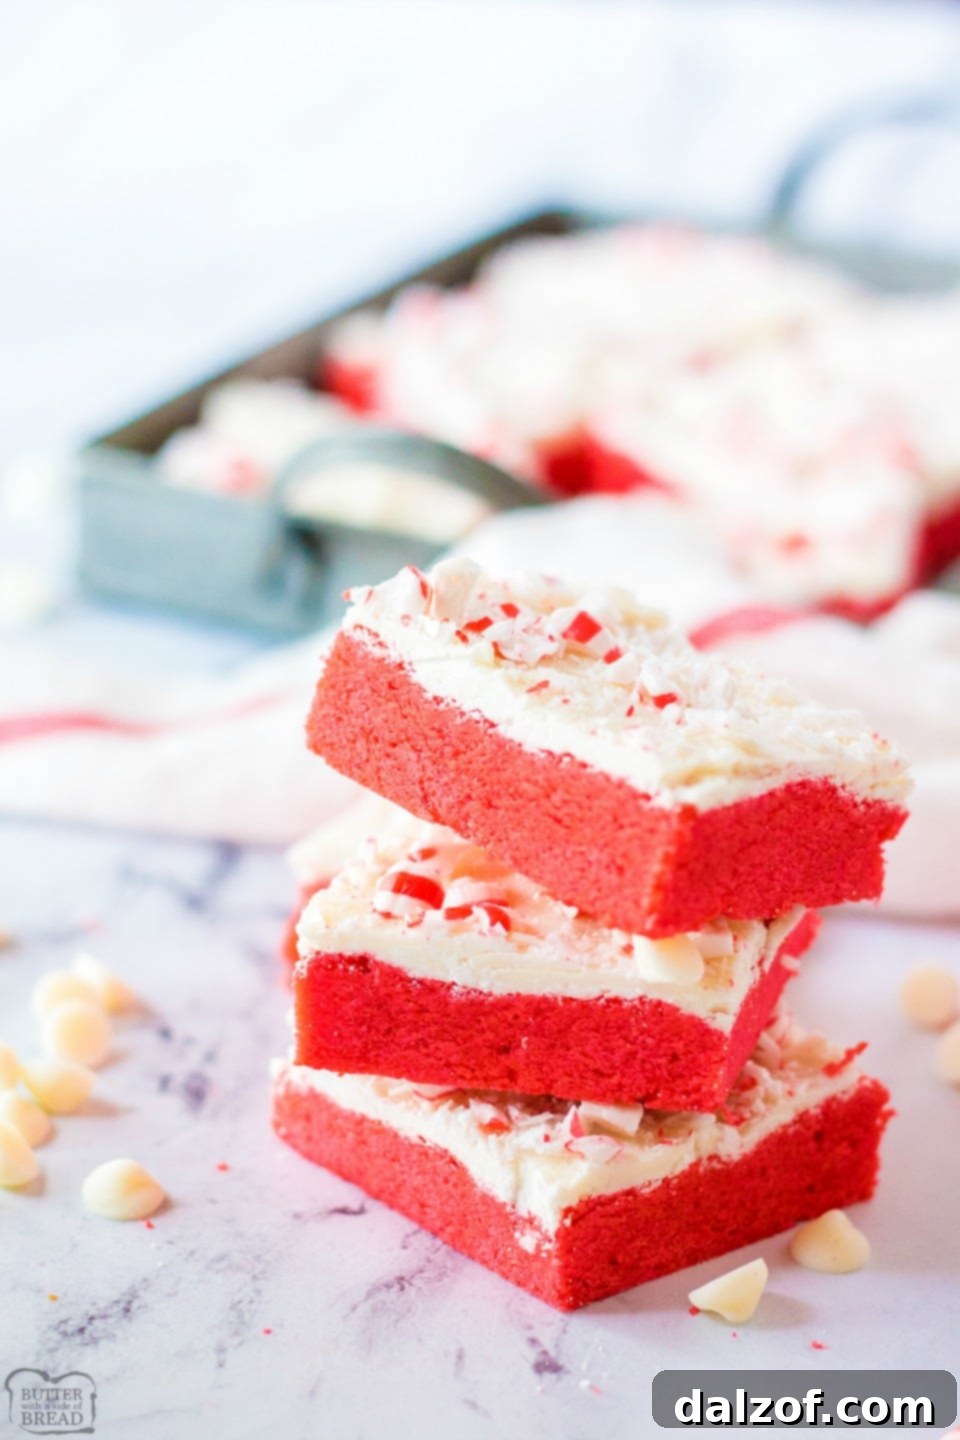
Why These Peppermint Cookie Bars Are a Holiday Must-Have
Creating a batch of these peppermint sugar cookie bars is an ingenious way to produce a large quantity of festive treats without a huge time commitment. Bar cookies consistently outperform traditional drop cookies or rolled-out dough in terms of ease and efficiency. Imagine skipping the repetitive process of scooping individual dough balls and cycling multiple pans through the oven! Instead, you’ll simply press the dough into a single pan, bake, and then top with a decadent layer of melted white chocolate and crisp peppermint candies. The convenience alone makes this recipe a holiday baking game-changer, especially when you need to whip up treats for parties, potlucks, or gifting.
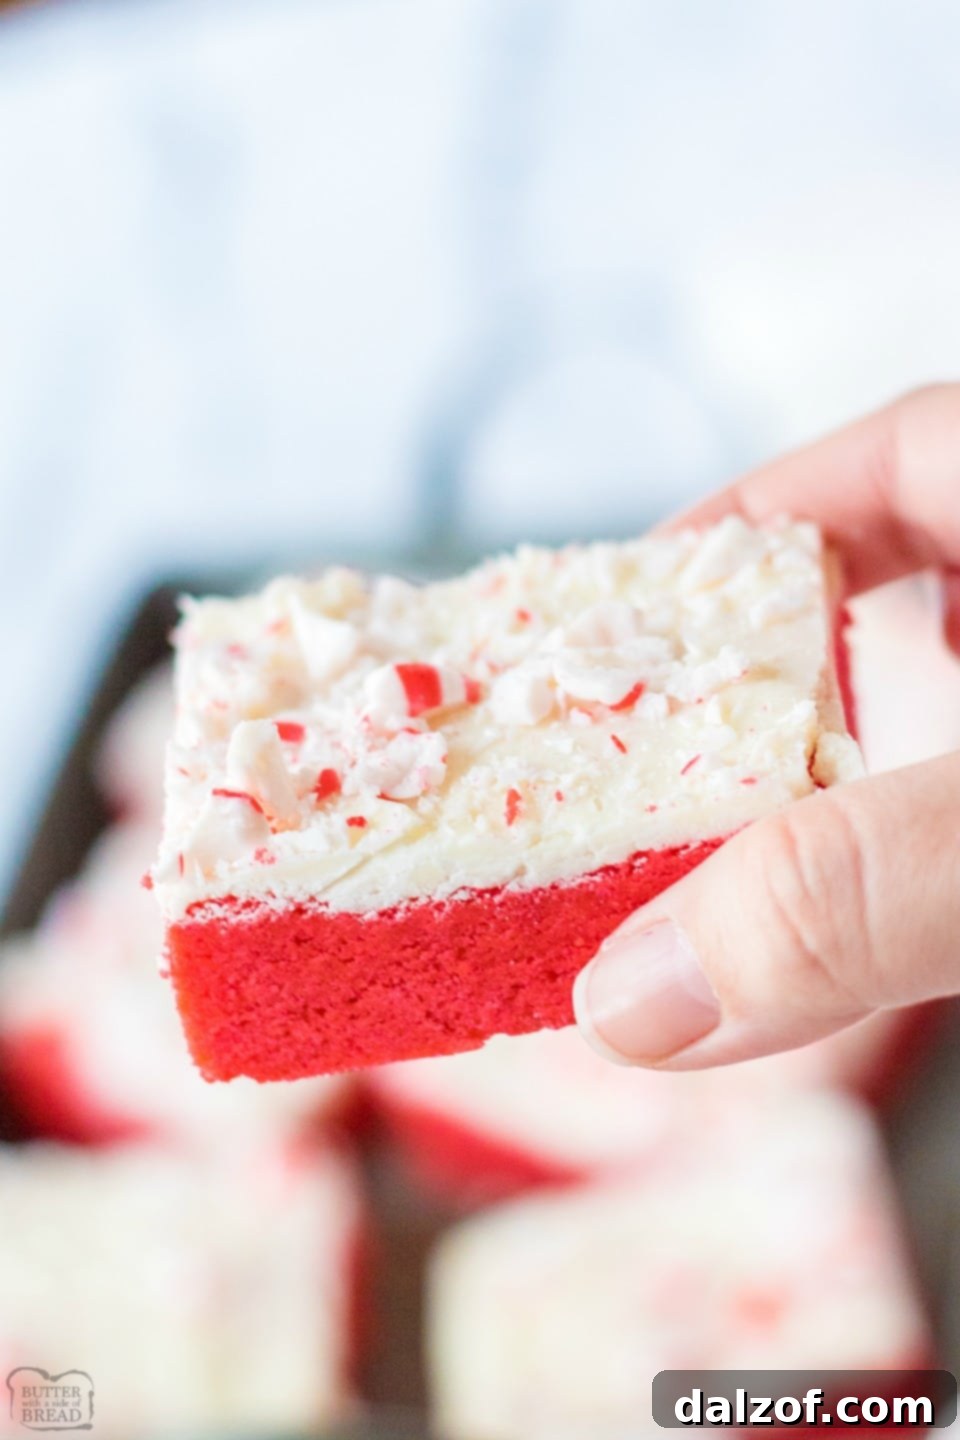
Beyond their simplicity, these Frosted Peppermint Cookie Bars offer an irresistible combination of textures and flavors. The soft, chewy sugar cookie base is infused with a refreshing peppermint essence, which perfectly complements the creamy, sweet white chocolate frosting. The grand finale is a generous sprinkle of crushed peppermint candies, adding a delightful crunch and an extra layer of minty zest that truly elevates these bars to a holiday masterpiece. They’re not just delicious; they’re visually stunning with their vibrant red hue and glistening white topping, making them a centerpiece on any dessert table.
What Exactly Are Peppermint Cookie Bars?
At their core, peppermint cookie bars are a vibrant, easy-to-make sugar cookie, distinguished by their festive red color and invigorating peppermint flavor. Unlike traditional cut-out cookies, these are baked in a single 9×13 inch pan, making them incredibly straightforward to prepare. The magic happens with a few simple ingredients: a classic sugar cookie dough gets a generous splash of pure peppermint extract and a touch of red food coloring, transforming it into a holiday spectacle. Once baked, these soft and chewy bars are crowned with a smooth, luxurious layer of melted white chocolate, providing a sweet contrast to the mint.
The final touch, and arguably the most iconic, is a sprinkle of crushed peppermint candies. These not only add a beautiful, sparkling finish but also introduce a satisfying crunch and an intensified burst of mint with every bite. The combination of sweet, minty, soft, and crunchy elements makes these frosted peppermint cookie bars a sensory delight. They embody the essence of winter and Christmas, making them an ideal treat to pair with a warm mug of hot cocoa or coffee for the ultimate cozy experience.
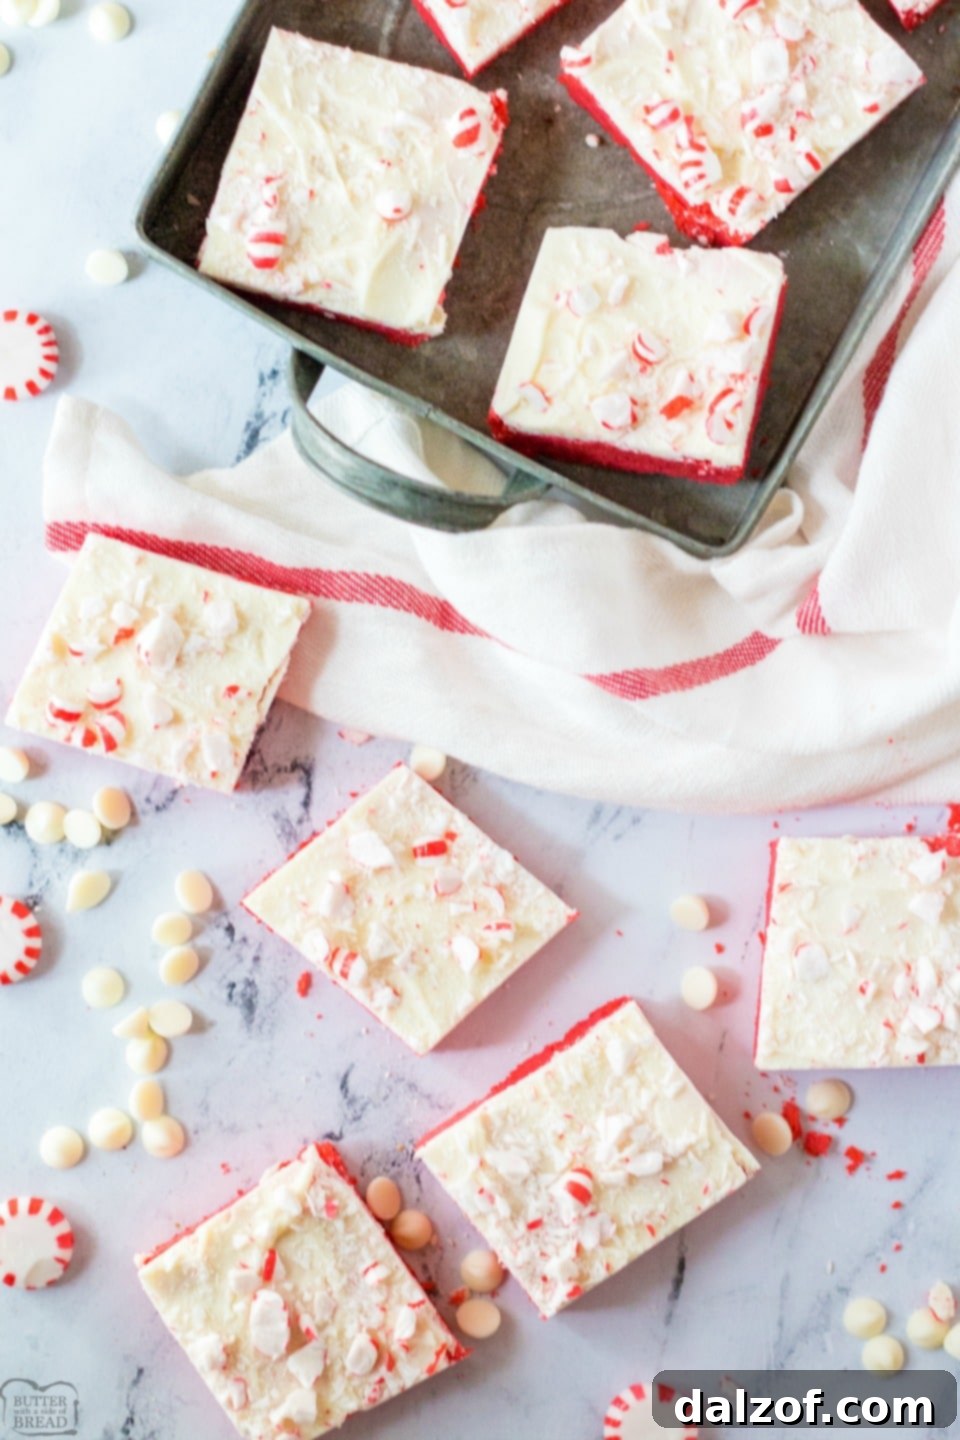
Essential Ingredients for Perfect Peppermint Cookie Bars
Crafting these delectable peppermint cookie bars requires a selection of common baking staples, each playing a crucial role in achieving that perfect texture and unforgettable flavor. Here’s a detailed look at what you’ll need and why:
- **All-Purpose Flour:** We’ll use 2½ cups of all-purpose flour. This forms the essential gluten structure, giving our cookie bars their body and chewiness. Measuring correctly is key for the best results; too much flour can lead to dry, crumbly bars.
- **Salt:** A ¾ teaspoon of salt might seem small, but it’s vital. Salt balances the sweetness and intensifies all the other flavors in the dough, preventing the cookies from tasting bland.
- **Baking Powder:** Just ½ teaspoon of baking powder provides the necessary lift, ensuring these bars are soft and slightly airy, not dense. It reacts during baking to create a tender crumb.
- **Unsalted Butter:** Two sticks (1 cup) of softened unsalted butter are essential for a rich, tender, and flavorful cookie. Using unsalted butter allows you to control the total salt content, and softening it ensures it creams beautifully with the sugar.
- **Granulated Sugar:** For sweet and perfectly chewy cookies, we’ll incorporate 1¼ cups of granulated sugar. Sugar not only provides sweetness but also contributes to the texture, helping the cookies spread slightly and achieve a desirable chew.
- **Large Egg:** A single large egg acts as a binder, helping to hold the cookie dough together and add moisture, contributing to the bars’ tender texture.
- **Red Food Coloring:** To achieve that iconic festive look, good quality red food coloring is a must. We highly recommend using a gel-based coloring, such as Wilton’s “no flavor” red. Gel colors are much more concentrated than liquid drops, meaning you’ll need less to achieve a vibrant red without any unpleasant artificial taste.
- **Vanilla Extract:** Two teaspoons of vanilla extract lay down a delicious foundational flavor. It complements the peppermint beautifully and adds a classic warmth to the cookie base.
- **Peppermint Extract:** This is where the magic happens! A precise ¾ teaspoon of peppermint extract infuses the cookie bars with a refreshing, minty flavor. Be careful not to overdo it, as peppermint can be quite potent.
- **White Chocolate Chips:** Two cups of white chocolate chips (approximately 8 ounces) will create a luxurious, creamy topping. When melted and spread, they form a smooth canvas for the crushed peppermints. Quality white chocolate makes a difference here.
- **Peppermint Hard Candies:** You’ll need about 8-10 crushed peppermint hard candies. These provide a delightful crunch and an additional burst of intense peppermint flavor, ensuring every single bite of your frosted peppermint cookie bar is a memorable one.
How to Make Frosted Peppermint Cookie Bars: Step-by-Step
Creating these festive peppermint cookie bars is surprisingly simple, making them an ideal project for holiday bakers of all skill levels. Follow these steps for a perfect batch:
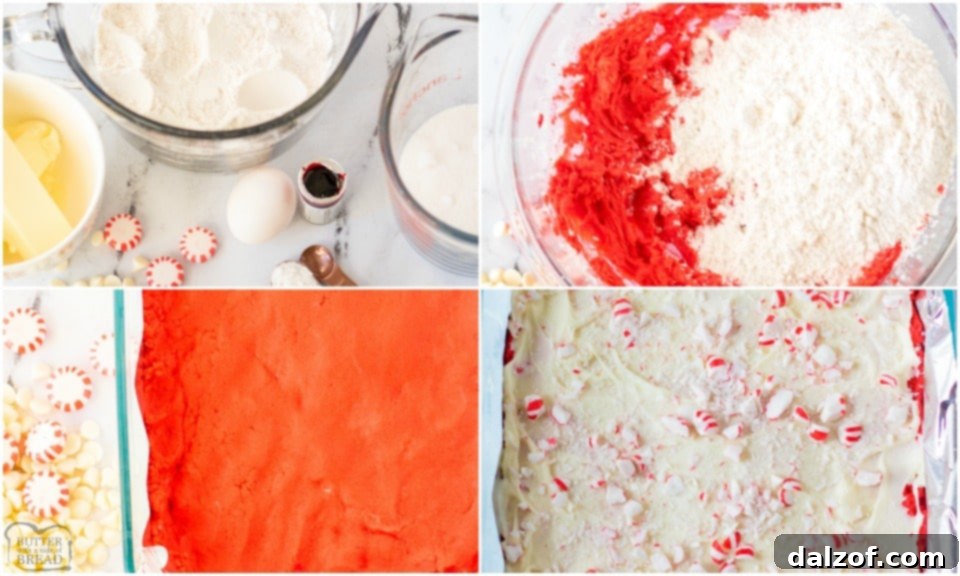
- **Prepare Your Baking Dish:** Begin by preheating your oven to 350 degrees Fahrenheit (175°C). Line a 9×13 inch baking dish with foil, allowing some overhang on the sides to create “handles” for easy removal. Make sure to generously grease the foil-lined pan to prevent sticking.
- **Combine Dry Ingredients:** In a medium-sized bowl, whisk together the all-purpose flour, salt, and baking powder. Set this mixture aside.
- **Cream Butter and Sugar:** In a large mixing bowl, using an electric mixer, beat the softened unsalted butter and granulated sugar together until the mixture is light, fluffy, and pale in color. This usually takes about 2-3 minutes.
- **Add Wet Ingredients:** Next, beat in the large egg, red food coloring, vanilla extract, and peppermint extract. Continue mixing until everything is well combined and the color is evenly distributed throughout the mixture.
- **Incorporate Dry into Wet:** Gradually add the whisked flour mixture to the wet ingredients. Beat on low speed until just combined. Be careful not to overmix; stop as soon as no streaks of flour remain to ensure tender cookie bars.
- **Spread the Dough:** Press the cookie dough evenly into the prepared baking dish. Don’t be afraid to use your hands; they’re often the best tools for spreading dough into corners and ensuring an even layer.
- **Bake to Perfection:** Bake for 30-35 minutes, or until a toothpick inserted into the center of the bars comes out clean. The edges should be lightly golden, but the center should still be soft.
- **Add White Chocolate Chips:** As soon as the cookie bars emerge from the oven, immediately sprinkle the white chocolate chips evenly over the hot surface. Let them sit for about 2-4 minutes. The residual heat from the bars will gently melt the chocolate.
- **Spread and Garnish:** Once the white chocolate chips appear sufficiently melted, use an offset spatula or the back of a spoon to spread them smoothly and evenly across the top of the cookie bars. Immediately sprinkle the crushed peppermint candies over the melted chocolate before it sets.
- **Cool Completely & Serve:** Allow the bars to cool completely at room temperature, which will allow the white chocolate topping to set firmly. To speed up this process, you can carefully place the pan in the refrigerator for a while. Once cool and set, use the foil overhangs to lift the entire slab of cookie bars from the pan. Slice into individual bars and serve. Enjoy your festive creations!
Tips for Success with Your Peppermint Cookie Bars
Achieving perfectly festive and delicious Frosted Peppermint Cookie Bars is easy with a few helpful tips:
- **Room Temperature Ingredients:** Ensure your butter and egg are at room temperature. This allows them to cream together smoothly with the sugar, resulting in a lighter, more evenly textured dough.
- **Accurate Measuring:** Baking is a science! Use proper measuring techniques, especially for flour. Spoon the flour into your measuring cup and then level it off with a straight edge. Too much flour can make your bars dry.
- **Don’t Overmix:** Once you add the flour mixture, mix only until just combined. Overmixing can develop the gluten too much, leading to tough cookie bars.
- **Gel Food Coloring is Key:** As mentioned, gel food coloring will give you a much richer, deeper red color without affecting the flavor or consistency of your dough. Liquid food coloring often requires more drops, which can introduce too much liquid and dilute the flavor.
- **Even Spreading:** Take the time to spread the dough evenly in the pan. This ensures uniform baking and consistent texture across all your bars.
- **Patience with Cooling:** Resist the urge to slice into your bars while the white chocolate is still warm or soft. Allowing them to cool completely (or chilling them in the fridge) ensures the chocolate sets properly, making for clean cuts and a beautiful presentation.
- **Crushing Peppermints:** For best results, place peppermint candies in a freezer bag and use a rolling pin or meat mallet to crush them into varying sizes. Some fine dust and some larger chunks add visual appeal and textural interest.
Storage and Freezing Peppermint Cookie Bars
Proper storage is key to enjoying your delicious Frosted Peppermint Cookie Bars for as long as possible. Fortunately, these bars are quite resilient!
How Long Do Peppermint Cookie Bars Last?
These festive cookie bars will stay fresh and tasty for up to one week when stored in an airtight container at room temperature. For optimal flavor and texture, however, we always recommend enjoying them within the first 2-3 days after baking. If you live in a particularly warm or humid climate, or if your kitchen is on the warmer side, you might consider storing them in the refrigerator, which can extend their freshness slightly. Just be sure to bring them back to room temperature before serving for the best taste and texture.
Can I Freeze Peppermint Cookie Bars?
Yes, you absolutely can freeze these cookie bars, making them perfect for preparing ahead of time! They can be kept frozen for up to two months, but there’s a crucial tip to remember: **Do not add the white chocolate and peppermint topping if you plan on freezing the cookies.** This might sound disappointing, but there’s a very good reason for it.
- **Chocolate’s Tendency to Sweat:** When chocolate thaws from being frozen, it often “sweats” or develops condensation on its surface. This moisture can ruin the smooth texture of the white chocolate and make it look unappetizing.
- **Peppermint’s Gooey Outcome:** Frozen and then thawed peppermint candies tend to become soft, sticky, and can even bleed their vibrant red color, turning into a gooey, chewy mess. This completely detracts from the delightful crunch and crisp appearance you want.
To freeze these peppermint cookie bars correctly, bake the cookie base as directed and allow it to cool completely without adding any topping. Once cooled, you can wrap the entire slab (still in its foil lining) tightly in plastic wrap, then again in aluminum foil, or slice the bars and layer them between parchment paper in an airtight freezer-safe container. When you’re ready to serve, thaw the cookie bars at room temperature. Then, simply melt the white chocolate chips in a microwave-safe bowl (in 30-second intervals, stirring well between each until smooth), spread it over the thawed bars, and sprinkle with freshly crushed peppermints. This ensures your bars look and taste as fantastic as they do freshly baked!
Serving Suggestions for Your Holiday Peppermint Bars
These Frosted Peppermint Cookie Bars are a versatile holiday treat that can be enjoyed in many ways. Serve them as a festive dessert after a holiday meal, bring them to a Christmas party, or include them in your homemade gift baskets. They pair wonderfully with a hot cup of coffee, a warm mug of hot chocolate, or even a glass of cold milk. The vibrant red and white, along with the intoxicating peppermint aroma, make them a welcome sight at any gathering, instantly spreading holiday cheer.
Frequently Asked Questions about Peppermint Cookie Bars
Can I use chocolate chips instead of white chocolate?
Absolutely! If you prefer a chocolatey twist, dark chocolate or semi-sweet chocolate chips would also be delicious as a topping. The peppermint flavor pairs beautifully with both white and dark chocolate.
What if I don’t have peppermint extract?
While peppermint extract gives the signature flavor, you could try using a combination of vanilla extract and a tiny hint of almond extract for a different, but still delightful, holiday flavor profile. However, for true peppermint bars, the extract is essential.
How can I crush peppermints without a food processor?
Place the hard peppermint candies in a sturdy freezer bag, seal it, and then use a rolling pin, meat mallet, or even the bottom of a heavy pan to smash them into fine and coarse pieces. Ensure the bag is sealed well to avoid a mess!
Can I make the dough ahead of time?
Yes, you can prepare the cookie dough a day or two in advance. Store it tightly wrapped in plastic wrap in the refrigerator. Before pressing into the pan, let it sit at room temperature for about 15-20 minutes to soften slightly, making it easier to spread.
Check out these other great cookie recipes!
- Christmas Cut Out Cookies
- Spiced Christmas Shortbread Cookies
- Peppermint Fudge Sugar Cookies
- Reeses Chocolate Peanut Butter Cookies
- Peppermint Fudge Sugar Cookies
- Caramel Apple Oatmeal Cookies
- Peppermint Chocolate Sandwich Cookies
- Loaded Reeses Cookies
- Butterscotch Pretzel Cookies
- M&M Halloween Cookies
- Caramel Chocolate Crinkle Cookies
- Chocolate Shortbread Cookies
- Chocolate Peanut Butter Cake Mix Cookies
- Soft M&M Cookies
- Surprise Chocolate Kiss Cookies


On a more personal note, we recently installed a new fireplace insert in our home! We’d never truly had a functional fireplace before, and our previous insert was more for show than warmth, so it was rarely used. Now, with the snow falling outside, we’re using our new fireplace daily, and while my husband and I absolutely adore it, our dogs have taken their love for it to an entirely new level!

It’s truly hilarious to watch them deliberate between choosing mom’s lap or the irresistibly warm spot by the fireplace. That decision was never a tough one for them until now! It’s moments like these, gathered around a warm hearth with loved ones (both two-legged and four-legged), that truly make the holiday season special and pair perfectly with a batch of homemade Frosted Peppermint Cookie Bars.
Frosted Peppermint Cookie Bars Recipe
These Frosted Peppermint Cookie Bars are a festive and easy holiday treat! Enjoy sweet sugar cookie bars topped with creamy white chocolate and crunchy peppermints, perfect for Christmas baking.
Course: Christmas, Cookies
Cuisine: American
Keyword: Peppermint Cookie Bars, Holiday Cookies, Christmas Baking
Prep Time: 15 minutes
Cook Time: 35 minutes
Total Time: 50 minutes
Servings: 24 bars
Ingredients
- 2 1/2 cups all-purpose flour
- 3/4 tsp salt
- 1/2 tsp baking powder
- 1 cup unsalted butter, softened
- 1 1/4 cups granulated sugar
- 1 large egg
- 2 tsp red food coloring (gel colors recommended for vibrant red)
- 2 tsp vanilla extract
- 3/4 tsp peppermint extract
- 2 cups white chocolate chips (about 8 ounces)
- 8-10 peppermint hard candies, crushed
Instructions
- Preheat your oven to 350 degrees F (175°C). Line a 9×13 inch baking dish with foil, leaving an overhang on the sides. Generously grease the foil-lined pan.
- In a medium bowl, whisk together the flour, salt, and baking powder.
- In a large bowl, using an electric mixer, beat the softened butter and sugar until light and fluffy, about 2-3 minutes.
- Beat in the egg, red food coloring, vanilla extract, and peppermint extract until well combined and the color is even.
- Gradually add the flour mixture to the wet ingredients. Beat on low speed until just combined, being careful not to overmix.
- Spread the dough evenly into the prepared baking dish. Using your hands can help ensure an even layer.
- Bake for 30-35 minutes, or until a toothpick inserted into the center comes out clean.
- As soon as the bars come out of the oven, sprinkle the white chocolate chips evenly over the hot surface. Let them sit for 2-4 minutes to melt from the residual heat.
- Once melted, use an offset spatula or the back of a spoon to spread the white chocolate smoothly over the top of the cookie bars. Immediately sprinkle the crushed peppermints over the melted chocolate.
- Allow the bars to cool completely at room temperature for the chocolate to set. You can place them in the refrigerator for a quicker set. Once cooled, use the foil overhangs to lift the bars from the pan, slice into individual bars, and serve.
Nutrition Information (per serving)
- Calories: 248 kcal
- Carbohydrates: 31g
- Protein: 3g
- Fat: 13g
- Saturated Fat: 8g
- Cholesterol: 31mg
- Sodium: 91mg
- Potassium: 72mg
- Fiber: 1g
- Sugar: 20g
- Vitamin A: 252 IU
- Vitamin C: 1mg
- Calcium: 40mg
- Iron: 1mg