
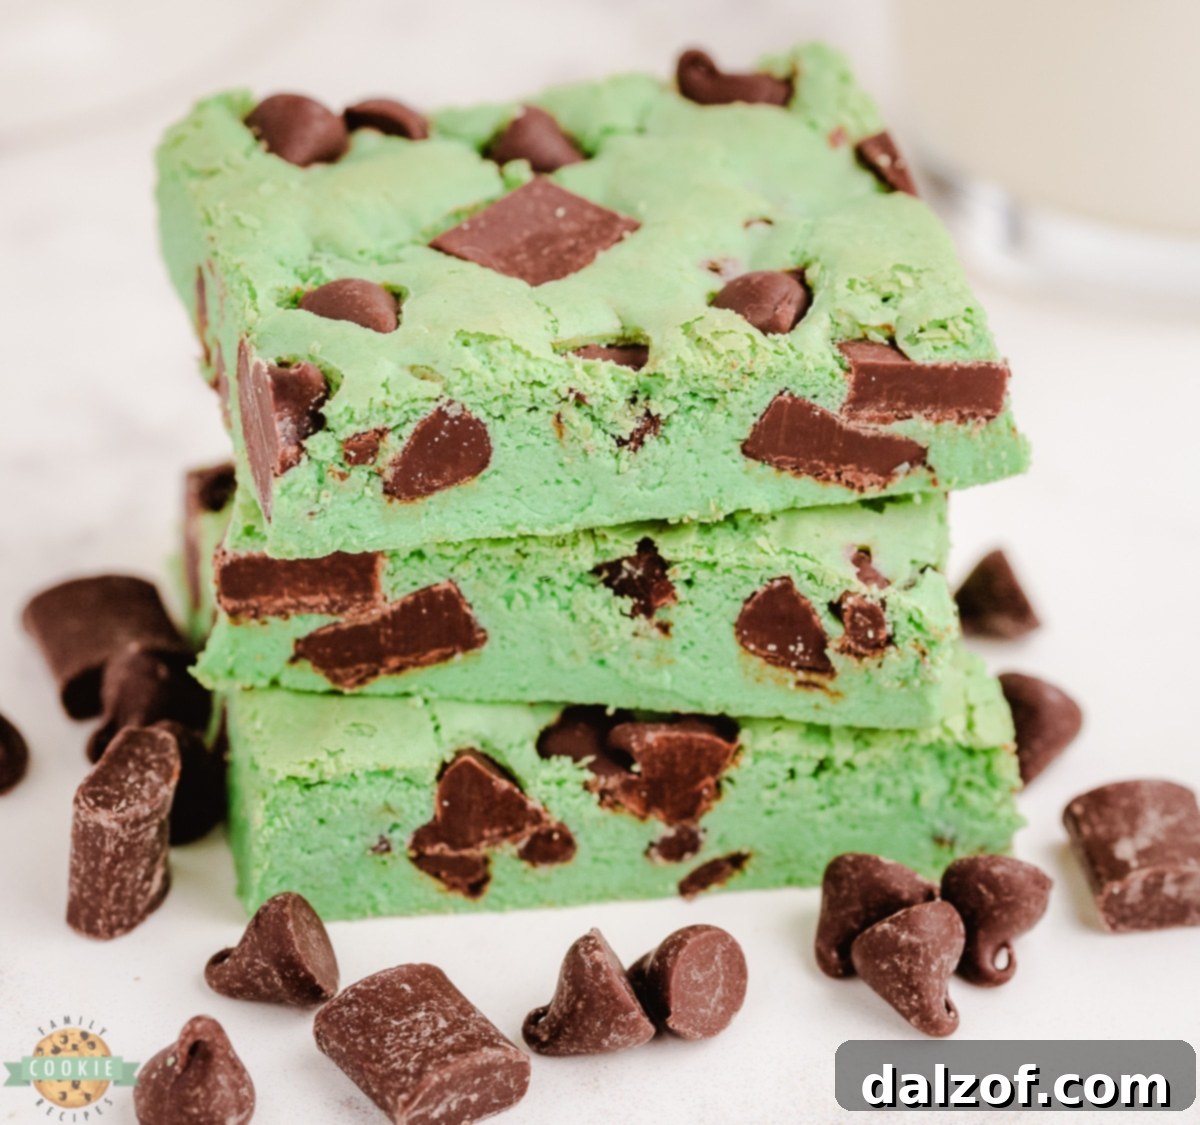
Mint Chocolate Chip Cookie Bars are a truly delightful dessert that brings together the refreshing zest of mint and the decadent richness of chocolate in a convenient, shareable bar format. These irresistible chocolate chip bars are the perfect treat for anyone who adores the classic combination of mint and chocolate but prefers a simpler baking experience over crafting individual cookies. Imagine sinking your teeth into a perfectly soft, chewy, and buttery base, crowned with a smooth, creamy mint chocolate chip filling. It’s an experience that promises to be a resounding success with every single bite.
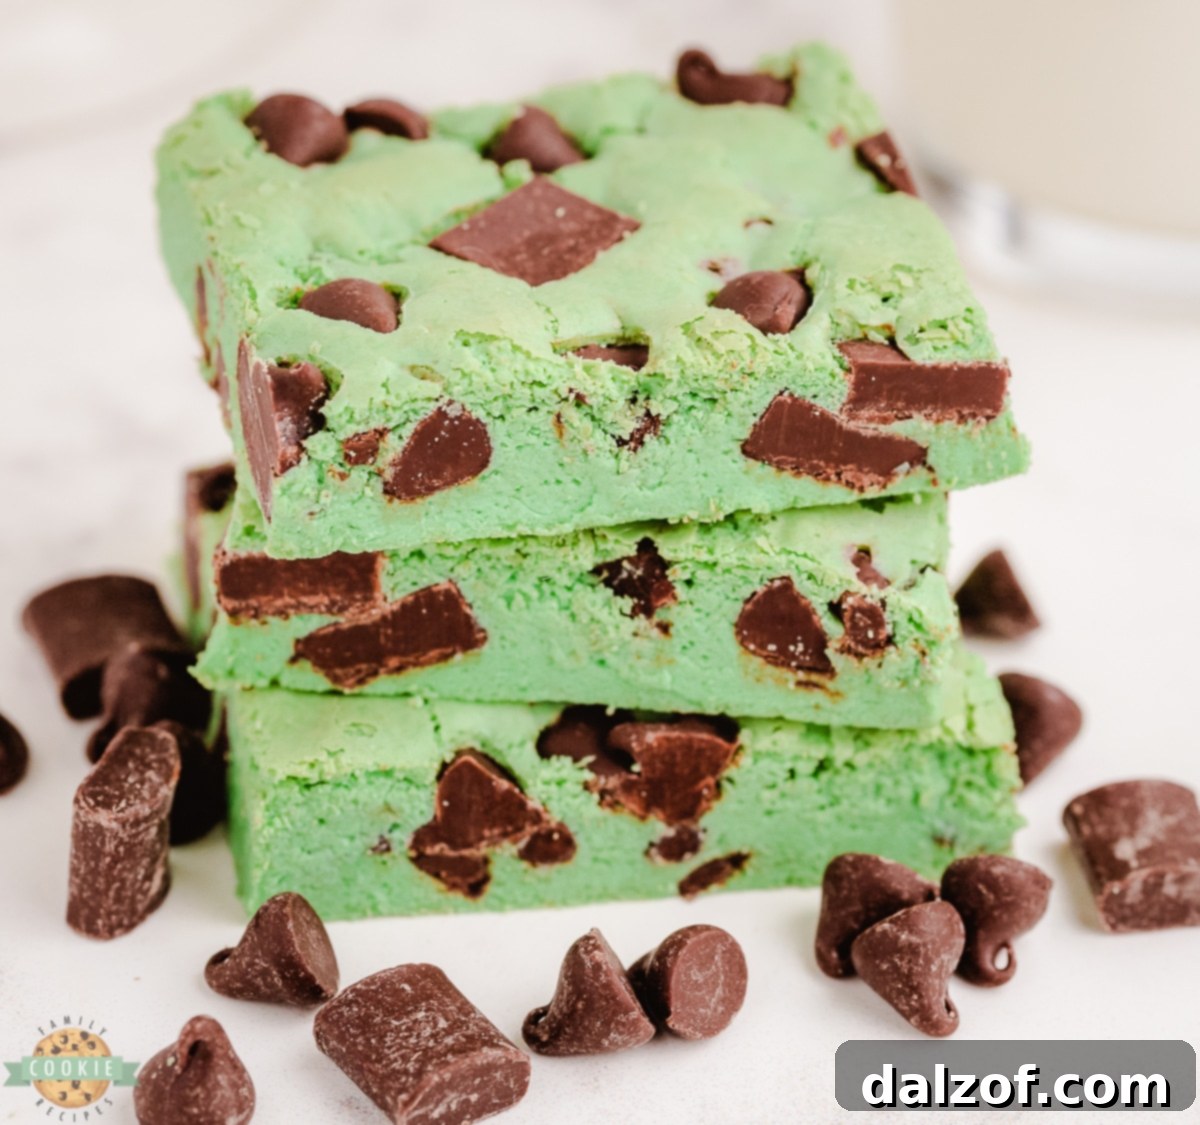
Whether you’re seeking an impressive yet easy-to-prepare dessert to grace your next party table, a vibrant and flavorful offering for a holiday celebration, or simply a sweet and satisfying snack to savor during a quiet evening at home, these mint chocolate chip cookies in bar form are an exceptional choice. Their vibrant green hue, coupled with the generous scattering of chocolate chips, makes them not only a treat for the palate but also a feast for the eyes. These easy-to-make pudding cookies (yes, instant pudding mix is our secret ingredient for ultimate chewiness!) offer a delightful twist on a beloved flavor pairing, ensuring they become a cherished recipe in your baking repertoire.
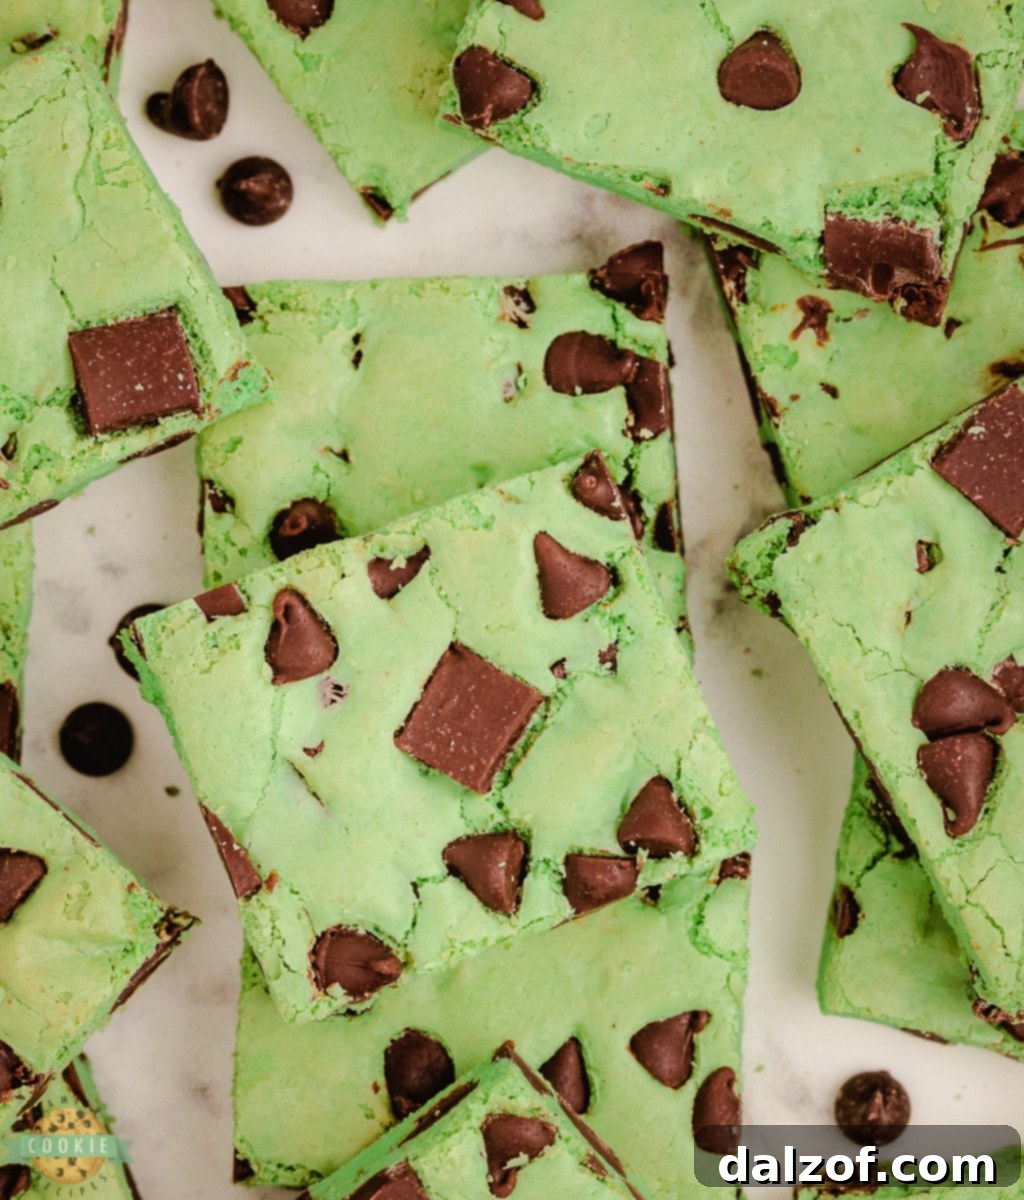
The Irresistible Allure of Mint Chocolate Chip Cookie Bars
What makes mint chocolate chip cookie bars so incredibly captivating and universally loved? It’s truly their distinctive and perfectly balanced flavor profile that stands out. The harmonious marriage of cool, invigorating mint with rich, sweet chocolate has been a culinary classic adored by generations. The refreshing burst of mint provides a beautiful counterpoint to the deep sweetness of the chocolate, resulting in a symphony of flavors that is both comforting and exhilarating. This delightful contrast prevents the dessert from being overly sweet, offering a satisfying and memorable taste experience that keeps you coming back for more.
Beyond their exquisite taste, another compelling reason why these easy mint chocolate bars are so utterly irresistible is their magnificent texture. Unlike some cookies that can be dry or crumbly, these bars boast a wonderfully soft and incredibly chewy interior. This delightful chewiness is complemented by a slightly crispy edge, which adds a gratifying crunch to every bite. The combination of a tender, melt-in-your-mouth center and a subtle exterior crispness creates a dynamic textural experience that enhances the overall enjoyment. It’s this perfect interplay of flavors and textures that elevates mint chocolate chip cookie bars from a simple dessert to an unforgettable treat, ideal for any gathering or a special moment of indulgence. Their ease of preparation and crowd-pleasing appeal make them a go-to choice for bakers of all skill levels, solidifying their status as a beloved dessert for any occasion, from a casual family treat to a festive holiday spread.
Why You’ll Absolutely Love These Homemade Mint Chocolate Chip Cookie Bars
Prepare to fall in love with these homemade mint chocolate chip cookie bars for a multitude of reasons that extend beyond their delicious taste. They offer a perfect blend of simplicity, satisfaction, and festive appeal, making them a standout dessert choice.
- Unmatched Soft and Chewy Texture: One of the most celebrated qualities of these cookie bars is their exceptional texture. Each bar is delightfully soft and wonderfully chewy in the center, transitioning to a subtly crispy edge. This ideal balance creates a texture that appeals to everyone, from young children to adults, ensuring they are a universal crowd-pleaser. The secret lies in our carefully selected ingredients and precise baking method, resulting in a consistent, melt-in-your-mouth experience with every single bite of these chewy mint chocolate bars.
- Effortlessly Easy to Make: Forget the complexities often associated with gourmet desserts. These easy mint chocolate cookies in bar form are incredibly straightforward to prepare, requiring only a handful of common pantry ingredients and minimal baking expertise. They are an absolute dream for novice bakers looking to create something impressive without the stress, and equally perfect for seasoned bakers seeking a quick yet delightful treat. The recipe streamlines the process, cutting down on preparation and cleanup time, making them a perfect solution when you’re short on time but still want to enjoy a homemade dessert.
- Perfect for Any Party or Gathering: With their eye-catching vibrant green color and speckles of rich chocolate chips, these cookie bars are a truly fun and unique addition to any party, potluck, or festive gathering. Their appealing appearance instantly draws attention, while their delicious flavor ensures they’ll be devoured. Serving is a breeze too; simply slice them into squares, and they’re ready to go! They’re sure to impress your guests, spark conversations, and leave everyone asking for the recipe. Imagine them as a dazzling centerpiece for St. Patrick’s Day or a refreshing option for a summer barbecue.
- Classic Flavor with a Refreshing Twist: The timeless pairing of mint and chocolate is elevated in these bars. The cool, crisp notes of mint perfectly complement the deep, comforting flavor of chocolate, creating a refreshing taste sensation that is both familiar and exciting. It’s a flavor profile that stands out from typical cookie recipes, offering a sophisticated yet accessible treat.
- Excellent for Make-Ahead & Freezing: These mint chocolate chip dessert bars are incredibly versatile when it comes to preparation. You can bake them ahead of time for future events, or easily freeze them for a convenient dessert whenever a craving strikes. This makes them an invaluable addition to any busy schedule, allowing you to enjoy a homemade treat without the last-minute rush.
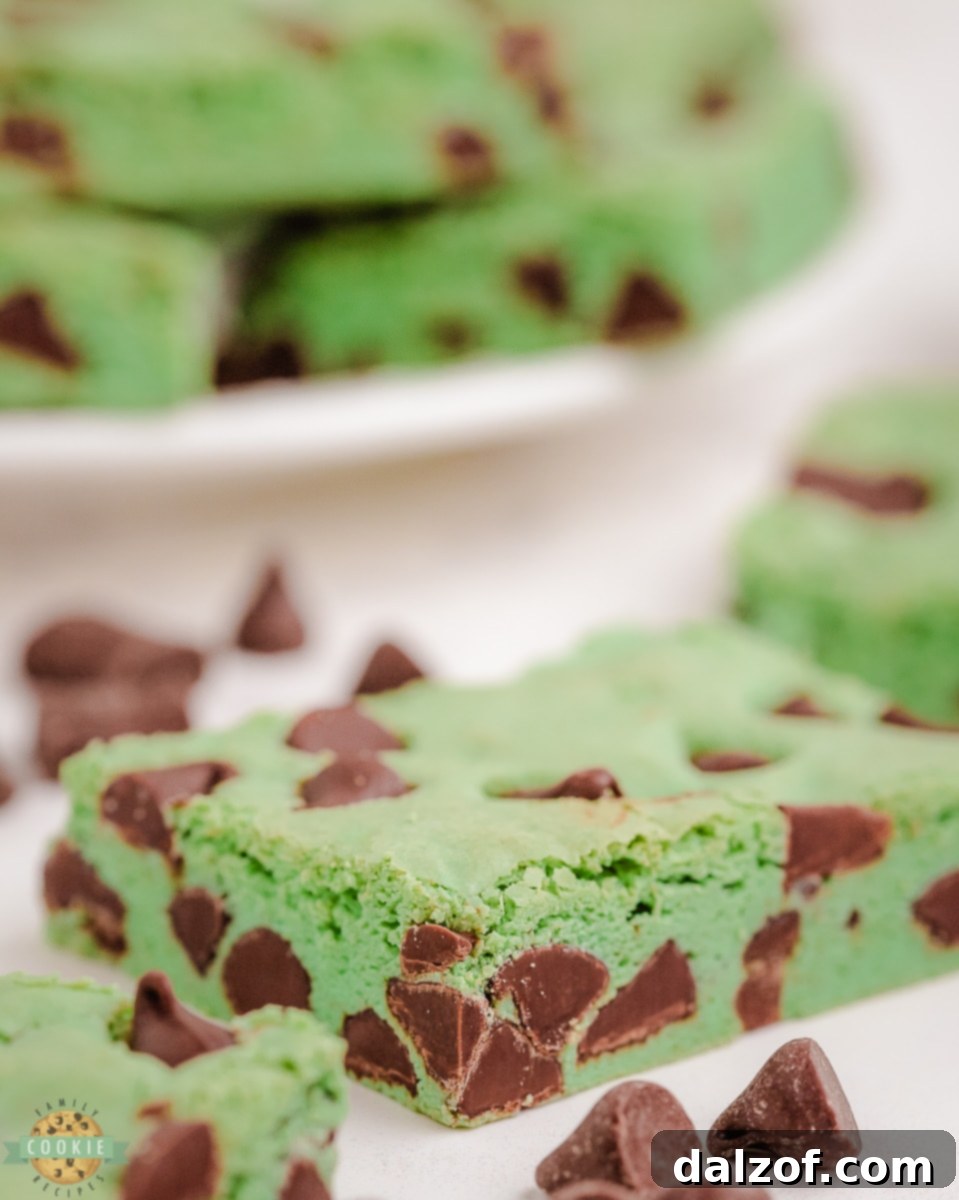
Essential Ingredients for Perfect Mint Chocolate Cookie Bars
Crafting these delectable mint chocolate cookie bars requires a selection of common pantry staples. Each ingredient plays a crucial role in achieving the desired texture, flavor, and vibrant appearance. Here’s a detailed look at what you’ll need:
Granulated Sugar: You will need 1 cup of granulated sugar. This sweetens the bars and contributes significantly to their wonderfully chewy texture, ensuring each bite is perfectly moist and satisfying. The sugar also aids in the creaming process, creating a light and airy base.
Unsalted Butter: Use 1 stick (½ cup) of softened unsalted butter. Softened butter is key for creaming effectively with sugar, incorporating air into the dough, and delivering a rich, buttery flavor that forms the delicious foundation of these bars. Using unsalted butter allows you to control the total salt content in the recipe.
Large Egg: One large egg acts as a crucial binding agent, holding all the ingredients together. It also adds moisture and richness to the dough, contributing to the soft, tender crumb and excellent overall texture of the cookie bars.
Sour Cream: Adding ½ cup of sour cream is a fantastic secret weapon in this recipe. It infuses the cookies with incredible richness and a subtle tang, making them exceptionally soft and moist. The acidity in the sour cream also reacts with the baking soda, aiding in leavening and tenderness.
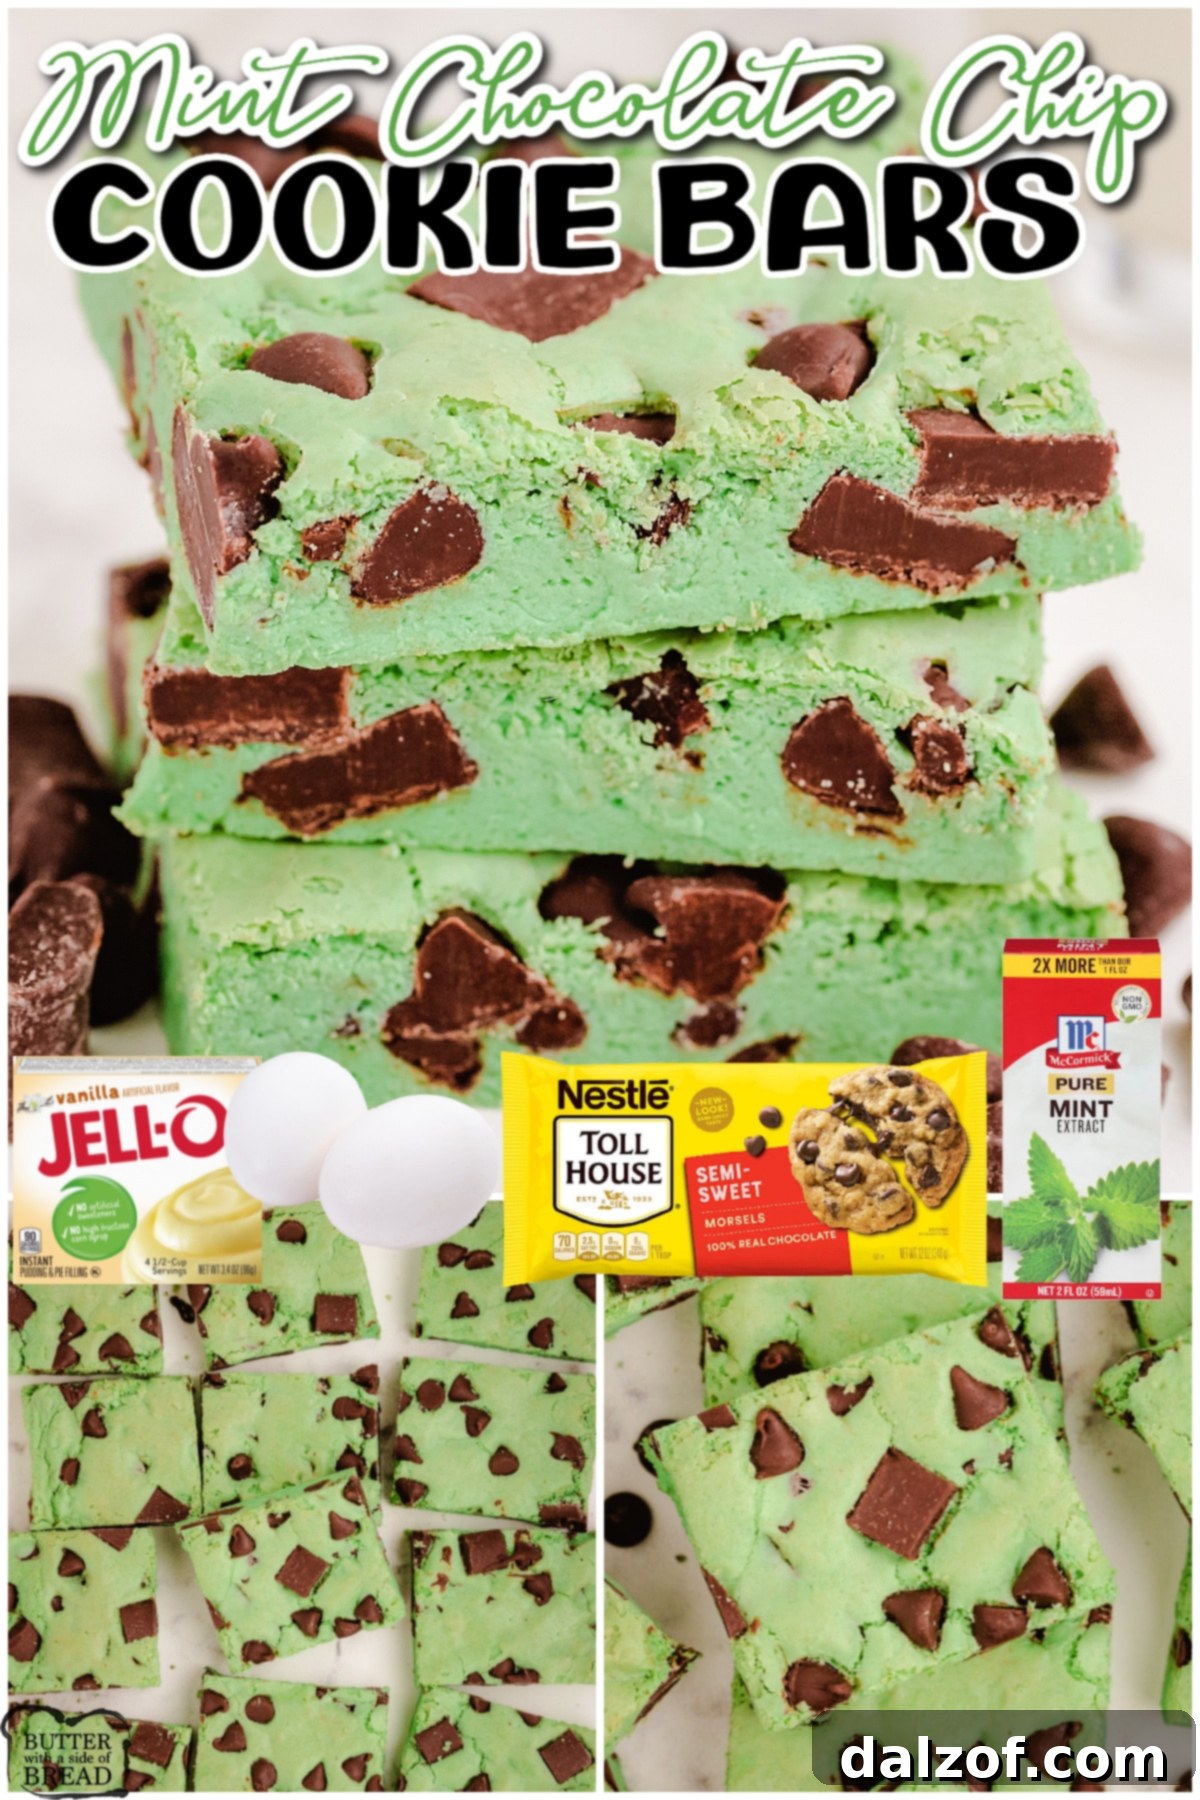
Jell-O Instant Vanilla Pudding Mix: A small 3.4-ounce box of Jell-O Instant Vanilla Pudding mix is the magic ingredient that elevates these bars. It not only enhances the flavor with a hint of vanilla but, more importantly, it drastically improves the chewiness and moisture of the cookie bars, making them irresistibly tender and preventing them from drying out.
All-Purpose Flour: The structural backbone of this delightful cookie dough recipe is 2 cups of all-purpose flour. It provides the necessary framework for the bars, giving them their shape and consistency. Ensure you measure your flour correctly to avoid overly dense or crumbly bars.
Salt: A mere ½ teaspoon of salt is essential to balance the sweetness of the sugar and chocolate, enhancing all the other flavors in the dough. Don’t skip it, as it prevents the bars from tasting bland or one-dimensional.
Baking Soda: You need ½ teaspoon of baking soda to help these cookies rise slightly and achieve their soft, puffy texture. It works in conjunction with the acidic sour cream to create air bubbles, ensuring the bars are tender and light.
Mint Extract: For that signature, refreshing mint flavor, add 2 teaspoons of high-quality mint extract. This is where the distinct “mint” in mint chocolate chip dessert bars truly comes alive. Adjust to your personal preference for mint intensity.
Food Coloring: To achieve the beautiful, festive green hue that makes these bars so visually appealing, you will need 3 drops of blue food coloring combined with approximately 10-15 drops of green coloring. This combination helps create a more natural, appealing mint green color rather than an artificial bright green. Feel free to adjust the drops to reach your desired shade.
Chocolate Chips: A generous 1 ½ cups of chocolate chips ensures that every single slice of these bars is abundantly speckled with pockets of rich, melted chocolate. We recommend a mix of semi-sweet chocolate chips or even a combination of chips and chocolate chunks for a varied texture and intense chocolate flavor. High-quality chocolate makes a noticeable difference!
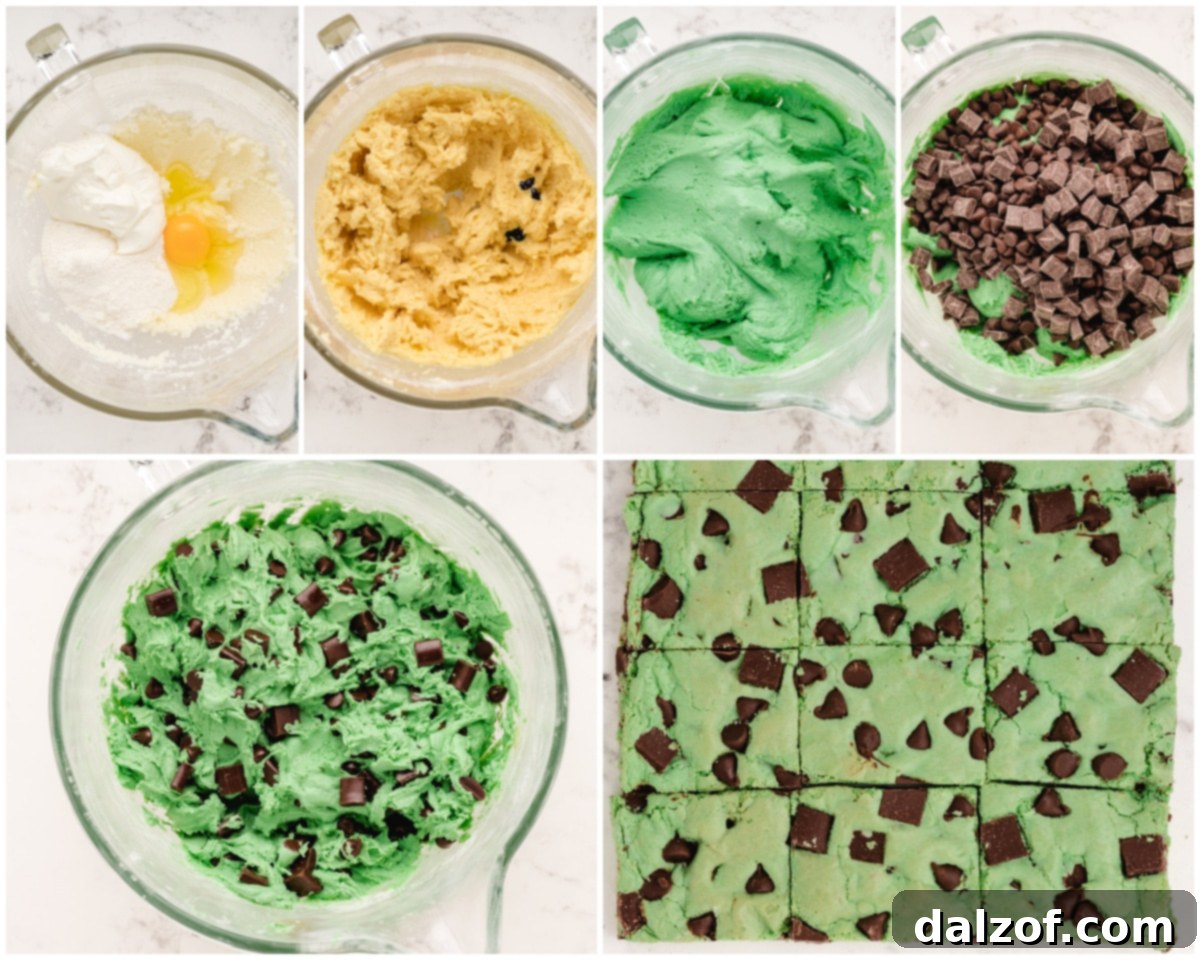
Step-by-Step Guide: How to Make Green Mint Chocolate Chip Cookie Bars
Creating these vibrant and delicious green mint chocolate chip cookie bars is a straightforward process that yields impressive results. Follow these simple steps for a perfect batch every time:
Preparation is Key (Prep)
To begin, preheat your oven to 350 degrees Fahrenheit (175 degrees Celsius). This ensures your oven is at the correct temperature for even baking, preventing the bars from cooking unevenly.
Next, prepare your baking dish. Line the inside of a 9×13 inch baking dish or a quarter-sized baking sheet with parchment paper. Ensure the parchment paper hangs over the edges; this creates “handles” that will make it incredibly easy to lift the entire batch of baked bars out of the pan for cooling and slicing. Set your prepared dish aside.
Crafting the Irresistible Cookie Dough
In a large mixing bowl, combine the softened butter and granulated sugar. Using an electric mixer (either a stand mixer with a paddle attachment or a hand mixer), cream these two ingredients together until the mixture is light, fluffy, and well blended. This process incorporates air, which contributes to the bars’ tender texture.
Now, add the large egg, sour cream, and the dry instant vanilla pudding mix to the creamed butter and sugar. Mix again with your electric mixer until all these wet ingredients are thoroughly combined and smooth. The pudding mix will dissolve and start to work its magic, adding moisture and chewiness.
In a separate, smaller bowl, whisk together the dry ingredients: the all-purpose flour, salt, and baking soda. Whisking them separately ensures that the leavening agent and salt are evenly distributed throughout the flour, leading to consistent results in your baked goods.
Gently incorporate the dry flour mixture into the wet butter/pudding mixture. Mix on low speed just until combined. Be very careful not to overmix the dough once the flour is added, as overmixing can develop the gluten too much, leading to tough and dry cookie bars. Mix only until no streaks of dry flour remain.
Next, add the mint extract and the food coloring to the dough. Continue mixing until the desired vibrant green color is uniformly achieved throughout the dough. Start with the recommended drops and add more gradually if you desire a deeper shade, remembering that the color might slightly deepen during baking.
Finally, it’s time for the chocolate chips! Gently fold in the 1 ½ cups of chocolate chips using a spatula or a wooden spoon. For a more interesting texture and flavor, consider using ¾ cup of regular chocolate chips and ¾ cup of chocolate chunks. This combination adds delightful pockets of gooey melted chocolate in every bite, but using all of one or the other works perfectly well too!
Baking to Perfection (Bake)
Once your dough is ready, evenly press it into your prepared 9×13 inch baking dish. Use your hands or the back of a spoon to ensure an even layer, pressing it gently into all corners of the pan. An even thickness will ensure consistent baking.
Place the baking dish into your preheated oven and bake for 20-22 minutes. The exact baking time may vary slightly depending on your oven, so keep an eye on them. The bars are done when the edges are lightly golden brown and the tops no longer appear glossy in the center. A toothpick inserted into the center should come out with moist crumbs, not wet batter.
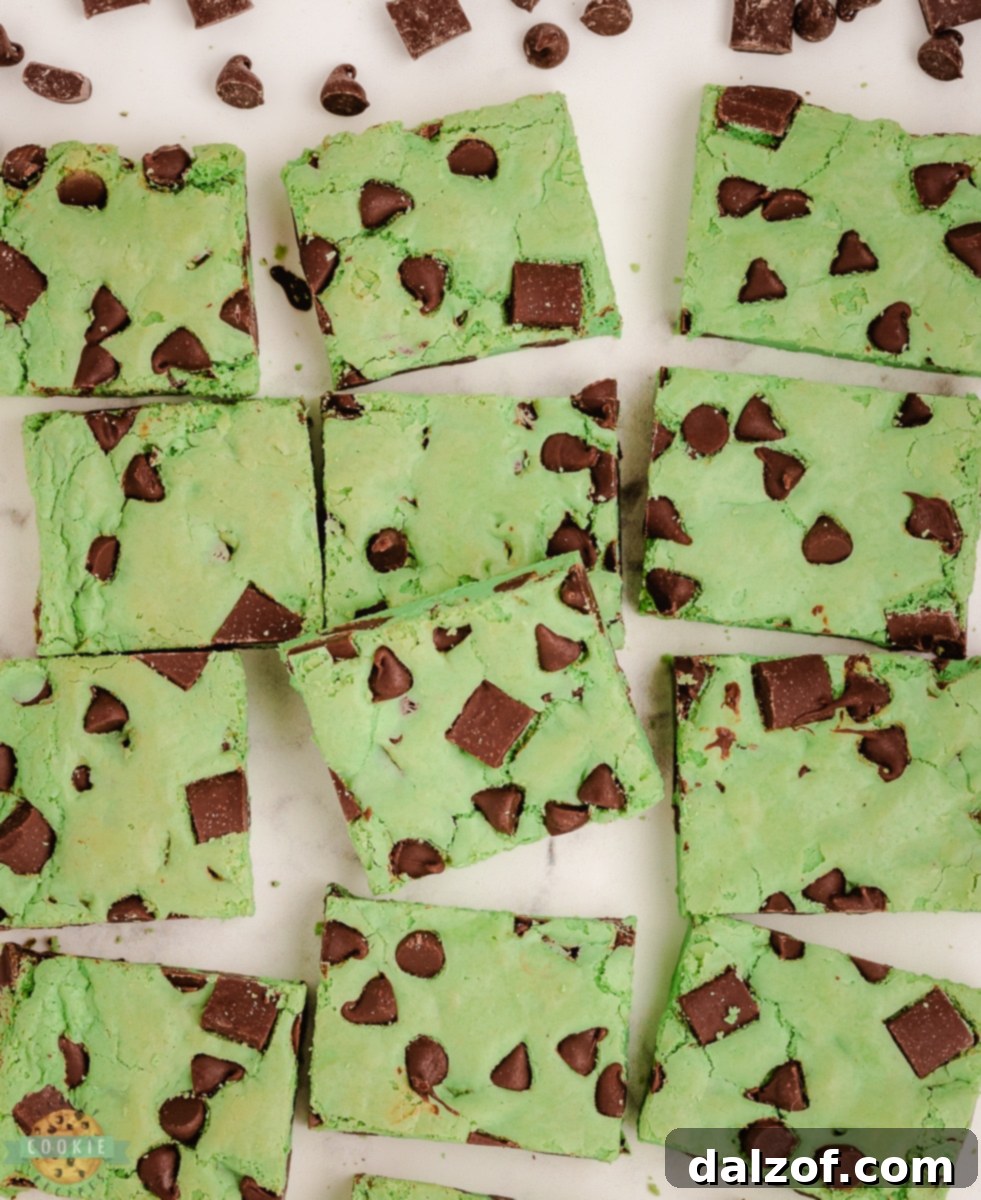
Once baked, carefully remove the pan from the oven. Using the parchment paper handles, lift the entire slab of cookie bars out of the baking dish and transfer it to a wire cooling rack. Allow the bars to cool completely in the parchment paper before slicing them into perfect squares. This cooling process is crucial for the bars to set and firm up, making them much easier to cut cleanly. Slice, serve, and enjoy these wonderfully refreshing mint chocolate chip cookie bars!
MINT CHOCOLATE CHIP COOKIE BARS
Print
Pin
Rate
Ingredients
- 1 cup granulated sugar
- ½ cup unsalted butter (1 stick, softened)
- 1 large egg
- ½ cup sour cream
- 3.4 oz instant vanilla pudding mix (small box)
- ½ tsp salt
- ½ tsp baking soda
- 2 cups all-purpose flour
- 2 tsp mint extract
- 3 drops blue food coloring + 10-15 drops green food coloring (adjust to desired shade)
- 1 ½ cups chocolate chips (or a combination of chips and chunks)
Instructions
-
Prep: Preheat your oven to 350 degrees F (175°C).
-
Line a 9×13 inch baking dish or a quarter-sized baking sheet with parchment paper, allowing some overhang on the sides for easy removal. Set aside.
-
Cookie Dough: In a large bowl, cream together the softened butter and granulated sugar with an electric mixer until light and fluffy.
-
Add the egg, sour cream, and instant vanilla pudding mix. Mix until well combined and smooth.
-
In a separate small bowl, whisk together the all-purpose flour, salt, and baking soda.
-
Gradually add the dry flour mixture to the wet butter/pudding mixture. Mix on low speed just until combined; be careful not to overmix.
-
Stir in the mint extract and food coloring until the dough achieves a uniform vibrant green color.
-
Lastly, gently fold in the chocolate chips (or combination of chips and chunks) until evenly distributed throughout the dough.
-
Bake: Press the prepared cookie dough evenly into your lined baking dish.
-
Bake for 20-22 minutes, or until the edges are lightly golden and the center is set (a toothpick inserted should come out with moist crumbs).
-
Transfer the entire slab of baked cookie bars (using the parchment paper) to a cooling rack and let cool completely before slicing into squares. Serve and enjoy!
Notes
For longer storage, or if you’ve made a large batch, you can easily freeze these bars. Wrap them tightly in plastic wrap or aluminum foil, then place them in an airtight freezer-safe container or a heavy-duty freezer bag. They will keep well in the freezer for up to 3 months. When you’re ready to enjoy them, simply thaw the frozen bars at room temperature for a few hours.
Nutrition
Carbohydrates: 37g |
Protein: 3g |
Fat: 10g |
Saturated Fat: 6g |
Polyunsaturated Fat: 0.4g |
Monounsaturated Fat: 2g |
Trans Fat: 0.2g |
Cholesterol: 29mg |
Sodium: 186mg |
Potassium: 30mg |
Fiber: 1g |
Sugar: 25g |
Vitamin A: 244IU |
Vitamin C: 0.1mg |
Calcium: 29mg |
Iron: 1mg
Exciting Variations of Mint Chocolate Chip Cookie Bars
While the classic mint chocolate chip cookie bars are undeniably delicious, their versatility allows for numerous exciting variations to cater to diverse tastes and preferences. Don’t be afraid to get creative in the kitchen!
- Double Chocolate Mint Cookie Bars: For the ultimate chocolate lover, this variation elevates the cocoa experience. Incorporate a few tablespoons of unsweetened cocoa powder into your basic cookie dough recipe. Then, swap out some or all of the regular chocolate chips for rich dark chocolate chips or even chopped bittersweet chocolate. The deeper chocolate flavor intensifies the pairing with mint, creating a more decadent and intensely flavored bar that truly satisfies any chocoholic’s craving.
- Mint Oreo Cookie Bars: Introduce a delightful textural contrast and an extra layer of chocolatey goodness by adding crushed Oreo cookies to your cookie dough. The crunchy cookie pieces will be a wonderful surprise in every bite. To enhance the mint flavor even further, consider using mint-flavored Oreo cookies if you can find them, or simply add an extra drop or two of peppermint extract to the dough. This creates a playful and incredibly popular treat that’s perfect for celebrations.
- White Chocolate Mint Cookie Bars: If you prefer a sweeter, creamier, and milder chocolate experience, opt for white chocolate chips instead of traditional milk or semi-sweet chocolate. The subtle, vanilla-like notes of white chocolate beautifully complement the refreshing mint, creating a lighter and often more elegant flavor profile. You can also drizzle melted white chocolate over the cooled bars for an extra touch of sophistication.
- Mint Chocolate Chip Blondie Bars: For those who gravitate towards a softer, chewier, and gooier texture than a traditional cookie bar, a blondie base is the perfect alternative. Blondies are known for their dense, fudgy consistency, which, when combined with mint extract and a generous amount of chocolate chips, creates a truly addictive treat. The lack of cocoa in the blondie base allows the vibrant green color and mint flavor to truly shine, making for a beautifully bright and delicious dessert.
- Andes Mint Cookie Bars: For a quick and easy twist, once your plain cookie bars are baked and still warm, sprinkle a generous layer of chopped Andes Mints or other thin mint candies over the top. The residual heat will melt the candies, creating a smooth, glossy mint chocolate layer that sets as the bars cool. This method adds an intense mint chocolate flavor with minimal effort.
- Nutty Mint Chocolate Chip Bars: Add a delightful crunch and nutty flavor by incorporating finely chopped walnuts, pecans, or almonds into your cookie dough alongside the chocolate chips. The nuts provide an earthy undertone and a satisfying bite that complements both the mint and chocolate beautifully.
Optimal Storage Methods for Your Mint Chocolate Cookie Bars
Ensuring your delicious mint chocolate cookie bars remain fresh and flavorful is crucial. Here are the best ways to store them, depending on how quickly you plan to enjoy them:
- Room Temperature Storage: If you anticipate devouring your cookie bars within 3-5 days, storing them at room temperature is perfectly acceptable and often preferred for maintaining a soft, chewy texture. The key to preserving their freshness and preventing them from becoming stale or dry is an airtight container. Place the cooled bars in a container with a tight-fitting lid. For extra freshness and to prevent them from sticking together, you can place a piece of parchment paper between layers of bars. Keep the container in a cool, dry place away from direct sunlight.
- Refrigerator Storage: In warmer or more humid climates, or if you want to extend their shelf life slightly beyond room temperature, storing your cookie bars in the refrigerator can be beneficial. Place them in an airtight container to protect them from absorbing other odors in the fridge. While refrigeration will help them stay fresh longer (up to a week), be aware that some cookies can become a bit firmer or lose a touch of their delicate texture when chilled. Allow them to come to room temperature for about 15-30 minutes before serving for the best experience.
- Freezer Storage for Long-Term Freshness: For extended preservation, freezing is your best option. This method allows you to enjoy homemade mint chocolate chip cookie bars for months to come. First, ensure the bars are completely cooled. Then, wrap individual bars or small stacks of bars tightly in plastic wrap, followed by a layer of aluminum foil. This double-layer protection is essential to prevent freezer burn. Place the securely wrapped bars into an airtight freezer-safe container or a heavy-duty freezer bag. They can be safely stored in the freezer for up to 3 months. When you’re ready to enjoy a frozen treat, simply remove the desired number of bars from the freezer and thaw them at room temperature for a few hours. For a quick warm treat, you can also gently reheat them in the microwave for a few seconds.
How to Determine When Your Cookie Bars Are Perfectly Baked?
Knowing precisely when your mint chocolate chip cookie bars are done baking is key to achieving that ideal soft and chewy texture. Over-baking can lead to dry, hard bars, while under-baking results in a gooey, uncooked center. Here are the visual cues and tests to look for:
You will know that your cookie bars have finished baking when their tops no longer appear raw or glossy. Instead, they should look set, and the edges will begin to turn a light golden brown. The center might still appear slightly soft, but it shouldn’t look wet or uncooked. The most reliable method is the classic toothpick or wooden skewer test: gently insert a toothpick into the very center of the cookie bars. If it comes out clean or with just a few moist crumbs clinging to it, your bars are perfectly baked. If you see wet batter, continue baking for a few more minutes and test again. Remember that cookie bars continue to cook slightly from residual heat even after they’re removed from the oven, and they will firm up considerably as they cool. Err on the side of slightly under-baked for chewier results, as they will set more as they cool.
Do Cookie Bars Firm Up as They Cool?
Yes, absolutely! It’s a very common and expected characteristic of almost all cookie bars, including these delightful mint chocolate chip cookie bars, that they will become more firm and stable as they cool down. When these bars are first removed from the hot oven, they will be quite soft, warm, and delightfully gooey in the center, much like a freshly baked chocolate chip cookie. This soft texture is perfectly normal and a sign of a well-baked, moist bar. However, as the bars sit on a cooling rack, the residual heat slowly dissipates, causing the fats (like butter) to solidify and the sugars to recrystallize. This process, known as “setting,” allows the structure of the cookie bars to become much more sturdy and cohesive. It’s why allowing them to cool completely before slicing is so important; attempting to cut them while warm can result in crumbling or uneven pieces. So, be patient! That initial softness transforms into the perfect chewy and firm consistency once fully cooled, making them ideal for neat slicing and serving.
Looking for More Irresistible Cookie Bar Recipes? Try These Suggestions:
- PEPPERMINT COOKIE BARS
- CHRISTMAS SUGAR COOKIE BARS
- CHOCOLATE CHIP COOKIE BARS
- CHERRY ALMOND COOKIE BARS
- NO BAKE COOKIE BARS
- PUMPKIN SNICKERDOODLE COOKIE BARS
- OATMEAL CHOCOLATE CHIP COOKIE BARS
- FUDGY OATMEAL COOKIE BARS
- LEMON SUGAR COOKIE BARS
- TAGALONG COOKIE BARS
- SWIRLED PATRIOTIC COOKIE BARS
- STRAWBERRY CHEESECAKE COOKIE BARS
- SNICKERDOODLE COOKIE BARS
- SUGAR COOKIE BARS
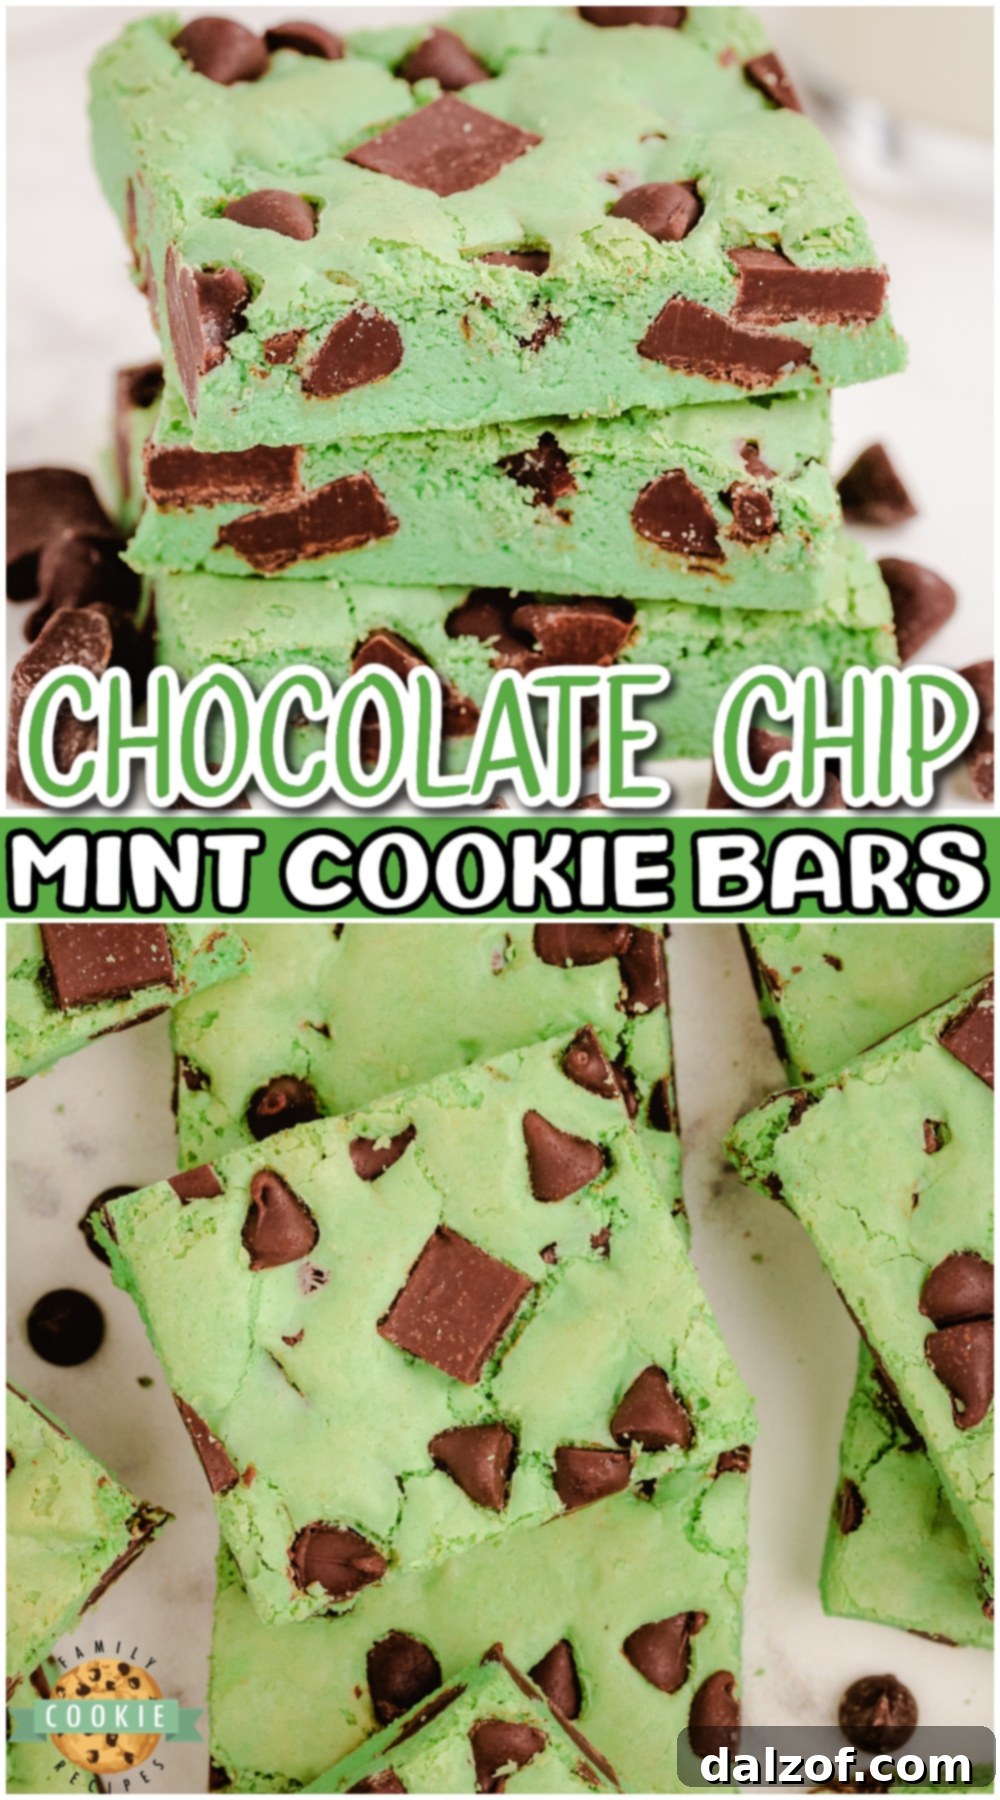
In conclusion, these Mint Chocolate Chip Cookie Bars offer a perfectly sweet, wonderfully chewy, and refreshingly festive treat that’s ideal for any occasion. With their striking green color and abundant chocolate chips scattered throughout, every single bite delivers a delightful combination of cool mint and rich chocolate. These chocolate chip bars are not only incredibly easy to make from scratch but also promise a fun and satisfying dessert experience for everyone who tries them. Enjoy the simplicity and deliciousness of these homemade mint chocolate chip bars!