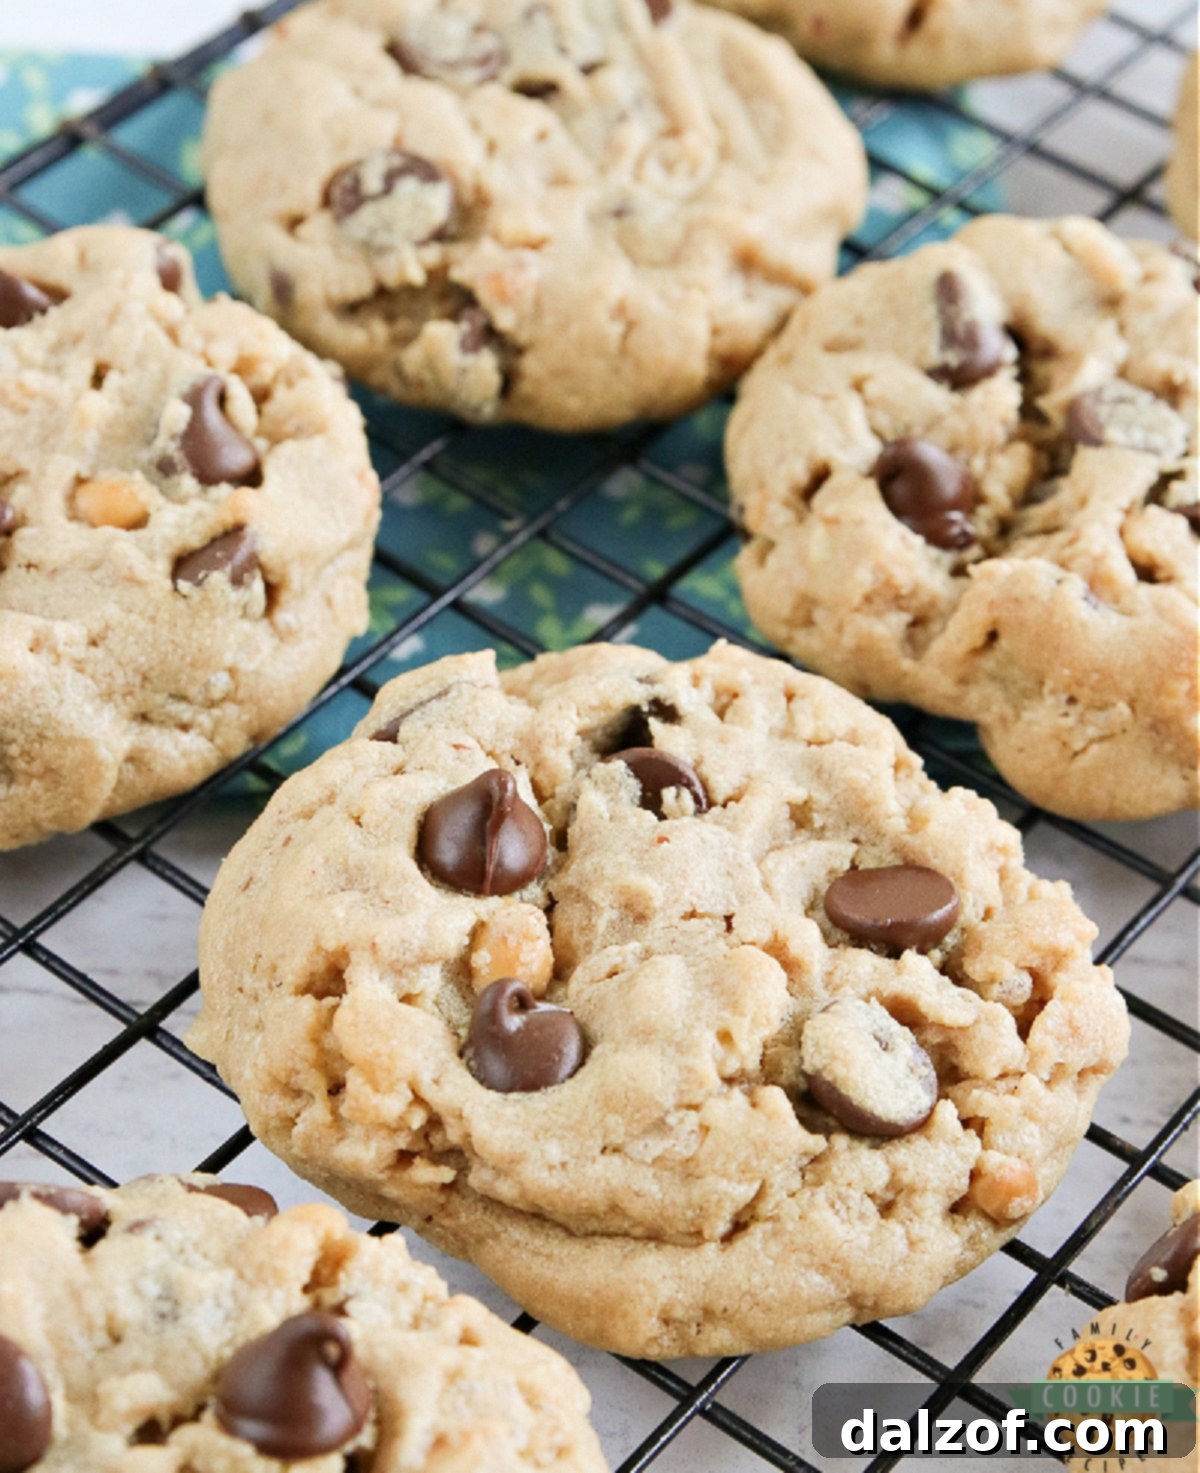
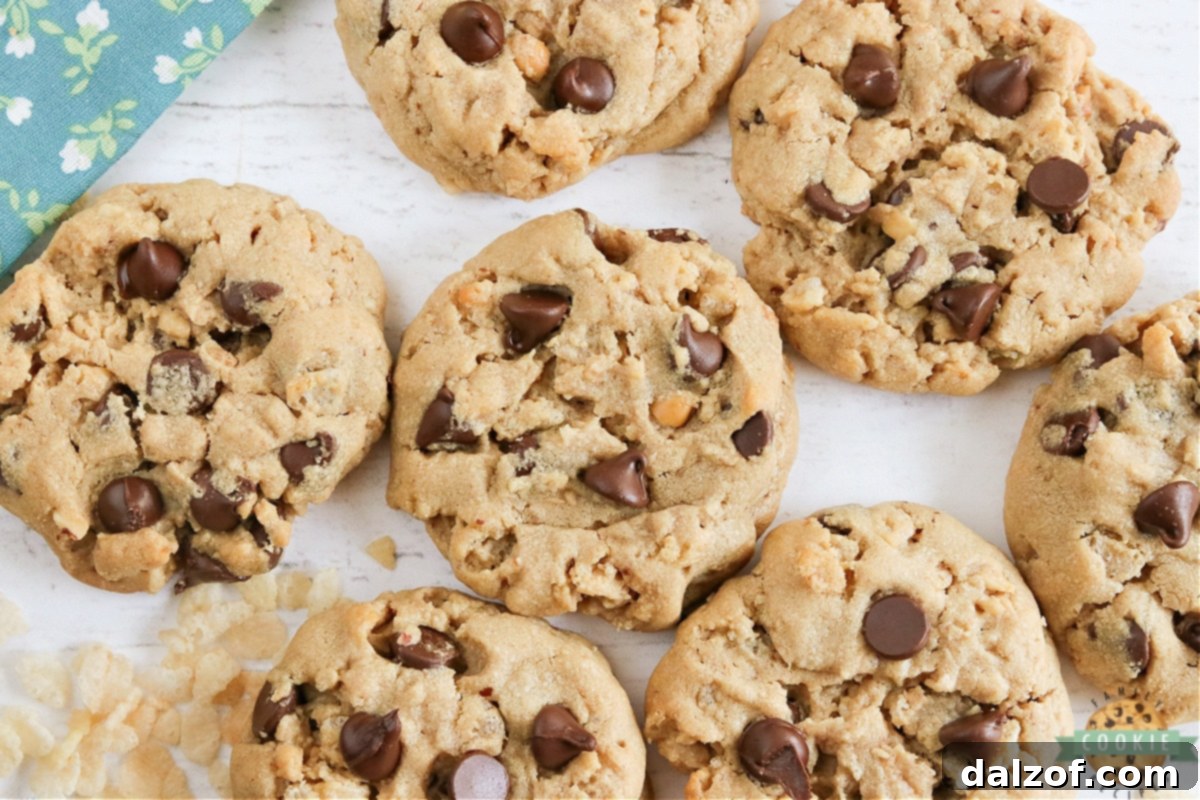
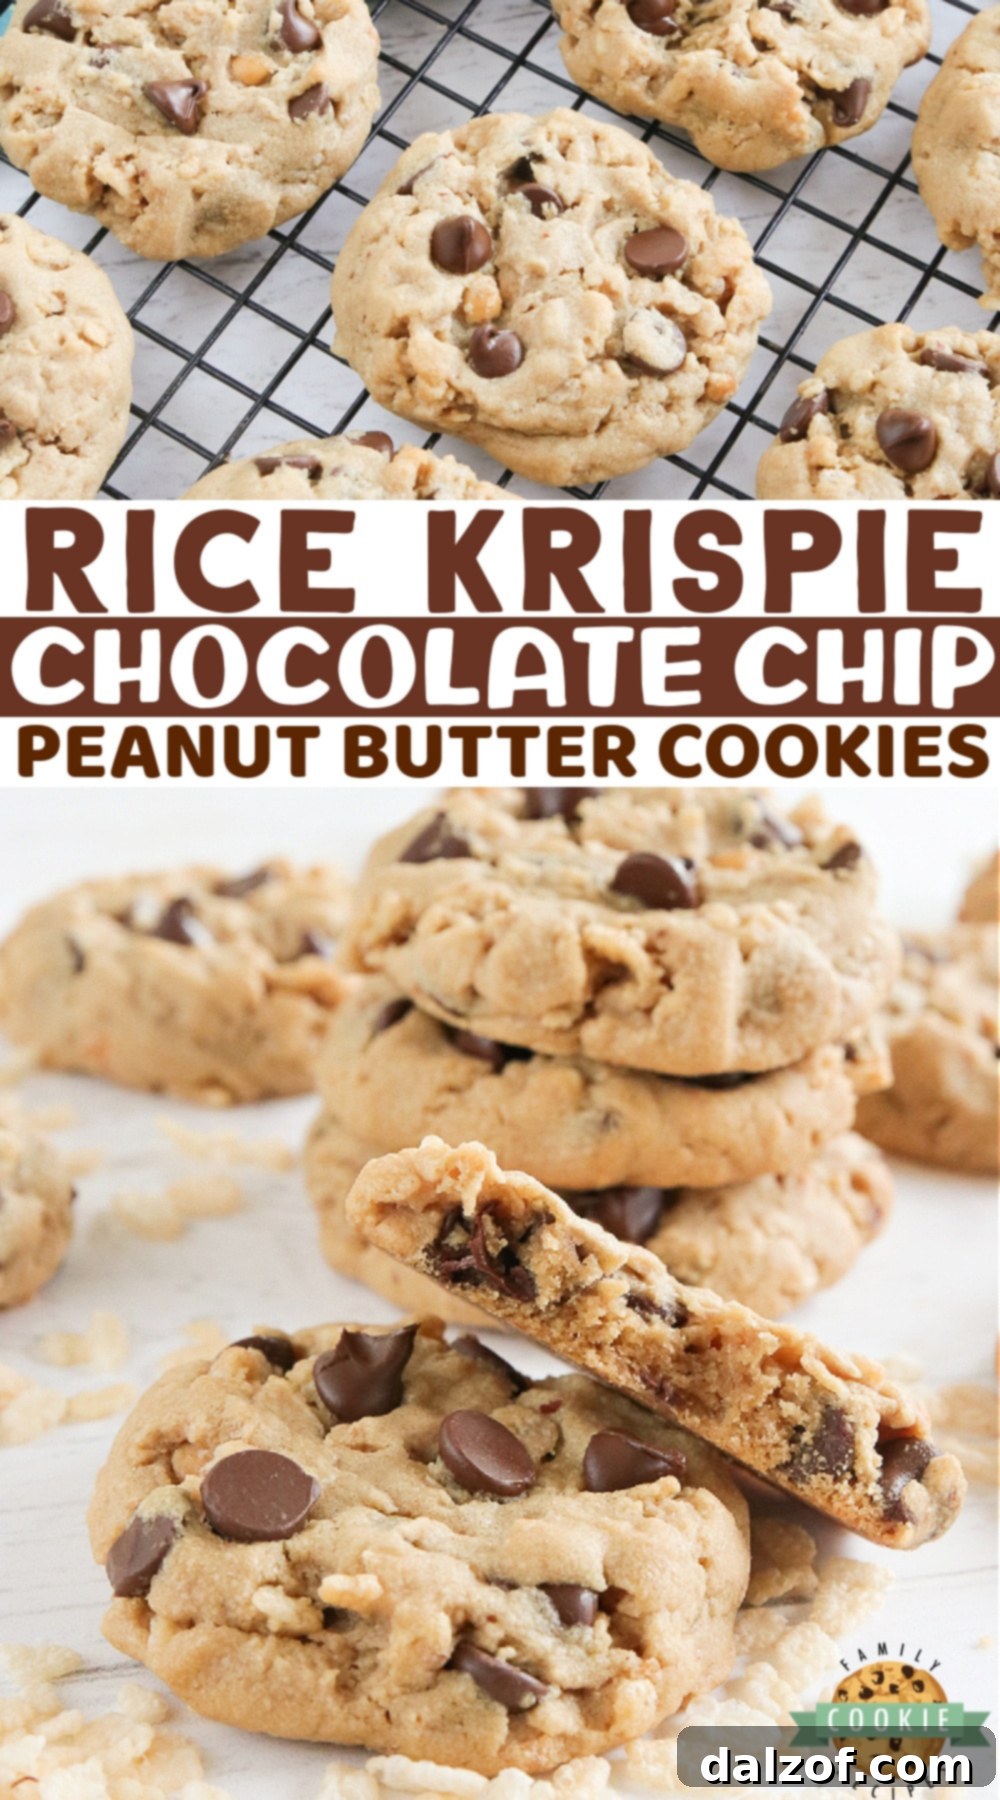
Rice Krispie Chocolate Chip Peanut Butter Cookies are an absolute game-changer in the world of homemade treats. Imagine the comforting chewiness of a classic peanut butter cookie, perfectly blended with rich chocolate chips, and then elevated by an unexpected, delightful crispy crunch from Rice Krispies. This isn’t just another cookie recipe; it’s an experience that delivers an irresistible texture and flavor in every single bite. Get ready to fall in love with your new favorite peanut butter cookie!
As a passionate baker and a long-time fan of peanut butter cookies, I thought I had found my ultimate go-to recipe. That was until I stumbled upon the magic of adding Rice Krispies to the mix. It’s truly a revelation! The light, airy crispiness of the cereal creates a fantastic contrast with the dense, chewy cookie base, making each bite an exciting journey of textures. Paired with decadent chocolate chips, these cookies aren’t just good – they’re extraordinary. Prepare yourself for a new obsession!
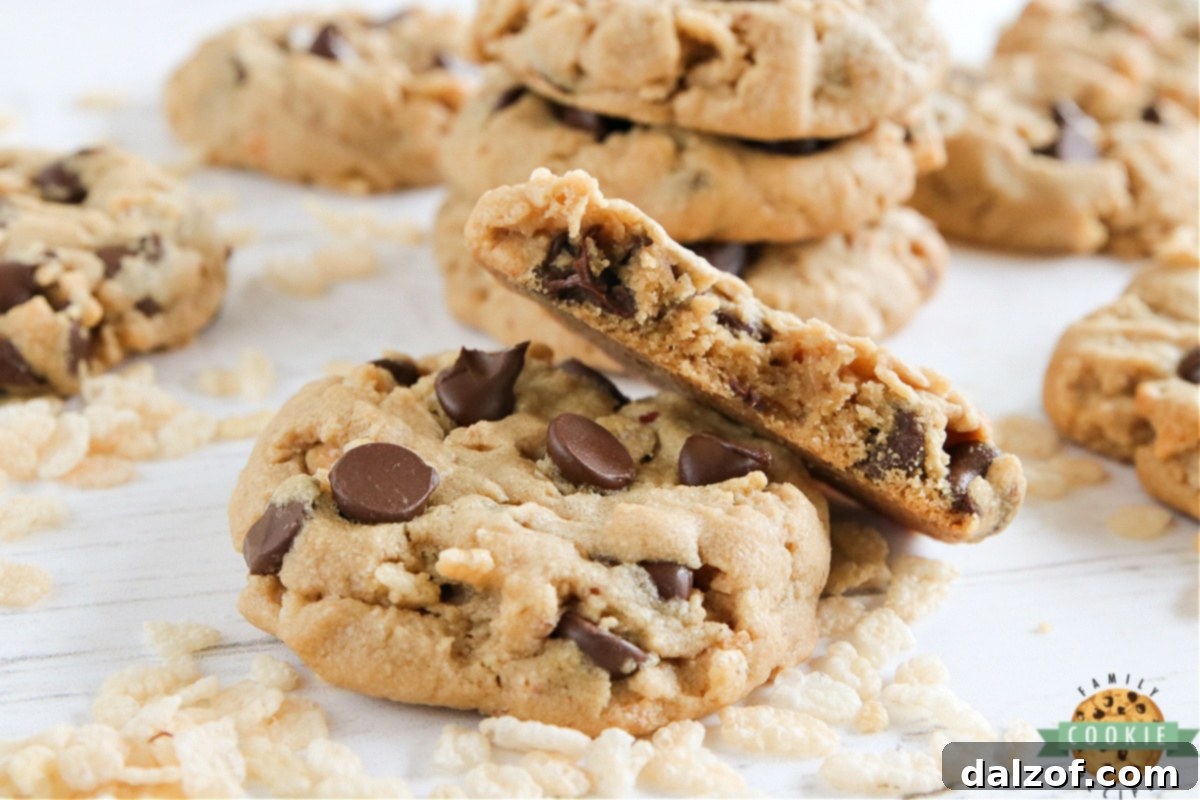
The Ultimate Guide to Making Rice Krispie Chocolate Chip Peanut Butter Cookies
Welcome to the ultimate guide for crafting these incredible Rice Krispie Chocolate Chip Peanut Butter Cookies! Whether you’re a seasoned baker or just starting out, this recipe is designed to be straightforward, fun, and yield consistently delicious results. We’ll cover everything from essential baking tips to detailed ingredient breakdowns and step-by-step instructions, ensuring your cookies are nothing short of perfection. Get ready to bake some joy!
Expert Tips for Baking the Best Peanut Butter Cookies
Achieving the perfect cookie isn’t just about following the recipe; it’s also about understanding the nuances of baking. These expert tips are designed to help you elevate your cookie game, ensuring your Rice Krispie Chocolate Chip Peanut Butter Cookies are soft, chewy, and perfectly crispy every single time.
- Ensure Correct Flour Amount: The texture of your cookie dough is crucial. If your dough feels overly sticky after mixing all ingredients, it likely needs a tiny bit more flour. Start by adding an extra tablespoon and mix until just combined, then assess. Too much flour can make cookies dry and crumbly, while too little can lead to excessive spreading. Aim for a dough that is soft but manageable and doesn’t stick excessively to your hands. This careful balance ensures a tender crumb and prevents overly dense or tough cookies.
- Use Softened, Not Melted, Butter: This is a golden rule in cookie baking! Softened butter (butter left at room temperature for about 30-60 minutes) creams beautifully with sugar, incorporating air and creating a light, tender crumb in your cookies. Melted butter, on the other hand, will result in a flatter, greasier cookie with a tougher texture, as it doesn’t trap air in the same way. Make sure your butter is pliable but not greasy to the touch.
- Cream Butter and Sugars Thoroughly: Don’t rush this step! Creaming butter and sugars together for a solid 2-3 minutes on medium speed is vital. This process not only combines the ingredients but also aerates the mixture, creating tiny pockets of air that contribute to the cookie’s final texture and rise. A well-creamed mixture will appear light, fluffy, and pale in color, signifying that enough air has been incorporated for a perfectly tender cookie.
- Choose the Right Peanut Butter: For consistent and reliable baking results, opt for traditional, processed peanut butter (like Jif or Skippy) rather than natural varieties. Natural peanut butters, where the oil separates, tend to have a runnier consistency and can make your dough oily and cause your cookies to spread too much, leading to thin, crispy results. The stabilizers in traditional peanut butter provide the necessary structure and consistency for these robust cookies.
- Always Preheat Your Oven: Patience is a virtue, especially when it comes to preheating. A properly preheated oven ensures that your cookies begin baking at the correct temperature immediately, which is essential for even baking and proper rising. Placing dough into a cold or warming oven can result in flat, unevenly baked cookies with an undesirable texture. Give your oven at least 15-20 minutes to reach and stabilize at the target temperature before putting in your cookie sheets.
- Invest in a Cookie Scoop: For perfectly uniform cookies, a cookie scoop is an invaluable tool. It ensures that each cookie is the same size, which means they will all bake evenly and be ready at the same time. This prevents some cookies from being underbaked while others are overbaked. Plus, it makes the scooping process much faster and less messy, giving you neat, professional-looking cookies.
- Utilize Parchment Paper or Silicone Mats: Line your baking sheets with parchment paper or a silicone baking mat. This simple step prevents sticking, promotes even browning on the bottom of the cookies, and makes cleanup an absolute breeze. Your cookies will slide right off the tray effortlessly, preserving their perfect shape and texture.
- Avoid Overbaking: This is perhaps the most critical tip for soft, chewy cookies. Cookies continue to bake for a few minutes after they are removed from the oven due to residual heat. Take your cookies out when the edges are just set and lightly golden, but the centers still look slightly soft or even a little underbaked. They will firm up as they cool on the baking sheet. Overbaking leads to dry, hard, and crumbly cookies, losing that desirable chewiness.
- Allow Cookies to Cool on the Sheet: Resist the urge to immediately transfer hot cookies to a wire rack. Letting them cool on the baking sheet for 3-5 minutes allows them to set properly and prevents them from breaking apart when moved. This also contributes to their chewy texture, as the internal structure stabilizes.
- Room Temperature Eggs: Like butter, using a room temperature egg ensures it incorporates smoothly and evenly into the batter. A cold egg can cause the butter to seize up, leading to a lumpy mixture and an inconsistent dough. If you forget to take your egg out, place it in a bowl of warm water for a few minutes to quickly bring it to room temperature.
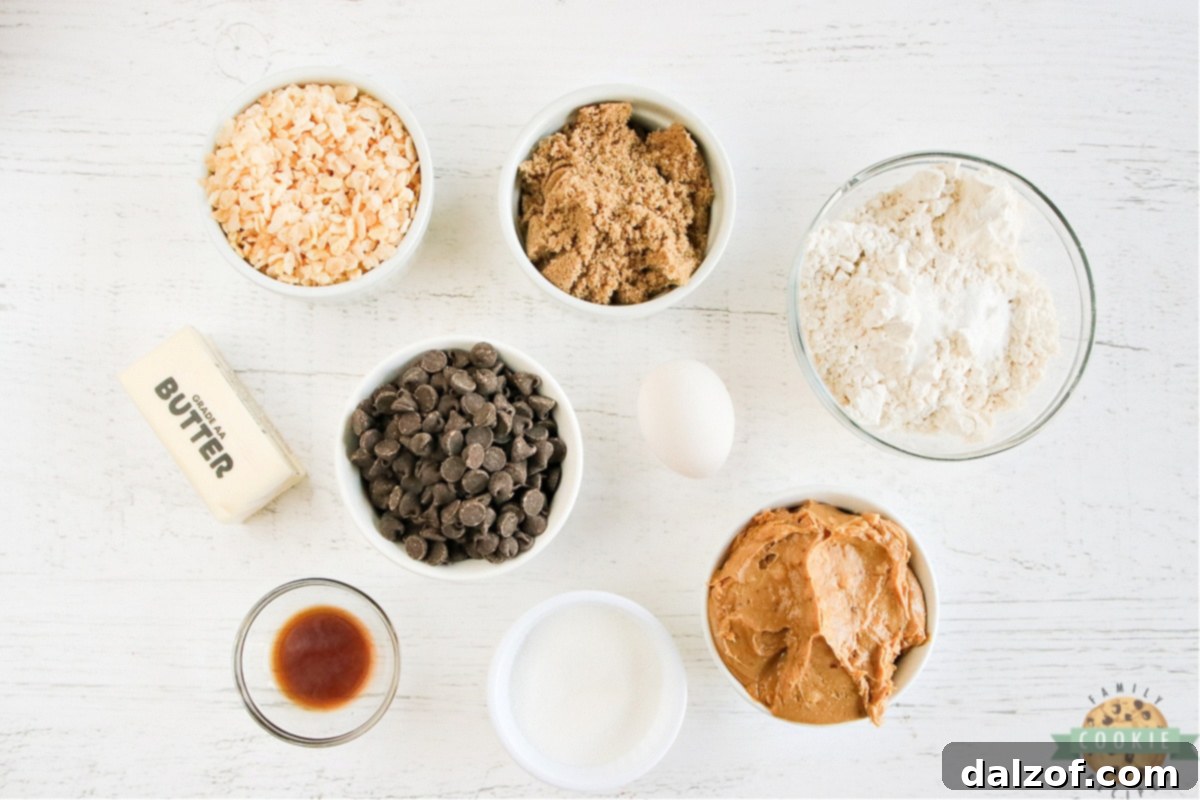
Key Ingredients for Unforgettable Rice Krispie Chocolate Chip Peanut Butter Cookies
Every great recipe begins with quality ingredients. Here’s a closer look at what you’ll need for these exceptional cookies, along with some insights into why each component is vital for achieving that perfect taste and texture:
- Butter (½ cup / 1 stick): This foundational ingredient provides richness and structure. Ensuring it’s softened to room temperature is paramount for proper creaming with the sugars, a process that creates essential air pockets for lighter, more tender cookies. For best results, use unsalted butter to have precise control over the salt content in your recipe.
- Granulated Sugar (¼ cup) and Brown Sugar (¾ cup): This powerful duo is the secret to a perfectly balanced cookie. Granulated sugar contributes to a delicate crispness around the edges, while packed brown sugar adds moisture, incredible chewiness, and a lovely, nuanced molasses flavor that deeply complements the peanut butter. Always ensure your brown sugar is fresh and soft for optimal blending and moisture.
- Large Egg (1): The egg serves as a critical binder, holding all the ingredients together, adding richness, and contributing to the overall structure and texture. Using a room temperature egg is recommended as it emulsifies more smoothly and evenly into the butter and sugar mixture, preventing curdling and ensuring a consistent dough.
- Vanilla Extract (1 tsp): A touch of high-quality pure vanilla extract is indispensable. It doesn’t just add its own delightful aroma; it enhances and deepens all the other flavors in the cookie, adding a warm, inviting complexity that makes the cookies truly irresistible.
- Peanut Butter (1 cup): The undeniable star of these cookies! As emphasized in our baking tips, opting for traditional creamy or crunchy peanut butter (such as Jif or Skippy) is highly recommended. These brands offer a consistent texture and ideal oil content for baking, ensuring your cookies hold their shape and bake evenly. I personally favor crunchy peanut butter in this recipe; the additional nut pieces provide an extra layer of texture that pairs beautifully with the crispiness of the Rice Krispies.
- All-Purpose Flour (1 cup): This is the structural backbone of your cookies. When measured correctly (spooned into the measuring cup and leveled off, rather than scooped directly from the bag), it provides the perfect chewiness without making the cookies tough. While all-purpose flour is standard and works perfectly, cake flour can also be used for an even more tender and delicate crumb.
- Baking Soda (½ tsp): This essential leavening agent plays a vital role. It reacts with the acidic brown sugar, producing carbon dioxide gas that helps the cookies rise and achieve that wonderfully soft, thick, and slightly puffed texture. Always double-check that your baking soda is fresh and not expired for optimal effectiveness.
- Salt (¼ tsp): Often underestimated, a small amount of salt is crucial. It doesn’t just add its own flavor; it cleverly balances the sweetness of the sugars and chocolate, and most importantly, it amplifies and truly brings out the rich, nutty flavor of the peanut butter, making every bite more satisfying.
- Rice Krispies Cereal (1 cup): This is the innovative ingredient that elevates these cookies from great to extraordinary, giving them their signature crispy, light, and airy crunch! Do not omit this; it’s what makes these peanut butter cookies uniquely amazing and adds an addictive textural dimension that will keep you coming back for more.
- Semi-Sweet Chocolate Chips (1 ½ cups): The perfect, classic companion to peanut butter. Semi-sweet chocolate offers a balanced sweetness that beautifully contrasts with the savory notes of peanut butter. Feel free to experiment with milk chocolate chips for a sweeter, creamier profile or dark chocolate chips for a richer, more intense flavor. Mini chocolate chips are a fantastic choice as they distribute more evenly throughout the dough, guaranteeing chocolate in every single bite. Of course, if you’re a purist, these cookies are still undeniably delicious even without the chocolate!
How to Bake Irresistible Rice Krispie Chocolate Chip Peanut Butter Cookies: Step-by-Step
Ready to get baking? Follow these clear and concise steps to create a batch of the most delicious peanut butter cookies with a delightful Rice Krispie crunch and melty chocolate chips. This recipe yields approximately 24 delightful cookies, perfect for sharing (or not!).
Rice Krispie Chocolate Chip Peanut Butter Cookies
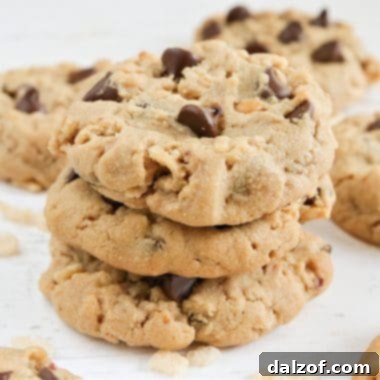
These Rice Krispie Chocolate Chip Peanut Butter Cookies are the epitome of comfort baking: soft, wonderfully thick, and perfectly chewy, each bite offers an exquisite crispy crunch. This elevated peanut butter cookie recipe combines the classic appeal of chocolate chips with the unexpected delight of Rice Krispies for an unforgettable treat.
Rating: 5 out of 5 stars (from 2 votes)
Print Recipe |
Pin Recipe |
Rate This Recipe
Course: Cookies | Cuisine: American | Keyword: Rice Krispie Chocolate Chip Peanut Butter Cookies
Prep Time: 10 minutes | Cook Time: 10 minutes
Servings: 24 cookies | Calories: 223 kcal per cookie
Author: Jessica & Nellie
Ingredients
- ½ cup (1 stick) butter, softened
- ¼ cup granulated sugar
- ¾ cup brown sugar, packed
- 1 large egg, room temperature
- 1 tsp vanilla extract
- 1 cup peanut butter (regular, creamy or crunchy – crunchy is highly recommended!)
- 1 cup all-purpose flour
- ½ tsp baking soda
- ¼ tsp salt
- 1 cup Rice Krispies cereal
- 1 ½ cups semi-sweet chocolate chips (mini chips are great for even distribution!)
Instructions
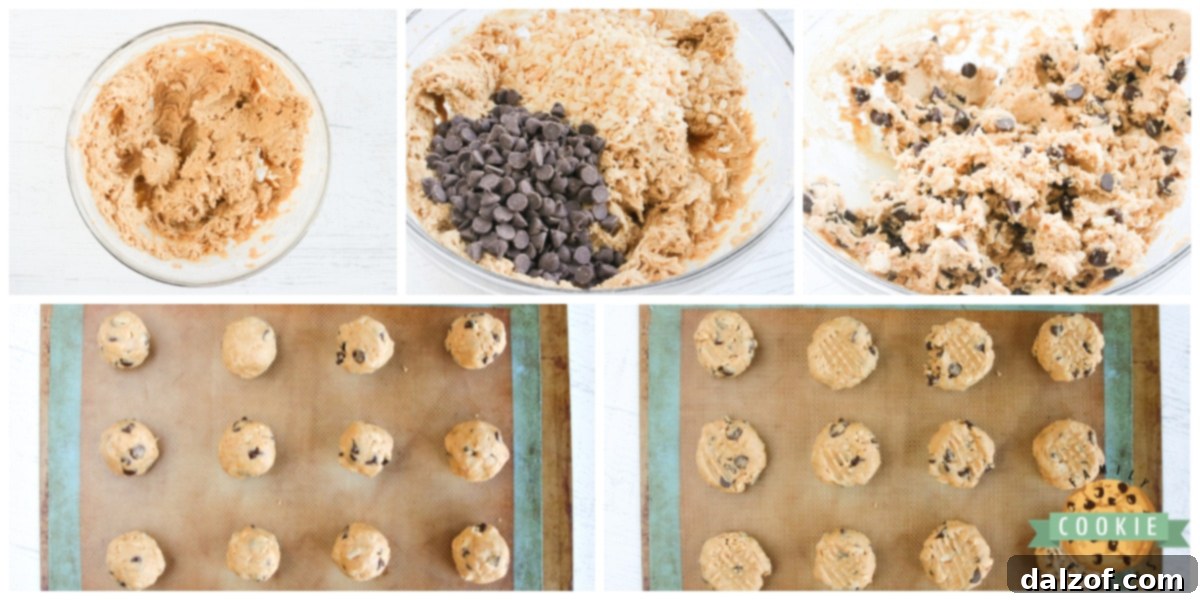
- Prepare Your Oven: Preheat your oven to 350°F (175°C). Line a baking sheet with parchment paper or a silicone baking mat. This ensures even baking and easy removal.
- Cream Butter and Sugars: In a large mixing bowl, using an electric mixer, beat the softened butter, granulated sugar, and brown sugar together on medium speed for 2-3 minutes. The mixture should become light, fluffy, and pale, indicating proper aeration.
- Add Wet Ingredients: Incorporate the room temperature egg and vanilla extract. Continue to beat for another 1-2 minutes until thoroughly combined and smooth. Scrape down the sides of the bowl to ensure everything is well-mixed.
- Mix in Peanut Butter: Add the cup of peanut butter to the mixture and beat until it’s completely incorporated and smooth. Again, scrape down the sides of the bowl to catch any stray bits.
- Combine Dry Ingredients: In a separate medium bowl, whisk together the all-purpose flour, baking soda, and salt. This step ensures that the leavening agent and salt are evenly distributed throughout the flour.
- Combine Wet and Dry: Gradually add the dry ingredient mixture to the peanut butter mixture. Mix on low speed just until combined. Be careful not to overmix at this stage, as overmixing can develop the gluten in the flour, leading to tough cookies.
- Fold in the Goodies: Gently fold in the Rice Krispies cereal and chocolate chips with a spatula until they are evenly distributed throughout the dough. You want them spread throughout for texture in every bite!
- Scoop and Roll: Using a cookie scoop (approximately 1.5-2 tablespoons for a standard-sized cookie), scoop heaping spoonfuls of dough. Roll each portion into a smooth ball with your hands.
- Arrange on Baking Sheet: Place the cookie dough balls onto the prepared baking sheet, ensuring they are about 2 inches apart to allow for proper spreading during baking.
- Bake to Perfection: Bake for 10 minutes. The edges should appear lightly golden and set, but the centers may still look slightly soft or even a little underbaked. This is exactly what you want for a perfectly chewy cookie, as they will continue to set as they cool.
- Cool and Enjoy: Allow the cookies to cool on the baking sheet for 3-4 minutes before carefully transferring them to a wire rack to cool completely. This resting period helps them set properly and prevents them from breaking apart when moved, contributing to their ultimate chewy texture.
Nutrition Information (per cookie)
- Calories: 223 kcal
- Carbohydrates: 22 g
- Protein: 4 g
- Fat: 14 g
- Saturated Fat: 6 g
- Polyunsaturated Fat: 2 g
- Monounsaturated Fat: 5 g
- Trans Fat: 1 g
- Cholesterol: 18 mg
- Sodium: 142 mg
- Potassium: 154 mg
- Fiber: 2 g
- Sugar: 14 g
- Vitamin A: 211 IU
- Vitamin C: 1 mg
- Calcium: 20 mg
- Iron: 2 mg
Tried this recipe?
Mention @familycookierecipes or tag #familycookierecipes!
Storage and Freezing Instructions
Once you’ve baked a batch of these delightful cookies, you’ll want to ensure they stay fresh for as long as possible. Here are some comprehensive tips for storing and even freezing your Rice Krispie Chocolate Chip Peanut Butter Cookies, so you can enjoy them days or weeks later:
- Room Temperature Storage: For immediate enjoyment, store cooled cookies in an airtight container at room temperature. They will maintain their delicious flavor and chewy texture for up to 3-5 days. To help keep them extra soft and moist, you can even place a slice of plain bread inside the container; the cookies will absorb moisture from the bread, preventing them from drying out.
- Freezing Baked Cookies: For longer-term storage, baked cookies can be frozen without compromising their quality. Once your cookies are completely cooled, arrange them in a single layer on a baking sheet and freeze until solid (this usually takes about 1-2 hours). Once firm, transfer the frozen cookies to a freezer-safe airtight container or heavy-duty freezer bag. They will keep beautifully for up to 3 months. When you’re ready for a treat, simply thaw them at room temperature, or gently warm them in the microwave for a few seconds for that fresh-baked feel.
- Freezing Cookie Dough: An excellent option for meal prepping your desserts! You can also freeze the unbaked cookie dough. Scoop the dough into individual balls as directed in the recipe instructions, then place them on a parchment-lined baking sheet and freeze until they are firm. Once solid, transfer the dough balls to a freezer-safe bag or container. This frozen dough can be stored for up to 3 months. When you desire fresh cookies, simply place the frozen dough balls on a prepared baking sheet and bake for an additional 2-4 minutes compared to the recipe time, or until they are golden brown around the edges. No need to thaw beforehand!
Frequently Asked Questions (FAQs) About Peanut Butter Cookies
Let’s address some common queries that often arise when baking peanut butter cookies, especially these unique Rice Krispie Chocolate Chip versions, to ensure your baking experience is as smooth and successful as possible.
What type of peanut butter is best for baking?
For consistent and predictable results in baking, especially with cookies, it’s highly recommended to use regular, processed peanut butter like Jif or Skippy. These brands contain added sugars and stabilizers that prevent oil separation and maintain a consistent texture, which is crucial for the dough’s consistency and how the cookies spread and bake. Natural peanut butters, which often have separated oil and varying consistencies, can lead to a greasier dough and cookies that spread excessively, resulting in thin, crispy, and often disappointing results. Stick to the classic for reliable deliciousness.
Why do peanut butter cookies have fork marks on them?
The distinctive crosshatch pattern on peanut butter cookies isn’t just for decoration; it serves a crucial practical purpose! Peanut butter cookie dough tends to be denser and less prone to spreading naturally in the oven compared to other cookie doughs. Pressing the tops with a fork helps to flatten them slightly, encouraging more even baking throughout the cookie. Without these marks, the centers might remain underbaked and doughy while the edges burn. It also creates more surface area for that delightful crispy edge, adding to the textural appeal.
Can I use different types of chocolate chips?
Absolutely! While semi-sweet chocolate chips offer a balanced sweetness that pairs wonderfully with the rich, nutty flavor of peanut butter, feel free to experiment to suit your preferences. Milk chocolate chips will make the cookies sweeter and creamier, appealing to those with a stronger sweet tooth. Dark chocolate chips, on the other hand, will add a richer, more intense, and slightly bitter contrast that can be incredibly sophisticated. White chocolate chips or even a mix of different chocolate types (like a combination of semi-sweet and milk chocolate) can also be delicious and visually appealing additions, allowing you to customize your batch perfectly.
Can I omit the Rice Krispies?
While the Rice Krispies are what make these cookies truly unique and add an incredible textural dimension – that fantastic crispy crunch – you can certainly omit them if you prefer a classic chocolate chip peanut butter cookie without the cereal. The recipe will still yield a delicious, soft, and chewy cookie, rich with peanut butter and chocolate flavor. However, we highly recommend trying them with the cereal at least once; many find that unexpected crunch to be the best part!
My cookies spread too much! What went wrong?
Several factors can cause cookies to spread excessively, leading to thin, flat cookies. Common culprits include using melted butter instead of softened (which doesn’t trap air), using natural peanut butter (which has too much oil), overmixing the dough (which develops gluten and makes it too extensible), or having an oven that isn’t preheated to the correct temperature (which means the butter melts before the cookie structure sets). To prevent this, ensure your butter and egg are at room temperature, measure your flour accurately, avoid overmixing once the flour is added, and always preheat your oven thoroughly. Chilling the dough for 20-30 minutes before baking can also significantly help prevent spreading by firming up the fats in the dough.
How do I make my cookies extra chewy?
To ensure your cookies are extra chewy, pay close attention to the type of sugar and baking time. Using a higher ratio of brown sugar to granulated sugar (as this recipe does!) contributes significantly to chewiness due to the molasses content in brown sugar. Also, underbaking your cookies slightly is key. When you pull them from the oven, they should still look a little soft in the middle; they will continue to set and firm up as they cool on the baking sheet, resulting in that coveted chewy center.
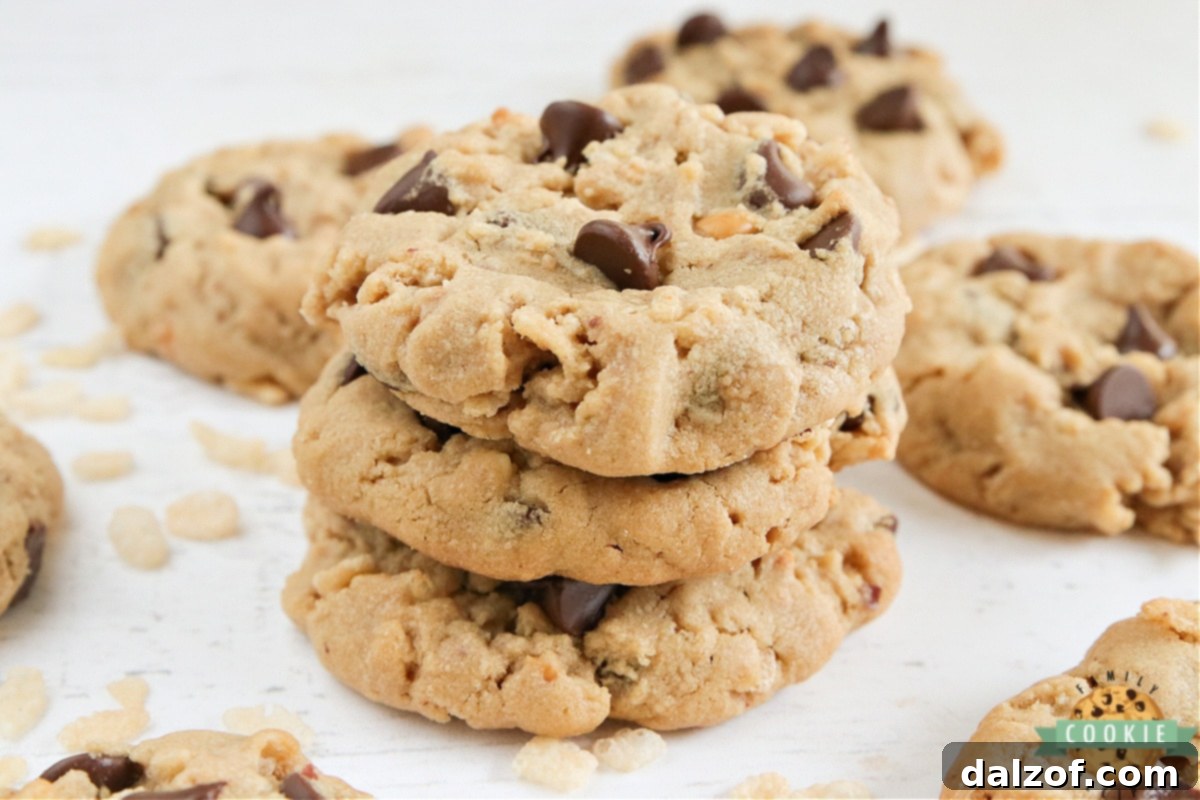
More Irresistible Peanut Butter Cookie Recipes to Explore
If you’re a true peanut butter cookie enthusiast, your culinary adventure doesn’t have to end here! We have a treasure trove of other delightful peanut butter cookie recipes that cater to every craving. From classic favorites to inventive new twists, you’re sure to find another gem to add to your baking repertoire. Each recipe promises unique flavors and textures, ensuring there’s always a new way to enjoy the magic of peanut butter. Happy baking!
- Best Chocolate Chip Peanut Butter Cookies
- Peanut Butter Oatmeal Chocolate Chip Cookies
- Peanut Butter Chip Chocolate Cookies
- Easy Peanut Butter Cookies
- Fudge Peanut Butter Cookie Cups
- Reese’s Peanut Butter Cookies
- Best Monster Cookies
- Peanut Butter No Bake Cookies
- Reese’s Peanut Butter Pudding Cookies
- Reese’s Chocolate Peanut Butter Cookies
- Butterfinger Peanut Butter Cookies
- Snickers Peanut Butter Cookies
- Apple Peanut Butter Cookies
And now, a little slice of life from our kitchen! My little “goofball” is currently navigating the delightful chaos of being three years old, and her personality seems to expand exponentially every single day. One minute she’s quietly playing, the next she’s making us burst into laughter with her latest antics. It’s a constant stream of silly moments and surprising insights that make the exhausting parts of toddlerhood completely worth it.
Just yesterday, she decided a ski hat and sunglasses were the essential indoor attire for the entire day. Who are we to argue with such impeccable style and an unshakeable commitment to fun? Perhaps we adults are just missing out on the joy of embracing such whimsical fashion choices. Her sheer delight in her self-proclaimed “cool” look was infectious, reminding us to find joy in the smallest, most unexpected moments. It’s these everyday moments of unexpected charm that truly make life, and our kitchen, so vibrant and full of love.