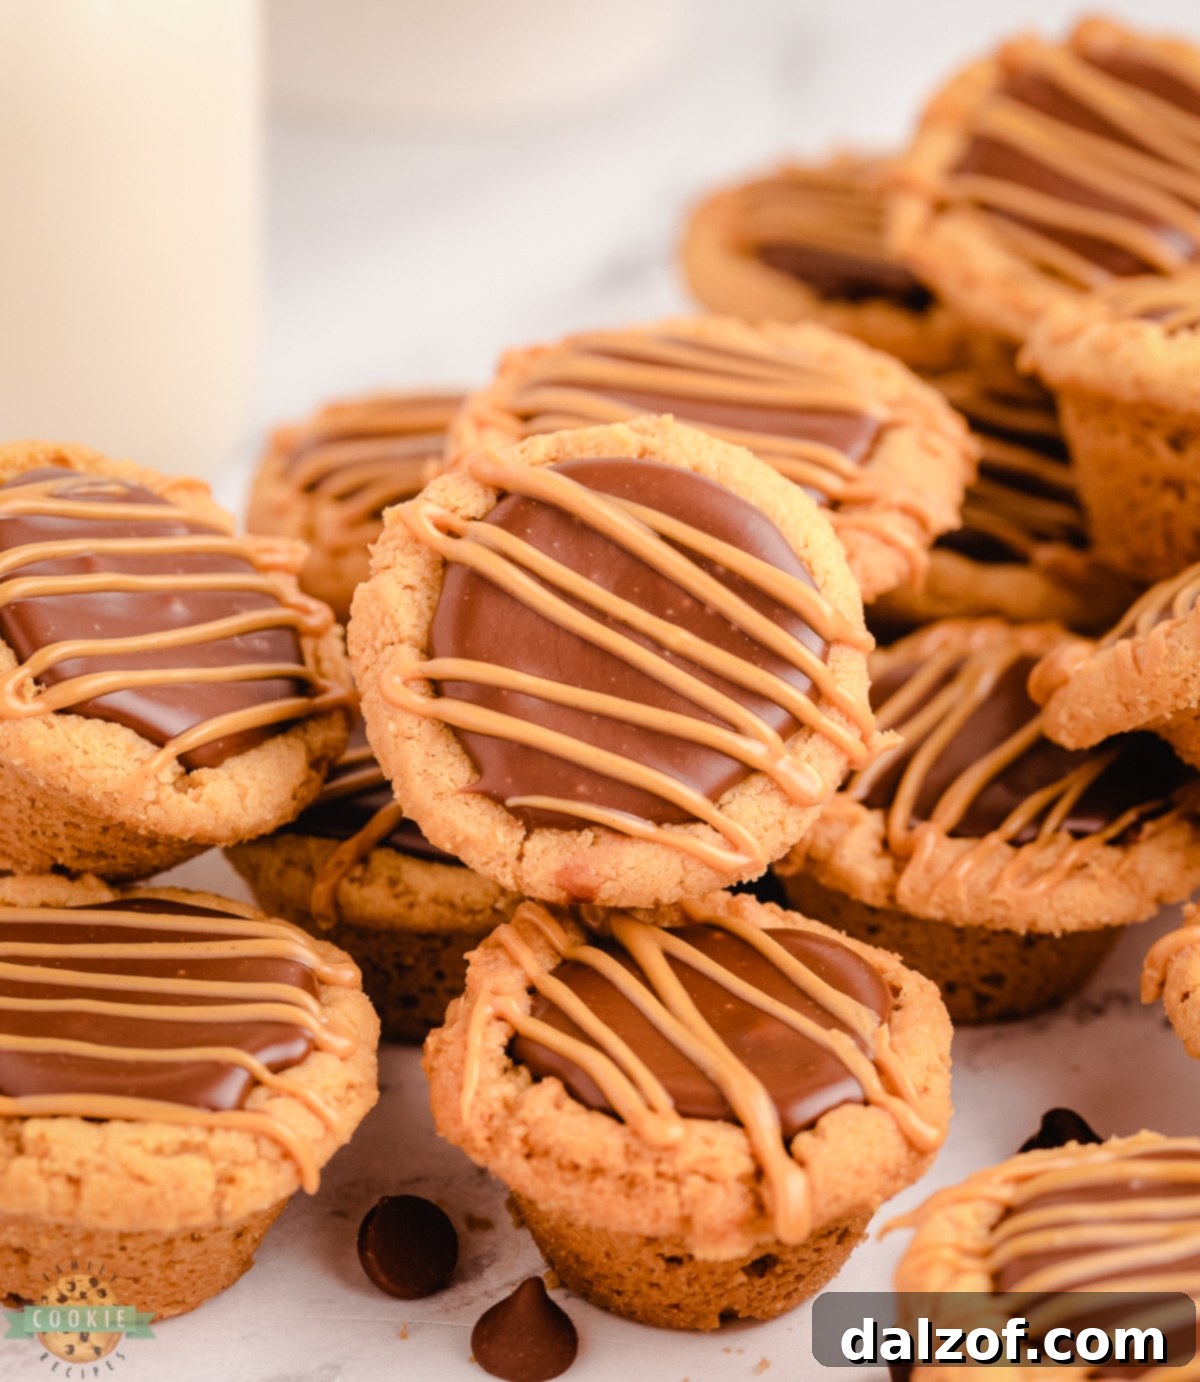
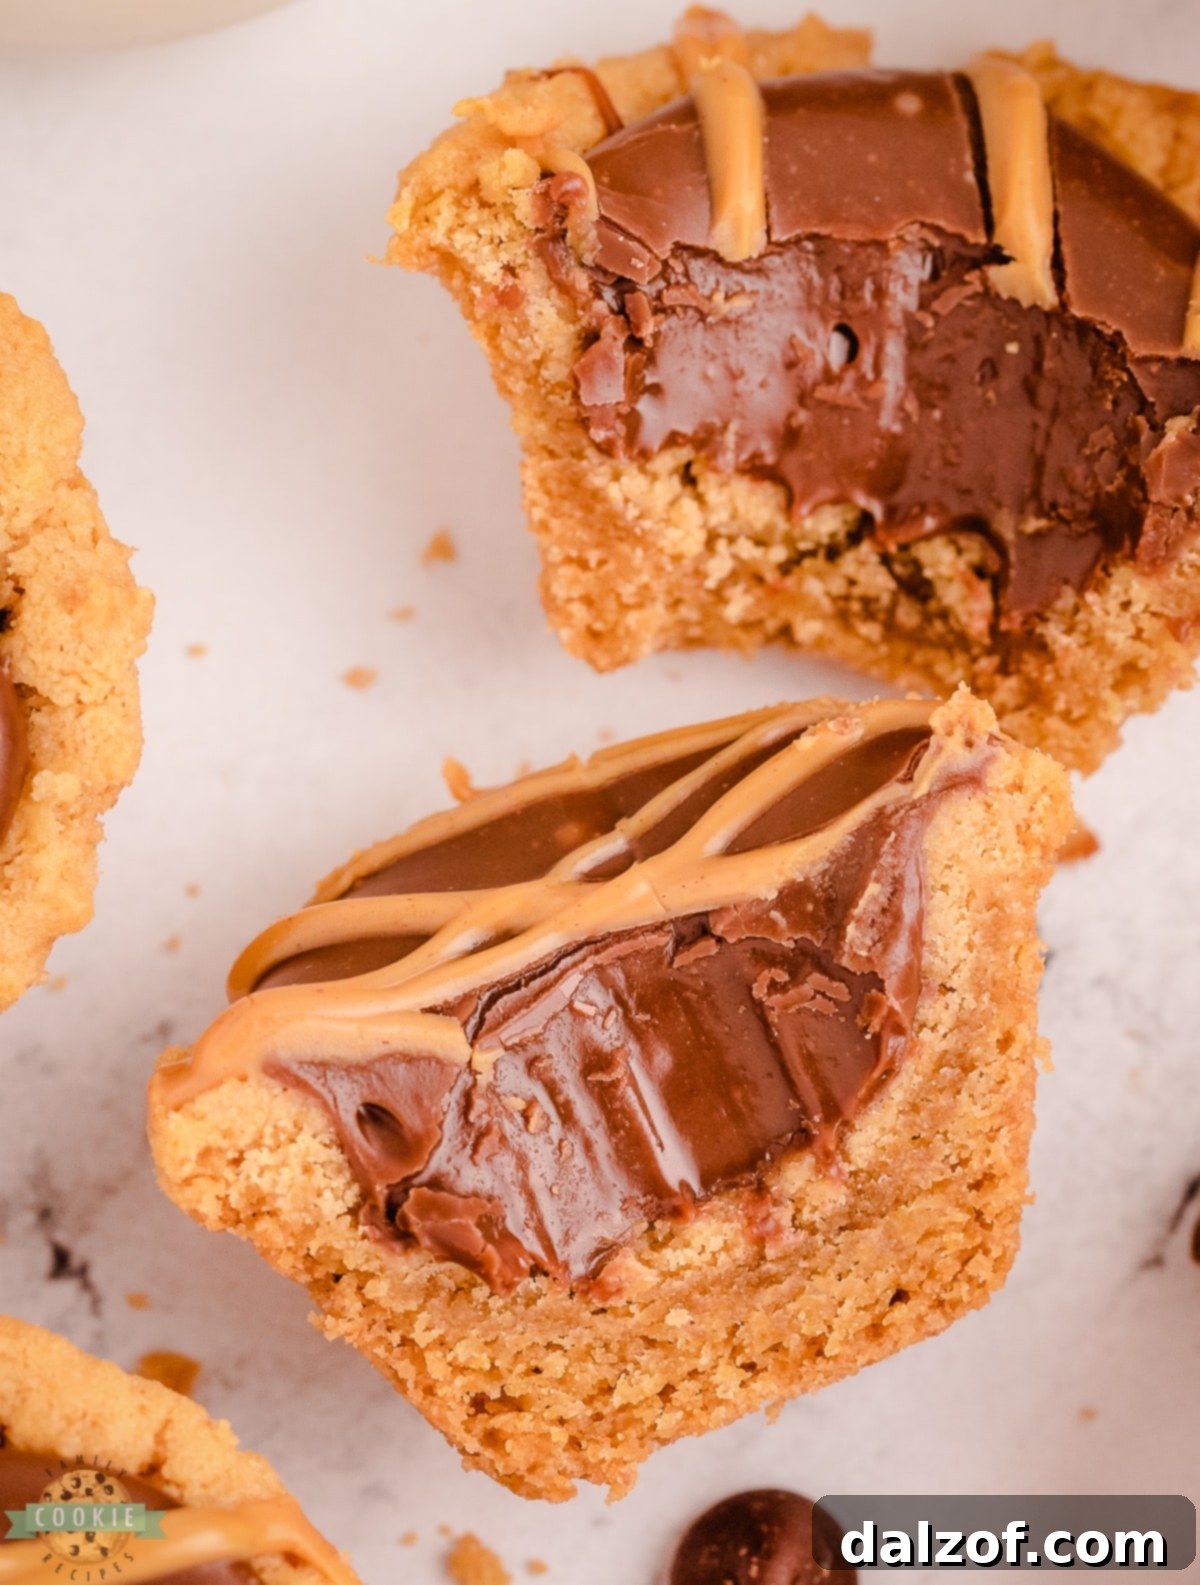
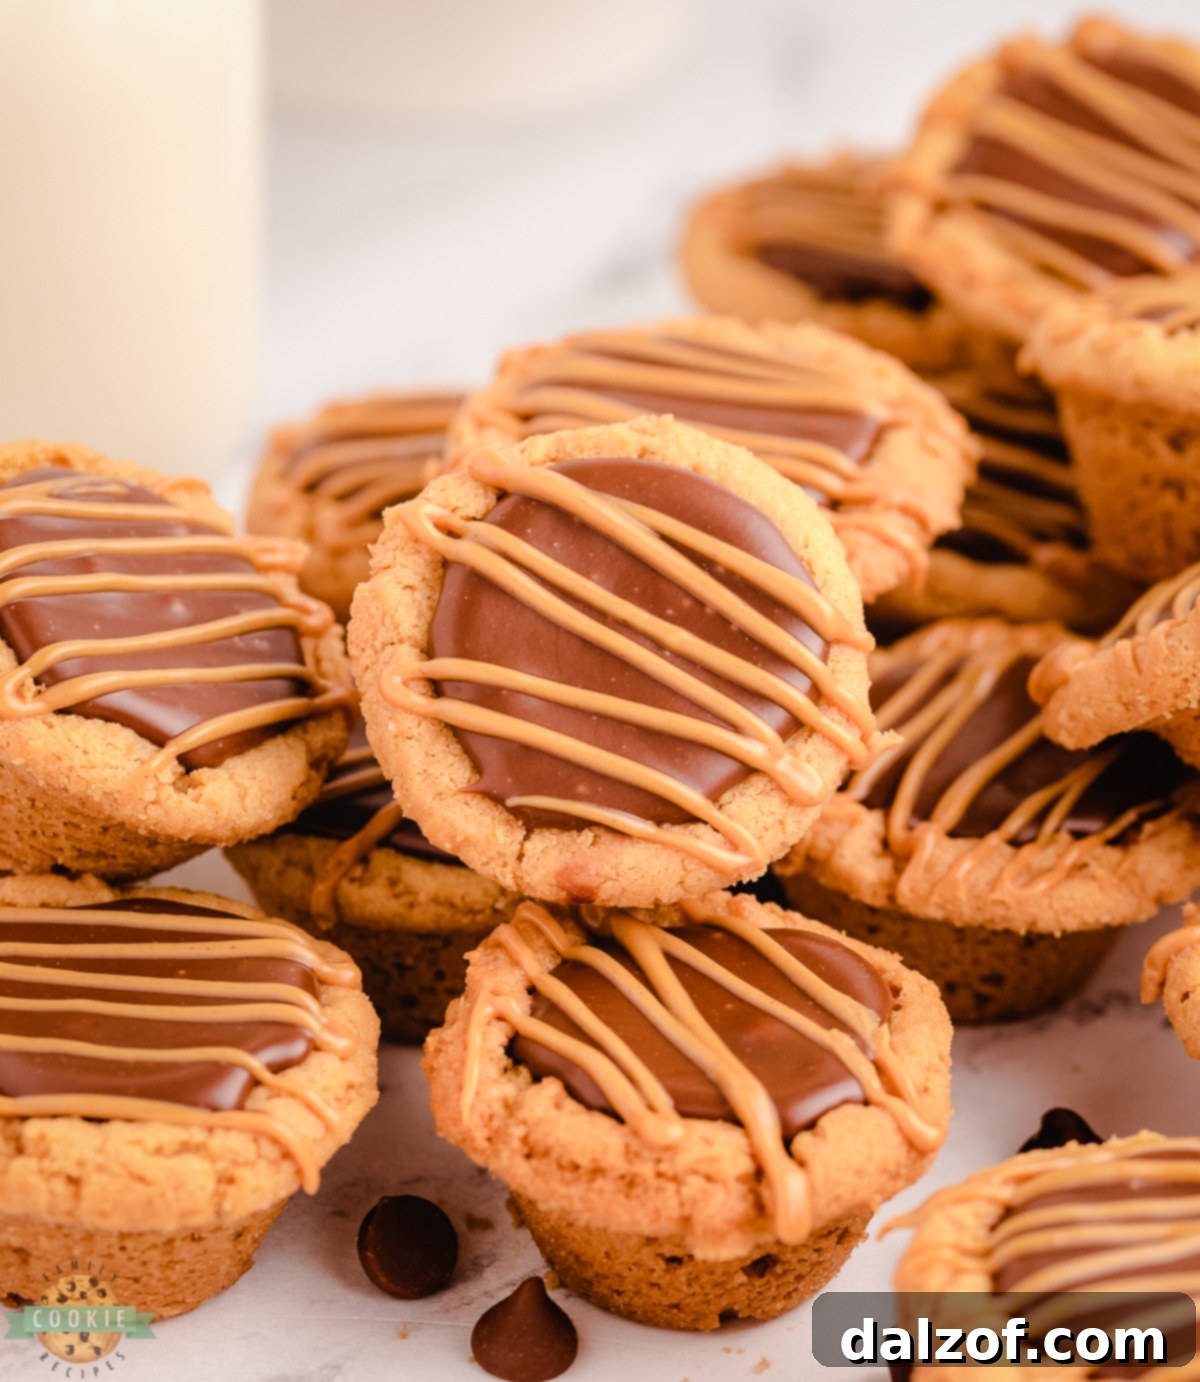
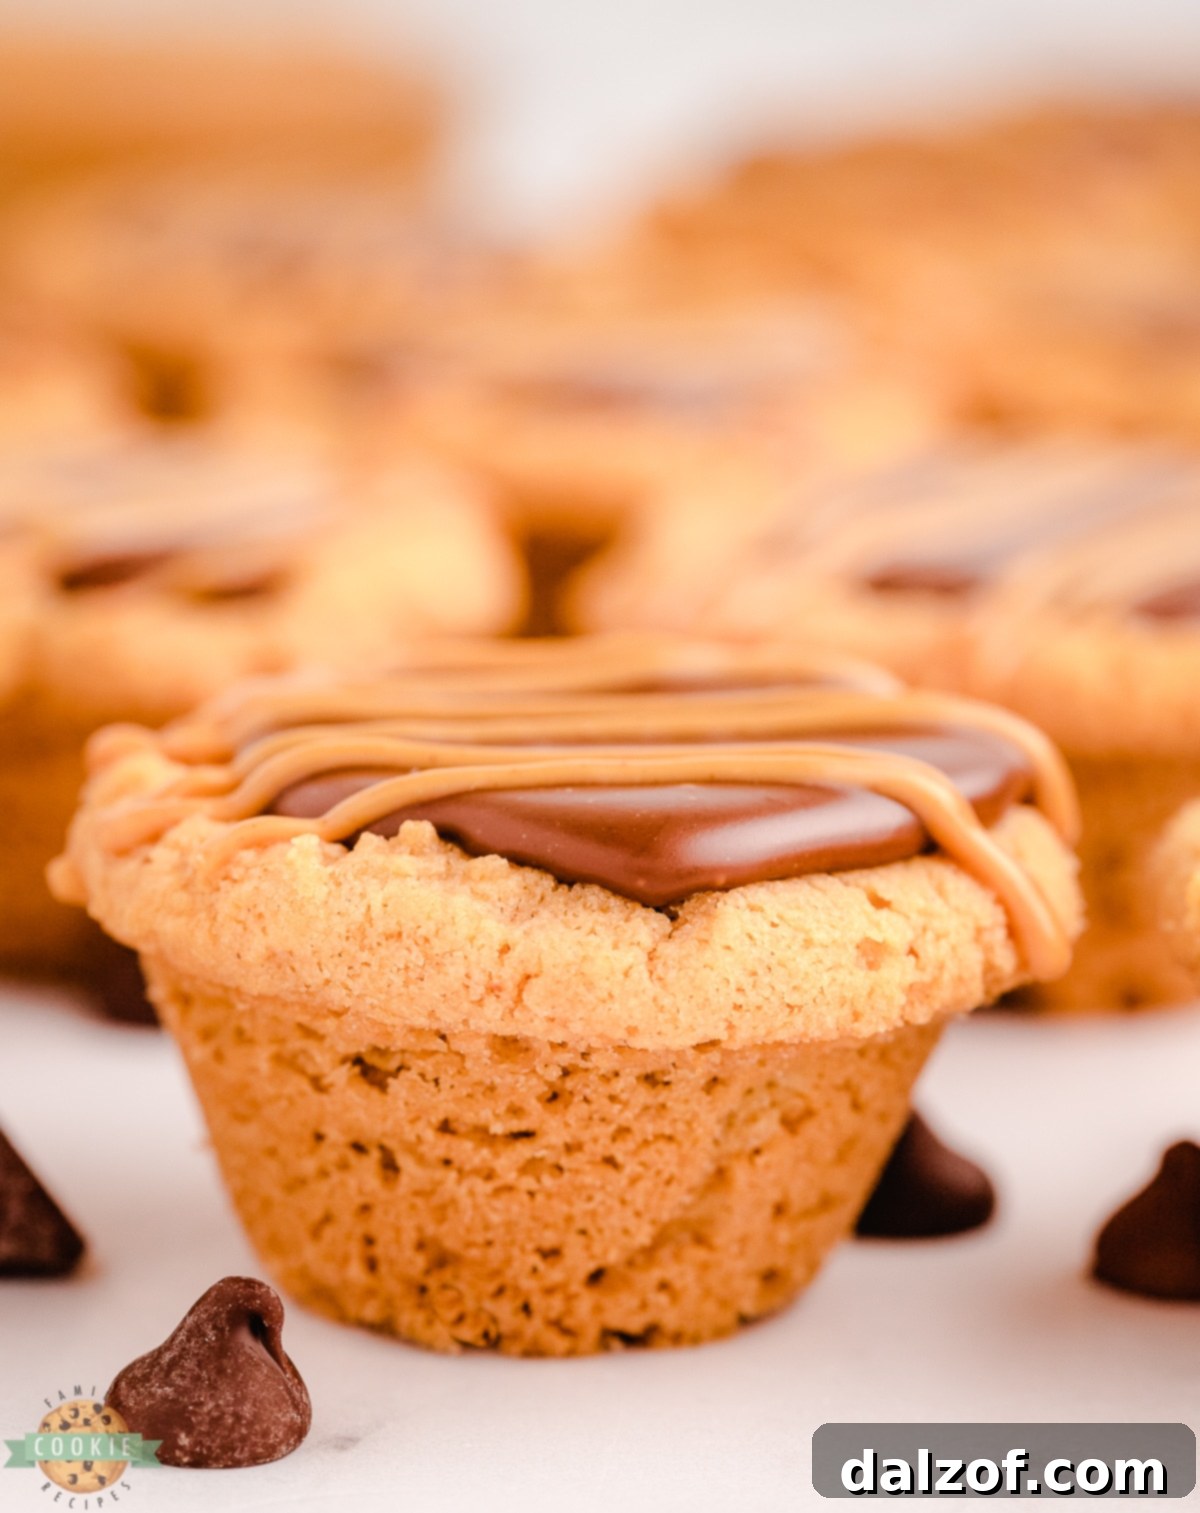
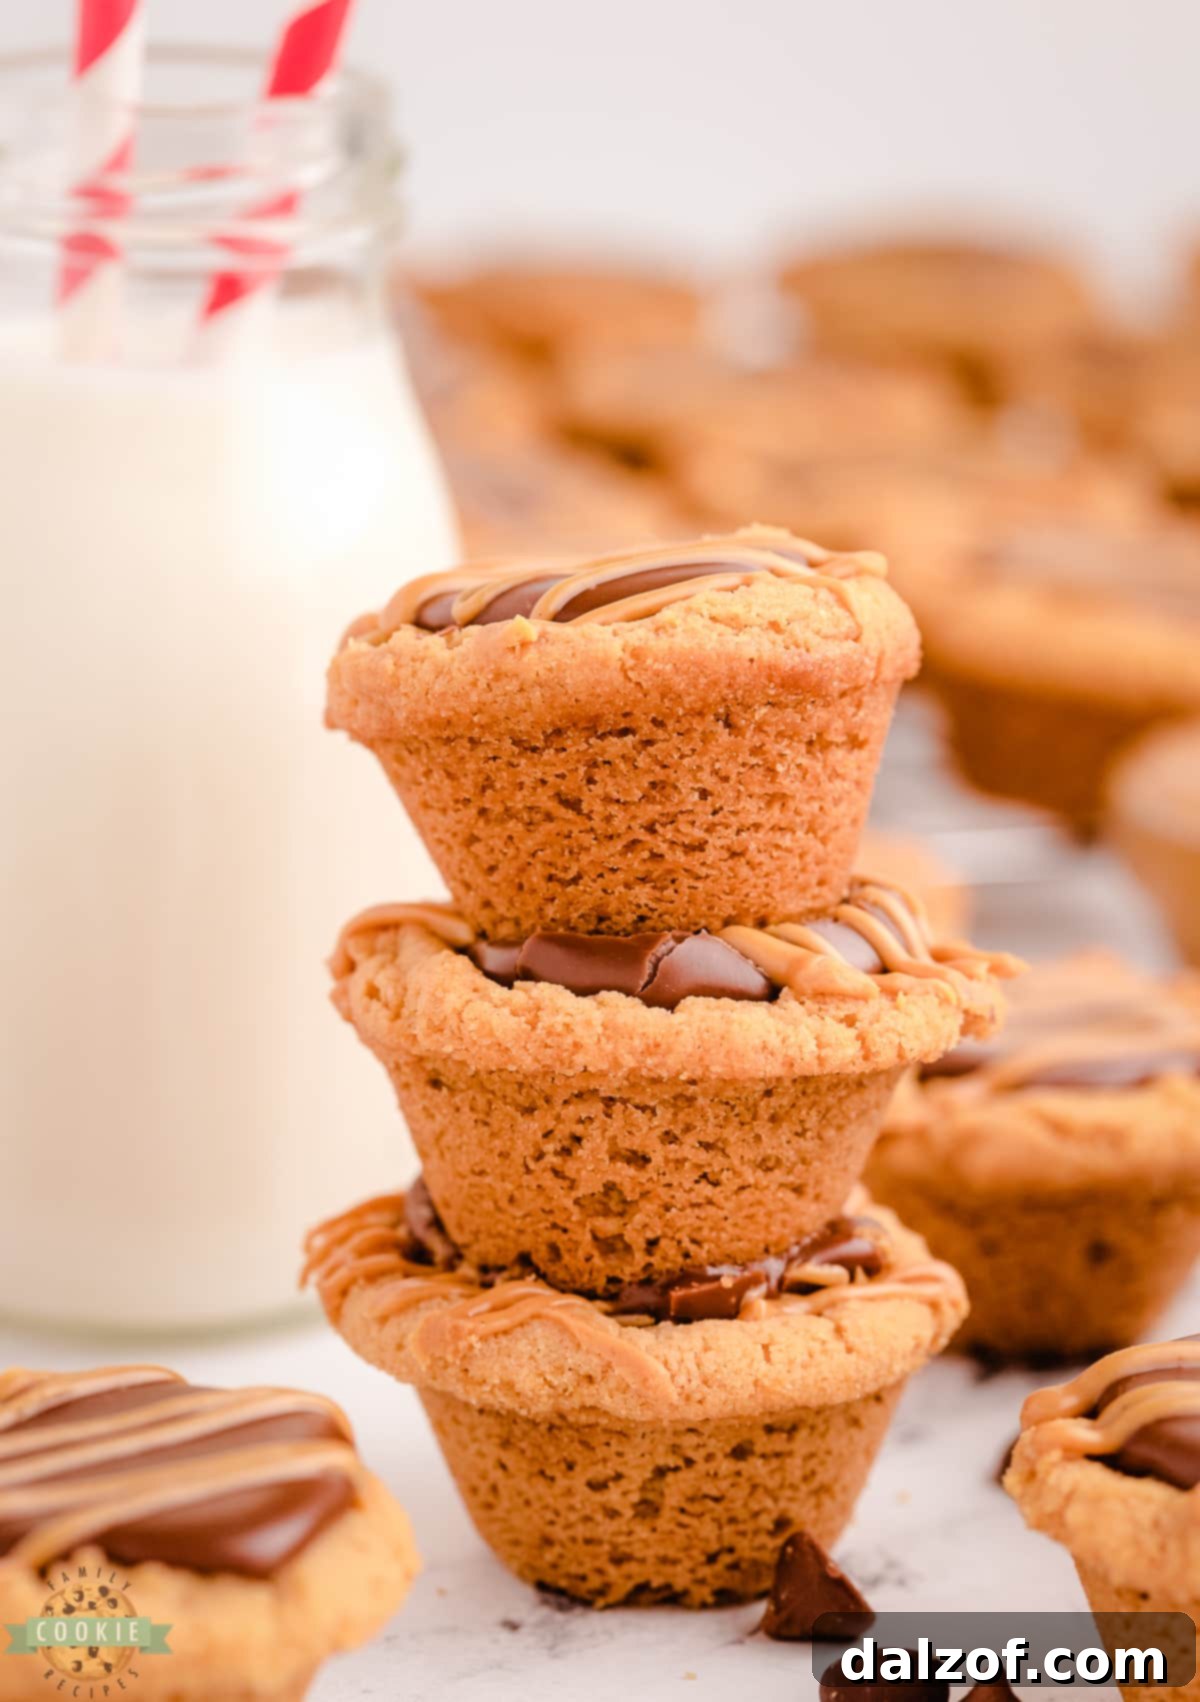
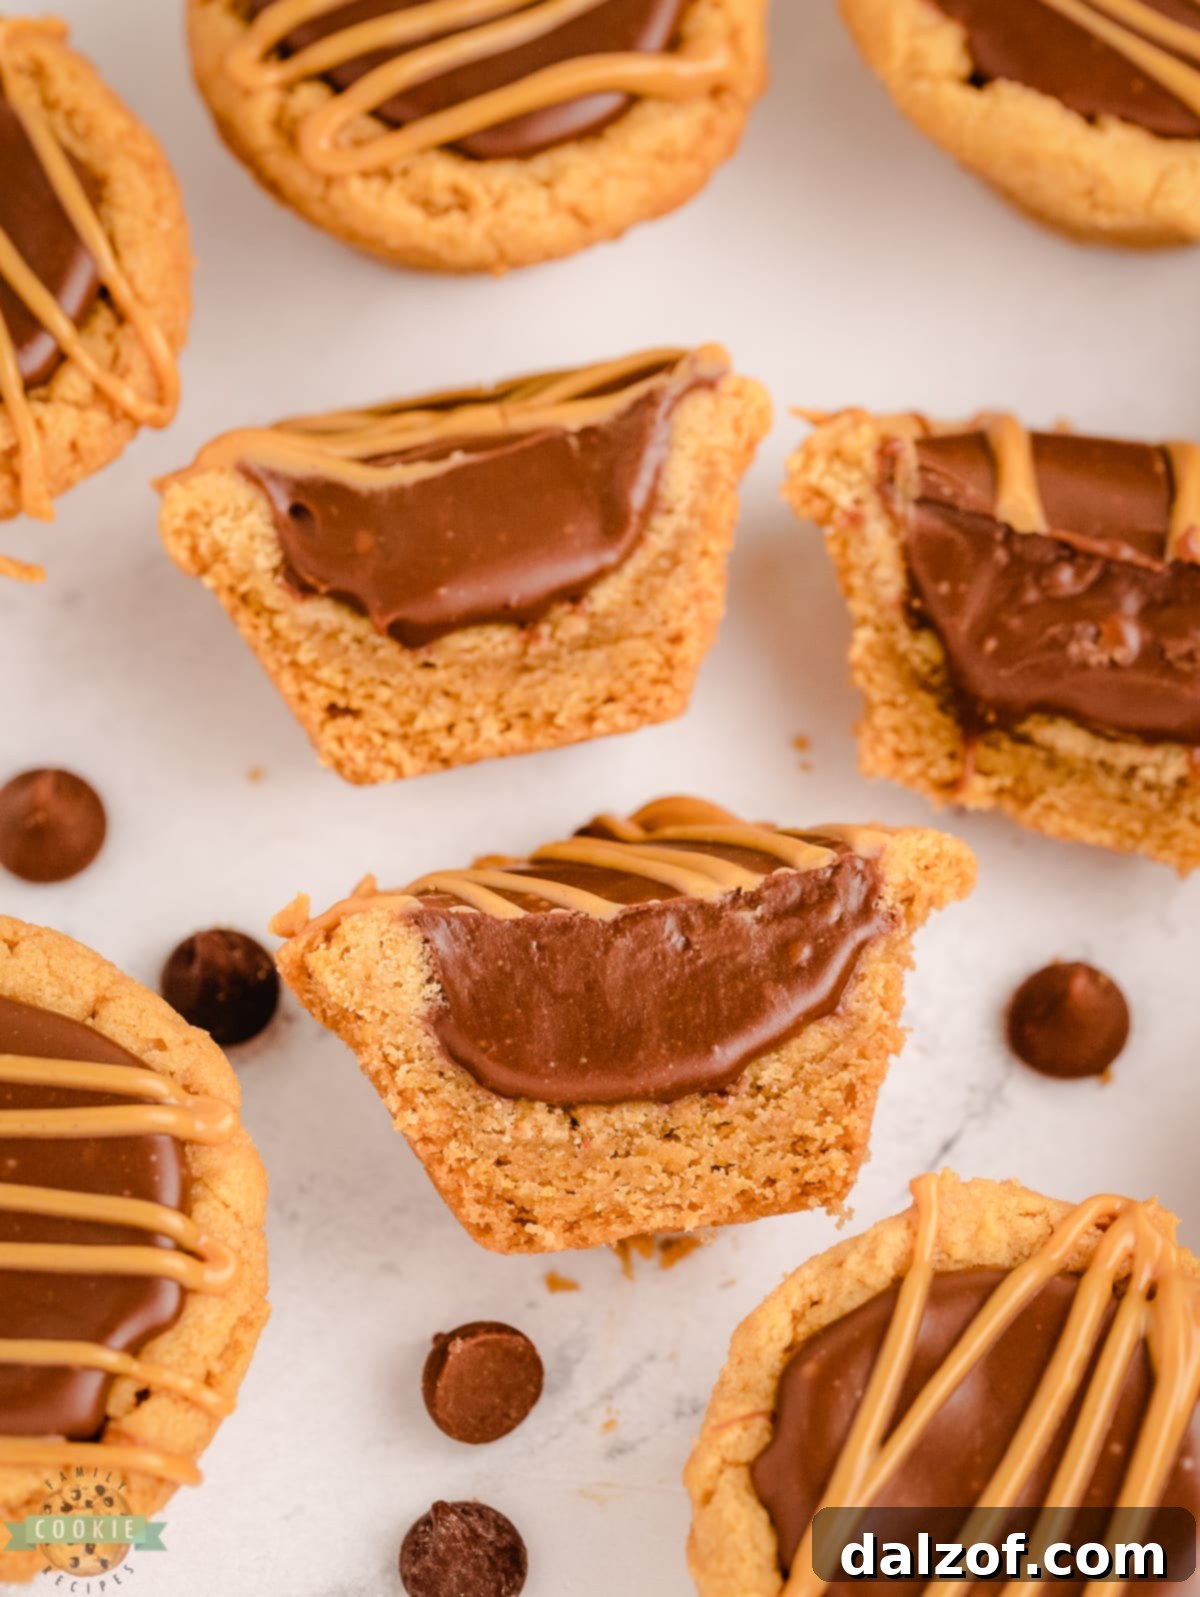
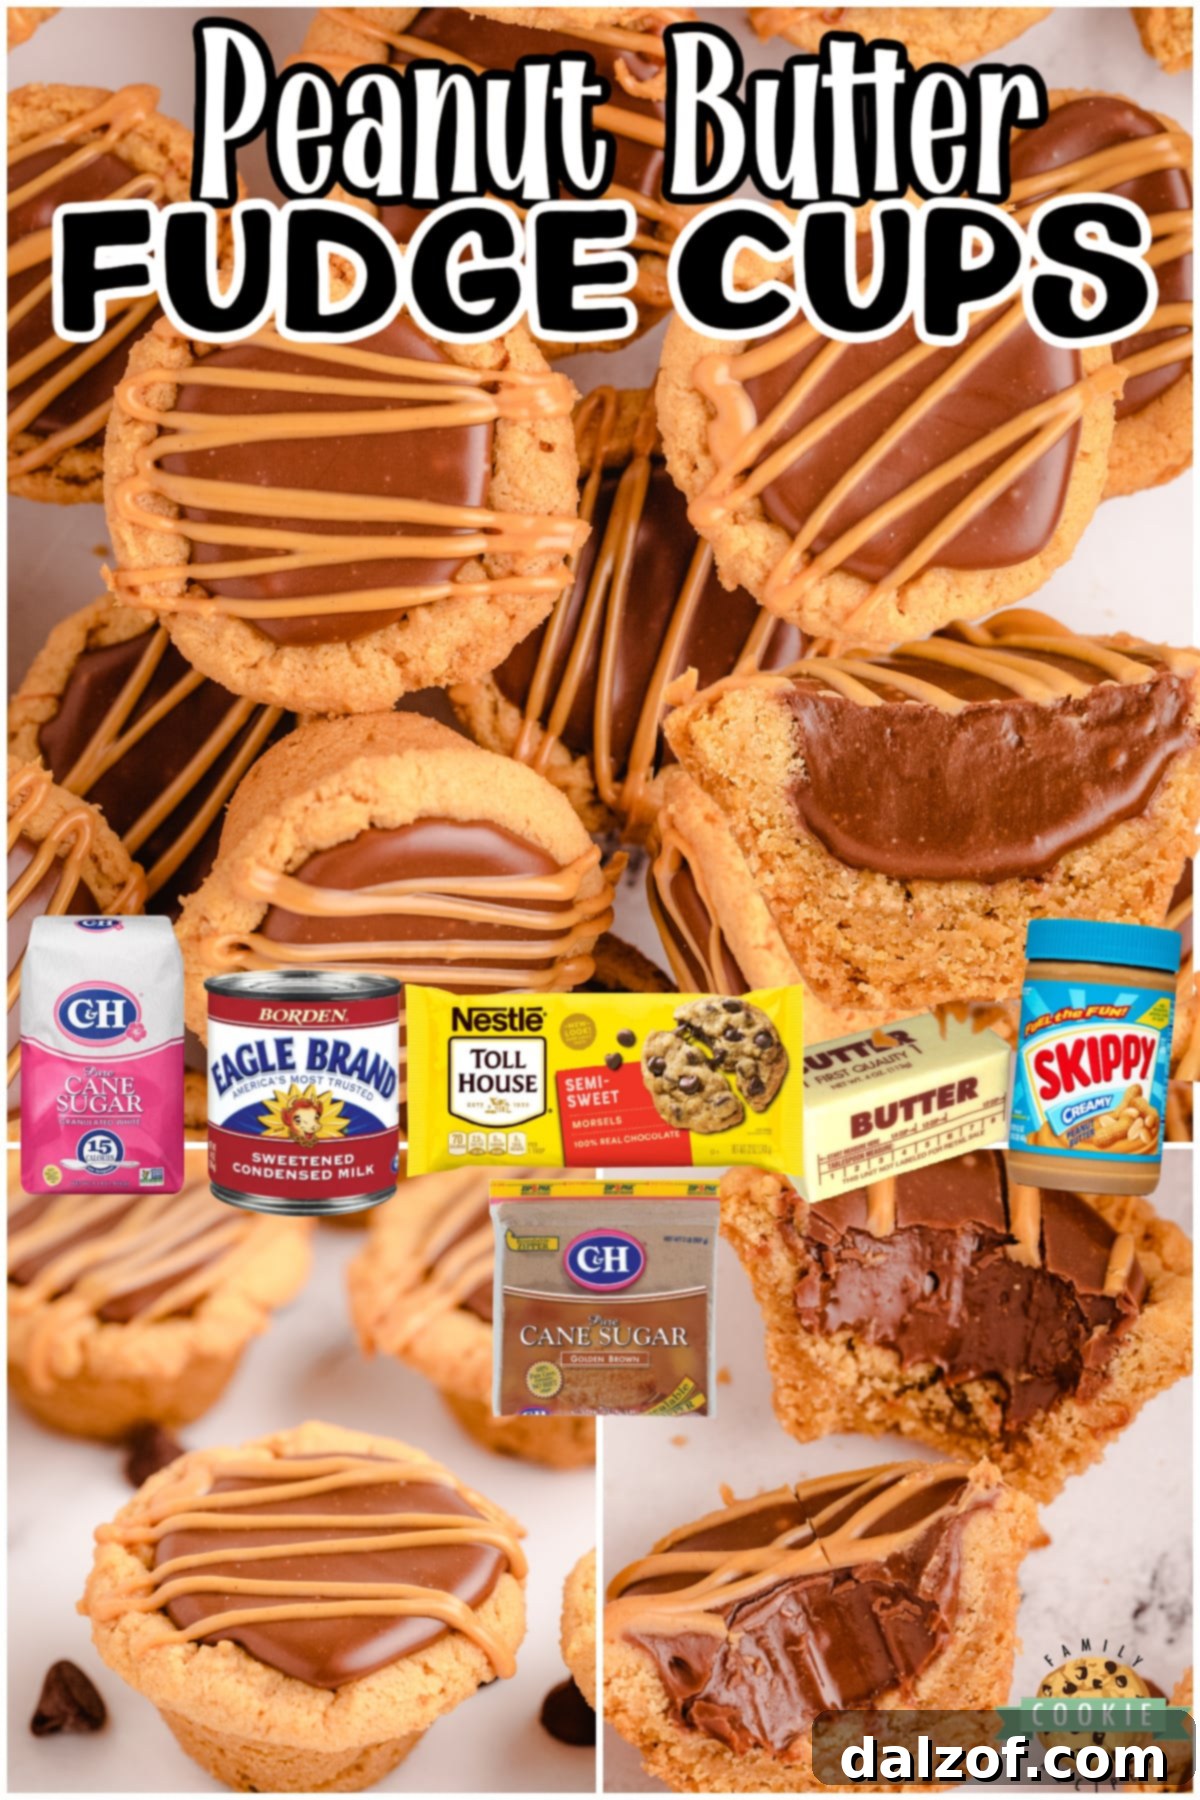
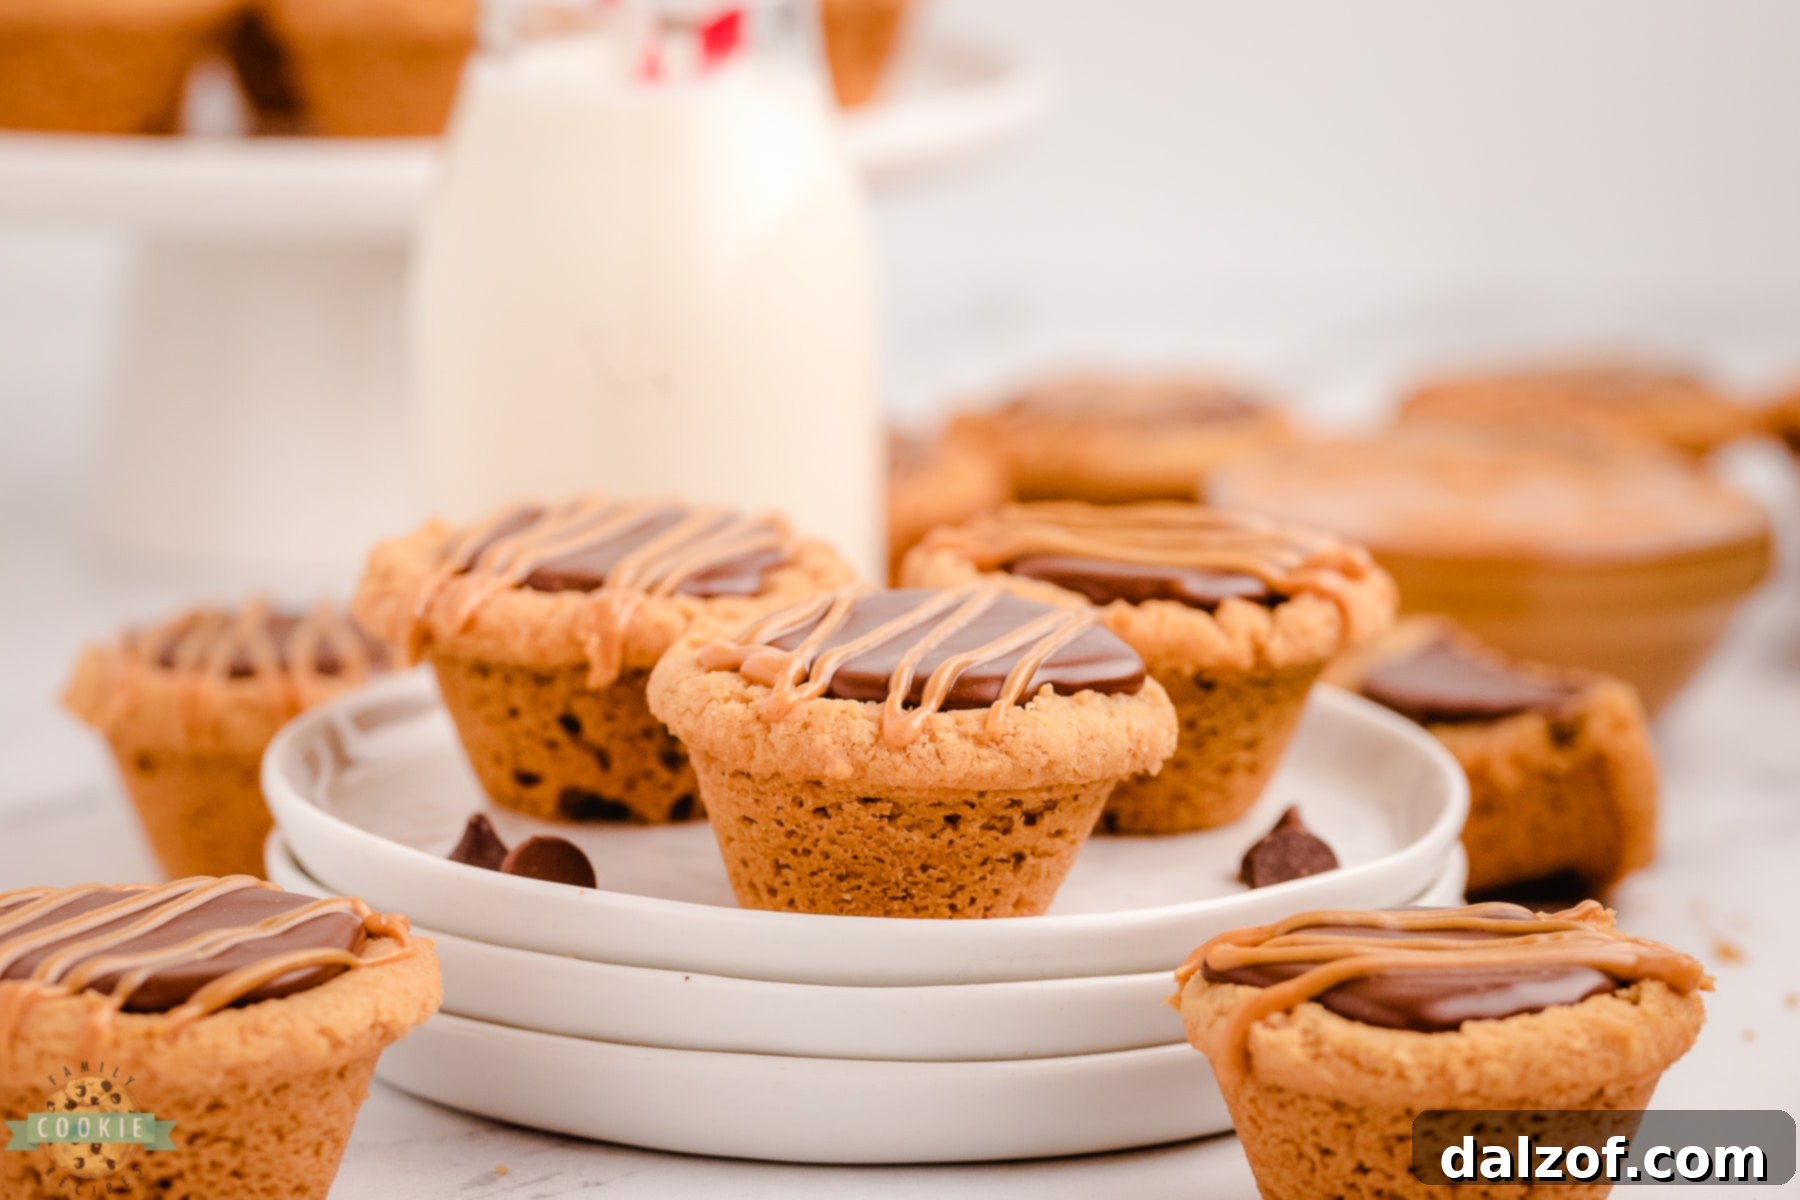
Fudge Peanut Butter Cookie Cups are an irresistible confection, blending the beloved flavors of creamy peanut butter and rich chocolate fudge into delightful bite-sized treats. Each cookie cup features a soft, chewy peanut butter cookie base, perfectly baked in a mini muffin pan, and generously filled with a velvety, homemade chocolate fudge. This classic flavor combination creates a truly amazing dessert that is guaranteed to please any crowd.

These Fudge Peanut Butter Cookie Cups recently stole the show at a large family gathering, proving to be an absolute hit with everyone who tried them. The best part? Despite their impressive appearance and incredible taste, they are surprisingly easy to make, solidifying their place as a cherished recipe in our collection. This recipe is a fantastic choice for both novice bakers and seasoned pros looking for a quick yet decadent dessert.
If you don’t already own a mini muffin pan, I wholeheartedly recommend investing in one. It’s a remarkably versatile kitchen tool that you’ll find yourself reaching for time and again. Beyond making perfect mini muffins, I frequently use mine for a variety of small-batch delights, such as adorable pancake bites, savory mini quiches, and of course, these charming cookie cups. Its utility makes it an invaluable addition to any kitchen.
Crafting these delectable cookie cups involves two distinct yet equally simple components: a tender peanut butter cookie base and a luscious chocolate fudge filling. To ensure clarity and ease of preparation, the ingredients for each part are thoughtfully separated below. This modular approach makes the baking process straightforward and enjoyable, allowing you to focus on creating these memorable treats.
Why You’ll Fall in Love with These Fudge Peanut Butter Cookie Cups
It’s no secret why these cookie cups consistently receive rave reviews. Here are just a few compelling reasons why they’ve become such a beloved dessert:
- The Ultimate Flavor Pairing: Chocolate + Peanut Butter. This iconic duo is arguably one of the most popular and celebrated flavor combinations in the culinary world, and for excellent reason. The rich, deep notes of chocolate perfectly complement the salty-sweet creaminess of peanut butter, creating a harmonious and utterly addictive taste experience that is simply fantastic together. These cookie cups showcase this pairing at its very best.
- Effortlessly Easy to Make. You don’t need to be an experienced baker to create these stunning treats. The cookie base is a straightforward peanut butter cookie dough, requiring minimal effort. The fudge filling is even simpler, using just four readily available ingredients and coming together in mere minutes. This recipe is designed for ease, making it accessible for everyone to enjoy the baking process and the delicious results.
- Remarkable Storage and Freezing Capabilities. Planning ahead? These cookie cups are perfect! They store exceptionally well, retaining their freshness and chewiness for days. For ultimate convenience, you can freeze the assembled cookies or the fudge and cookie components separately. This makes them an ideal make-ahead dessert for parties, holidays, or simply to have a delightful treat on hand whenever a craving strikes.
Essential Ingredients for Your Fudge Peanut Butter Cookie Cups
Gathering your ingredients is the first step to creating these heavenly treats. Here’s what you’ll need for both the cookie base and the luscious fudge filling:
For the Peanut Butter Cookie Base:
- BUTTER: You’ll need 1 stick (which is ½ cup) of unsalted butter, softened to room temperature. Softened butter is crucial for creaming properly with the sugars, creating a smooth and airy dough. While I prefer salted butter for an added depth of flavor, feel free to use unsalted and adjust the added salt slightly. For a dairy-free option, coconut oil can be a great substitute.
- PEANUT BUTTER: Measure out ½ cup of creamy peanut butter. This provides the signature nutty flavor and a tender texture to the cookie cups. It’s highly recommended to use traditional creamy peanut butter rather than natural varieties, as natural peanut butters often have a different oil content that can affect the baking consistency and overall outcome of the cookies.
- SUGARS: This recipe utilizes a balanced combination of two sugars: ½ cup of white granulated sugar for crispness and spread, and ½ cup of packed light brown sugar for moisture, chewiness, and a subtle caramel note. This blend ensures a perfect texture for your cookie cups.
- EGG: Just 1 large egg acts as a vital binding agent, helping to hold the cookie dough together and contributing to its structure and richness. Ensure your egg is at room temperature for optimal mixing.
- FLAVORINGS: To enhance and round out the flavors in the cookies, you’ll incorporate ½ teaspoon of pure vanilla extract for its aromatic sweetness and ½ teaspoon of salt. The salt is essential for balancing the sweetness and highlighting the peanut butter flavor.
- DRY INGREDIENTS: The structural foundation of the cookie comes from 1 ¼ cups of all-purpose flour. Additionally, ¾ teaspoon of baking soda is used as a leavening agent, which helps the cookies rise and achieve their desired texture.
For the Irresistible Fudge Filling:
- CHOCOLATE: For a perfectly balanced fudge flavor, this recipe calls for 1 cup of milk chocolate chips and 1 cup of semi-sweet chocolate chips. The milk chocolate provides a creamy sweetness, while the semi-sweet chocolate adds a deeper, more intense cocoa flavor, creating a rich and complex fudge.
- SWEETENED CONDENSED MILK: The magical ingredient that gives the fudge its incredible creaminess and sweetness is one (14-ounce) can of sweetened condensed milk. Make sure it’s sweetened condensed milk, not evaporated milk, as they are very different!
- VANILLA EXTRACT: A crucial addition to the fudge filling is 1 teaspoon of vanilla extract. It brightens and enhances the chocolate flavors, adding a layer of aromatic complexity that elevates the fudge from good to absolutely outstanding.
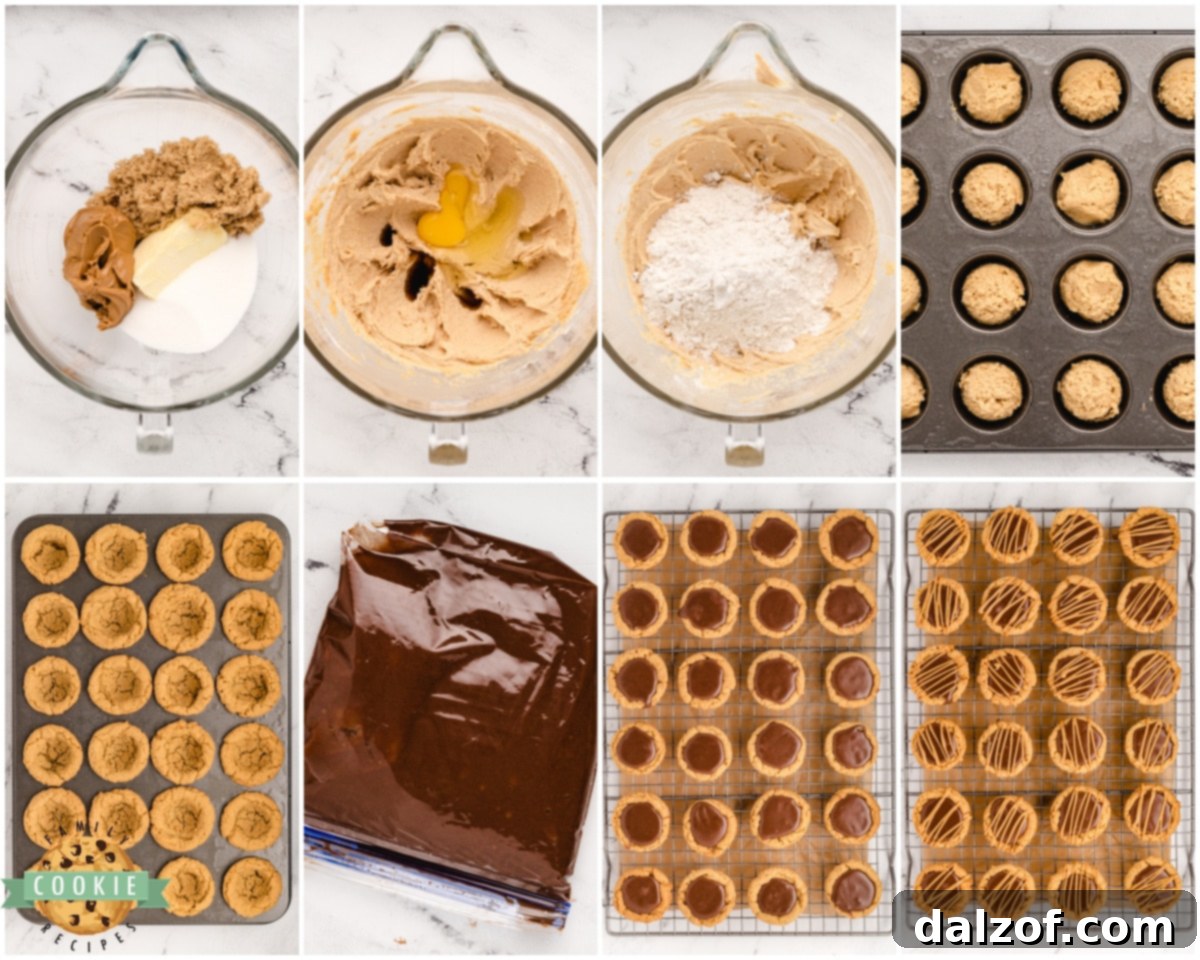
Crafting Your Peanut Butter Fudge Cups: A Step-by-Step Guide
Get ready to bake some magic! Follow these instructions carefully to create your perfect Fudge Peanut Butter Cookie Cups.
Begin by preheating your oven to 325°F (165°C). This lower temperature helps the cookies bake evenly without over-browning too quickly. Next, generously spray a mini muffin pan with cooking spray. Liberal spraying is key to ensuring your cookie cups release easily after baking.
Preparing the Peanut Butter Cookie Dough
In a large mixing bowl, using a hand mixer or stand mixer fitted with a paddle attachment, cream together the softened butter, creamy peanut butter, white sugar, and brown sugar until the mixture is light and fluffy. This step incorporates air, making your cookies tender. Beat in the egg and ½ teaspoon of vanilla extract until just combined. Finally, gradually add the all-purpose flour, baking soda, and salt to the wet ingredients, mixing on low speed until the dry ingredients are just incorporated and a soft, cohesive dough forms. Be careful not to overmix, as this can lead to tough cookies.
Once your dough is ready, measure it out into 1-tablespoon scoops. For efficiency and uniform size, I highly recommend using a 1-tablespoon cookie scoop – it makes this step incredibly fast and ensures consistent baking. There’s no need to shape the cookies; simply place one scoop of dough into each compartment of your prepared mini muffin tin.
Baking and Shaping the Cookie Cups
Bake the cookie cups in the preheated oven for 14 to 16 minutes, or until the edges are lightly golden brown and the centers are just set. Baking times can vary depending on your oven, so keep a close eye on them. The cookies should still be slightly soft in the middle when removed from the oven.
Immediately upon removing the pan from the oven, use a melon baller or the back of a 1-teaspoon measuring spoon to gently create a deep well in the center of each hot cookie. This indentation is crucial for holding a generous amount of that delicious fudge filling. Make sure the well is substantial enough to accommodate a good dollop of fudge without overflowing. Allow the cookie cups to cool in the mini muffin pan for 8-10 minutes. This cooling period in the pan is vital as it allows the cookies to set and firm up, preventing them from breaking when transferred. If you used coconut oil, as I sometimes do, the cookies will likely pop out with remarkable ease. If using butter, ensure your pan was thoroughly greased as instructed to achieve the same easy release. After the initial cooling, carefully remove the cookie cups from the pan and transfer them to wire racks to cool completely for an additional 10-15 minutes. This ensures they are fully set and ready for their fudge filling.
Preparing the Silky Smooth Fudge Filling
While your cookie cups are cooling, it’s the perfect time to prepare the delectable fudge filling. In a microwave-safe bowl, combine both the milk chocolate chips and semi-sweet chocolate chips with the entire can of sweetened condensed milk. Stir the mixture lightly to combine the ingredients. Microwave on high power for 1 to 2 minutes. The mixture may not appear fully melted immediately after microwaving, but don’t worry. Give it a few gentle stirs, and you’ll observe the residual heat melting the chocolate into the condensed milk. Continue stirring until the mixture is smooth and glossy. Finally, stir in 1 teaspoon of vanilla extract until fully incorporated, adding a delightful aromatic finish to your rich fudge.
Filling Your Cookie Cups with Fudge
Once the fudge filling is smooth and the cookie cups are cool, it’s time to assemble. Transfer about half of the prepared fudge into a quart-sized Ziploc bag. Push the fudge down into one corner of the bag, then snip off a small tip from that corner with scissors. This creates an impromptu piping bag, allowing you to easily and neatly pipe the warm fudge into the wells of your cooled cookie cups. A fantastic characteristic of this fudge is how quickly it sets up. Don’t be shy – feel free to generously fill each cookie cup, letting the fudge mound slightly above the cookie rim. It will set beautifully without running out. If at any point your fudge becomes too firm to pipe, simply pop the Ziploc bag back into the microwave for 10-15 seconds to soften it again.
For an extra touch of deliciousness and visual appeal, consider adding a peanut butter drizzle. Heat about 1 tablespoon of peanut butter in a small baggie in the microwave for a few seconds until it’s pourable. Snip a tiny corner off the bag and drizzle it artfully over the tops of your filled fudge cups before the fudge fully sets.

Fudge Peanut Butter Cookie Cups
Print Recipe
Pin Recipe
Rate this Recipe
Ingredients
Cookie Cups:
- ½ cup butter softened {or coconut oil}
- ½ cup creamy peanut butter
- ½ cup white sugar
- ½ cup packed brown sugar
- 1 egg
- ½ teaspoon vanilla extract
- 1 ¼ cups all-purpose flour
- ¾ teaspoon baking soda
- ½ teaspoon salt
Fudge Filling:
- 1 cup milk chocolate chips
- 1 cup semi-sweet chocolate chips
- 14 oz sweetened condensed milk
- 1 teaspoon vanilla extract
Instructions
-
Preheat oven to 325 degrees F (165 degrees C). Spray a mini muffin pan liberally with cooking spray. Using a hand mixer, cream butter, peanut butter and white and brown sugars. Mix in egg and 1/2 teaspoon vanilla. Add in flour, baking soda and salt, stirring until combined.
-
Measure out dough into 1 TBSP scoops. No need to shape the cookies, just place each scoop in one compartment of a mini muffin tin. Bake for 14 to 16 minutes or until lightly browned.
-
Remove from oven and immediately make wells in the center of each using a melon baller or a 1 tsp measuring spoon. Make a good sized well in the center so that you can add a lot of fudge! Cool in pan for 8-10 minutes. Then carefully remove to wire racks. If you use butter, you should spray the muffin pans well, as instructed earlier, so that your cookies come out easy too! Cool for an additional 10-15 minutes.
-
While the cookies are cooling, you can prepare the fudge filling. Combine the chocolate chips and sweetened condensed milk in a microwave safe bowl. Mix lightly and microwave on high for 1-2 minutes. The mixture doesn’t look melted, but give it a few gentle stirs and you’ll see it’s heated well enough. Add vanilla and stir again until smooth.
-
Transfer about half the fudge into a quart-sized ziplock bag. Squeeze the fudge into a corner and snip the corner off. Now you can easily pipe the fudge into the cookies! The great thing about this fudge too is that it sets up super fast, so feel free to fill the cookies well, so that the fudge goes above the cookie- it will set up and not run out! If your fudge gets too solid, just pop it back in the microwave for 10-15 seconds.
-
Heat up about 1 TBSP peanut butter in a small baggie and then drizzled it over the tops of my fudge cups.
Video
Notes
Nutrition
Expert Tips for Perfect Fudge Peanut Butter Cookie Cups
- Room Temperature Ingredients: Ensure your butter and egg are at room temperature. This allows them to cream together more smoothly, creating a homogeneous batter that results in a tender, evenly baked cookie.
- Measure Flour Correctly: For accurate baking, spoon your flour into the measuring cup and then level it off with a straight edge. Scooping directly from the bag can pack too much flour, leading to dry, crumbly cookies.
- Don’t Overbake: These cookie cups are best when slightly underbaked. They will continue to set as they cool in the pan. Overbaking can make them dry and less chewy.
- Create Deep Wells Immediately: The wells in the cookies must be formed as soon as they come out of the oven, while they are still hot and pliable. If you wait too long, they will firm up, and it will be difficult to make a good indentation.
- Piping Bag Alternative: If you don’t have a Ziploc bag, you can carefully spoon the fudge into the cookie wells using a small spoon, but the bag method offers more control and less mess.
- Serving Temperature: While delicious at room temperature, these cookie cups are particularly delightful when slightly chilled, which makes the fudge firmer and offers a pleasant contrast in texture with the cookie.
Variations and Customizations for Your Cookie Cups
While the classic Fudge Peanut Butter Cookie Cup is perfect as is, you can easily customize them to suit your preferences or create new flavor experiences:
- Chocolate Varieties: Experiment with different types of chocolate chips in the fudge. Dark chocolate chips will yield a richer, less sweet fudge, while white chocolate chips could create a creamy, sweet contrast.
- Nut Butter Alternatives: For those with peanut allergies or simply seeking a different flavor profile, consider using almond butter or cashew butter for the cookie base. Ensure the nut butter is creamy and not a natural, oil-separated variety.
- Topping Enhancements: Beyond the optional peanut butter drizzle, consider adding a sprinkle of flaky sea salt on top of the fudge for a gourmet touch, chopped roasted peanuts for extra crunch, mini chocolate chips, or even a tiny dollop of whipped cream before serving.
- Seasonal Flavors: In the fall, a tiny pinch of cinnamon in the cookie dough or a touch of pumpkin pie spice can add a cozy, seasonal twist.
How Long Do These Frosted Cookie Cups Stay Fresh?
These delightful Fudge Peanut Butter Cookie Cups maintain their freshness remarkably well. For optimal taste and texture, store them in an airtight container at room temperature for up to 3 days, or in the refrigerator for up to 5 days. Storing them in the fridge is highly recommended, especially due to the fudge filling. The cooler temperature helps to keep the fudge firm and prevents it from becoming too soft, ensuring the cookies remain wonderfully chewy and the fudge retains its perfect consistency.
Can You Freeze Fudge Peanut Butter Cookie Cups?
Absolutely! These cookie cups are an excellent candidate for freezing, making them a perfect make-ahead dessert for future enjoyment. When stored properly, they can last in the freezer for up to 3 months without compromising their quality. To freeze them effectively, follow these steps:
- Initial Freeze: Arrange your fully assembled and frosted cookie cups in a single layer on a baking sheet. Place the baking sheet in the freezer for approximately 2 hours, or until the fudge filling is completely solid. This flash-freezing step prevents the cookies from sticking together when stored in a container.
- Transfer to Storage: Once the fudge is solid, transfer the frozen cookie cups to an airtight freezer-safe container. For added protection against freezer burn and to prevent sticking, place a piece of parchment paper or wax paper between layers of cookies.
- Individual Portions (Optional): For ultimate convenience, you can also wrap each cookie cup individually in plastic wrap or place them into small, individual Ziploc bags after the initial freezing process. This allows you to grab a single sweet treat whenever you desire, without having to thaw the entire batch.
When you’re ready to enjoy them, simply remove the desired number of cookie cups from the freezer and let them thaw at room temperature for about 30 minutes to an hour, or until they reach your preferred serving consistency. They’ll taste just as fresh and delicious as the day they were baked!

Explore More Favorite Cookie Recipes!
If you’ve enjoyed these Fudge Peanut Butter Cookie Cups, you’ll love exploring other delightful recipes from our collection. Dive into more peanut butter cookie recipes and creative cookie cup recipes:
- Best Chocolate Chip Peanut Butter Cookies – A classic with an irresistible twist!
- Easy Peanut Butter Cookies – Simple, traditional, and always a crowd-pleaser.
- Quick & Easy Peanut Butter Fudge – The perfect companion to your peanut butter cravings.
- Peanut Butter Oatmeal Chocolate Chip Cookies – A wholesome and flavorful combination.
- Reese’s Peanut Butter Cookies – For the ultimate peanut butter cup fan!
- Snickers Peanut Butter Cookies – Indulge in caramel, chocolate, and peanut goodness.
- Snickerdoodle Apple Pie Cookie Cups – A comforting fusion of two beloved desserts.
- Strawberry Buttercream Frosting Cookie Cups – Fruity and sweet for a taste of spring.
- Banana Cream Pie Cookie Cups – All the flavors of a classic pie in a bite-sized cookie.
- Peanut Butter Sugar Cookies – A chewy, sweet twist on a classic sugar cookie.
- Reese’s Chocolate Cookie Cups – Double the chocolate, double the fun!
- Hot Chocolate Cookie Cups – Perfect for cozy evenings.
- Cherry Pie Cookies – A delightful fruit-filled cookie cup.
- Easy Chocolate Chip Cookie Cups – A versatile base for many fillings.
- Lemon Meringue Cookie Cups – Bright, tangy, and sweet.
- Salty Caramel Cookie Cups – A perfect balance of sweet and savory.