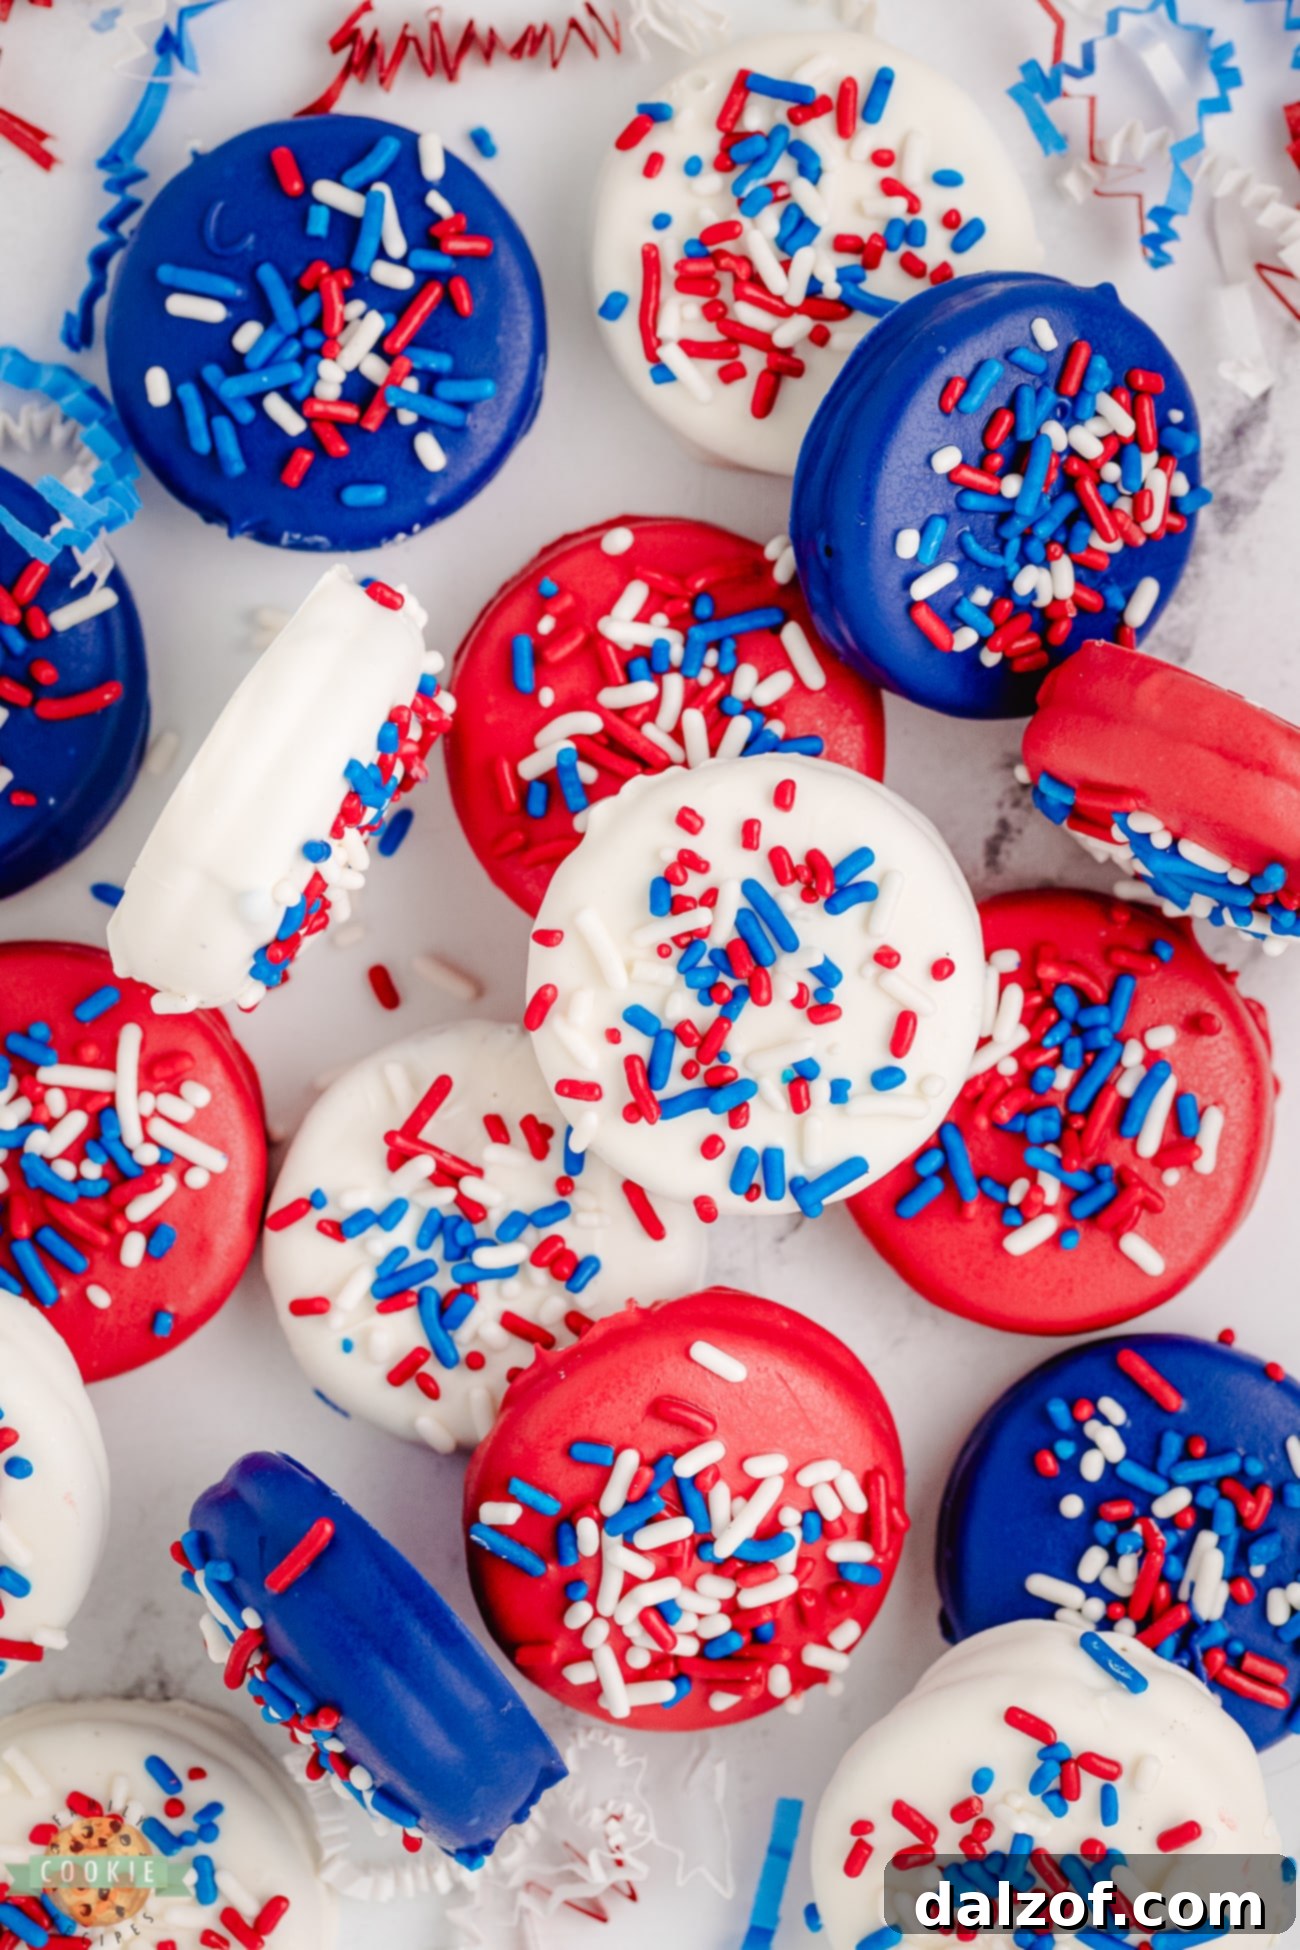
Red, White, and Blue Chocolate Covered Oreos: The Ultimate Patriotic Treat
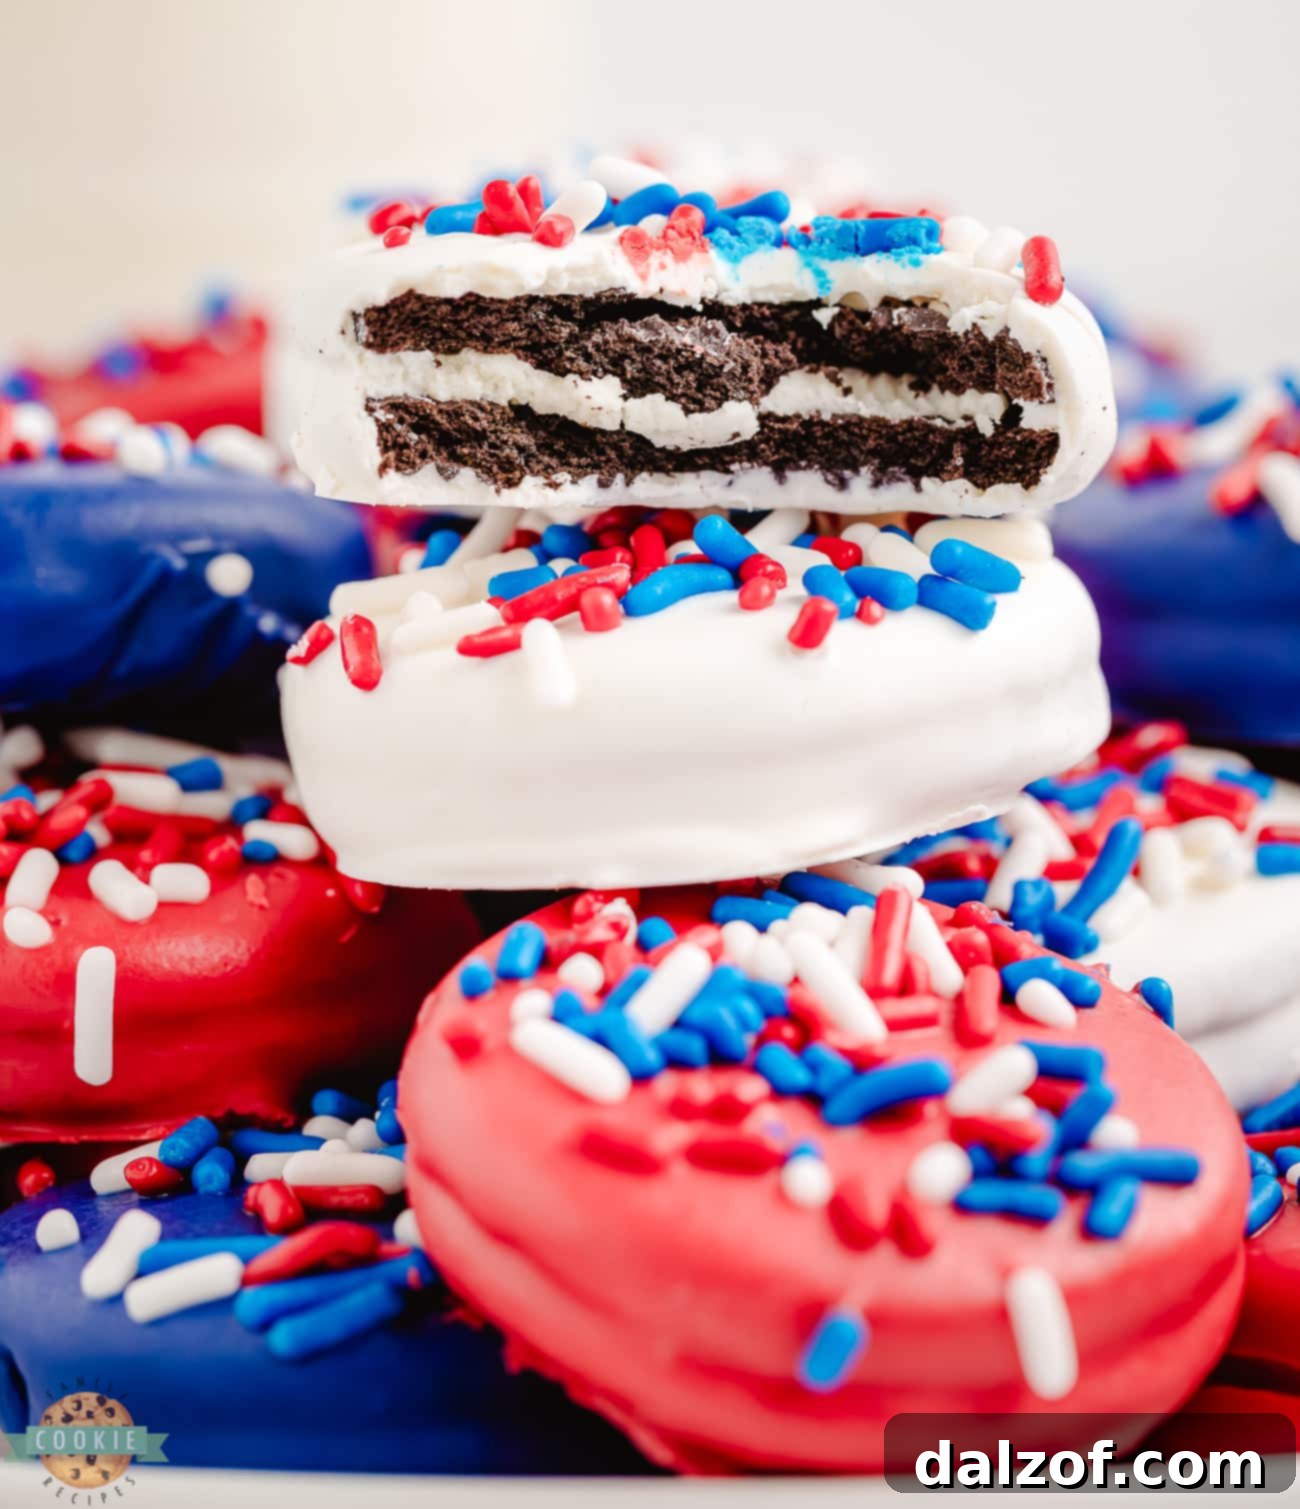
Celebrate patriotism with an irresistible dessert that’s as delightful to look at as it is to eat: Red, White, and Blue Chocolate Covered Oreos! These simple, festive treats are absolutely perfect for your 4th of July celebrations, Memorial Day gatherings, or any occasion demanding a touch of patriotic flair. Imagine crunchy Oreo cookies enveloped in smooth white chocolate, adorned with vibrant red, white, and blue sprinkles. It’s a combination that promises to be a huge hit with guests of all ages, leaving everyone craving more of these delectable chocolate-dipped Oreo cookies.
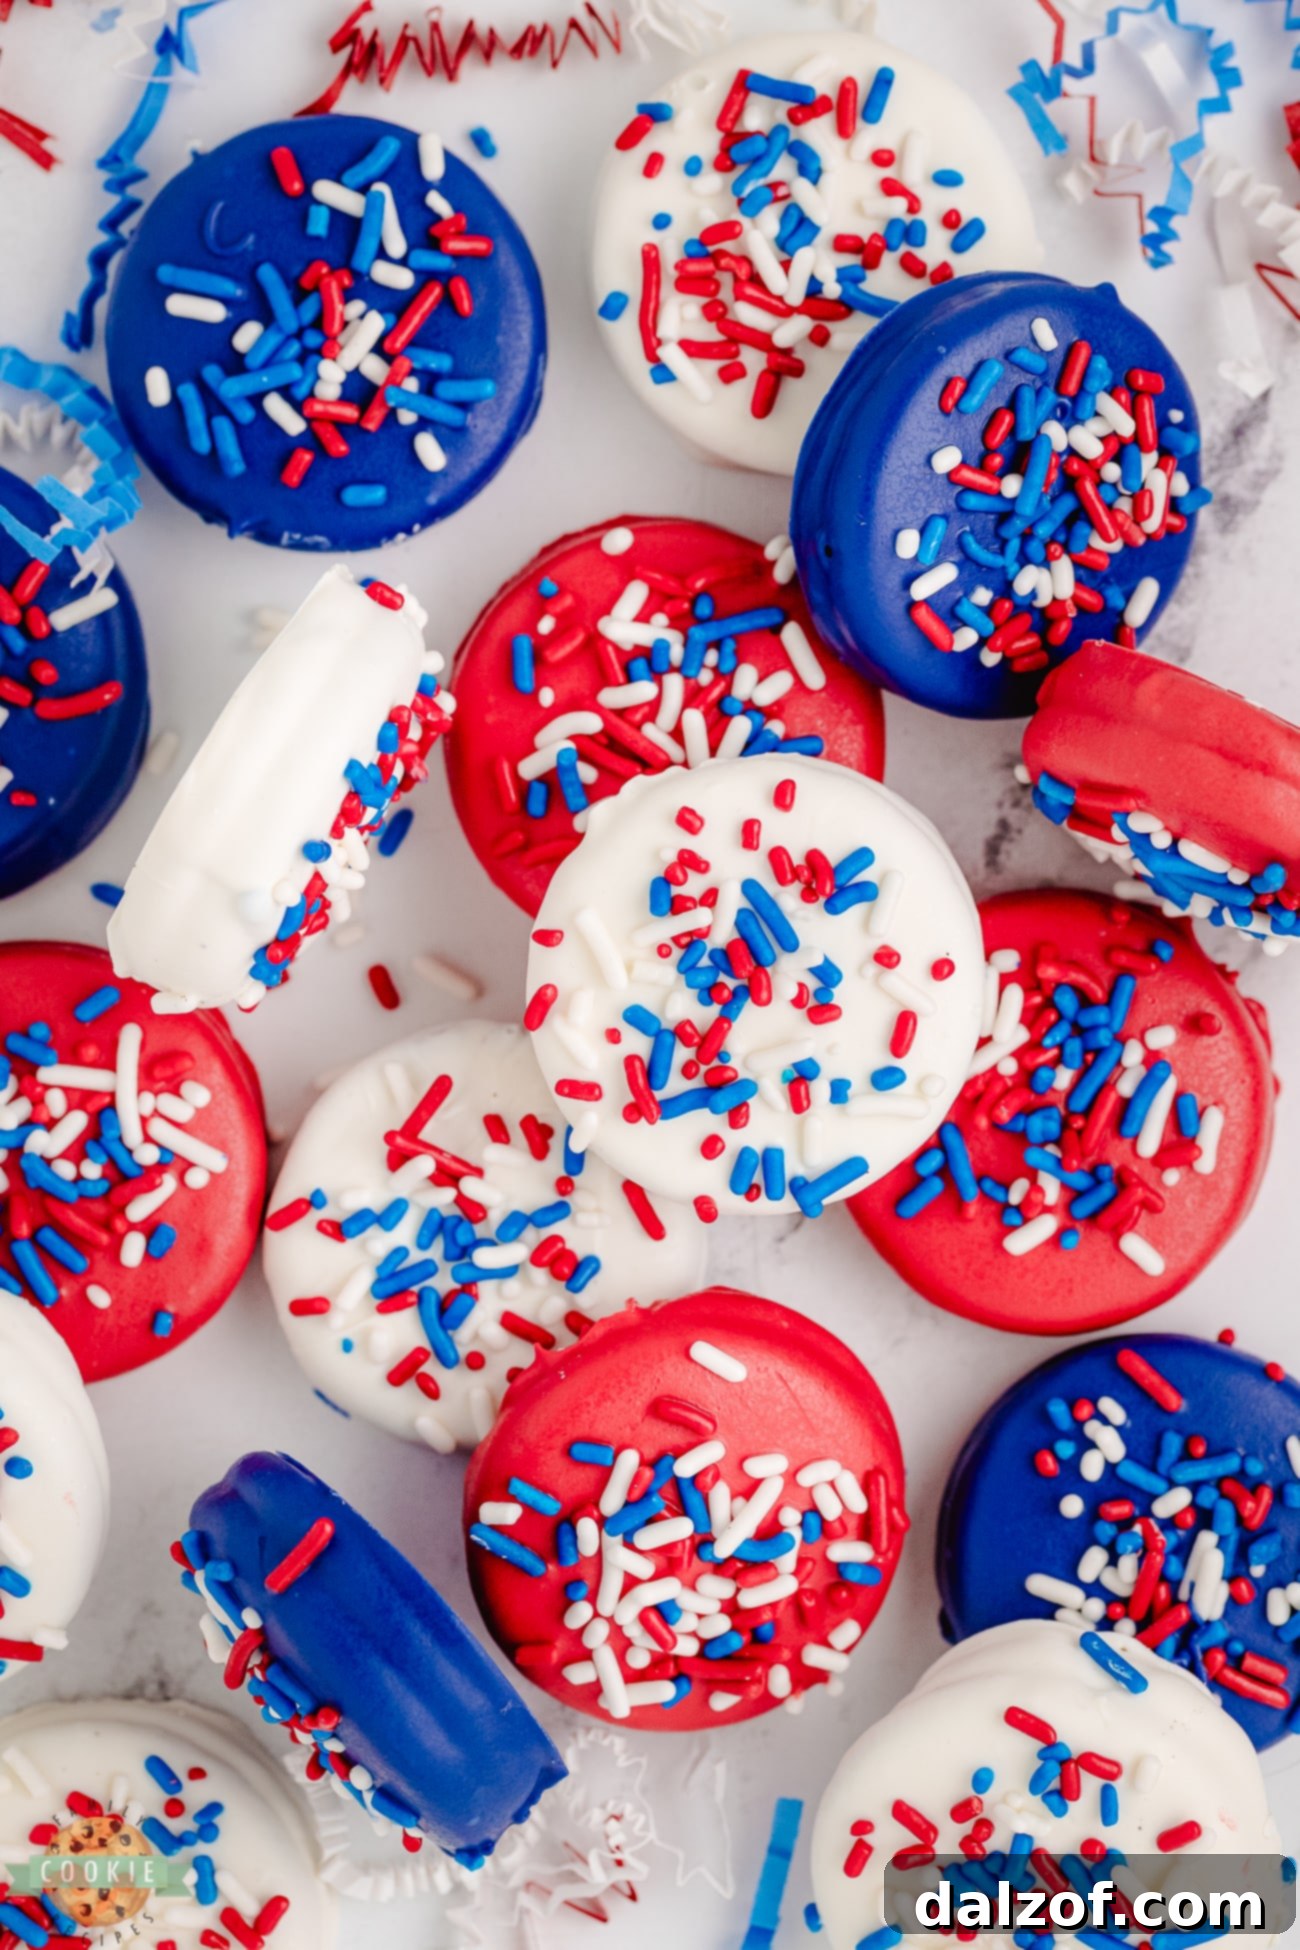
Crafting these stunning patriotic chocolate Oreos requires only four basic ingredients, making this a remarkably quick and easy 4th of July dessert that doesn’t compromise on visual appeal or taste. The festive sprinkles are not just for show; they add a delightful texture and a vibrant pop of color, transforming ordinary cookies into extraordinary holiday delights. Whether you’re a seasoned baker or a complete beginner, this recipe for white chocolate covered Oreos is designed for simplicity and guaranteed success. Prepare to impress your friends and family with these effortlessly elegant and utterly delicious holiday cookies!
Why You’ll Adore These Patriotic Chocolate Covered Oreos
There are countless reasons why these Red, White, and Blue Chocolate Covered Oreos will become your go-to recipe for festive occasions:
- Effortlessly Simple Recipe: One of the greatest advantages of this recipe is its straightforwardness. With just a handful of common ingredients and minimal kitchen tools, you can easily whip up a batch of stunning Chocolate Covered Oreos in record time. No complicated techniques or extensive baking experience is required, making it ideal for busy individuals or spontaneous party planning.
- Infinitely Customizable for Any Event: This recipe is incredibly versatile, allowing for endless customization to suit any theme or holiday. While we’re focusing on patriotic colors here, you can easily swap out the red, white, and blue sprinkles for different colors to match birthdays, baby showers, Halloween, Christmas, or any other celebration. Feel free to experiment with milk or dark chocolate instead of white chocolate, or even try different types of melting wafers for unique flavor profiles.
- Unforgettable Taste and Texture: Beyond their captivating appearance, these cookies deliver an absolutely delicious experience. The classic crunch of an Oreo cookie perfectly complements the creamy, rich sweetness of the white chocolate coating. The addition of sprinkles introduces an extra layer of delightful texture and a subtle burst of flavor, elevating these treats beyond just a cookie. They’re a true symphony of textures and tastes that will satisfy any sweet tooth.
- Kid-Friendly Fun: This recipe is perfect for involving children in the kitchen. Dipping cookies and adding sprinkles are simple, enjoyable tasks that even young helpers can manage, fostering creativity and making cherished holiday memories together.
- Impressive Visual Appeal: These Oreos are true showstoppers. Their vibrant colors and elegant coating make them look professionally made, yet they are surprisingly easy to create. They instantly elevate any dessert table, turning a casual gathering into a grand celebration.
Essential Ingredients for Perfect Chocolate Covered Oreos
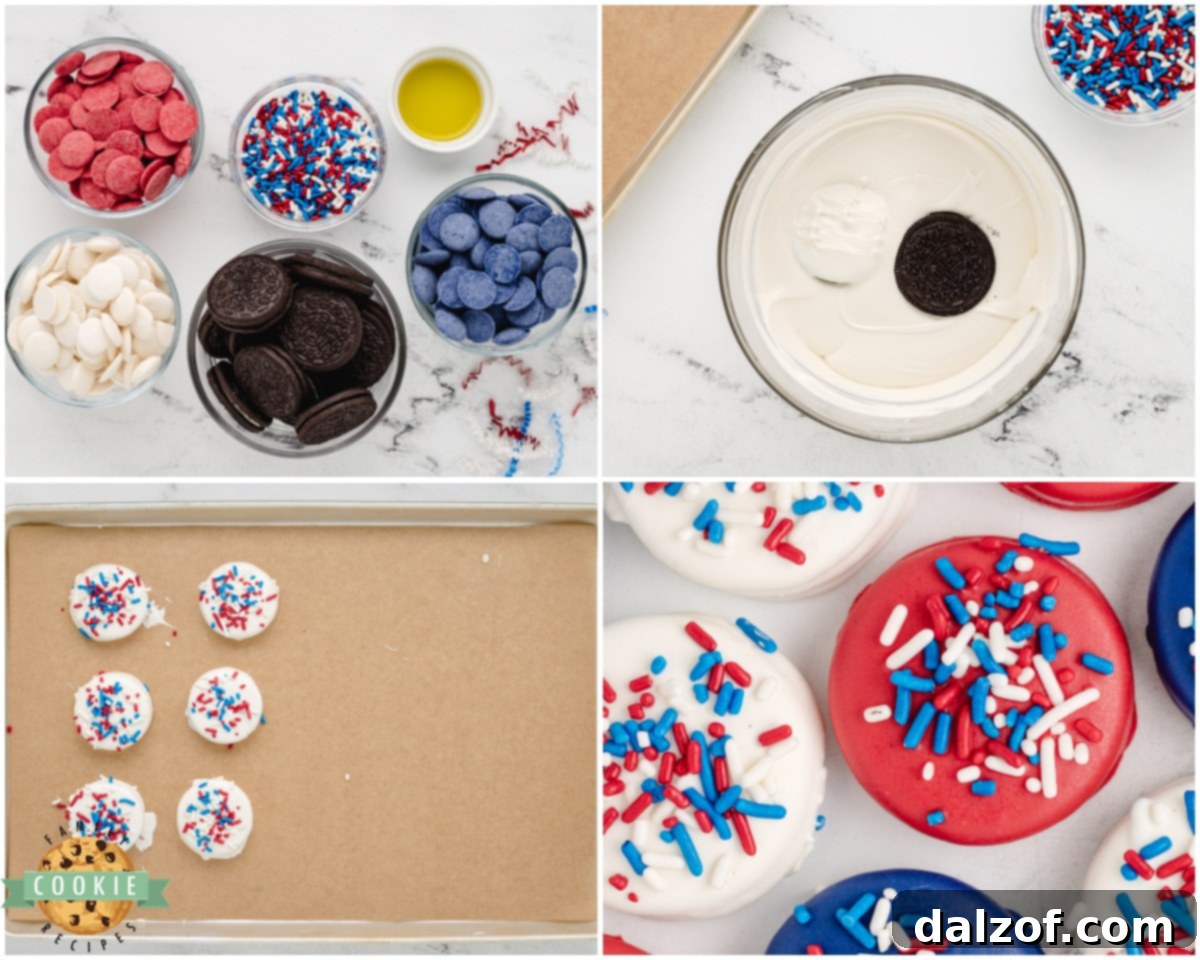
Creating these delightful treats requires only a few key ingredients. Quality matters here, as each component contributes significantly to the final taste and texture.
- Oreo Cookies: You’ll need about 20 classic Oreo cookies for this recipe. Their iconic chocolate wafer and creamy vanilla filling provide the perfect foundation for our patriotic treats. While classic Oreos are recommended, feel free to experiment with different Oreo flavors if you’re feeling adventurous!
- White Chocolate Melting Wafers: Two cups of high-quality white chocolate melting wafers are essential for a smooth, even, and easily coatable chocolate layer. Melting wafers (sometimes labeled as candy melts or confectionery coating) are specifically formulated to melt beautifully and set firmly without tempering, unlike regular chocolate chips which can be tricky to work with for dipping.
- Shortening: One teaspoon of shortening (like Crisco) is the secret to achieving a perfectly smooth, glossy, and thin chocolate coating. It helps the white chocolate melt more fluidly and prevents it from seizing, ensuring a professional-looking finish on your dipped cookies.
- Patriotic Sprinkles: To achieve that festive red, white, and blue look, a generous amount of patriotic sprinkles is a must. You can use a mix of jimmies, nonpareils, or even star-shaped sprinkles to add a fun texture and eye-catching color to your finished Oreos.
- **Optional Color Drizzles:** For an extra touch of pizzazz, you might consider having a few red or blue chocolate melting wafers on hand to melt and drizzle over your white chocolate-covered Oreos. This adds another layer of color and sophistication.
Step-by-Step Guide to Crafting Patriotic Chocolate Covered Oreos
Follow these simple instructions to create your stunning Red, White, and Blue Chocolate Covered Oreos:
Step 1: Prepare Your Workspace
Begin by lining a baking sheet with a piece of parchment paper. This non-stick surface is crucial for easily removing your dipped Oreos once the chocolate has set. Set this prepared baking sheet aside, ready for your beautifully coated cookies.
Step 2: Expertly Melt the White Chocolate
In a microwave-safe bowl, combine the white chocolate melting wafers and the shortening. Place the bowl in the microwave and heat for 1 minute and 30 seconds. After the initial heating, allow the bowl to sit undisturbed in the microwave for an additional 2 minutes. This residual heat helps the chocolate melt more evenly. Remove the bowl and stir the mixture gently with a spoon or spatula. The chocolate may not be completely melted yet, but stirring helps to distribute the heat.
Return the chocolate mixture to the microwave and continue heating in 30-second increments. After each increment, let the chocolate sit for a moment, then stir well. Repeat this process until the mixture is completely smooth, glossy, and fully melted with no lumps remaining. Be careful not to overheat the chocolate, as this can cause it to seize or burn. A smooth, fluid consistency is key for easy dipping.
Step 3: Dip and Decorate Your Oreos
Once your white chocolate is perfectly melted, it’s time to transform your Oreos! Carefully pick up each Oreo cookie and dip it into the melted white chocolate. Use a fork, or for optimal results, a specialized Wilton dipping tool, to fully submerge and coat the cookie. Ensure the entire surface of the Oreo is covered in a smooth layer of chocolate.
Gently lift the dipped Oreo from the chocolate, allowing any excess chocolate to drip back into the bowl. Lightly tap the fork against the side of the bowl to remove any remaining drips, ensuring a clean finish. Immediately place the chocolate-dipped Oreo onto your prepared parchment-lined baking sheet.
While the chocolate is still wet and pliable, generously sprinkle your red, white, and blue sprinkles over the top of the cookie. Work quickly, as the chocolate will begin to set. If you desire an extra decorative touch, melt about 2 tablespoons of red or blue chocolate wafers in a small baggie. Snip a tiny corner off the bag to create a makeshift piping bag, and drizzle thin lines of colored chocolate over your white chocolate-dipped cookies. This adds visual depth and further enhances the patriotic theme.
Step 4: Allow to Set and Enjoy
Once all your Oreo cookies have been dipped and decorated, leave them on the countertop at room temperature. Allow the chocolate to fully set and harden. This usually takes about 1 hour, but can be quicker in a cooler environment. Avoid placing them directly in the refrigerator immediately after dipping, as drastic temperature changes can sometimes cause the chocolate to bloom (develop a dull, streaky appearance). Once completely set, your beautiful Red, White, and Blue Chocolate Covered Oreos are ready to serve and enjoy!
Tips for Success with Chocolate Covered Oreos
- Use Melting Wafers: For the smoothest and easiest coating, always opt for chocolate melting wafers or candy melts. Regular chocolate chips contain stabilizers that make them thicker and more prone to seizing when melted, leading to a less desirable finish.
- Avoid Water: Ensure your bowl, utensils, and hands are completely dry when working with melting chocolate. Even a tiny drop of water can cause chocolate to seize and become clumpy.
- Don’t Overheat: Melt chocolate gently and gradually. Overheating can cause it to burn, become grainy, or lose its smooth texture. Microwave in short bursts and stir frequently.
- Chill for Faster Setting: While setting at room temperature is ideal for preventing bloom, if you’re short on time, you can place the baking sheet in the refrigerator for 10-15 minutes to speed up the setting process. Just don’t leave them in too long.
- Work in Batches: If making a large quantity, work in smaller batches to keep the chocolate at an optimal dipping temperature and consistency. You can gently reheat the chocolate if it starts to thicken.
- Get Creative with Sprinkles: Don’t limit yourself to just one type of sprinkle! A mix of jimmies, nonpareils, edible glitter, or even themed candy pieces can add extra visual appeal.
Creative Variations and Decoration Ideas
While patriotic sprinkles are fantastic, there are countless ways to customize your chocolate covered Oreos for different holidays or personal preferences:
- Different Chocolate Flavors: Experiment with milk chocolate, dark chocolate, or even flavored candy melts like strawberry or mint for a completely different taste profile.
- Beyond Sprinkles:
- Crushed Candies: Roll freshly dipped Oreos in crushed peppermints for Christmas, crushed Butterfingers, or mini M&Ms.
- Nuts or Coconut: A coating of finely chopped nuts (pecans, almonds) or shredded coconut adds an elegant touch and satisfying crunch.
- Drizzles and Swirls: Use contrasting colored melted chocolate (e.g., dark chocolate drizzle on white chocolate) or melted caramel sauce, peanut butter, or even a zigzag of icing.
- Edible Decorations: Attach small edible pearls, silver dragees, or tiny candy eyeballs for a whimsical touch.
- Using Molds for Perfect Shapes: To make perfectly uniform chocolate-covered Oreos, consider using a specialized Oreo mold. First, melt your chocolate wafers and shortening (a double boiler works great for this). Pour a small amount of melted chocolate into each cavity of the mold, ensuring the bottom is covered. Gently place an Oreo cookie into each cavity, then top with more melted chocolate, making sure the cookie is fully encased. Lightly tap the mold on the counter to release any air bubbles. Refrigerate until the chocolate is completely set, then carefully pop them out.
- Oreo Pops on a Stick: Turn your chocolate-covered Oreos into fun “pops” by inserting a lollipop stick into the cream filling of each Oreo before dipping it in melted chocolate. This makes them easier to eat and perfect for party favors or dessert tables. Dip, decorate, and stand them upright in a foam block to set.
Serving Suggestions for Patriotic Oreo Cookies
These chocolate covered Oreos are more than just a treat; they’re a versatile dessert that can enhance any occasion. Here are some ideas to make them even more special:
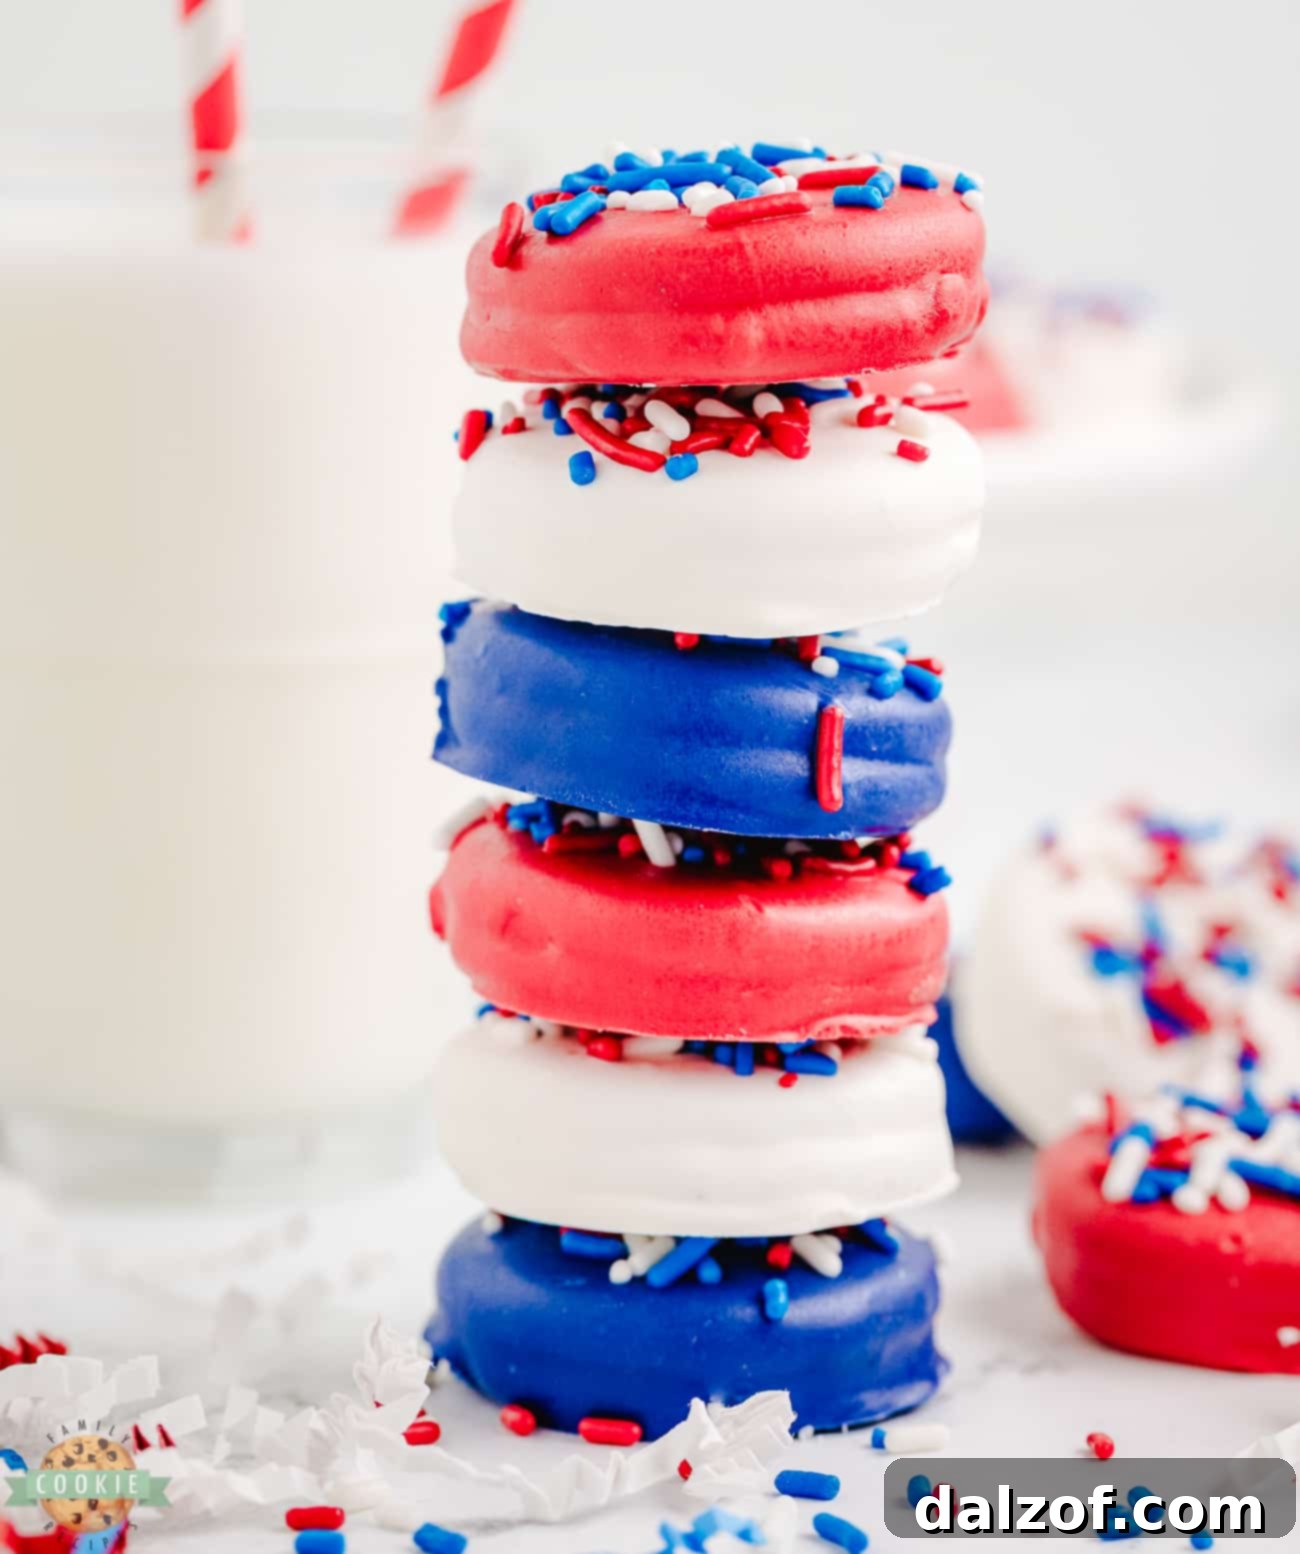
- Classic Milk Pairing: There’s nothing quite like the timeless combination of an Oreo cookie and a cold glass of milk. The creamy filling and sweet chocolate coating find their perfect match in a refreshing beverage.
- Elegant Platter Presentation: Elevate the visual appeal of your treats by arranging them on a decorative platter. For a patriotic theme, opt for red, white, and blue serving dishes. For a more sophisticated gathering, a sleek silver or white platter provides an elegant backdrop.
- Dessert Bar Addition: Include these festive cookies as part of a larger dessert bar spread. They pair wonderfully with cupcakes, brownies, fruit tarts, and other sweets, offering variety and a pop of color.
- Coffee or Tea Companion: For adult guests, offer these cookies alongside freshly brewed coffee or a selection of teas. The rich flavors complement each other beautifully.
- Ice Cream Topping: Crush a few of these decorated Oreos and sprinkle them over vanilla ice cream or a patriotic-themed sundae for an extra layer of flavor and crunch.
- Thoughtful Gift Packaging: Chocolate covered Oreos make fantastic homemade gifts. Individually package them in clear cellophane bags, tied with a festive ribbon, for a charming and delicious present. They’re perfect for host gifts, teacher appreciation, or holiday party favors.
Red, White, & Blue Chocolate Covered Oreos Recipe
These Red, White, & Blue Chocolate Covered Oreos are a simple and festive treat that can be made in just a few easy steps. The combination of crunchy cookie and smooth chocolate is sure to satisfy any sweet tooth!
- Course: Cookies, Dessert, No Bake Dessert
- Cuisine: American
- Keyword: Red White and Blue Chocolate Covered Oreos, Patriotic Oreos, 4th of July Desserts
- Prep Time: 15 minutes
- Resting Time: 1 hour
- Total Time: 1 hour 15 minutes
- Servings: 20 cookies
- Calories: 108 kcal per cookie
- Author: Jessica & Nellie
Ingredients
- 20 Oreo cookies
- 2 cups white chocolate melting wafers
- 1 tsp shortening
- Patriotic Sprinkles (red, white, & blue)
- (Optional) 2 tbsp red or blue chocolate wafers for drizzling
Instructions
- Prep: Line a baking sheet with parchment paper and set it aside.
- Melt Chocolate: In a microwave-safe bowl, melt the white chocolate wafers and shortening in the microwave for 1 minute and 30 seconds. Let the bowl sit in the microwave for an additional 2 minutes. Remove and stir gently.
- Return the chocolate to the microwave and heat for 30-second increments, letting the chocolate sit after heating and stirring in between sessions. Repeat until the mixture is smooth and fully melted.
- Coat Cookies: Dip each Oreo into the melted chocolate, using a fork (or a Wilton dipping tool) to fully coat the cookie. Tap off any excess chocolate and place the dipped Oreo onto the prepared baking sheet.
- Immediately add patriotic sprinkles to the top of the chocolate-dipped Oreo while the chocolate is still wet. If desired, melt an additional 2 tablespoons of red or blue chocolate wafers in a small baggie, snip the corner, and drizzle onto the white chocolate-dipped cookies for extra flair.
- Once all of the Oreos are dipped and decorated, let the cookies cool on the countertop until the chocolate has completely set (approximately 1 hour). Enjoy your festive treats!
Notes
Store leftover cookies in an airtight container on the countertop. This will help prevent them from getting stale or losing their crunch. They can be stored at room temperature for up to 1 week.
Nutrition (per cookie)
Calories: 108kcal | Carbohydrates: 15g | Protein: 1g | Fat: 5g | Saturated Fat: 3g | Polyunsaturated Fat: 0.5g | Monounsaturated Fat: 1g | Trans Fat: 0.04g | Sodium: 57mg | Potassium: 28mg | Fiber: 0.3g | Sugar: 11g | Vitamin A: 0.2IU | Calcium: 3mg | Iron: 1mg
Storage and Preservation of Chocolate Covered Oreos
To ensure your delicious chocolate-covered Oreos remain fresh and retain their quality, proper storage is key. Once the chocolate has fully set, carefully transfer the cookies to an airtight container. Store this container at room temperature, away from direct sunlight and any heat sources, which could cause the chocolate to melt or become sticky. When stored correctly, these delightful treats will maintain their freshness and satisfying crunch for up to 1 week.
For longer-term preservation, these chocolate-dipped Oreos can be frozen. Arrange the cooled and set cookies in a single layer in a freezer-safe container or bag, separating layers with parchment paper to prevent sticking. They can be stored in the freezer for up to two months. When you’re ready to enjoy them, simply remove the desired number of cookies from the freezer and let them thaw at room temperature for a few hours before serving. This method ensures you always have a festive treat on hand!
Frequently Asked Questions About Chocolate Covered Oreos
Can I use regular chocolate chips for dipping Oreos?
While it is technically possible to use regular chocolate chips for dipping Oreos, it is generally not recommended for the best results. Chocolate chips contain stabilizers that prevent them from melting as smoothly or setting as firmly as melting wafers. They can create a thicker, sometimes grainy coating that is harder to work with and may not look as professional. Melting wafers (also known as candy melts or confectionery coating) are specifically formulated for melting and coating, ensuring a smooth, glossy finish that sets beautifully. For a perfect chocolate-covered Oreo, melting wafers are the superior choice.
What are the steps to make chocolate covered Oreos using a mold?
Using a mold is a fantastic way to create perfectly shaped chocolate-covered Oreos. First, melt your chocolate wafers and shortening in a double boiler or carefully in the microwave until smooth. Pour a small amount of melted chocolate into each cavity of your Oreo mold, ensuring the bottom is covered. Use a small brush or the back of a spoon to spread the chocolate up the sides of each cavity, creating a shell. Place an Oreo cookie into each chocolate-lined cavity, then cover the cookie with more melted chocolate, making sure it’s completely enclosed. Gently tap the mold against your countertop a few times to release any trapped air bubbles and ensure an even coating. Place the mold in the refrigerator for about 10-15 minutes, or until the chocolate is completely set and hard. Once set, simply invert the mold and gently press from the back to release your perfectly formed chocolate-covered Oreos. Enjoy your professional-looking treats!
Is it possible to create chocolate covered Oreos on a stick?
Absolutely! Creating chocolate covered Oreos on a stick makes them a fun, mess-free treat, perfect for parties or edible gifts. To do this, carefully insert a lollipop stick (or a sturdy wooden skewer) into the cream filling of each Oreo cookie. Be gentle to avoid breaking the cookie. Once the sticks are in place, proceed with dipping the Oreos into the melted chocolate as described in the main recipe. After dipping and decorating, you can stand the sticks upright in a foam block or a tall glass filled with rice or sugar to allow the chocolate to set without smudging. These Oreo pops are a fantastic addition to any celebration!
What are some creative ways to decorate chocolate covered Oreos?
Decorating chocolate covered Oreos is where your creativity can truly shine! Beyond the classic sprinkles, consider these fun ideas:
- Color Combinations: Use different colored melting chocolates (e.g., pink and blue for a baby shower, orange and black for Halloween).
- Drizzles: Drizzle contrasting melted chocolate, caramel sauce, or even peanut butter over the set chocolate coating.
- Crushed Toppings: Roll freshly dipped Oreos in crushed nuts, coconut flakes, crushed candy bars, or mini chocolate chips.
- Edible Glitters & Pearls: Add a touch of sparkle with edible glitter or elegant edible pearls (dragees).
- Themed Candies: Attach small themed candies like gummy worms for Halloween, mini hearts for Valentine’s Day, or tiny edible flowers for spring.
- Royal Icing Details: Once the chocolate is fully set, use royal icing to pipe intricate designs, names, or small festive shapes.
Don’t be afraid to experiment and have fun with your decorations!

More Festive & Patriotic Recipes to Explore
If you loved making these festive treats, you’ll surely enjoy exploring our other patriotic and holiday-themed recipes:
- Patriotic Swirled Sugar Cookies
- Patriotic Cookie Cake
- Easy 4th of July Cookies
- Patriotic Cookie Bars
- Krispy M&M 4th of July Cookies
- Red Velvet Cake Mix Cookies
Discover More Amazing Cookie Recipes
Beyond patriotic delights, our collection is brimming with other fantastic cookie recipes for every taste and occasion:
- Frosted Lemon Sugar Cookies
- Strawberry Cake Mix Sandwich Cookies
- Soft Sugar Cookies
- Cake Mix Rolo Cookies
- Watermelon Sugar Cookies
- Cream Cheese Sugar Cookies
- Strawberry Lemonade Cake Mix Cookies
- Caramel Banana Cookies
These Red, White, & Blue Chocolate Covered Oreos are more than just a dessert; they’re a celebration in every bite. Made with only 4 ingredients and just a few easy steps, these delicious white chocolate covered Oreos add a fun, festive, and undeniably patriotic touch to any party table. Get ready to create a memorable treat that’s simple to make and impossible to resist!