
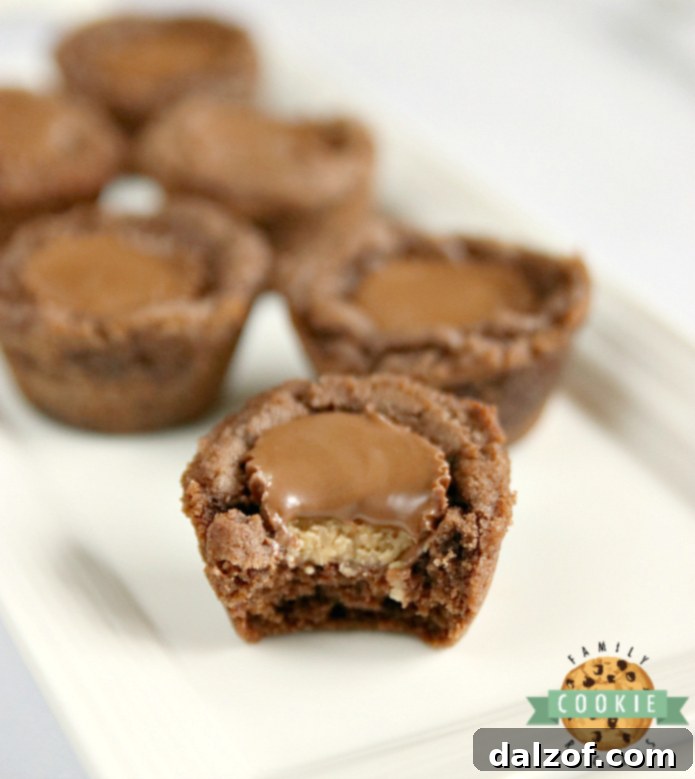
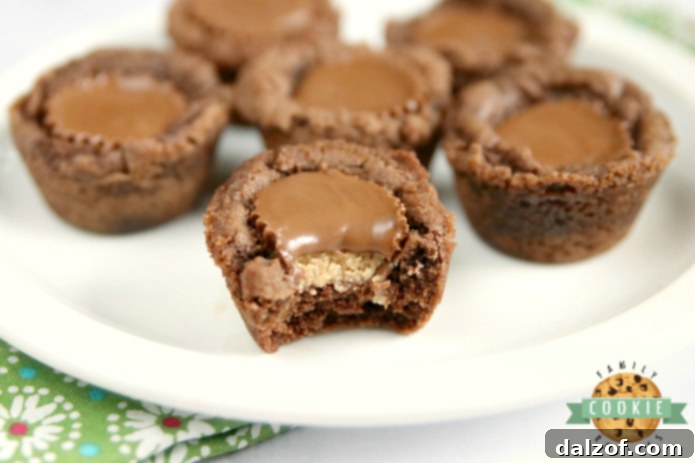
Indulge in the ultimate chocolate and peanut butter fusion with these irresistible Reese’s Chocolate Cookie Cups. These delightful bite-sized treats feature a rich, fudgy chocolate cookie base, perfectly baked into a convenient cup shape, and then crowned with a miniature Reese’s Peanut Butter Cup. They are the quintessential dessert for any occasion, offering a harmonious blend of sweet chocolate and savory peanut butter that tantalizes the taste buds. Whether you’re hosting a party, looking for a comforting family dessert, or simply craving a moment of pure bliss, these cookie cups are an absolute dream come true. Easy to make and even easier to devour, they’re guaranteed to become a household favorite and a staple in your collection of cherished recipes.
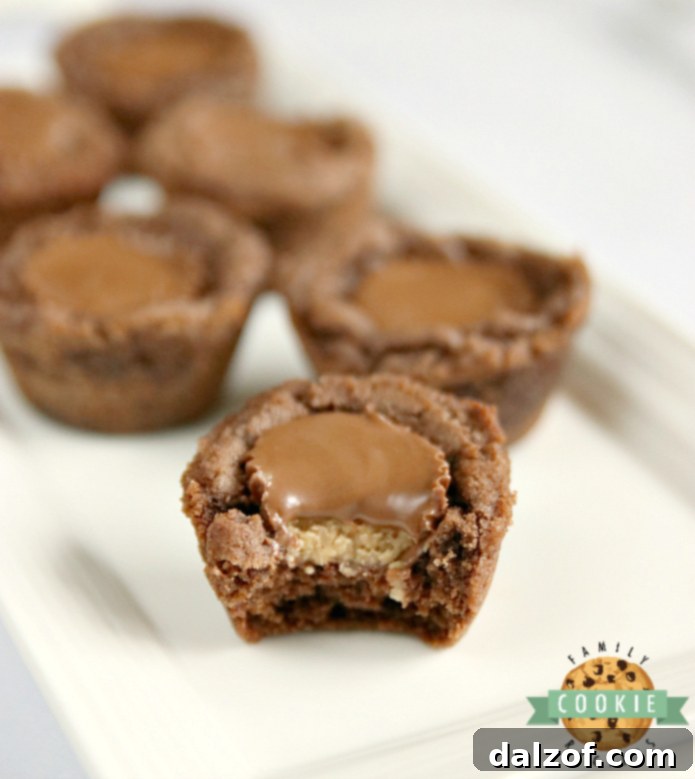
There’s something inherently charming and satisfying about a cookie cup that sets it apart from a traditional flat cookie. Their unique form factor makes them exceptionally versatile – perfect for holding various fillings, from creamy frostings to, in this glorious case, a beloved candy treat like Reese’s Peanut Butter Cups. This recipe elevates the classic chocolate cookie by transforming it into a soft, chewy vessel designed to cradle that iconic peanut butter goodness. I’ve always been keen on exploring creative ways to present desserts, and cookie cups offer that perfect blend of novelty and deliciousness.
While I’ve experimented with peanut butter cookie bases for these delightful cups before, the deep, rich flavor of a chocolate cookie base truly enhances the experience, creating a more decadent and balanced flavor profile. The contrast between the rich chocolate and the creamy, slightly salty peanut butter creates an explosion of flavor in every single bite. These mini desserts are not only incredibly tasty but also incredibly fun to make, making them a perfect baking project for families or anyone who enjoys a touch of creativity in the kitchen.
Ingredients for Irresistible Reese’s Chocolate Cookie Cups
Crafting these delectable Reese’s Chocolate Cookie Cups requires a straightforward list of ingredients, many of which you likely already have in your pantry. The key to their rich flavor and perfect texture lies in selecting quality ingredients and preparing them correctly. Each component plays a vital role in achieving that coveted balance of sweetness, chewiness, and pure chocolate-peanut butter bliss.
- 1/2 cup butter, softened to room temperature: Crucial for a smooth, creamy dough. Using softened butter ensures it creams properly with the sugars, leading to a tender cookie and a light, airy texture.
- 1 cup granulated sugar: Provides essential sweetness and contributes to the cookie’s structure and helps create those delightful slightly crispy edges.
- 1/2 cup brown sugar: Adds a deeper molasses flavor and significant moisture, resulting in a chewier, more tender cookie texture that melts in your mouth.
- 2 large eggs: Act as a vital binder, adding richness to the dough and helping the cookie cups hold their perfect shape during baking.
- 1 tsp. vanilla extract: A fundamental flavor enhancer that complements both chocolate and peanut butter beautifully, deepening the overall taste profile.
- 2 cups all-purpose flour: The structural backbone of our cookie cups. Make sure to measure it correctly using the scoop-and-level method for the best consistency and to avoid tough cookies.
- 1/3 cup unsweetened cocoa powder: This is where the rich, intense chocolate flavor comes from. Use a good quality cocoa powder for a truly decadent and deep chocolate taste.
- 1 tsp. baking soda: A powerful leavening agent that helps the cookie cups rise slightly, ensuring they are soft and tender rather than dense.
- 1/2 tsp. salt: Balances the sweetness and significantly enhances the overall flavor profile, making the chocolate taste even richer and the peanut butter pop.
- 36 miniature Reese’s Peanut Butter Cups: The star of the show! These mini treats, unwrapped and ready, melt perfectly into the warm cookie, creating a gooey, irresistible peanut butter center that is simply divine.
Step-by-Step Instructions for Perfect Cookie Cups
Follow these simple, yet precise, steps to create your own batch of amazing Reese’s Chocolate Cookie Cups. Precision in preparation and baking, especially with timings, will ensure the best results and a dessert that looks as good as it tastes. Remember to have all your ingredients at room temperature before you begin for optimal mixing.
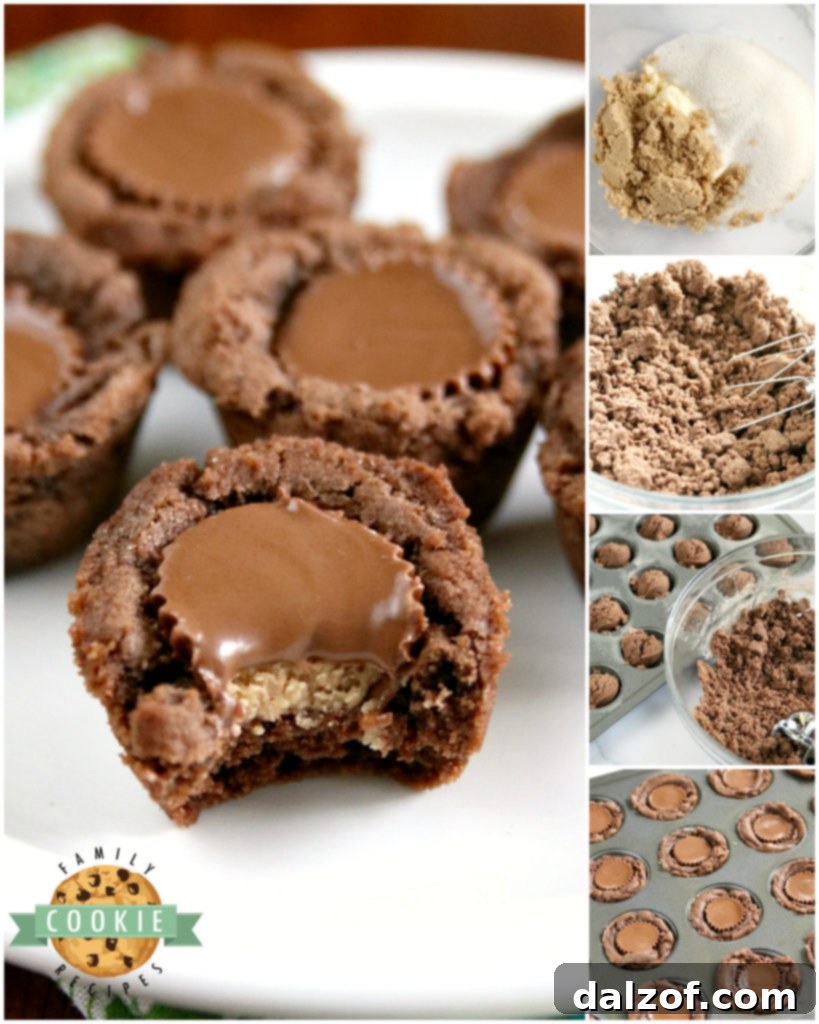
- Prepare the Wet Ingredients: In a large mixing bowl, using an electric mixer (handheld or stand mixer), cream together the softened butter, granulated sugar, and brown sugar. Beat on medium speed for about 2-3 minutes until the mixture is visibly light, fluffy, and well combined. This creaming process is vital as it incorporates air, which contributes significantly to the cookies’ tender texture. Next, beat in the eggs one at a time, ensuring each egg is fully incorporated into the mixture before adding the next. Finally, stir in the vanilla extract, mixing for another 2-3 minutes until the mixture is smooth, creamy, and consistently airy.
- Combine Dry Ingredients: In a separate, medium-sized bowl, whisk together the all-purpose flour, unsweetened cocoa powder, baking soda, and salt. Whisking these dry ingredients thoroughly ensures they are evenly distributed throughout the mixture, preventing any pockets of leavening agents or salt in your finished cookie cups. This step is key for uniform texture and flavor.
- Integrate Dry and Wet Mixtures: Gradually add the dry ingredient mixture to the wet ingredient mixture in the large bowl. Mix on low speed, or by hand with a spatula, just until everything is combined and no streaks of dry flour remain. Be extremely careful not to overmix the dough, as excessive mixing can develop the gluten in the flour, leading to tough, dense cookies. Mix only until just combined.
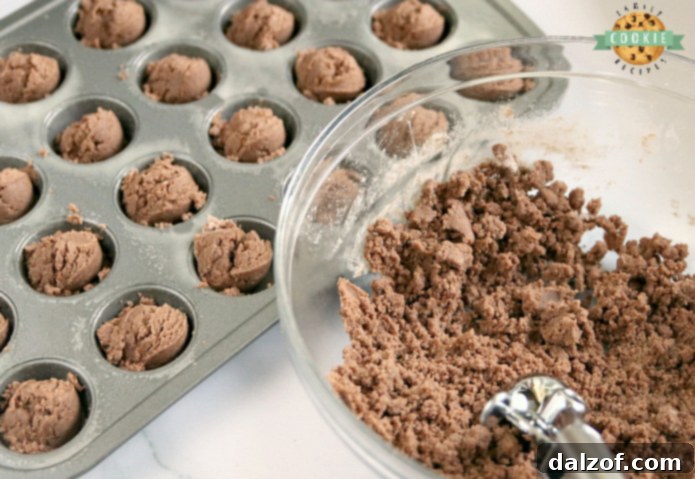
- Scoop into Pan: Preheat your oven to 350°F (175°C). While the oven preheats, lightly grease a mini muffin pan or line it with mini paper liners. Using a small cookie scoop (a 1-tablespoon size works perfectly for consistency), scoop rounded portions of the chocolate cookie dough into the cavities of the prepared mini muffin pan. There’s no need to flatten or shape the dough; simply drop the scoops into each well – the oven’s heat will do the rest.
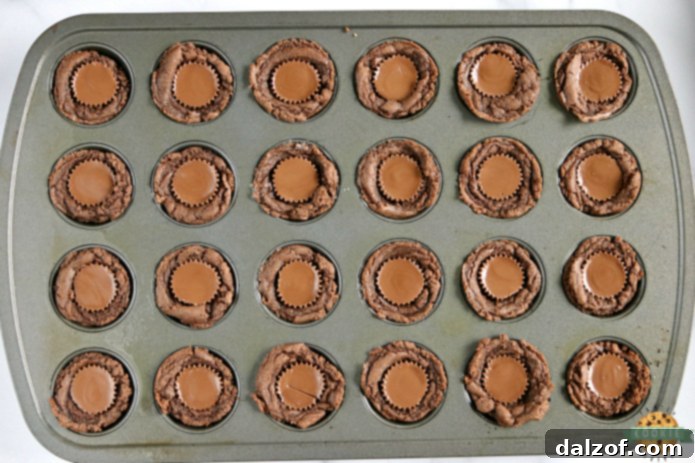
- Initial Bake and Add Reese’s: Place the muffin pan into the preheated oven and bake the cookie cups for exactly 6 minutes. After 6 minutes, carefully remove the pan from the oven. The cookies will be partially baked and still soft. Immediately press one miniature Reese’s Peanut Butter Cup into the center of each warm, partially baked cookie cup. Gently press until the top of the Reese’s cup is flush with the top of the cookie dough. This timing is crucial for the Reese’s to melt perfectly without completely disappearing into the cookie.
- Final Bake: Return the muffin pan to the oven for an additional 2 minutes. This brief second bake allows the cookie to finish cooking and set around the Reese’s cup, and helps the peanut butter cup slightly melt into its glorious, gooey state, creating an irresistible soft center.
- Cooling Process: Once both baking stages are complete, remove the pan from the oven. Let the cookie cups cool in the muffin pan for 5-10 minutes. This is a crucial step as it allows the cookies to set and firm up before you attempt to remove them, preventing them from crumbling. After this initial cooling, carefully transfer the Reese’s Chocolate Cookie Cups to a wire rack to cool completely. Cooling on a wire rack ensures air circulation, preventing soggy bottoms and maintaining their perfect chewy texture.
Mastering the Art: Tips for the Best Cookie Cups
Achieving perfect cookie cups every time is an art, but with these expert tips, you’ll be baking like a pro in no time. These insights will help you avoid common baking pitfalls and ensure your Reese’s Chocolate Cookie Cups turn out consistently delicious and beautifully presented.
- Flour Consistency is Key: The texture of your dough is paramount. If your cookie dough feels too sticky after combining all ingredients, it might need a tiny bit more flour. Add it gradually, a tablespoon at a time, until the dough is manageable but still soft. Conversely, too much flour can lead to dry, crumbly cookies, so always measure your flour carefully, preferably by spooning it into a measuring cup and leveling it off.
- Creaming Butter and Sugars Thoroughly: Don’t rush this step! Creaming the butter and sugars together for a full 2-3 minutes with an electric mixer is vital. This process incorporates air into the mixture, creating a lighter, more tender crumb and preventing dense cookies. You’re looking for a mixture that is light in color and fluffy in consistency. This aeration contributes significantly to the final texture.
- Always Preheat Your Oven: This might seem like a basic step, but it’s often overlooked or rushed. A properly preheated oven ensures even baking from the very first batch. Placing dough into a cold or warming oven can drastically alter baking times and lead to unevenly baked results, affecting the texture and doneness of your cookie cups. Give your oven ample time to reach and stabilize at the target temperature.
- The Power of a Cookie Scoop: For uniform cookie cups, a cookie scoop is your best friend. It ensures each cup is the same size, which means they’ll bake evenly and look professional. Consistency in size also means no arguments over who got the biggest cookie, and it helps prevent smaller cookies from overbaking while larger ones are still raw. A 1-tablespoon scoop is ideal for mini muffin pans.
- Avoid Overbaking (Especially with Chocolate): This is perhaps the most critical tip for chocolate cookies. They are notorious for being tricky to gauge doneness by color since they are already dark. When I pull my chocolate cookie cups from the oven after the initial 6 minutes, they still look slightly underbaked in the center – and that’s exactly what you want! They will continue to bake and set in the hot muffin pan for a few minutes after removal, as well as during the second 2-minute bake with the Reese’s cup. Trust the timings: 6 minutes before adding the Reese’s, and 2 minutes after, has proven to be spot on in multiple ovens. A minute or two too long can turn tender cookies into dry, crumbly pucks.
- Chilling the Dough (Optional but Recommended): If your kitchen is warm or if you find the dough too soft to handle, chilling it for 30 minutes to an hour can make scooping easier and help prevent excessive spreading, ensuring perfectly formed cookie cups. This also allows the flavors to meld beautifully.
- Quality Ingredients Matter: While the recipe is simple, using good quality butter, cocoa powder, and vanilla extract will significantly elevate the flavor of your cookie cups. High-quality ingredients can make a noticeable difference in the final taste and aroma.
- Cooling Completely is Crucial: Resist the urge to dive in immediately! Allowing the cookie cups to cool completely on a wire rack isn’t just about preventing burns; it allows them to fully set, making them easier to handle and ensuring they maintain their structural integrity and chewy texture. Warm cookie cups are more fragile and prone to breaking.
Serving Suggestions for Your Delicious Cookie Cups
These Reese’s Chocolate Cookie Cups are delightful on their own, offering a perfect bite-sized burst of flavor. However, with a little creativity, they can also be part of a larger dessert spread or elevated for a special occasion. Serve them slightly warm for that irresistible gooey peanut butter center, or at room temperature for a firmer, yet still wonderfully chewy, treat. They make perfect additions to holiday platters, birthday parties, school events, or as a sweet surprise in lunchboxes.
For an extra touch of indulgence and visual appeal, consider a light dusting of powdered sugar over the cooled cups, or a delicate drizzle of melted chocolate (white, milk, or dark) or extra melted peanut butter. A sprinkle of flaky sea salt on top can also wonderfully enhance and balance the sweet and savory notes. These cookie cups also pair wonderfully with a glass of cold milk, a hot cup of coffee, or even alongside a scoop of vanilla bean ice cream for an extra decadent dessert experience.
Creative Variations and Customizations
The beauty of cookie cups lies in their adaptability! Once you’ve mastered this classic Reese’s version, feel free to experiment and unleash your inner baker with these delightful variations:
- Different Fillings: Instead of Reese’s, try other miniature chocolate candies like Snickers, Milky Way, or even colorful M&M’s. For a richer twist, a dollop of caramel, a spoonful of Nutella, or a mini marshmallow pressed into the center before the second bake would be absolutely divine.
- Toppings Galore: Once cooled, these cookie cups are a blank canvas for toppings. Drizzle with white chocolate, sprinkle with chopped peanuts, mini chocolate chips, or a touch of flaky sea salt to enhance the flavors. Crushed pretzels can add a delightful salty crunch.
- Cookie Base Swaps: While the chocolate base is fantastic, you could also use a classic vanilla sugar cookie dough, a robust peanut butter cookie base for a double peanut butter punch, or even an oatmeal cookie for a different texture and flavor profile.
- Add-ins for Texture: Fold in mini chocolate chips, chopped nuts (like pecans or walnuts), or even sprinkles directly into the chocolate cookie dough for added texture, flavor, and visual appeal before scooping them into the muffin pan.
- Seasonal Twists: For holidays, consider adding themed sprinkles to the dough or frosting, or using seasonal mini candies as fillings. A peppermint patty could be a delightful winter variation, for instance.
The Irresistible Duo: Chocolate and Peanut Butter
The combination of chocolate and peanut butter is a culinary match made in heaven, a duo that has captivated taste buds for generations. The rich, slightly bitter notes of chocolate perfectly complement the creamy, salty, and sweet characteristics of peanut butter. It’s a symphony of flavors and textures that creates a uniquely satisfying experience, making treats like these Reese’s Chocolate Cookie Cups an instant hit. This timeless pairing offers a comforting nostalgia while always feeling fresh and exciting, proving why it remains one of the most beloved flavor combinations in the dessert world. Every bite is a perfect balance, hitting all the right notes for an unforgettable sweet treat.
REESE’S CHOCOLATE COOKIE CUPS
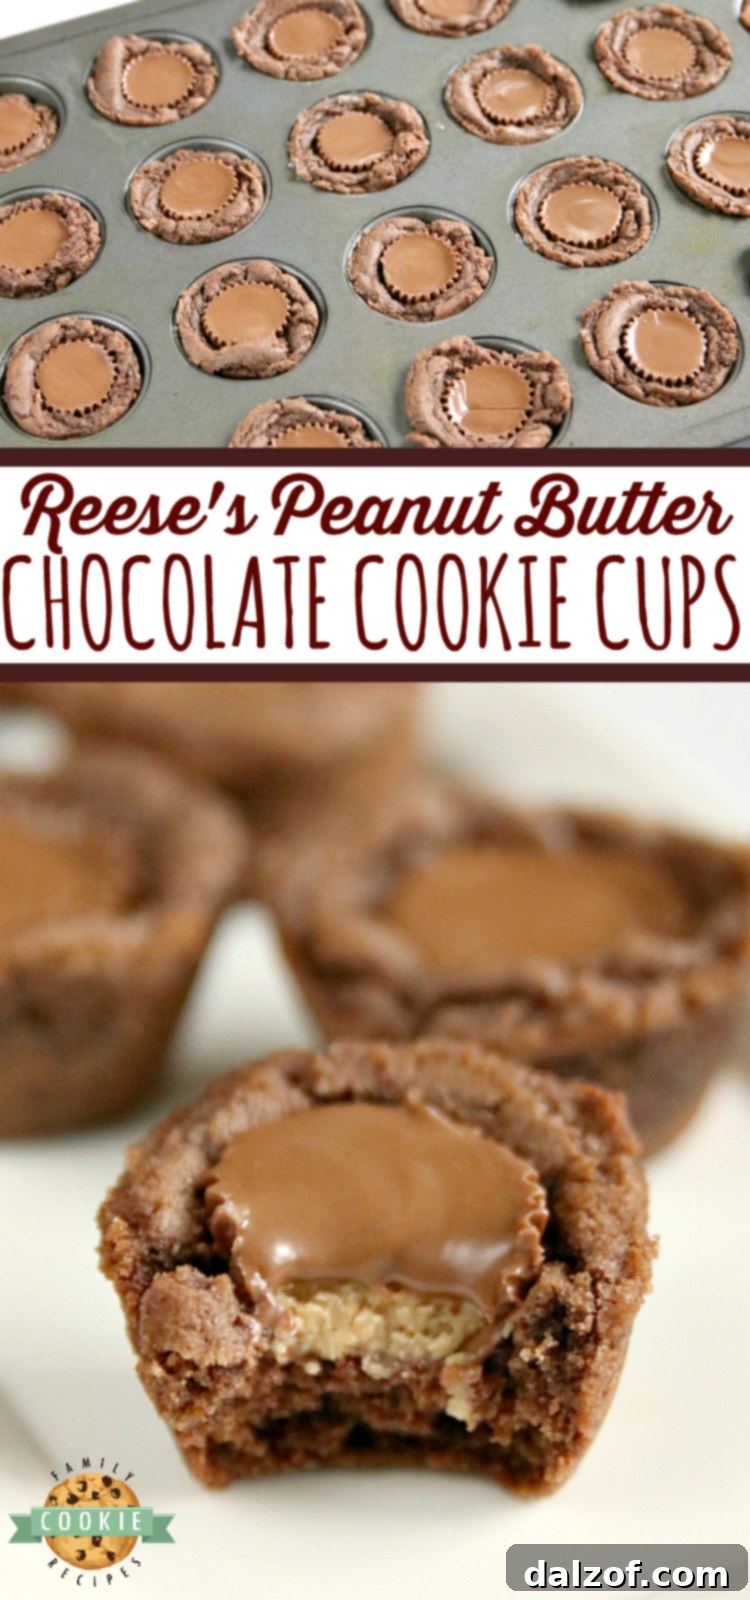
Reese’s Chocolate Cookie Cups are delightful bite-sized treats featuring a rich chocolate cookie base, filled with a miniature Reese’s Peanut Butter Cup. The perfect harmony of chocolate and peanut butter!
Prep Time: 5 minutes
Cook Time: 8 minutes
Total Time: 13 minutes
Servings: 30 cookie cups
Author: Jessica & Nellie
Print Recipe | Pin Recipe
Ingredients
- 1/2 cup butter, softened to room temperature
- 1 cup granulated sugar
- 1/2 cup brown sugar
- 2 large eggs
- 1 tsp. vanilla extract
- 2 cups all-purpose flour
- 1/3 cup unsweetened cocoa powder
- 1 tsp. baking soda
- 1/2 tsp. salt
- 36 miniature Reese’s Peanut Butter Cups, unwrapped
Instructions
- Cream the butter and sugars together for about 2-3 minutes with an electric mixer until light and fluffy.
- Add the eggs one at a time, then stir in the vanilla extract, mixing for 2-3 more minutes until smooth.
- In a separate bowl, combine the flour, cocoa powder, baking soda, and salt. Mix well.
- Gradually add the dry ingredients to the wet ingredients and mix just until combined. Be careful not to overmix.
- Preheat oven to 350°F (175°C). Use a cookie scoop to portion the dough into the wells of a mini muffin pan.
- Bake for 6 minutes. Remove from oven and immediately press one miniature Reese’s Peanut Butter Cup into the center of each cookie cup until flush with the top.
- Return the pan to the oven and bake for an additional 2 minutes.
- Let the cookie cups cool in the pan for 5-10 minutes before carefully removing them to a wire rack to cool completely.
Tried this recipe? Mention @familycookierecipes or tag #familycookierecipes!
Explore More Delicious Chocolate Peanut Butter Cookie and Cookie Cup Recipes
If you can’t get enough of the glorious combination of chocolate and peanut butter, or if you simply adore the convenience and charm of cookie cups, explore some of our other cherished recipes. These selections are perfect for expanding your baking repertoire and satisfying every craving for delightful, homemade treats. From classic cookies to more inventive cookie cup fillings, there’s something here to inspire your next baking adventure.
- Best Monster Cookies
- Peanut Butter Oatmeal Chocolate Chip Cookies
- Reese’s Peanut Butter Cookies
- Peanut Butter Chip Chocolate Cookies
- Snickers Peanut Butter Cookies
- Best Chocolate Chip Peanut Butter Cookies
- Fudge Peanut Butter Cookie Cups
- Snickerdoodle Apple Pie Cookie Cups
- Banana Cream Pie Cookie Cups
- Cherry Pie Cookies
- Hot Chocolate Cookie Cups
- Frosted Strawberry Cookie Cups



Beyond the joy of baking and the delicious taste of these Reese’s Chocolate Cookie Cups, some moments are just meant to be cherished. As I reflect on our recent Easter family picture, captured in a quick moment right after church, it reminds me of the simple happiness found in shared experiences and traditions. It’s always a bit of an effort to gather everyone for a family photo, but these captured memories are truly priceless. It’s both fun and a little bittersweet to witness how much everyone grows each year – my kids are getting so big, and time seems to fly by faster with each passing season. These cookie cups, much like those family photos, are more than just a recipe; they’re a part of creating lasting memories, bringing smiles to faces, and making every moment a little sweeter. Enjoy baking and making memories with your loved ones!