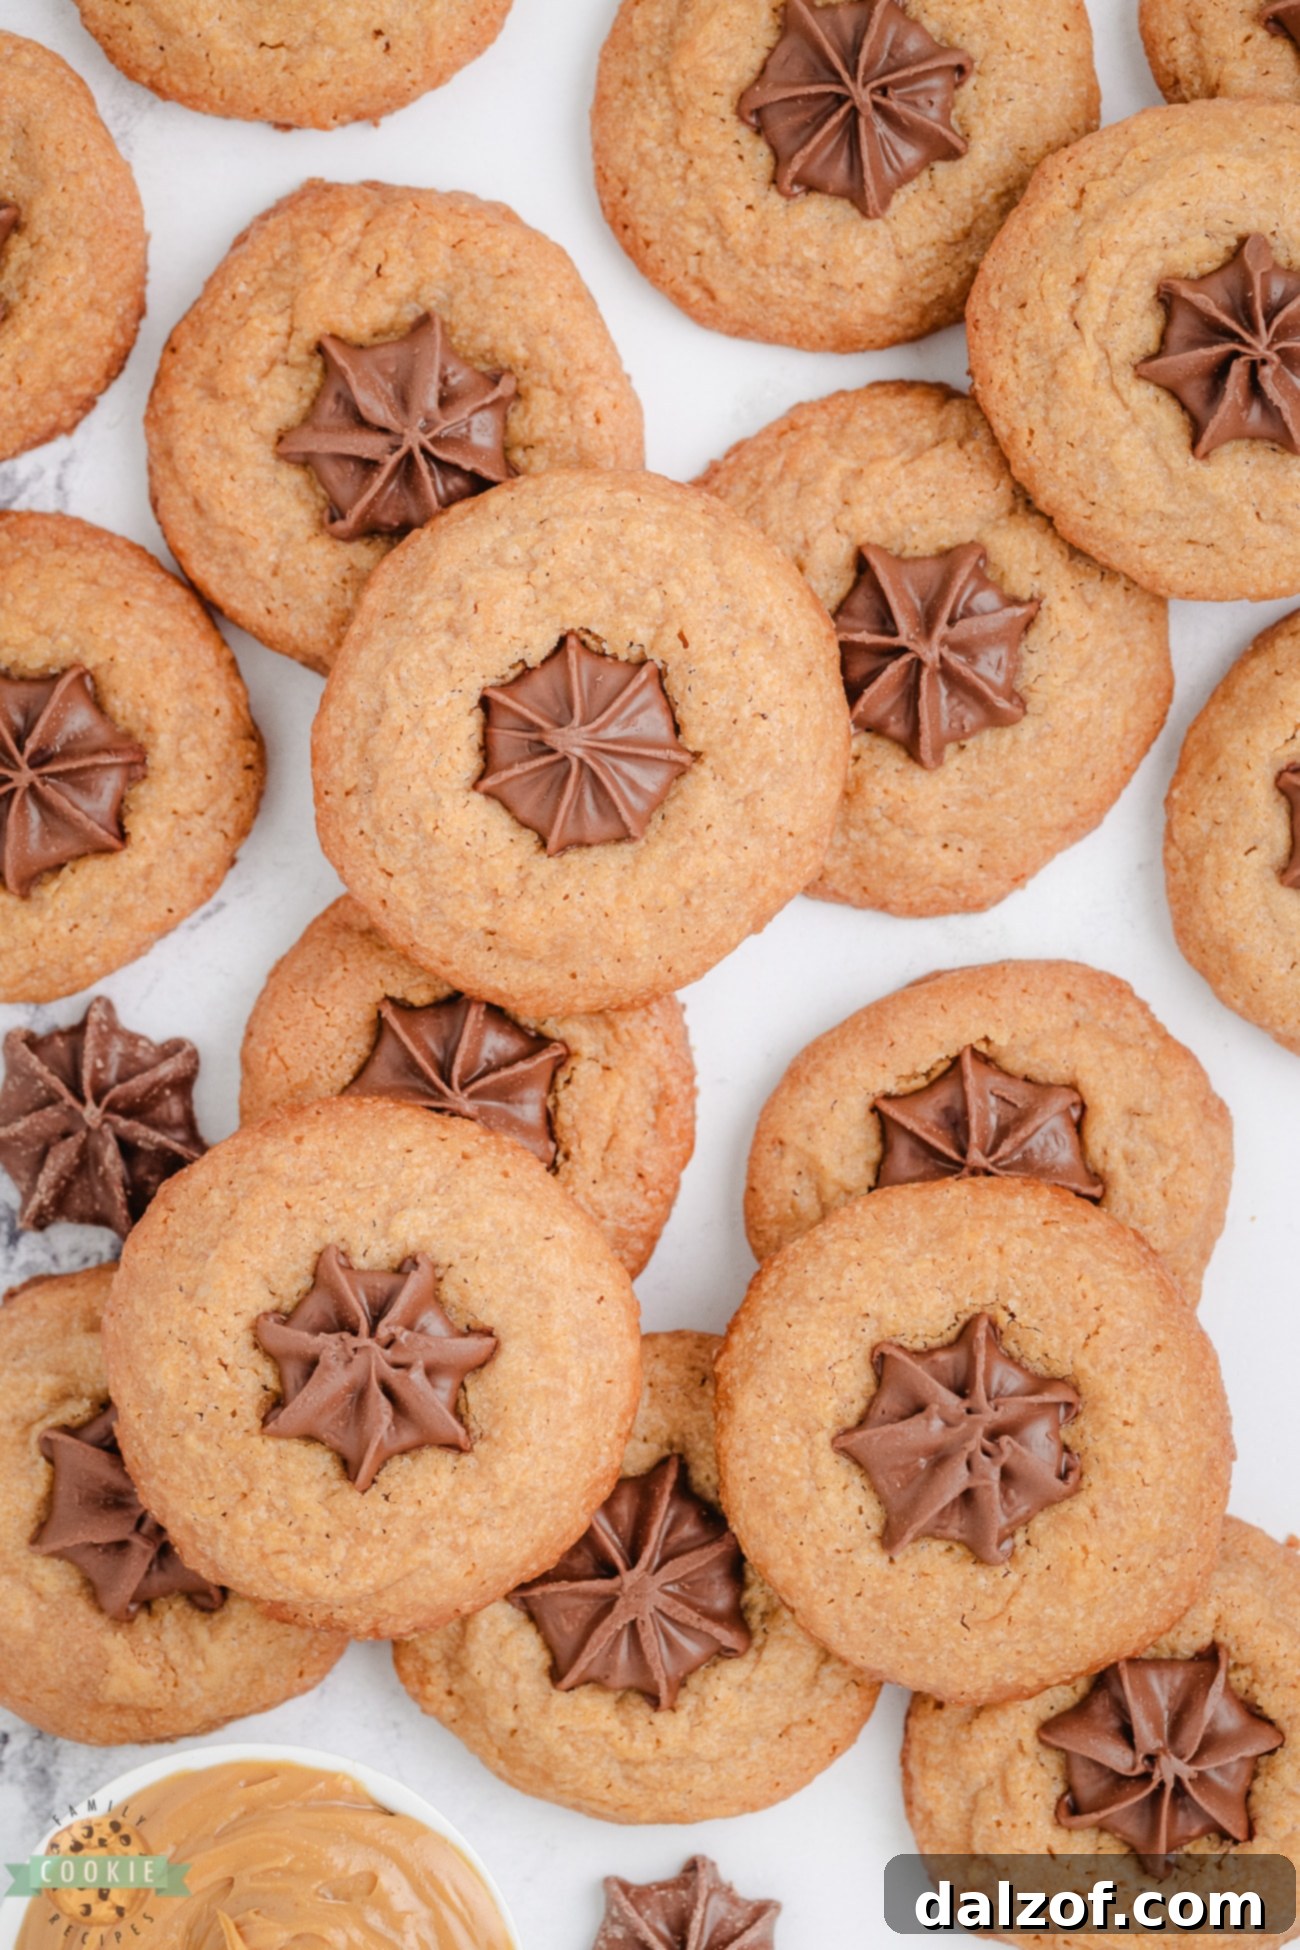
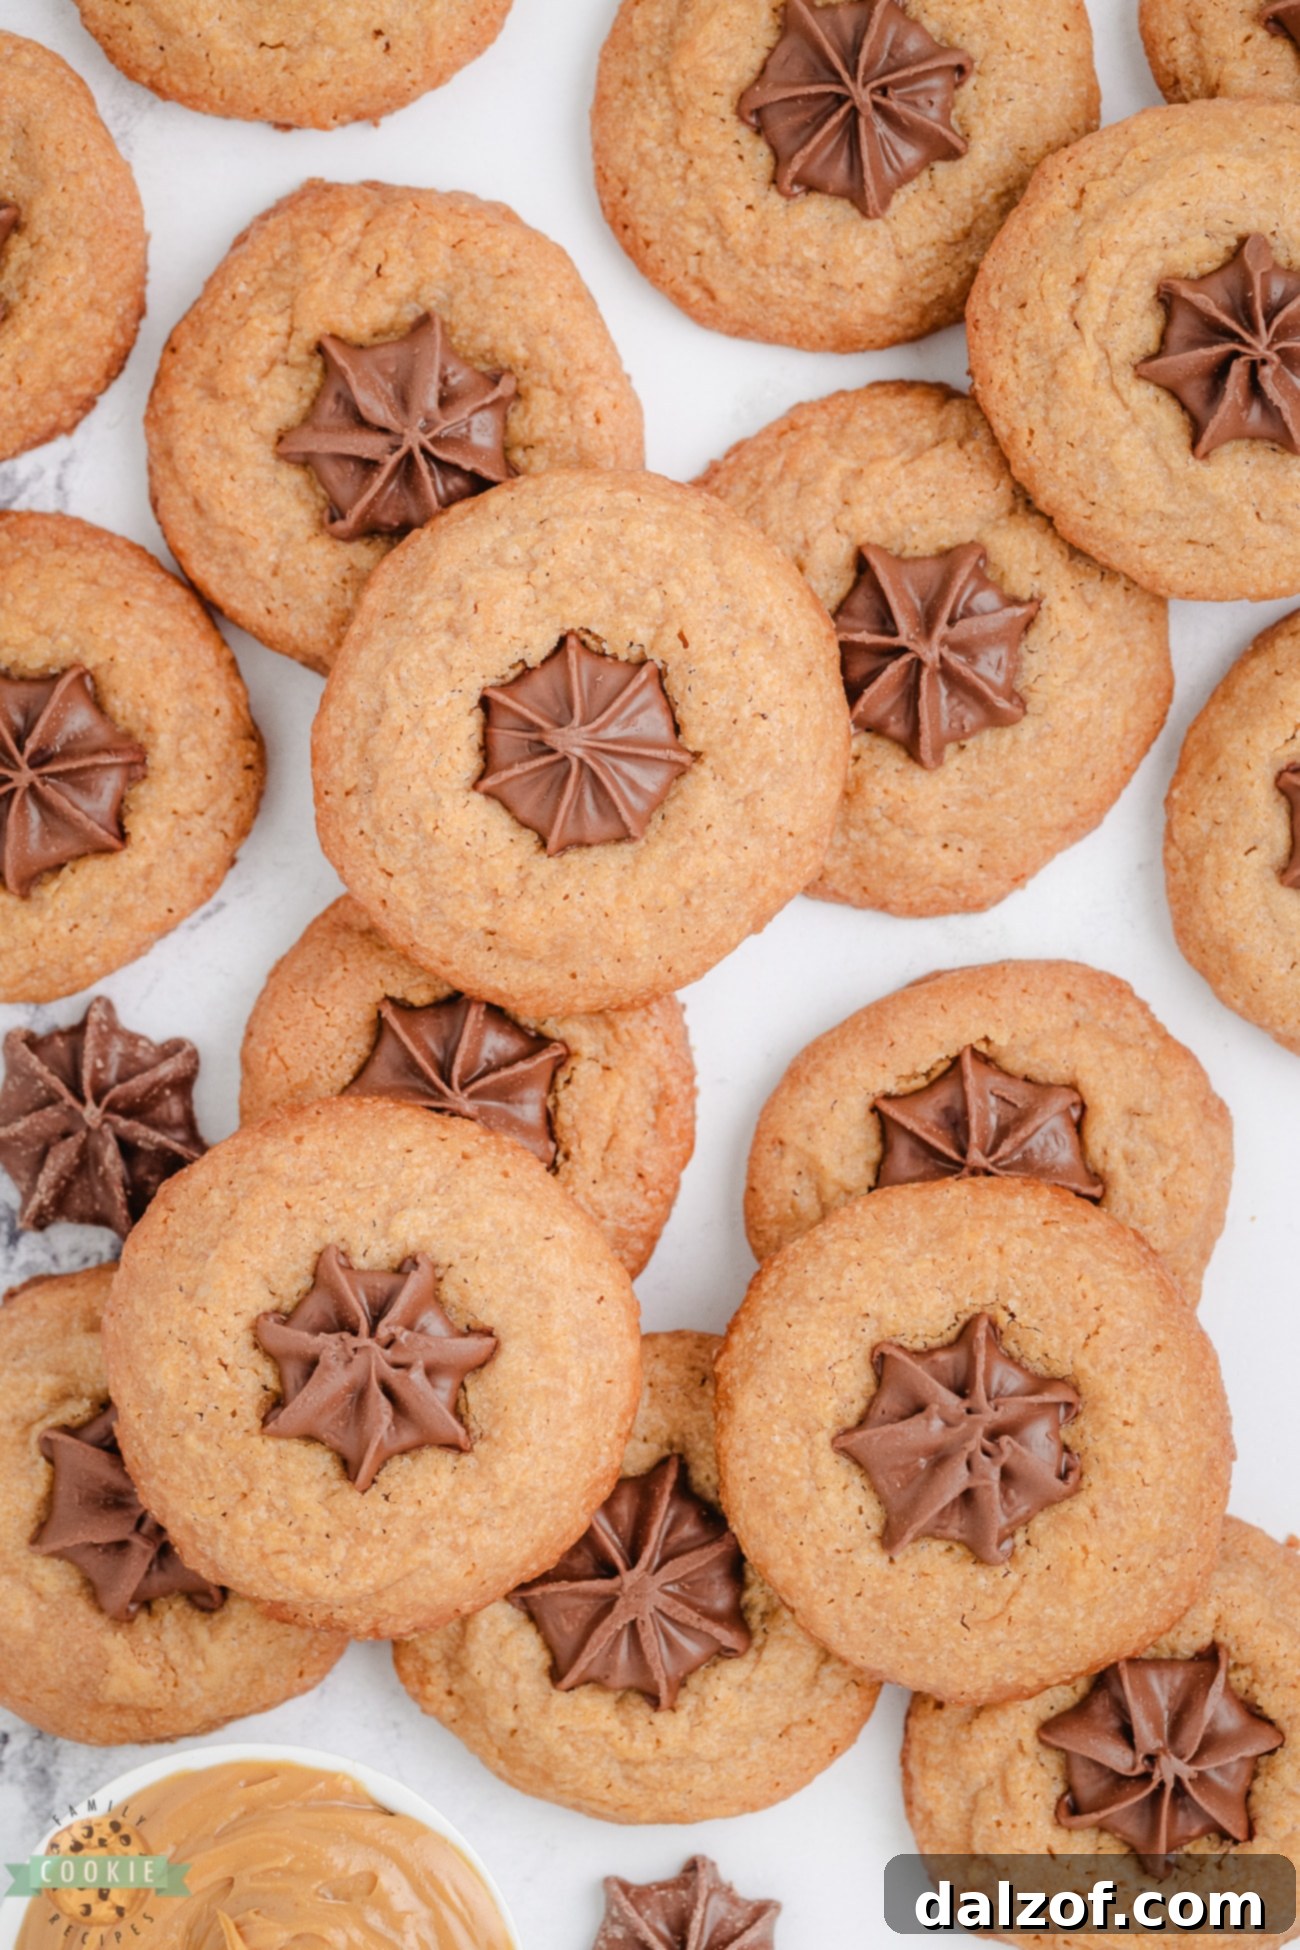
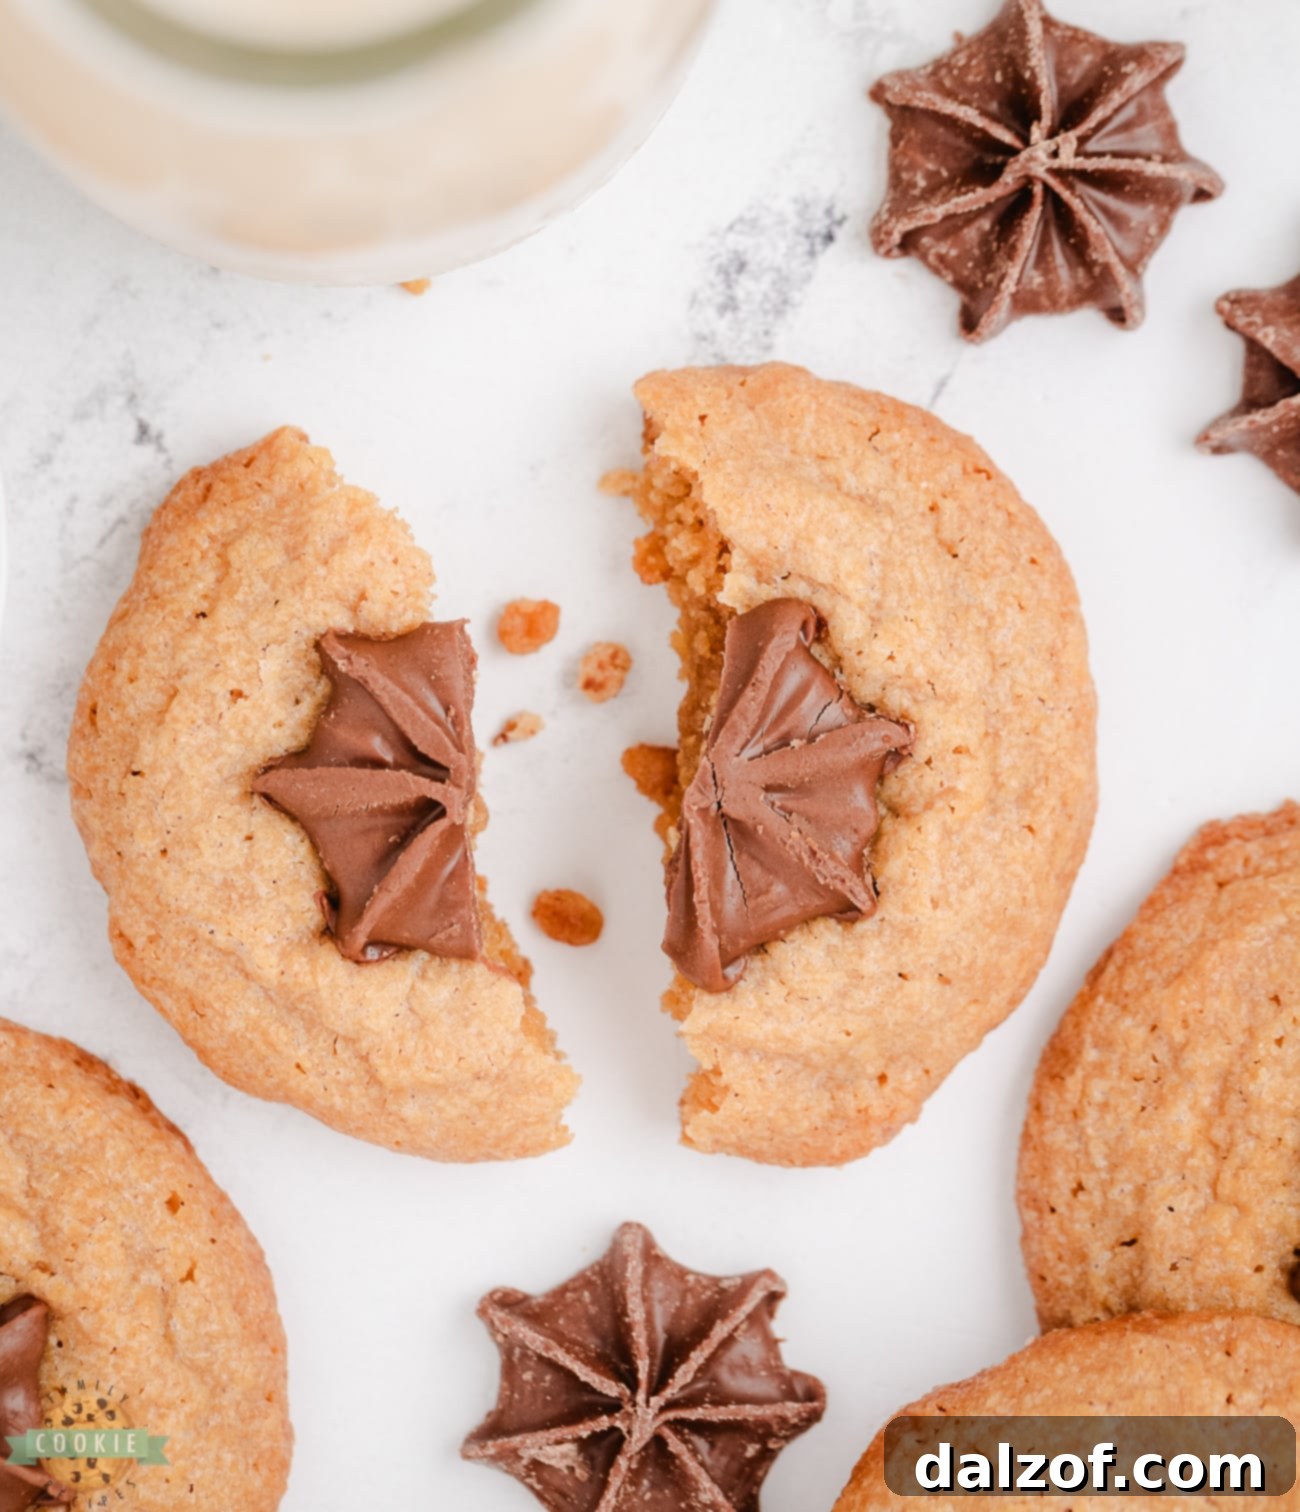
Welcome to the ultimate guide for crafting the most delightful **Easy Peanut Butter Kiss Cookies**! This classic recipe, a beloved staple for holidays and everyday treats alike, delivers a rich, nutty flavor perfectly complemented by a sweet, chocolatey finish. Imagine biting into a soft, chewy peanut butter cookie, instantly followed by the melt-in-your-mouth goodness of a Hershey’s Kiss. It’s a match made in dessert heaven.
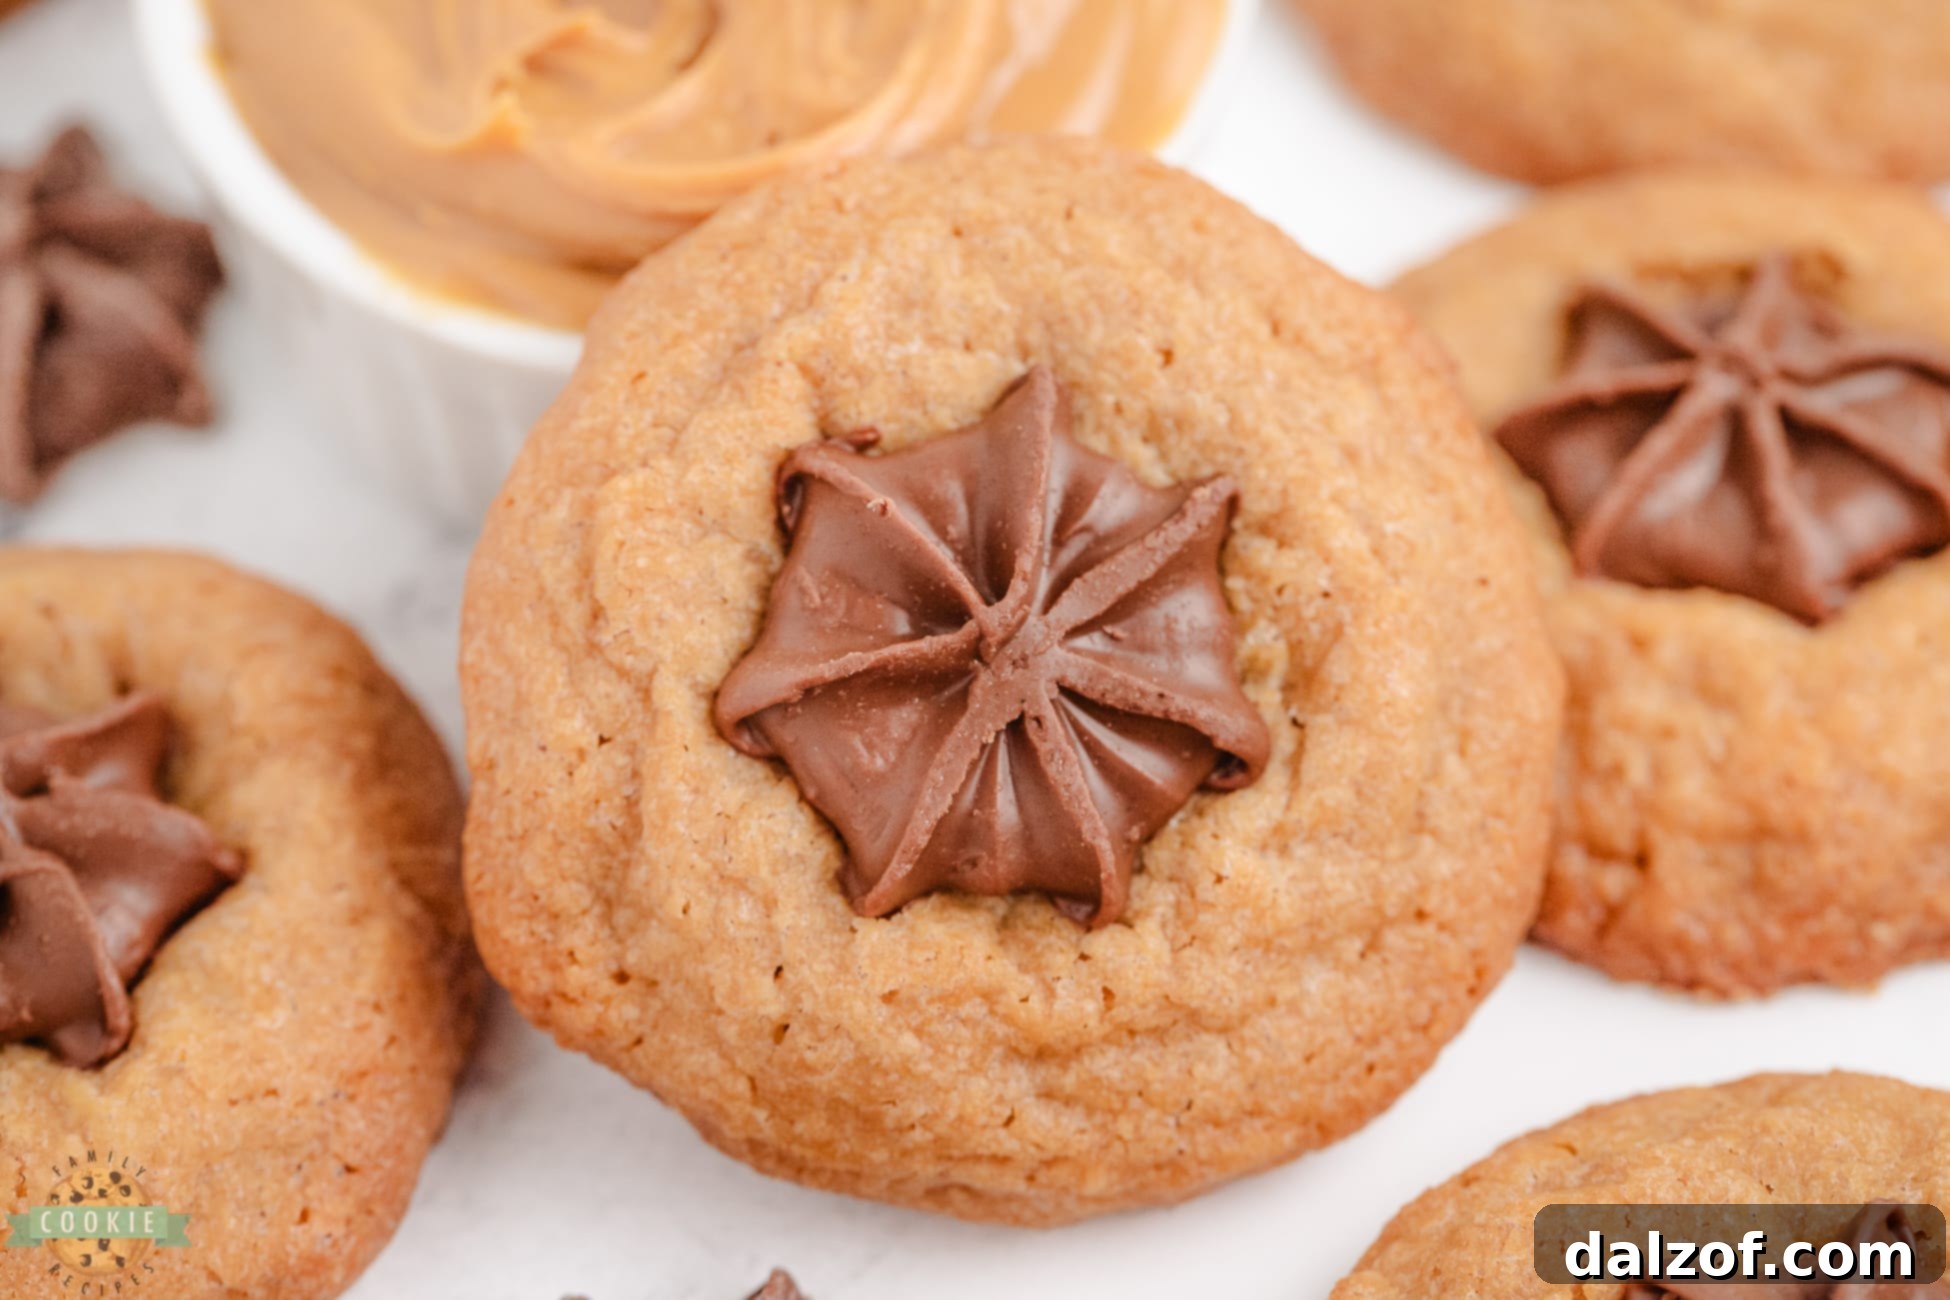
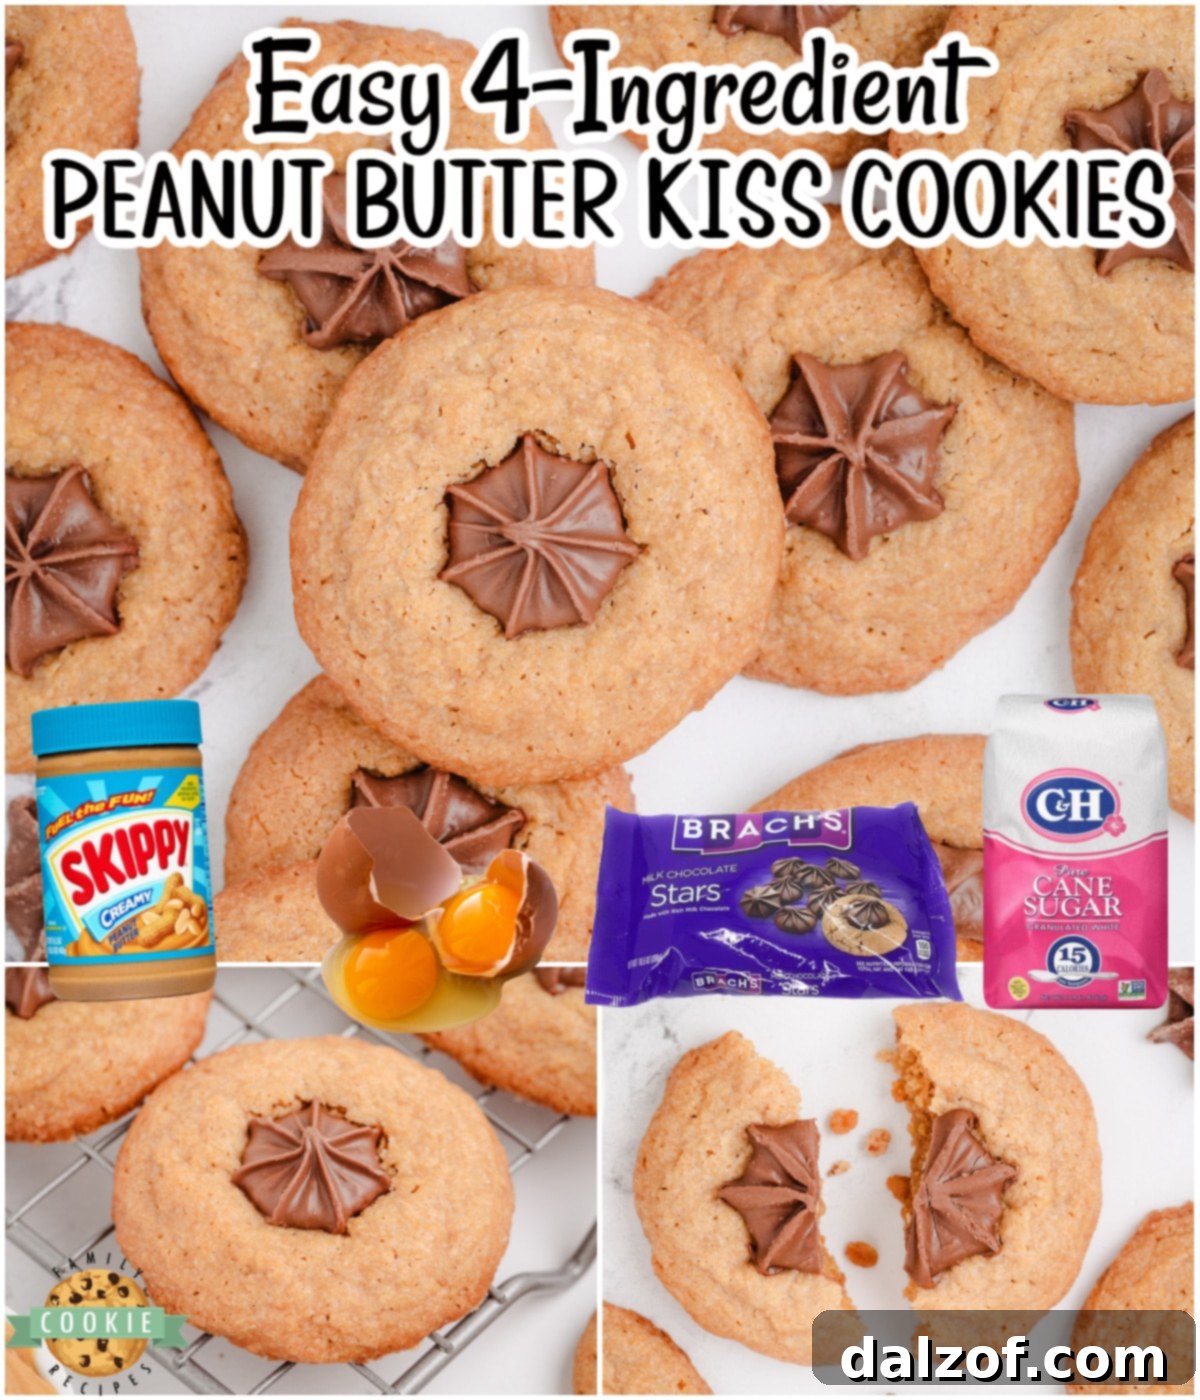
What makes these **Hershey Kisses Peanut Butter Cookies** truly stand out is their incredible simplicity. With just four basic ingredients—peanut butter, sugar, eggs, and your chosen chocolate candy—this **peanut butter cookie recipe** is incredibly straightforward, requiring minimal effort and no fancy equipment. Whether you’re whipping up a quick dessert for an unexpected gathering, preparing for a festive holiday bake sale, or simply indulging a sudden sweet craving, these **chocolate kiss cookies** are guaranteed to satisfy. Their ease of preparation makes them a fantastic choice for beginner bakers or a fun activity to share with children, promising delicious results every time.
Discover the Magic of 4-Ingredient Peanut Butter Kiss Cookies
Peanut Butter Kiss Cookies are more than just a dessert; they are a timeless tradition, evoking warmth and nostalgia, especially around the holiday season. The genius of this recipe lies in its elegant simplicity, combining the robust, savory depth of peanut butter with the unmistakable sweetness of a chocolate Kiss. The primary ingredient, peanut butter, isn’t just for flavor; it provides the rich, dense base and distinct nutty aroma that defines these cookies.
The addition of granulated sugar not only sweetens the dough but also plays a crucial role in achieving that perfect chewiness and slightly crisp edge that makes these cookies irresistible. Eggs act as the essential binder, holding all the simple ingredients together while contributing to the overall structure and texture, ensuring each cookie bakes up beautifully. Finally, the iconic Hershey’s Kiss, or a similar chocolate star candy, perched atop each warm cookie, melts gently into a luscious chocolate pool, creating a harmonious blend of peanut butter and chocolate that is truly unmatched. This classic combination creates a delightful balance of flavors and textures, making these cookies a universally adored treat that appeals to every palate.
Why This Peanut Butter Cookie Recipe Will Become Your Favorite
There are countless reasons why you’ll fall head over heels for this particular recipe, quickly making it a go-to in your baking repertoire. From its effortless preparation to its crowd-pleasing taste, these cookies offer an unparalleled baking experience:
- Effortless to Make: Forget complicated steps or a long list of ingredients. This recipe simplifies baking to its core, requiring only four pantry staples. You won’t need any specialized kitchen gadgets—just a mixing bowl, a spoon or an electric mixer, and a baking sheet. This ease makes it perfect for busy weeknights or spontaneous baking sessions.
- Versatile for Any Occasion: These cookies are remarkably adaptable. Their festive appearance makes them a highlight at holiday parties, potlucks, and bake sales. Yet, their comforting taste makes them equally suitable for a quiet afternoon snack with a cup of coffee or a delightful dessert after family dinner. They’re always a welcome addition, no matter the event.
- Irresistibly Peanut Buttery: For those who adore peanut butter, these cookies are a dream come true. They are intensely flavored with that beloved nutty goodness, making them a true celebration of peanut butter in every bite. The texture is perfectly soft and chewy, allowing the rich peanut butter taste to truly shine.
- Quick from Start to Finish: With minimal prep time and a relatively short baking duration, you can have a fresh batch of these delectable cookies ready to enjoy in under 30 minutes. This speed is a huge advantage when unexpected guests arrive or when a sudden craving strikes.
- Guaranteed Crowd-Pleaser: The combination of rich peanut butter and sweet chocolate is a universally loved pairing. These cookies consistently receive rave reviews and are often the first to disappear from any dessert platter. Prepare for requests for the recipe!
Essential Ingredients for Your Peanut Butter Kiss Cookies
Crafting these delectable cookies begins with selecting the right core ingredients. Here’s a closer look at what you’ll need and some tips for the best results:
- Peanut Butter: The heart of this simple cookie dough, you’ll need 2 cups of creamy peanut butter. For the best consistency and flavor, we highly recommend using a processed, smooth peanut butter (like Jif or Skippy) rather than natural peanut butter. The emulsifiers in conventional peanut butter help maintain the cookie’s structure and prevent oil separation, resulting in a perfectly soft and chewy texture.
- Sugar: To achieve that ideal balance of sweetness and chewiness, incorporate 1 ¼ cups of granulated sugar. Sugar not only provides the delightful sweet taste but also contributes significantly to the cookies’ texture, helping them spread just enough and creating a slightly crisp exterior while keeping the inside tender.
- Eggs: Eggs are crucial for binding the ingredients together, providing structure, and adding richness to the dough. You’ll need 2 large eggs. They act as a natural emulsifier, helping to create a cohesive dough that bakes evenly and maintains its shape.
- Chocolate Candy: The iconic topping! You will need approximately 52 chocolate stars or classic Hershey’s Kisses. These melt beautifully onto the warm cookies, adding a sweet, creamy chocolate layer that wonderfully complements the salty-sweet peanut butter. While Hershey’s Kisses are traditional, feel free to explore other small chocolate candies like mini Reese’s peanut butter cups for an extra twist.
Simple Steps to Make 4-Ingredient Peanut Butter Kiss Cookies
Preparation is Key
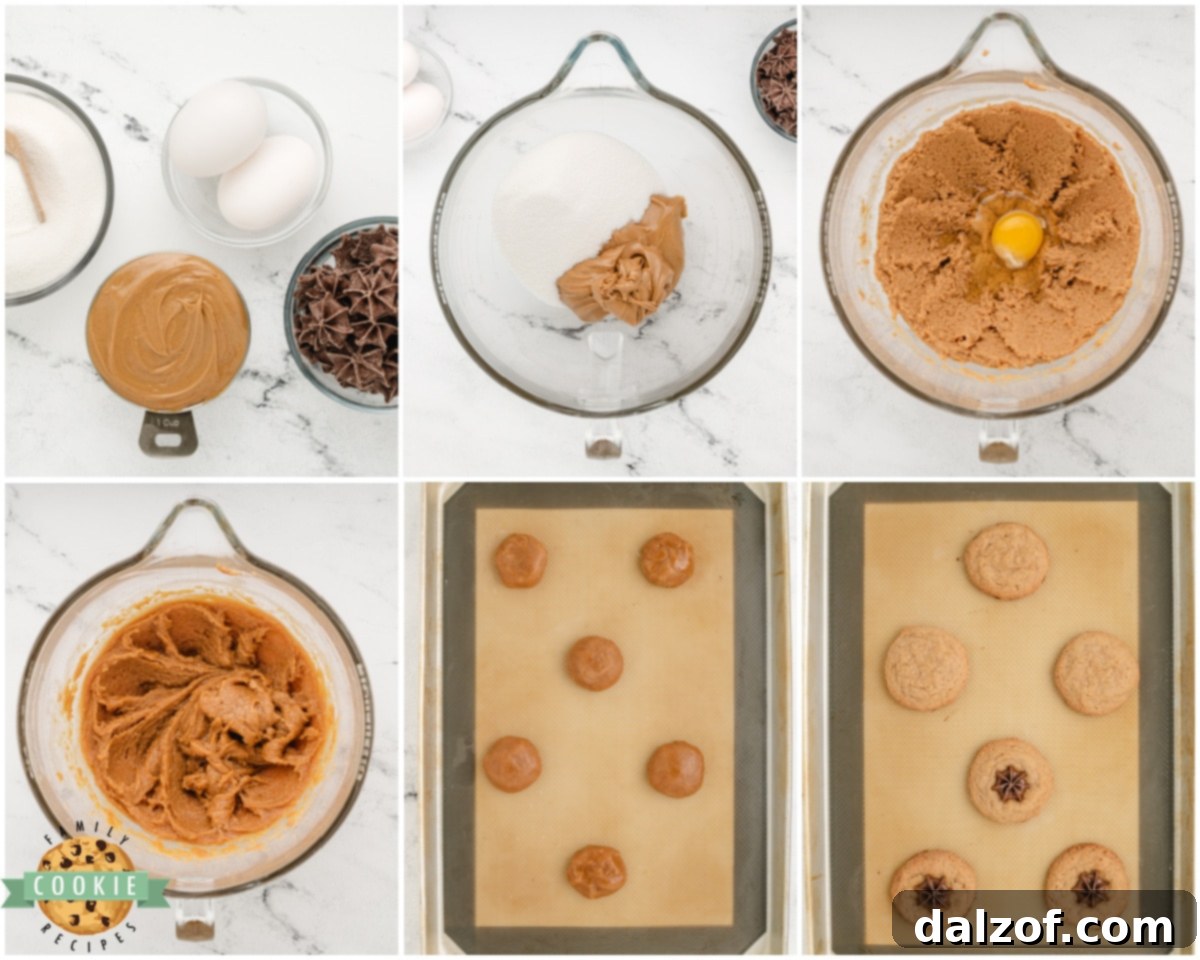
Before you even think about mixing, setting up your workspace ensures a smooth baking process. Begin by preheating your oven to a precise 350°F (175°C). This ensures the oven is at the correct temperature when your cookies go in, promoting even baking and perfect results. Next, line a large baking sheet with either parchment paper or a silicone baking mat. This step is crucial for preventing the cookies from sticking and makes cleanup a breeze. Once lined, set the baking sheet aside, ready for your cookie dough.
Crafting the Cookie Dough
In a spacious mixing bowl, combine the peanut butter and granulated sugar. Using an electric mixer, beat these two ingredients together until they are light, creamy, and well combined. This creaming process incorporates air, which contributes to the cookies’ tender texture. Once creamed, add the eggs, one at a time. After each egg addition, beat the mixture thoroughly until it is fully incorporated before adding the next. This ensures the eggs are evenly distributed and the dough remains smooth.
Once your dough is ready, lightly flour your hands to prevent sticking. Scoop out about 1 tablespoon of dough for each cookie. Roll each portion into a smooth ball, approximately 1 ¼ inches in diameter. Arrange these dough balls on your prepared baking sheet, ensuring they are spaced about 2 inches apart to allow for proper spreading during baking. This spacing is important to prevent the cookies from merging into one giant cookie.
Baking and Finishing Touches
Carefully place the baking sheet with your dough balls into the preheated oven. Bake for 14-16 minutes. You’ll know they’re perfectly baked when the edges are lightly golden and the tops begin to show slight cracks. Don’t worry if they seem a little soft in the center; they will firm up as they cool.
The moment you remove the cookies from the oven, and while they are still warm and pliable, immediately press a chocolate star or Hershey’s Kiss firmly into the center of each cookie. The residual heat from the cookies will gently melt the chocolate, allowing it to adhere beautifully and create that iconic look. If you wait too long, the cookies will harden, and the chocolate won’t stick or melt properly.
Allow the cookies to cool on the baking sheet for a few minutes before carefully transferring them to wire racks to cool completely. Cooling on wire racks allows air to circulate around the cookies, ensuring an even cool and preventing the bottoms from becoming soggy. Once fully cooled, these delightful cookies are ready to be served and enjoyed!

EASY PEANUT BUTTER KISS COOKIES
Ingredients
- 2 cups creamy peanut butter
- 1 ¼ cups granulated sugar
- 2 large eggs
- 52 chocolate stars or Hershey’s Kisses
Instructions
-
Prepare Your Workspace: Preheat your oven to 350° F (175°C). Line a baking sheet with parchment paper or a silicone mat and set it aside. This step ensures easy removal and clean-up.
-
Mix the Dough: In a medium mixing bowl, cream together the peanut butter and sugar using an electric mixer until light and fluffy. Add the eggs one at a time, beating well after each addition until fully incorporated.
-
Form and Bake: With lightly floured hands, roll 1 tablespoon of dough into 1 ¼-inch balls. Place them about 2 inches apart on the prepared baking sheet. Bake for 14-16 minutes, or until the tops are lightly cracked and edges are golden.
-
Add Kisses & Cool: Immediately upon removing from the oven, gently press a chocolate star or Hershey’s Kiss into the center of each warm cookie. Allow the cookies to cool on the baking sheet for a few minutes before transferring them to wire racks to cool completely. Serve and enjoy!
Notes
For extended freshness, these cookies freeze exceptionally well. Place them in an airtight freezer-safe container or a heavy-duty freezer bag and freeze for up to 3 months. When you’re ready to enjoy them, simply thaw at room temperature for a few hours.
Nutrition
Storing Your Peanut Butter Kiss Cookies for Optimal Freshness
Ensuring your homemade **Peanut Butter Kiss Cookies** remain as delicious as the day they were baked is simple with proper storage. To keep them fresh and soft, place them in an airtight container at room temperature. They will maintain their quality and delightful texture for up to 5 days. For an extra touch of old-fashioned magic, try a trick passed down by generations of bakers: place a slice of fresh bread in the container with your cookies. The bread will absorb excess moisture, helping to keep the cookies wonderfully soft and chewy for an extended period. It truly works wonders!
If you wish to preserve your cookies for a longer duration, freezing is an excellent option. Arrange the cooled cookies in a single layer in an airtight container or a heavy-duty freezer bag, with parchment paper between layers if stacking. They can be frozen for up to 2 months without losing their quality. When you’re ready to enjoy them, simply take them out of the freezer and let them thaw at room temperature for a few hours. This makes them perfect for meal prep or having a sweet treat on hand whenever a craving strikes.
Creative Variations and Substitutions for Your Peanut Butter Cookies
While the classic 4-Ingredient Peanut Butter Kiss Cookies are undeniably perfect as is, this recipe also serves as an excellent canvas for culinary creativity. Here are several exciting ways to customize your cookies to suit different preferences, dietary needs, or simply to try something new:
- Experiment with Different Types of Kisses: The traditional Hershey’s Milk Chocolate Kiss is a perfect pairing, but don’t limit yourself! The world of chocolate Kisses offers a plethora of flavors that can transform your cookies. Consider these delightful options:
- Dark Chocolate Kisses: For a more intense, slightly bitter chocolate contrast that balances the sweetness of the peanut butter.
- Milk Chocolate with Almonds Kisses: Adds a lovely crunch and a subtle nutty flavor boost.
- Caramel-Filled Kisses: Introduces a gooey, buttery caramel center for an extra layer of decadence.
- Mint Truffle Kisses: Perfect for mint-chocolate lovers, offering a refreshing twist, especially around the holidays.
- White Chocolate Kisses: For a sweeter, creamier, and visually lighter option.
- Explore Alternative Nut Butters: If you have a peanut allergy, are looking for a different flavor profile, or simply want to try something new, other nut butters can be substituted. Keep in mind that the texture and overall flavor of your cookies will vary. Always opt for a creamy, no-stir variety for best results, as natural nut butters can be too oily and thin.
- Almond Butter: Offers a milder, slightly sweeter nutty flavor. The cookies might be a bit more delicate.
- Cashew Butter: Provides a rich, very creamy, and slightly sweet flavor. This can yield a very tender cookie.
- Sunflower Seed Butter (SunButter): An excellent peanut-free and tree-nut-free alternative, perfect for allergy-friendly baking. The flavor is distinct but complements chocolate well.
- Gluten-Free Option: Making these cookies gluten-free is quite straightforward. Instead of all-purpose flour (though this recipe doesn’t use it, in case you were adding flour to roll balls), ensure your primary ingredients are certified gluten-free. For the peanut butter and chocolate kisses, confirm they are GF. If you decide to add a small amount of flour for texture or binding, substitute it with a reputable gluten-free all-purpose flour blend. Almond flour or coconut flour could also be used for specific textural changes, though they absorb liquid differently, so minor adjustments might be needed.
- Vegan Option: To make these delightful cookies suitable for a vegan diet, you’ll need to make a couple of key substitutions. Replace the eggs with a flax egg (1 tablespoon ground flaxseed mixed with 3 tablespoons water, let sit for 5 minutes) or a commercial egg replacer. Ensure your chosen peanut butter and chocolate kisses are explicitly labeled vegan. Many brands of conventional peanut butter are vegan, but always check labels.
- Add-ins for Extra Flavor & Texture: Consider folding in ½ cup of mini chocolate chips, chopped nuts, or even a dash of vanilla extract (½-1 teaspoon) into the cookie dough for an enhanced flavor experience. These additions can elevate the complexity without significantly altering the fundamental ease of the recipe.
Troubleshooting: Why Are My Peanut Butter Cookies Crumbling?
It can be frustrating when your freshly baked **Peanut Butter Kiss Cookies** don’t hold together as expected. Crumbling cookies usually point to an imbalance in moisture or ingredients. Here’s a deeper dive into common causes and effective solutions:
- Overbaking: This is the most frequent culprit. When cookies are baked for too long, they lose too much moisture, becoming dry and brittle. The key to perfect peanut butter cookies is to remove them from the oven when they are just set around the edges but still appear slightly soft and underbaked in the center. They will continue to cook and firm up as they cool on the baking sheet. Try reducing your baking time by 1-2 minutes next time.
- Insufficient Peanut Butter: Peanut butter provides a significant amount of fat and moisture to this particular recipe. If the proportion of peanut butter to sugar and eggs is off, the dough might be too dry. Double-check your measurements to ensure you’re using the full 2 cups of peanut butter. If you suspect your peanut butter is unusually dry or thick, you might need to add a touch more.
- Incorrect Type of Peanut Butter: As discussed, natural peanut butter (the kind that separates oil) tends to be runnier and can lead to a different consistency. If using natural peanut butter, you might need to lightly pat the rolled cookie balls with a bit of extra sugar to help absorb excess oil, or adjust the quantity slightly.
- Lack of Moisture: If your dough feels particularly dry during mixing, or if you live in a very dry climate, adding a small amount of liquid can help. Try incorporating 1-2 tablespoons of milk (dairy or non-dairy) into the dough. Mix it in until the dough reaches a pliable, cohesive consistency. This extra moisture can significantly improve the cookies’ ability to hold together.
- Dough Temperature: If your dough is too cold, it might not bind properly, leading to crumbly cookies. Ensure your eggs are at room temperature before mixing, as this helps them emulsify better with the peanut butter and sugar. If your peanut butter is very cold, let it sit out for a bit to soften.
Can I Use Natural Peanut Butter in This Cookie Recipe?
While this recipe for **4-Ingredient Peanut Butter Kiss Cookies** is ideally suited for conventional creamy peanut butter (like Jif or Skippy), the question of using natural peanut butter often arises. It’s an important distinction because natural peanut butter behaves differently in baking, and understanding these differences can help you decide or adjust your approach.
Conventional creamy peanut butter contains stabilizers, sugars, and often extra oils that give it a consistent, thick, and smooth texture. These additives are beneficial in baking as they help bind ingredients, contribute to a stable cookie structure, and ensure consistent moisture levels, resulting in a reliably soft and chewy cookie.
Natural peanut butter, on the other hand, typically contains only peanuts and sometimes salt. It tends to be runnier and oilier due to the natural separation of peanut oil. If you use natural peanut butter in this recipe without modifications, you might encounter a few issues:
- Texture Changes: The cookies may turn out drier, more crumbly, or spread excessively due to the higher oil content and lack of stabilizing agents. They might also have a slightly greasier feel.
- Flavor Differences: Natural peanut butter often has a more intense, unadulterated peanut flavor, which might be appealing, but it can also be less sweet and less balanced with the chocolate if you’re expecting the classic taste.
If you prefer to use natural peanut butter, here are some tips to mitigate potential issues:
- Stir Well: Ensure your natural peanut butter is thoroughly stirred to recombine any separated oil before measuring.
- Drain Excess Oil (Optional): Some bakers gently drain a tiny bit of the separated oil from the top of the jar if it’s excessively oily, but be careful not to remove too much, or the cookies will be too dry.
- Adjustments: You might need to add an extra tablespoon or two of sugar to help with binding and texture, or a tablespoon of a dry ingredient like oat flour or cornstarch if the dough feels too wet. Conversely, if it seems too dry, a tiny bit of milk can help.
- Expect Variations: Be prepared for a slight difference in texture compared to cookies made with conventional peanut butter. They might be a bit more rustic, but still delicious!
Ultimately, for the most consistent and traditional **Peanut Butter Kiss Cookies** with their characteristic soft and chewy texture, we recommend sticking to conventional creamy peanut butter. However, if you’re up for a little experimentation, natural peanut butter can certainly be used with a keen eye and a willingness to adapt.
Tips for Perfect Peanut Butter Kiss Cookies Every Time
Achieving cookie perfection is easier than you think, especially with a simple recipe like this one. Here are some essential tips to ensure your **Hershey Kisses Peanut Butter Cookies** turn out beautifully every single batch:
- Accurate Measuring: Baking is a science, and precise measurements are crucial. Use dry measuring cups for peanut butter and sugar, and ensure they are leveled correctly. For eggs, make sure they are large, as specified.
- Room Temperature Eggs: While not strictly necessary for such a simple recipe, using room temperature eggs can help them incorporate more smoothly into the peanut butter and sugar mixture, leading to a more consistent and emulsified dough.
- Don’t Overmix: Once the ingredients are just combined and smooth, stop mixing. Overmixing can develop the gluten (even without flour, the proteins in peanut butter and eggs can be affected), potentially leading to tougher cookies.
- Consistent Cookie Size: Use a tablespoon or a small cookie scoop to portion your dough. This ensures all cookies are roughly the same size, promoting even baking. If cookies are different sizes, some may burn while others are undercooked.
- Space Them Out: Always leave enough space (about 2 inches) between cookie dough balls on the baking sheet. This allows the cookies to spread without touching each other and ensures even heat circulation around each cookie.
- Don’t Overbake: This is critical for soft, chewy cookies. Remove the cookies from the oven when their edges are lightly golden and the centers look slightly puffed and set but not hard. They will continue to cook slightly on the hot baking sheet.
- Immediate Kiss Placement: Have your chocolate Kisses unwrapped and ready to go before the cookies come out of the oven. Pressing them into the hot cookies immediately allows the chocolate to melt slightly and adhere perfectly, creating that signature look and luscious texture.
- Cool Completely: While it’s tempting to eat them warm, letting the cookies cool completely on a wire rack helps them set properly and reach their ideal texture.
Frequently Asked Questions (FAQ) About Peanut Butter Kiss Cookies
Here are answers to some common questions you might have about making these delicious **4-Ingredient Peanut Butter Kiss Cookies**:
- Can I use crunchy peanut butter? Yes, you can! Crunchy peanut butter will add an extra textural element with small bits of peanuts in your cookies, which many people enjoy. The overall texture of the cookie dough and final cookie might be slightly coarser but still delicious.
- Do I need to chill the dough? This particular recipe is designed to be a quick, no-chill dough! The high fat content from the peanut butter helps prevent excessive spreading, so you can bake them immediately. If your kitchen is very warm and the dough feels too soft to roll, a brief 15-20 minute chill in the refrigerator can help.
- What if I don’t have parchment paper or a silicone mat? You can lightly grease your baking sheet with butter or cooking spray. However, parchment paper or silicone mats are highly recommended for non-stick results and easy cleanup.
- My chocolate Kisses keep falling off! What did I do wrong? This usually happens if you wait too long to press the Kisses into the cookies after taking them out of the oven. The cookies need to be hot so that the residual heat slightly melts the chocolate base, creating a bond. Make sure your Kisses are unwrapped and ready to be placed immediately.
- Can I add vanilla extract? Absolutely! While not part of the 4 core ingredients, adding ½ to 1 teaspoon of pure vanilla extract can enhance the overall flavor profile of the cookies, adding a warm, aromatic depth.
- How many cookies does this recipe make? This recipe typically yields about 48 cookies, assuming you roll them into 1 ¼-inch balls using 1 tablespoon of dough each.
Love Peanut Butter? Explore More Incredible PB Recipes Here:
If you’re a true peanut butter enthusiast, don’t stop here! Dive into these other fantastic peanut butter-filled cookie recipes that are sure to delight your taste buds:
- Best Chocolate Chip Peanut Butter Cookies
- Peanut Butter Oatmeal Chocolate Chip Cookies
- Peanut Butter Chip Chocolate Cookies
- Best Monster Cookies
- Peanut Butter No Bake Cookies
- Reese’s Peanut Butter Pudding Cookies
- Reese’s Chocolate Peanut Butter Cookies
- Butterfinger Peanut Butter Cookies
- Snickers Peanut Butter Cookies
- Oreo Peanut Butter Cookies
- Easy Peanut Butter Cookies
- Fudge Peanut Butter Cookie Cups
- Reese’s Peanut Butter Cookies
In conclusion, these **Easy Peanut Butter Kiss Cookies** offer a perfect combination of rich flavor, a beautifully soft interior, and a delightful, slightly crispy exterior. This simple yet utterly satisfying **peanut butter cookie recipe** is truly a testament to how incredible a few basic ingredients can be. Give these **Hershey Kisses Peanut Butter Cookies** a try today and experience for yourself just how delicious and effortless they are to make!