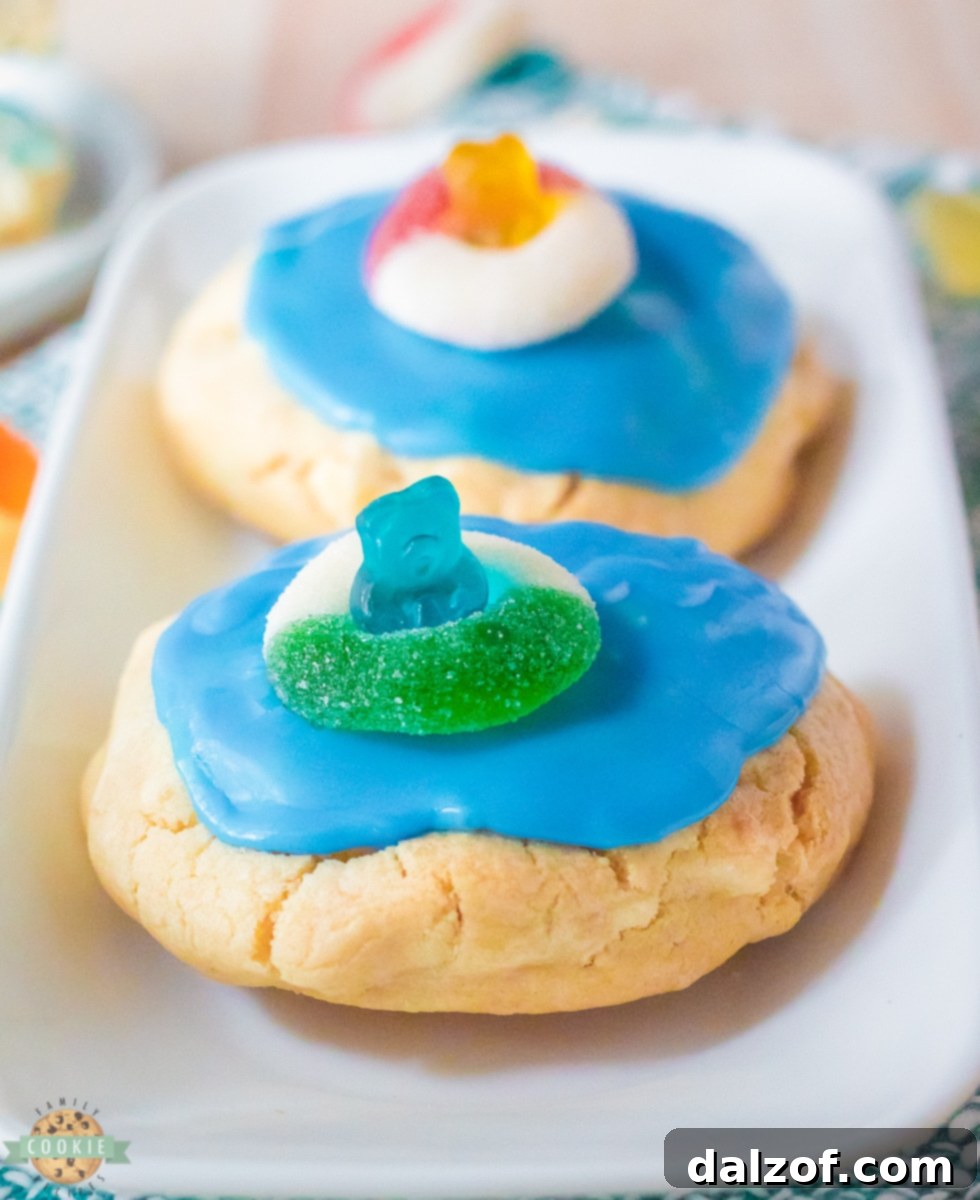
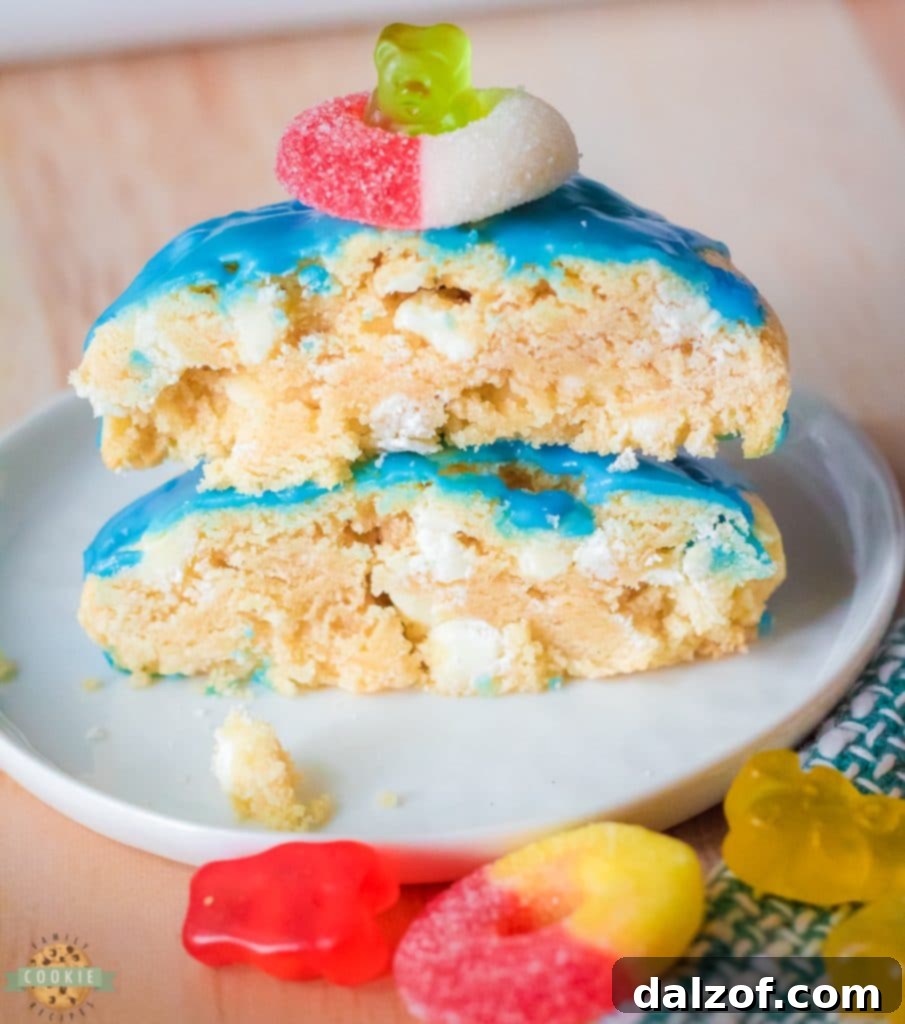
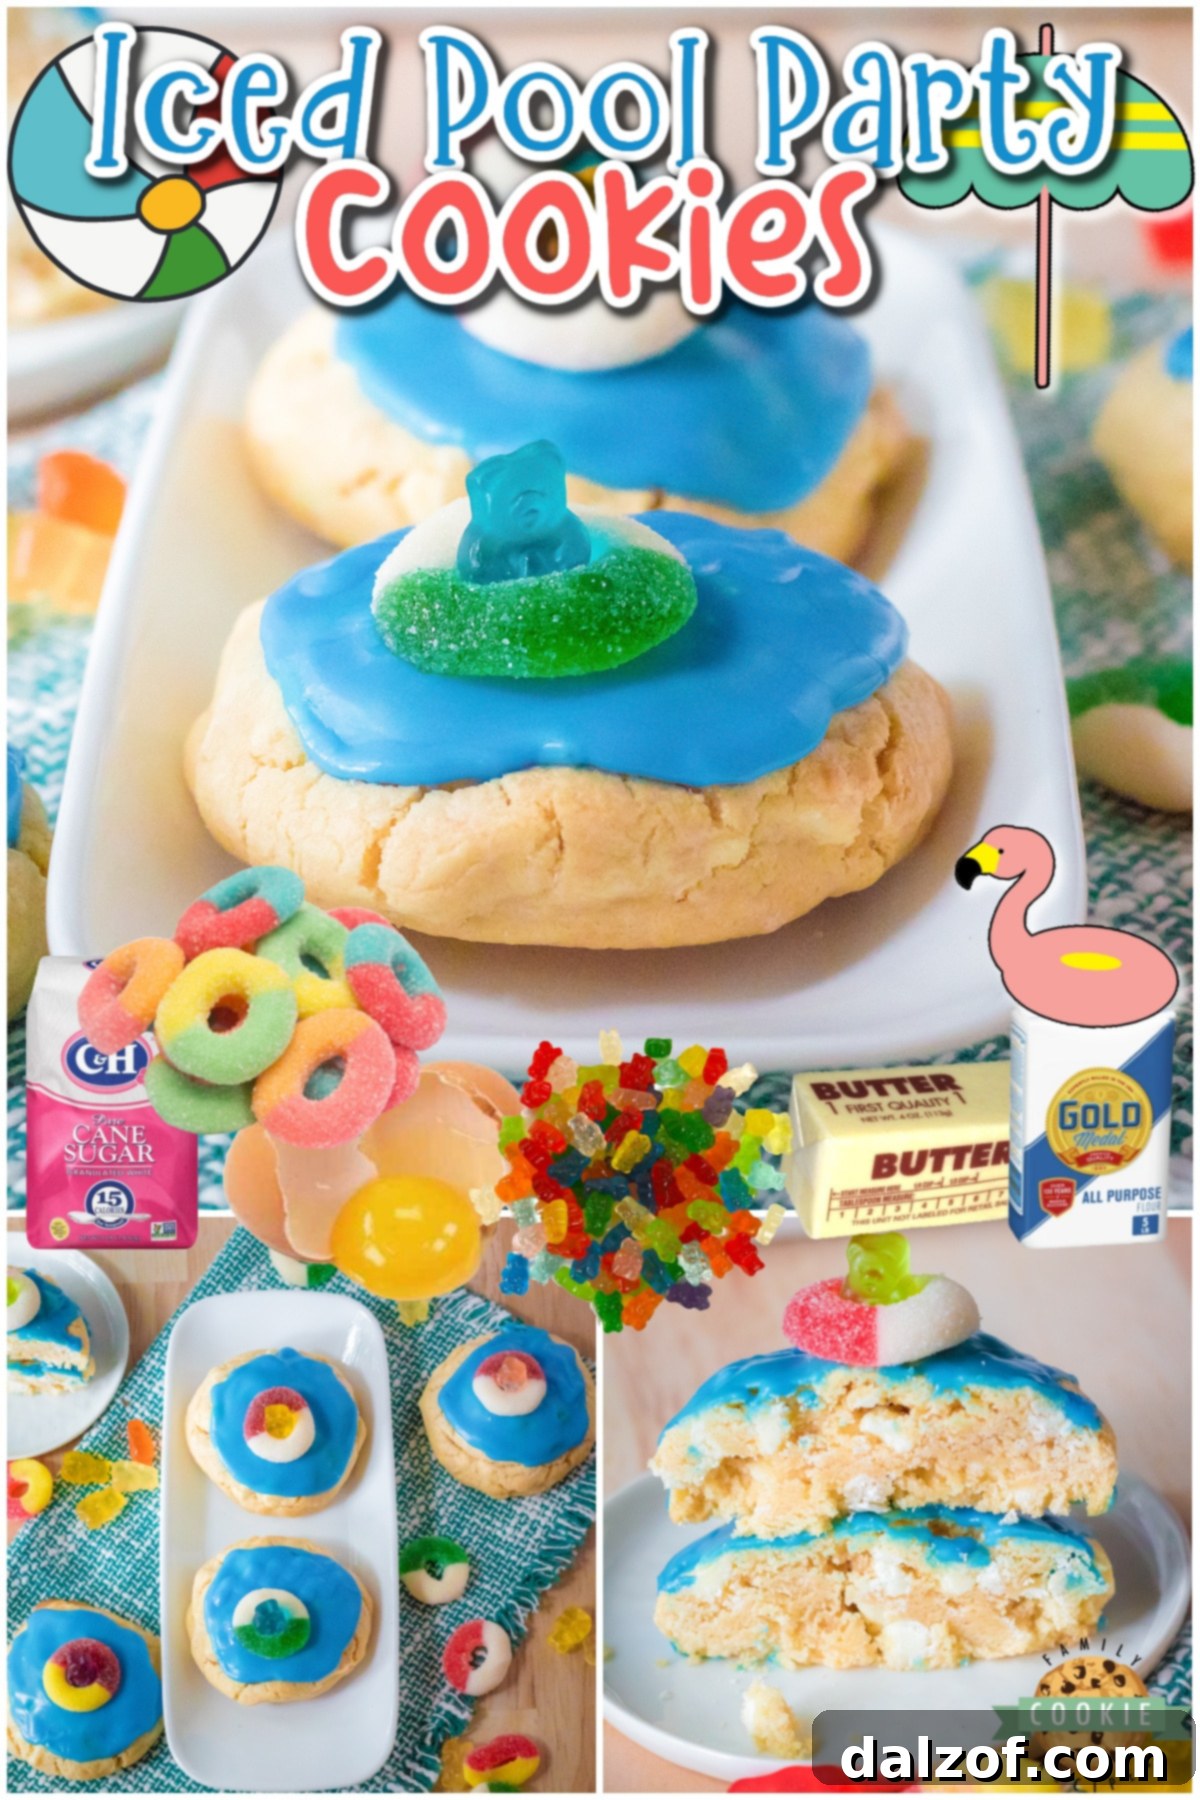
Pool Party Cookies are the quintessential summer treat, bringing a splash of fun and flavor to any gathering. These delightful creations combine the nostalgic taste of a creamsicle with a chewy cookie texture, all topped with vibrant blue icing and an adorable gummy bear “swimming” in its own sweet pool. Perfect for barbecues, birthday parties, or simply a sunny afternoon indulgence, these cookies are as enjoyable to make as they are to eat.
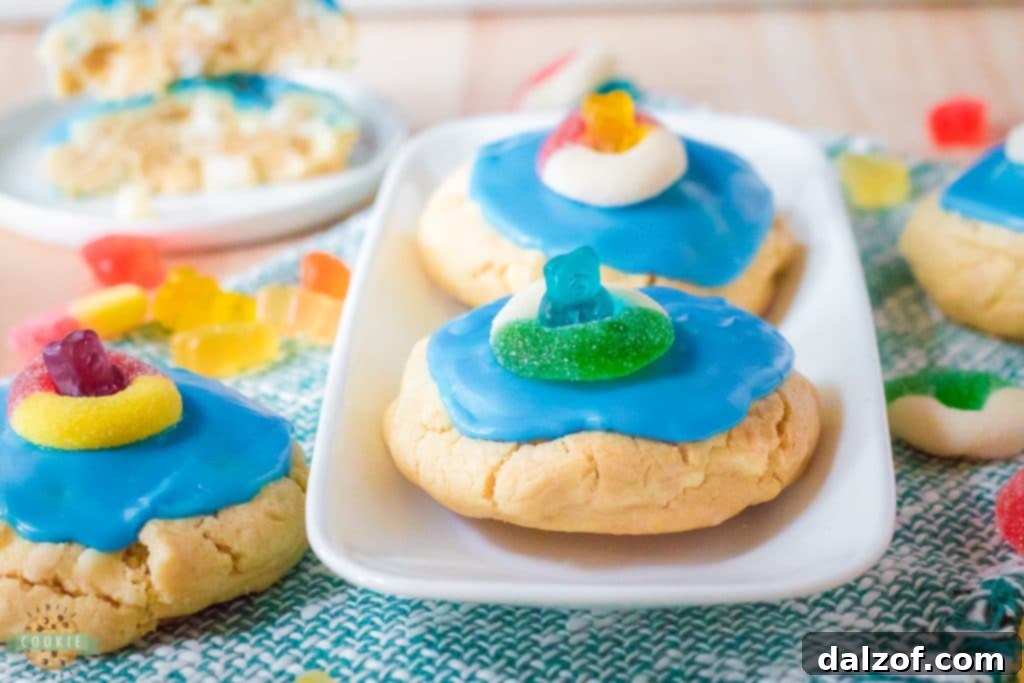
This unique orange creamsicle cookie recipe offers a fresh twist on a beloved classic. We’ve transformed the iconic orange and vanilla ice cream bar into a soft, chewy cookie that promises to be a favorite among all ages. Each bite delivers a burst of citrusy sweetness balanced by creamy vanilla notes, making these pool party cookies not just visually appealing but also incredibly delicious. Get ready to impress your friends and family with this imaginative and irresistible dessert!
Dive Into Delicious: What Makes These Pool Party Creamsicle Cookies Special?
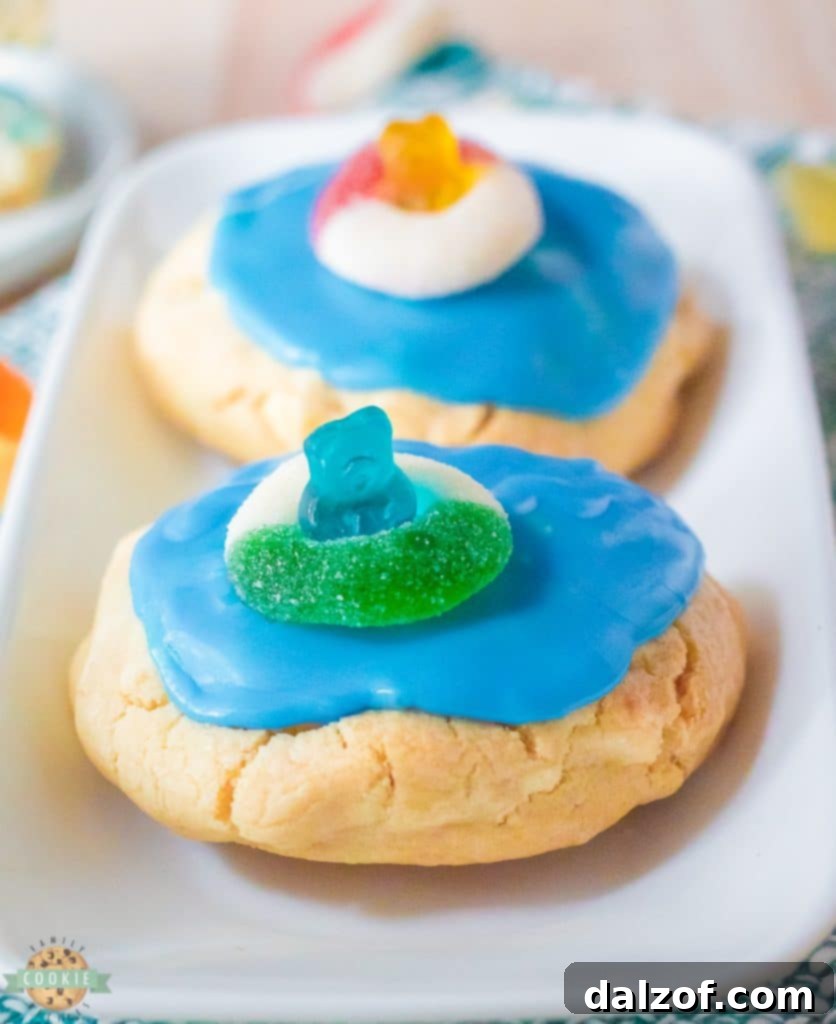
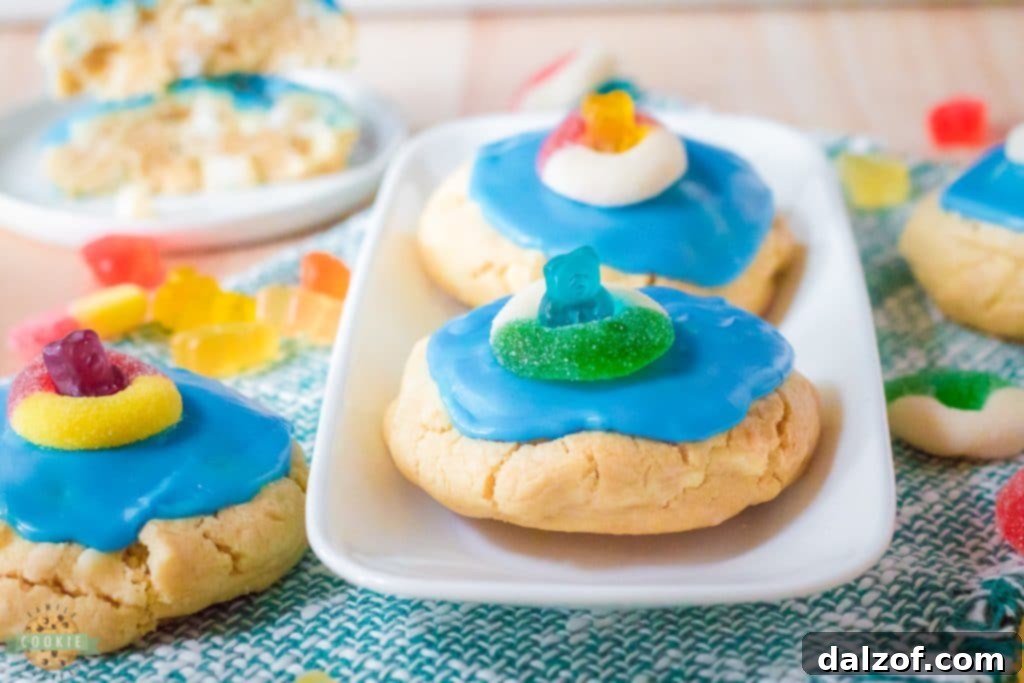
Our Pool Party Creamsicle Cookies are more than just a dessert; they’re a celebration of summer! Imagine a soft, chewy cookie base infused with a harmonious blend of bright orange and sweet vanilla extracts, reminiscent of your favorite frozen creamsicle treat. These aren’t just any cookies; they’re packed with luscious white chocolate chips that melt in your mouth, adding an extra layer of creamy richness. Each cookie is then crowned with a quick-setting royal icing, tinted brilliant blue to resemble a sparkling swimming pool, complete with a playful gummy bear taking a dip. These adorable and incredibly flavorful cookies are guaranteed to be a hit at any summer event, bringing smiles and a touch of whimsy to your dessert table.

Why You’ll Adore Baking These Creamsicle Cookies Today!
If you’re still contemplating whether to embark on this delightful baking adventure, let us share a few compelling reasons why these creamsicle cookies deserve a spot in your recipe collection:
- Effortless Baking, No Rolling Pin Required: Forget the fuss of rolling out dough or cutting intricate shapes. This recipe is designed for simplicity. You’ll simply mix the ingredients, roll the dough into balls, and bake. While a little patience is needed for chilling, the process is straightforward and yields spectacular results without requiring a lot of specialized equipment. It’s truly a beginner-friendly recipe that delivers on taste and visual appeal.
- An Unforgettable Family Baking Experience: One of the greatest joys of baking is sharing it with loved ones, and this recipe is perfect for involving the whole family. Kids especially love helping with the fun part – creating the “pool party” scene on top of each cookie with the vibrant blue icing and placing the gummy bears. It’s a wonderful opportunity to make lasting memories in the kitchen, turning a simple baking session into a playful, creative activity that everyone will enjoy.
- Satisfyingly Jumbo-Sized Indulgence: Unlike smaller treats, these cookies are generously sized, offering a truly satisfying experience. One large cookie is often enough to curb those sweet cravings, making them a perfect dessert that feels substantial and luxurious. The rich flavor profile and delightful textures ensure that each cookie is a memorable indulgence.
- A Unique Flavor Profile That Excites: Moving beyond traditional chocolate chip or sugar cookies, these creamsicle-flavored treats offer a refreshing and unexpected taste. The bright orange and creamy vanilla combination is a delightful surprise that stands out, making them a conversation starter at any gathering.
- Picture-Perfect for Any Occasion: Beyond their incredible taste, these cookies are miniature works of art. Their playful “pool party” theme makes them ideal for summer parties, birthdays, or just brightening up a cloudy day. They’re guaranteed to draw admiration and compliments wherever they go.
Essential Ingredients for Your Pool Party Creamsicle Cookies
Crafting these delectable cookies requires a blend of standard pantry staples and a few special ingredients to achieve that signature creamsicle flavor and festive look. Here’s a detailed breakdown of what you’ll need:
For the Chewy Cookie Dough
- Unsalted Butter: You’ll need ½ cup (one stick) of softened unsalted butter. Using softened butter is crucial for creaming effectively with the sugars, creating a tender, rich, and flavorful cookie base.
- Brown Sugar: ¾ cup of packed brown sugar contributes to a wonderfully chewy cookie texture and adds a deep, molasses-rich flavor that complements the orange beautifully.
- Granulated Sugar: ¼ cup of granulated sugar helps achieve that perfect balance of sweetness and aids in the cookie’s slight spread during baking, resulting in a delightfully flat and soft cookie.
- Large Egg: One large egg acts as a binder, holding the dough together and adding moisture, richness, and structure to the cookies.
- Vanilla Extract: 1 teaspoon of pure vanilla extract is essential. It pairs perfectly with the orange extract, enhancing the overall creamsicle flavor and adding a warm, aromatic note.
- Orange Extract: ½ teaspoon of orange extract is the key to achieving that distinct, bright, and authentic creamsicle taste. It provides a more concentrated citrus flavor than zest alone.
- All-Purpose Flour: 2 cups of all-purpose flour form the primary structure of our cookie dough, ensuring a well-formed and satisfyingly chewy cookie.
- Salt: ½ teaspoon of salt might seem small, but it’s vital for balancing the sweetness and enhancing all the other flavors in the cookies, making them truly pop.

- Baking Powder: ½ teaspoon of baking powder provides the necessary lift, allowing the cookies to spread beautifully and become soft and thick without being dense.
- White Chocolate Chips: ¾ cup of white chocolate chips are folded into the dough, adding pockets of creamy sweetness that elevate the creamsicle flavor profile and provide a delightful textural contrast.
For the Vibrant Icing and Playful Topping
- Powdered Sugar: You’ll need approximately 6 cups of powdered sugar for the icing. This finely milled sugar creates a smooth, melt-in-your-mouth frosting. The exact amount may vary based on your desired consistency.
- Water: ¼ cup of water is added to the powdered sugar to achieve the correct pourable, yet firm, consistency for outlining and filling the “pool.”
- Light Corn Syrup: 3 tablespoons of light corn syrup are crucial for giving the icing a smooth, professional, and shiny finish, mimicking the glistening surface of water.
- Blue Food Coloring: A few drops of blue food coloring transform the white icing into the perfect shade for our “swimming pool.” You can adjust the amount to create your preferred light or dark blue hue.
- Gummy Rings: Six candy gummy rings serve as the adorable “pool floats” for our gummy bear swimmers, adding a fun and thematic element.
- Gummy Bears: Six gummy bears are the stars of our pool party! These charming candies are placed inside the gummy rings, completing the festive and whimsical topping.
Step-by-Step Guide to Making Creamsicle Pool Party Cookies
Follow these simple instructions to create your own batch of delightful Pool Party Creamsicle Cookies:
Preparation is Key
- Preheat Oven: Begin by preheating your oven to 350 degrees F (175 degrees C). This ensures the oven is at the correct temperature for even baking once your dough is ready.
- Prepare Baking Sheet: Line a baking sheet with parchment paper. This prevents sticking and makes for easy cleanup. Set it aside for later use.
Crafting the Creamsicle Dough
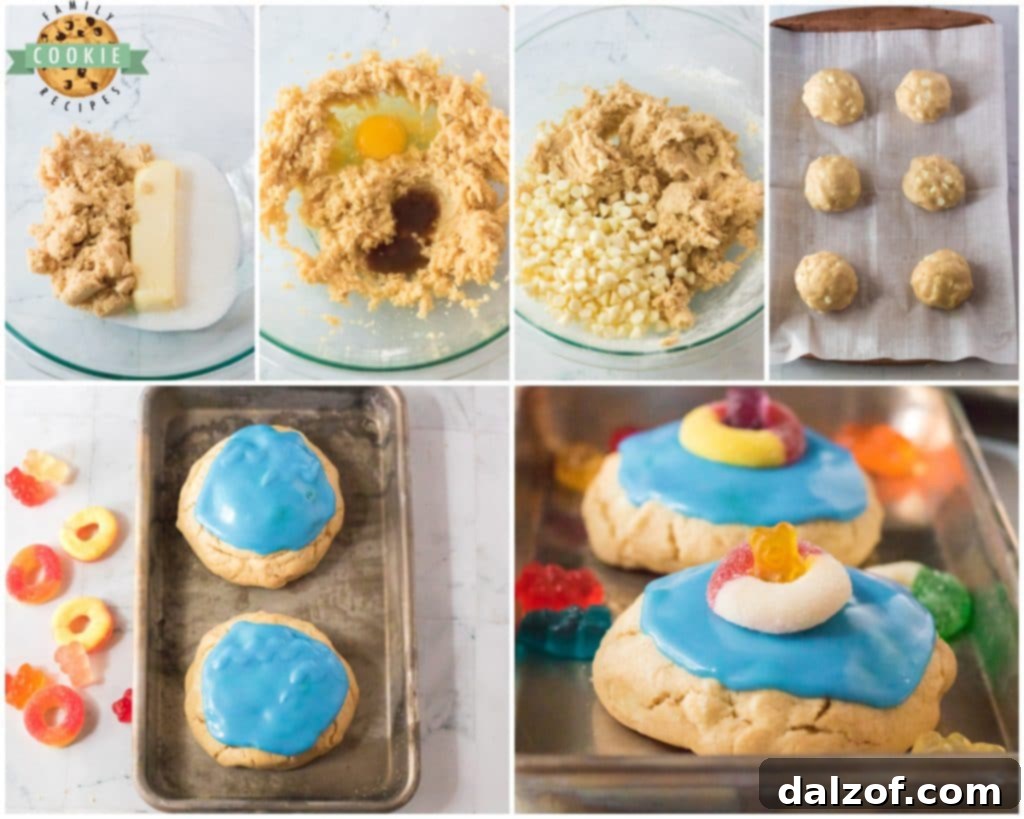
- Cream Butter and Sugars: In a large mixing bowl, combine the softened unsalted butter with both the brown sugar and granulated sugar. Cream them together using an electric mixer until the mixture is light, fluffy, and well combined. This process incorporates air, making the cookies tender.
- Add Wet Ingredients: Incorporate the large egg, vanilla extract, and orange extract into the creamed mixture. Stir until everything is just combined, being careful not to overmix.
- Combine Dry Ingredients: Gradually add the all-purpose flour, baking powder, and salt to the wet mixture. Mix on low speed until the dry ingredients are just incorporated. Overmixing at this stage can lead to tough cookies.
- Fold in White Chocolate Chips: Gently fold in the white chocolate chips using a spatula. Distribute them evenly throughout the dough.
- Portion Dough: Divide the cookie dough into 6 equal portions. Roll each portion into a smooth ball, pressing gently until it holds its shape. These will be your jumbo cookies!
The Importance of Chilling
- Chill Dough Balls: Place the formed dough balls onto your prepared baking sheet. Refrigerate them for at least 30 minutes. This chilling step is crucial for preventing the cookies from spreading too much during baking and allows the flavors to deepen.
Baking to Perfection
- Bake Cookies: Transfer the chilled cookie dough into the preheated oven. Bake for 15-18 minutes, or until the edges are golden brown but the centers remain soft and slightly undercooked for that perfect chewy texture.
- Cool Completely: Allow the cookies to cool on the baking sheet for 5 minutes before carefully transferring them to a wire rack. Let them cool completely on the rack before proceeding with the icing. This prevents the icing from melting.
Creating the “Pool” Icing
- Prepare Icing: While the cookies are cooling, prepare the royal icing. In a large bowl, whisk together the powdered sugar, water, light corn syrup, and a few drops of blue food coloring until smooth and well combined. Adjust the amount of food coloring to achieve your desired shade of blue for the “pool.”
- Prepare Piping Bag: Spoon the blue icing into a corner of a large ziplock bag. Snip a tiny corner off the bag to create a makeshift piping bag.
- Outline and Fill Cookies: Carefully outline the edge of each cooled cookie with the blue icing. Allow this outline to set for about 5 minutes, which will create a dam. Then, fill in the center of the outlined circle with more blue icing, gently spreading it to the edges.
Assembling Your Pool Party
- Add Pool Floaty: While the icing is still wet (or just slightly set), place a gummy ring on top of each cookie, resembling a pool float.
- Introduce Gummy Bear Swimmers: For a realistic touch, carefully cut off the feet of each gummy bear. Place one gummy bear inside each gummy ring, as if it’s swimming in the “pool.”
- Serve and Enjoy: Serve your charming Pool Party Creamsicle Cookies immediately and savor this fun, festive, and flavorful summer treat!

Pool Party Creamsicle Cookie
Pool Party Cookies are fun, festive cookies perfect for summer! Chewy creamsicle cookies topped with blue icing and a swimming gummy bear!
Course: Cookies, Dessert |
Cuisine: American |
Keyword: Pool Party Cookies
Prep Time: 15 minutes |
Cook Time: 15 minutes |
Chilling Time: 30 minutes |
Total Time: 1 hour
Servings: 6 |
Calories: 1056 kcal |
Author: Jessica & Nellie
Ingredients
Cookie Dough
- ½ cup Butter (softened)
- ¾ cup Brown sugar
- ¼ cup Granulated sugar
- 1 Egg
- 1 tsp Vanilla extract
- ½ tsp Orange extract
- 2 cups Flour: (all-purpose)
- ½ tsp Salt
- ½ tsp Baking powder
- ¾ cup White chocolate chips
Icing and Topping
- 6 cups Powdered sugar
- ¼ cup Water
- 3 tbsp Corn syrup (light)
- 3-4 Drops of blue food coloring
- 6 Gummi rings
- 6 Gummi bears
Instructions
- Prep: Start by preheating the oven to 350 degrees F. Next, line a baking sheet with parchment paper and set aside.
- Dough: In a large bowl, cream together the softened butter and both the brown and white sugar until fluffy.
- Add in the egg, vanilla, and orange extract, and stir to combine.
- Continue to add in the flour, baking powder, and salt. Mix until just combined. Next, fold in the white chocolate chips.
- Proceed to divide the dough into 6 equal portions and form each portion into a ball, pressing just until it comes together.
- Chilling: Place the dough balls on the prepared baking sheet and refrigerate for at least 30 minutes.
- While the cookie dough is chilling, ensure the oven is preheating to 350 degrees F.
- Put the cookie dough into the preheated oven and bake for 15-18 minutes. The edges should be golden brown; we want the cookies to stay chewy! Let the cookies cool for 5 minutes and then transfer to a rack to cool completely.
- Blue Icing: In a large bowl, whisk the powdered sugar, corn syrup, water, and a few drops of blue food coloring until combined. This blue icing is our “pool” on top of the cookie; make it as dark or light blue as you would like.
- Next, place the icing into a corner of a ziplock bag and snip off a corner. Proceed to outline the edge of the cookie with the icing and let set for 5 minutes. Then, fill in the circle with more icing.
- Then, add a gummi ring to the top of each cookie for the little pool floaty. Next, cut the feet off a gummy bear and place it inside the ring. Serve the cookies immediately and enjoy!
Notes
Pool Party Cookies make a fantastic summer treat that is fun to make and eat! These orange creamsicle cookies are a wonderfully soft and delicious cookie that everyone will enjoy. They are thick, chewy, and speckled with sweet white chocolate chips to create a heavenly treat.
Nutrition
Pool Party Cookie Tips and Tricks for Success
These cookies are not only incredibly fun to create but are also guaranteed to be a crowd-pleaser for your family and guests. To help you make the best possible batch, here are a few expert tips and exciting variations you can try:
- Customizing Color: If you desire a more pronounced creamsicle appearance, consider adding a few drops of orange food coloring to your cookie dough. This will give the base cookie a lovely soft orange hue, enhancing the visual appeal before they’re even frosted.
- Alternative Swimmers: Not a fan of gummy bears? No problem! You can easily swap them out. Small graham cracker cookies, or even mini animal crackers, can make adorable “people” in the pool rings. Let your imagination guide you!
- Time-Saving Icing: For those busy days, feel free to use store-bought blue icing. While homemade royal icing gives a beautiful shine and sets well, a good quality store-bought tube or tub of blue frosting can save you significant time and effort without compromising too much on the fun factor.
- Adjusting Cookie Size: This recipe yields 6 jumbo cookies, which are wonderfully satisfying. However, if you prefer more modest portions or are serving a larger crowd, you can easily divide the dough into 12-18 smaller cookies. Just be sure to reduce the baking time accordingly: for 12 cookies, bake for 11-12 minutes; for 18 cookies, bake for 9-11 minutes. Remember to use slightly smaller gummy rings and bears for smaller cookies to maintain the proportion.
- Don’t Overmix the Dough: After adding the flour, mix until just combined. Overmixing can develop the gluten too much, resulting in tougher cookies instead of the desired soft and chewy texture.
- Room Temperature Butter: Ensure your butter is properly softened to room temperature. This allows it to cream smoothly with the sugars, creating an emulsified mixture that traps air, leading to a lighter, more tender cookie. If it’s too cold, it won’t cream properly; if it’s too warm, it will be greasy.
- Cooling is Crucial: Let your cookies cool completely before frosting. Applying icing to warm cookies will cause it to melt and run, ruining your beautiful “pool” design.
Storage and Freezing FAQs for Frosted Cookies
Once you’ve baked your batch of delicious Pool Party Creamsicle Cookies, you’ll want to ensure they stay fresh and tasty. Here are some common questions about storing and freezing frosted cookies:
How Long Do Frosted Cookies Last?
These delightful cookies, once frosted, can be kept fresh in an airtight container for up to 3 days. They can be stored at room temperature, but for an even chewier texture and to prolong their freshness, I personally prefer keeping them in the refrigerator. The cool temperature helps maintain their structure and chewiness, especially with the royal icing.
Why Do I Have to Chill the Cookie Dough?
The request to chill cookie dough in a recipe is never without good reason, and it’s a crucial step for the best results. Firstly, chilling allows the flavors in the dough – especially the orange and vanilla extracts – more time to meld and deepen, resulting in a more complex and incredible taste. More importantly, chilling solidifies the fats (butter) in the dough. When butter is cold, it melts slower in the oven, meaning the cookies spread less and retain their shape better. This leads to a thicker, chewier cookie with a perfect texture, preventing them from becoming thin and crispy. This step is particularly vital on warmer days or if your butter was initially very soft.
Can I Freeze Frosted Cookies?
Absolutely, you can freeze these beautiful frosted cookies, making them perfect for meal prep or enjoying a sweet treat whenever a craving strikes. When stored correctly, they can last in the freezer for up to 3 months. To freeze them effectively, follow these steps:
- Initial Freeze: Place your fully frosted cookies (with their gummy bear friends!) onto a baking sheet in a single layer. Freeze them for about 2 hours, or until the icing is completely solid. This “flash freezing” prevents the icing from sticking or smudging.
- Transfer to Container: Once frozen solid, transfer the cookies to an airtight freezer-safe container. To prevent them from sticking together, place a piece of parchment paper or wax paper between each layer of cookies.
- Individual Portions: For ultimate convenience, you can also wrap each individual cookie in plastic wrap after the initial flash freeze, then place them into a larger freezer bag. This allows you to grab a single cookie whenever you want without defrosting the entire batch.
When ready to enjoy, simply remove the desired number of cookies from the freezer and let them thaw at room temperature for an hour or two. They will taste just as fresh and delicious as the day you baked them!

Beyond the kitchen, summer offers countless opportunities for fun memories. Just like these cookies, sometimes the simplest outings create the best moments. On a recent road trip, a quick stop led to discovering a beautiful bird sanctuary, where my little one, my “cute monkey,” absolutely loved exploring the outdoors. It’s a reminder that special moments, whether baked or discovered, are always worth cherishing.

If You Loved These Frosted Cookies, Explore More of Our Favorites Here!
If the whimsical charm and delightful taste of these Pool Party Creamsicle Cookies have captured your heart, you’re in for a treat! We have an extensive collection of other frosted and unique cookie recipes that are sure to inspire your next baking project. From fruity delights to comforting classics, there’s a cookie for every mood and occasion. Dive into these other beloved recipes:
- BLUEBERRY SUGAR COOKIES
- EASTER SPRINKLE COOKIES
- BANANA CREAM PIE COOKIES
- CADBURY MINI EGG COOKIES
- FROSTED ITALIAN COOKIES
- CARROT CAKE COOKIES
- BUTTERMILK SUGAR COOKIES
- MEYER LEMON COOKIES
- SOUR CREAM SUGAR COOKIES
- BUTTER SUGAR COOKIES
- RASPBERRY MELTAWAY COOKIES
Pool Party Cookies are more than just a dessert; they are a festive, adorable, and incredibly delicious treat perfect for summer celebrations. These soft, chewy orange creamsicle cookies, generously speckled with sweet white chocolate chips and topped with a playful gummy bear in its blue “pool,” promise a delightful experience from the first glance to the last bite. They’re easy to make, fun for the whole family, and guaranteed to be a hit!