
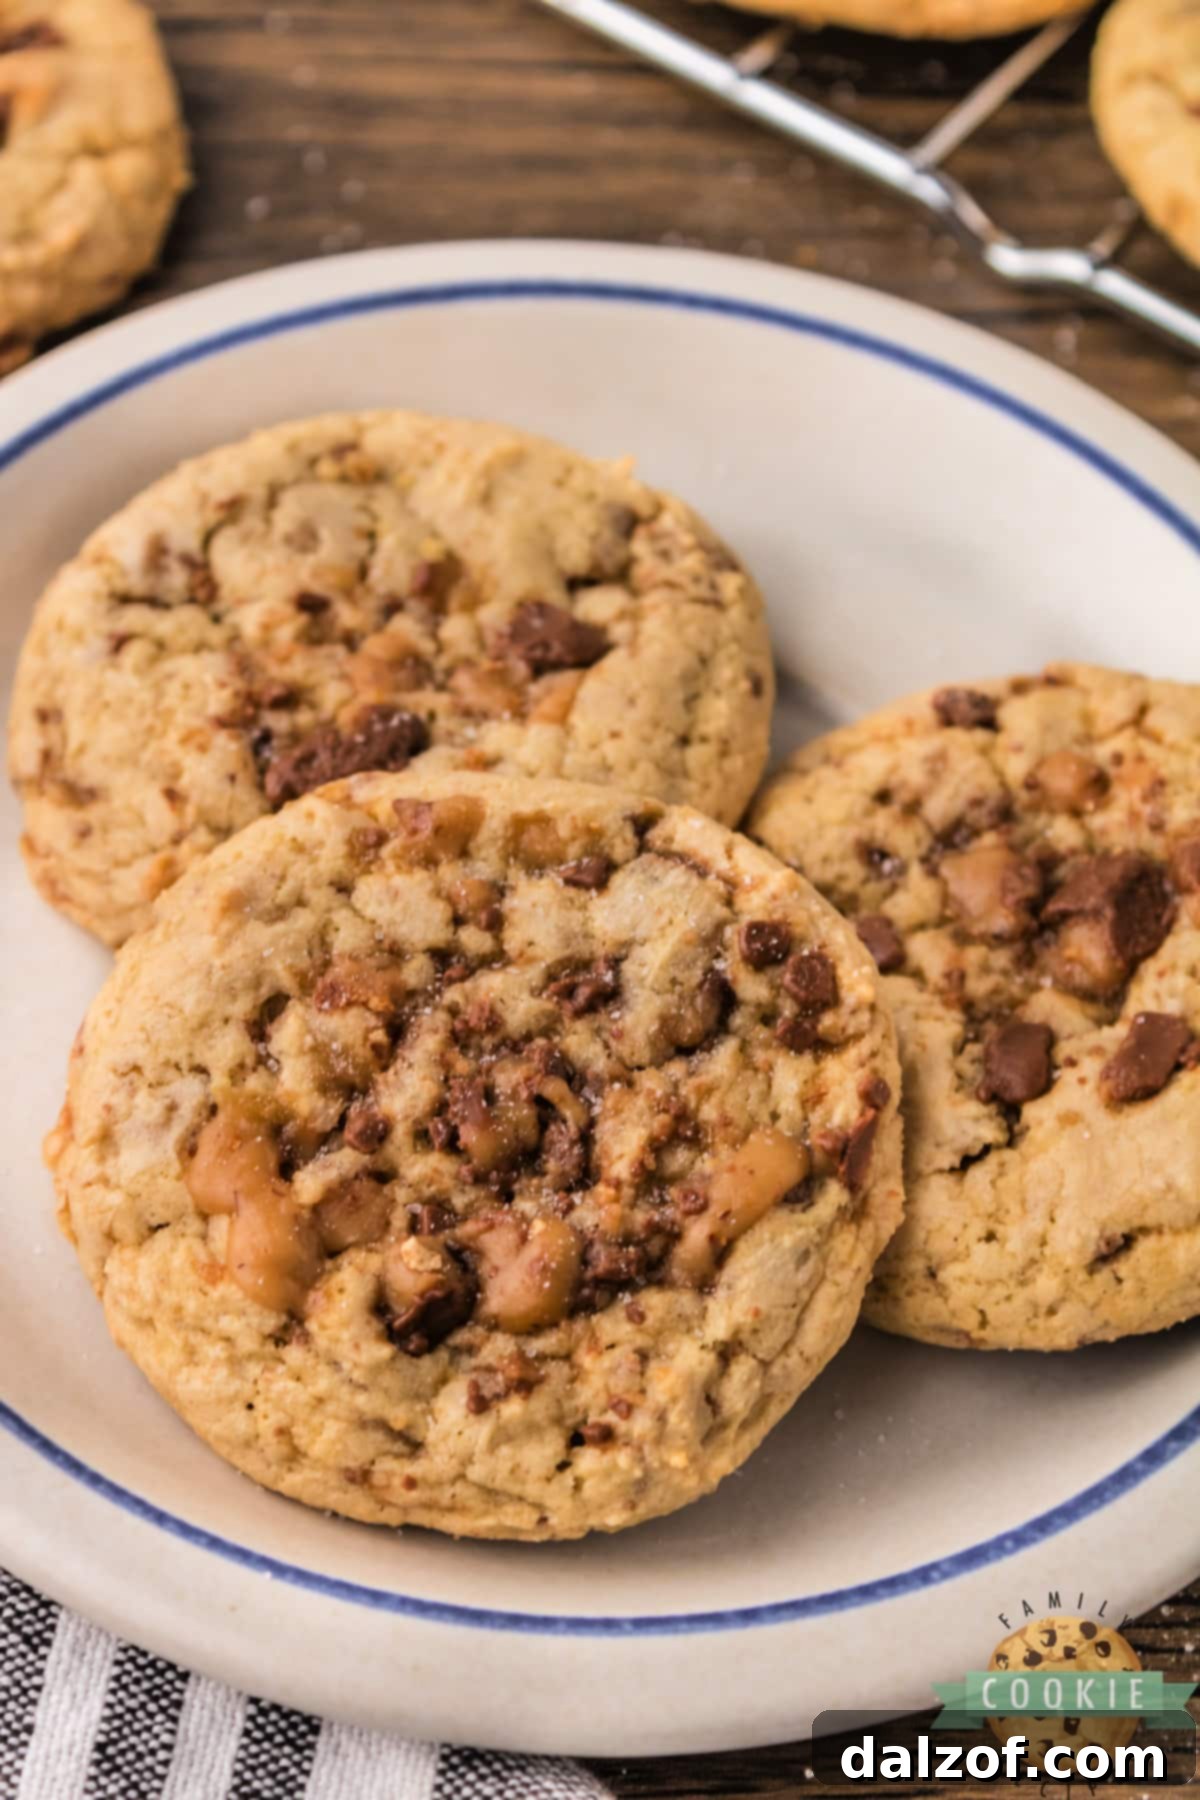
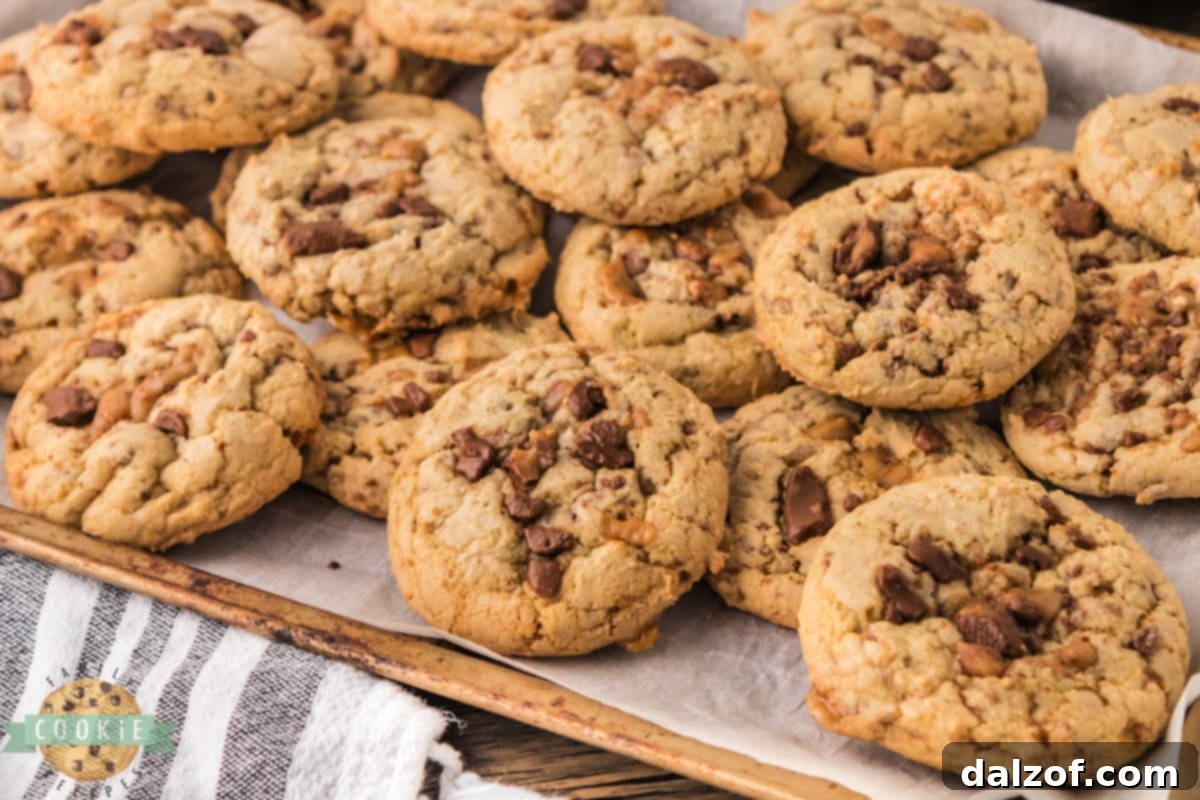
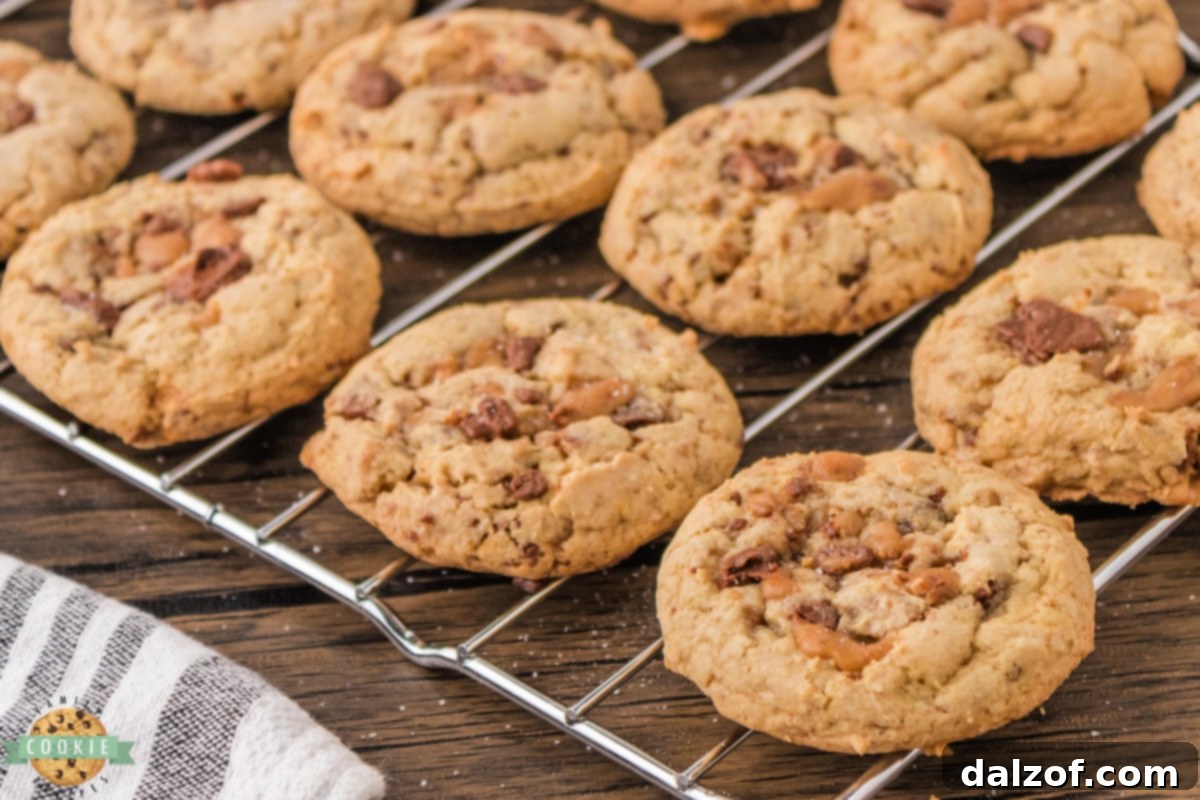
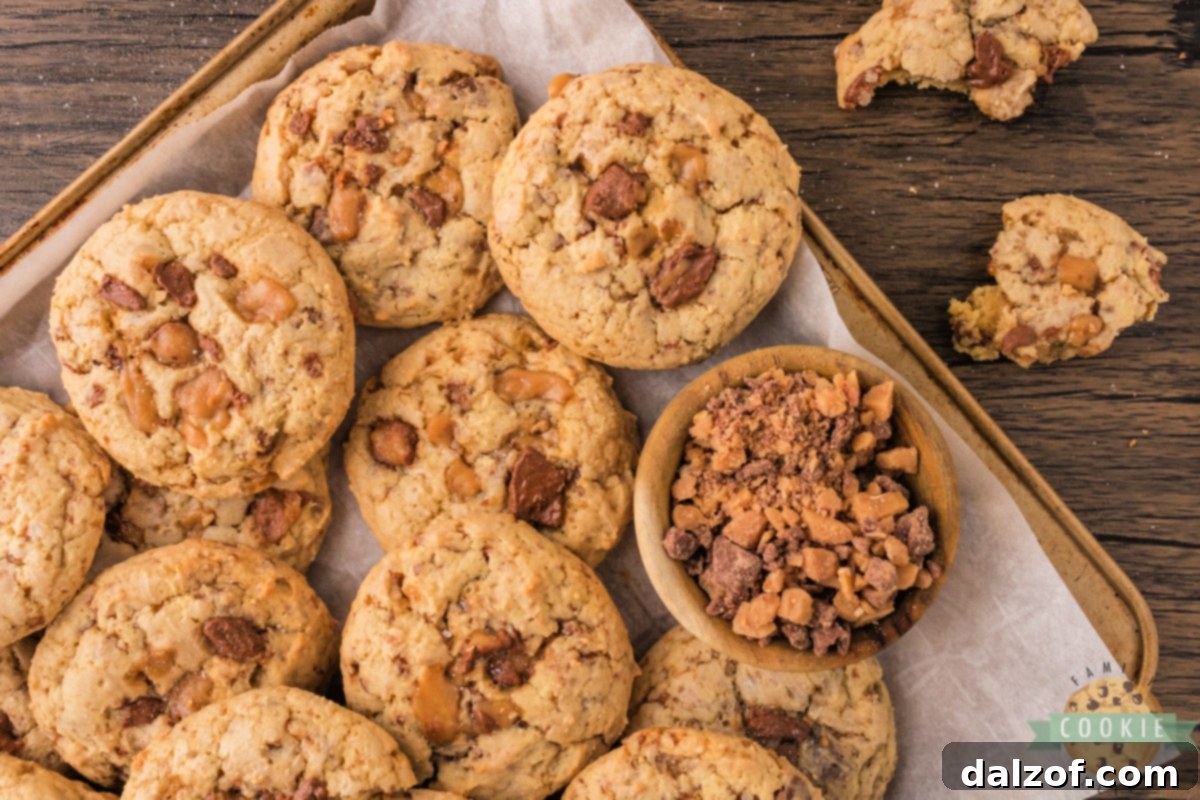
Welcome to the ultimate guide for baking irresistibly delicious Heath Bar Cookies! Imagine sinking your teeth into a perfectly soft and chewy cookie, where every bite delivers a delightful crunch of buttery toffee. This simple yet utterly delicious Heath Bar Cookie recipe is designed to bring joy to your kitchen and tantalize your taste buds. Whether you’re a seasoned baker or just starting your culinary journey, these cookies are a surefire hit, offering a unique blend of textures and an unforgettable flavor that makes them stand out from your average cookie. The rich, caramel notes of Heath toffee bits perfectly complement the sweet, tender cookie dough, creating a harmonious symphony of taste that’s simply addictive. Get ready to discover your new favorite cookie!
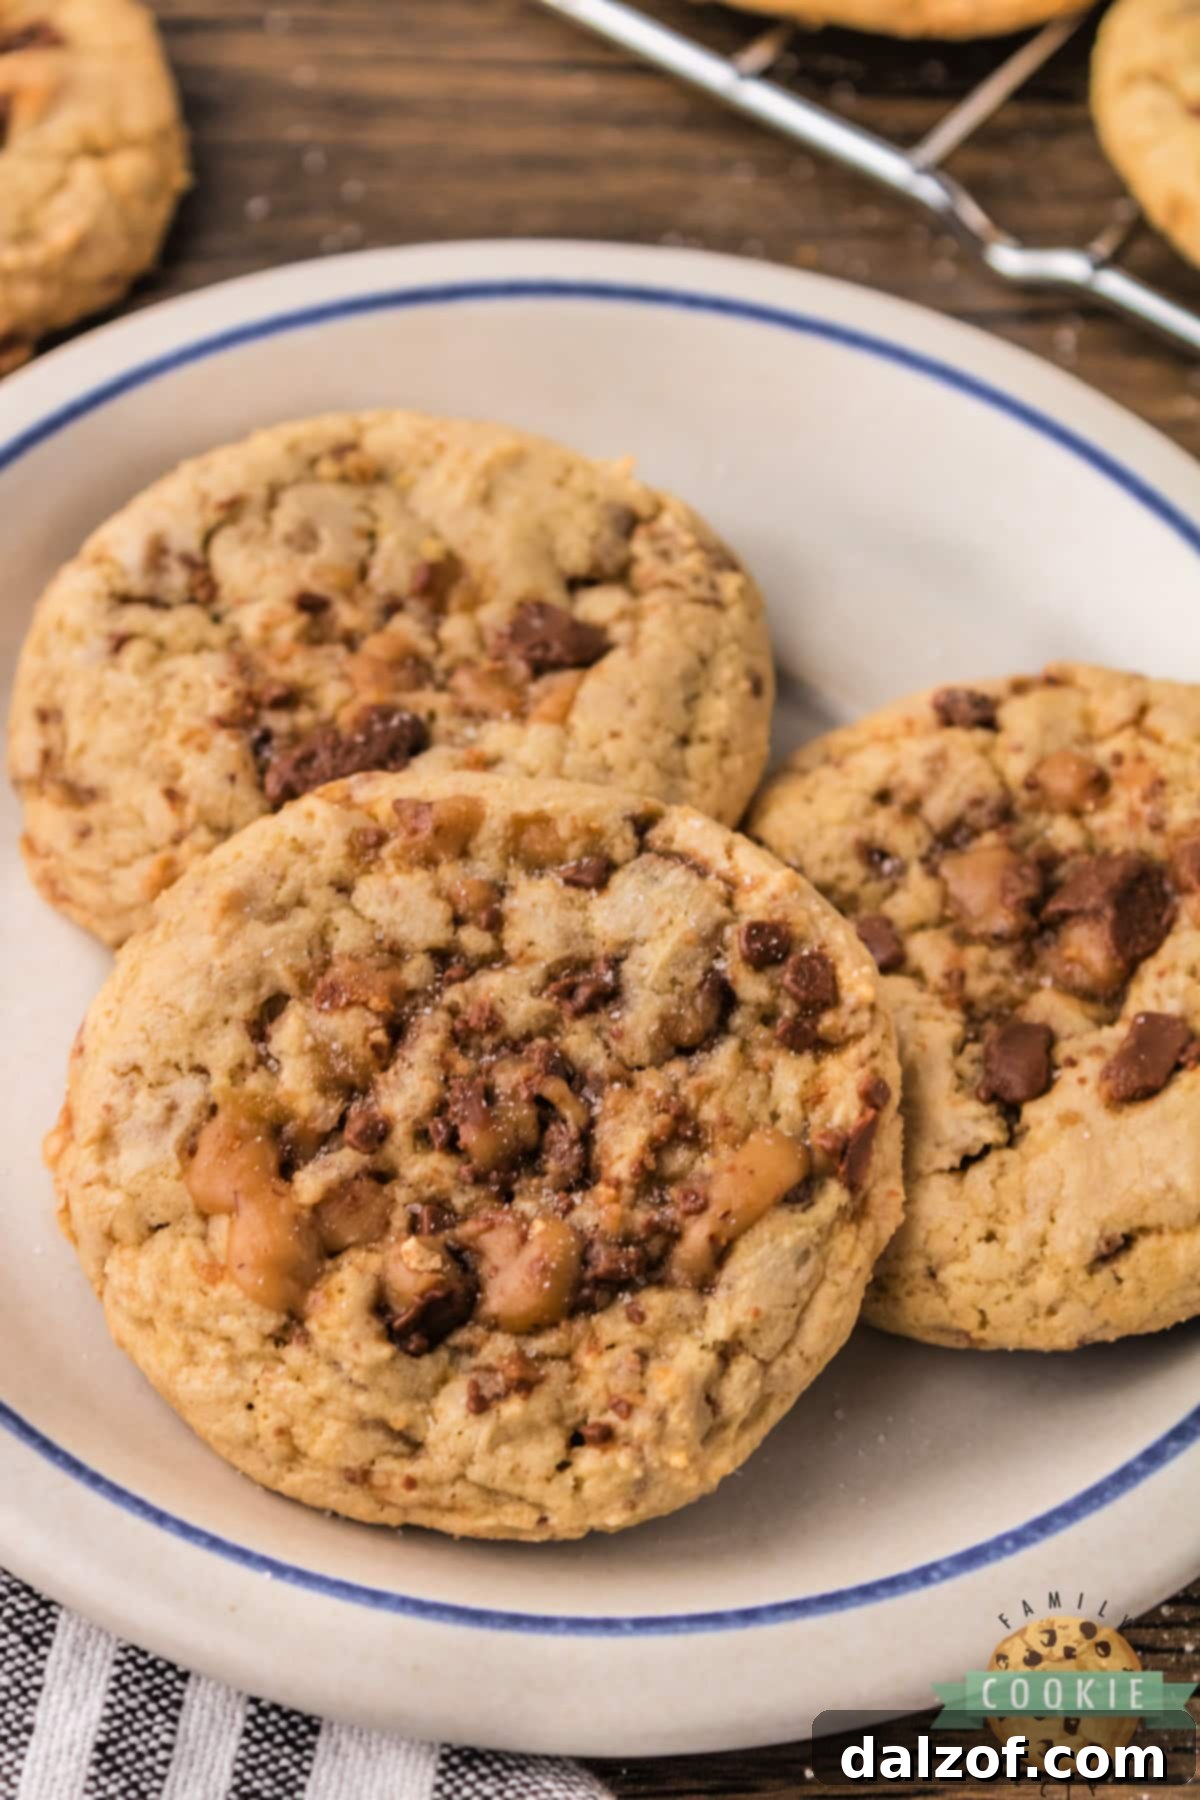
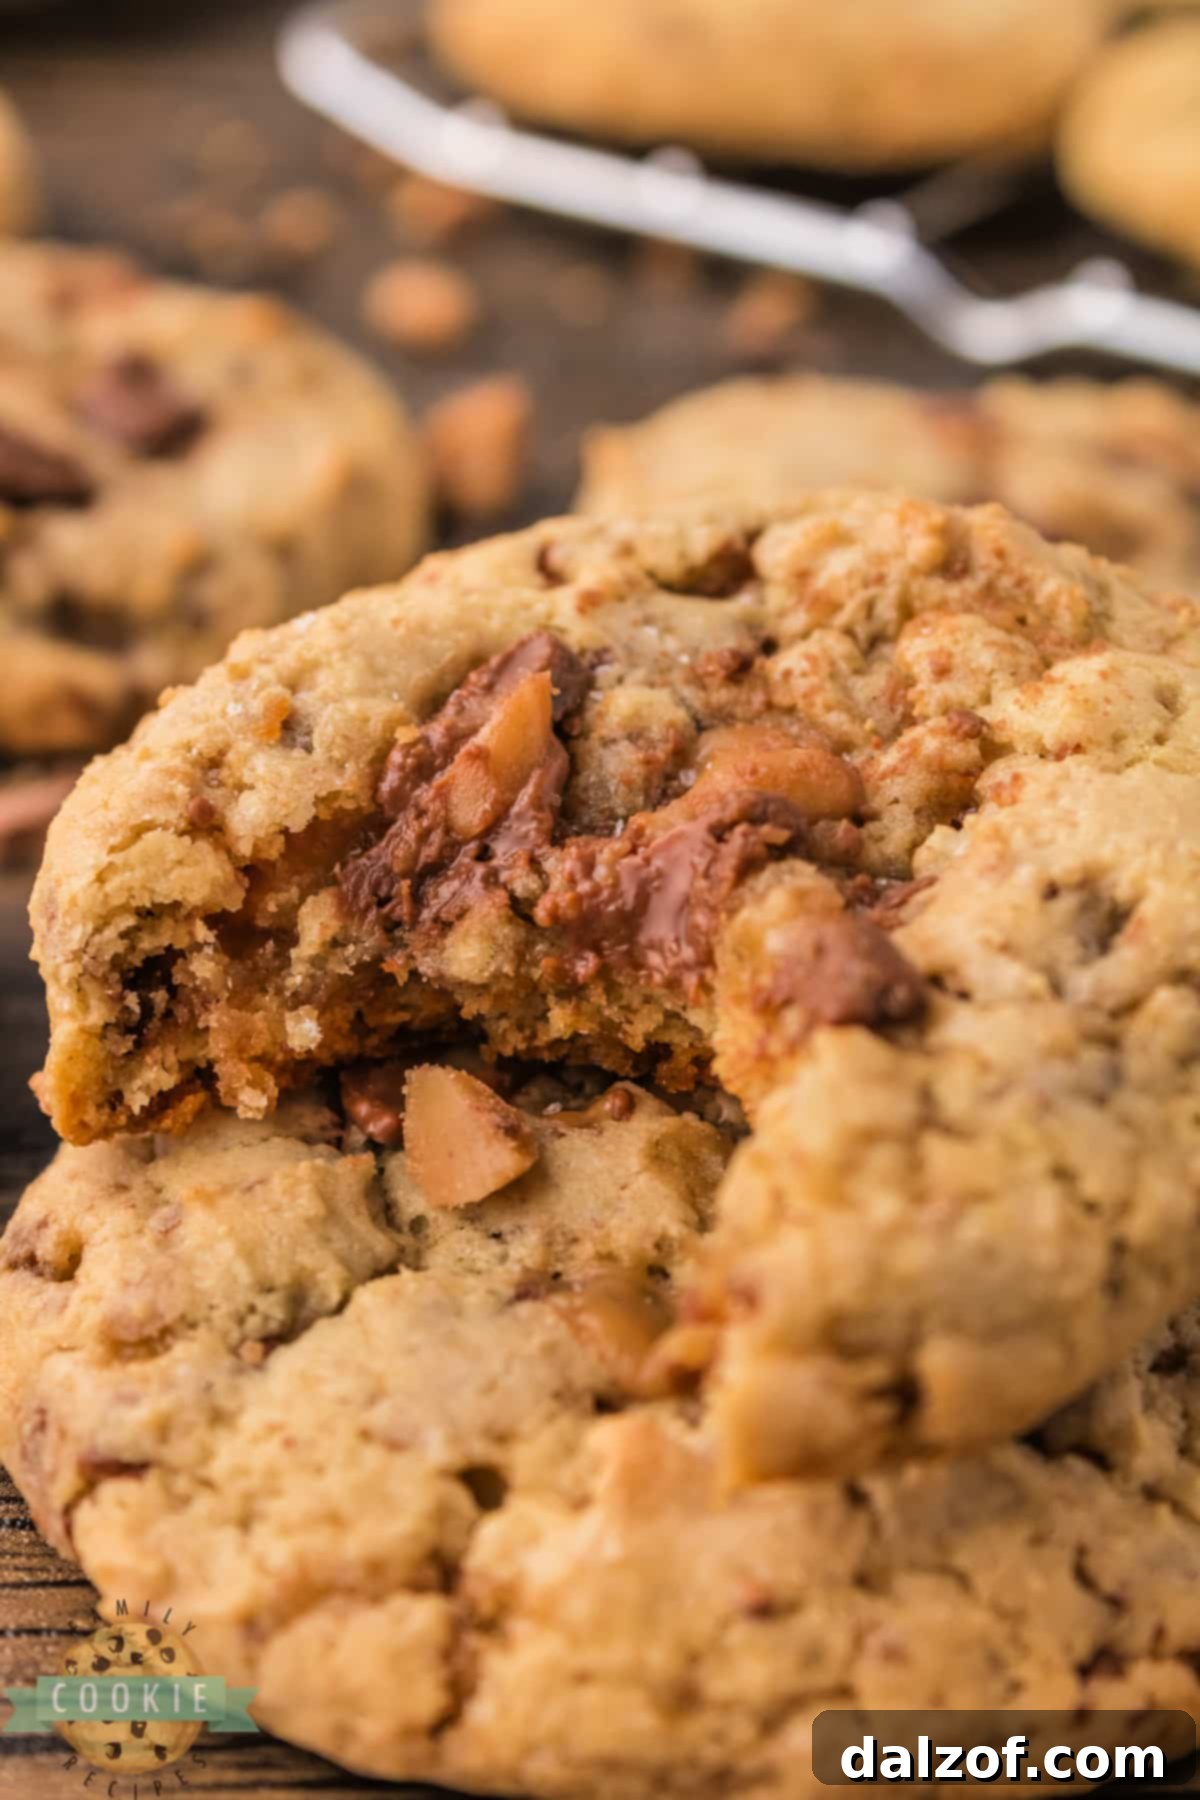
My absolute favorite aspect of this candy bar cookie recipe is the magical way these cookies achieve their uniquely crispy edges, satisfyingly crunchy toffee bits, and wonderfully soft centers all at once. It’s a texture experience that truly sets them apart. While you could certainly crush up classic Heath bars to create the signature toffee pieces, I often opt for a convenient shortcut: a bag of pre-crushed Heath baking bits. This little “cheat” saves a significant amount of time and effort, getting you to that first delicious bite even faster!
Baking the Best Heath Bar Cookies
Crafting these delectable Heath Bar Cookies is surprisingly simple, utilizing many of the staple ingredients you likely already have in your pantry for most cookie recipes. What truly elevates these cookies, making them a unique and irresistible treat, is the incorporation of Heath bits – those delightful crushed pieces of Heath bars. These little morsels of buttery toffee introduce an incredibly delicious, nutty flavor and a fantastic crunchy texture that provides a wonderful contrast to the soft, tender cookie dough. For those who adore chocolate, feel free to enhance your cookies by folding in a handful of chocolate chips alongside the toffee bits, adding another layer of indulgence to this already amazing recipe.
The Enduring Appeal of Heath Bars and Toffee
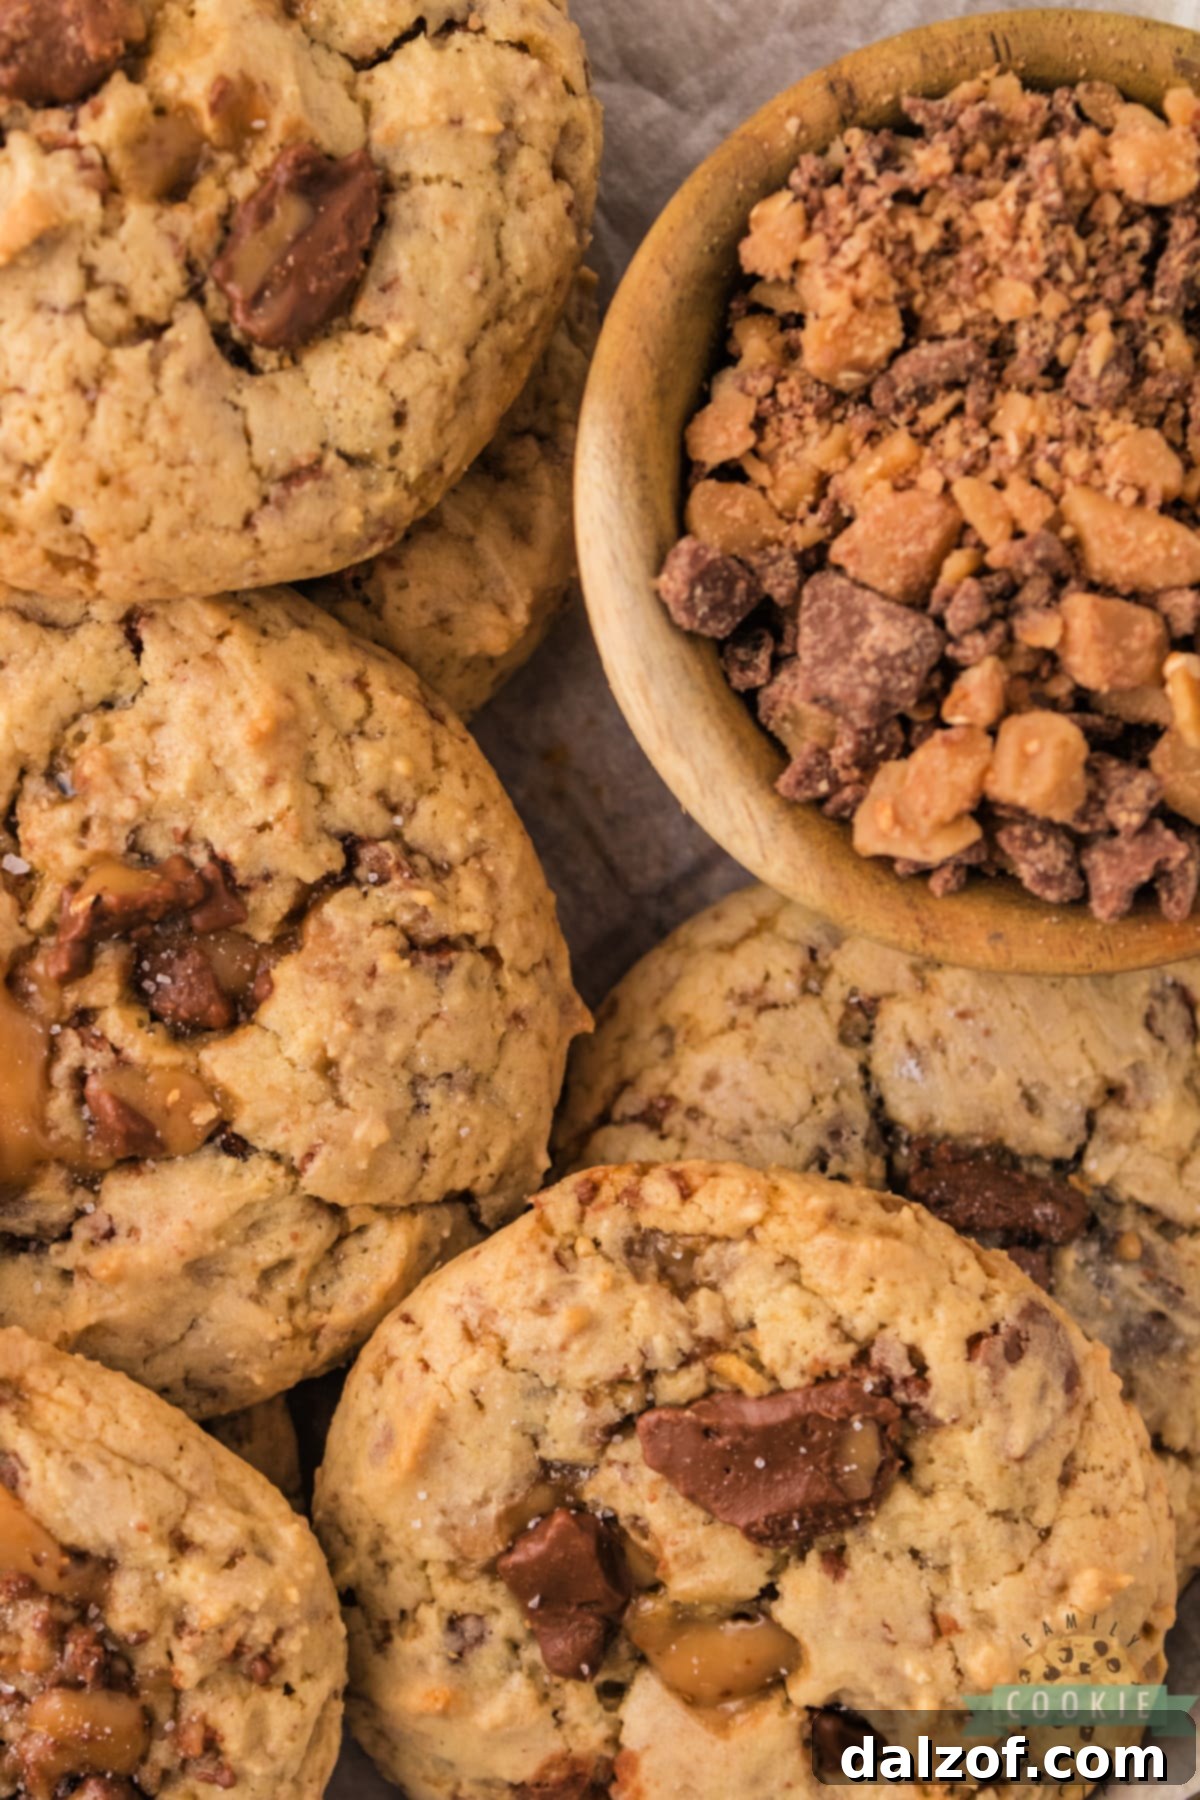
Heath bars, with their distinct combination of crunchy toffee and milk chocolate, have been a beloved candy treat for decades. This classic candy bar translates beautifully into a baked good, transforming a simple cookie into something extraordinary. The toffee bits don’t just add flavor; they bring a textural dynamic that keeps you coming back for more. The way the buttery toffee melts slightly then re-hardens as the cookie cools creates pockets of sweet, crunchy goodness throughout the soft cookie matrix. It’s this delightful interplay that makes Heath Bar Cookies a perennial favorite, perfect for parties, gift-giving, or simply enjoying with a warm cup of coffee or milk.
Essential Ingredients for Perfect Heath Bar Cookies
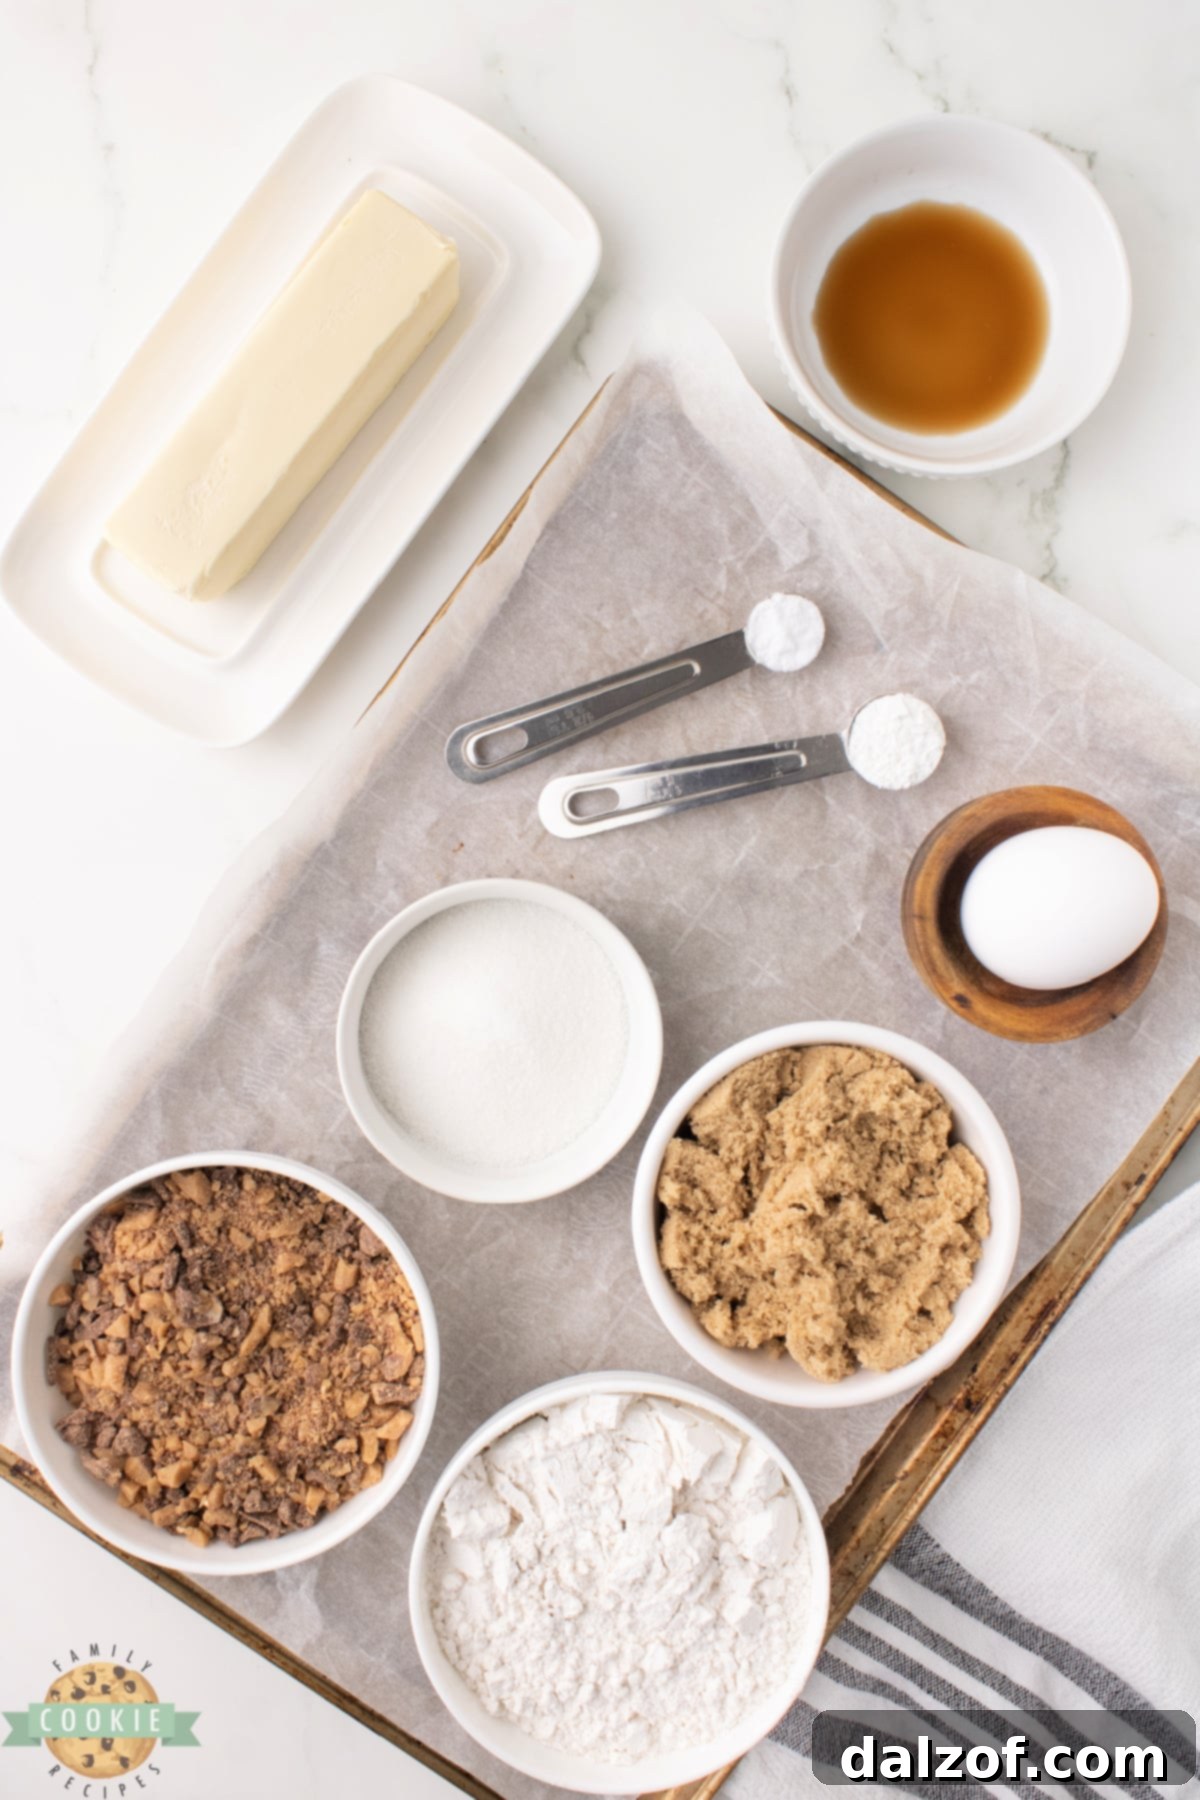
Every great cookie starts with quality ingredients. Here’s a closer look at what you’ll need to create these exceptional Heath Bar Toffee Cookies:
- Butter: This recipe calls for ½ cup (or 1 stick) of butter. For the best texture and flavor, always use real butter, not margarine. It’s crucial that the butter is softened to room temperature before you begin mixing, as this ensures it creams properly with the sugars, leading to a lighter, airier dough.
- Sugars: You’ll need a combination of both granulated sugar and brown sugar. Granulated sugar contributes to crispiness and spread, while brown sugar adds moisture, chewiness, and a deeper, molasses-rich flavor. Ensure your brown sugar is fresh and soft for optimal results.
- Eggs: One large egg acts as a binding agent, providing structure and moisture to the cookie dough, helping to hold everything together.
- Vanilla Extract: A good quality vanilla extract is paramount here. It enhances all the other flavors in the cookie, adding warmth and depth. Don’t skimp on the vanilla!
- Flour: All-purpose flour is ideal for this recipe, providing the right balance of structure and tenderness. If you require a gluten-free option, a 1:1 gluten-free baking blend can often be substituted successfully.
- Baking Soda and Baking Powder: These are your leavening agents, responsible for the cookies’ lift and spread. Always check their expiration dates to ensure they are fresh and active, otherwise, your cookies may turn out flat or dense.
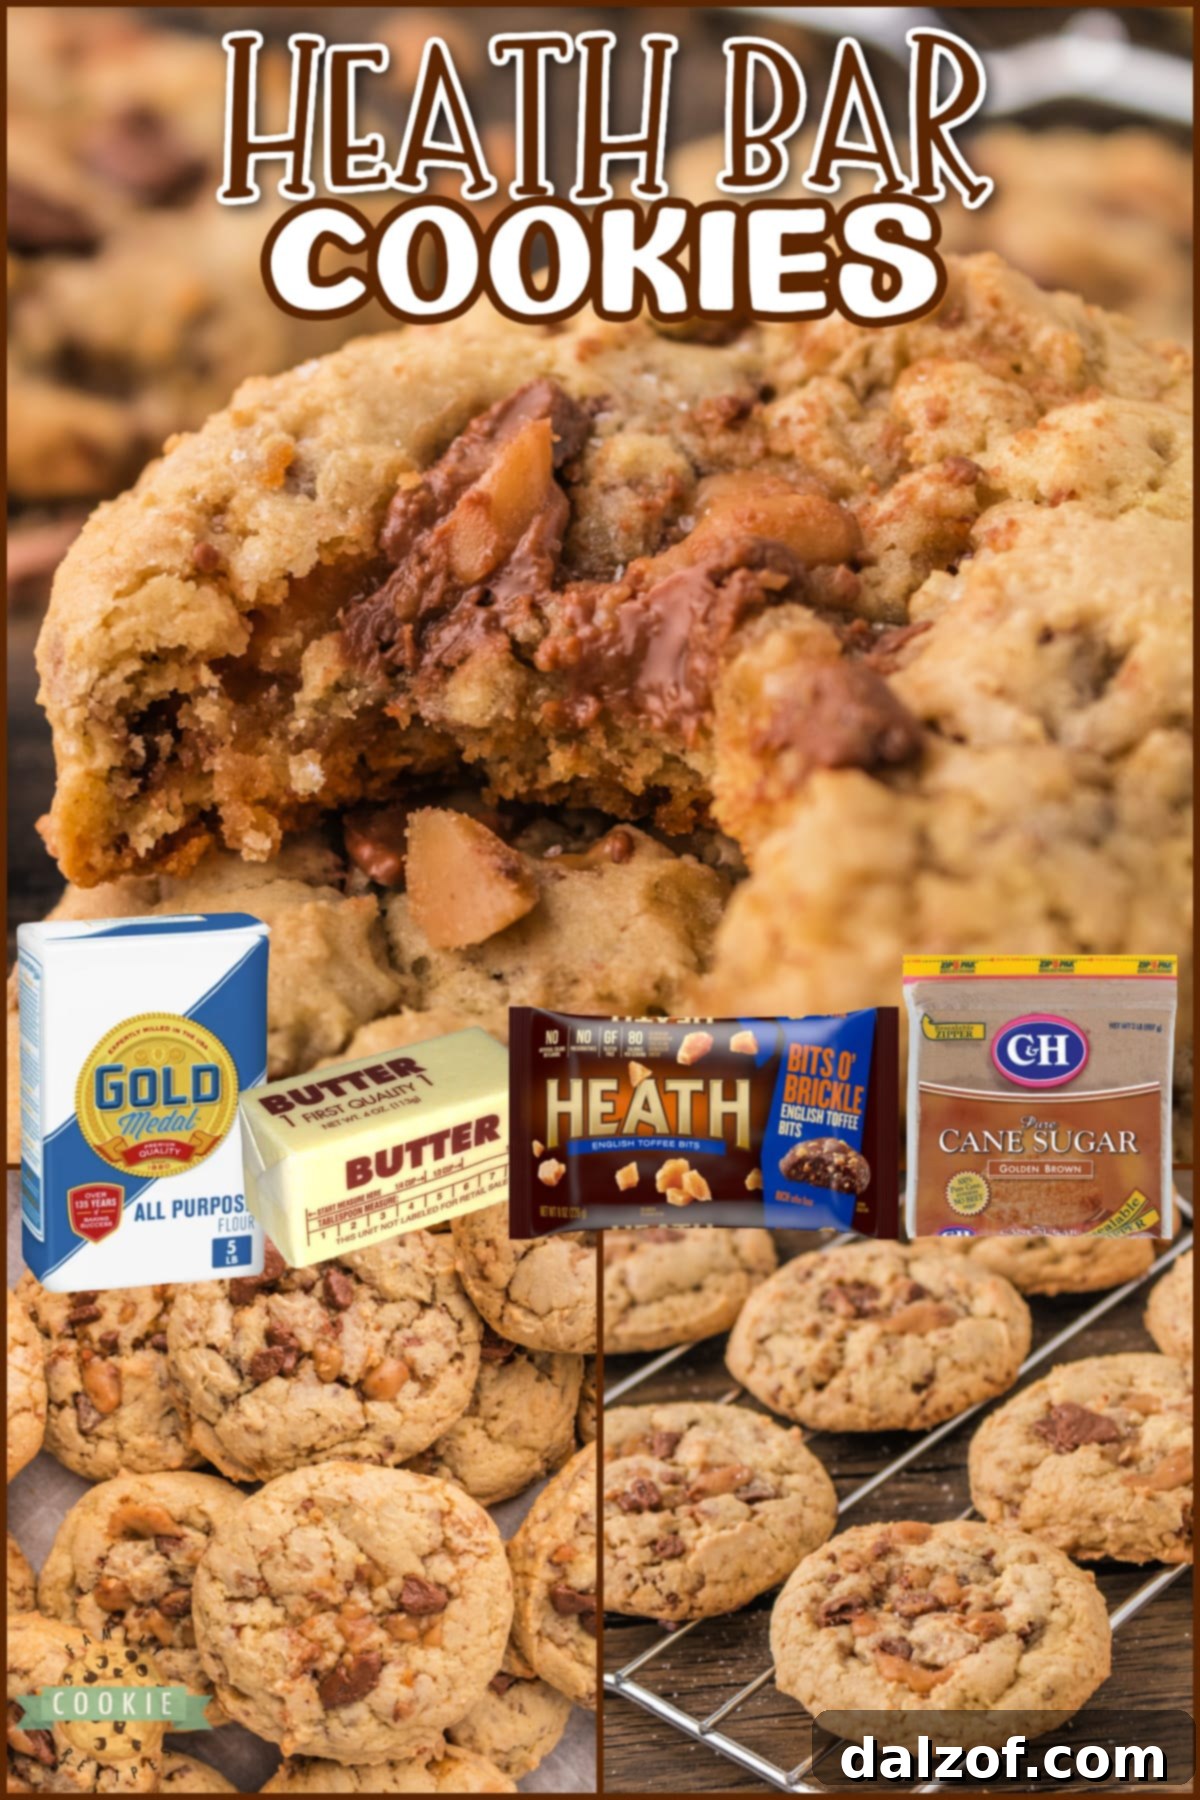
- Heath Baking Bits: The star of the show! While you can crush up Heath bars yourself, buying pre-packaged Heath baking bits (often found alongside chocolate chips in the baking aisle) is a convenient time-saver. These buttery, crunchy toffee pieces are what give these cookies their signature flavor and texture.
Step-by-Step Guide: How to Make Heath Bar Cookies
Follow these simple instructions to create a batch of delightful homemade Heath Bar Cookies:
- Prepare Your Workspace: Begin by preheating your oven to 350°F (175°C). Line a baking sheet with parchment paper or a silicone baking mat. This crucial step prevents sticking and ensures even baking, making cleanup a breeze.
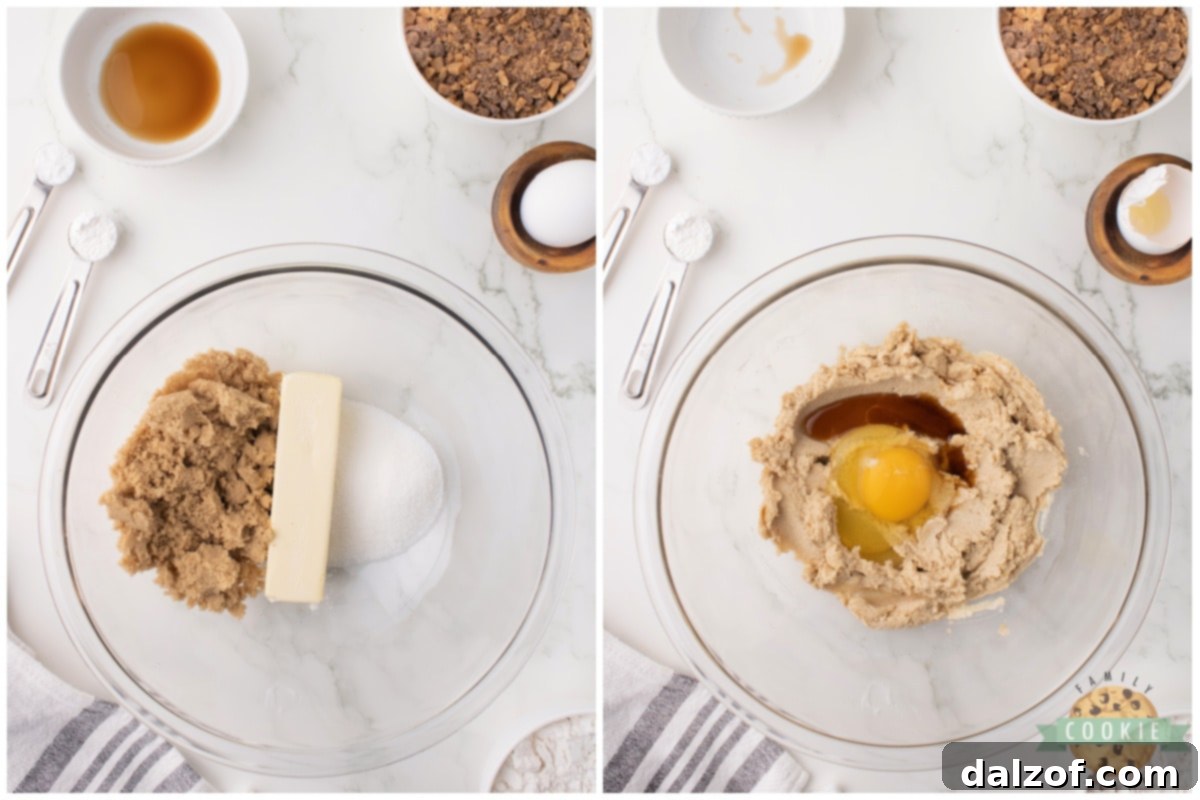
- Cream Butter and Sugars: In a large mixing bowl, combine the softened butter with both the granulated and brown sugars. Cream these ingredients together using an electric mixer for about 2-3 minutes. This process incorporates air, resulting in a light and fluffy base for your cookies.
- Incorporate Wet Ingredients: Add the large egg and vanilla extract to the creamed butter and sugar mixture. Continue mixing for another 2-3 minutes, ensuring all ingredients are thoroughly combined and the mixture is smooth.
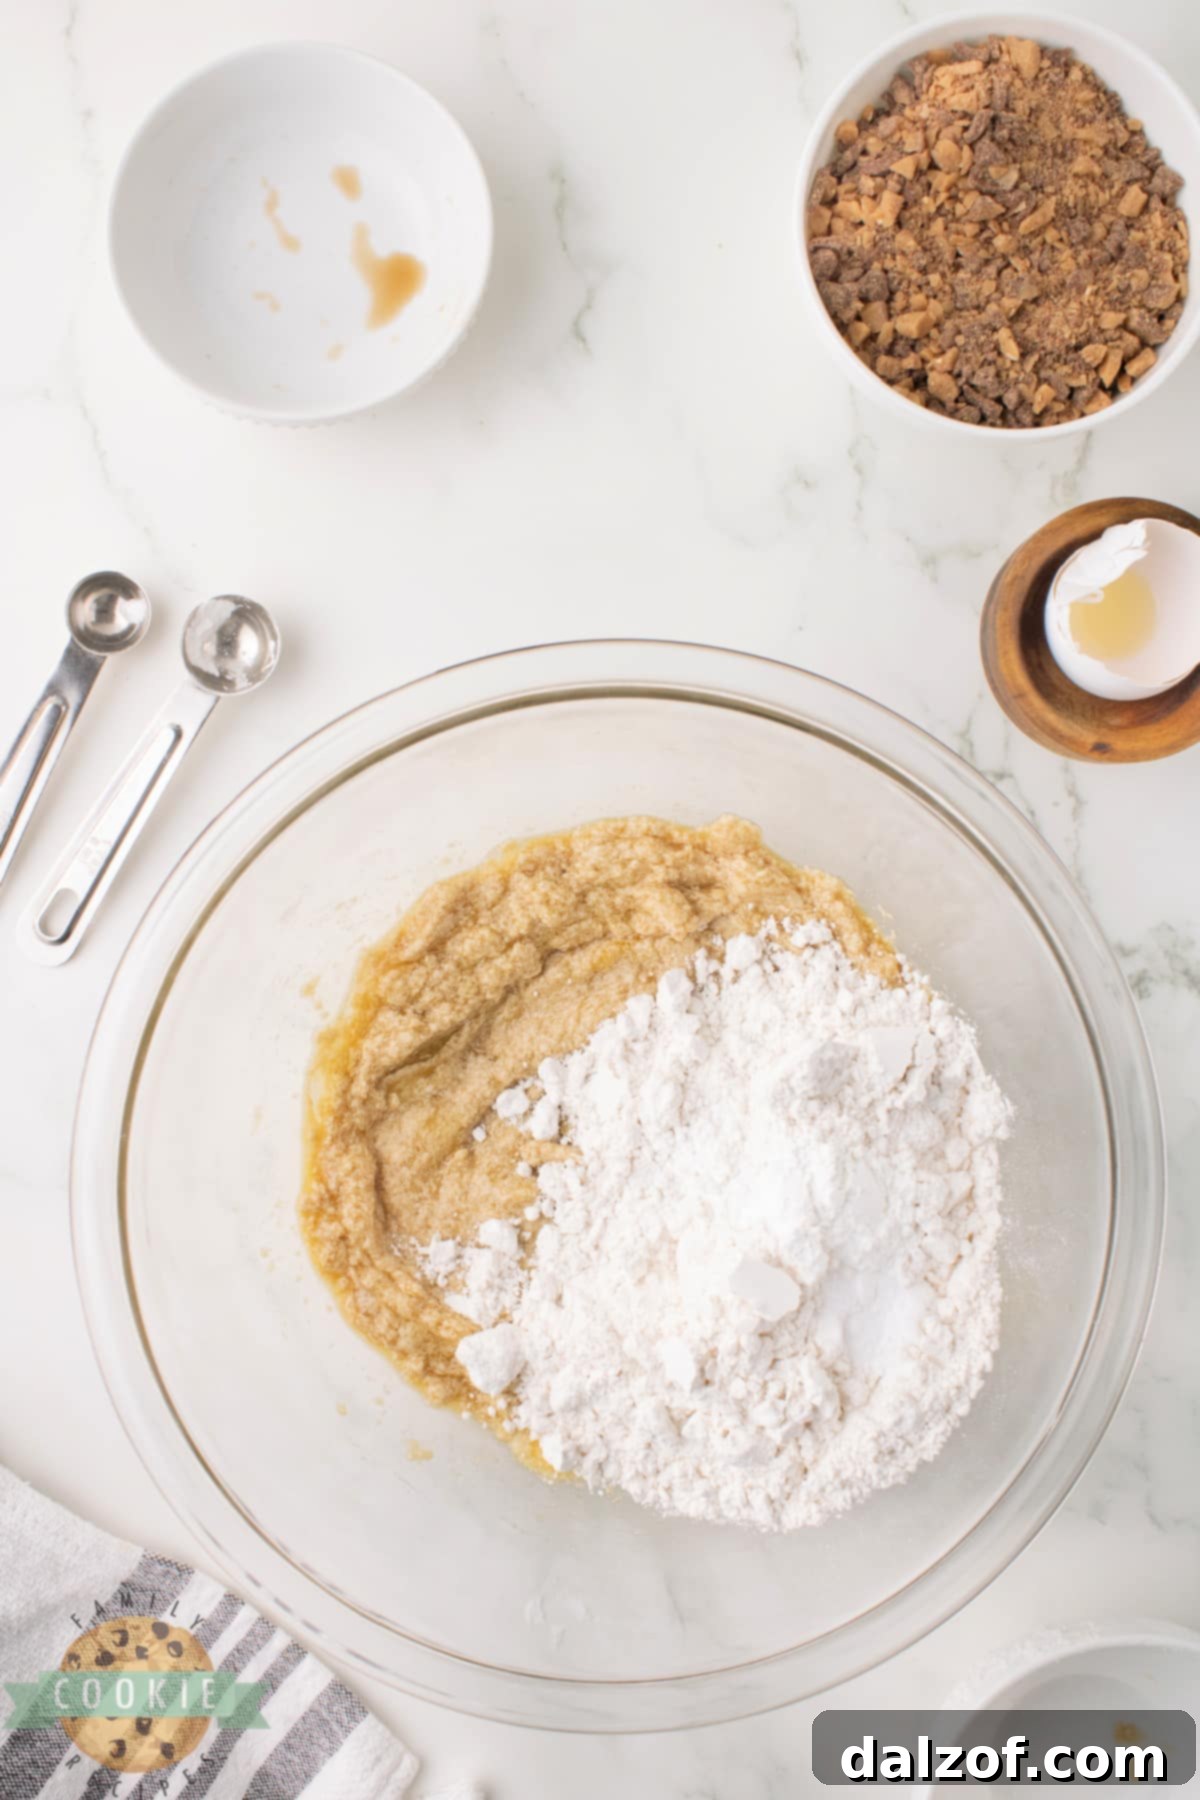
- Add Dry Ingredients: In a separate bowl, whisk together the flour, baking powder, and baking soda. Gradually add these dry ingredients to the wet mixture, mixing on low speed just until combined. Be careful not to overmix, as this can lead to tough cookies.
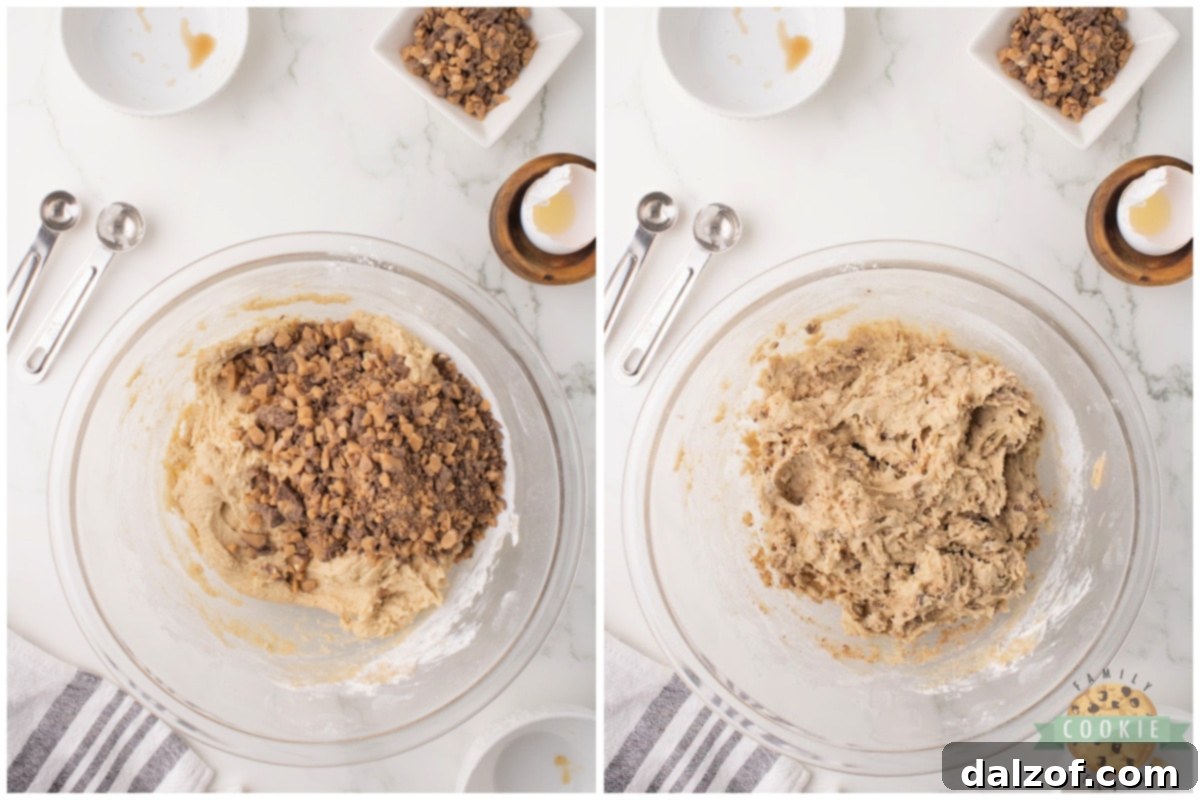
- Fold in Heath Bits: Gently fold the Heath bar bits into the cookie dough. Use a spatula to ensure they are evenly distributed without overworking the dough.
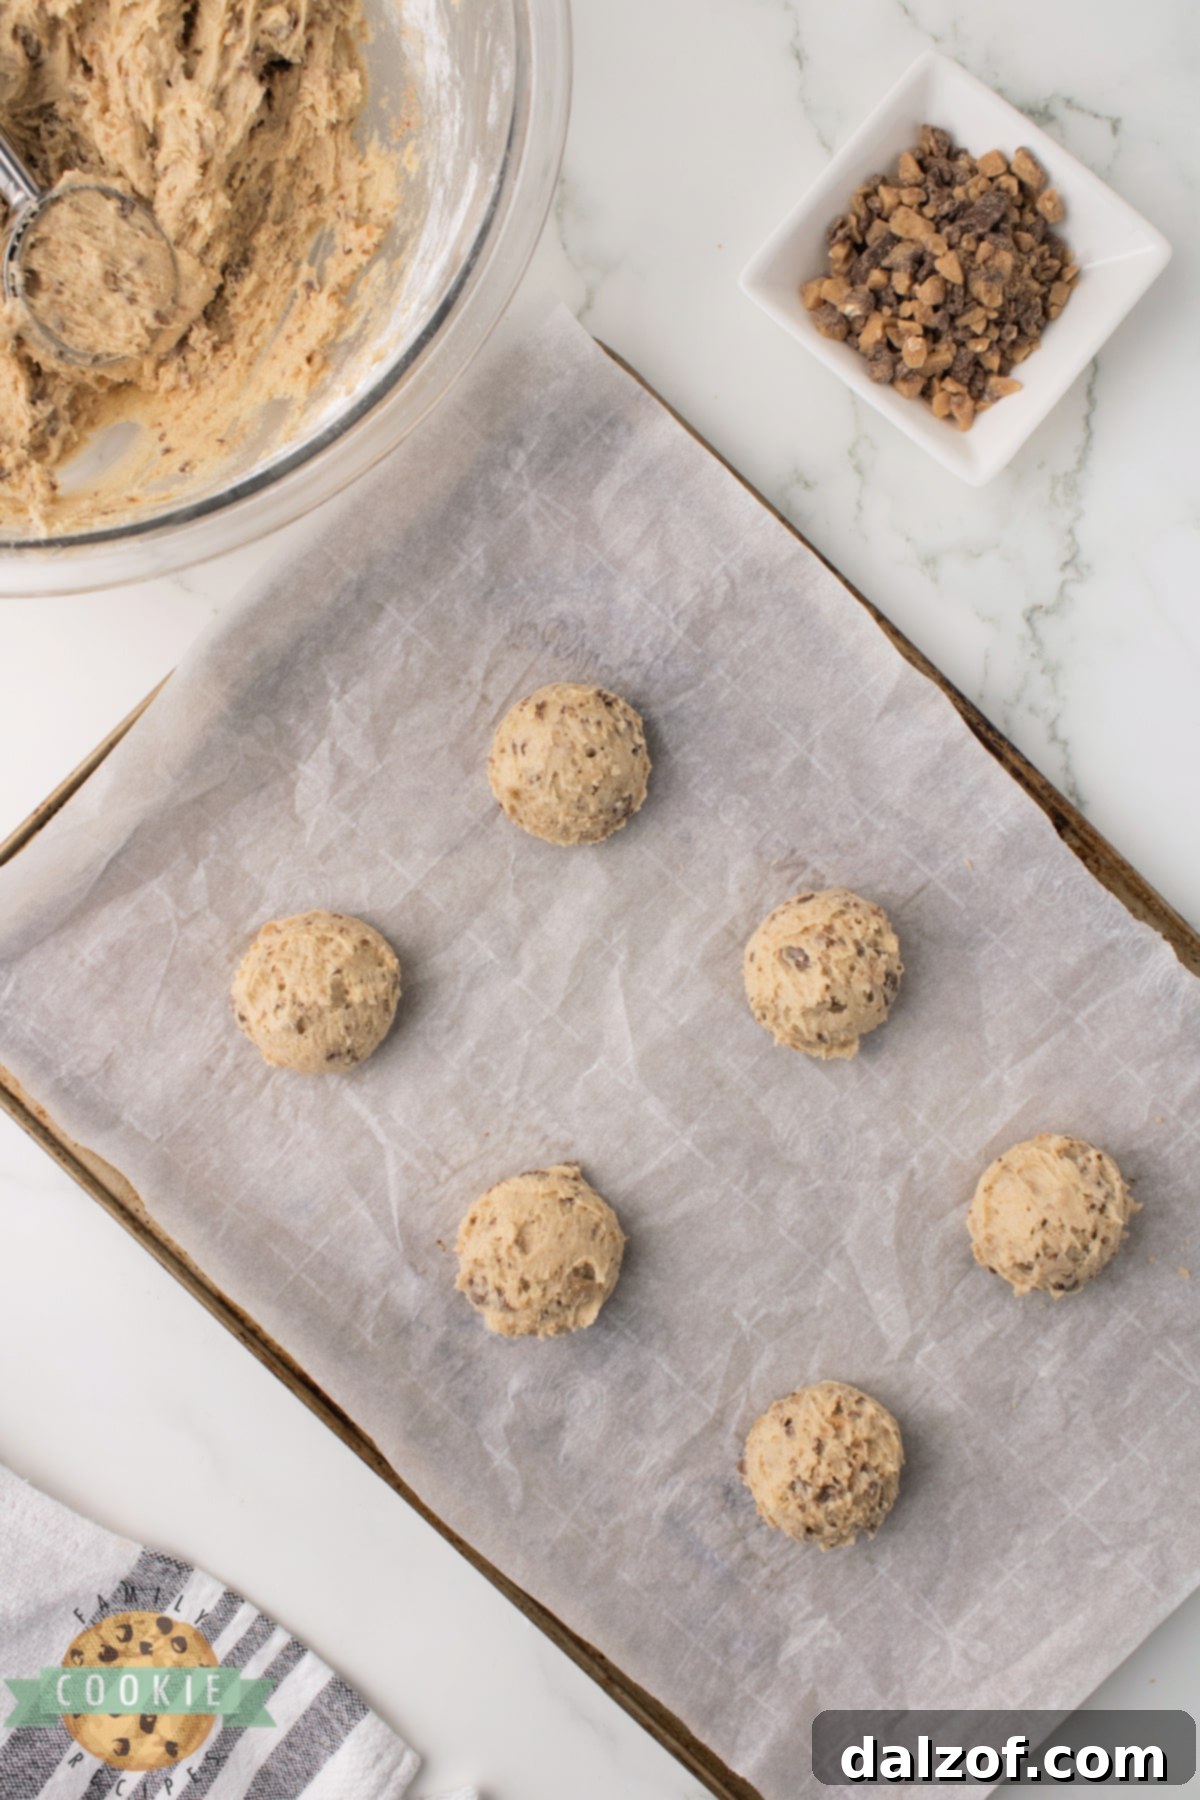
- Scoop and Space: Using a cookie scoop (approximately 2 tablespoons per cookie), drop uniform balls of dough onto your prepared baking sheet. Ensure there’s about 2-3 inches of space between each cookie to allow for proper spreading during baking.
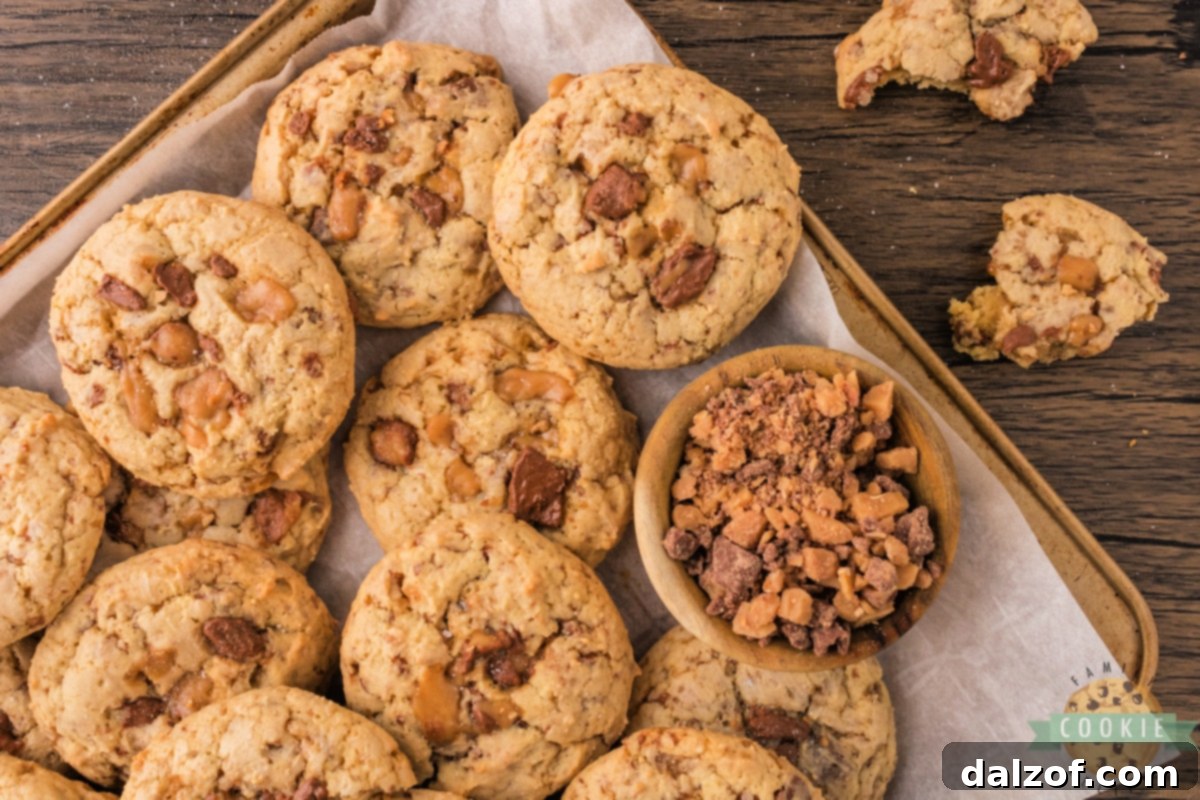
- Bake and Cool: Bake for 10-12 minutes. The cookies should have lightly golden edges and still appear slightly soft in the center. Remember, they will continue to firm up as they cool. Allow them to cool on the baking sheet for about 5 minutes before carefully transferring them to a wire rack to cool completely.

Heath Bar Cookies
These Heath Bar Cookies are delightfully soft, perfectly chewy, and generously studded with crunchy toffee bits. An easy-to-follow recipe for absolutely delicious homemade cookies!
📌Pin Recipe
Course: Cookies
Cuisine: American
Keyword: Heath Bar Cookies, Toffee Cookies, Candy Bar Cookies
Prep Time: 10 minutes
Cook Time: 10-12 minutes
Servings: 24 cookies
Calories: 163 kcal
Author: Jessica & Nellie
Ingredients
- ½ cup (1 stick) unsalted butter, softened to room temperature
- ¾ cup granulated sugar
- ¼ cup packed light brown sugar
- 1 large egg
- 1 teaspoon pure vanilla extract
- 2 cups all-purpose flour
- 1 teaspoon baking powder
- ½ teaspoon baking soda
- 1 cup Heath baking bits (or crushed Heath bars)
Instructions
- Preheat your oven to 350°F (175°C). Line a large baking sheet with parchment paper or a silicone baking mat.
- In a large bowl, cream together the softened butter, granulated sugar, and brown sugar using an electric mixer until light and fluffy, about 2-3 minutes.
- Add the egg and vanilla extract, mixing for another 2-3 minutes until well incorporated.
- In a separate medium bowl, whisk together the flour, baking powder, and baking soda. Gradually add the dry ingredients to the wet ingredients, mixing on low speed until just combined. Be careful not to overmix the dough.
- Gently fold in the Heath baking bits until they are evenly distributed throughout the dough.
- Using a cookie scoop (about 2 tablespoons of dough per cookie), drop mounds of dough onto the prepared baking sheet, leaving about 2-3 inches between each cookie.
- Bake for 10-12 minutes, or until the edges are lightly golden brown and the centers are still slightly soft.
- Remove the baking sheet from the oven and let the cookies cool on the hot sheet for 5 minutes. This allows them to finish baking and firm up. Then, transfer them to a wire rack to cool completely.
Nutrition Information (per serving)
Calories: 163kcal | Carbohydrates: 23g | Protein: 1g | Fat: 7g | Saturated Fat: 5g | Polyunsaturated Fat: 0.3g | Monounsaturated Fat: 2g | Trans Fat: 0.2g | Cholesterol: 27mg | Sodium: 70mg | Potassium: 40mg | Fiber: 0.3g | Sugar: 15g | Vitamin A: 242IU | Vitamin C: 0.02mg | Calcium: 16mg | Iron: 1mg
Tried this recipe? We’d love to see your creations! Mention @familycookierecipes or tag #familycookierecipes on Instagram!
Achieving Perfect Heath Bar Cookies Every Time
Baking perfect cookies is an art, but also a science. Here are some invaluable tips to ensure your Heath Bar Toffee Cookies turn out wonderfully consistent and delicious batch after batch:
- Butter Temperature is Key: Always ensure your butter is softened to room temperature, but definitely NOT melted. Softened butter creams beautifully with sugar, creating air pockets that contribute to a soft, fluffy cookie. Melted butter will yield a denser, greasier cookie.
- Don’t Skimp on Flour: The amount of flour can significantly impact cookie texture. If your dough feels too sticky after mixing, adding a tablespoon or two more of all-purpose flour can help achieve the right consistency, preventing excessive spreading.
- Cream Thoroughly: Dedicate enough time to creaming the butter and sugars – 2 to 3 minutes is not just a suggestion, it’s a critical step. This process whips air into the mixture, resulting in lighter, chewier cookies with a better overall consistency.
- Preheat Your Oven Fully: An adequately preheated oven is crucial for consistent baking. Placing cookies into an oven that hasn’t reached its target temperature can lead to uneven baking and undesirable textures. Always allow your oven to fully preheat.
- Embrace the Cookie Scoop: For perfectly shaped, uniformly sized cookies, a cookie scoop is your best friend. This ensures even baking across the entire batch and makes scooping dough quick and mess-free.
- Use Non-Stick Liners: To effortlessly remove your cookies from the baking sheet without any sticking or breaking, always use parchment paper or a silicone baking mat. This prevents scraping and keeps your cookies in their perfect shape.
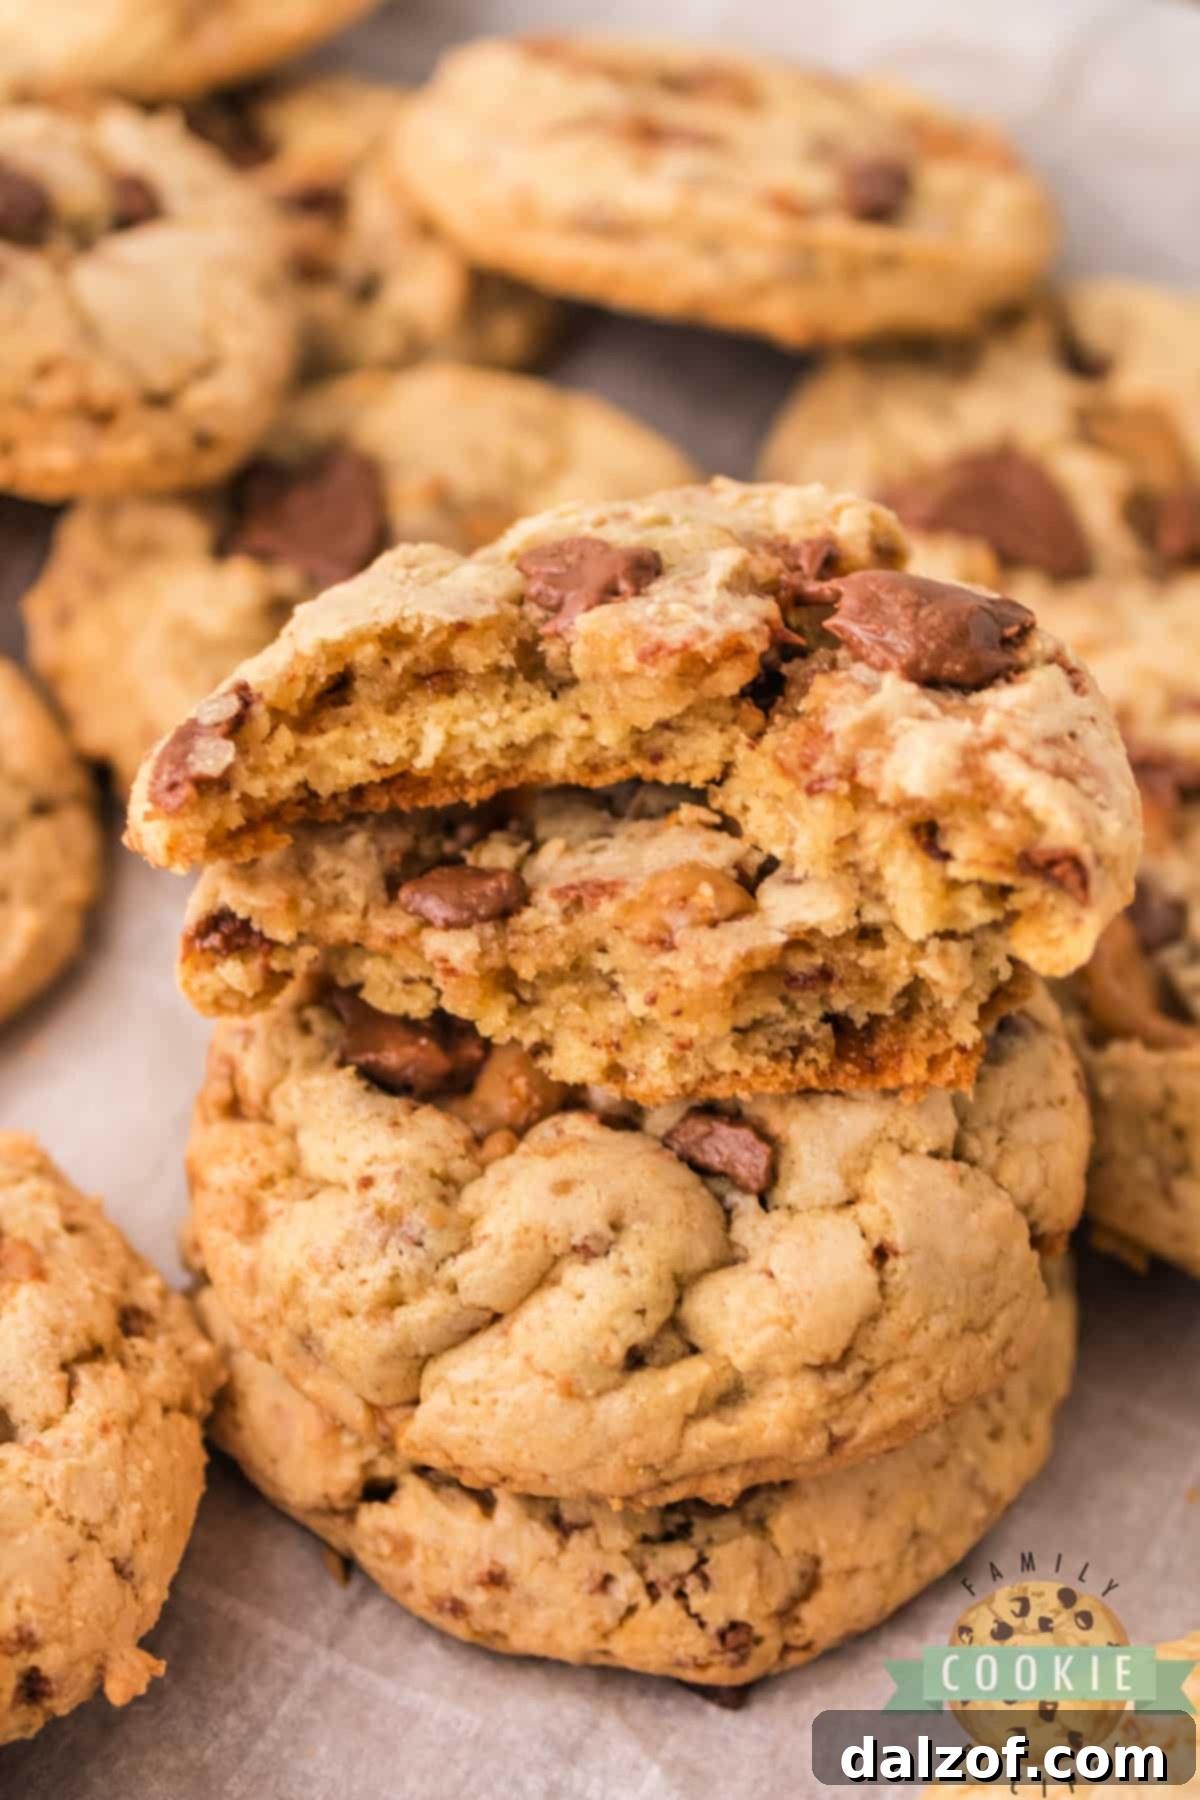
- Avoid Overbaking: This is perhaps the most important tip for soft, chewy cookies. When I remove my Heath Bar Cookies from the oven, they still look slightly underbaked in the center. This is perfectly fine! They will continue to bake and set on the hot cookie sheet for a few more minutes, achieving that ideal soft-yet-set texture. Waiting for them to look golden all over will result in dry, hard cookies.
Cookie Troubleshooting: Common Baking Problems Solved
Even the most experienced bakers encounter cookie mishaps from time to time. Through years of baking trials and errors, I’ve gathered valuable insights into solving common cookie problems. While you might have a favorite chocolate chip cookie recipe, sometimes they just don’t turn out as expected. Here are some helpful tips for common cookie dilemmas, ensuring your Heath Bar Cookies (and all other cookies!) are always a success:
Why Are My Cookies Flat and Spreading Too Much?
Flat, overly spread cookies are a common issue, and usually, the culprit is too little flour or incorrect butter temperature. If your cookies spread excessively during baking, you likely need to add a little more flour to your dough. Start by mixing in an additional two to three tablespoons of all-purpose flour and see if that provides enough structure. Another significant factor, especially in recipes calling for butter, is the butter’s consistency. Make sure your butter is softened to room temperature, not melted. While a few recipes do require melted butter, most demand softened butter to create the right dough consistency and prevent excessive spreading. Melted butter often leads to a greasier, flatter cookie because it lacks the air pockets created during the creaming process.
The Best Way to Soften Butter to Room Temperature
Achieving perfectly softened butter is a common challenge. Ideally, you’d plan ahead and set your butter out on the counter for a few hours before baking. However, for those of us (myself included!) who aren’t always so prepared, there are quick tricks. My favorite method involves the microwave, but it requires precision. Place a whole stick of butter (unwrapped from foil) in the microwave and heat it for 6-7 seconds. Check its softness; if it’s still quite cold, repeat for another 5-7 seconds. Continue in short bursts, shortening the time to just a few seconds as it softens, to avoid melting. A pro tip: try using your microwave’s defrost setting. It takes a bit longer (around 30 seconds), but it gently softens the butter without risking liquefaction, making it easier to hit that perfect pliable consistency.
Why Are My Cookies Crispy and Hard Instead of Soft and Chewy?
If your cookies turn out hard, crunchy, or overly crispy, the most probable reason is overbaking. Cookies continue to cook on the hot baking sheet for several minutes after being removed from the oven. Therefore, it’s crucial not to wait until they appear deeply golden brown before taking them out. For most of my cookie recipes, including these Heath Bar Cookies, I bake them until they are just barely done. I typically look for the edges on the bottom to be lightly golden, while the centers still appear slightly soft, even a little underdone. You don’t want the centers to look raw or doughy, but they definitely shouldn’t be browned on top either. This ensures they finish setting into that coveted soft and chewy texture.
Why Do My Cookies Burn on the Bottom But Aren’t Done in the Middle?
Cookies burning on the bottom while remaining undercooked in the middle is a frustrating issue, often pointing to your baking equipment. Dark-colored cookie sheets tend to absorb more heat, causing the bottoms of your baked goods to cook (and often burn) much faster than the rest of the cookie. Similarly, excessive use of cooking spray can have the same effect. I highly recommend investing in lighter-colored, non-stick baking pans, which distribute heat more evenly and often eliminate the need for cooking spray altogether. Over the past few years, I’ve become a huge advocate for silicone baking mats. They provide an excellent non-stick surface, ensuring cookies slide off the tray effortlessly every single time, preventing both burning and sticking.
Variations and Customizations for Your Heath Bar Cookies
While the classic Heath Bar Cookie is fantastic on its own, don’t hesitate to get creative with variations. For an extra layer of chocolatey goodness, mix in ½ cup of semi-sweet or milk chocolate chips with the Heath bits. If you love nuts, a handful of chopped pecans or walnuts would add another dimension of crunch and flavor. You could even experiment with different types of toffee or candy bar bits if you’re feeling adventurous. Consider adding a pinch of sea salt on top before baking to enhance the sweet and savory notes of the toffee. The possibilities are endless when it comes to personalizing these delightful cookies!
Storage and Freezing Tips for Heath Bar Cookies
Once your Heath Bar Cookies have cooled completely, store them in an airtight container at room temperature for up to 3-5 days. For longer storage, these cookies freeze beautifully! Place cooled cookies in a single layer on a baking sheet to freeze for about an hour, then transfer them to a freezer-safe bag or container. They can be frozen for up to 3 months. Thaw at room temperature when ready to enjoy. You can also freeze the raw cookie dough by scooping individual portions onto a parchment-lined baking sheet, freezing until solid, then transferring to a freezer bag. Bake from frozen, adding a couple of extra minutes to the baking time.
More Delicious Candy Bar Cookie Recipes to Try:
If you’ve fallen in love with these toffee cookies, you’ll be thrilled to discover a whole world of candy bar cookie recipes! Expand your baking repertoire with these other irresistible creations:
- Reese’s Peanut Butter Pudding Cookies
- Soft M&M Cookies
- Cadbury Mini Egg Cookies
- Milky Way Cookies
- Chocolate Junior Mint Cookies
- Kit Kat Cookies
- Snickers Peanut Butter Cookies
- Bakery Style Almond Joy Cookies
- Cake Mix Rolo Cookies
- Butterfinger Peanut Butter Cookies
- Reese’s Chocolate Chip Cookies
- Double Chocolate Mint Cookies

In conclusion, these Heath Bar Cookies are more than just a dessert; they are an experience. Combining a soft, buttery cookie base with the unmistakable crunch and caramel flavor of toffee bits, this simple Heath Bar cookie recipe promises a truly delightful treat that will quickly become a household favorite. Happy baking!